Witch Hazel Extract
Witch Hazel Extract is known for its antimicrobial and astringent properties, and it’s been used for centuries as a natural disinfectant and wound cleanser. Learn how to make your own witch hazel extract in a few easy steps.
Ingredients
- 1 Tbsp witch hazel bark or 1 tablespoon dried leaves for a gentler infusion
- 1 cup water
- 1/2 cup 100-proof alcohol optional, for shelf-stable extract
Instructions
- If using witch hazel bark, measure out 1 tablespoon of finely chopped bark. For leaves, you can use the same measurement but will need to make an infusion instead of a decoction.
- In a small pot, add the witch hazel bark and 1 cup of water. Bring it to a simmer, and cook for 20-30 minutes, stirring occasionally. The water should reduce by about half, leaving you with roughly 1/2 cup of witch hazel extract.
- Once the extract has simmered and reduced, strain out the bark (or leaves) using a fine mesh strainer or cheesecloth. Let the liquid cool to room temperature.
- If you want a shelf-stable extract, add 1/2 cup of 100-proof alcohol (vodka, rum, or whisky works well) to the cooled extract. This will bring the alcohol content to about 25%, which is ideal for preserving the extract for up to a year. Stir to combine.
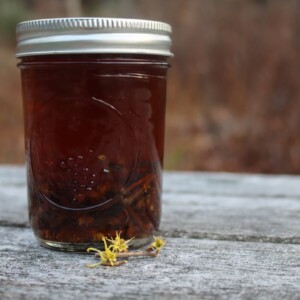
- Transfer your witch hazel extract to a glass jar or bottle. If not adding alcohol, store the extract in the refrigerator and use within a week. If adding alcohol, it can be stored in a cool, dark place for up to a year.
Notes
Witch hazel extract is great for treating minor wounds, acne, hemorrhoids, and other skin irritations. You can apply it directly to the skin or use it as a natural cleanser. It's also useful for creating a soothing, antimicrobial herbal rinse.
It's intended for external use only.
Tried this recipe?Let us know how it was!
