Affiliate disclosure: This post may contain affiliate links. Please see our Privacy Policy.
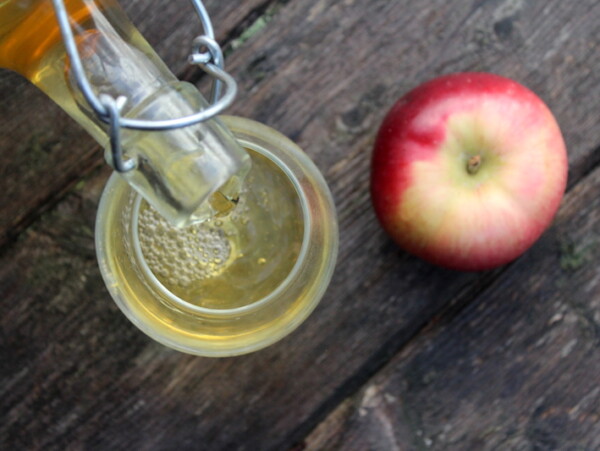
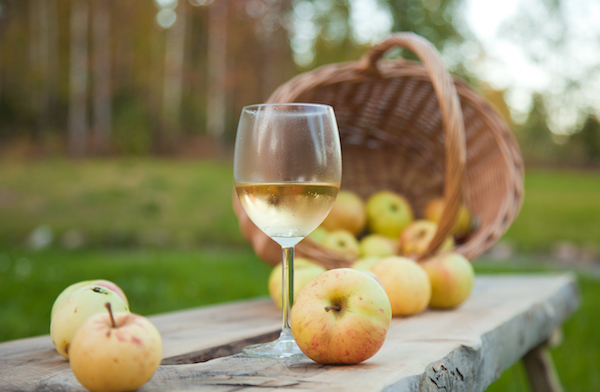
Canning apple cider locks in that fresh-pressed fall flavor so you can pour a cold glass, or warm a mug of mulled cider, long after the press has been put away for the season.
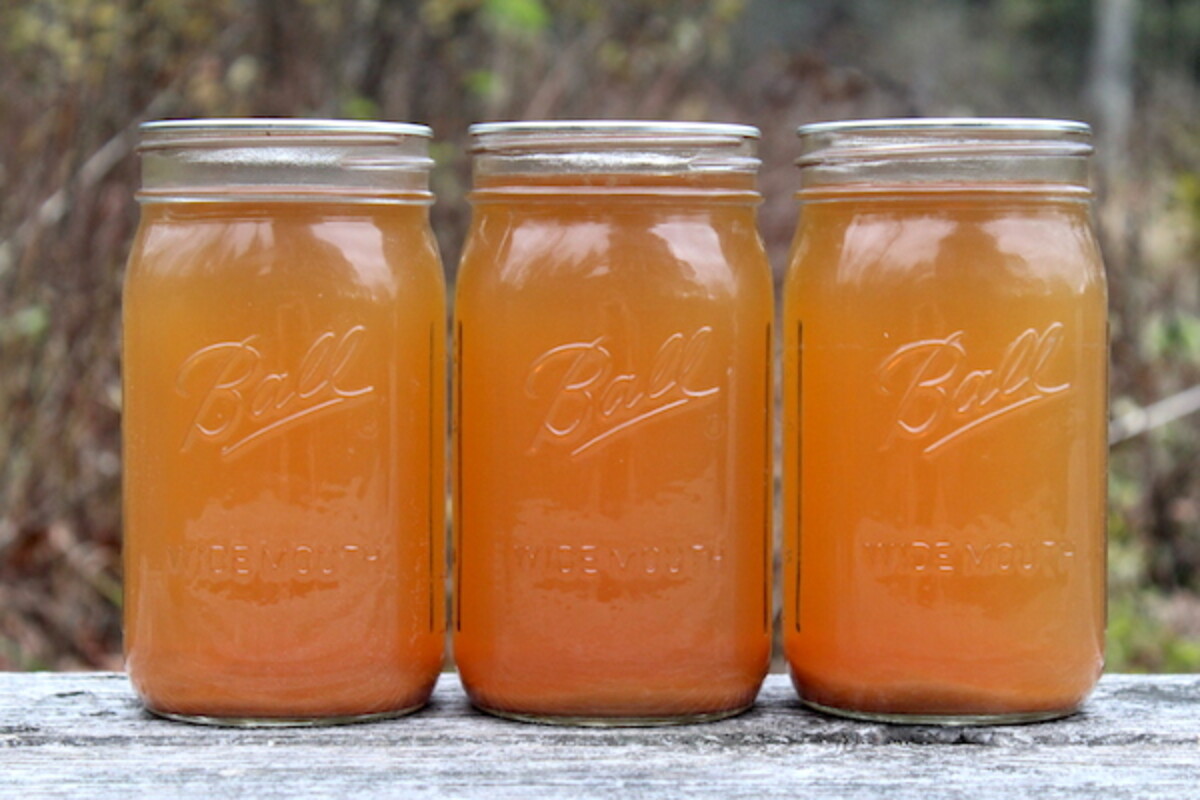
Table of Contents
Fresh cider doesn’t keep. It starts to ferment into hard cider on the counter within a day or two and turns hard in the fridge inside a week. A short water bath canning session puts it on the pantry shelf instead of crowding the freezer, and done gently it tastes like it just came off the tree.
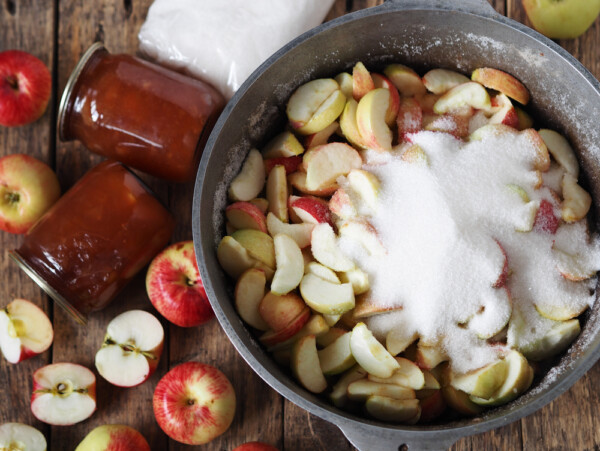
Our homestead orchard has more than a dozen apple trees, and we work to put up the whole harvest one way or another. The keepers go into the root cellar, where the best winter storage apples will keep apples fresh for the better part of a year in a cool back room.
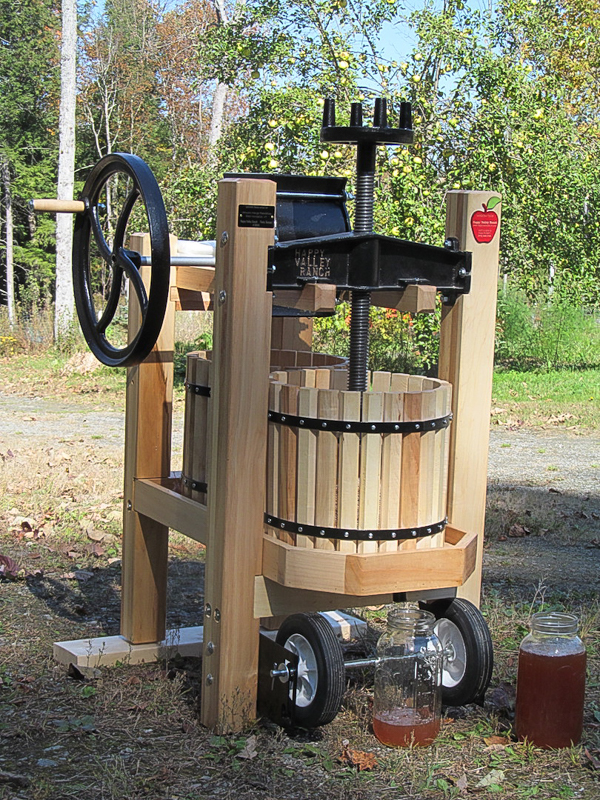
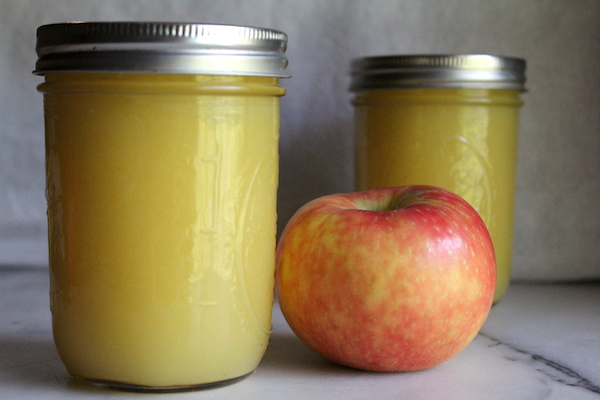
The apples that won’t store well on their own get turned into canned applesauce and canned apple pie filling, and then whatever’s left goes through our double barrel cider press for fresh drinking, apple wine and cyser (apple mead).
If you don’t have a press, you can build a DIY cider press for small batches, or skip pressing entirely and follow my method for canning apple juice with nothing but a pot and a jelly bag.
Technically, apple cider is just unfiltered apple juice that’s never been heated, so once you can it at home it isn’t legally cider anymore. Give a jar a taste though, and there’s no way you’ll call it plain old juice. Store-bought apple juice is heavily filtered and pretty flat, while home-canned cider still tastes like the orchard a year after it went into the jar.
Notes from My Homestead

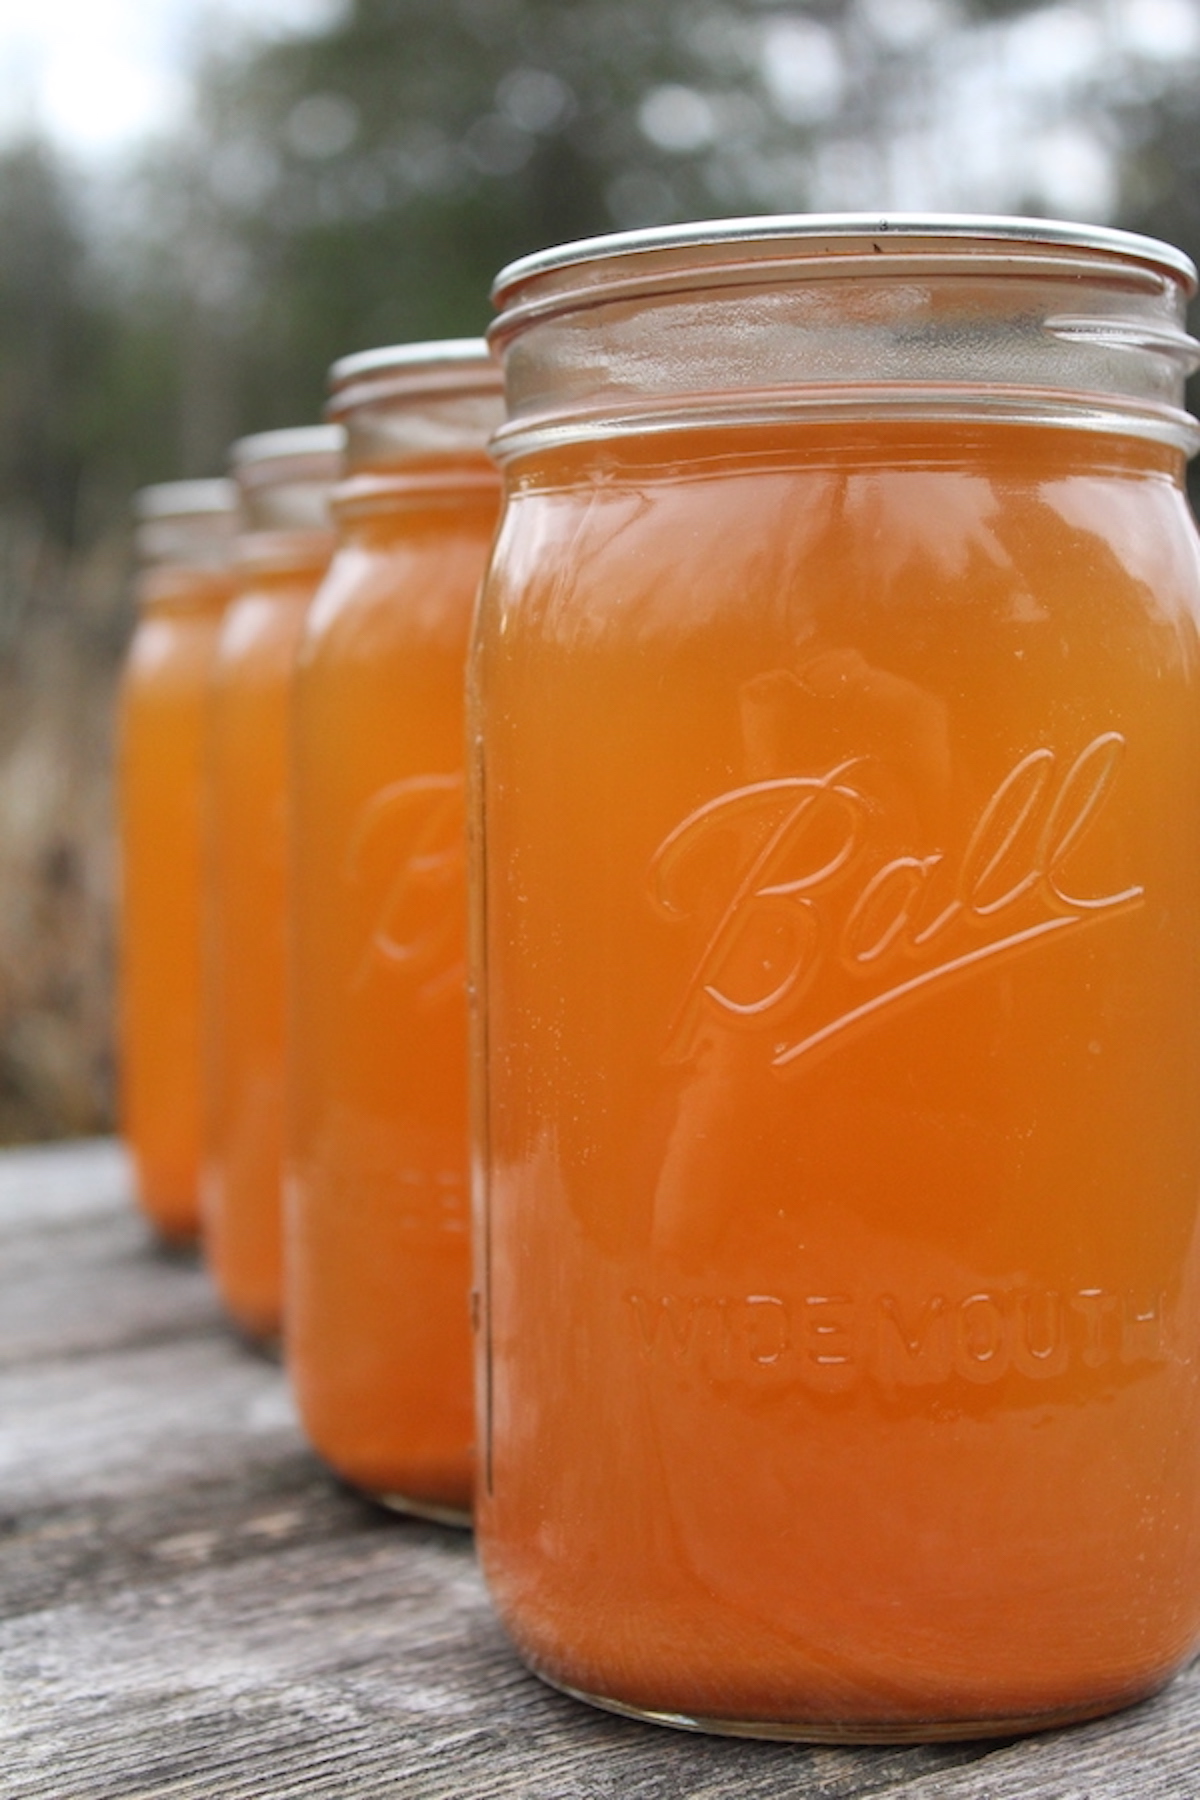
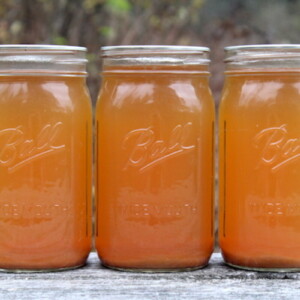
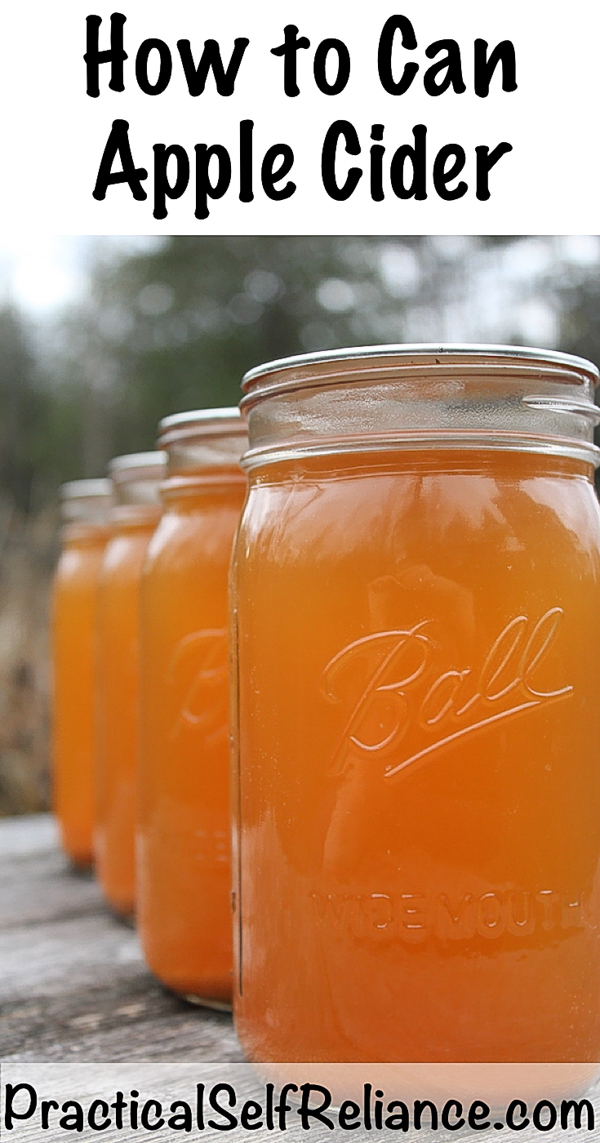
We can our cider up in quart and half-gallon jars, and on a cold winter day I’ll pour some into a thick enameled cast iron pot on the wood stove with cinnamon, nutmeg, allspice and clove. It cooks down slow all afternoon, the spices gently infusing, and the whole house ends up smelling like fall again. I keep a few half-gallon jars set aside just for gatherings, since anyone can pour themselves a mug whenever they please.
This past year we put up more than ten gallons of canned cider, and that’s after pressing fruit for hard cider and a batch of cider syrup. There’s no better way to hold onto a cider harvest, especially if your freezer is already full of garden produce by the time the apples come in.
Ingredients for Canning Apple Cider
This is about as short an ingredient list as canning gets. The cider is the whole show, and the only addition is a splash of bottled lemon juice to guarantee the acidity is in a safe range.
- Fresh-pressed apple cider: It takes roughly 15 to 18 pounds of apples to press a gallon of cider, so this makes the most sense when you have a tree of your own or a good deal at a pick-your-own. A blend that includes some tart apples tastes best and helps keep the acidity up.
- Bottled lemon juice: Use bottled, not fresh, because it has a standardized acidity while fresh lemons vary. Recent testing found that some apples, especially very sweet modern varieties and fruit grown with heavy nitrogen, aren’t quite acidic enough for safe canning on their own. A small measured amount per jar takes the guesswork out, and I keep a bottle of organic bottled lemon juice on the canning shelf for exactly this.
The National Center for Home Food Preservation generally doesn’t recommend half-gallon jars, but apple cider and grape juice are two of the rare exceptions with tested half-gallon methods. That means you can safely process this in half pints, pints, quarts, or half-gallon jars, which is handy when you’re putting up cider by the case.
Excellent! The best I have ever had! Thank you
How to Can Apple Cider
The trick to good canned cider is gentle heat. Older instructions told you to boil the cider hard before filling jars, and that’s exactly what flattens the flavor. The current tested process heats the cider just enough to sterilize it, never to a rolling boil, so it goes into the jar tasting like cider and comes back out the same way.
Pressing the Apples
Wash the apples well, but don’t bother peeling them. The skins add flavor and color. Run them through the press and collect the fresh juice in a large bowl or food-grade bucket. If you’d like a clearer cider, refrigerate the juice for 24 to 48 hours so the sediment settles, then ladle the clear juice off the top into a stainless steel pot and leave the sludge behind.
Heating and Filling the Jars
Get your water bath canner heating and prepare clean jars and lids. Heat the cider in a separate pot to 190 degrees F over medium-high heat, stirring gently, and hold it there for about 5 minutes. Use a thermometer and don’t let it boil.
Add the measured bottled lemon juice straight into the bottom of each hot jar, then ladle in the hot cider, leaving 1/4 inch of headspace. Wipe the rims clean, center the lids, and screw the bands down to fingertip tight.
Keep the Cider Flavor
The single most common complaint about home-canned cider is that it ends up tasting like store-bought juice. Nearly every time, that’s from overheating.
- Don’t boil the cider. Heat it to 190 degrees F to sterilize, then can it right away. A hard boil cooks off the fresh, bright notes that make cider taste like cider.
- Keep the process time short. Cider only needs a brief water bath, so there’s no reason to leave it bubbling longer than the recipe calls for.
- Use a flavorful blend. Cider made from a mix of sweet and tart apples holds its character through canning far better than a one-note batch.
Processing in the Water Bath Canner
Lower the filled jars into the canner, making sure they’re covered by at least 1 inch of water. If you’re using half-gallon jars, check ahead of time that your pot is deep enough, since you’ll want a couple of inches of clearance above the jars for a good rolling boil.
Bring the water back to a boil and process for 10 minutes. When the time is up, turn off the heat and let the jars sit in the water for 5 more minutes before lifting them out. That short rest helps prevent siphoning and thermal shock.
New to all of this? My beginner’s guide to water bath canning covers every step in detail.
Let the jars cool completely on a towel, then check the seals. Refrigerate any jar that didn’t seal and use it first. Sealed jars are shelf stable in a cool, dark pantry.
This method is adapted from the Ball Complete Book of Home Preserving, and the jar-size and altitude guidance comes from the National Center for Home Food Preservation.
Altitude Adjustments
Water boils at a lower temperature as you climb in elevation, so processing times go up. Adjust as follows:
- 0 to 1,000 feet: Process 10 minutes for all jar sizes.
- 1,001 to 6,000 feet: Process 10 minutes for quarts and smaller, 15 minutes for half gallons.
- Above 6,000 feet: Process 15 minutes for quarts and smaller, 20 minutes for half gallons.
Yield Notes
Cider is a one-to-one preserve, so your yield is simply however much cider you press.
- Apples to cider: Figure on roughly 15 to 18 pounds of apples per gallon of cider, depending on the variety and how hard you press.
- Lemon juice per jar: Add 1/2 tablespoon per pint, 1 tablespoon per quart, or 2 tablespoons per half gallon.
- Scaling up: Unlike jam, cider doesn’t need to set, so there’s no batch-size limit. Just heat and fill as many jars as you have cider for, working in pot-sized batches so the cider stays hot.
Storage Options
Once your jars are sealed and cooled, here’s how long you can expect them to keep:
- Refrigerator (unsealed jars): Any jar that didn’t seal goes in the fridge and should be used within about a week, the same as fresh cider.
- Pantry (sealed jars): Stored in a cool, dark spot, sealed cider stays safe as long as the seal holds. Flavor and quality are best within 12 to 18 months, though cider tends to hold its quality a little longer than most canned goods.
- Freezer (alternative to canning): Cider also freezes beautifully in freezer-safe containers with headspace for expansion. Canning just frees up that freezer space for other things.
Recipe Tips & Variations
- Mulled cider: Warm a jar with cinnamon sticks, whole cloves, allspice and a little nutmeg. Cinnamon and clove intensify in the jar over time, so if you want to can it pre-spiced, go light and strain before serving.
- Sparkling cider: Top a glass of cold canned cider with seltzer for a homemade version of the sparkling cider you find at the store.
- Store-bought cider: You can can store-bought cider as long as it’s just cider with no preservatives or added ingredients. Check the label first.
- If an opened jar goes fizzy or vinegary in the fridge: A jar that smells sharp or has started turning to vinegar. It’s not dangerous, but it’s no longer sweet cider. You can let it finish into homemade apple cider vinegar if you like.
Ways to Use Canned Apple Cider
Most of our cider gets warmed into mulled cider over the winter, but it’s just as good cold. I’m a lifelong fan of sparkling cider, and half a glass of canned cider topped with seltzer tastes almost exactly like the Martinelli’s sparkling cider I grew up drinking on special occasions. The kids drink it cold after school, and it works beautifully in marinades, pan sauces, and holiday punch.
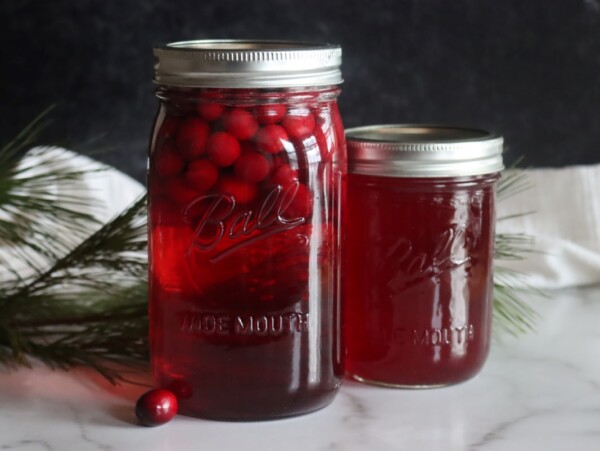
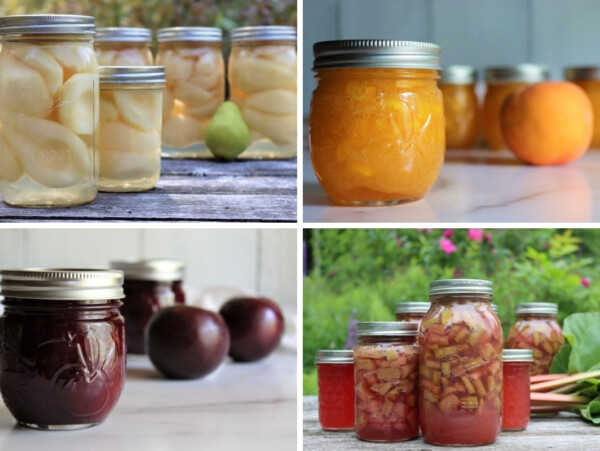
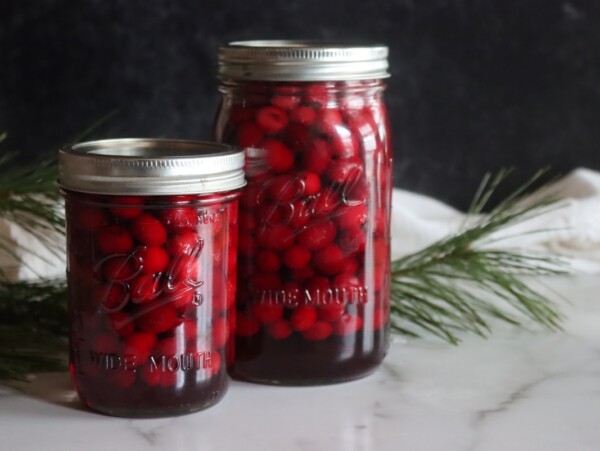
If you find yourself with more cider than you can drink, cook some down into boiled cider for a concentrated syrup, or browse the rest of my 30+ ways to preserve apples and my full collection of fruit canning recipes for more ideas. Cider isn’t the only drink worth putting up either, my canning cranberry juice tutorial is a good one for the holidays.
Canning Apple Cider FAQs
It doesn’t if you can it gently. The flavor loss people complain about almost always comes from boiling the cider hard before filling jars. The current tested process heats the cider to 190 degrees F to sterilize it, never to a boil, then processes it for just 10 minutes. Done that way, canned cider keeps its fresh-pressed flavor and color.
It’s the most conservative choice. After 2024 testing, Ball began recommending bottled lemon juice in all home-canned apple recipes because some sweet modern apples aren’t acidic enough on their own. The National Center for Home Food Preservation has not yet added that step. If your cider includes plenty of tart apples it is naturally high in acid, but a measured splash of bottled lemon juice per jar removes any doubt.
A properly sealed jar is safe to eat as long as the seal stays intact. As a rule of thumb, quality is best within 12 to 18 months in a cool, dark pantry, though cider tends to hold its flavor a bit longer than most canned goods. Refrigerate any unsealed jars and use them within about a week.
Yes, as long as it’s just cider with nothing added. Read the label and avoid anything with chemical preservatives or thickeners, which can interfere with canning. Plain cider, even from the store, cans exactly the same as fresh-pressed.
You can use half pints, pints, quarts, or half-gallon jars. Apple cider and grape juice are two of the only foods the National Center for Home Food Preservation has tested for half-gallon canning, which makes cider a great candidate for big jars. Below 1,000 feet, all jar sizes process for 10 minutes.
Ways to Preserve Apples

Did you can a batch of apple cider? Come back and give the recipe a ⭐⭐⭐⭐⭐ star rating and tell me in the 📝 comments how your cider turned out!
And make sure you stay in touch with me by following on social media!
Canning Apple Cider
Equipment
- Mason Jars (half pint, pint, quart, or half gallon)
- Cider Press or strainer and jelly bag
Ingredients
- 1 quart fresh-pressed apple cider, from about 4 to 5 lbs apples; scale up as needed
- 1 Tbsp bottled lemon juice, per quart jar; use 1/2 Tbsp per pint or 2 Tbsp per half gallon
Instructions
- Wash the apples well and press them to extract the juice. Peeling is not necessary, since the skins add flavor and color.
- If you want a clearer cider, refrigerate the fresh juice for 24 to 48 hours so the sediment settles. Ladle the clear juice off the top into a large stainless steel pot and leave the sediment behind.
- Prepare your water bath canner, jars, and lids. Preheat the canner for hot pack, keeping the water at a gentle simmer around 180 to 190 degrees F.
- Heat the cider to 190 degrees F over medium-high heat, stirring gently. Do not let it boil. Hold it at 190 degrees F for 5 minutes to sterilize, then turn off the heat.
- Measure bottled lemon juice into the bottom of each hot jar: 1/2 Tbsp per pint, 1 Tbsp per quart, or 2 Tbsp per half gallon.
- Ladle the hot cider into the hot jars, leaving 1/4 inch headspace. Wipe the rims, center the lids, and screw the bands down to fingertip tight.
- Process in a boiling water bath canner for 10 minutes for all jar sizes below 1,000 feet in elevation (adjust for altitude, see notes). Make sure jars are covered by at least 1 inch of water.
- Turn off the heat and let the jars rest in the water for 5 minutes before removing them. This helps prevent siphoning and thermal shock.
- Cool the jars completely on a towel, then check the seals. Refrigerate any unsealed jars and use within about a week. Store sealed jars in a cool, dark pantry.
Notes
Nutrition
Nutrition information is automatically calculated, so should only be used as an approximation.
Homemade Drinks
Find the perfect recipe
Searching for something else? Enter keywords to find the perfect recipe!


The only way this differs from mine is I use 20 oz. beer bottles and cap them. I have cases of bottles here for brewing beer, so this was an easy change.