Affiliate disclosure: This post may contain affiliate links. Please see our Privacy Policy.
Canning apple juice is easy to do at home, with or without a juicer.
I’ll admit, apple juice wasn’t really a part of my pantry until I had kids. I’m all about fresh apple cider, and we press our own every year on an old school double-barrel cider press.
My kids though, they’re all about apple juice, and if my littles are going to be drinking something I’d prefer to know it’s wholesome. Believe it or not, storebought apple juice is often full of artificial flavorings (and boatloads of sugar).
I happened to find an old Breville juicer secondhand for a few bucks. It’s wonderfully efficient and makes crystal clear apple juice (and just about any other juice).
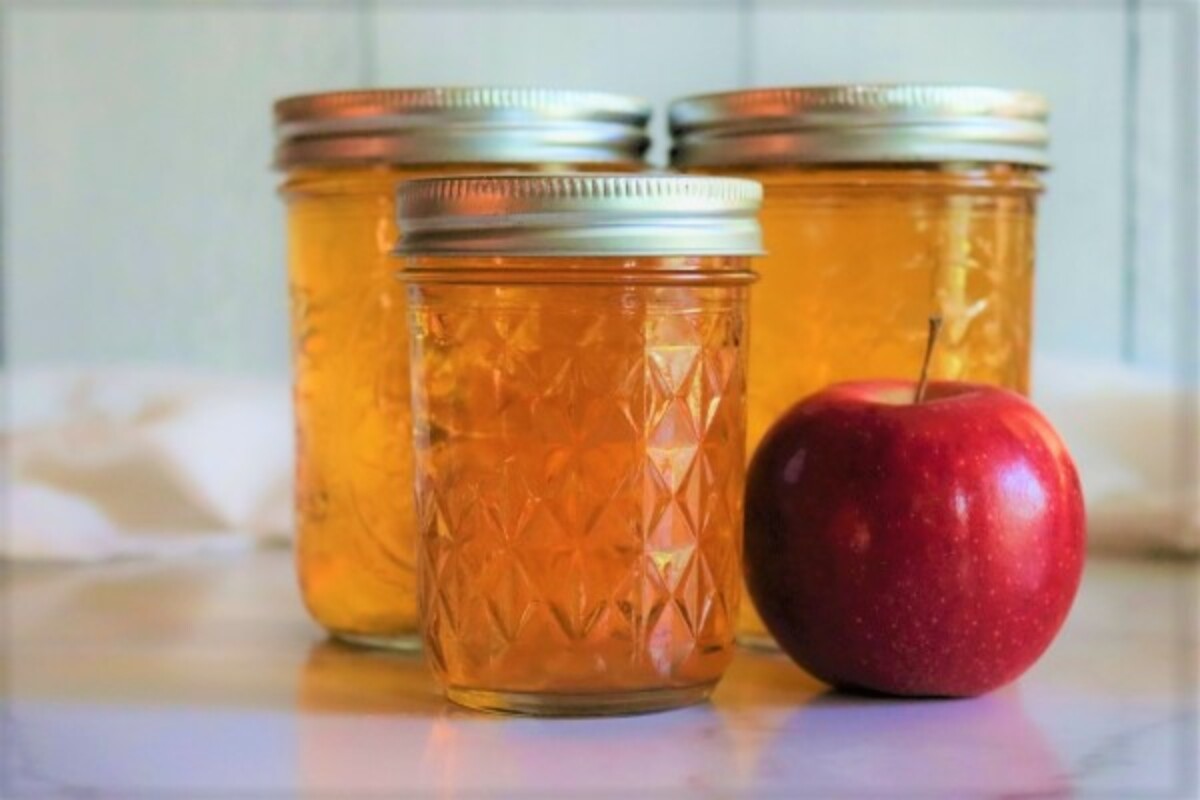
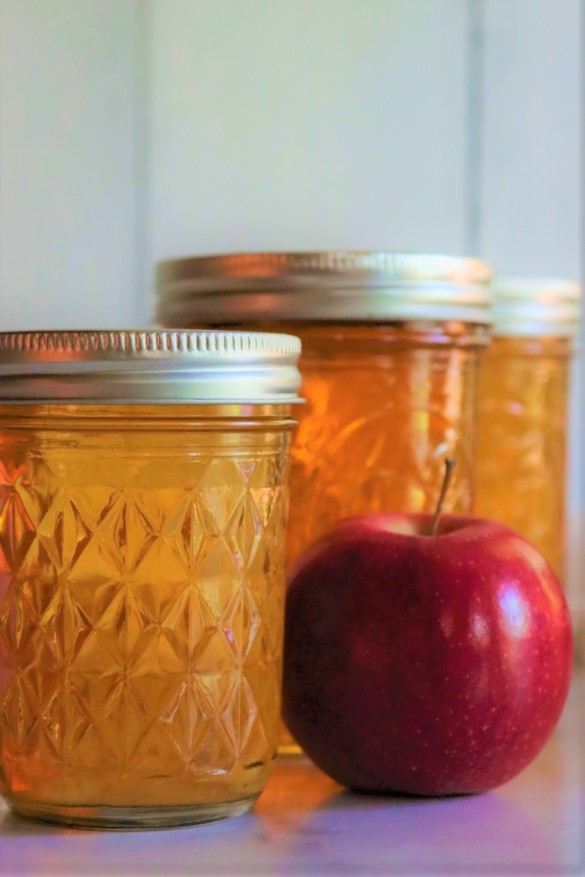
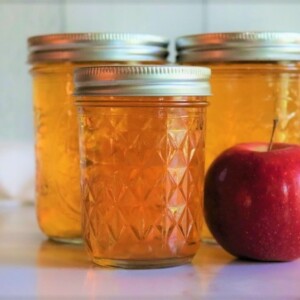
Now I make and can homemade apple juice for my preschoolers, using convenient half-pint glass jars for single servings of juice.
Don’t have a juicer or a cider press? No worries.
Ball canning actually has a pretty simple process for extracting juice from fresh apples without any equipment besides a stockpot. The recipe below is adapted from their instructions and starts with 24 pounds of apples to yield about 6 quarts of prepared juice.
If you do have a juicer or press, just skip that part and go straight to canning.
(If you happen to find a high quality 100% apple juice at the store, without any other ingredients, you can also can that in glass jars. It gets it out of the plastic jug, which is better for long term storage, and you can process it into small jars for single-serving “juice box” half-pints.)
How to Can Apple Juice
Regardless of how you’ve obtained the juice, actually canning apple juice is pretty straightforward.
Prepare a water bath canner, clean jars and two-part canning lids.
In a separate pot, bring the apple juice to a full rolling boil. If you’ve juiced it yourself, it helps to boil it hard and then pour it through cheesecloth to remove any solidified pectin. (That’s optional, but will yield a clearer juice.)
If you filter it, be sure to bring it back to a full rolling boil before pouring into canning jars.
The headspace for canning apple juice is minimal, only 1/4 inch. (That’s the same for just about any juice since the processing time is so short and there are no solids to pop up and dislodge the lid.)
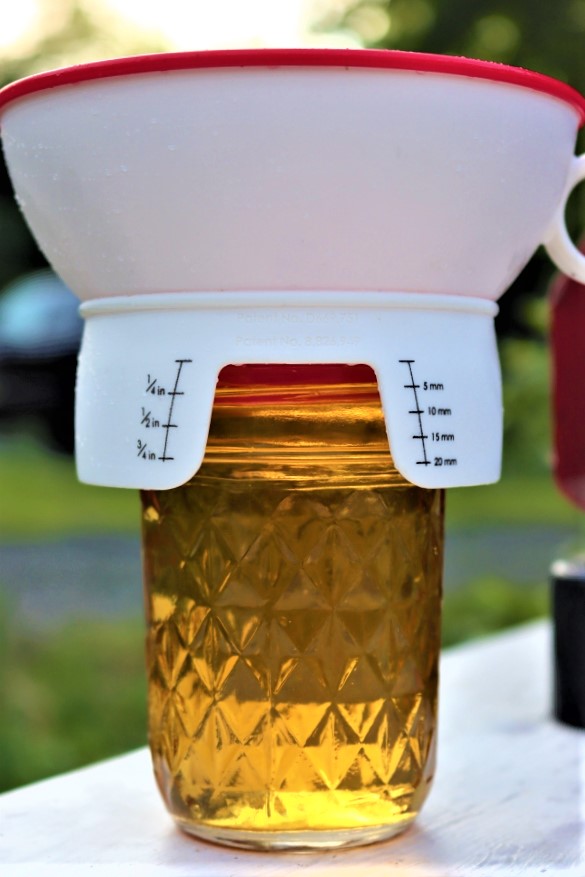
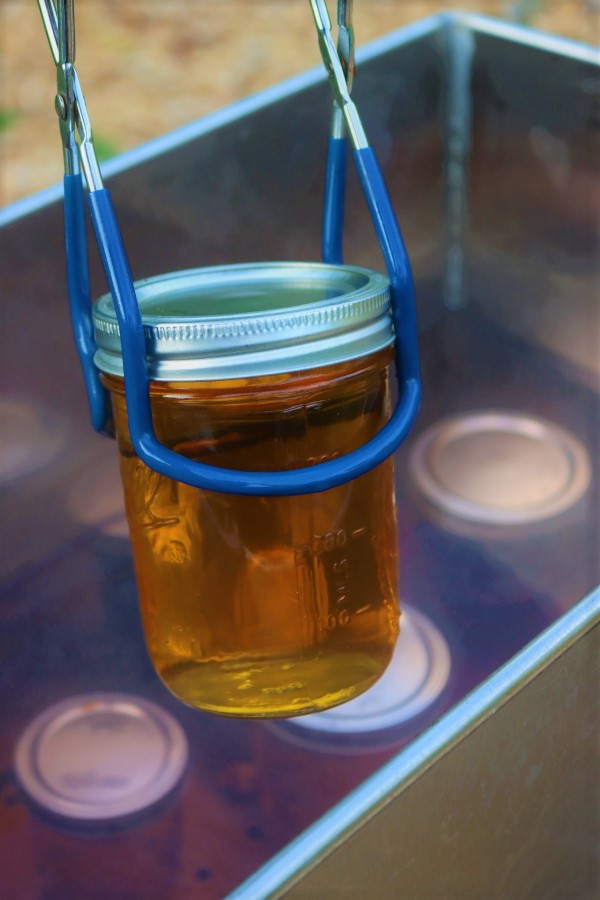
After the jar is filled, wipe the rim with a clean towel and apply a 2 part canning lid. Tighten to finger tight, and then use a jar lifter to place the jar into a water bath canner.
I’m canning in my outdoor canning kitchen since Vermont has spectacular fall weather and I don’t want to miss a second of it. Out here, I use a large capacity Amish Canner. It covers 2 burners on a high output propane stove and holds 50+ half-pint jars (or 36 pints).
Since it’s on two burners, it comes to a hard boil in 20-30 minutes, even though it’s pretty gigantic. With the short process time, I’ve barely got it loaded before I need to start pulling jars out.
I can actually put up over 100 little half-pint “juice box” jars of apple juice in under an hour, and that’s easily a year’s supply for my two little ones.
(Processing them indoors in a standard water bath canner also works, obviously. You’ll just be doing smaller batches.)
Process the jars in a boiling water bath canner for 10 minutes.
Many books suggest then turning off the heat and allowing the jars to sit for 5 minutes to cool slightly in the water. This helps prevent sciphoning, or fluid loss from the rapid temperature change. I generally only have sciphoning problems when I’m canning really thick preserves, like apple pie filling.
I haven’t found it nessisary when canning apple juice, but use your own best judgement. It’s easy enough to turn off the heat for 5 minutes before removing the jars, especially if you’re only doing one batch.
Either way, wait or not, remove the jars to cool on a towel on the counter. Let them sit there until sealed (canning lid pings), or up to 24 hours.
After 24 hours, store any unsealed jars in the refrigerator for immediate use. (I’ve never had an unsealed jar when canning applejuice and just watch your headspace.)
Sealed jars will maintain quality at room temperature on the pantry shelf for at least 12-18 months.
This recipe comes from The Ball Complete Book of Home Preserving, which has 400+ recipes and is a great resource for all things canning. It includes a method for extracting apple juice from whole apples without a juicer. If you already have apple juice, whether it be storebought, from a home juicer, or fresh from the farm, that works wonderfully too.
Canning Apple Juice
Ingredients
- 24 lbs apples stemmed and chopped, don't bother to core or peel
- 8 cups water
- or, just use already prepared apple juice
Instructions
Preparing Apple Juice
- (This method works for preparing apple juice for canning without a juicer or press. If you have a juicer/press and have already extracted the juice, skip these steps.)
- In a large stockpot, combined chopped apples, and water. Bring to a boil over high heat, and then reduce heat and simmer gently over medium-low heat until apples are tender.
- Transfer the apple slices to a strainer covered with several layers of cheesecloth over a deep bowl or pot. Allow the apples to drain for at least 2 hours.
- For a clear juice, refrigerate the strained juice overnight and allow the sediment to settle out. Carefully decant the juice into a new container, leaving the sediment behind. This step is optional.
- Prepare a water bath canner, jars, and lids.
Canning Apple Juice
- (If you've already extracted apple juice using some other method, the process of canning apple juice begins here.)
- In a large stockpot, heat apple juice to 190 degrees, but do not boil. Reduce heat, and hold the apple juice at 190 degrees for 5 minutes.
- Ladle apple juice into hot canning jars, leaving 1/4 inch headspace. Wipe rim, center lid on the jar, and tighten to finger tight.
- Process jars in a water bath canner for 10 minutes (pints and quarts) and 15 minutes for half-gallon jars. Turn off heat and allow the jars to wait in the canner for an additional 5 minutes before removing them to cool on the counter.
- Check seals and store any unsealed jars in the refrigerator for immediate use. Sealed jars will keep at room temperature in the pantry for 12-18 months, after that they'll begin to deteriorate in flavor.
Notes
Apple Canning Recipes
Want to keep that canner bubbling?
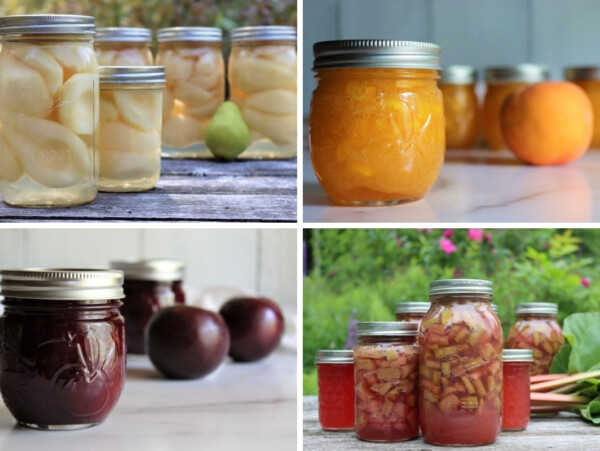
Ways to Preserve Apples
Done canning, but still have more apples to preserve?
- 30+ Ways to Preserve Apples
- Apple Cider Syrup
- Root Cellaring Apples
- Hard Cider
- Homemade Apple Cider Vinegar


Could you use non -pasteurized apple cider ?
Sure can.
Currently in the process of canning 60 lbs of apples at 36 weeks pregnant (my nesting is weird haha). I’ve been saving all my peels and cores and am planning on making apple jelly from them. However, I’m going to end up with probably 6 gallons ziplock bags of apple peels. Can I make apple juice with these and can the same way as I would if I used the apple slices as mentioned in the recipe? My little one loves “bapple” juice and it would be nice to have some cleaner options for him.
That’s an interesting idea. I’m not sure how it would work honestly. I would be hesitant to try it unless you found a tested recipe, especially if it’s for your little one.
So I’m getting a ton of pears from a family member. I’m out of room in my freezers. I want to can them in apple juice but I have to use store bought. Do I need to watch the expiration dates? I’m not going to use anything expired but wondered if it will effect things in a few months… just hoping you might know. Thank you!
You can put up pears in apple juice, no problem. Make sure it’s just apple juice though, many brands of commercial apple juice have strange additives (flavor oils, etc). Apple juice in pasturized bottles (not the refrigerated stuff) doesn’t really “expire” it just degrades in quality over time, so it’s really more of a best by date. That’s assuming you’re using apple juice that comes from the middle of the grocery store, not the refrigerated stuff (which does spoil).
Rinky Dinky, why make a comment about the kids and love for Vermont? Not everything we are thinking needs to be verbalized. Weird!
I used a breville juicer to extract the juice. I missed the first step to heat the juice and went straight to putting the juice in jars and processing it. Will the juice be ok? Or is it going to be bad to use? All of the lids sealed. Thanks!
You want the juice hot before going into the canner so that the juice is at the correct temperature for the correct amount of time in order to kill off any bacteria that could spoil the juice. The jar will seal as a result of the heat regardless of whether the food has been correctly processed. A sealed jar does not automatically guarantee safe food.
What can I do with the apples remaining? Can I use them to make apple sauce and can it?
You sure can. Here is an article from Farm Girl in the Making that does exactly that. https://afarmgirlinthemaking.com/easy-applesauce-recipe-canning-tips/#:~:text=Making%20applesauce%20is%20easy%2C%20however,What%20is%20this%3F
Personally, I would rather not read about your children and how great and lucky you are to live in Vermont. But there is some conflicting information here on apple juice canning. One place it says raise the juice temp to 190F and others it says boil it.
I have seen recipes with both methods. It looks like maybe the recipe card which says 190 F may have been updated at some point and the text in the blog post itself got missed. I would just follow the directions in the recipe portion.
I personally enjoyed the comments about your sweet kids and enjoying weather in Vermont. It made bottling sound purposeful and cozy, giving me more incentive to try it.
Thank you so much. We’re glad you enjoyed it.
I’m just curious if you have a good source for economical canning jar lids. When you say you can all the little half pints for your kids, I’m thinking, that’s a lot of canning lids! And where I’ve seen them, they seem to run .33-.50 each, so for a single serving of juice, that seems rather expensive. Let me know if you have any recommendations on that!
I would recommend reusable lids if this is a concern.
Have you ever done juice concentrate like you can buy in the freezer section at stores?? I love to use that for sweetening my jams and jellies instead of sugar, but lat time I boiled it it was just a yucky mess and I think it burnt some too. Do I just simmer (as opposed to boiling) and do it for a longer time to reduce it before canning? and how do I know how far to boil it down? am I just looking at a lot of experimenting in my future until I get it just right, or is there a formula you know of?
I haven’t personally attempted this but I did find an article from Farm Girl in the Making that talks about canning apple juice concentrate with a steam juicer. https://afarmgirlinthemaking.com/canning-apple-juice-concentrate/ She also states that the traditional method takes too long. Let us know if you decide to give it a try.