Affiliate disclosure: This post may contain affiliate links. Please see our Privacy Policy.
All grain brewing starts with fresh malted grains and turns them into delicious homemade beer, without extracts or any of the shortcuts that modern brewers use. This is the technique our grandfather’s used to take the harvest and turn it into liquid bread.
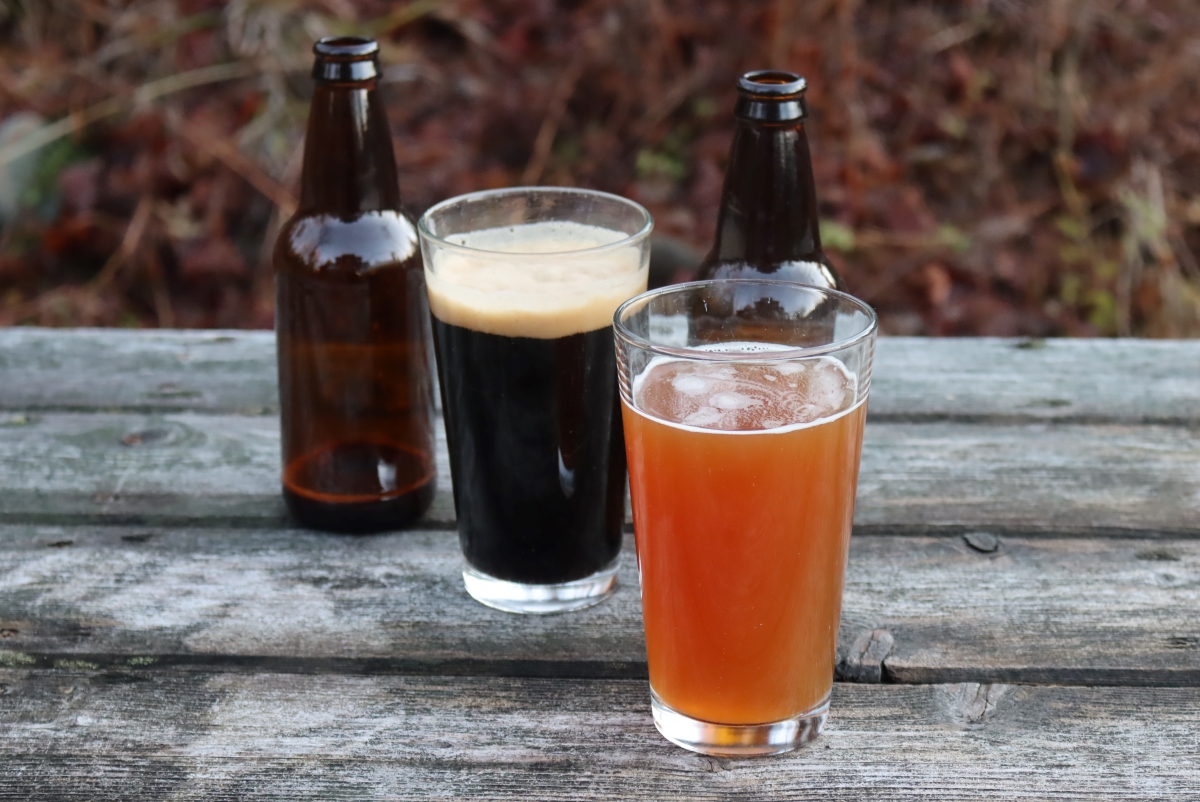
These days, most home brewers use shortcuts to make homemade beer. Don’t get me wrong, making beer at home is a huge accomplishment no matter how you do it, but most modern brewers aren’t doing it the way their grandparents did it.
Look at a modern homebrew recipe, and you’ll almost always see pounds of “Malt Extract” or “Malt Syrup” on the list, followed by just a few handfuls of actual brewing grains.
When you use malt extracts, much of the work is already done for you, and the fermentable sugars have been extracted from the malted grains into a convenient syrup. At that point, you just dilute the syrup in water, boil it with your hops and then get it into the fermenter.
I discuss the basics of that technique here in my article on how to brew beer at home. If you’re not familiar with brewing, I’d strongly recommend reading that article first because it discusses all the basic steps and equipment for brewing beer.
Beyond modern extract brewing, there is another older technique that’s still practiced by many hardcore home brewing enthusiasts. It is a good bit more work, and requires a good bit more equipment…but many argue that the results are well worth it.
That’s known as “All Grain Brewing,” and a single batch requires many pounds of malted grain, and precise temperature control over a period of several hours to allow the enzymatic processes to convert the malt sugar into something fermentable for the yeasts.
You are basically making a malt tea, but it’s a bit more complicated than that.
“Mashing” is a process where you use the enzymes present within the malt grains themselves to extract sugars from the grains.
The malt itself contains enzymes that break down starches into sugars of different lengths. Using lower extraction temperatures, between 130 and 150 degrees F, the enzymes create sugars are readily digestible and will easily turn into alcohol. With higher temperatures, between 154 and 167 degrees F, some of the enzymes are denatured, and you get sugars that are less digestible…thus more residual sugars in the beer (think a big malty beer).
At 170 degrees, all enzymatic activity stops, and that’s usually the final temperature you raise the mash to at the end, to stop all extraction before you pull off your malt tea and continue the beer-making process.
In mashing, brewers add hot water at a specific temperature and then hold the malt/water mixture at that specific temperature for a set amount of time to extract the right balance of fermentable and un-fermentable sugars.
The basic premise is that you heat water to a specific temperature range, and then pour it over the grain. It’s then held at that temperature for a few hours to allow the enzymes to work. At specific intervals, as a recipe directs, hotter water is added to raise the temperature to a new range. It then rests again, and different enzmes work.
For example, you might keep the grain between 130 and 150 for an hour, and then raise it to between 154 and 167 for an additional half hour.
Once you’ve extracted the sugars into water, the basic process is exactly the same as making beer from extracts. You’ve basically made an already diluted extract, and now it’s time to boil it with the hops.
Equipment for All Grain Brewing
If you’re actually interested in how they did it “back in the day,” I recommend reading the book Historical Brewing Techniques, which covers all the equipment they would have used.
I’m going to talk you through modern equipment. Or, more accurately, I’m going to let this YouTube video walk you through the equipment, as they’re better able to cover all the options visually for you:
The video above not only shows you the equipment but also talks you through the basic process. I’ll show you what we use, but please do watch the video if you want to really understand this process.
Once you have the equipment on hand, the steps are pretty simple. Our setup just has an insulated cooler with a false bottom and a drain at the bottom (mash ton), a high-output propane burner, and a really big stock pot.
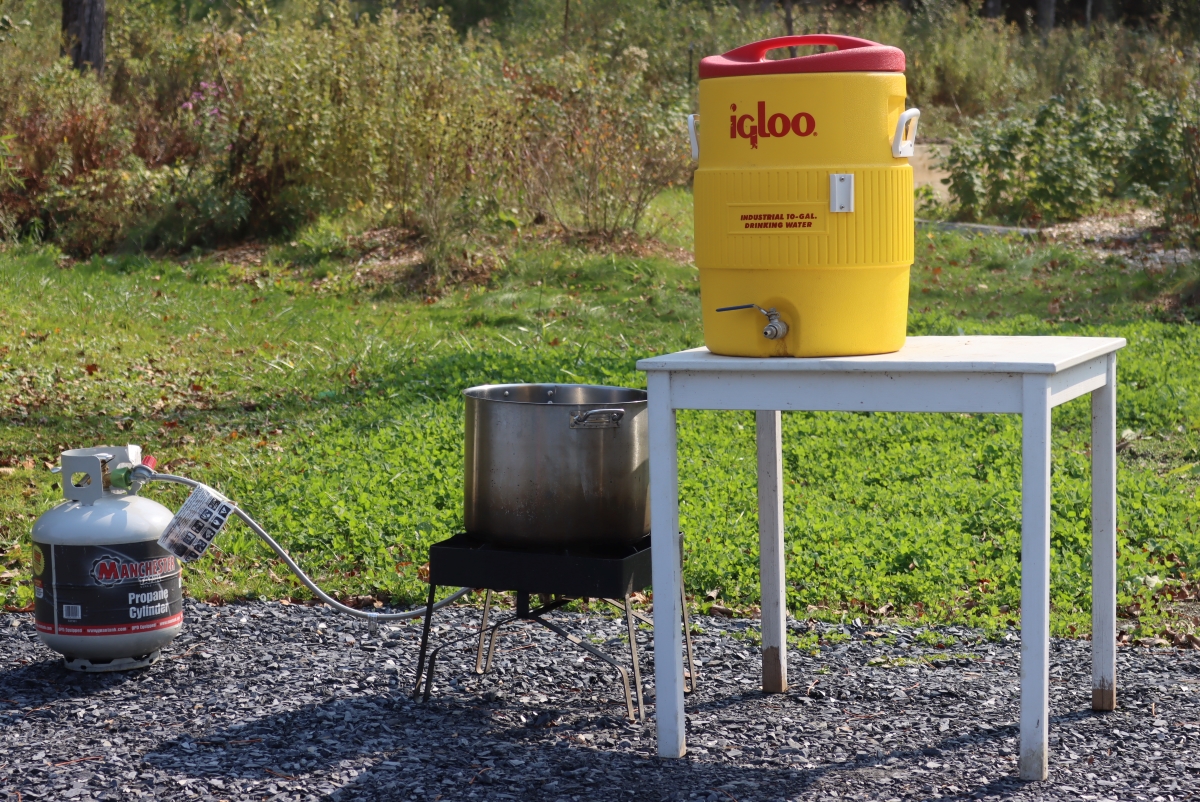
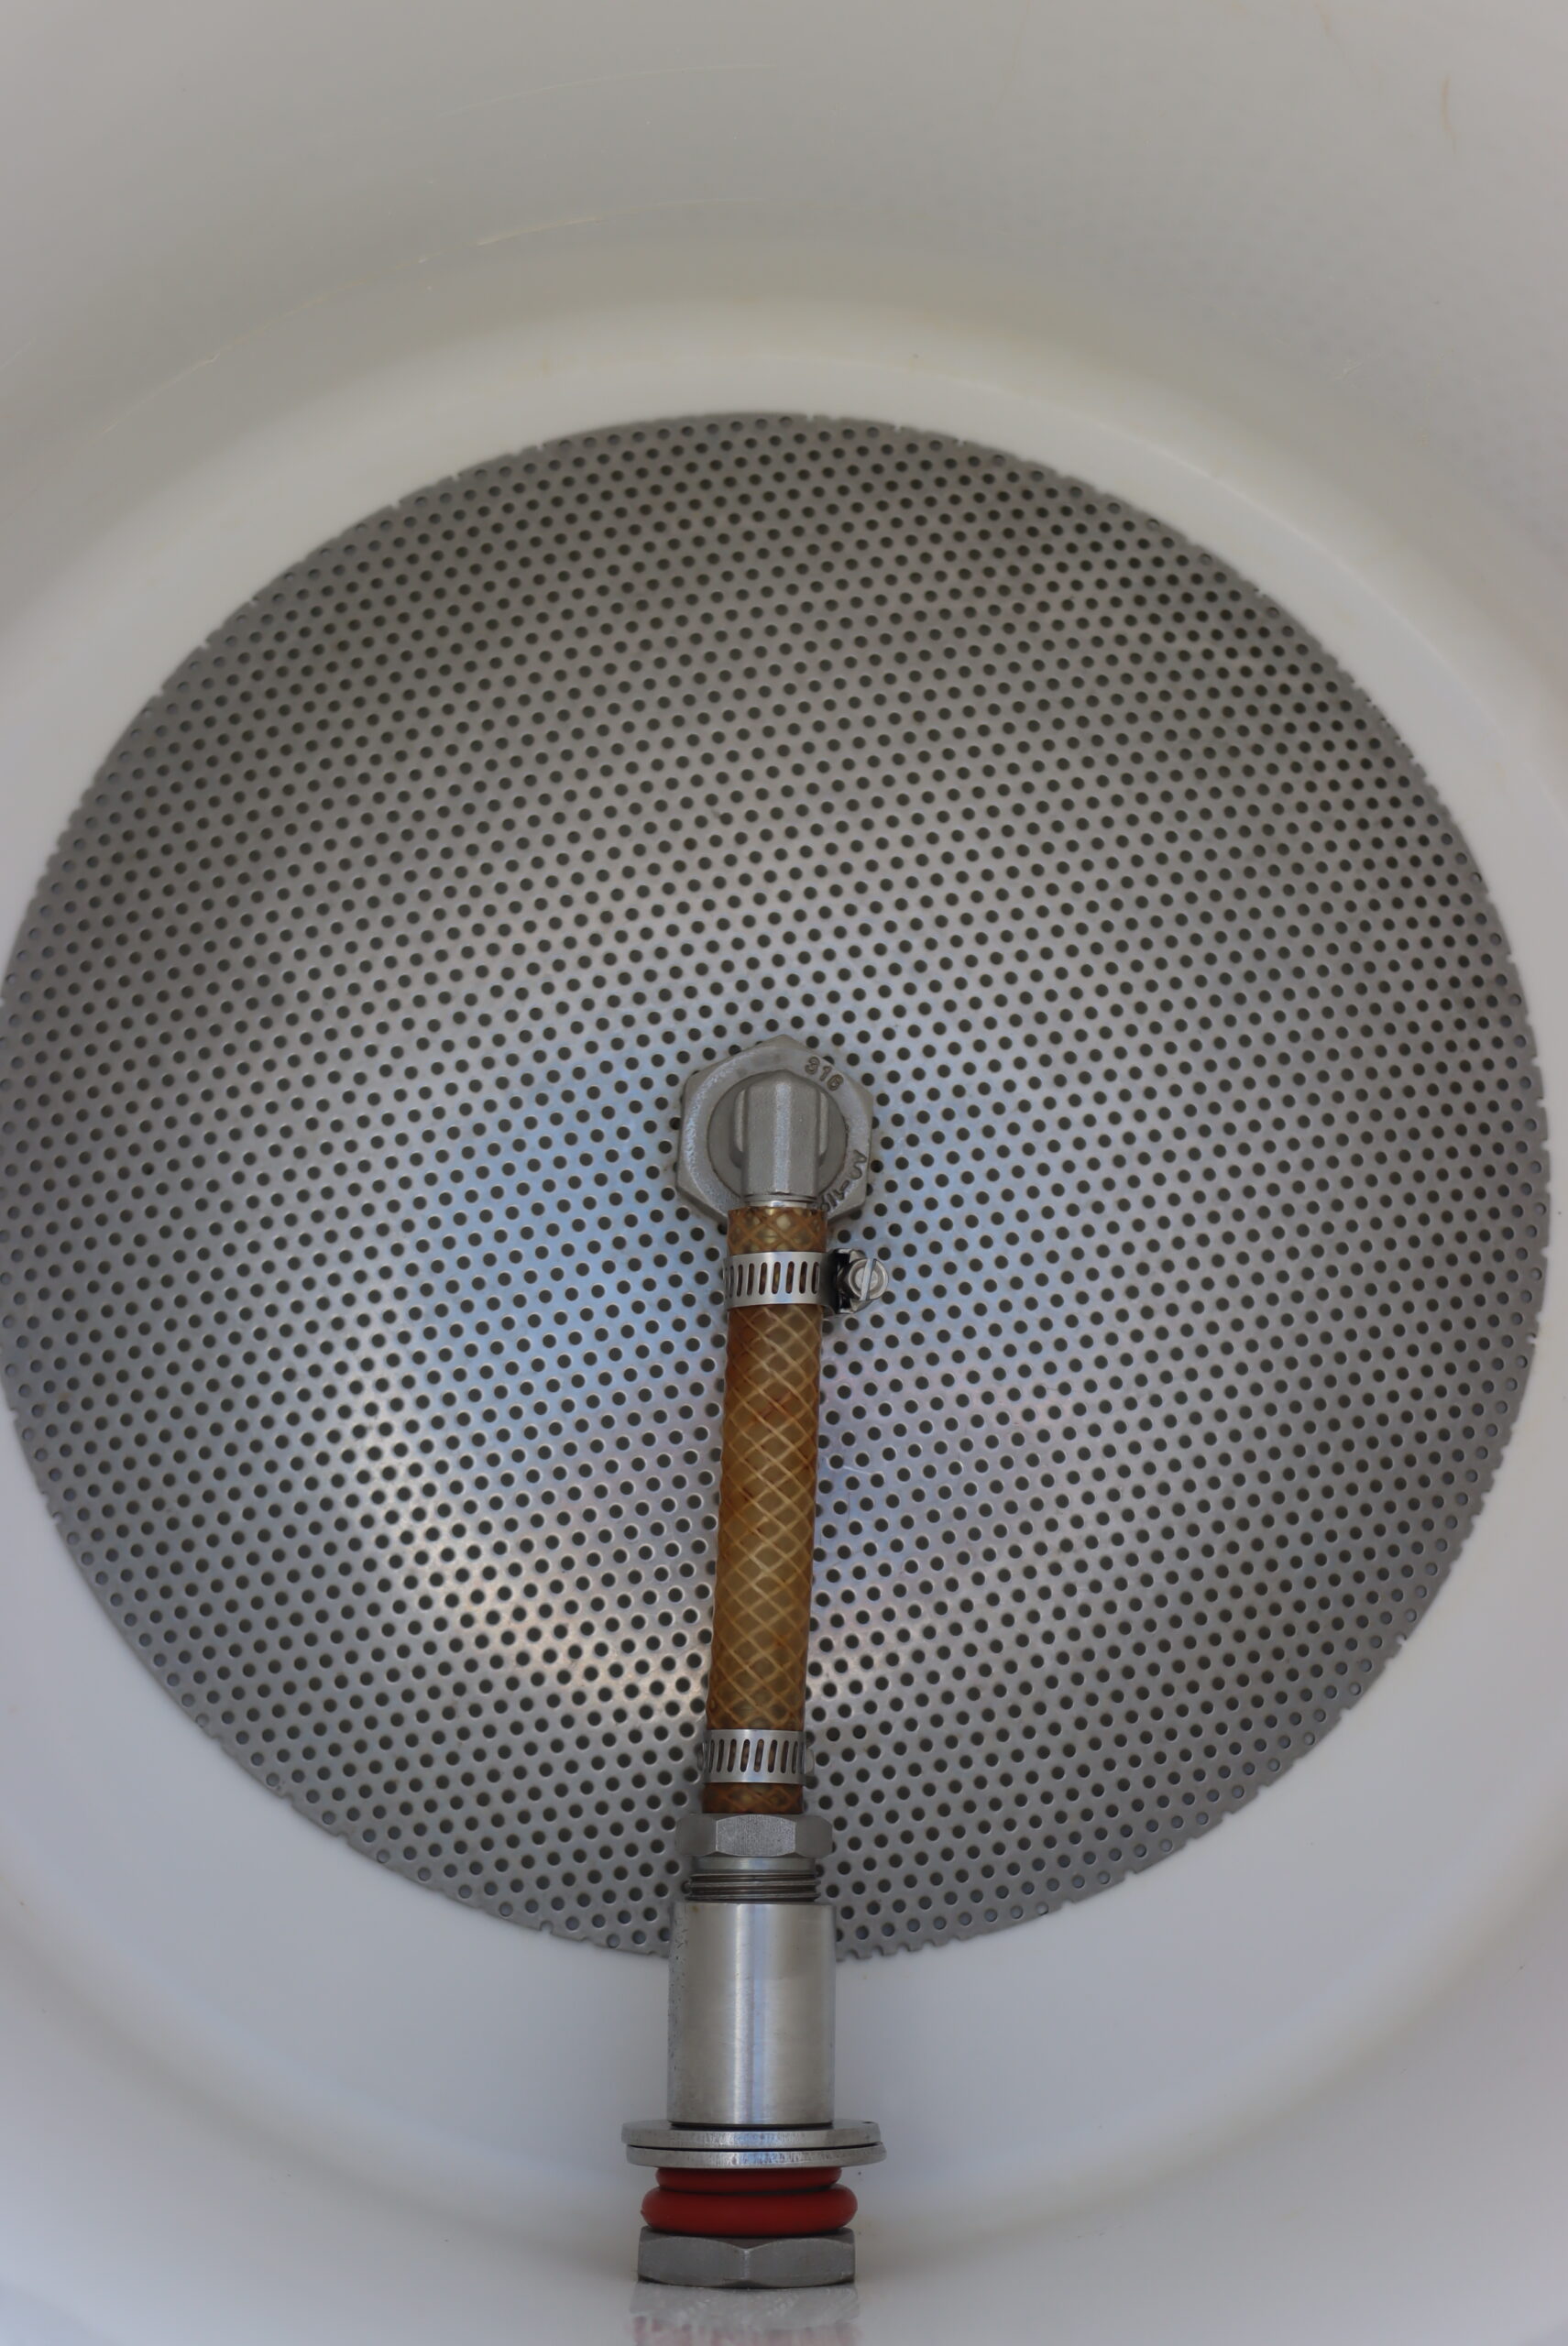
The cooler has a false bottom, which allows you to add malt to the cooler and still drain the liquid out of the drain after you’ve extracted the sugars.
Without the strainer in the false bottom, the drain would clog with grain. The picture below shows you what it looks like down inside the cooler.
You can buy a kit to convert a cooler to a “mash ton” or you can buy them ready made.
Brewing All Grain Beer
The process is pretty simple, you’re basically making malt tea…but doing so at specific temperatures for specific amounts of time. Once you’ve extracted the fermentable sugars from the malt, you’ll boil the mixture (known as wort) with hops before fermenting the beer.
Start by adding the malted grain from your recipe into your mash ton. The total amount will depend on your recipe.
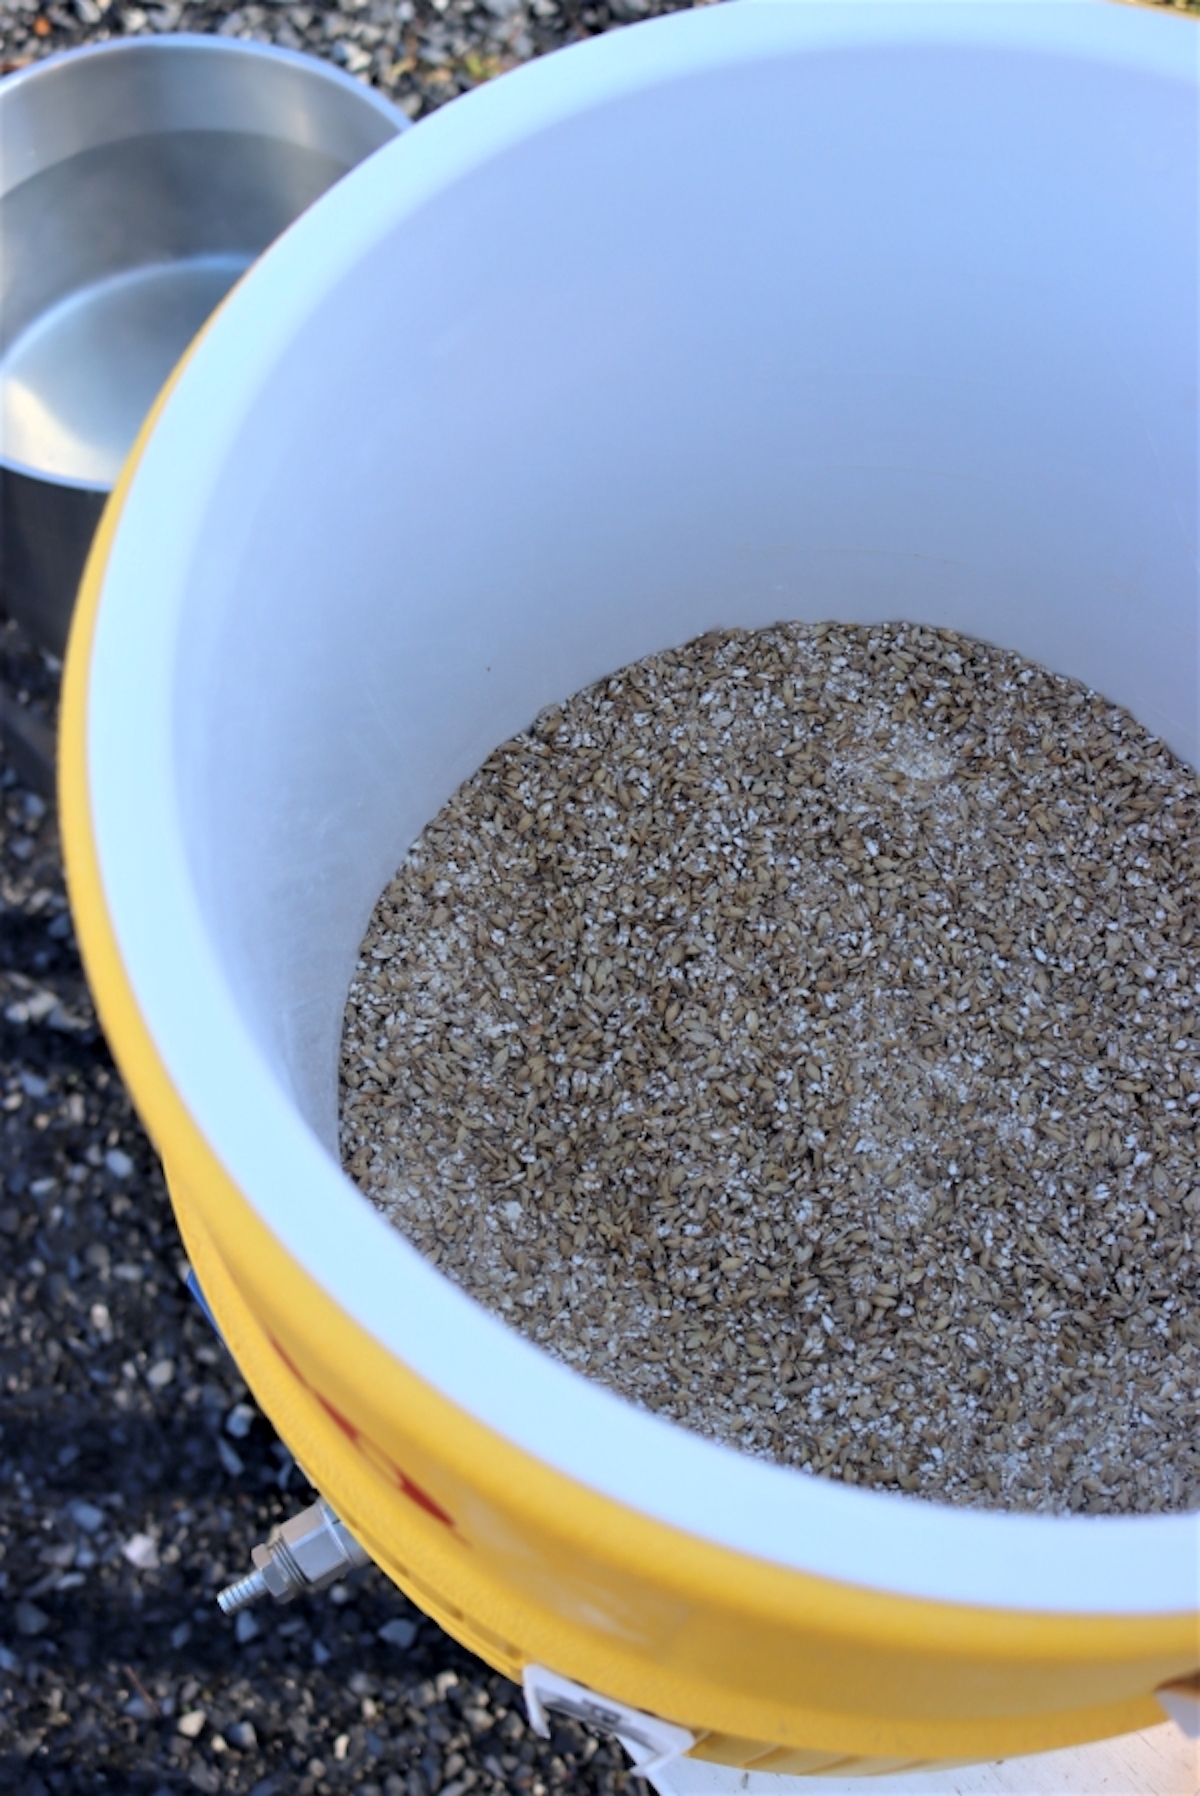
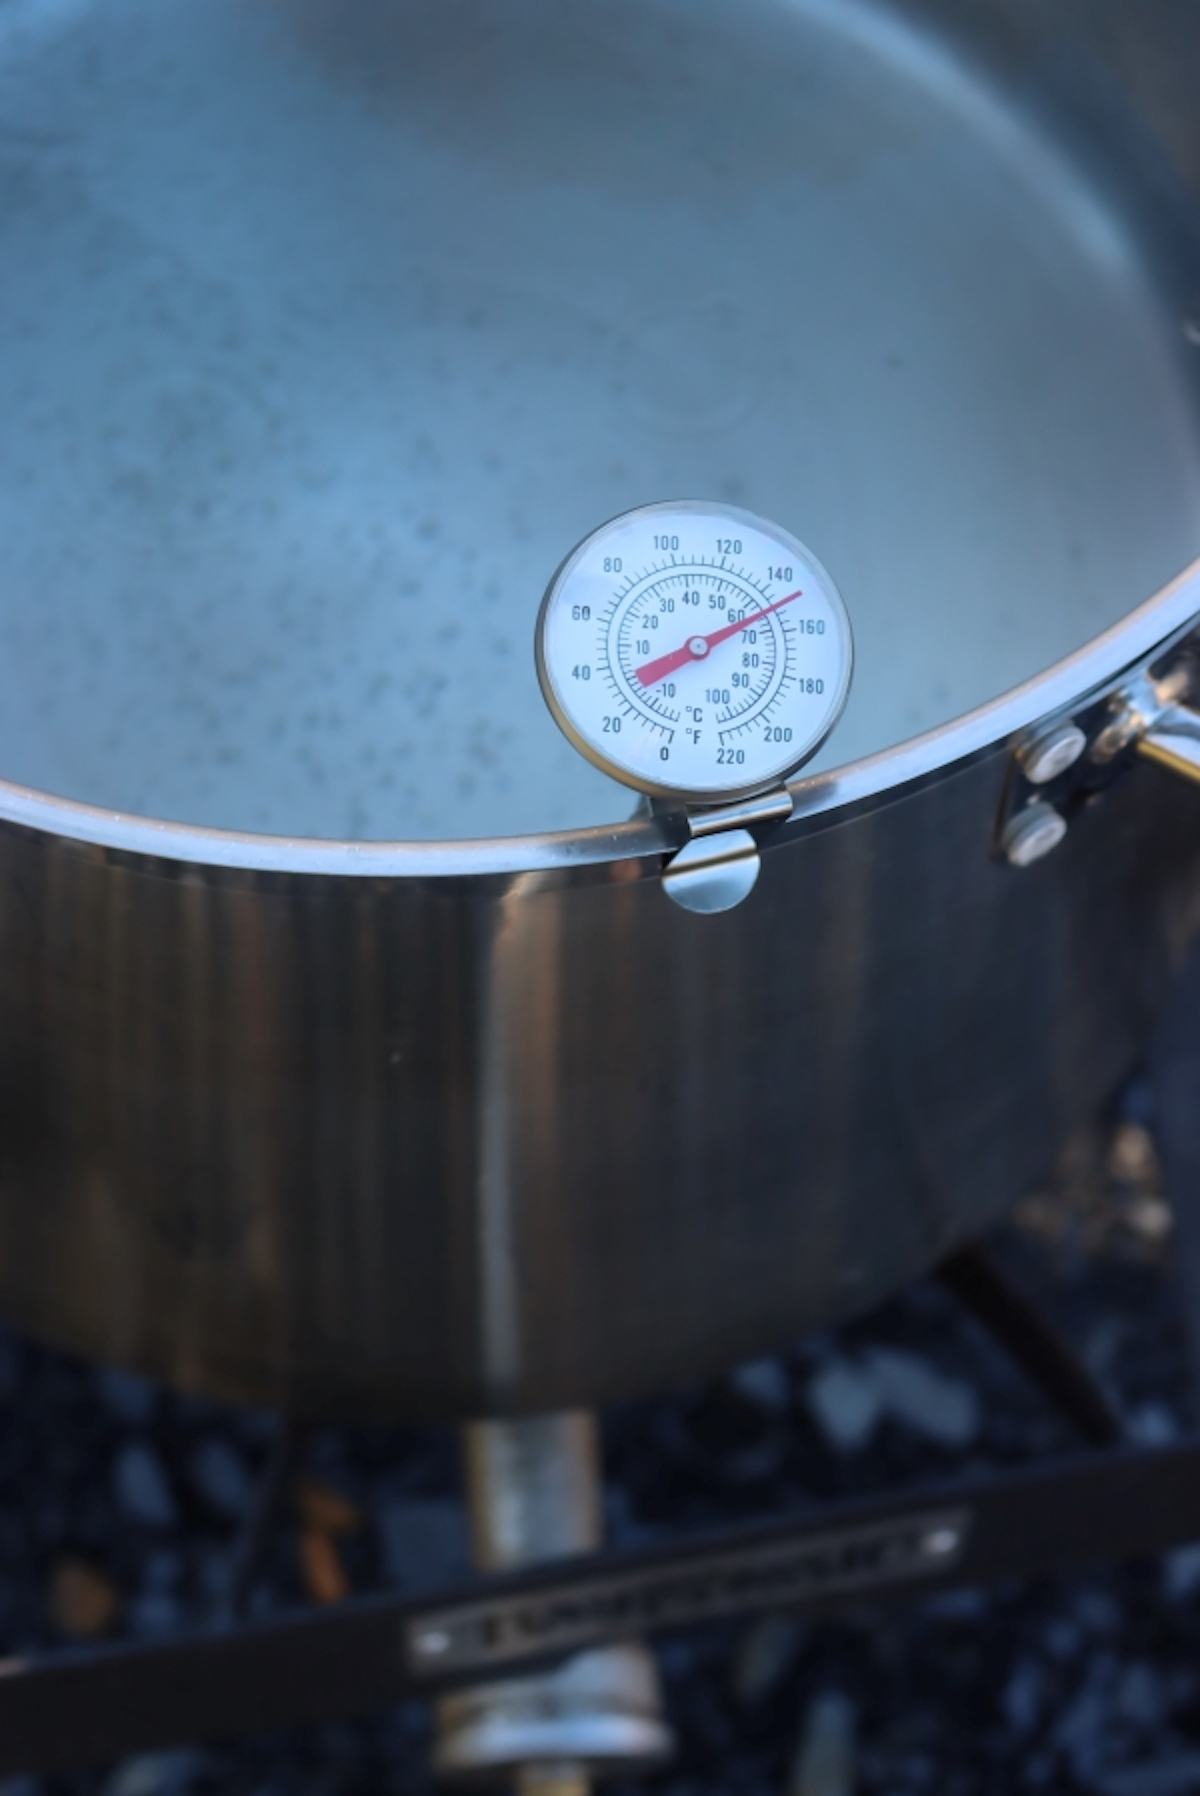
Next, heat the water in your stock pot. Usually, the recipe will specify a “first rest” that’s around 130 to 150 degrees to extract most of the fermentable sugars.
When the water reaches the target temperature, add it to the grains in the cooler.
Since the water will cool as it hits the room temperature grain, you’ll want it at the higher end of that range to start.
Allow the grain to rest in the water, making your “malt tea” and allowing the enzymes to do their work.
Later, the recipe will specify adding hotter water, either to raise the temperature for a second rest, or to stop the process altogether with very hot water that denatures the enzymes.
Once the enzymes have been denatured to stop starches from converting into sugars, the cooler is drained, and water is washed over to remove the last of the sugars and fill the brewing pot.
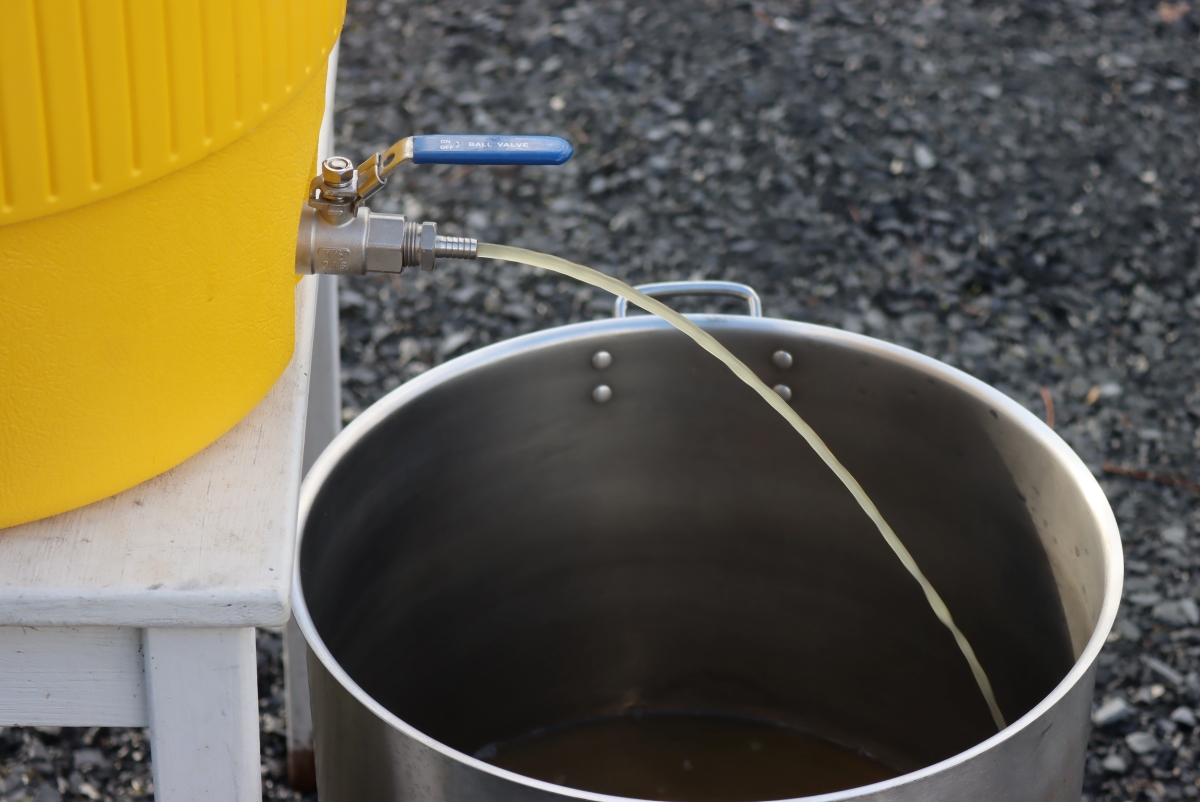
At this point, the beer-making process goes the same as it would otherwise. You boil the “malt tea” with hops to extract the flavors and bitterness of the hops (for preservation), and then you cool the beer before adding yeast.
For the next steps, go ahead and read through my guide to making homemade beer.
At the end, you have “spent grain” as a byproduct, and it’s great for animal feed.
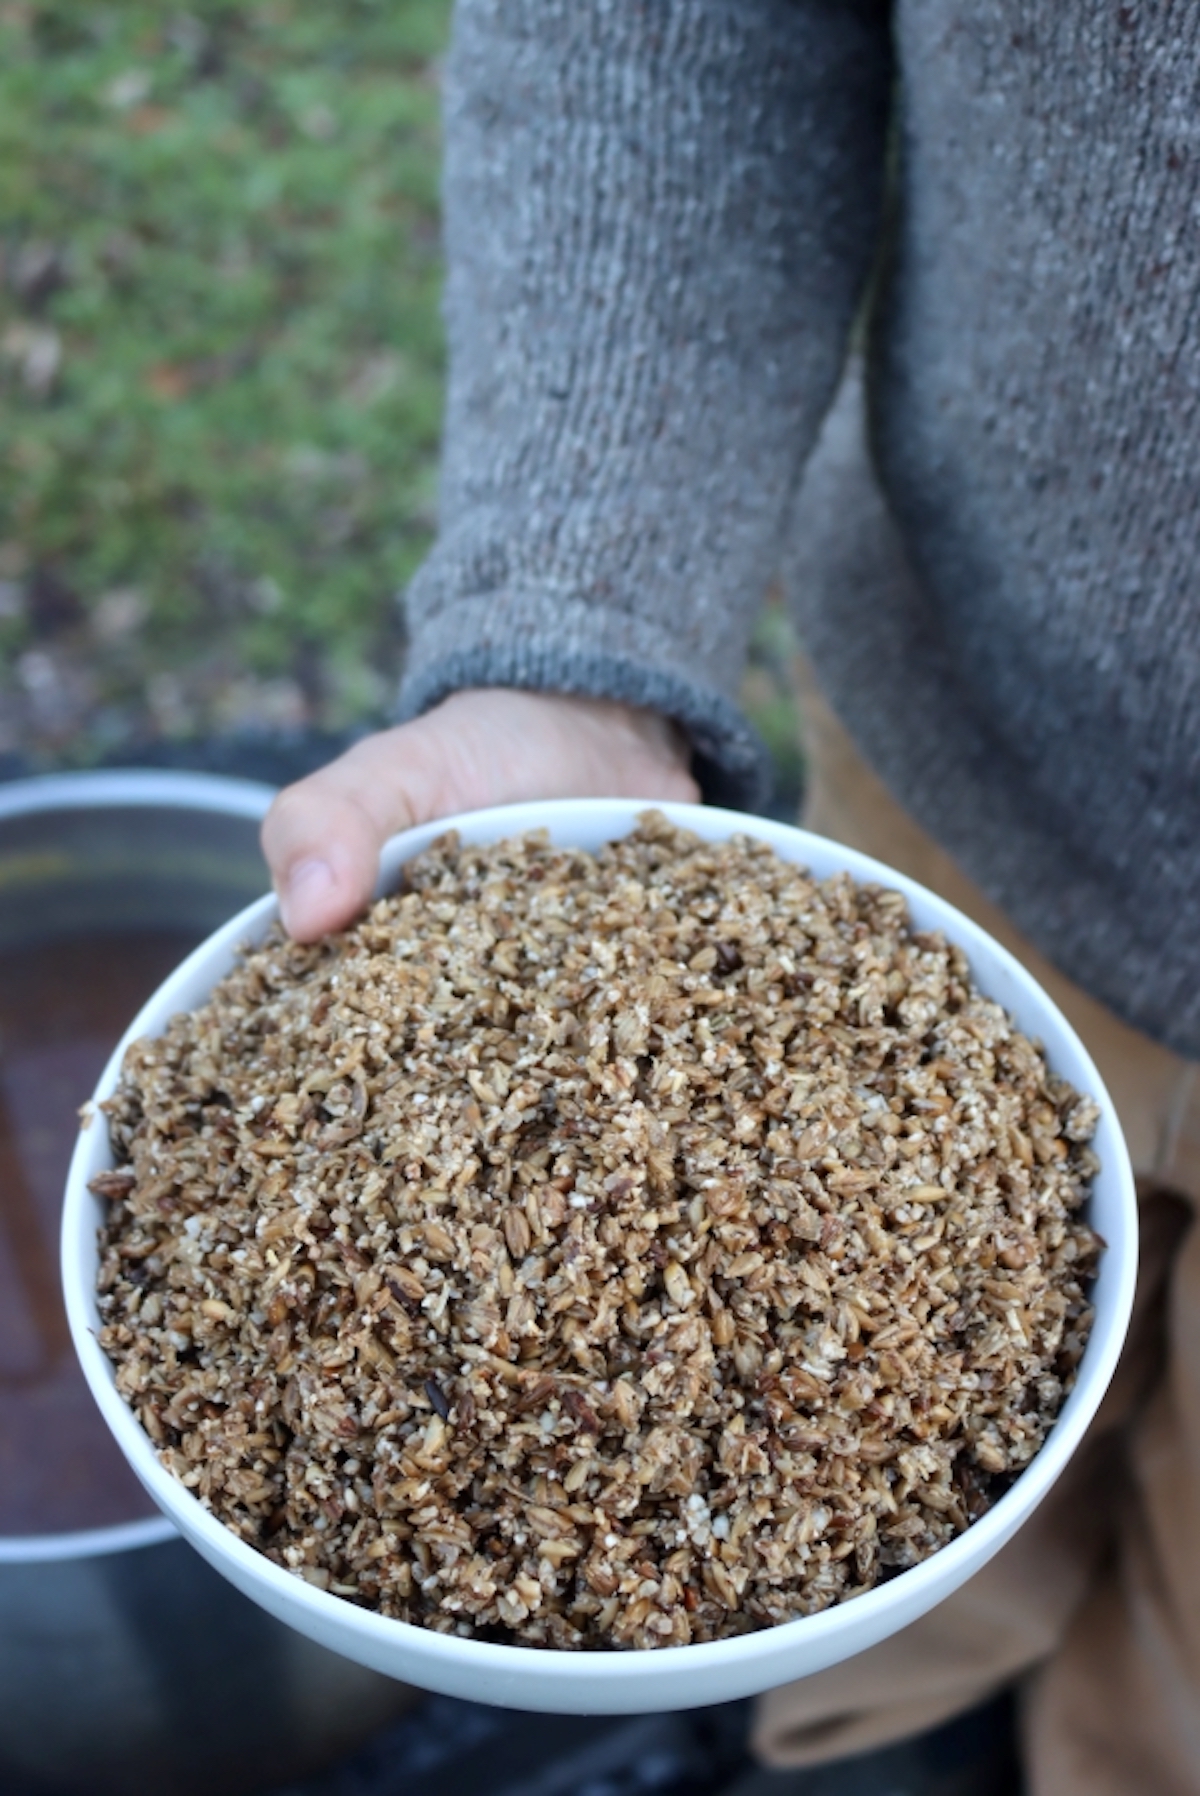
Historically, it would have been used a second and a third time to make “small beer” or the everyday drinking beer they used during the day in place of water (since the water was often contaminated). Small beer would only be around 2% alcohol, while that original full-strength beer would be a good bit stronger.
You can make small beer with your spent grains, or just feet them to your animals, or compost them.
There are also a number of “spent grain” recipes online from industrious homebrewers that turn them into all manner of tasty things, like this spent grain bread.
This was meant to be a short introduction to all-grain brewing, but there are many excellent books on the topic, but I’d suggest starting with The Complete Joy of Homebrewing.
Beyond that, there are plenty of beer kits that are perfect for beginners. That’s a great place to start once you have the equipment you hope to use on hand.
Fermentation Recipes
Looking for more inspiration to get your ferment on?
