Affiliate disclosure: This post may contain affiliate links. Please see our Privacy Policy.
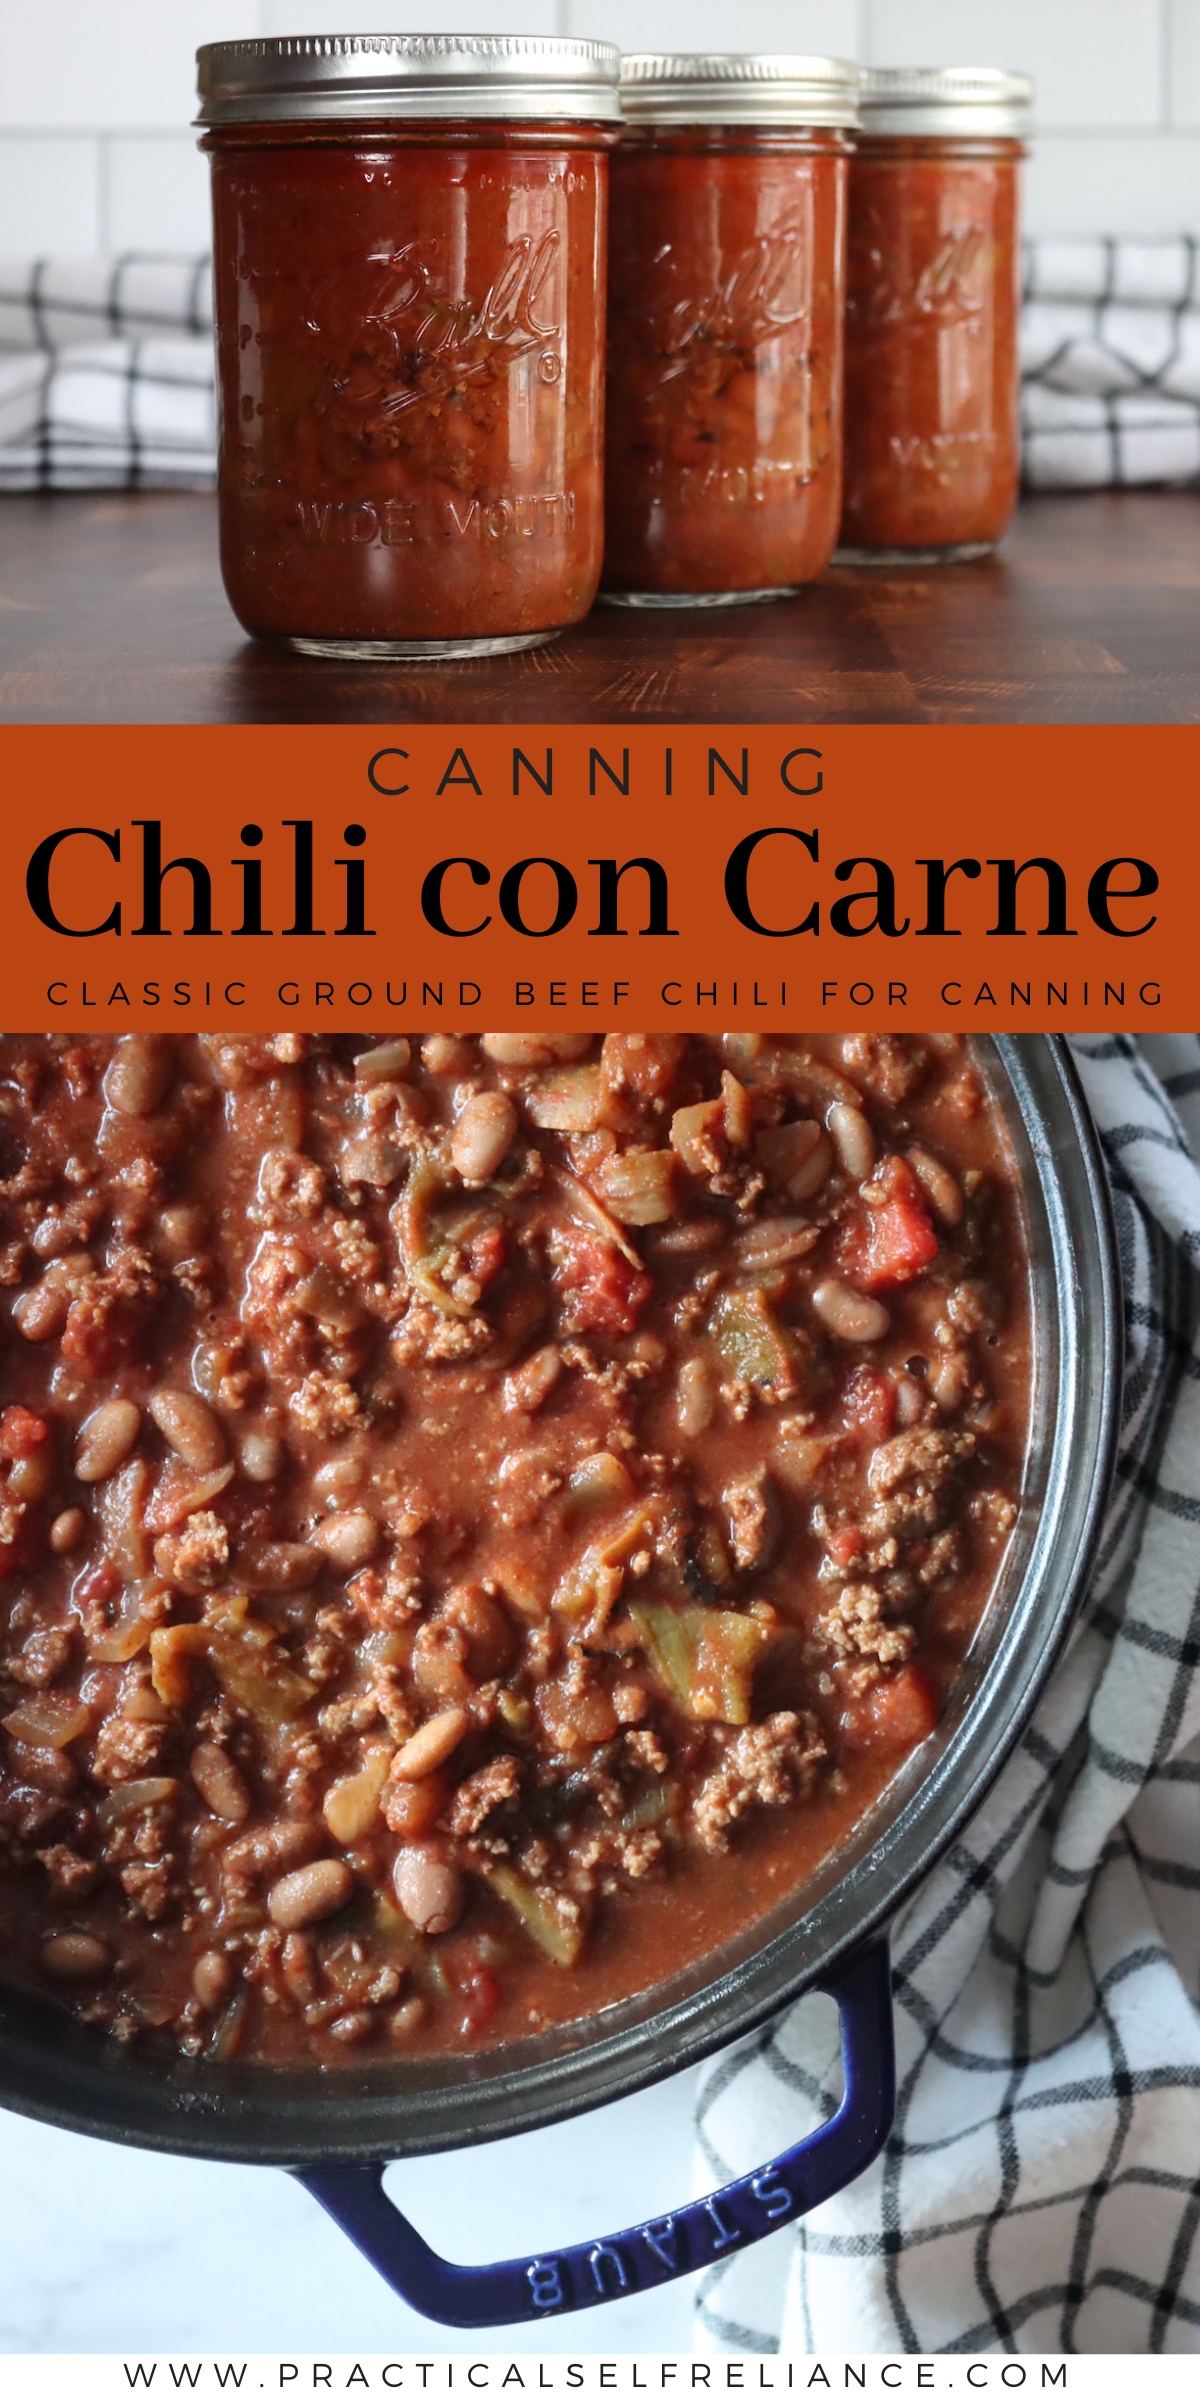
Canning Chile Con Carne is one of the most satisfying pressure-canned meals you can tuck into the pantry, because it’s a full bowl of chili in a jar just waiting to be heated and topped.
If you want a hearty, real-food pantry meal, homemade chili con carne is hard to beat. The beans are properly soaked and pre-cooked, the meat is browned and drained, and the whole pot only simmers briefly before it goes into jars, so it holds its texture well after canning.
It’s also a great “base jar” for busy nights. Open, heat, and serve as-is, or dress it up with toppings and sides depending on what you’ve got on hand.This is a tested, safe recipe from the National Center for Home Food Preservation (NCHFP), based on the USDA Complete Guide to Home Canning. It’s a classic chile con carne with beans and ground beef, written specifically for pressure canning pint jars.
Ingredients for Canning Chile Con Carne
This is a simple ingredient list, but each part matters because it affects texture, seasoning, and how the finished chili holds up after canning. The most important rule for this recipe is also the simplest: do not thicken the chili before canning.
- Dried pinto beans or dried red kidney beans: The base that makes this a true chile con carne with beans; they’re soaked and partially pre-cooked before going into jars.
- Water: Used for soaking and cooking the beans before they go into the chili
- Salt: Seasons both the beans and the final pot of chili
- Ground beef: The hearty, classic meat base for this recipe
- Onion: Builds savory flavor in the browned meat mixture
- Peppers (optional): Adds flavor and a little bite; you can choose the type you like
- Black pepper: Rounds out the seasoning
- Chili powder: The main chili flavor; the tested recipe gives a safe range so you can choose milder or hotter
- Crushed tomatoes or whole tomatoes: Provides the tomato base and liquid for the chili
Within the tested recipe, you can choose pinto or kidney beans, include or skip the optional peppers, and adjust the chili powder within the stated range.
Stick to the jar size, headspace, and process time exactly, and do not add thickeners like flour, cornstarch, or masa before canning.
How to Make Canning Chile Con Carne
This is a hot-pack recipe that comes together in a few clear stages, and once the pot is ready, you move straight into filling jars and loading the canner.
Soak and Pre-Cook the Beans
Start by washing the beans and soaking them in cold water, making sure the water level is a couple inches above the beans. After soaking, drain and discard the soak water, then simmer the beans briefly in fresh water with salt. Once they’ve simmered, drain and discard that cooking water too.
Brown the Meat and Aromatics
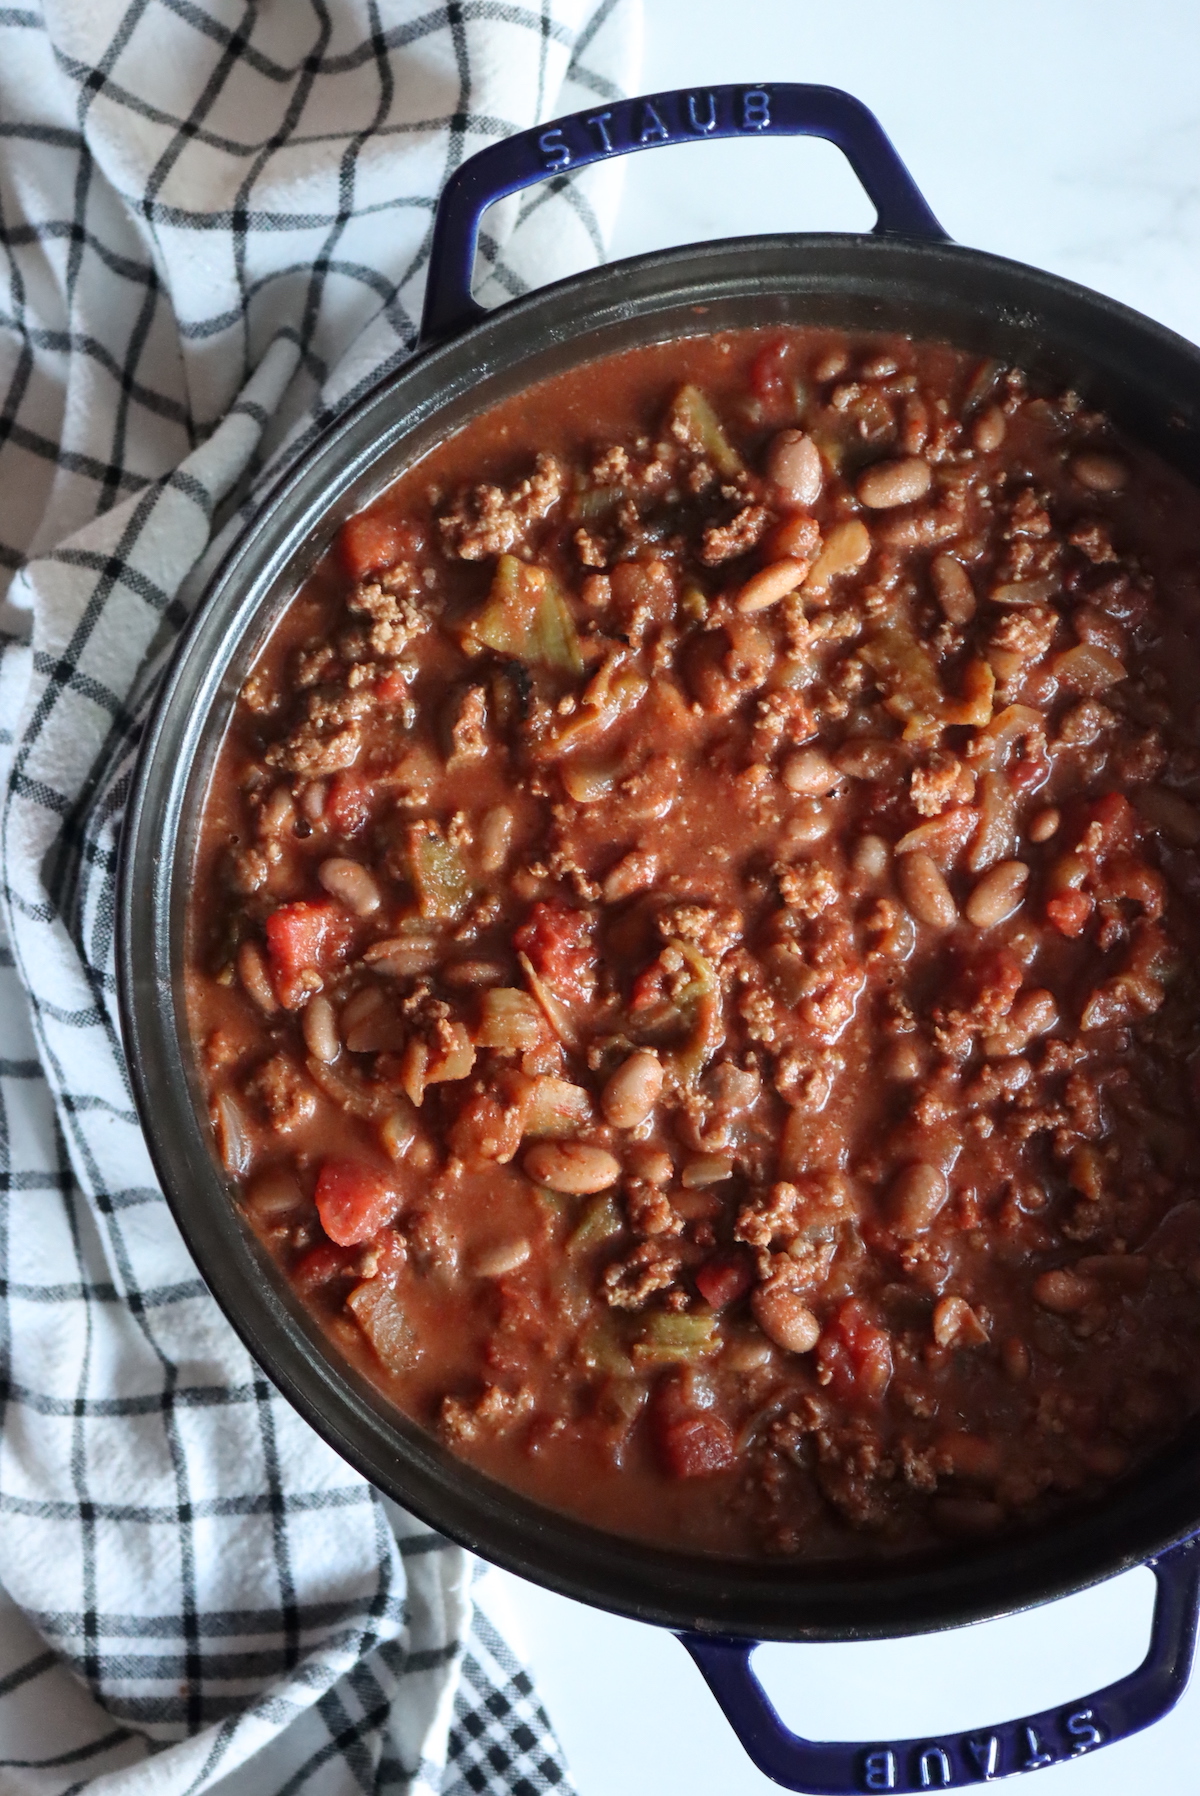
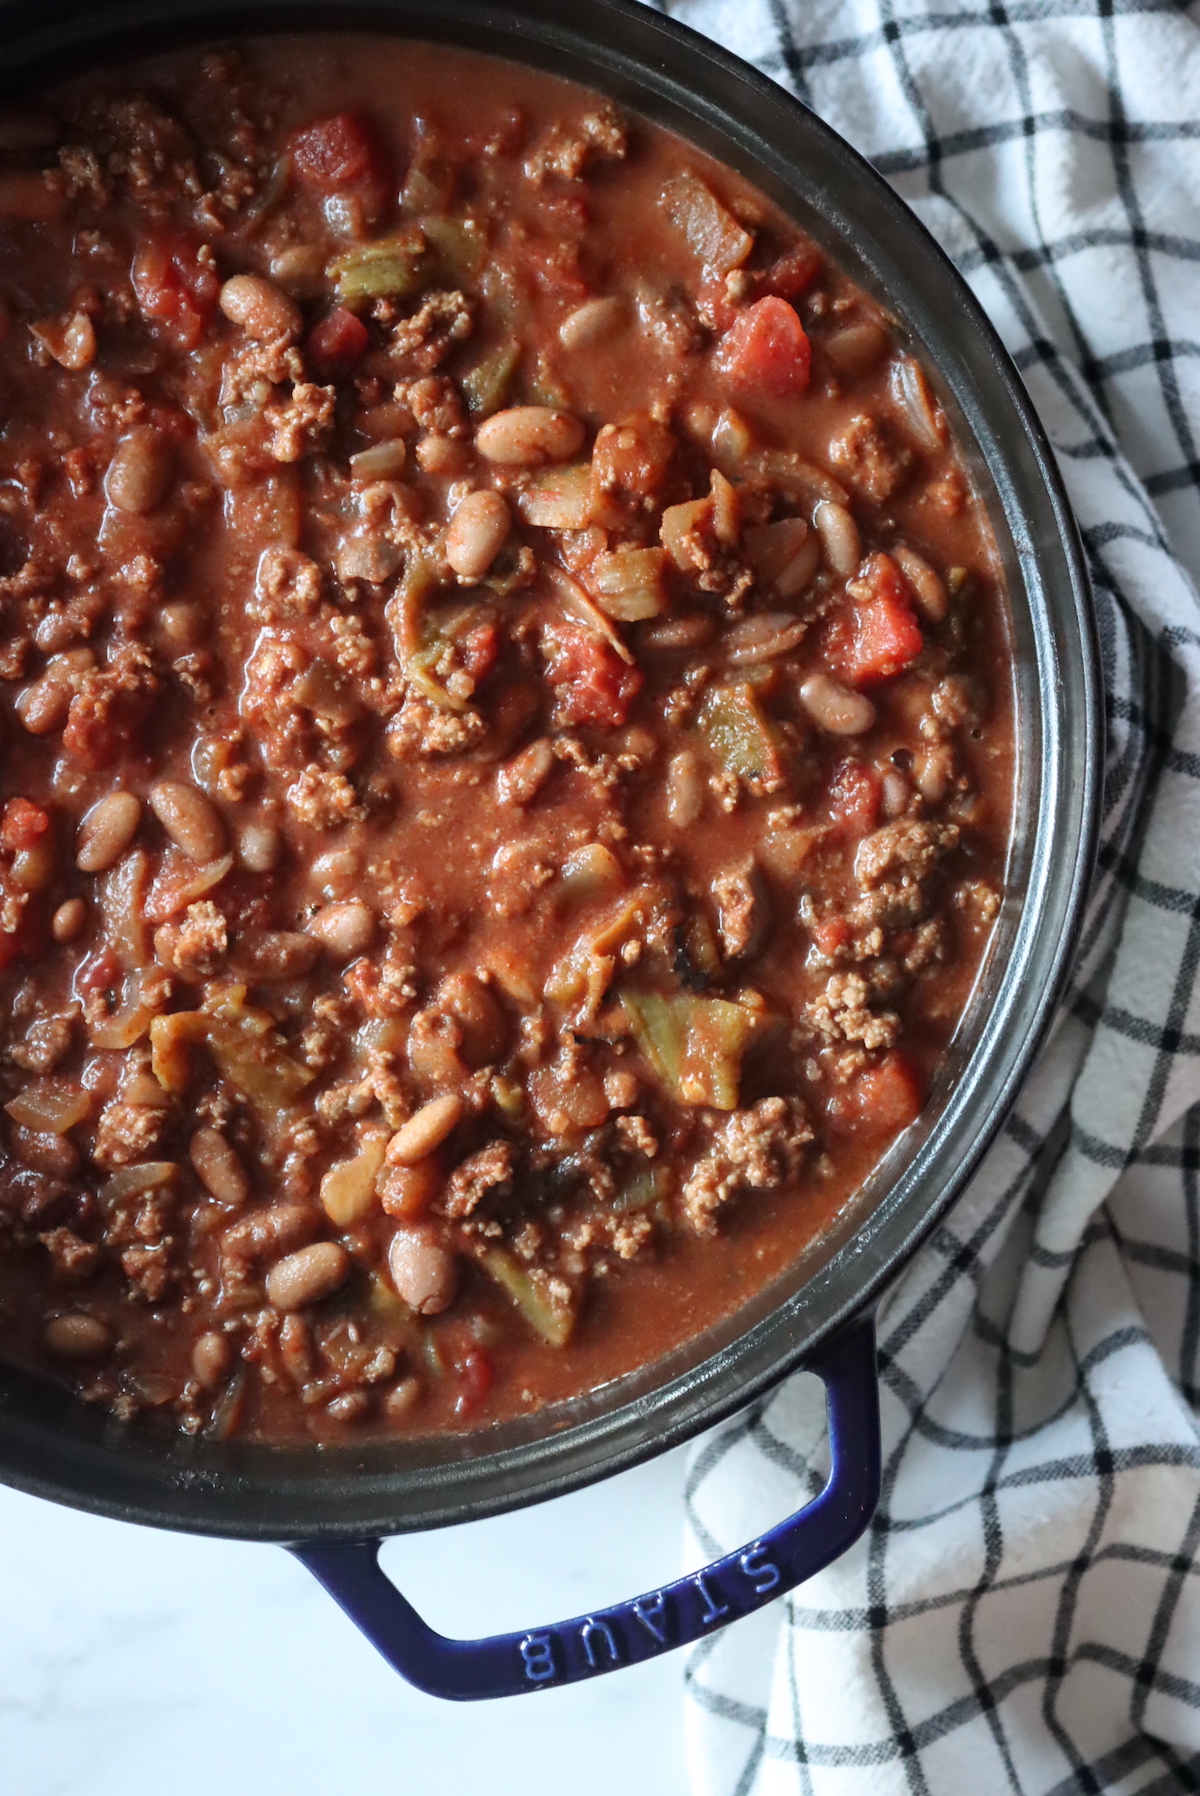
Brown the ground beef in a skillet with the chopped onion, and add peppers if you’re using them. Once the meat is browned, drain off the fat so the final chili isn’t greasy in the jar.
Combine, Season, and Simmer Briefly
Add the drained beans, tomatoes, salt, pepper, and chili powder to the browned meat mixture and simmer the whole pot for a short time to heat everything through evenly. Do not thicken.
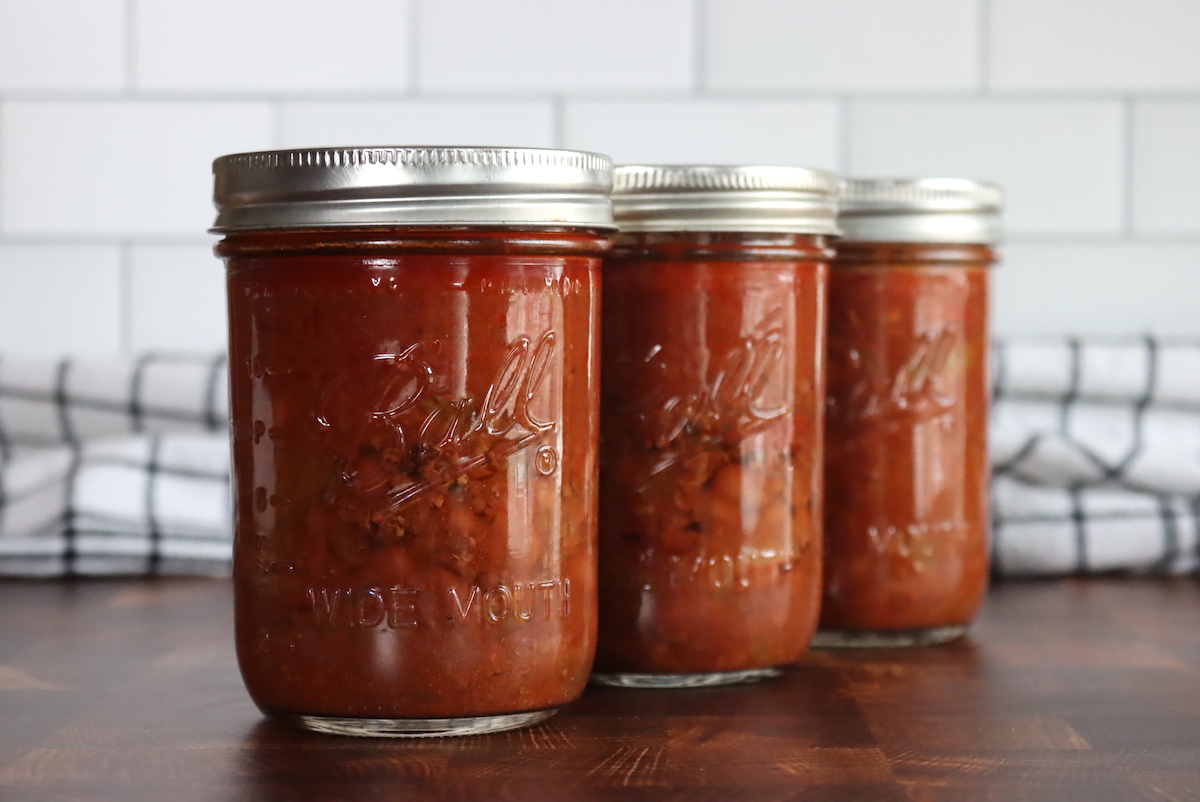
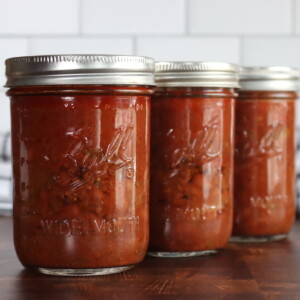
Canning Chile Con Carne
Ladle the hot chile con carne into hot pint jars, leaving 1 inch headspace. Remove air bubbles, adjust headspace if needed, wipe rims, and apply two-piece canning lids.
Process in a pressure canner using a hot pack for 75 minutes in pint jars. Choose the pressure that matches your canner type and elevation, and keep the pressure steady for the full processing time.
When processing is finished, let the canner come down from pressure naturally, then remove the jars and cool them undisturbed for 12 to 24 hours. After cooling, check seals, label, and store.
Altitude Adjustments
For dial gauge pressure canners:
- 0 to 2,000 feet in elevation – 11 lbs pressure
- 2,001 to 4,000 feet in elevation – 12 lbs pressure
- 4,001 to 6,000 feet in elevation – 13 lbs pressure
- 6,001 to 8,000 feet in elevation – 14 lbs pressure
For weighted gauge pressure canners:
- 0 to 1,000 feet in elevation – 10 lbs pressure
- Above 1,000 feet – 15 lbs pressure
Serving Ideas
Heat a jar gently on the stovetop until it’s bubbling hot, then serve it like classic chili with shredded cheese, sour cream, diced onions, or cilantro. It’s also great spooned over baked potatoes, ladled onto rice, or served with cornbread.
If you want a soupier bowl, add a splash of broth after opening the jar so you can change the texture without altering the tested canning formula.
Canning Chile con Carne
Equipment
- Pressure Canner
Ingredients
- 3 cups dry beans, pinto beans or kidney beans
- Cold water, for soaking
- 5 1/2 cups water
- 5 tsp salt, divided
- 3 lbs ground beef
- 1 1/2 cups onion, chopped
- 1 cup peppers, hot or sweet, diced, optional
- 1 tsp black pepper
- 3 to 6 Tbsp chili powder
- 2 quarts Tomatoes, canned or fresh, crushed or diced
Instructions
- Wash beans and place in a 2-quart saucepan. Add cold water to 2 to 3 inches above the beans and soak 12 to 18 hours. Drain and discard the soak water.
- Combine beans with 5 1/2 cups fresh water and 2 teaspoons salt. Bring to a boil, reduce heat, and simmer 30 minutes. Drain and discard the cooking water.
- Brown ground beef with chopped onions and peppers (if using) in a skillet. Drain off fat.
- Add remaining 3 teaspoons salt, black pepper, chili powder, tomatoes, and drained cooked beans. Simmer 5 minutes. Do not thicken.
- Ladle hot chili into hot pint jars leaving 1 inch headspace. Remove air bubbles, adjust headspace, wipe rims, and apply lids and rings fingertip tight.
- Pressure can using a hot pack for 75 minutes in pints, adjusting pressure for your canner type and altitude (see notes).
Notes
Altitude Adjustments
For dial gauge pressure canners:- 0 to 2,000 feet in elevation – 11 lbs pressure
- 2,001 to 4,000 feet in elevation – 12 lbs pressure
- 4,001 to 6,000 feet in elevation – 13 lbs pressure
- 6,001 to 8,000 feet in elevation – 14 lbs pressure
- 0 to 1,000 feet in elevation – 10 lbs pressure
- Above 1,000 feet – 15 lbs pressure
Nutrition
Nutrition information is automatically calculated, so should only be used as an approximation.