Affiliate disclosure: This post may contain affiliate links. Please see our Privacy Policy.
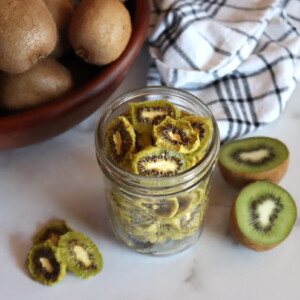
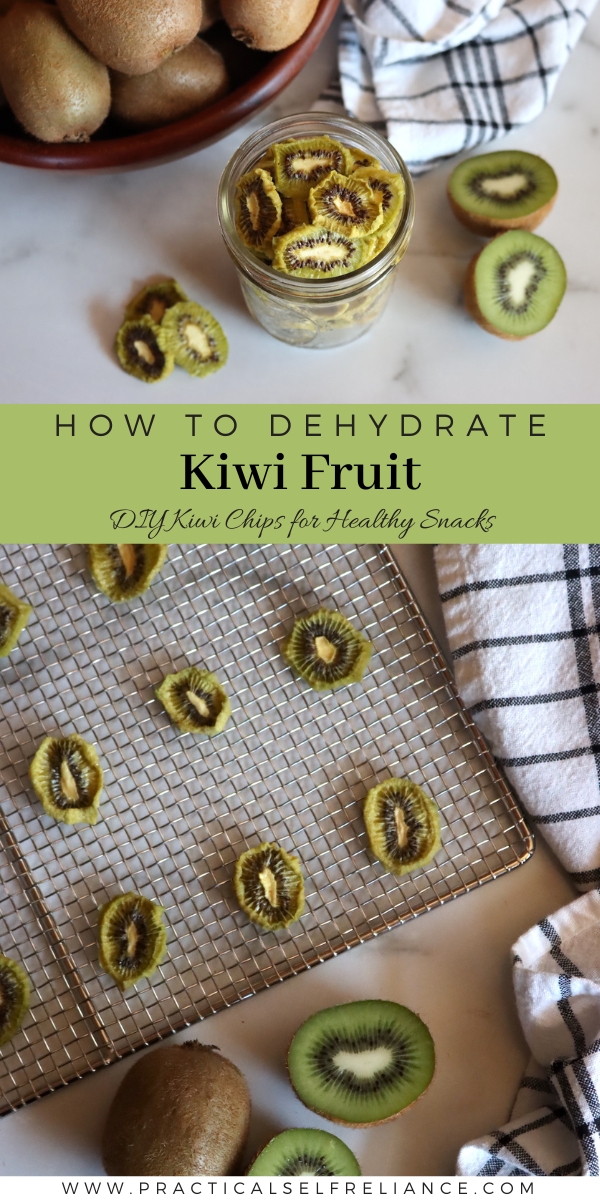
Drying Kiwi at home is a simple way to preserve kiwi for healthy snacks right from the pantry.
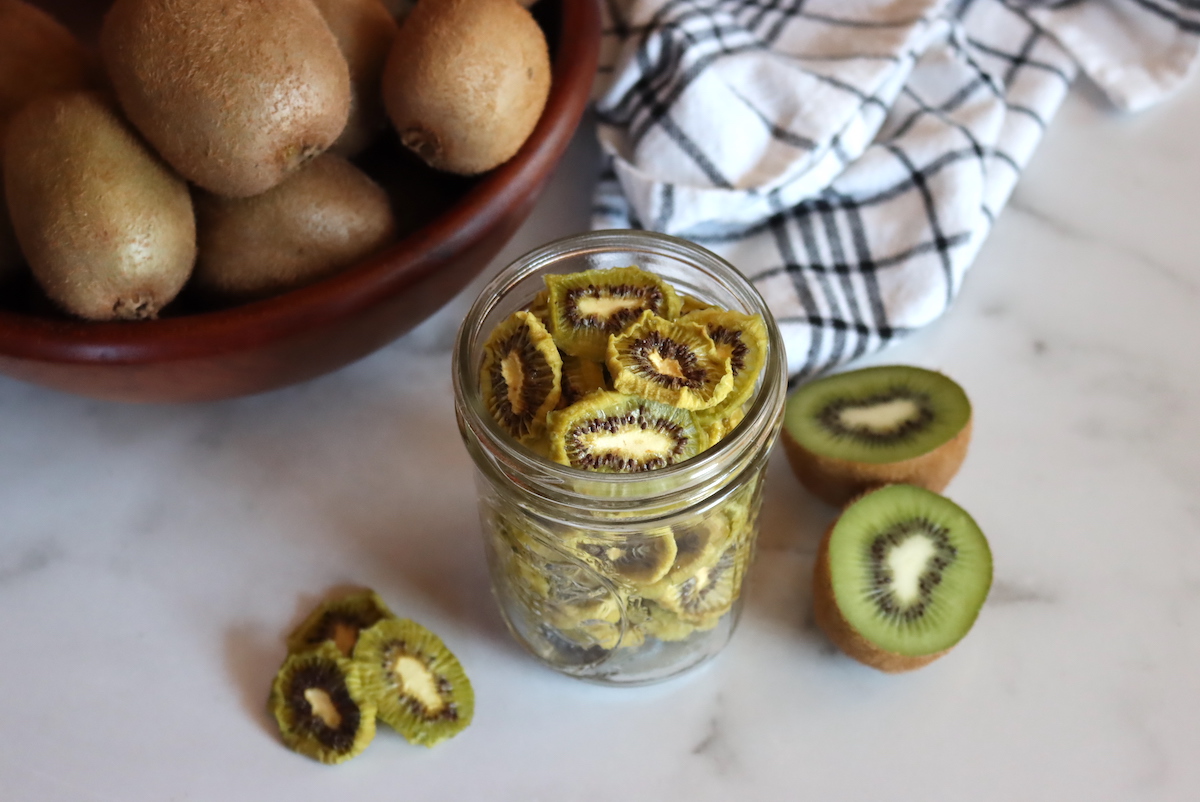
Kiwi are some of my favorite fruits, but they’re only available for a short time each year. We preserve kiwi by making kiwi jam, but sometimes you just want a quick snack right from the pantry.
That’s where dehydrated kiwi chips come in handy, and they’re absolutely delicious!
Best Kiwi for Dehydrating
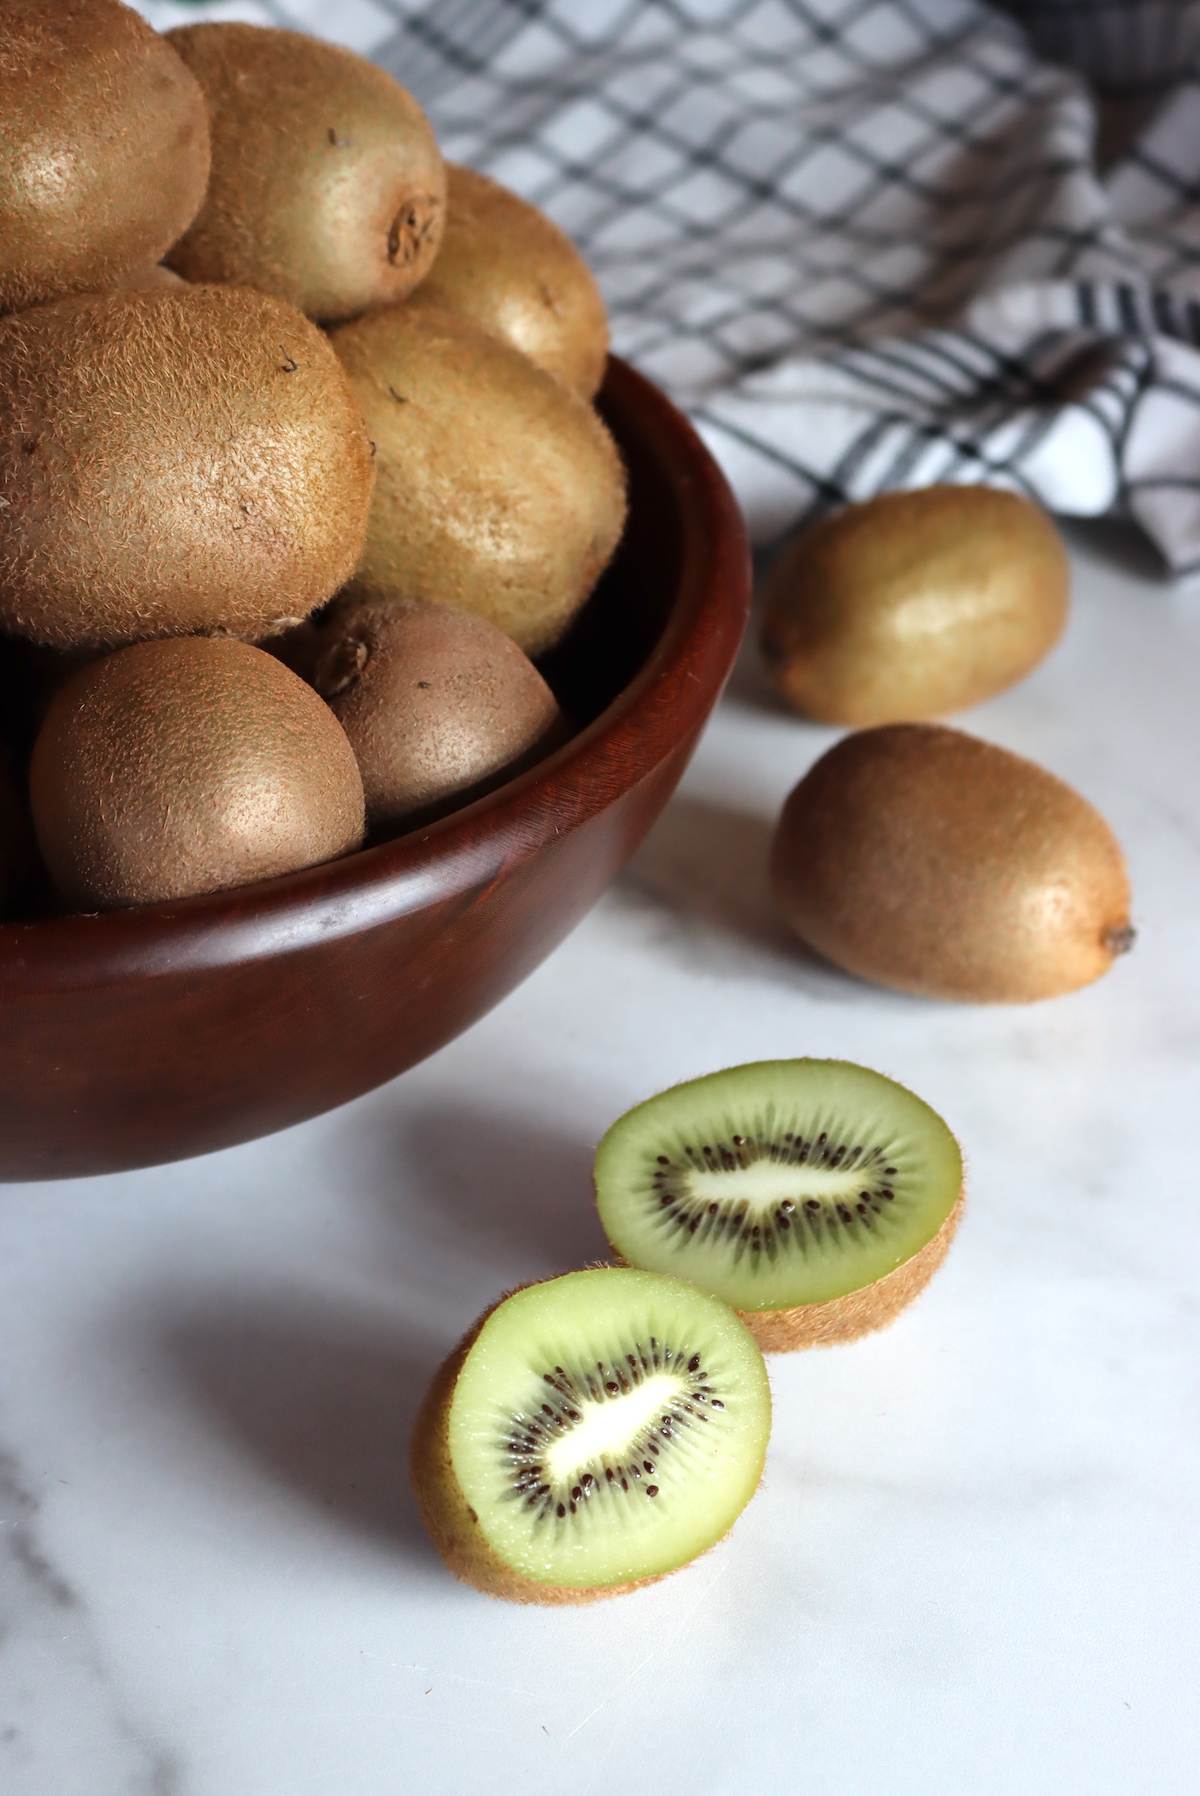
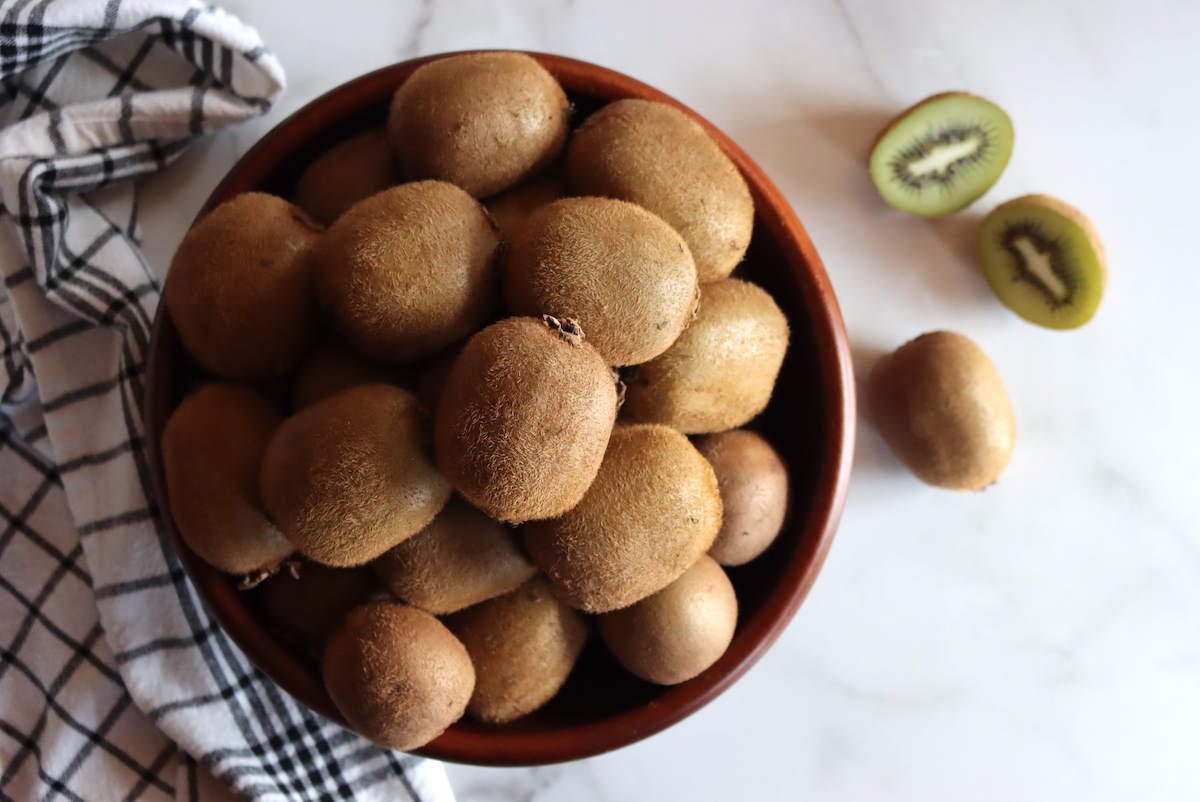
This hairy yet delicious fruit is a fair one for dehydrating. Choose fresh kiwi that is ripe but without any overly soft spots, nicks, or bruising. The kiwi should give to gentle pressure — firm kiwis are not yet ripe and will be lacking in sweetness and flavor.
A quality kiwi should also be plump and free of wrinkles (wrinkling is a sign that water has been lost and quality will be affected).
The peak growing season for kiwi ranges from October throughout May, but some certain crops in California will also peak in December and January, so you may be able to snag some kiwis in early winter as well.
Preparing Kiwi for Drying
First, give your kiwi fruit a quick rinse before slicing. If desired, you can remove the peel, although this step is optional.
When prepping kiwis for dehydrating, the simplest method will be to slice them into rounds. Cut off the tops and bottoms of your kiwi and slice them into ⅛ to ¼ inch slices, trying to keep the slices as uniform as possible. A mixture of thin and thick slices won’t work, as some slices will dry sooner than others.
You can use a Mandoline slicer here, but a good paring knife will also do the thick with this soft fruit.
As kiwi is a high-acid fruit, no pre-treatment is necessary.
Temperature for Drying Kiwi
Many dehydrators today allow you to set different temperatures so you can dehydrate a variety of food items. Excalibur and Cosori are two popular brands that allow for this feature, which is incredibly beneficial if you are looking to dry more than jerky, as with preserving herbs or dehydrating mushrooms.
The best temperature for drying kiwis is 135° F (57° C). This moderate temperature will assure the fruit dries evenly without losing flavor.
If you’re looking to dehydrate kiwi by way of an oven, this low of a temperature will likely not be available. Most standard ovens won’t allow for settings below 170° or 160° F. However, if oven-drying is the only option available to you, then you should set your oven temp as close to 135° F as possible.
For oven-drying, wire racks will allow for the most airflow, so investing in a set of oven-safe racks and trays will definitely improve the quality of your oven-dried fruit slices.
How Long to Dehydrate Kiwi?
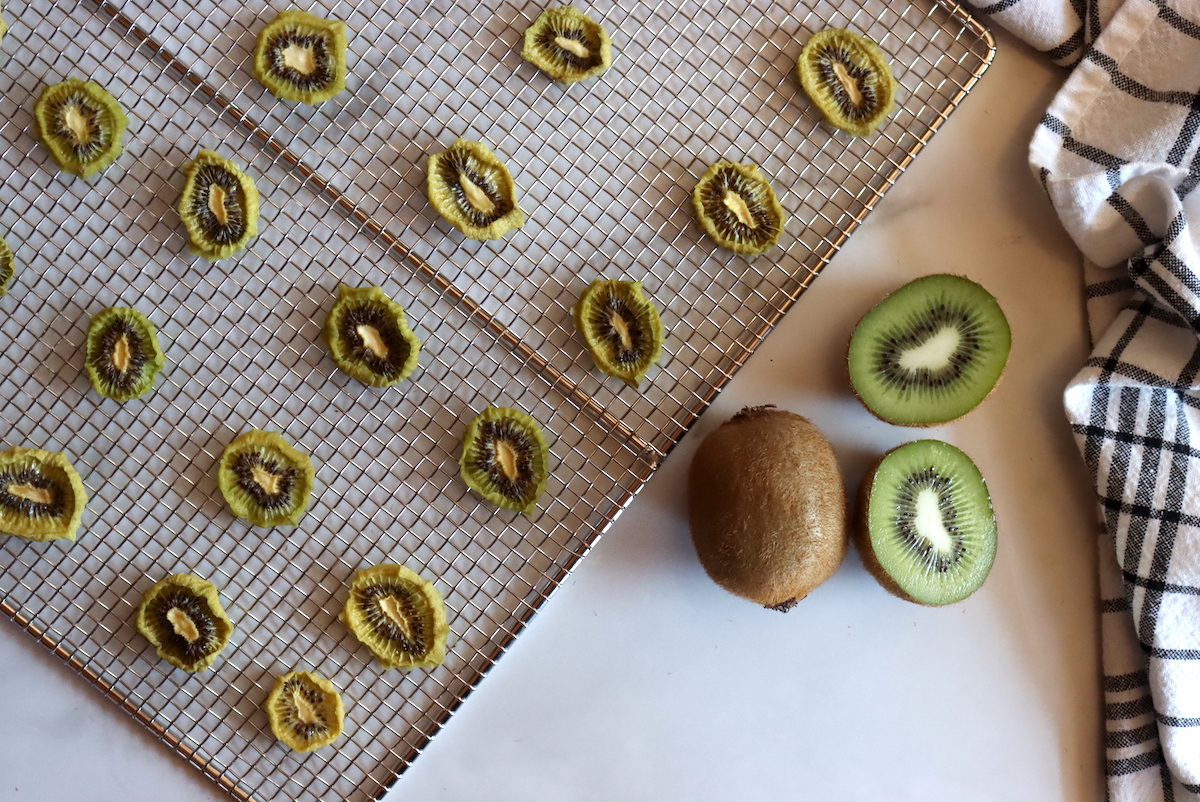
If you set your dehydrator to 135° F, kiwi fruit will be fully dehydrated in 10 to 18 hours. Several factors can affect drying time including the thickness of your kiwi slices and the humidity of your locale.
Thin ⅛ kiwi chips will dehydrate in less time than ¼ inch slices. The ambient humidity of your environment can alter drying times as well. High-humidity states like those in the southern U.S. may have longer drying times than those in dryer western states.
Some dehydrators come with a nifty little guide that recommends drying times based on ambient humidity. For kiwi, it outlines:
- 10 to 30% Humidity: 10 Hours
- 31 to 50% Humidity: 12 Hours
- 51 to 70% Humidity: 14 Hours
- 71 to 80% Humidity: 16 Hours
- Above 80% Humidity: 18 Hours
Additionally, oven-drying at a higher temperature will shorten the time it takes your kiwi slices to suitably dehydrate. Cooking at temps above 160° or 170° F can shorten time immensely.
Kiwi fruit is done when the fruit is leathery, yet dry to the touch.
How to Dehydrate Kiwi in a Dehydrator
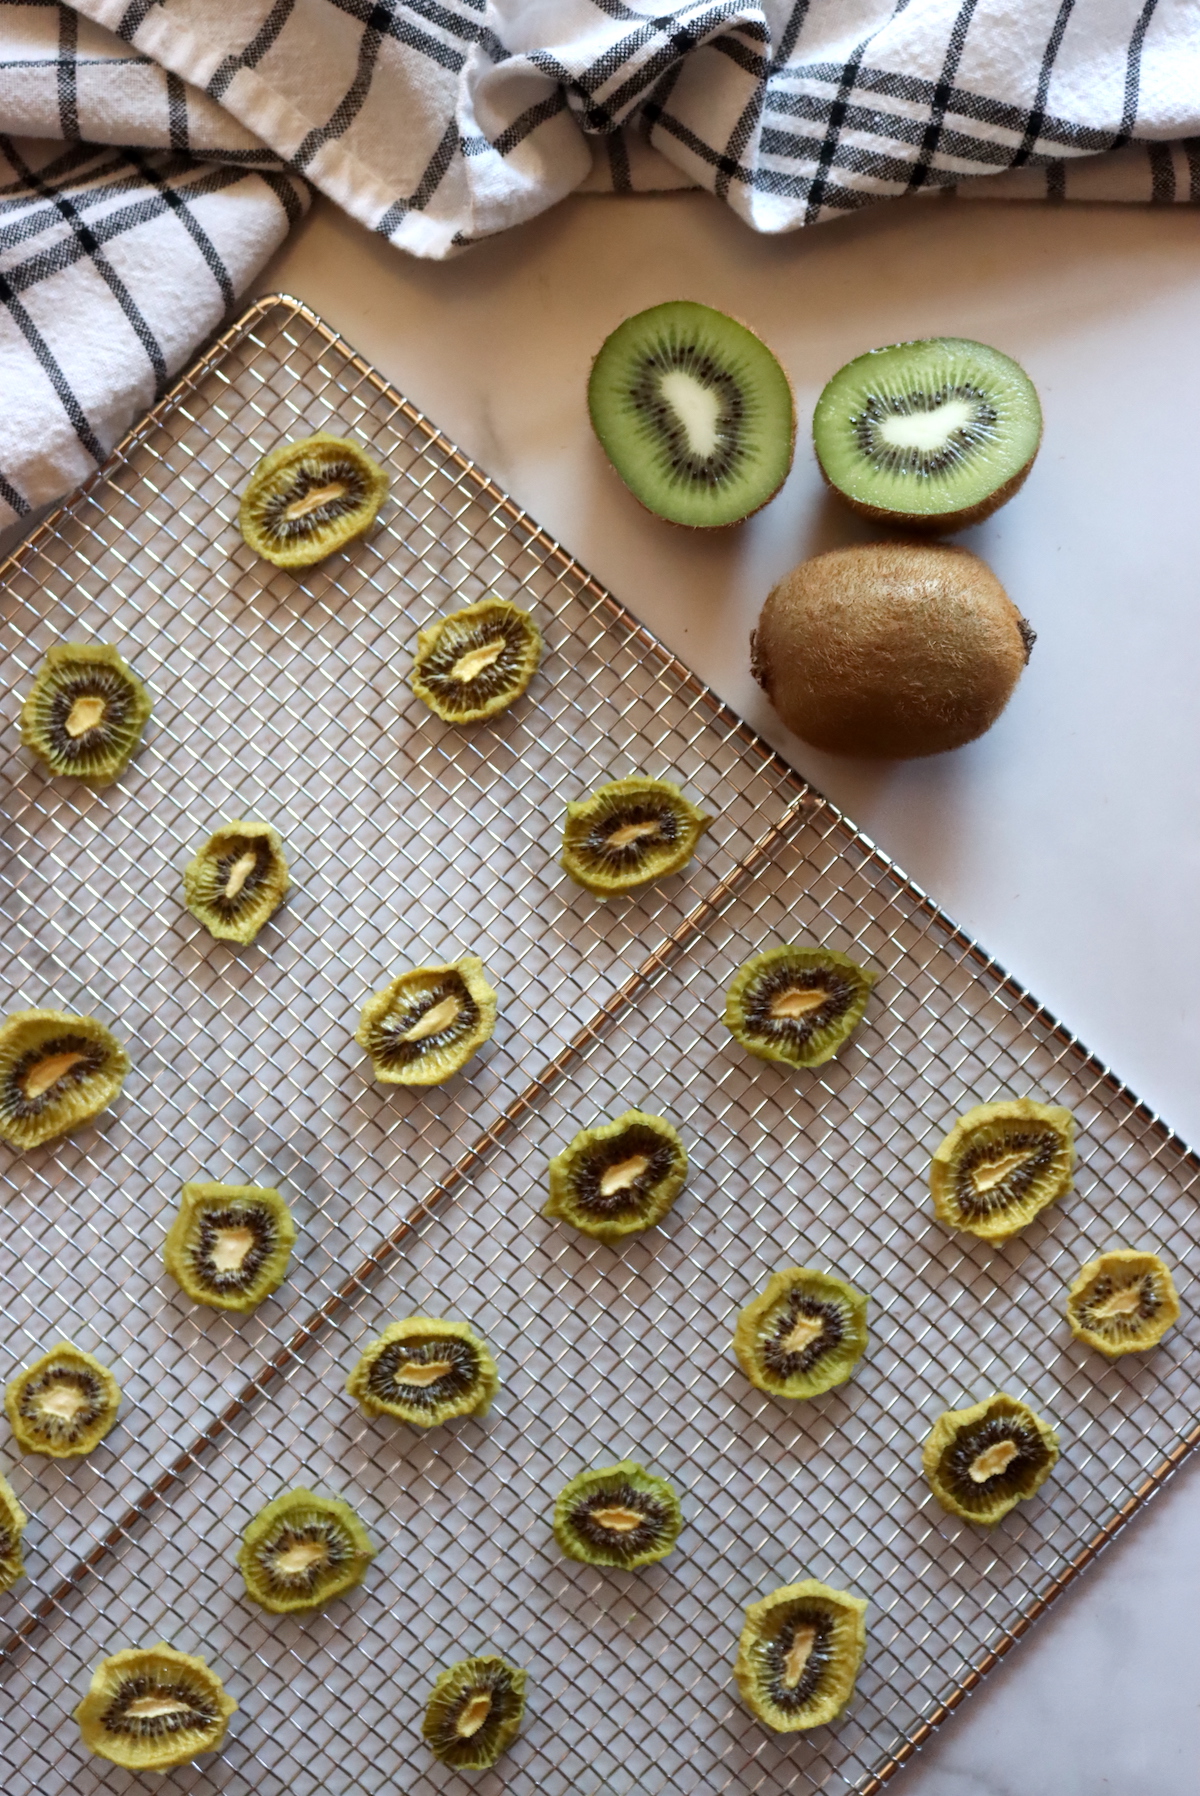
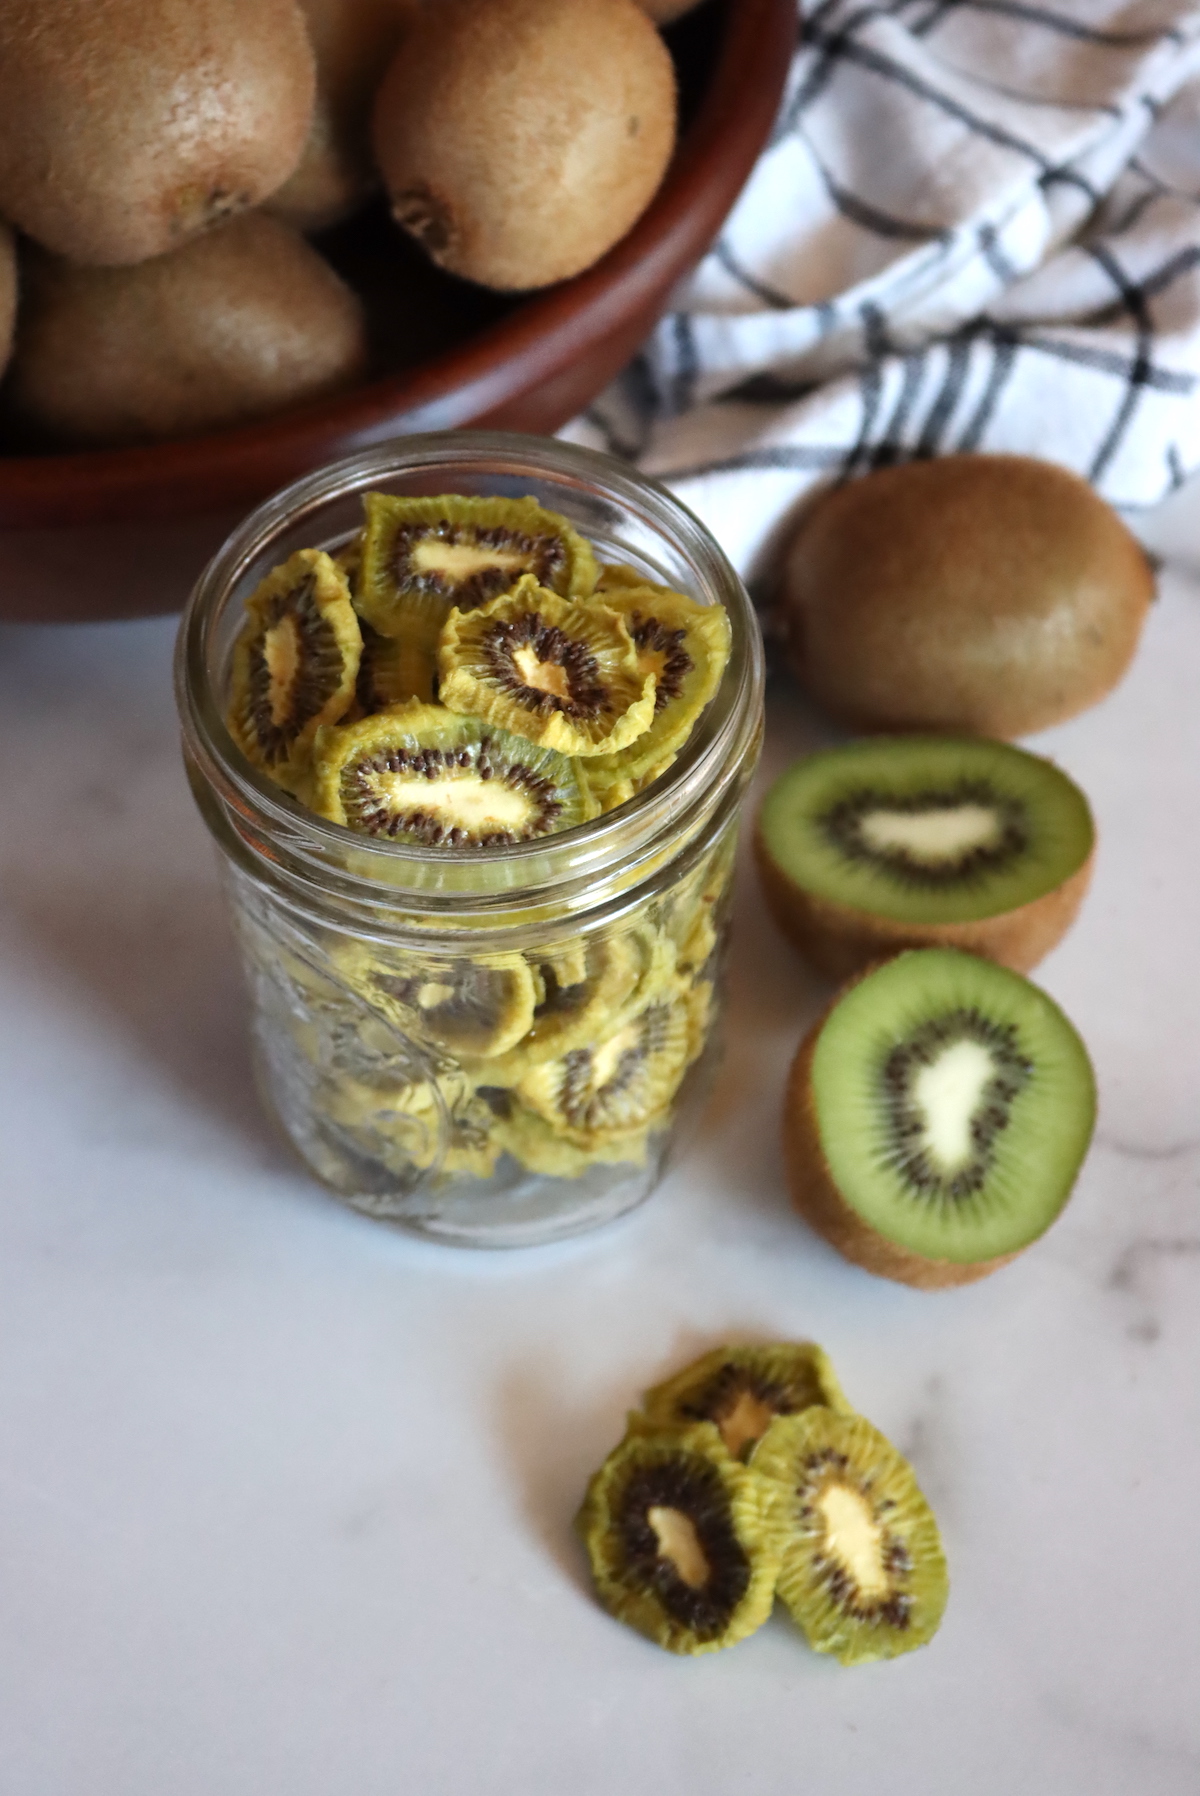
Set your dehydrator to a temperature of 135° F. Position your kiwi rounds on the trays, being sure no fruits overlap. Dehydrate for 10 to 18 hours, altering time as needed for ambient humidity and slice thickness.
Your kiwi slices are ready to be removed and cooled once they are dry to the touch with a leathery texture.
How to Dehydrate Kiwi in the Oven
Although dehydrating via a dehydrator is the best method, sometimes an oven is the only option available to those new to dehydrating. Oven-drying may not provide the same quality, but with a few adjustments, it will accomplish the task.
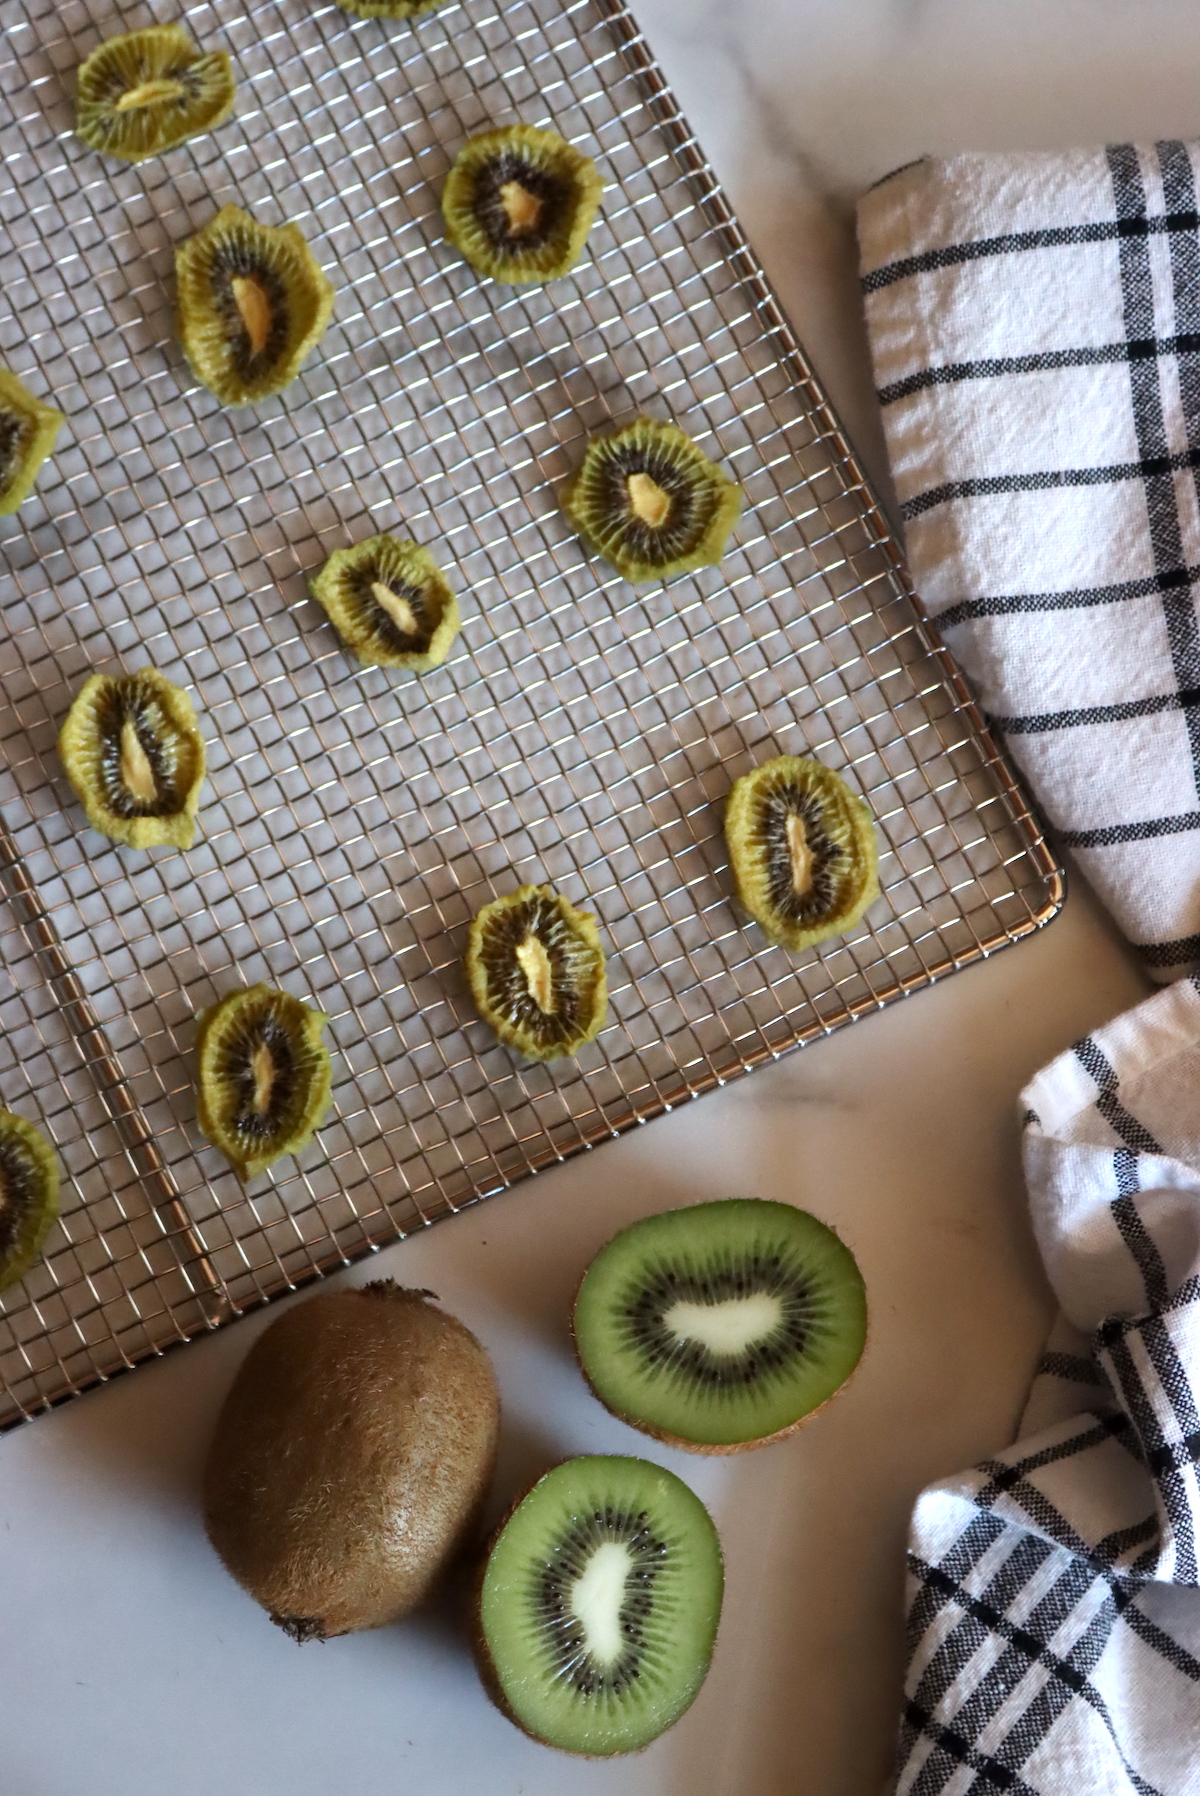
Set your oven to the lowest temperature possible — this will probably be close to 170° F. For the best quality oven-dried kiwi, place your kiwi slices atop oven-safe racks positioned on top of baking sheets. This method allows for even air circulation all around the fruit, so there’s no need for flipping.
Be sure the racks you use are oven-safe, not all are! These stainless steel ones from Amazon are an excellent option for dehydrating.
Turn on your convection fan if you have one and try to bake as close to 135° F as possible. If baking at 160° to 170° F, your slices may be done in 3 to 4 hours. You may also wish to stick a wooden spoon handle in your oven door to allow steam to escape. Be sure to also run your hood fan to help with airflow.
Fresh to Dried Yield
Kiwis will dehydrate down quite a bit, dehydrating down to 10-15% of their original weight. As a result, this makes them the perfect light snack for hiking, backpacking, or camping trips.
For a general estimate of how many slices you’ll end up with, consider how many slices a single kiwi fruit produces: one kiwi fruit will yield around 6 to 8 slices. Consequently, 10 kiwi will lead to about 60 to 80 slices of dried kiwi.
Ways to Use Dried Kiwi
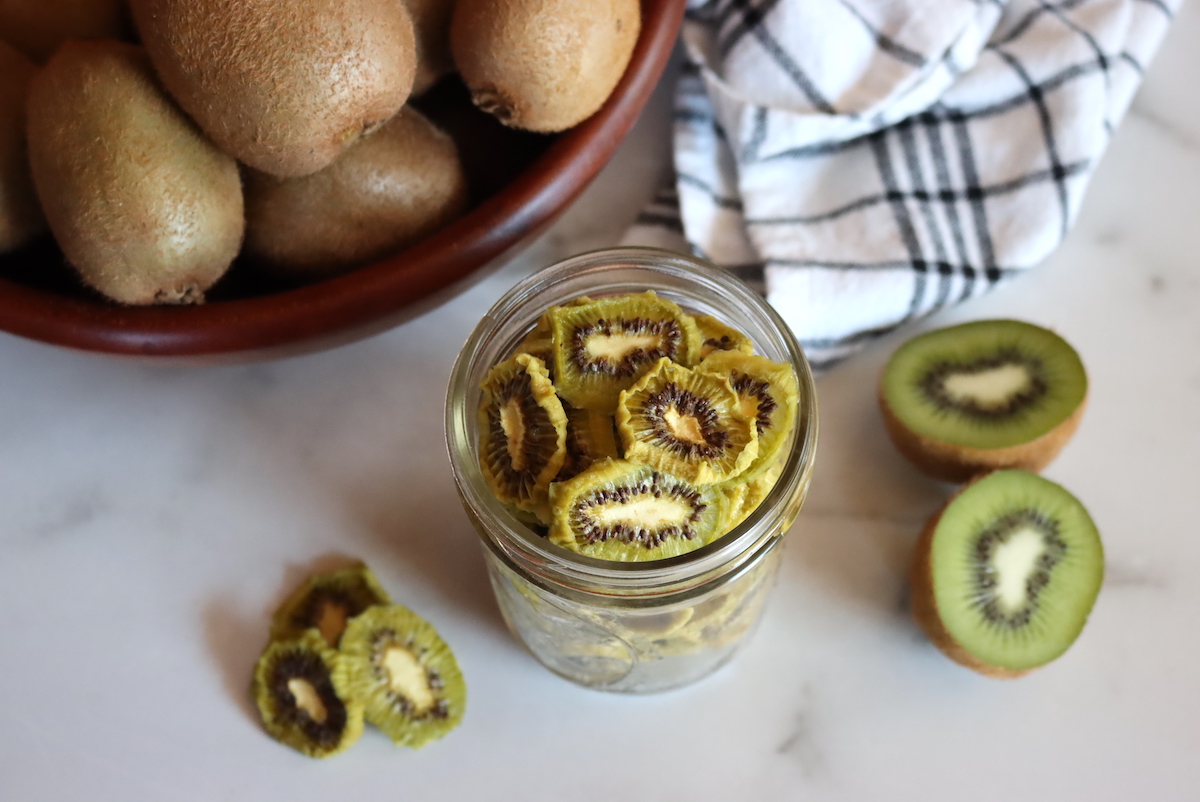
Dried kiwi slices can be incorporated into many baked treats from cookies and cakes to muffins and more.
Chop up those dried kiwi slices and mix with macadamia nuts to add to cookie dough to make coconut kiwi cookies or blend with dried cranberries to make biscotti with cranberries and kiwi.
For breakfast ideas, fold in some dried kiwi to your muffin batter to make healthy citrusy bran kiwi muffins with citrus zest and dried kiwi. Top yogurt with dried kiwi and granola or sprinkle over cereal for a nutritious boost.
Add dried fruit to loaves and cakes like this celebratory Mexican Christmas bread recipe.
Additionally, dried kiwis make a lovely garnish, be it atop pies, cookies, or cupcakes like St. Patrick’s Day-themed kiwi lime cupcakes. Dried fruit can also make a colorful addition to cheese and nut platters.
Finally, you can rehydrate kiwi fruit for desserts such as this star fruit and kiwi tart with mango or reconstitute dried kiwi with juice and sugar to make a sweetened kiwi puree for making kiwi swirled buns or babka. You can also rehydrate dried kiwi for a nice compote.
How to Dehydrate Kiwi (DIY Dried Kiwi Chips)
Ingredients
- 10 ripe kiwi fruits, or however many you have
Instructions
- Begin washing kiwi and peel if desired (peeling is completely optional).
- Follow by slicing into ¼ to ⅛ inch thick slices, keeping rounds as close to one another in thickness as possible.
- (Dehydrator) Place slices on trays, ensuring that none overlap. Set the dehydrator to 135° F and bake for 10 to 18 hours adjusting time for slice thickness and ambient humidity. Your kiwi slices are done when they are leathery and pliable.
- (Oven) Arrange slices on oven-safe wire racks over baking sheets to allow for even air circulation. Set your oven as low as it will go (160° to 170° F is standard for most ovens) and turn on your convection fan if you have one. Dehydration will occur much faster (in 3 to 4 hours) so check regularly for doneness.
Notes
Conditioning
Once your kiwi slices are dry, you should allow them to cool for at least 30 minutes after which you will likely want to condition them. Conditioning allows for even moisture distribution between dried fruit and lessens any chance of spoilage. To condition dehydrated fruit, place dried kiwi in a container or bag, filling to ⅔ of the way full. Seal and allow to sit in a dry location for 7 to 10 days, shaking or stirring the contents of the jar once a day. If you see condensation appear on the inside of the container, it means your kiwi is not dry enough. Remove the pieces and dehydrate longer. When finished, repeat the conditioning process until no condensation appears. After 10 days of no moisture buildup, you can move your dried kiwi to the pantry for long-term storage.Dehydrating Time
The length of time needed for dehydration will depend on multiple factors including the thickness and size of your slices, the moisture content of your chosen kiwi, and the ambient humidity of your locale. To factor humidity into drying times, see the chart below for reference:- 10 to 30% Humidity: 10 Hours
- 31 to 50% Humidity: 12 Hours
- 51 to 70% Humidity: 14 Hours
- 71 to 80% Humidity: 16 Hours
- Above 80% Humidity: 18 Hours
Ways to Preserve Kiwi
Dehydrating kiwi is a fair way to preserve this fleshy fruit, but it’s not the only kiwi preservation technique available. Kiwi can be made into jam, homemade fruit wine, canned or sliced and frozen.
- Kiwi Jam
- 50+ Winemaking Recipes for Homemade Wine (from Any Fruit!)
- 50+ Fruit Canning Recipes from A to Z
- Freezing Fruit: A to Z Guide
Dehydrator Recipes
In search of more dehydrator recipes?
- Dehydrating Carrots
- Dehydrating Apples
- How to Make Fruit Leather
- How to Make Yogurt in the Dehydrator



My kids love these!