Affiliate disclosure: This post may contain affiliate links. Please see our Privacy Policy.
As a small scale beekeeper, you’ve already made a sizable investment in equipment to be used throughout the growing season. From hives and frames to bees and protective equipment your first year has already set you back a few hundred dollars.
When it comes time to harvest honey, extracting honey from the comb is an expensive proposition. Honey extractors, used only once per year, can add several more hundred to that total.
There are other ways to enjoy the fruits of your and your bee’s labor without adding extra cost. That said, using an extractor is by far the cleanest and most efficient method for extracting honey.
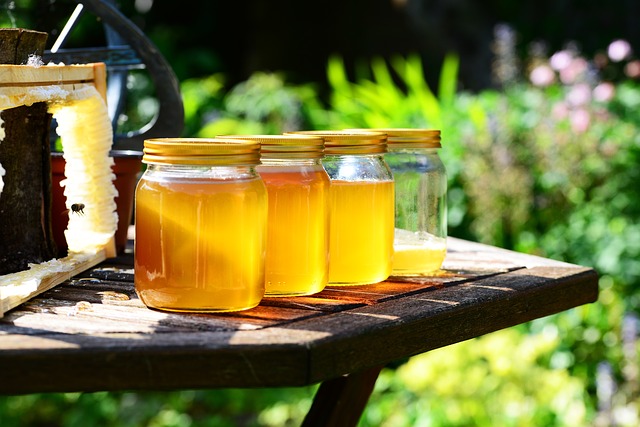
Cut Comb Honey
The first option is un-extracted or cut comb honey. Comb honey was popular around the turn of the century (1900) before commercial honey extraction equipment became widely available, and before 1906 when the Pure Food and Drug Act came into effect.
Consumers worried that extracted honey would have been diluted with some other sugar syrup, and comb honey was a way to ensure that it had come directly from the source.
With adulterated honey coming in from China in recent years, it’s clear that the Pure Food Act isn’t a one-stop cure for honey tampering. Being a beekeeper or knowing your beekeeper is a better option.
These days, people are confused as to what to do with cut comb honey. Old-timers will tell you it’s best eaten on toast or straight off the spoon like candy, wax and all. The wax imparts a unique flavor to the honey, absorbing and holding different flavors from the flowers in the region just like the honey itself.
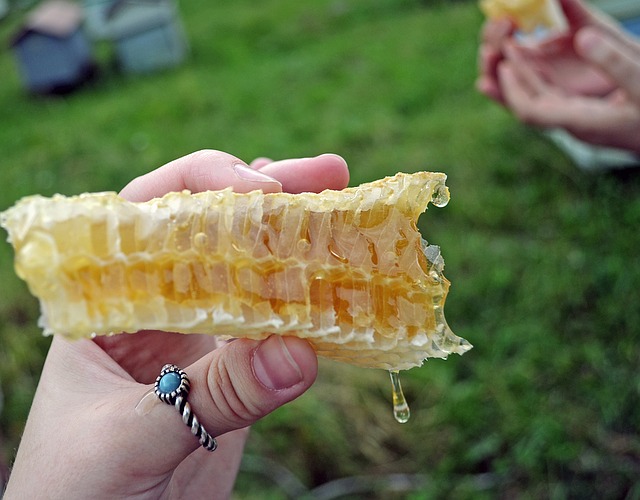
Modern cooks get more adventurous with it. According to the Food Network:
“Honeycomb can go places honey can’t. While drizzling honey over a salad seems odd, topping a salad with crumbled goat cheese and hunks of honeycomb is a simply heavenly way to eat more vegetables. Honeycomb also has a completely different texture than liquid honey. It’s nothing like chewing on a candle. Rather, the wax gives the honey a pleasant body, transforming it from something merely absorbed by the other ingredients into something that stands on its own to contrast and enlivens the rest of the dish.”
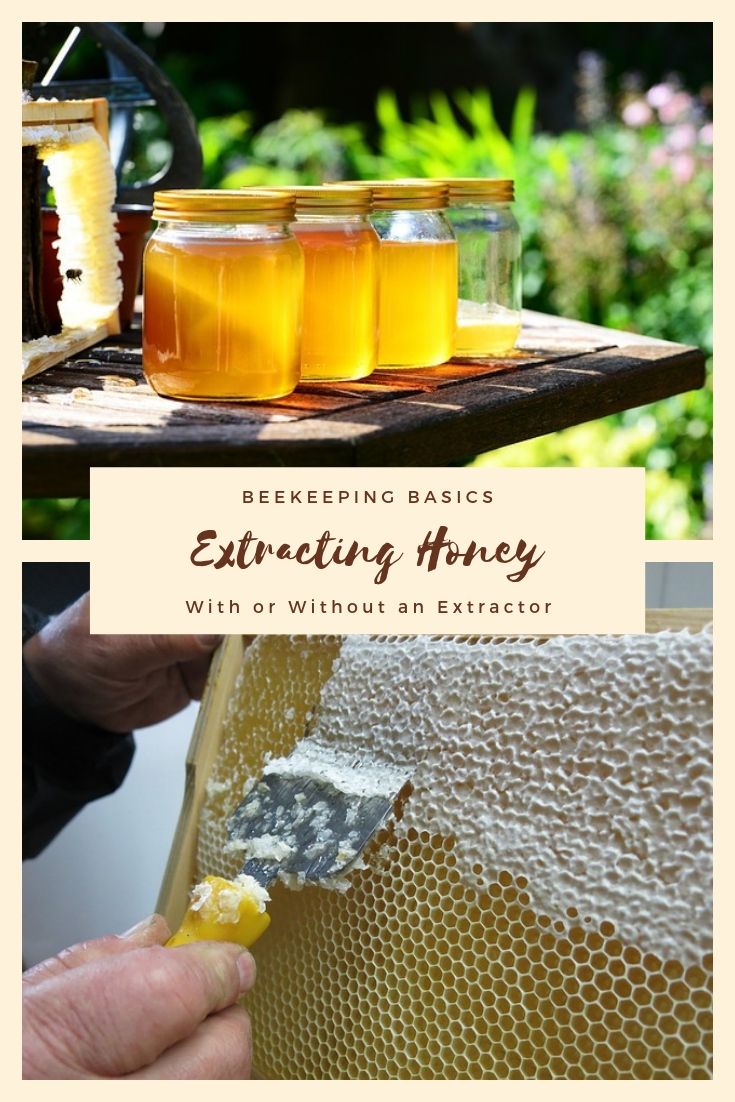
Hands down, cut comb honey is the least labor-intensive way of enjoying honey. All you’ll need is a knife to cut the comb. Keep in mind though, this can only be done with wax foundation or foundationless frames, no plastic foundations allowed.
Generally, beeswax foundations have wires embedded in the base, and if you follow those lines when cutting your comb honey things come out neatly.
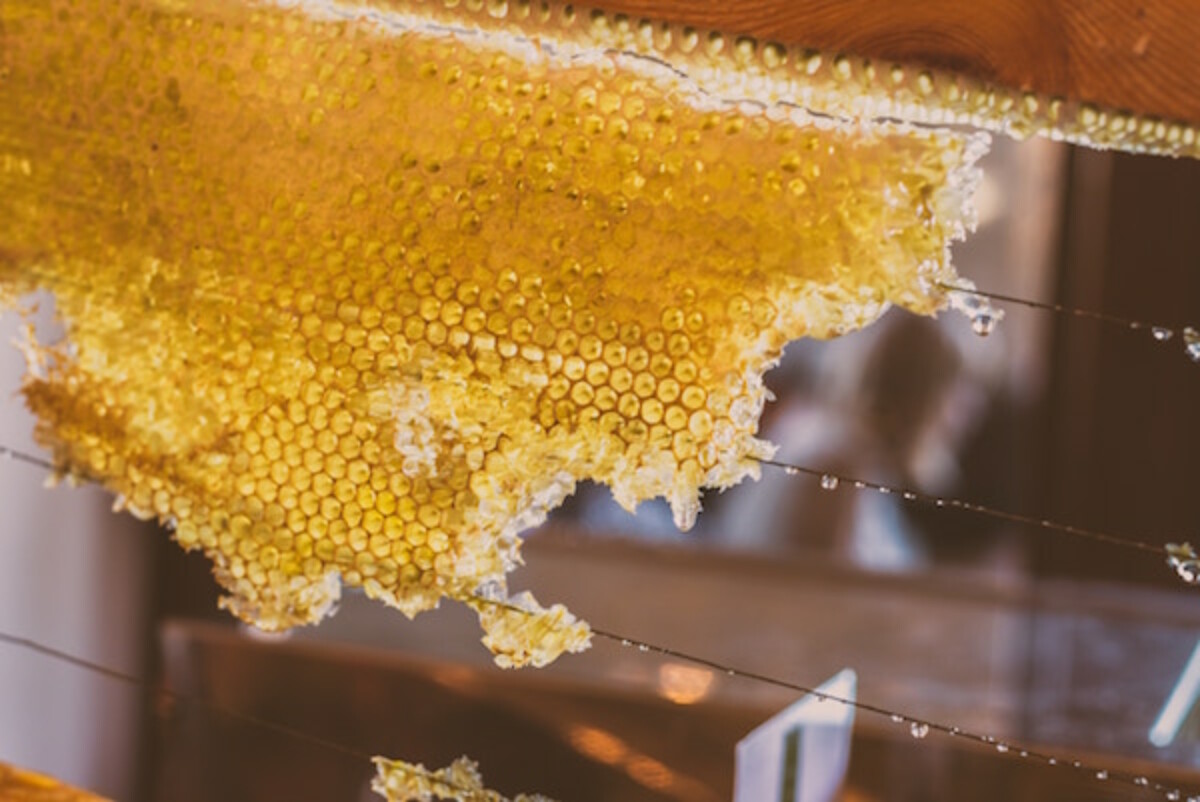
Extracting Honey (Without an Extractor)
For those of you who are stuck on liquid honey, but still not wanting to drop a few hundred dollars on an extractor, there is another way. Crushing and draining the comb is remarkably effective, and results in clean pure raw honey with minimal equipment.
Start by breaking the fresh honeycomb into chunks, right off of the hive frames. If you have a plastic foundation, just scrape the whole comb off the foundation, and wireframes can be cut out in chunks. Place it all into a clean and convenient container, like a 5-gallon bucket.
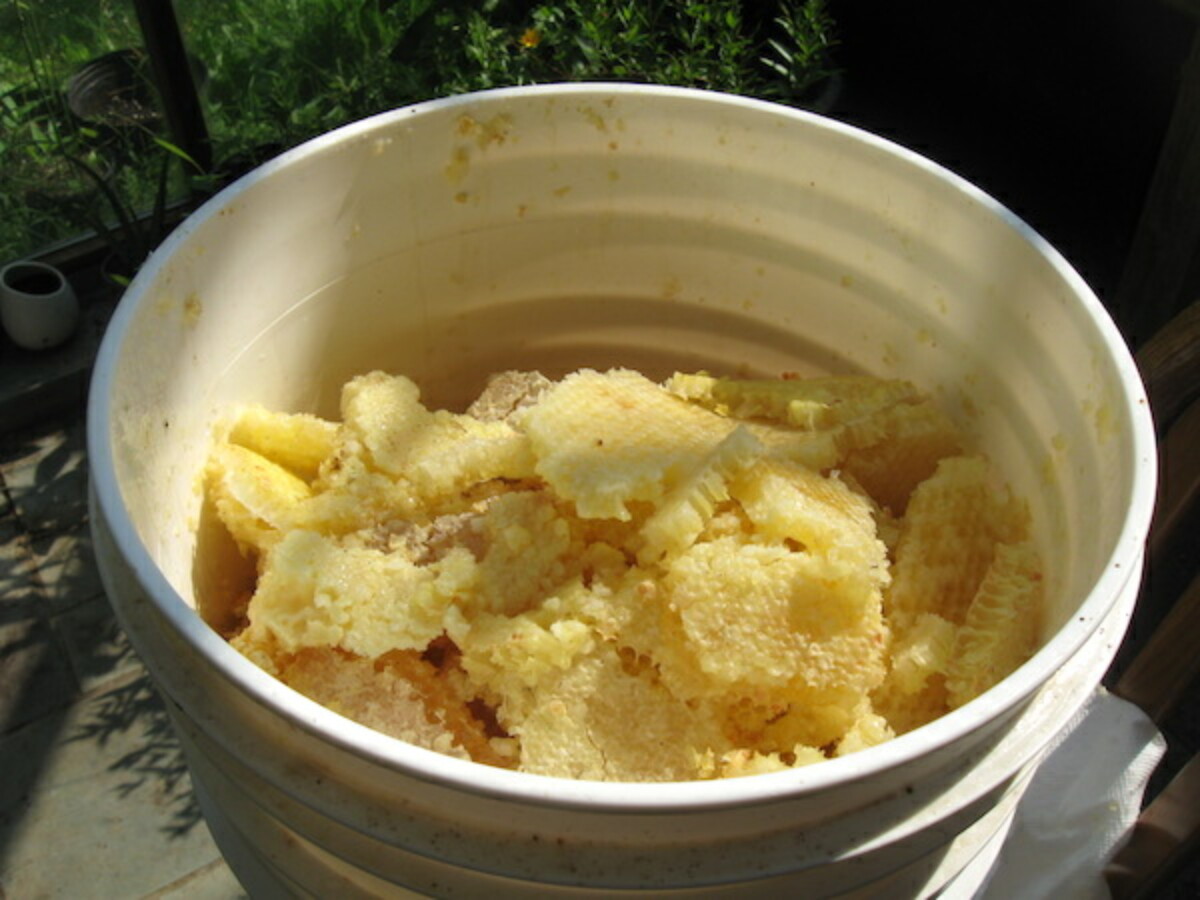
At this point, it’s a lot of volume, but it reduces in size pretty quickly with a bit of mashing. This is known as the crush and strain method, where you basically use a big potato masher to crush the whole honeycomb, and then strain the honey.
The crushed honeycomb is about 1/4 to 1/3 the volume of the chunk honeycomb.
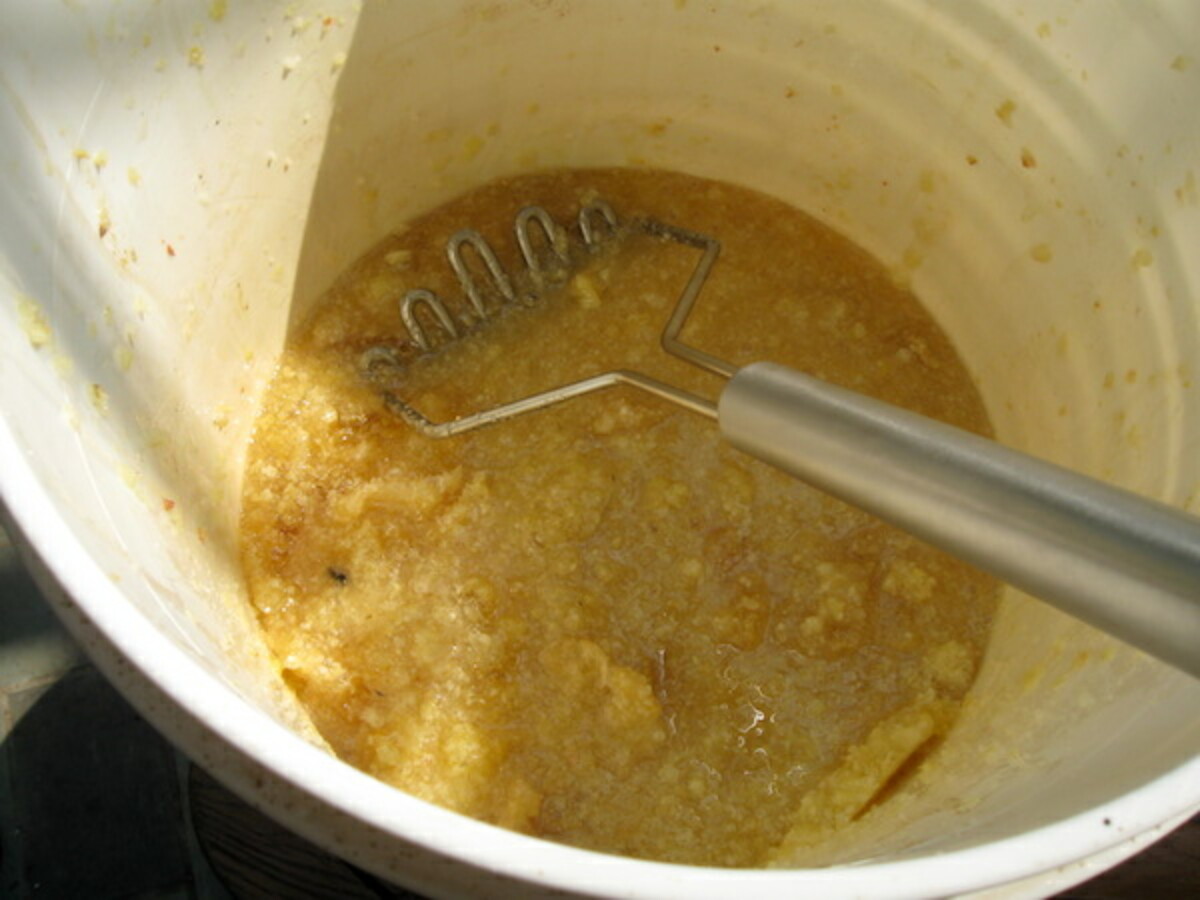
Once it’s crushed and all the honeycomb cells are broken open, it’s time to strain. I start by straining it through a colander first to get out the big chunks.
Within an hour the comb will be virtually empty. The warmer the space, the better your results. Around 90 degrees is optimal to allow the honey to flow, but is not so warm as to destroy the honey enzymes.
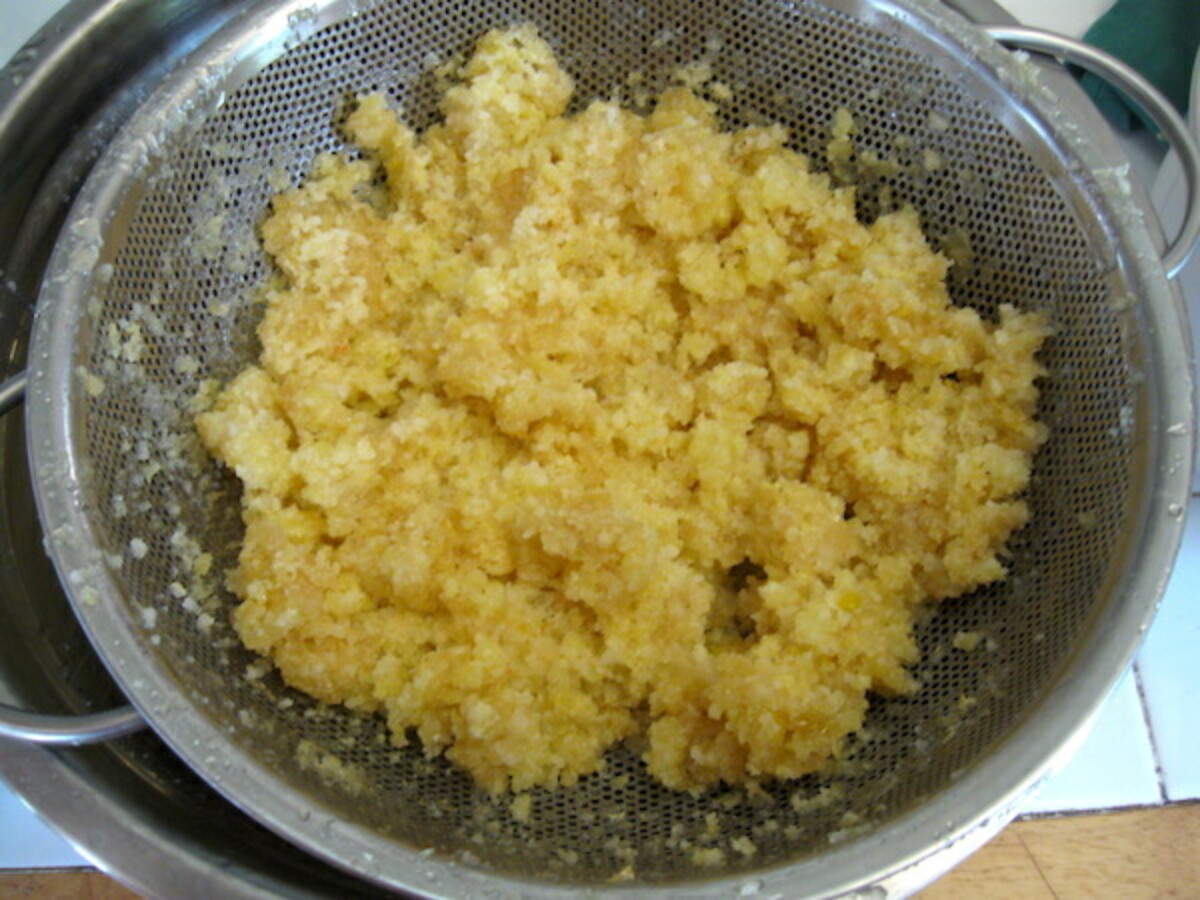
After the first strain, pour the honey through a fine-mesh strainer and then optionally cheesecloth before filling honey containers (mason jars work well).
The honey comes out remarkably clean through this process, but now you have the problem of cleaning the wax.
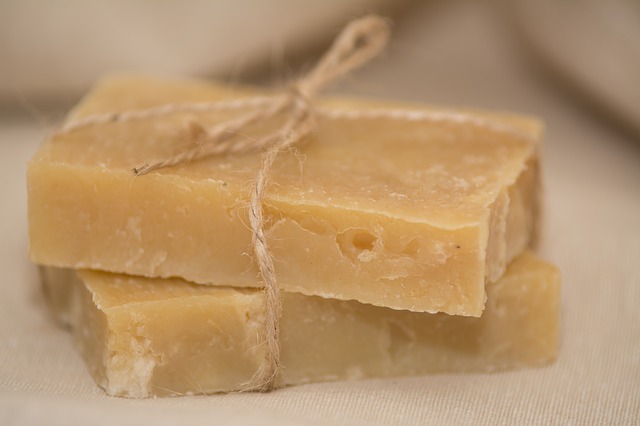
The wax that remains once you’ve extracted all your frames can be placed into a pot and slowly heated. Above 150 degrees the wax will melt and float to the top of the pot, leaving honey below.
Be careful not to heat above 185 degrees, as the wax will discolor. Once the wax is melted, remove the pot from heat and allow it to cool before removing your wax brick. This brick can be re-melted and poured through cheesecloth to completely clean it for use.
There are downsides to extractor-less extracting, both cut comb and crush and strain. While an extractor will allow you to uncap the cells and save the comb for the bees to reuse, the crush and strain method does not.
You will have to clean your frames and install new foundation after extraction. This cost is minimal, however, when you compare it to the purchase cost of an extractor and the storage space a specialized piece of equipment will require 364 days per year.
Extracting Honey with An Extractor
The most common method these days is of course simply extracting honey with an extractor. While they’re expensive for a hobbyist, so is all the other beekeeping equipment. Using an extractor makes the process much cleaner, and allows you to replace the wax back into the hive for the bees to re-fill.
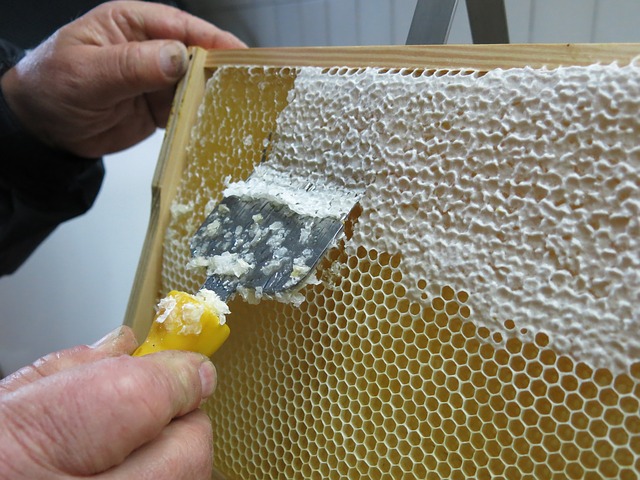
Regardless of the type of extractor, the first step is to uncap the cells. There are simple combs designed for this, or modern beekeepers often use a heated uncapping knife to quickly uncap the cells.
There are two types of honey extractors on the market:
Tangental Honey Extractor
In a tangential extractor, the frames are inserted so that the honeycomb faces outward. The extractor is loaded so that it’s balanced on both sides with multiple frames and then it’s spun to extract the honey with centrifugal force. The frame must be turned halfway through to extract honey from the other side.
Pros: They’re readily available and generally small in size, perfect for the small hobbyist.
Cons: This model takes longer, and can be a bit messier because the frames need to be flipped around after all the honey has been extracted from the first side.
They start at about $150, even for nice stainless steel models.
Radial Honey Extractor
Designed so that the top bar of the frame sits facing outwards, radial honey extractors take advantage of a bit of natural slope already in the comb. Once in the extractor, the frames are spun so that centrifugal force pulls the honey out of the frame.
Pros: One of the main advantages of this type is that it extracts both sides at once, and the frames do not need to be turned. They work a lot faster than tangental honey extractors, and they come in a variety of sizes from 4 frames on up.
Cons: They take up more space and are often more expensive than tangental honey extractors. They’re also a bit harder to find.
How to Use a Honey Extractor
Regardless of the type of extractor, you’re using, the basic process is the same. Uncap the frames, place them in the slots and spin. With tangental, you’ll need to flip them to get both sides.
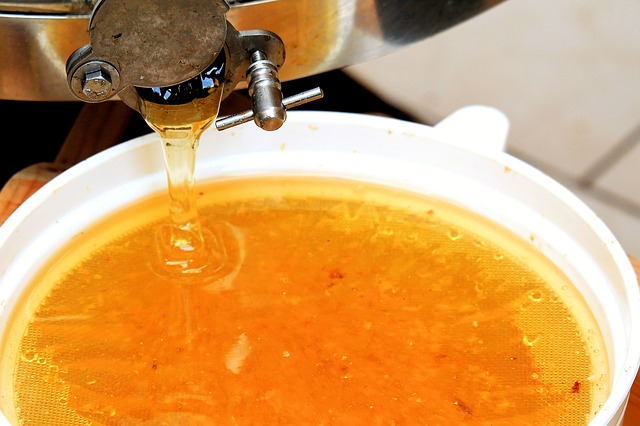
Then, once the honey is in the bin, it’s ready for filtering and bottling. Just pour it out of the convenient slot at the bottom.


What a detailed and informative post! I love how you explained both methods of honey extraction. It’s great to see the advantages and disadvantages of using an extractor versus doing it by hand. I’m excited to try extracting my own honey this season! Thank you for sharing your knowledge!
You’re very welcome. So glad you enjoyed the post.
I will try my best on it and i want to be part of your practical thanks.
Let us know if you decide to give it a try.
Thank you!!! This information was very useful and worked great. I warmed up a small room in my house with a space heater; scraped the comb off the foundation, into a colander and let it drain; then poured it through a large kitchen sieve into a 600 micron filter that fit flush inside a five gallon bucket. The warm room made pretty quick work of it, and I didn’t waste much – ended up with well over a gallon in the end.
The wax harvesting part didn’t work very well for me…
You’re very welcome. We’re so glad you enjoyed the post.
Thank you for great info
You’re very welcome.
Thanks for this it was really helpful!
You’re welcome. Glad it was helpful.
WE WANT MACHINE OF SEPRATION OF WAX FROM HONEY
Then you’re going to need to find an extractor, they’re expensive, unfortunately. Good luck!
Love the simplicity.
Thank you!
Hi! I just tried your crush and strain method today and was wondering if you happened to have another post with instructions about cleaning the wax for use?
I didn’t ever end up writing that up, as I completely forgot to take pictures as I was doing it, but there is a good tutorial here: https://montanahomesteader.com/render-beeswax-honeycomb/