Affiliate disclosure: This post may contain affiliate links. Please see our Privacy Policy.
Herbal beer, also known as Gruit, has been brewed for centuries, long before hops became common in beer brewing. Depending on the herbs chosen, these herbal ales were used as medicinal preparations, or for everyday consumption simply because they were delicious. Learn how to turn any edible or medicinal herb into a tasty herbal beer!
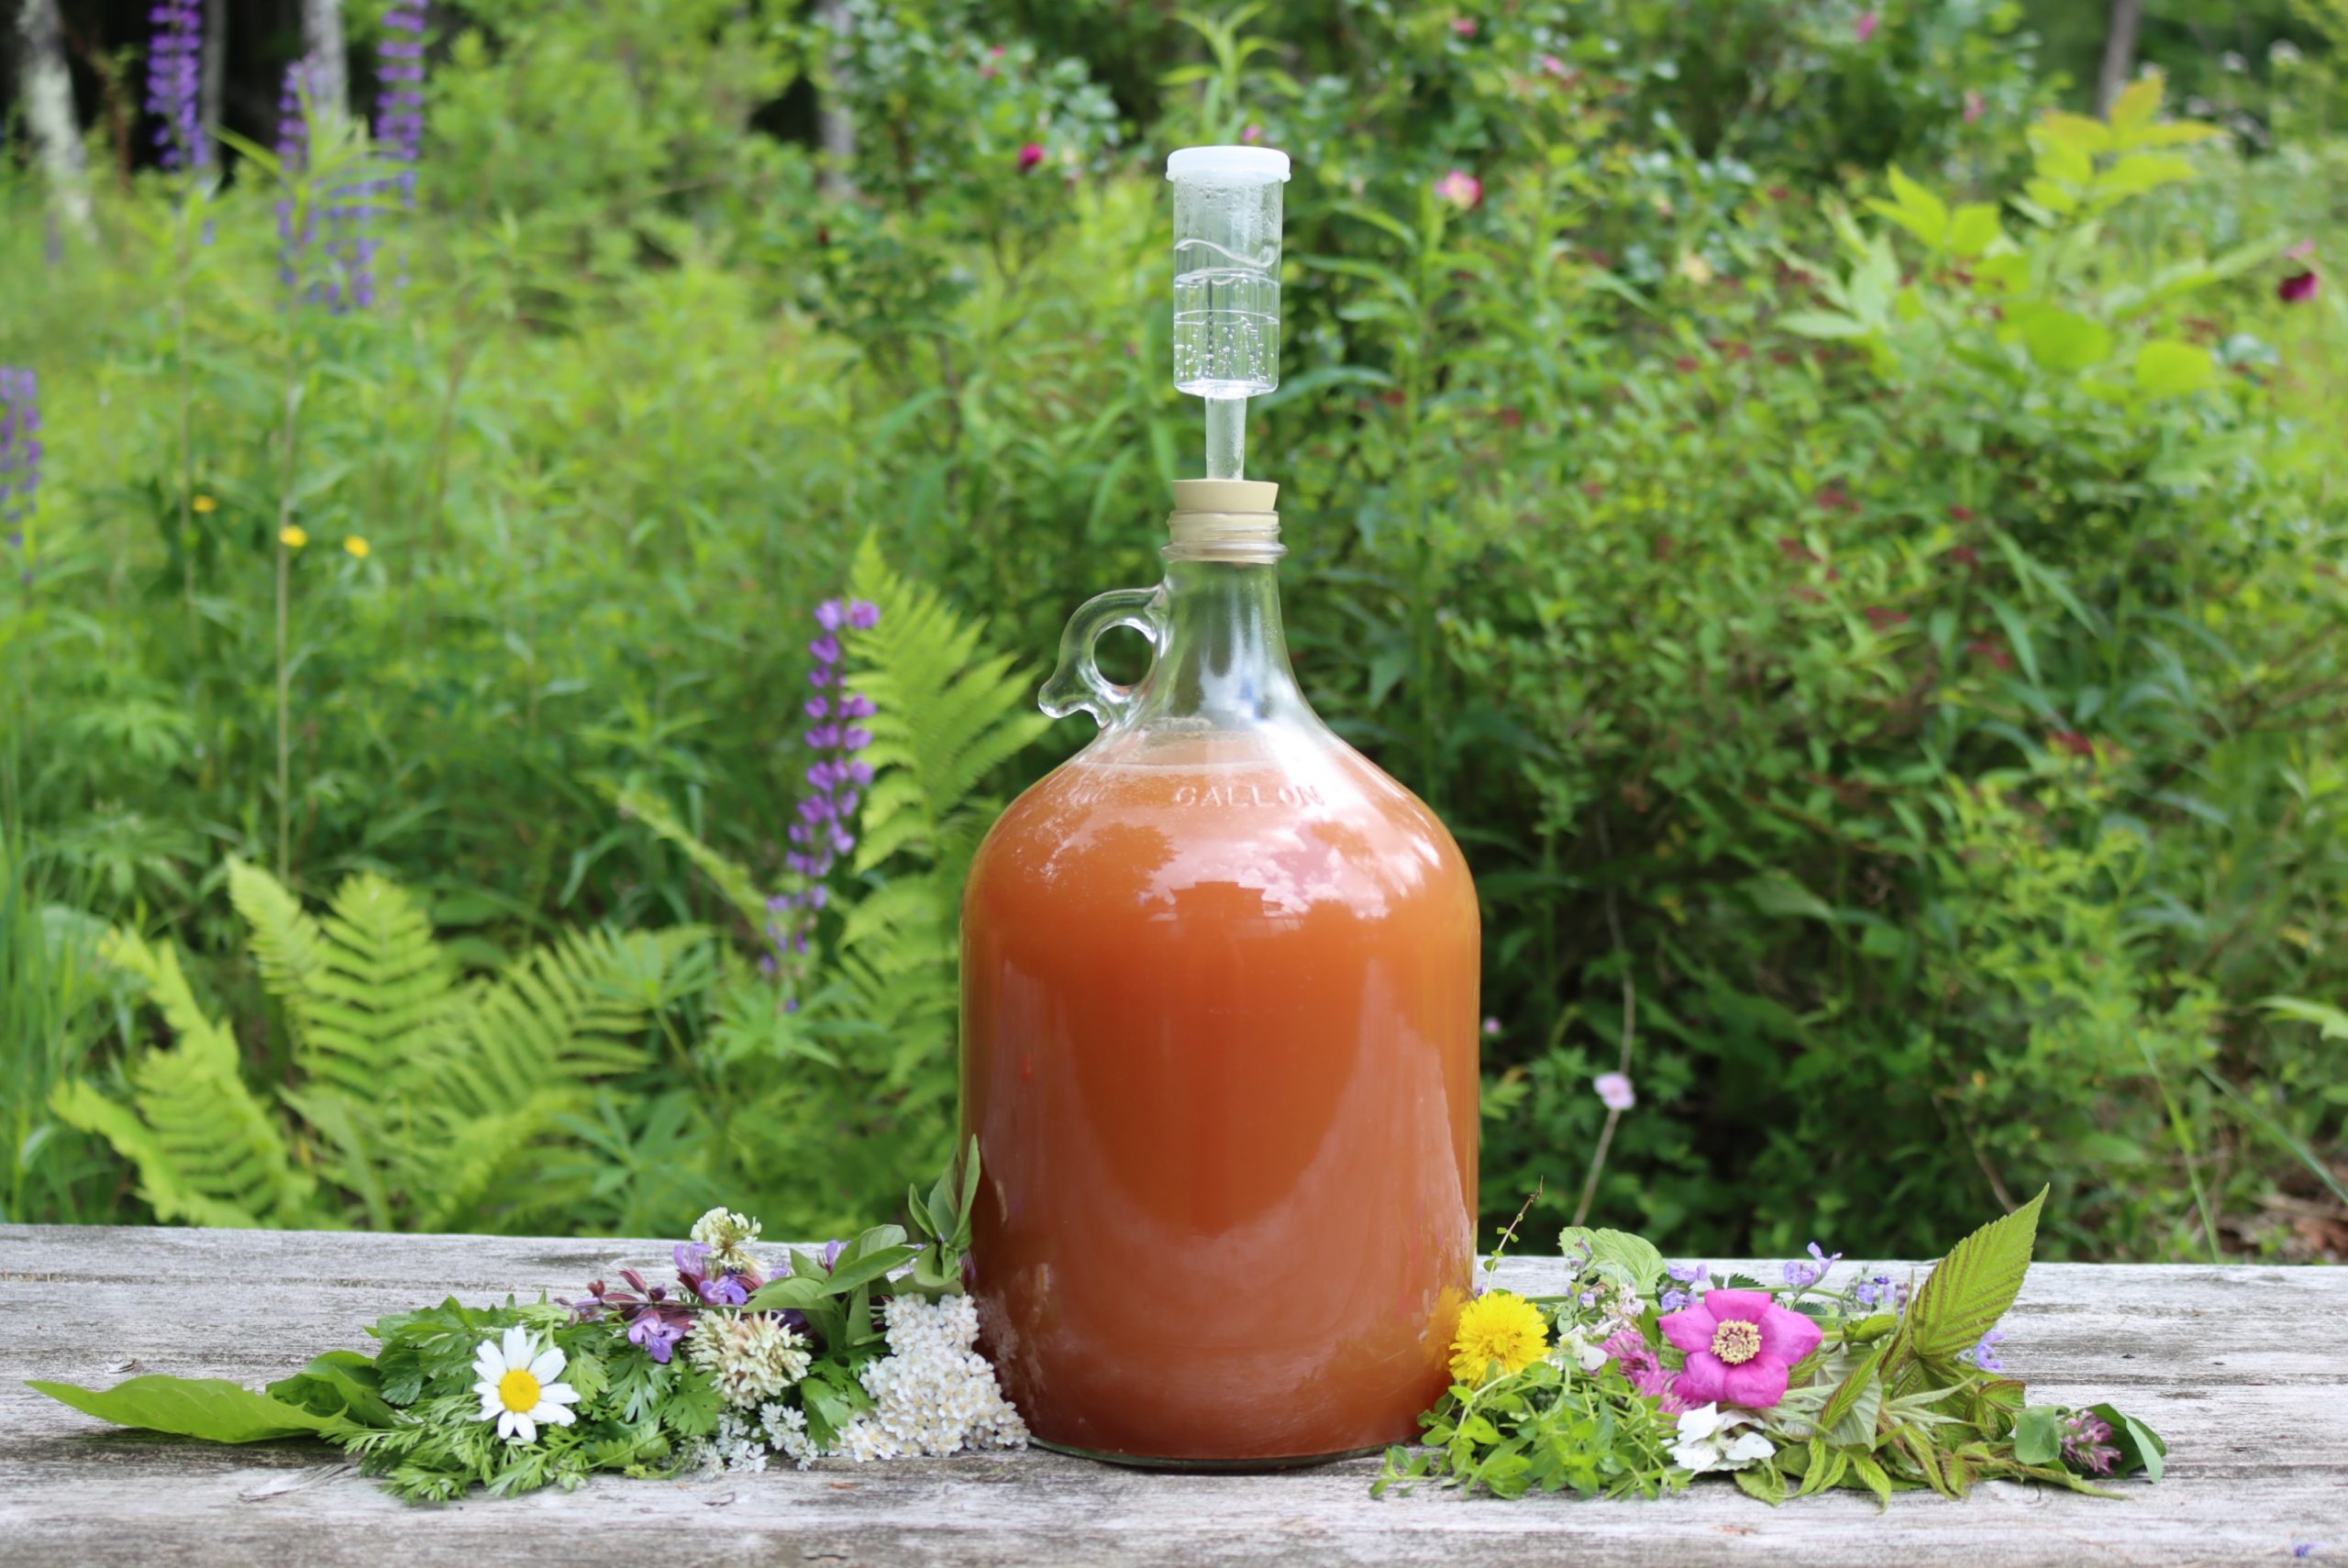
The history of herbal beers, ales, meads, and wines goes back to at least 10,000 BC, and back then, including medicinal or culinary herbs was commonplace in just about every libation. These days, we “drink to our health,” but there was a time when that toast had a bit more meaning, as the brew itself was intended to be medicinal (as well as tasty).
I’ve already written about herbal meads and wine, which are regaining in popularity in the modern era, but we also brew plenty of herbal beers.
These days, hops are the dominant plant botanical in beer, but that’s a relatively recent innovation when you look at the long history of brewing. There are a lot of odd political reasons for this shift during in the past few hundred years, which I won’t go into, but know that the change had more to do with efficient taxation in medieval Europe than it did with taste or the preferences of the people.
Hopped beer is tasty, to be sure, but it’s not the only way to brew.
So how do you brew beer without hops?
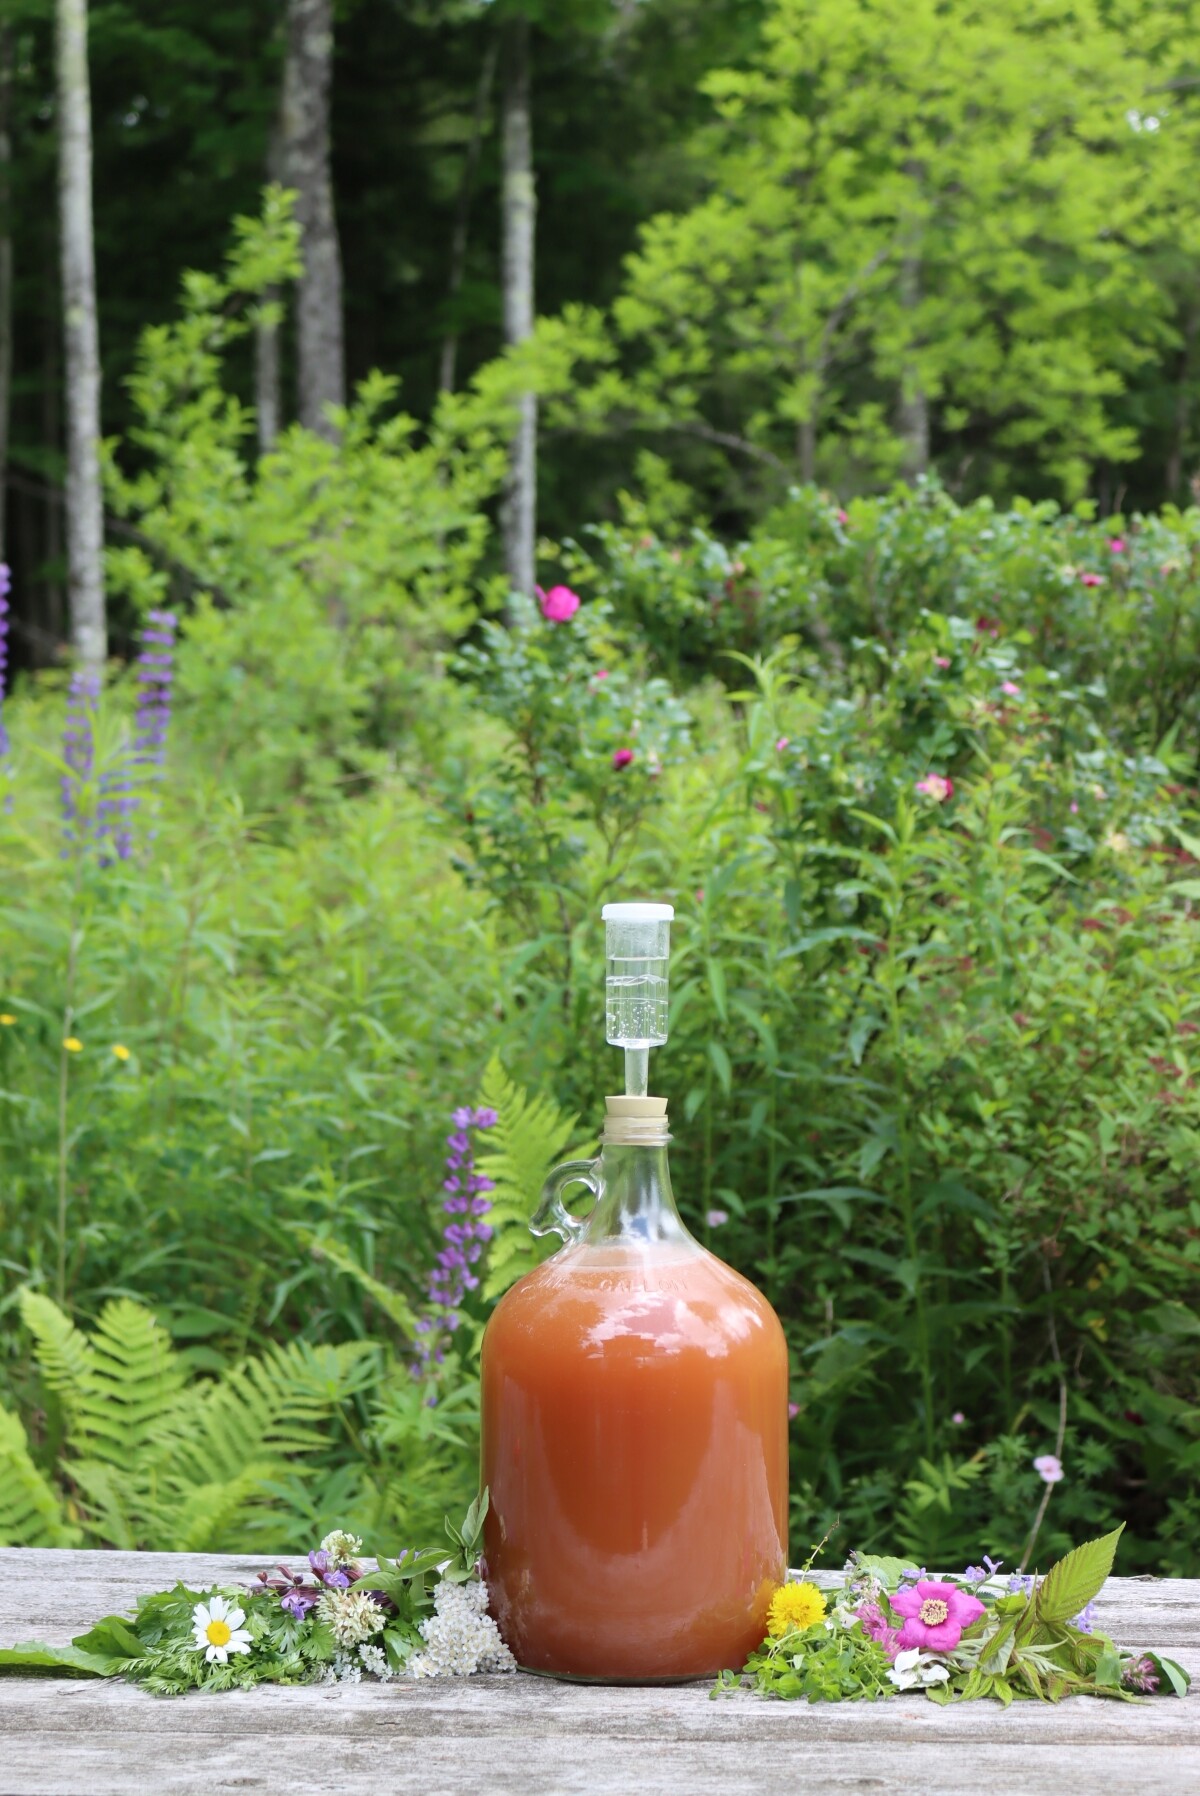
Ingredients for Herbal Beer
To brew a delicious herbal beer, you only need four essential ingredients: water, yeast, herbs, and a sweetener such as sugar.
The process starts with brewing a herbal tea using the herbs and water, which is then sweetened to create what’s known as the wort. This sweetened tea serves as the foundation for your herbal beer. Let’s break down each of these ingredients and explore how to select the best ones for your brew.
Water
While it might seem simple, clean, filtered water is crucial for brewing, and it can be surprisingly tricky to find. If you’re not satisfied with your tap water for drinking, it’s probably not suitable for brewing either. If you do find your tap water acceptable, consider boiling it for about 15 minutes and letting it sit uncovered for 12 to 24 hours to allow any chlorine to evaporate.
You can also opt for filtered, distilled, or spring water as these are great alternatives.
We’re really lucky to have fresh well water to use for brewing, but when I was living in the city, I only used bottled water.
Yeast
Choosing the right yeast can feel like a daunting task given the wide variety available. Factors like ambient temperature, desired flavor, alcohol content, and yeast’s tolerance to alcohol all influence which yeast strain you should select.
As you gain more experience brewing, you’ll discover which yeast strains suit your preferences. The world of yeast is very personal—what works for one brewer might not work for another.
Generally, yeast comes in two main types: ale and lager. Ale yeasts, especially dry ones like Safbrew or Nottingham, are often preferred for herbal beers, as they are easy to sprinkle directly onto the wort.
Ale yeasts, also known as top-fermenting yeasts, ferment at the top of the vessel and thrive at warmer temperatures, typically between 60°F and 72°F.
Lager yeasts prefer cooler temperatures and ferment at the bottom of the vessel, and they also often impart a slightly sour tang to beer (which some people love, and other’s can’t stand).
While these yeasts have different temperature preferences, you can experiment with various strains to see what works best for you.
Different yeasts require different techniques, so always check the yeast packet for specific instructions. Some yeasts need to be hydrated before being added to the wort, while others can be sprinkled directly on top.
To get started, I’d recommend using Safale S-04, which is a good all-purpose yeast that’ll dependably get the job done.
Herbs
Now for the fun part—choosing the herbs!
Herbal beers are unique because you can customize them to suit your personal taste, whether you’re drawn to a particular flavor or interested in the medicinal properties of certain plants. You can use one herb or create a blend.
Fresh or dried herbs (or a mix of both) will work, and you can either grow your own or forage for wild herbs.
Common herbs used in brewing include mugwort, alehoof, meadowsweet, and yarrow, but always make sure you identify wild herbs carefully and harvest sustainably.
When creating your herbal brew, the key is to make a blend that would taste good as an herbal tea. This will guide you in making a beer that is not only drinkable but enjoyable. It’s always a good idea to taste the herbal tea before you begin brewing—if it’s harsh, the beer will likely be too.
Experiment with different combinations to find what you enjoy, and don’t be afraid to adjust the recipe as you gain experience.
The book Sacred and Herbal Healing Beers: The Secrets of Ancient Fermentation has a lot of specific recipes that will help you use and combine herbs in your homemade gruit.
If you’re more interested in crafting interesting herbal flavors in homemade gruit, the Book Against All Hops has plenty of tested hop-free brewing recipes (but less information on the medicinal uses of the herbs is included).
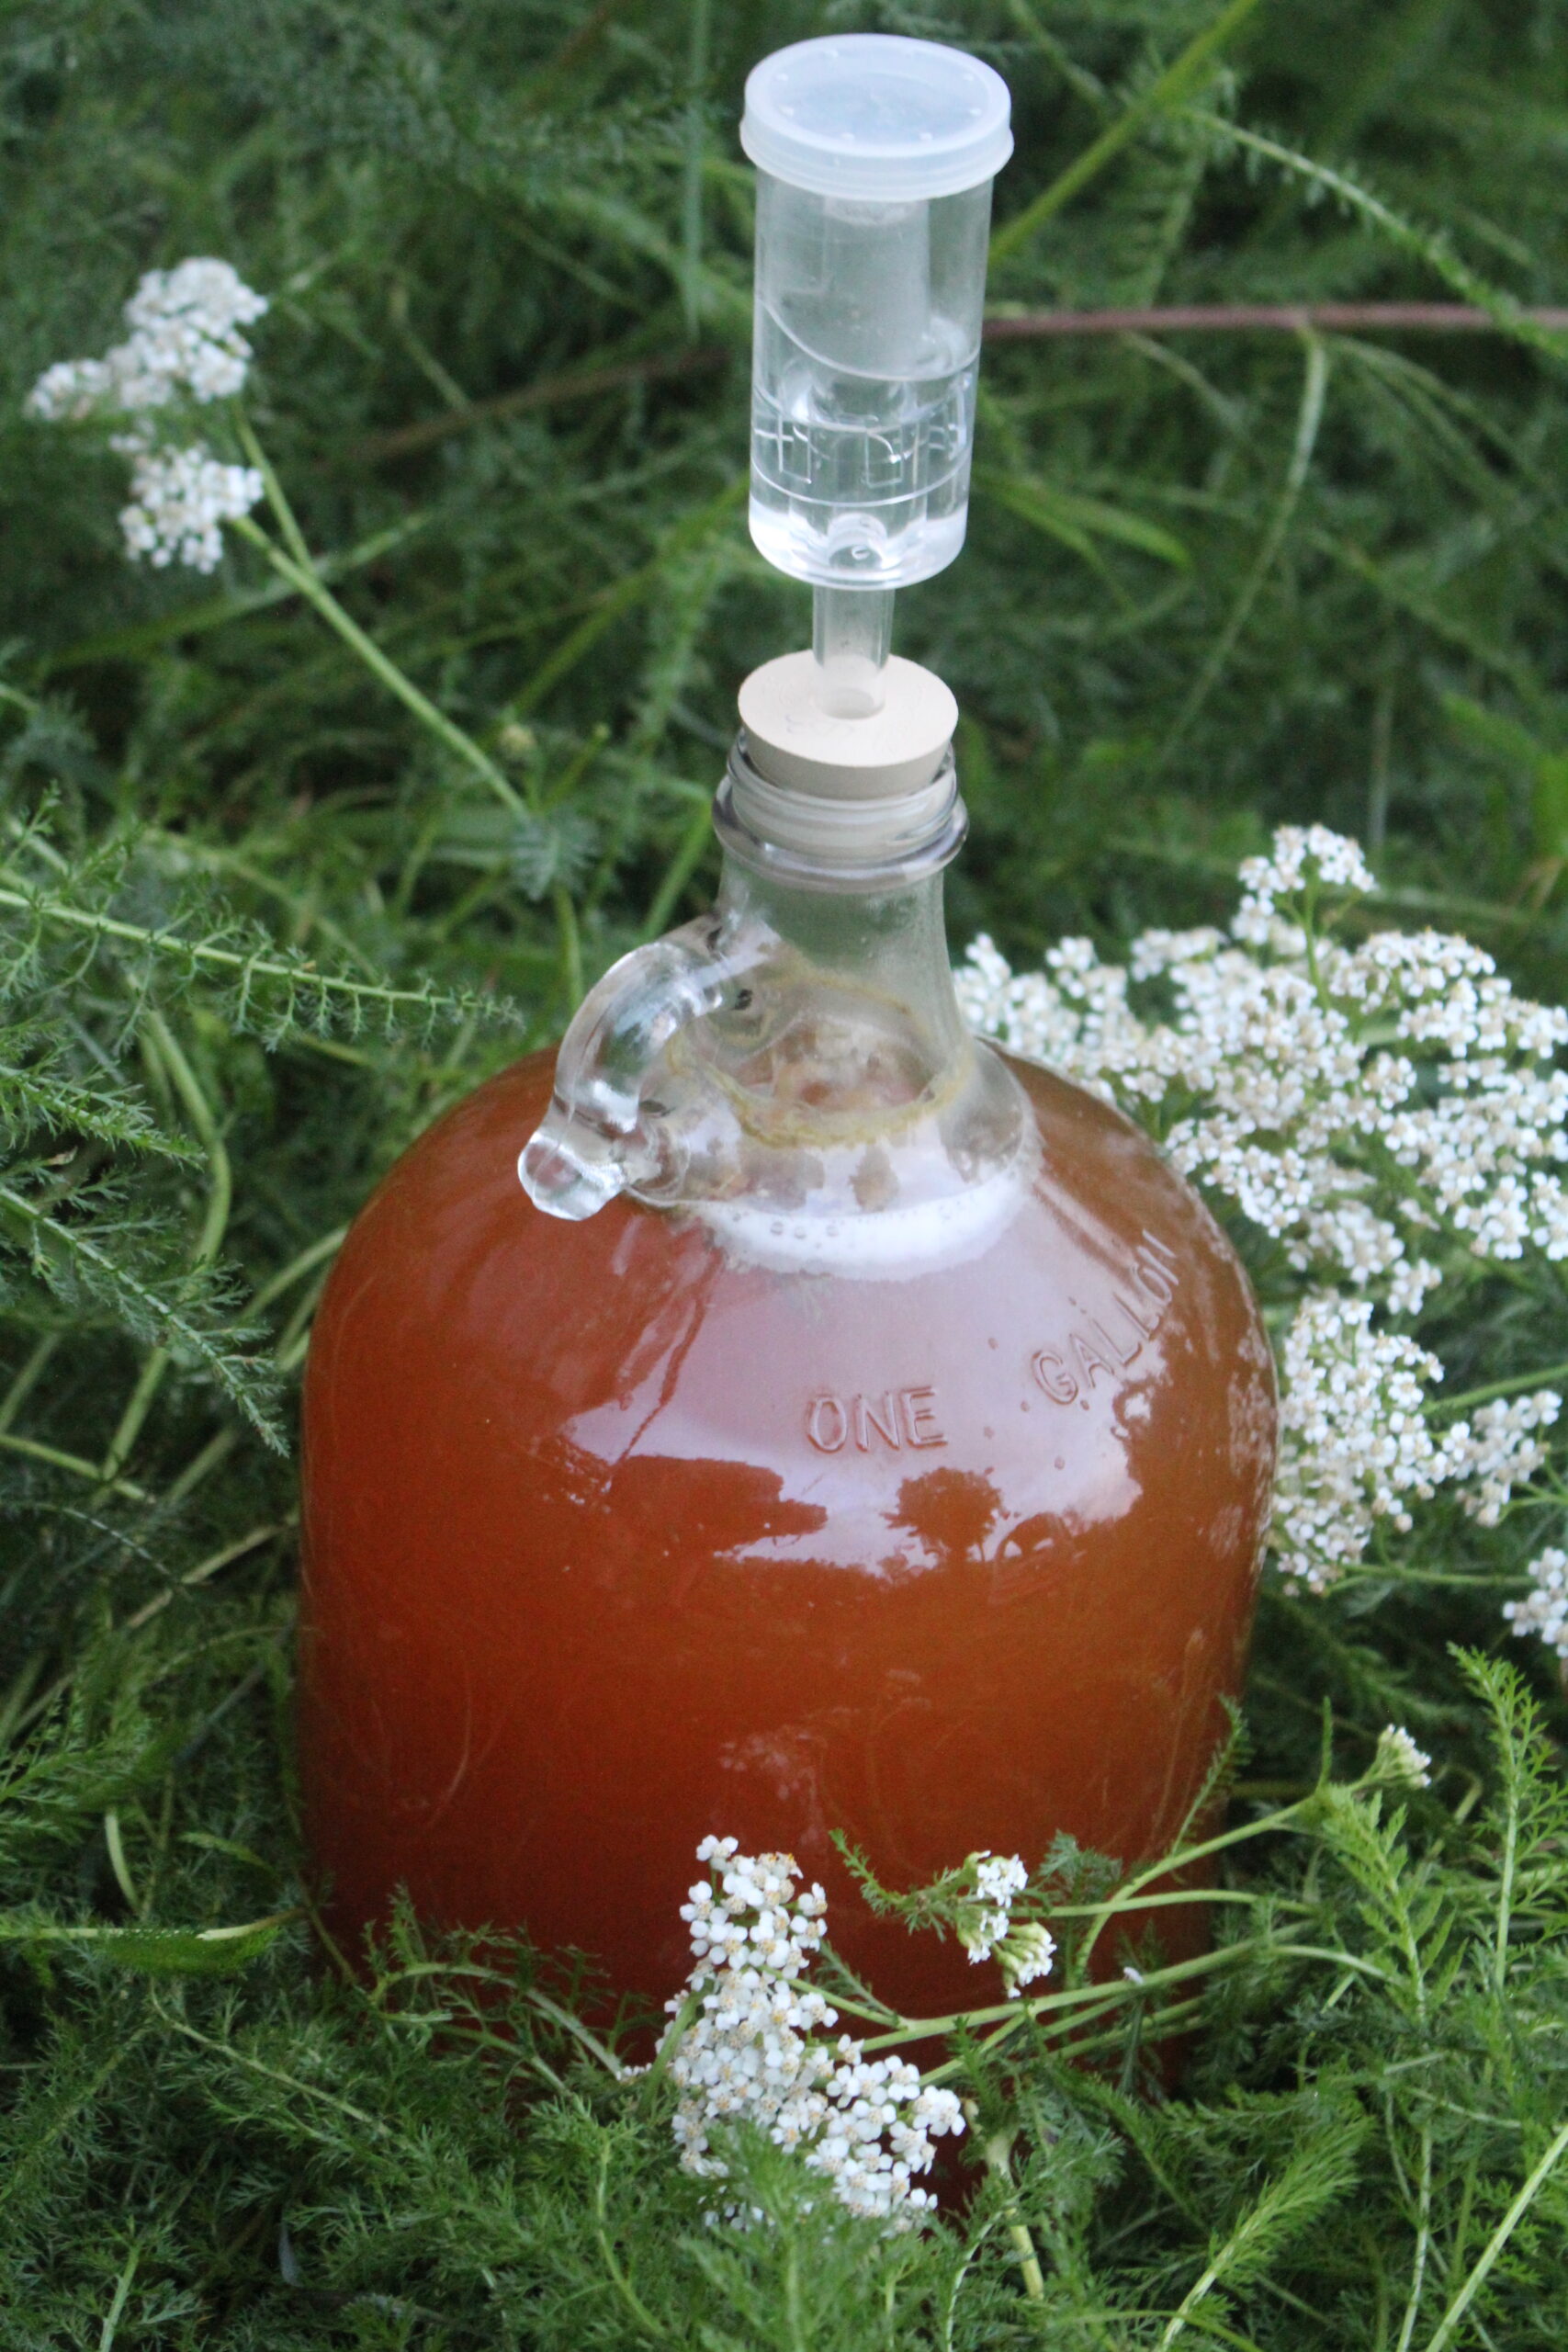
Sugar
Sugar plays a vital role in fermentation, as it feeds the yeast, helping it create alcohol and carbon dioxide. However, not all sugars are suitable for fermentation—artificial sweeteners or those derived from plants like stevia won’t work.
The best fermentable sugars come from sources like cane sugar, molasses, honey, and maple syrup.
The type of sugar you use will also impact the final flavor and body of your herbal beer. Brown sugar is one of the most common choices for herbal ales, as the sugar provides plenty of calories to feed the yeast, and the molasses has nutrients to help support the yeast.
There are several types of sugar to consider when brewing herbal beer, each with its unique qualities:
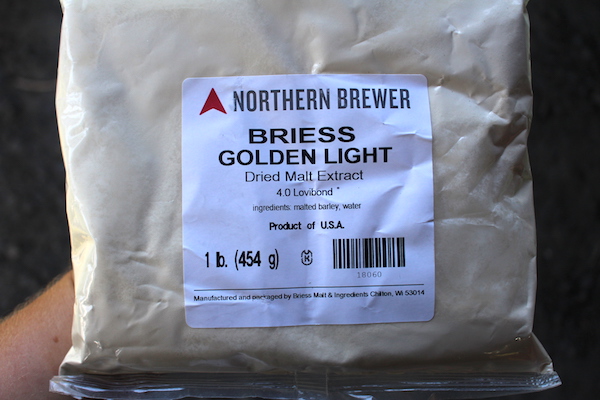
- Malt Extract: This is often the dominant sugar source in brewing, derived from malted barley or other cereal grains. It comes in both dry and liquid forms and is a great choice for creating a heavier-bodied beer. If you’re sensitive to gluten, be mindful that malt extract typically contains it.
- Brown Cane Sugar: This can be either light or dark brown, depending on the molasses content. Dark brown sugar like muscovado adds a richer, deeper flavor, while light brown sugar has a lighter, almost rum-like note. Brown sugar pairs wonderfully with fruits or aromatic herbs such as star anise.
- White Cane Sugar: A clean and simple sugar that is easy for yeasts to ferment, though it has a neutral flavor. It’s often used in combination with other sweeteners like molasses, honey, or maple syrup to create more complex flavors.
- Honey: Honey provides a mild, medium-bodied flavor depending on the type, and it ferments more slowly than other sugars. It’s often used in combination with other sweeteners for a balanced brew.
- Maple Syrup: Best used with Grade B syrup, which imparts a subtle but distinct maple flavor. It adds a medium body to your beer with hints of candy or butterscotch.
I’ve personally found that maple syrup gives homemade beer a “funk” that’s hard to put your finger on. We make our own maple syrup here in Vermont, and I really wish I could use it in brewing…but I just can’t stand the taste.
Plenty of people love it though, so it’s up to you (but I wouldn’t start with it on my first gruit brew).
Generally, you need around 1 to 1 ½ pounds of sugar for a herbal beer, regardless of the type.
Beer yeasts generally finish around 6-8 % alcohol, and you want a bit of sugar left after that, but not too much.
(Mead yeasts can finish as high as 18% alcohol, and mead generally has A LOT more sugar in it to accommodate that.)
Equipment for Brewing Herbal Beer
I walk you through all the equipment you need to brew in detail in my guide to brewing beer at home, but quickly, this is what you might need for brewing herbal beer:
- Enamel pot or stainless pot or ½ gallon canning jars for brewing tea
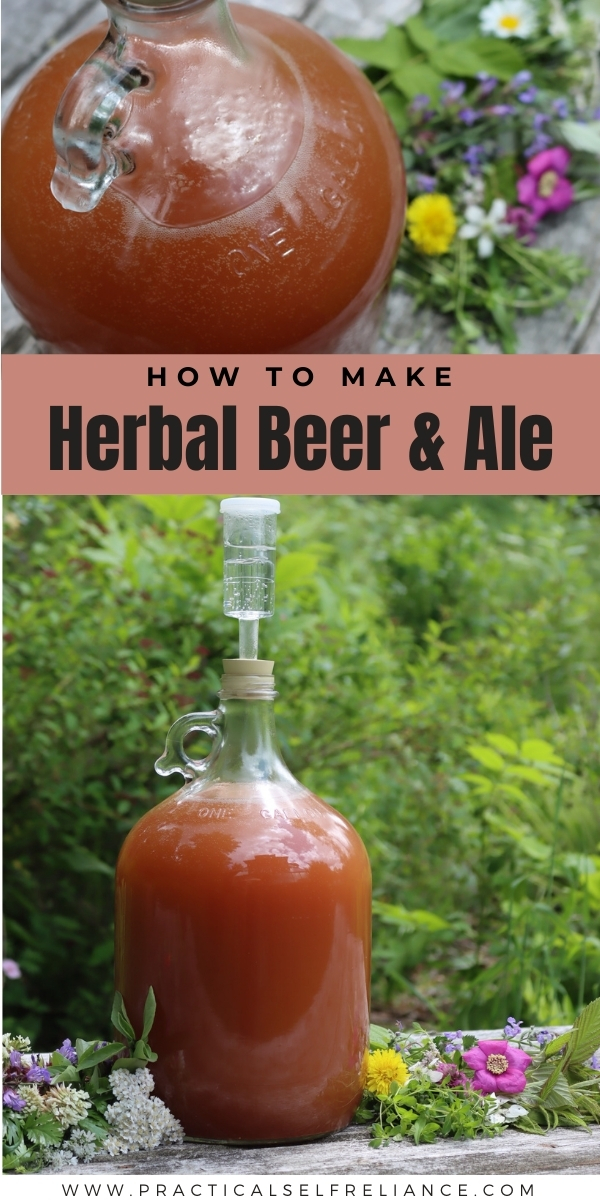
- Fermentation containers (glass carboy, gallon glass jug, plastic bucket)
- Swan-neck or 3-piece airlock with stopper
- Bottle caps, corks, or plastic corks /cages
- Beer or champagne bottles
- Hand capper
- Stainless steel funnel
- Strainer
- Kitchen Scale
- One Step Sanitizer
The equipment for herbal beer is much the same as for herbal mead or floral wines, so you can make those with much of this equipment as well.
Optional equipment includes an auto-siphon, hydrometer, and a food-grade thermometer to keep track of fermentation temperature.
Many brewers prefer glass fermentation vessels because they’re neutral in flavor, easy to clean, and allow you to monitor the brewing process. I personally started with a 5-gallon carboy, but I now prefer using a 1-gallon glass jug.
For bottles, clean 12-ounce beer bottles work well, but avoid reusing caps, as they often don’t seal properly.
If you’re feeling fancy, Grolsch-style or champagne bottles are excellent choices, as they’re built to withstand higher pressure. Plus, you get to drink more champagne—always a bonus!
How to Brew Your Own Herbal Beer
Brewing, much like cooking, tends to get messy, so it’s important to be prepared for spills and splashes during every step of the process. Whether you’re brewing, fermenting, bottling, or storing your beer, ensure you do so in areas that are easy to clean.
Cleanliness vs. Sterility
While keeping everything tidy is essential, sterility isn’t necessary. In brewing, as in daily life, thorough washing with soap and water is typically sufficient. Be sure to clean your brewing gear, work surfaces, and even your hands.
For a deeper level of cleanliness, consider rinsing equipment with a simple one-step sanitizer.
Brewing the Herbal Tea
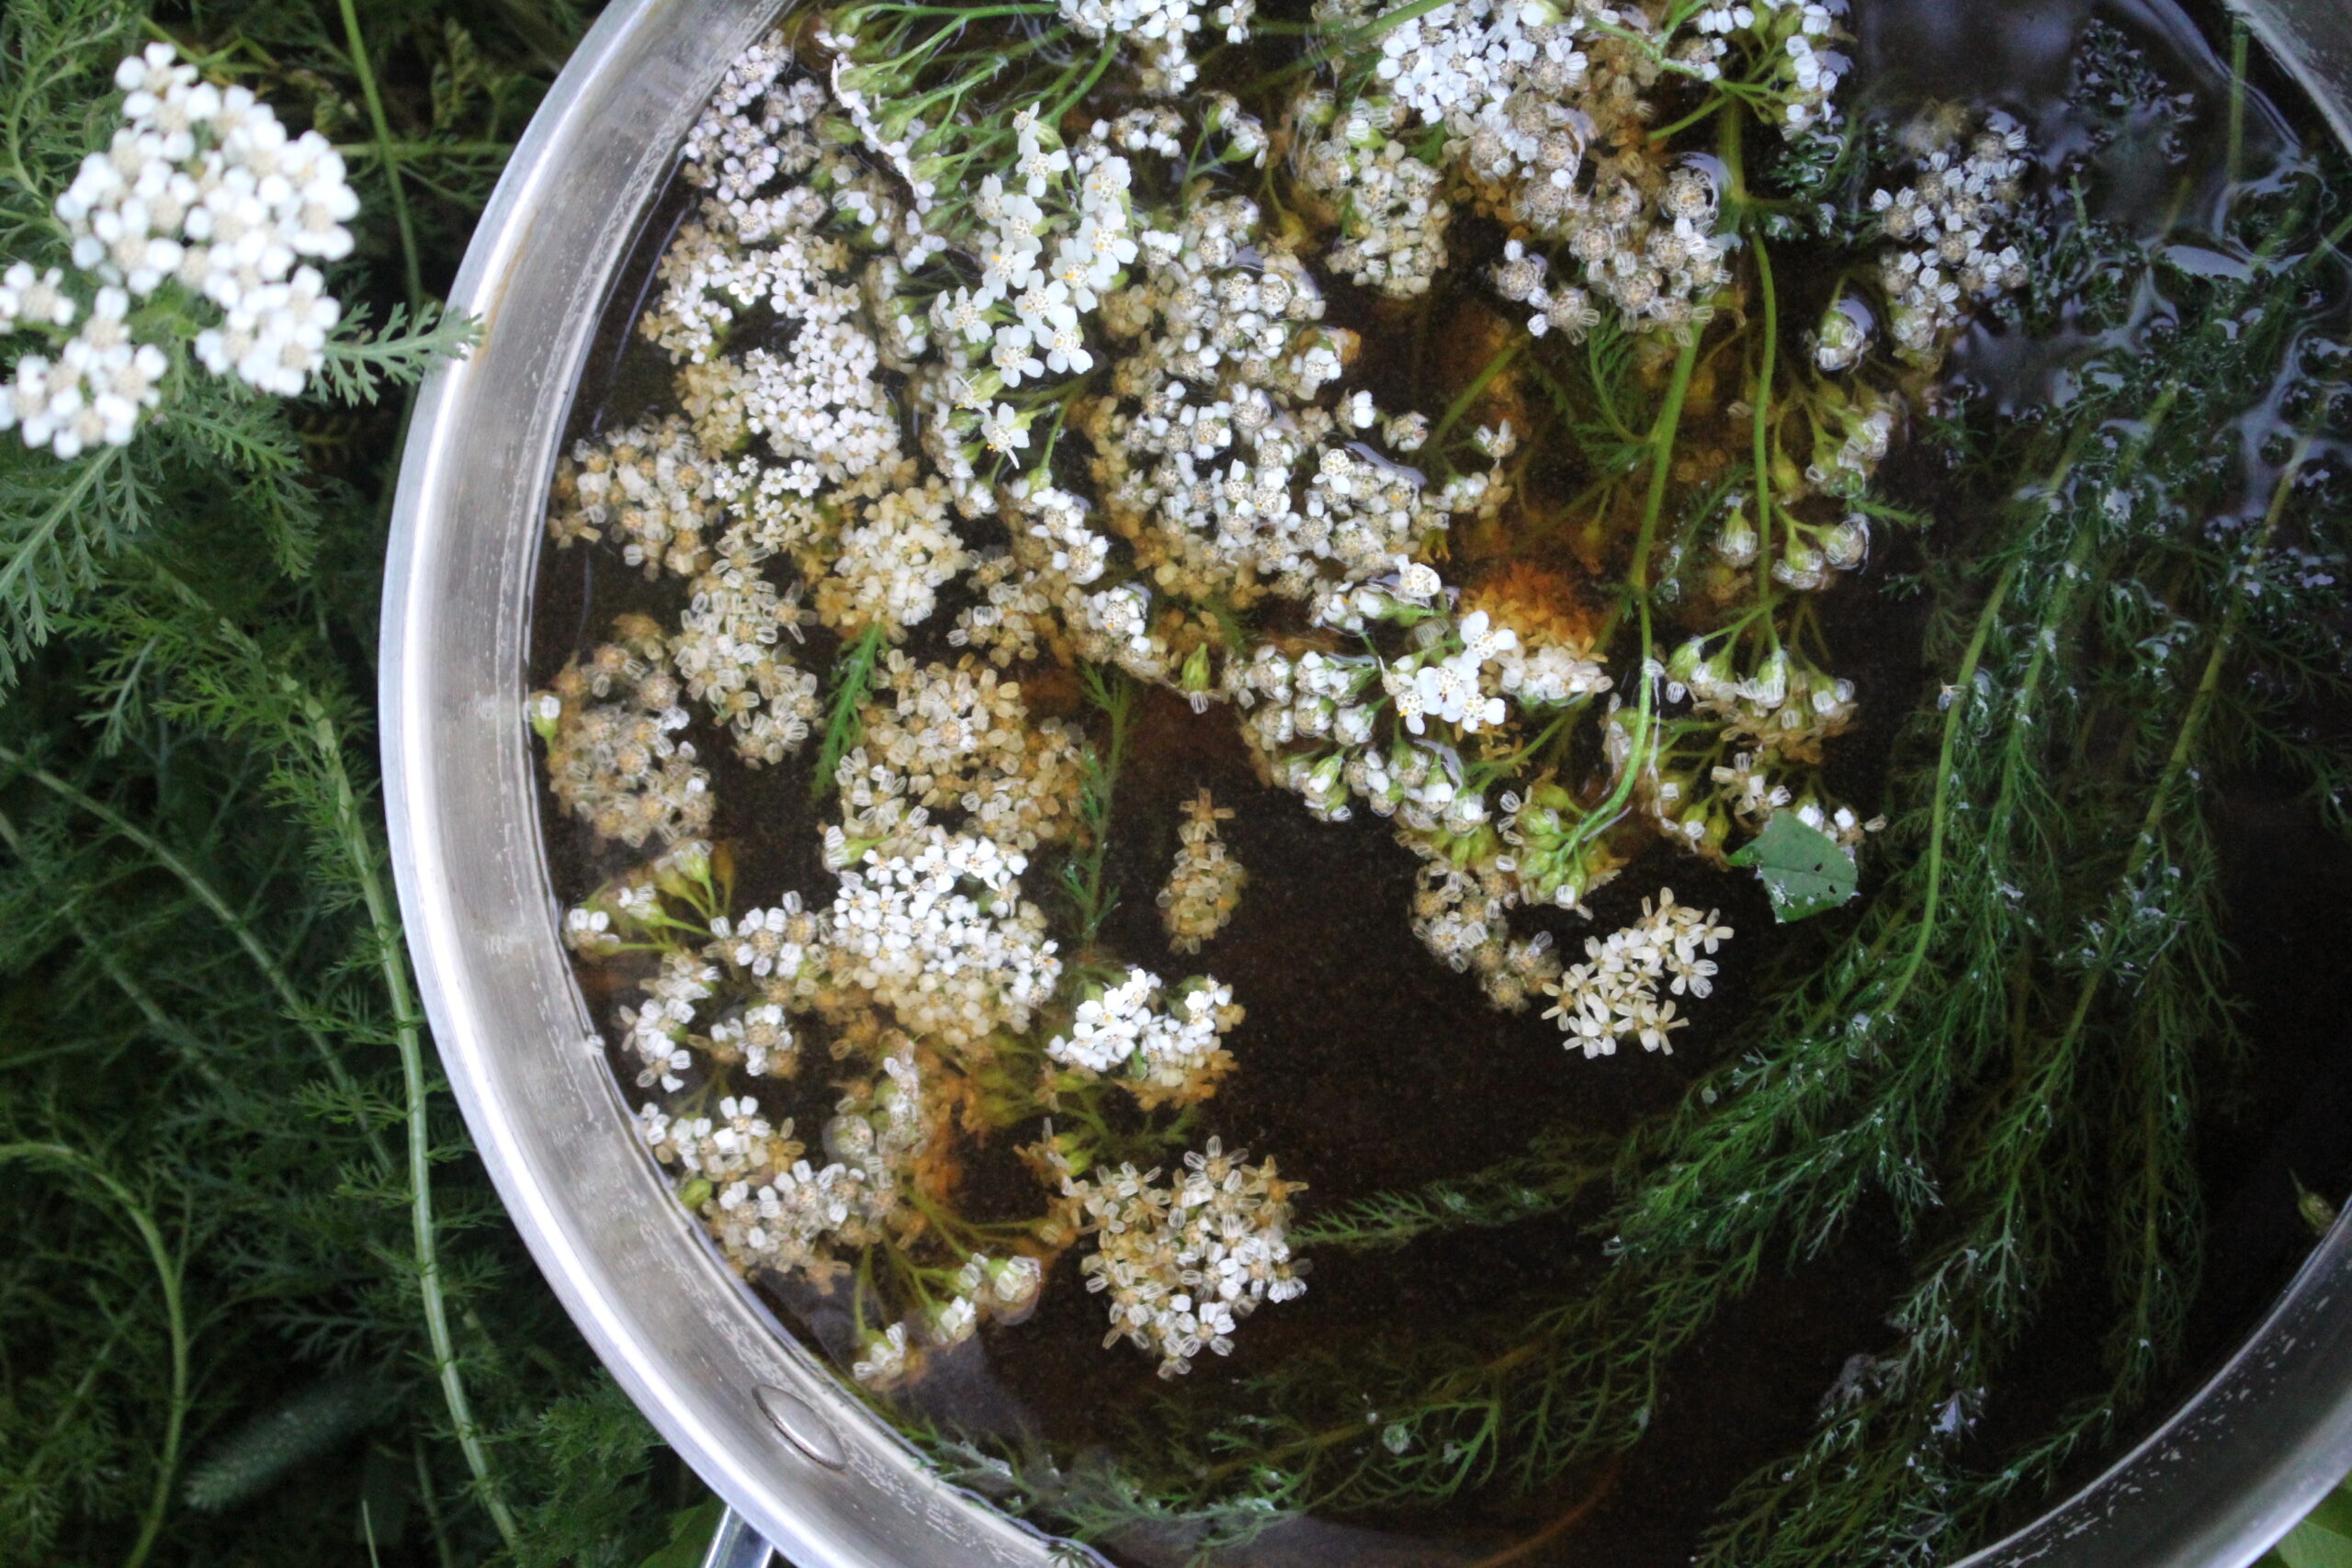
Brewing the herbal tea to form the wort depends on the type of herb or plant part you’re using. Some herbs are best steeped in hot water (an infusion), while others benefit from a simmer (a decoction).
- Infusion: This method is ideal for delicate herbs like leaves and flowers. Simply place the herbs in a container, pour boiling water over them, and let it steep for 30 minutes to 12 hours, depending on how robust you want the flavor.
- Decoction: For tougher plant materials like roots, bark, and stems, you need to simmer them in water for 30 minutes to an hour to extract their full flavor.
Fresh herbs can be steeped by pouring boiling water over them and letting them cool. For roots, especially tougher ones, start with cold water and gradually bring it to a simmer to avoid over-extracting bitterness.
Different herbs have different steeping needs. For example, cleavers and marshmallow root benefit from an overnight cold infusion, while nettles do best with a longer infusion (8-12 hours). But feel free to experiment with your preferred methods. The key is to extract the best qualities from the herbs for a flavorful and medicinal tea.
Turning Tea into Wort
Once your herbal tea is ready, it’s time to add a sweetener (sugar or another type) to transform it into wort. This process is easier if your tea is still warm, as sugar dissolves more readily in hot liquids. However, if your tea has cooled from a long infusion, you may need to be patient and stir well to ensure all the sugar dissolves completely before transferring the mixture into the fermentation vessel.
If you are using a hydrometer to measure the alcohol content, take an initial reading of the sweetened tea (the wort) before pouring it into the fermentation vessel.
When adding the sweetener, remember that your fermentation vessel should not be filled to the top. Leave enough room for the yeast to expand and produce foam during fermentation. For instance, with a 1-gallon container, only fill it to the shoulder.
Adding Yeast
Once your wort is in the fermentation vessel, it’s time to pitch the yeast. Follow the instructions on your yeast packet, as different yeast strains may require different methods of activation. For some, you’ll need to activate the yeast in water first; others can be sprinkled directly on the wort.
Most yeast thrives best at around 70°F, so be sure to cool your wort to that temperature before pitching. (If it’s over 90 to 100 degrees, you might kill your yeast.)
After adding the yeast, fit your fermentation vessel with an airlock and place it in a cool, dark spot. You’ll want to monitor the temperature, as yeast fermentation is highly temperature-dependent.
Too hot, and fermentation can speed up too quickly; too cold, and it may stall. A food-grade thermometer can help you keep track of your fermentation environment.
Fermenting Herbal Beer
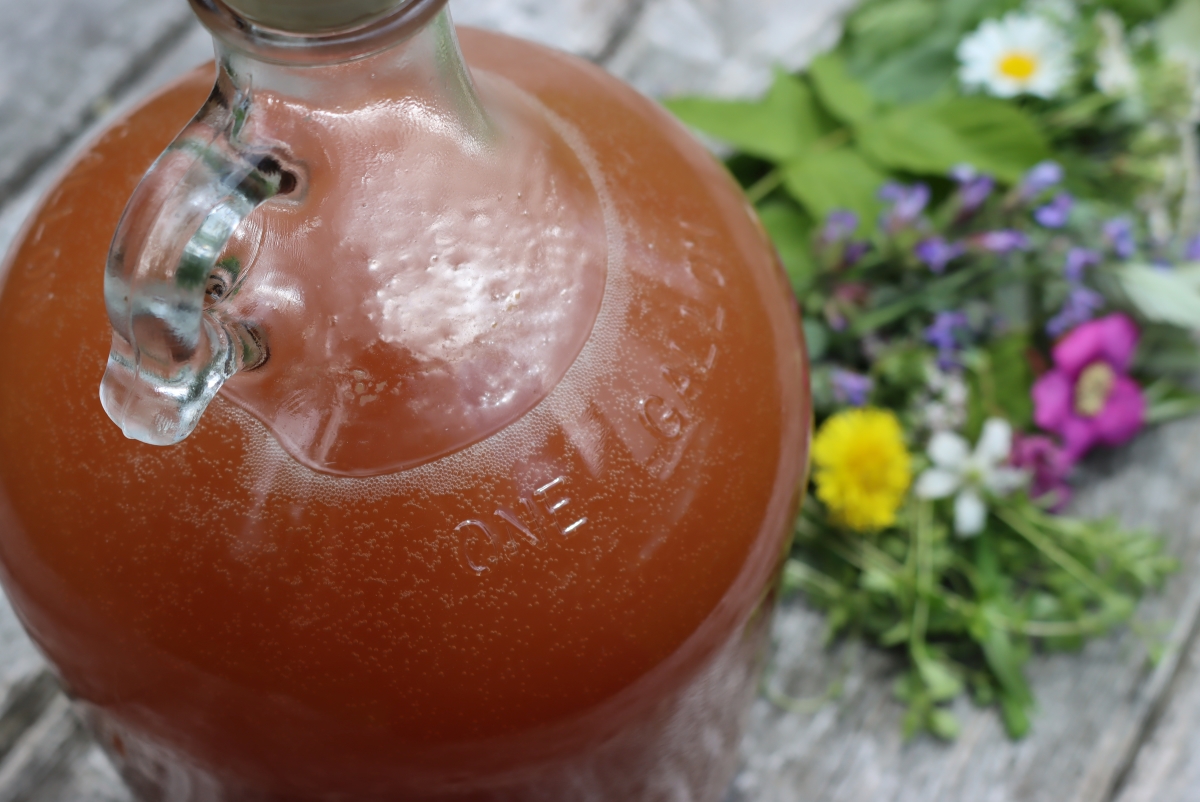
Fermentation times vary. In general, it can take anywhere from a few days to over a week for primary fermentation to complete, depending on several factors like the type of yeast, the fermentation temperature, and the sweetener used. Larger batches tend to take longer than smaller ones, and herbal ingredients like antimicrobial herbs (e.g., yarrow or wormwood) can also slow fermentation.
You can tell that fermentation is done when the bubbling activity slows significantly or stops, and when the wort becomes clearer. Tasting it can help too: if it still tastes quite sweet, it likely hasn’t finished fermenting.
Some brewers prefer to let their herbal beers sit in the fermenter for up to two weeks for the best results. If you’re using a hydrometer, take a final reading to ensure your beer has reached a specific gravity of 1.010 to 1.020, signaling that fermentation is complete.
Bottling and Priming
Once fermentation is complete, it’s time to bottle. First, clean your bottles thoroughly. A one step no rinse sanitizer really helps with this. After sanitizing, it’s time to prime the bottles, which is a critical step in creating carbonation.
Priming involves adding a small amount of sugar to each bottle before filling it with your herbal beer. The sugar will trigger a secondary fermentation, creating carbon dioxide that will carbonate the beer. You can use any sugar, though turbinado sugar is a popular choice, as it adds a slight depth to the flavor. Typically, ½ teaspoon of sugar per 12 oz bottle works well, but adjust according to the bottle size.
If you prefer, you can add the priming sugar directly to the entire batch before siphoning it into bottles. This method allows for better control over carbonation levels.
Be cautious during this step, as adding too much sugar or bottling before fermentation is complete can lead to explosions. If you use a hydrometer and monitor the beer’s fermentation closely, this risk is greatly reduced.
Bottle Aging
Once your bottles are primed and sealed, they need to undergo bottle aging, which usually takes a week or two at room temperature. This is where carbonation is built. Afterward, move your bottles to the refrigerator for quick access and enjoy your freshly brewed herbal beer.
If you don’t want to refrigerate immediately, store the bottles in a cool, dark place, away from temperature fluctuations. I recommend keeping the bottles in boxes or another enclosed space to contain any potential accidents.
Herbal beer tends to last about a year if stored properly. Beers made with more preservative herbs like hops or yarrow may last longer, but the flavors and medicinal properties will degrade over time.
Final Steps
The final step? Enjoy!
Brewing herbal beer is a fun and rewarding way to connect with plants and their medicinal properties. As you gain experience, you’ll develop your own methods, refine your techniques, and create uniquely flavorful brews. Whether you’re crafting a simple herbal ale or working towards more complex styles, the sky’s the limit. Enjoy the process and the satisfaction of sipping something that’s both delicious and healthful!
Basic Herbal Beer (Gruit)
Equipment
Ingredients
- 1 lb Sugar, Honey, or Malt Extract, per gallon
- Herbal Tea of Your Choice
- Safale S-04 Beer Brewing Yeast, or other Beer Yeast
Instructions
- Clean, rinse, and dry all equipment, work surfaces, and hands with soap and water. Clean the carboy or fermenting vessel well. A one-step sanitizer can really help with this (see equipment above).
- Use about 3 quarts to a gallon of water to make herbal tea with the herbs you've chosen. The amount to use depends on the herb, and stronger flavored herbs or those with more concentrated properties would require less. A general rule of thumb is about 1/2 cup to 3 cups of dried herbs per gallon of water.
- Add sweetener of choice and stir well to dissolve. When making beer, I like to use a simple dried malt extract as the sugar source, but herbal ales are also delicious with brown sugar.
- Pour the wort (sweetened herbal tea that's going to ferment) into the fermenting vessel, filling only to the shoulder of the bottle to leave ample headspace.
- Add yeast to the fermenting vessel per package instructions. Place the airlock on top to seal, allowing the CO2 from fermentation to escape but keeping contaminants out.
- Place the fermenting vessel somewhere at a cool room temperature, out of direct sunlight. Primary fermentation usually takes 1 to 2 weeks, depending on temperature, sugar, and yeast type. You're watching for when active fermentation slows, and you can't see the airlock bubbling for at least 5 minutes. For a more accurate approach, after the fermentation appears to have finished, take another specific gravity reading (a finished herbal beer will usually read 1.010 to 1.020).
- Once fermentation has stopped, clean and rinse bottles. Depending on the size of the bottles, prime bottles with ½ tsp sugar prior to filling. This will allow them to carbonate during bottle aging (flat beer isn't tasty, herbal or otherwise).
- Fill bottles with ale, leaving 1-2 inches of airspace in the bottle. Cap and label.
- Allow your herbal beer to bottle age for 1 to 2 weeks to build up carbonation before drinking. Keep it at a cool room temperature (really warm rooms can cause the mixture to ferment too fast and pop bottles).
- Once carbonated, either enjoy or store in a cool place for up to a year. Herbal beer is best enjoyed fresh; while it may keep a year, I'd suggest drinking it within 6 months of brewing. Enjoy!
Nutrition
Nutrition information is automatically calculated, so should only be used as an approximation.
Herbal Beer Books & Courses
The Herbal Academy of New England has a whole course titled The Art of Herbal Fermentation, which covers beer, wine, mead, lacto-ferments (like herbal sauerkraut), water kefir, ginger bugs, kombucha, and more. As a home brewer, I particularly loved their section on making herbal beer. They also have a lot of video content that really breaks the process down, which is perfect for visual learners.
Here’s where you can find all my favorite herbal brewing books and supplies, and this list below has some of the highlights:
Beer and Brewing
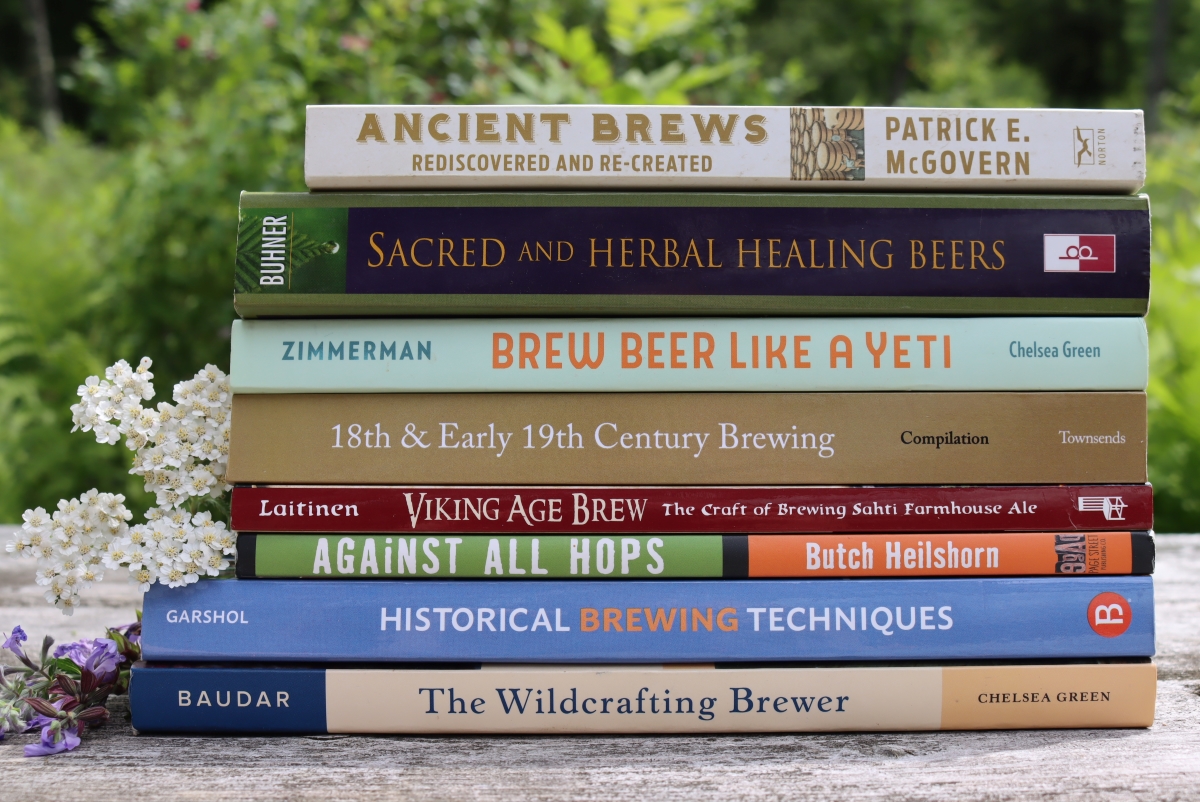
- Sacred and Herbal Healing Beers: The Secrets of Ancient Fermentation by Stephen Harrod Buhner. This book contains the lineage, lore, and methodology of making herbal brews as well as information on herbs not easily found in other herbals.
- The Complete Joy of Home Brewing: Fully Revised and Updated by Charlie Papazian. This fourth edition of the classic manual is the only home brewing reference you will ever need.
- Ancient Brews: Rediscovered and Recreated by Patrick McGovern. I’m a huge food anthropology nerd, and this book is one of my favorites. It traces ancient brewing back 10,000 years, and recreates recipes based on historical records and tested samples found in tombs all over the world. This one is a great read, and they even have an audio book version. Plus, so many great recipes!
- Brew Beer Like a Yeti by Jereme Zimmerman. One of the first DIY homebrew books to take a casual approach to brew, allowing you to just relax and make good beer as humans have done for millennia. This is a great beginner book for anyone hoping to brew herbal beer without stressing out about it.
- Early 18th and 19th Century Brewing is a compilation of historical works put together by the Townsends (of the famous Youtube channel). It’s actually brewing books from the period, so it’s a great primary source.
- Viking Age Brew: The Craft of Brewing Sahti Farmhouse Ale by Mika Laitienen covers historical recipes for Scandinavian farmhouse ales with techniques that go back to before the middle ages. Many of these are still brewed in remote parts of the Nordics today.
- Against All Hops by Butch Heilshorn is a modern book with unique recipes for homebrewers looking to brew gruits to impress their friends. For a while, gruits were all the rage with niche breweries, and while this isn’t really a medicinal herbal or historical reference, it does have a lot of interesting Avante-guarde recipes.
- Historical Brewing Techniques by Lars Garshol is a fascinating guide for anyone trying to replicate brewing techniques from before the modern era, be it hundreds or thousands of years ago. Many of these techniques are still used in small brewhouses in Germany and Scandinavia to produce some of the world’s best craft beers.
- The Wildcrafting Brewer by Pascal Baudar has a lot of simple, modern wild foraged recipes for quick beers and ales made with herbs or other wild-harvested ingredients. The recipes are simple to follow, and perfect for beginners who just want something interesting to drink (and aren’t looking for a huge dose of herbalism or history).
Plant Guides
Part of the fun of making herbal beer is gathering your plant material, either from your garden or out in the wilds. Having a plant guide to identify plants is essential, and they are not all created equal. Guides I have found useful include:
- Peterson Field Guide to Wildflowers by Margaret McKenny and Roger Tory Peterson
- Newcomb’s Wildflower Guide by Lawrence Newcomb
- Weeds of the Northeast by Richa Uva, Joseph Neal, and Joseph DiTomaso
- Wildflowers of the Shenandoah Valley and Blue Ridge Mountains by Oscar Gupton and Fred Swope
Herbals
Each herbal has its own perspective, not to mention strengths and weaknesses. I have always been partial to these books:
- A Modern Herbal by Maud Grieve
- The Earthwise Herbal (both the Old World and New World editions) by Matthew Wood.
Fermentation Guides
Looking for more fermentation tutorials?
- How to Make Mead (Honey Wine)
- 50+ Mead Recipes
- How to Make Homemade Beer
- How to Make Hard Cider
- How to Make Pear Cider (Perry)
- Beginners Guide to Lacto-fermentation
- How to Make Sauerkraut in a Crock
- Lacto-fermented Pickles
- How to Make Fruit Vinegar
- How to Make Apple Cider Vinegar


This is just what I have been looking for, thank you! I want to have a go at making nettle wine or beer, hiw much fresh nettle would I need fo a small trial batch please?
My friend Teri actually has a specific nettle beer recipe posted, but looking at it, it’s actually more of a nettle soda only fermented for a few days. But assuming her amounts are a good approximation of how much you’d want, she’s using 1 lb fresh nettles of 8 ounces of dried nettles. Her recipe is here:https://homestead-honey.com/nettle-beer-recipe/
There’s not enough sugar in there to make a full beer or wine, and it’s not fermented long enough to actually really be alcoholic instead of a soda. But hopefully it gives you an idea of the amount of nettles to use.