Affiliate disclosure: This post may contain affiliate links. Please see our Privacy Policy.
Sometimes you just need a little bit of sweet, but you could do without the extra calories. Artificial sweeteners contain some pretty scary stuff, and they taste downright horrible. Stevia is different.
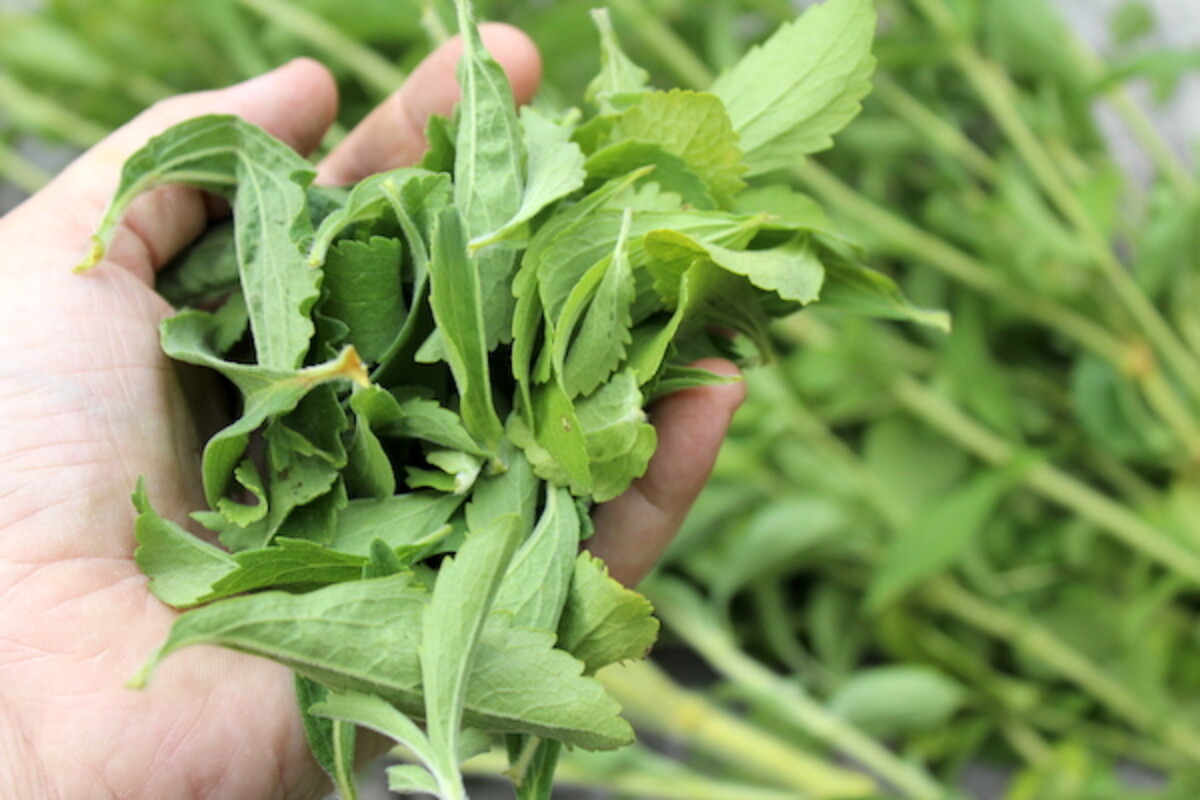
It’s a simple plant that you can grow right in your backyard, just like I did. It’s hard to imagine a green leaf tasting that sweet, but take one nibble of a stevia leaf and it’ll blow your mind.
Stevia is the best sweetener for people with diabetes according to Diabetes Strong, and unlike lab-made sweeteners, there’s nothing artificial about it. You can actually just grow a stevia plant, in much the same way you’d grow mint or oregano, and then extract the natural calorie-free sweetener.
Why bother though? When you can just buy premade stevia extract?
While store-bought stevia may say “all-natural,” most brands aren’t just stevia. This one, for example, has lab-made erythritol as the first ingredient. It may only be flavored with stevia, but it’s still somehow allowed to be labeled “All Natural Stevia.”
Beyond knowing what’s in it, I make it for the simple joy of all things DIY. Why bother making jam, or soap, or your own dinner? For me personally, I like the idea of knowing how to take care of my own needs as much as possible.
We make our own backyard maple syrup, and raise bees for honey (and because they’re fun to watch). When I wanted to try out stevia, making my own was the obvious choice.
Besides, it’s absurdly easy to make your own stevia extract.
The first step to making your own stevia extract is either growing the stevia or buying dried stevia leaf.
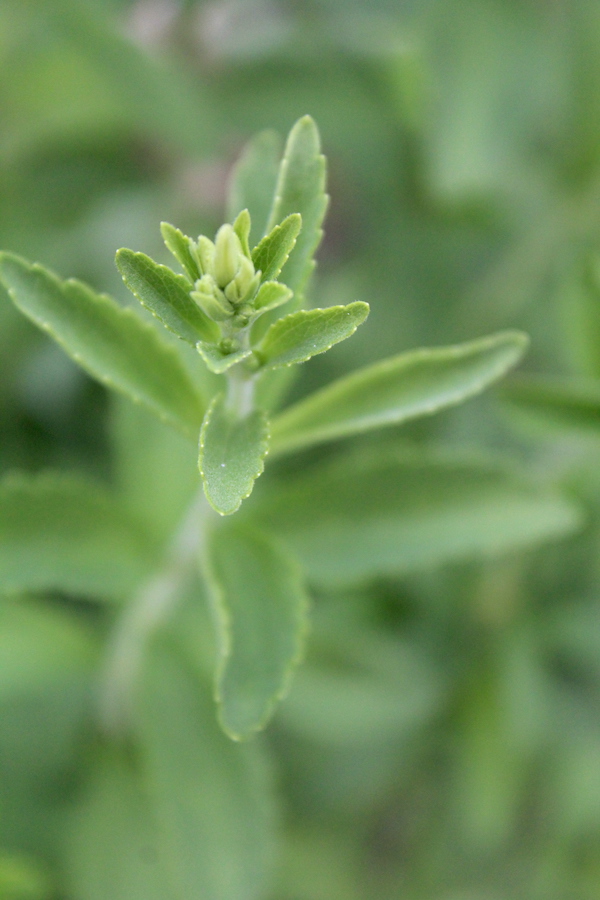
Stevia is super easy to grow, and I planted mine, and then honestly I completely forgot about it until fall. I’d planted it on the border of my garden, near a fence growing grapes, and the grapes and weeds had all but eaten the plants.
Still, they managed to grow into two feet tall bushy plants, with quarts of stevia leaf on each plant. I had enough to make a gallon of homemade stevia extract, but for now, I’m starting small.
This batch of stevia extract is just one pint, and the rest of the leaves are drying for a homemade stevia powder, which is just as easy to make.
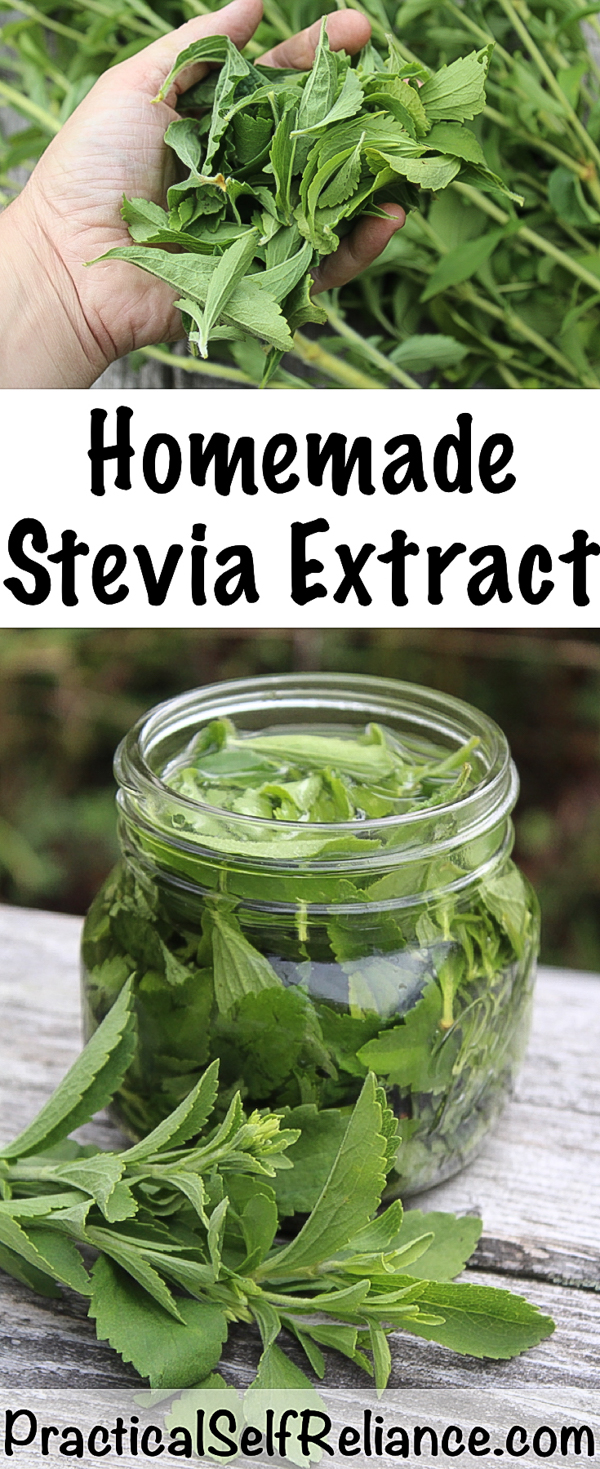
How to Make Stevia Extract
To make stevia extract, you need three simple things:
- Stevia Leaves (fresh or dried)
- Neutral Vodka
- A Jar
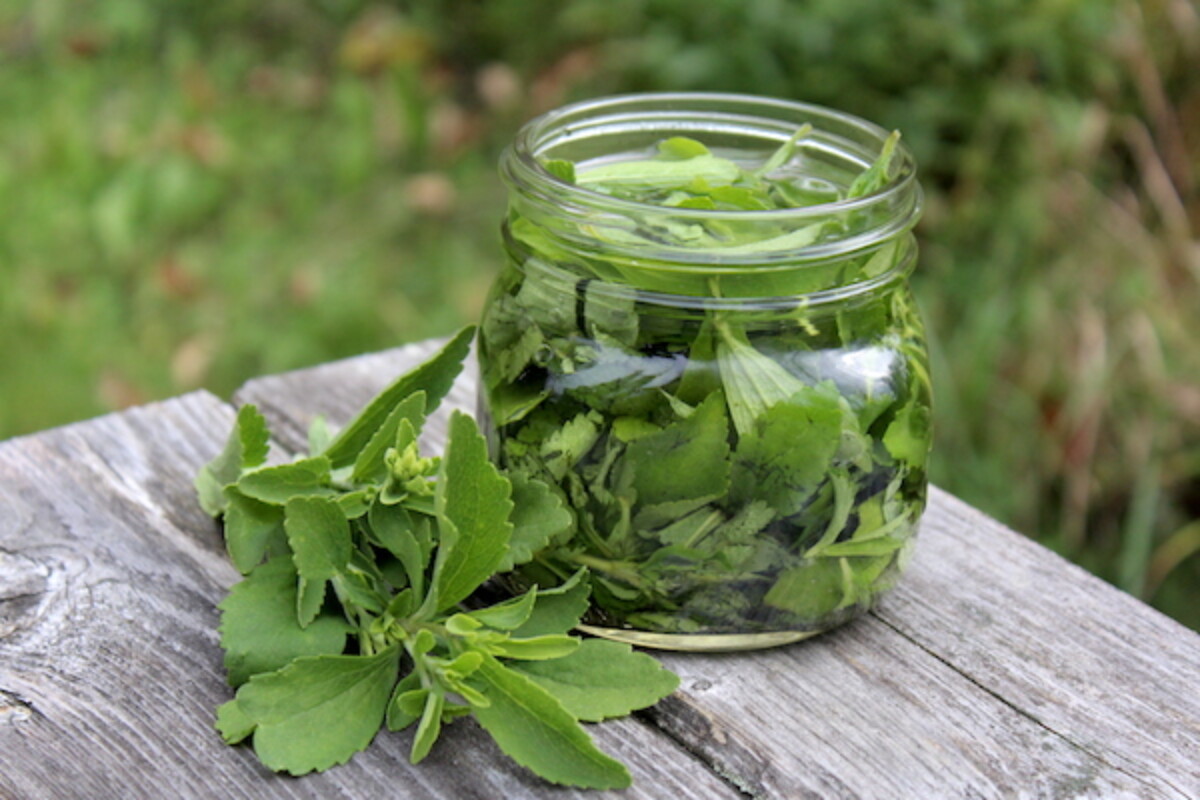
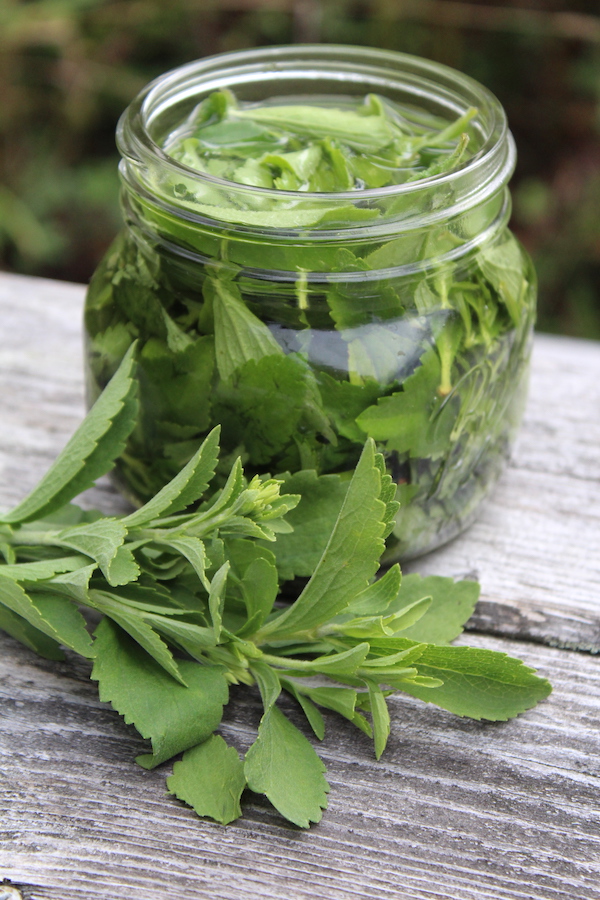
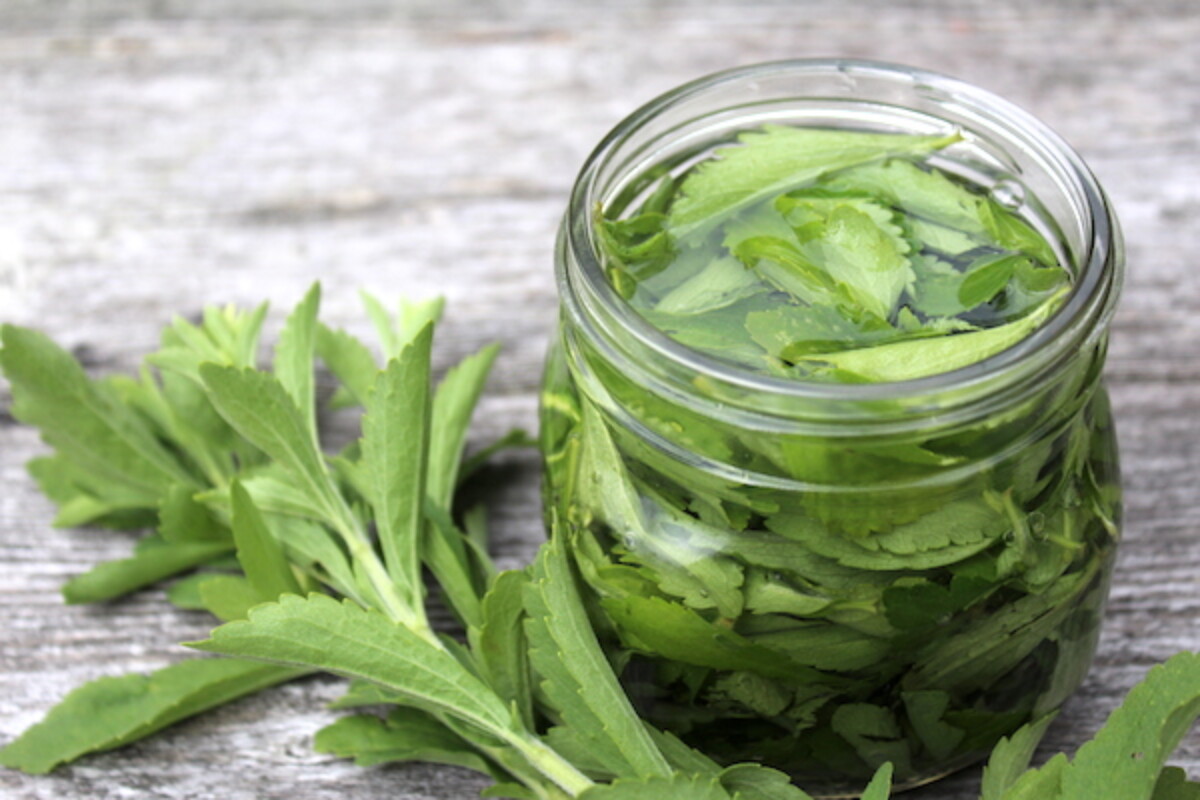
That’s it. It’s hard to make this sound like a recipe because it isn’t. Pull the stevia leaves off the branches, put them into the jar, cover them with vodka.
Chop the stevia leaves before putting them in the jar, or don’t, it’s up to you. Let the leaves steep in vodka for about 2 days, any longer and the extract can get bitter. Unlike when you’re making a homemade tincture, you don’t want to extract everything out of the leaves, just their simple sweetness.
(I’m using fresh stevia leaves here, but if you’re using dried, I’d suggest using half as much. For fresh, fill the jar, for dried only fill it halfway. Dried leaves pack tighter and are more concentrated sources of the sweet flavor.)
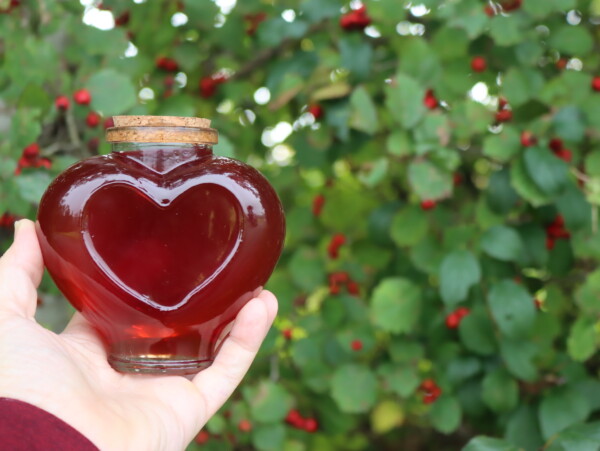
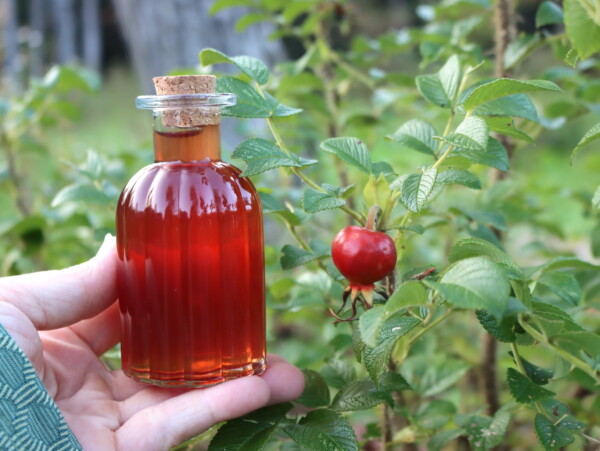
Once the extract is complete, filter out the leaves and bottle the stevia extract in an amber dropper bottle.
So what about the vodka in the extract? That’s not exactly low-calorie. Don’t worry, stevia is very strong, and it only takes a drop or two to sweeten ice tea.
Trust me, if you tried to take a whole vodka shot of stevia extract you’d be sorry, it’s completely overpowering. A pint of stevia extract should last you months, if not all year, depending on how often you use it. It’s a vodka extract, so it’s shelf-stable and should last indefinitely.
How to Make Stevia Powder
Homemade stevia powder isn’t any harder than extract.
If you have fresh stevia leaves, they’ll need to be dried first. Lay them out in a well-ventilated area, or chop the plants off at the base and hang them whole from a rafter. Either way, they’re reasonably dry to start with and it should only take a few days to dry them completely.
If you’re in a very humid area, try drying them in the oven on the lowest setting. Once they’re dry enough to completely crumble in your hands, they’re ready.
Starting with store-bought dried stevia leaves, you’re ready to go.
The next step, turn the leaves into a powder.
The easiest way to do this is a clean coffee grinder, one of those tiny cheap blade grinders. It’s important that it’s never been used, not even once, to grind coffee though. I keep one separate just for grinding herbs, and the herbs don’t leave their flavor in it as coffee would.
Place a few dried leaves in the grinder and pulse until it’s a powder.
Since homemade stevia powder is actually powdered stevia, instead of lab-made powdered erythritol flavored with stevia, it takes considerably more in to get the same effect in recipes. It’s still much sweeter than sugar, and you only need about 1/8 to 1/4 cup of homemade stevia powder to replace a cup of sugar.
When using it in recipes calling for powdered stevia, you may need to add a bit more than the recipe calls for. It’ll depend on your tastes and the sweetness of your particular plant.
Recipes Using Stevia
Stevia is surprisingly versatile, and if you’re really on a DIY kick, you can use it to make your own homemade toothpaste. Here are some ideas for using it in healthy recipes:
- Healthy Vanilla Pudding
- Stevia Lemonade
- Sugar-Free Cinnamon Maple Roast Pecans
- Sugar-Free Apple Strudel
- Stevia Mexican Hot Cocoa
- Low Carb Pumpkin Cheesecake


Absolutely love this site!
Do you put a lid on the jar during the initial 2 days? For those concerned, I would think the alcohol would have evaporated after 2 day if no lid.
Thank you!
Yes, I would put a lid on it.
Other possible ways to extract the sweetness from Stevia besides alcohol?
Wondering how NOW makes theirs…we’ve been using for years?
I took a look at the NOW website, and it looks like they’re making a herbal glycerite instead of a tincture. (Here are their ingredients: Ingredients: Organic Vegetable Glycerin, Organic Stevia Leaf Extract, De-Ionized Water.)
I have instructions on how to make herbal glycerites here, and you’d just use stevia as your herb: https://practicalselfreliance.com/herbal-glycerites/