Affiliate disclosure: This post may contain affiliate links. Please see our Privacy Policy.
Uses for honey go way beyond a spoonful in a cup of tea, and throughout history, honey has been used for medicine, wound healing, cosmetics, and dozens of other ways around the home and garden. Some of these uses are no longer practiced, and they’re just fun historical trivia, but quite a few are still in practice even today.
Table of Contents
- What is Honey?
- Ways to Use Honey
- Honey in the Kitchen
- Creamed Honey
- Infused Honey
- Food Preservation
- Mead
- Sugar Substitute in Baking
- Pastry Glazes
- Marinades
- Honey Marshmallows
- Honeyed Lemonades
- Honeyed Fruit Popsicles
- Tea or Coffee Sweetener
- Honey for Personal Use
- Medicinal Honey
- Wound Healing
- Treat Burns
- General Purpose Balm
- Ringworm/ Athlete’s Foot
- Treat Ulcers
- Medicinal Herbal Infusions
- Sooth a Cough or a Sore Throat
- Fermented Honey and Garlic
- Acid Reflux
- Diaper Rash
- UTIs
- Diarrhea
- Eye Problems
- Insomnia
- Anxiety
- Honey around the House
- Useful Lists
When I was a Freshman in high school, I happened to pick up a random book off the library shelf that completely changed my life. It’s a weird one, I’ll admit, but it instantly sparked my lifelong interest in herbal and alternative medicine.
The title was, “Honey, Mud, Maggots, and Other Medical Marvels: The Science Behind Folk Remedies and Old Wives’ Tales,” and it traced the roots of historical therapies, both effective and not. Honey happened to be one of the most effective medicines for wound healing, especially before modern medicine. It’s naturally antimicrobial, and a wound or burn dressed with honey tends to heal quickly and without infection.
That’s a big deal when dealing with medicine before modern antibiotics, but it’s also a big deal today. Not every burn in the kitchen means a trip to the hospital for modern medicine, but still, it’s nice to have something effective you can easily do at home to prevent infection, speed wound healing, and minimize scarring. A smear of clean, raw honey will do just that.
Later, I learned that honey has dozens of uses around the home and garden, beyond just medicinal uses. I found at least 20 practical modern uses for honey, and then I got a bit of help from a reference librarian who just loves to do deep dives into all manner of topics. She has access to university library databases, and she was kind enough to put together this reference on the uses of honey (both historical and modern).
This article is written by Morgan Hyde, a reference librarian from Arizona. Her work for the library has refined her passion for learning and deep research—a passion that began in her rural AZ upbringing. If it’s something she can do on her own, it’s something she wants to know about.
What is Honey?
Honey holds a unique place in human history. It has been harvested for millennia and can be found on all four inhabited continents in the world, making it one of the few foods eaten globally before international trade became as common as it is today. While it has been used in home remedies since at least the times of Ancient Egypt, honey has recently enjoyed growing attention from the medical community.
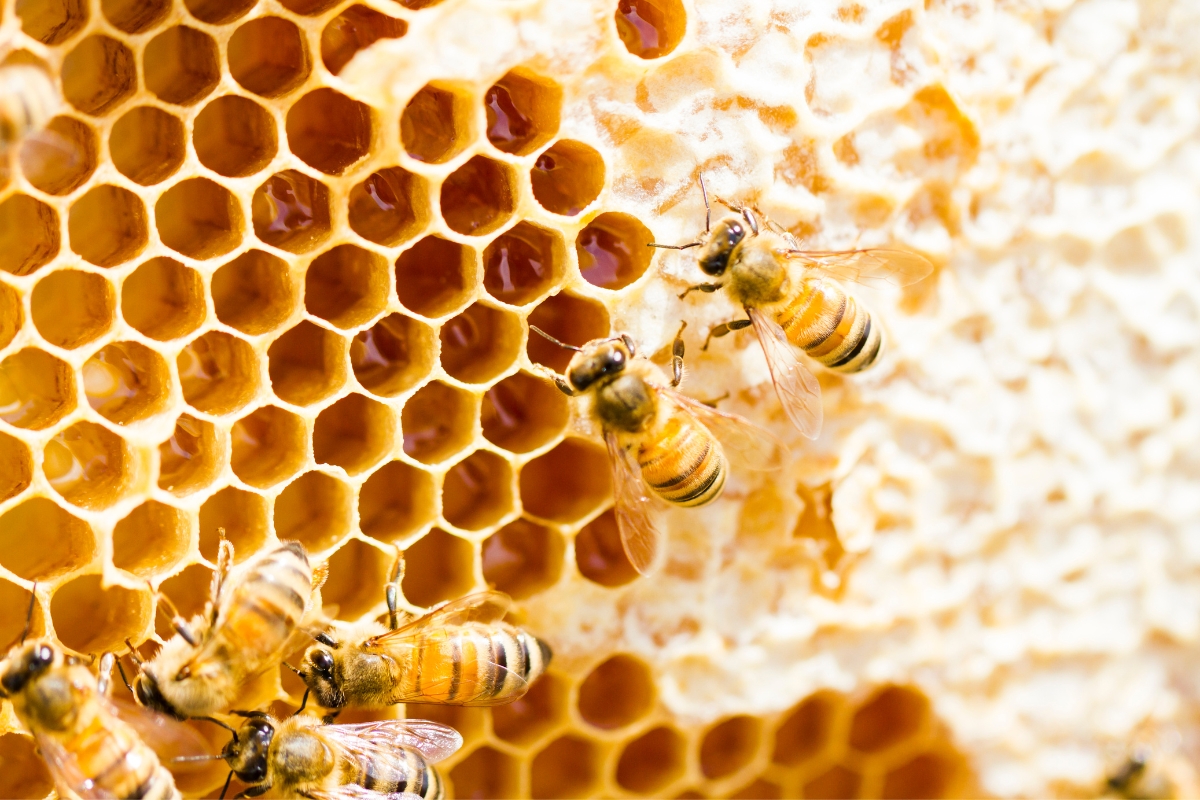
Mostly made up of sugars (containing both fructose and glucose), honey contains many other beneficial minerals and enzymes. What exactly you’ll find in your jar will vary by region and season. Worker bees collect nectar from nearby flowers and use enzymes in their saliva to chew the liquid nectar into the viscous honey. Three main types of honey exist, broken up by how the honey is handled after coming from the comb: raw honey, processed honey, and medical grade honey.
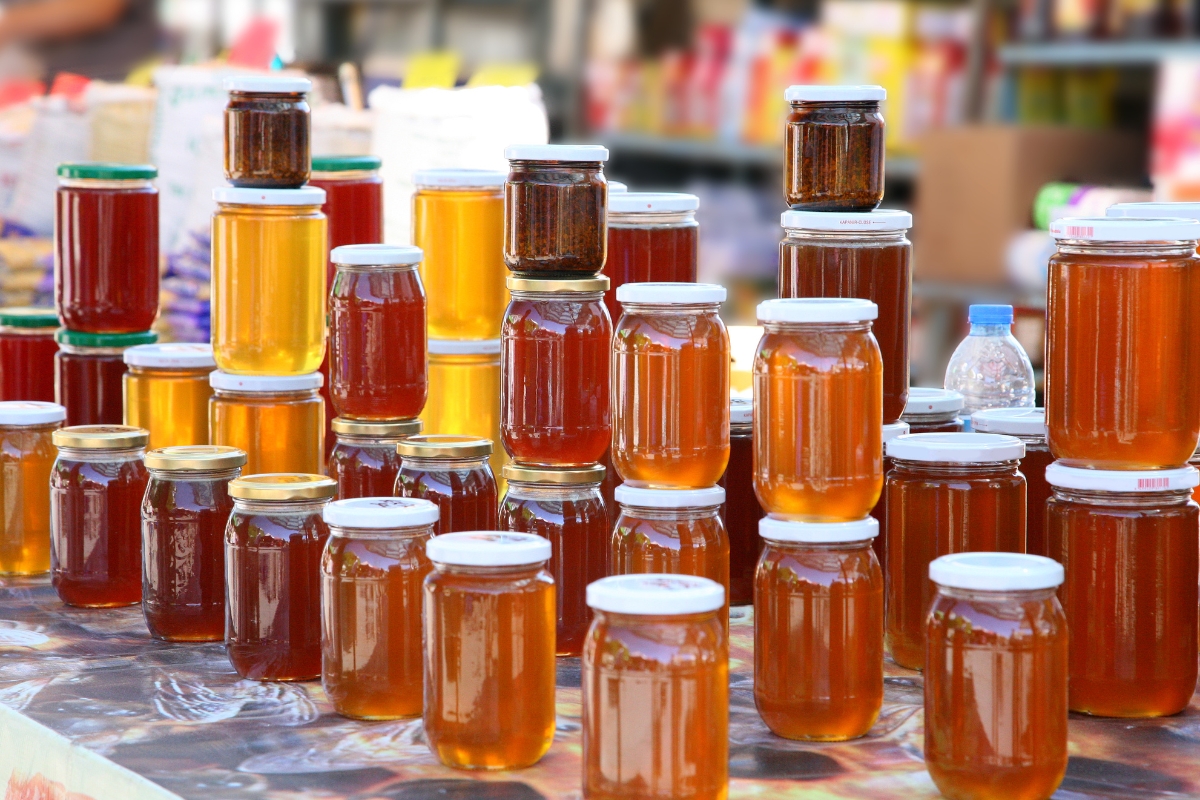
Raw honey is minimally filtered and is guaranteed to have its nutritional benefits unaltered. In raw honey, the only ingredient will be honey. Processed honey may look like it’s raw (watch out for labels that say “Pure” or anything else that isn’t “Raw”), but it’s been pasteurized at high heat and heavily filtered for storage purposes. Some processed honey even has high fructose corn syrup or other additives mixed in. Medical-grade honey is sterilized before packaging for use in treating topical wounds. Various types of medical honey treatments are available including pre-soaked bandages or eye drops. Ointments made with medical honey occasionally include other ingredients– if you want just honey, make sure to always check the label.
Ways to Use Honey
While many of honey’s uses are housed in the kitchen, they certainly aren’t limited to that space. It doesn’t rot and has cleansing properties that are excellent for skin. Additionally, it can be consumed as a medical supplement or applied topically to many external wounds.
- Honey in the Kitchen
- Honey for Personal Use
- Medicinal Honey
- Honey around the House
Honey in the Kitchen
Let’s start off with the most well-known of honey’s uses—eating it! While some recipes just need honey alone, honey can also act as an excellent sugar substitute. It has a lower glycemic index than processed sugar while tasting sweeter in smaller amounts. Which means you can have the same taste at a lower calorie cost! However, honey is (unfortunately) still a sugar and shouldn’t be eaten in excess.
For most of these recipes, it’s assumed raw honey will be used. As processed honey often has additives, it may not behave as expected if you follow the instructions below.
Creamed Honey
My favorite use for honey I’ve discovered! I prefer to buy the largest jars of honey I can get, but I’m not always the fastest at using my stock. Guaranteed, at any moment, there’s at least some crystallized honey in my house.
Besides just warming up crystalized honey when you want it, creaming the honey is another way to make it usable again. Also known as whipped, spun, or churned honey, creamed honey can be used as a toast spread or substituted for liquid honey in your baking. While homemade creamed honey won’t be as smooth as what you can get in the store, it’ll save you money and maybe even time (it’s not always easy to find).
Take your crystallized honey and put it in a bowl for a mixer. Mix until it turns a light, almost white color. Let it rest 2-3 hours to let some more crystals form in the batch. Mix again for 20 minutes. Repeat this process a few times until it’s a consistency you like. Place it in a jar with a tight lid in a cool place for 2 weeks to let it set. Once done it should have the consistency of peanut butter.
Infused Honey
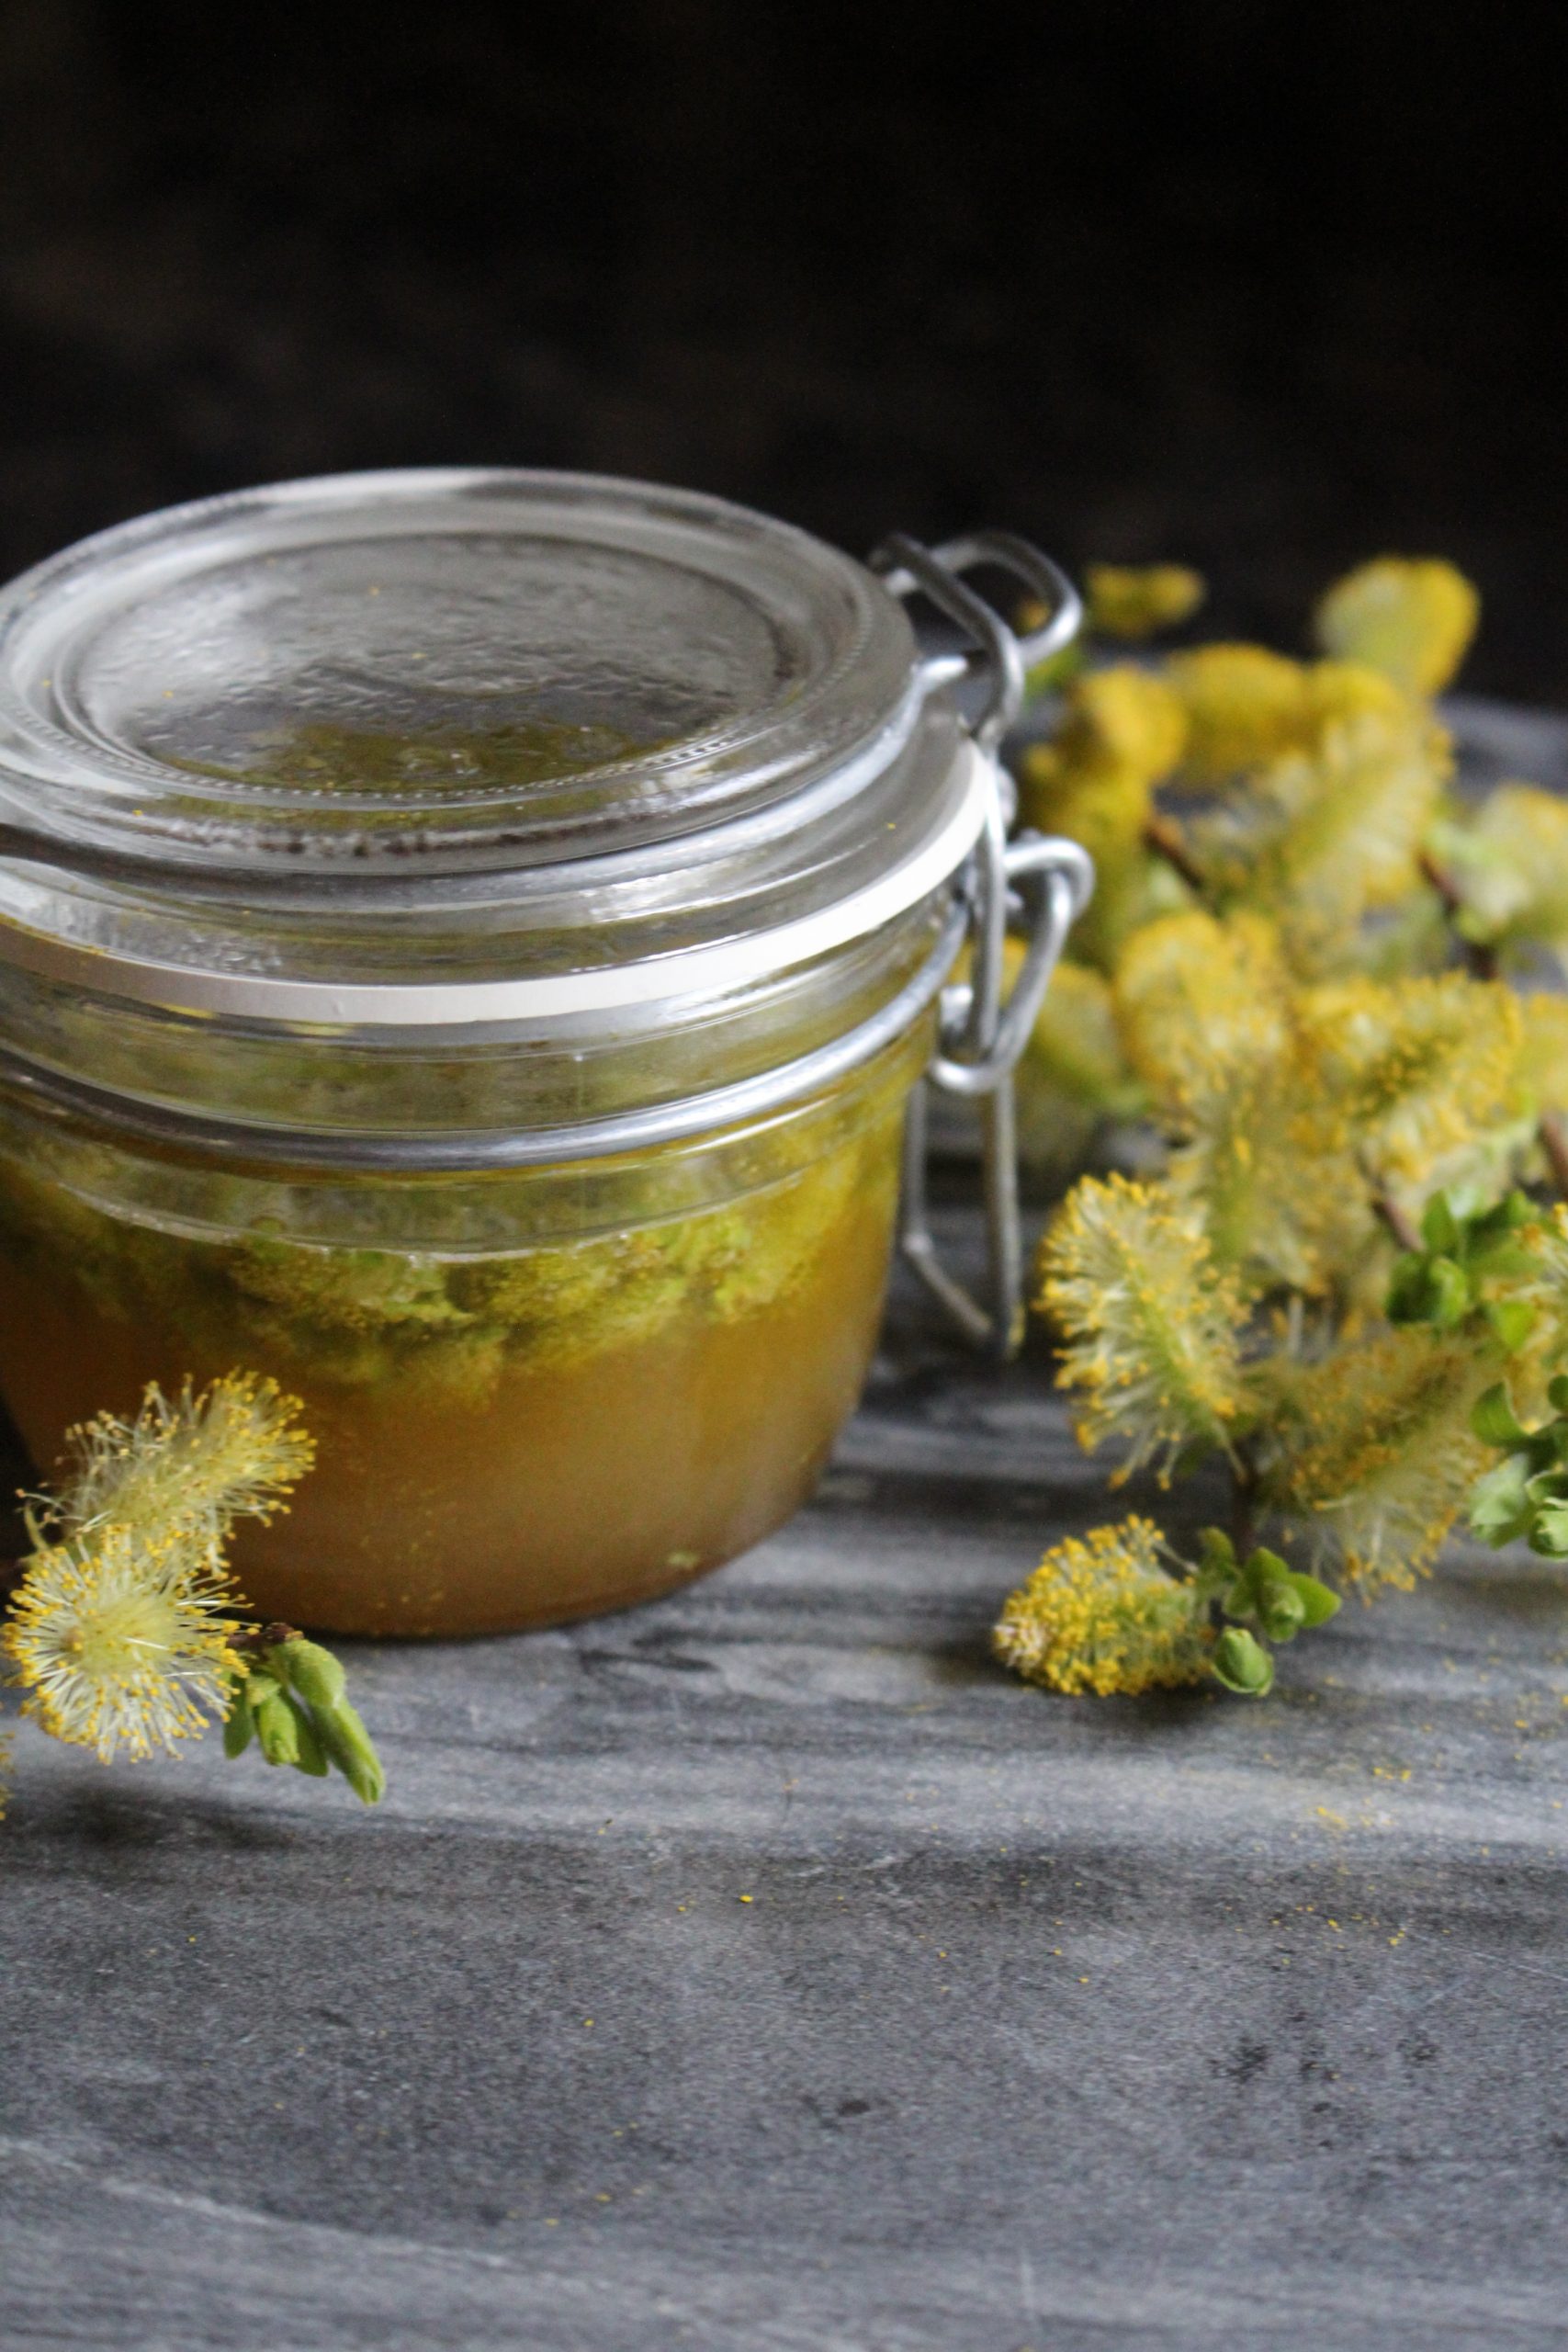
Few things feel fancier than pulling out a jar of custom flavored honey to offer to guests with a cup of tea. Almost any flavor you’d like to mix in is possible: jalapeños, ginger, roses, rosemary, etc. Infused honey is also excellent at adding extra flavors to baked goods and other recipes. The main rule of thumb to remember when infusing honey is the more you add, the stronger it will taste.
There are two main methods for infusing honey. One route is to simply place your infusion into a jar and fill it with honey. Shake it up and store it for a few weeks- strain out your other ingredients and you’re done! Alternatively, you can heat all your ingredients together in a skillet on the stove. Make sure your infusions are fully covered by the honey. Warm the mixture on low heat for 10 minutes and then store it in a tight jar. It should be ready in as early as 2 days.
When choosing a method, it’s generally better to heat any infusions using fresh ingredients. The water in those ingredients can cause the honey to ferment if they’re simply placed into a jar together. Heating the mixture will allow some of the moisture to evaporate and reduce the chances of your infusion turning into mead.
If you’re curious, I have a whole article on making herbal-infused honey, and it covers everything you’d need to know.
Food Preservation
Honey is an excellent natural preservative as it doesn’t rot on its own and it naturally draws moisture away from any bacteria that might try growing on your food. In fact, honey is such a great preservative, honeyed milk will last longer outside of the refrigerator than milk without it.
When canning with honey, you’ll want to start by finding a recipe that assumes you’re using honey instead of sugar. Honey can ferment when mixed with water; the water in your preserved food can kickstart the fermenting process if you include too little honey. Having the right recipe means you’ll have a good base amount.
Any foods you might want to can are okay to can with honey. But make sure you’re prepared for the finished product to be sweet—you won’t get any tart pickles from this process.
Mead
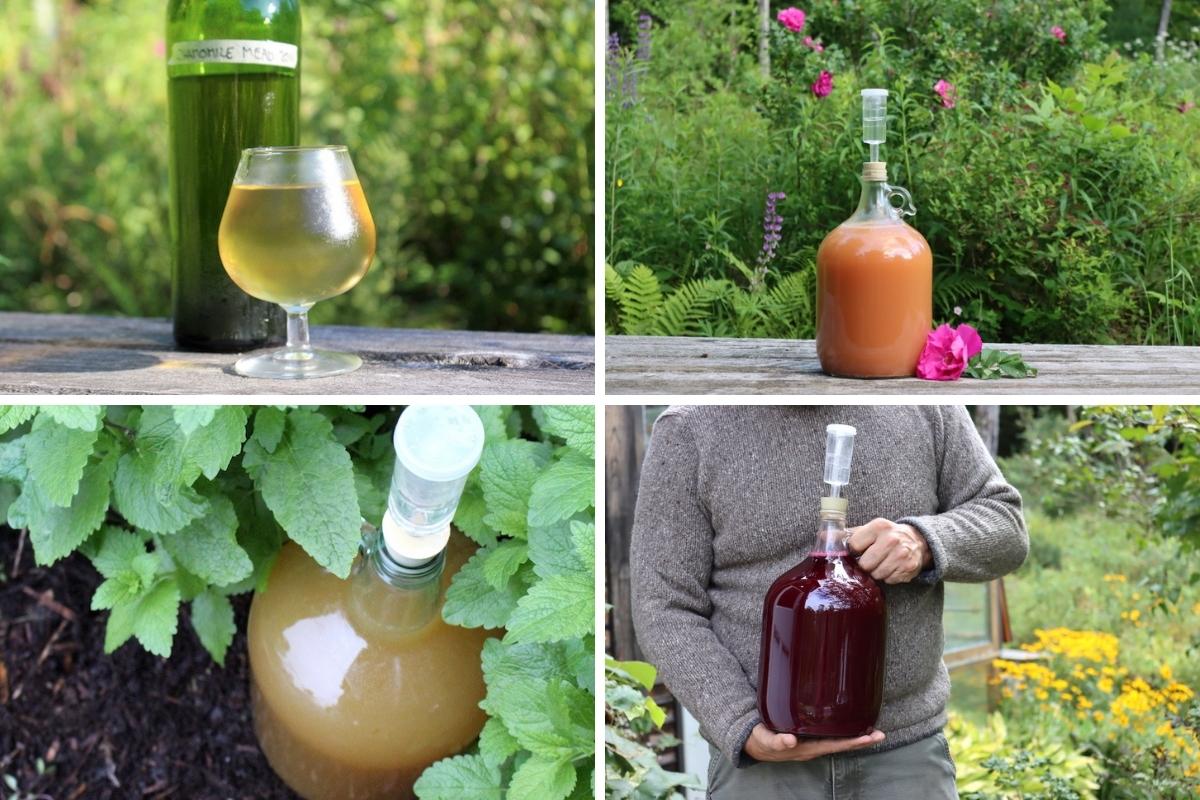
Arguably the oldest alcohol in existence (though it looks like grape wine, rice wine, and mead might be tied), mead is a wine made from honey, water, and yeast. I’ve read that it’s the easiest alcohol to learn to make, but the list of steps and the amount of equipment involved makes me question that statement.
You’ll need 5 ingredients to start with: non-chlorinated water, yeast nutrient (for nitrogen), yeast energizer (for vitamins and compounds), and dry Lalvin 71b-1122 yeast. The nitrogen, vitamins, and compounds are all aimed at making sure the yeast has what it needs to grow and ferment. You can add in additional ingredients to flavor your mead with fruit or spices, but that will affect your water content and you’ll likely want to start with just the basic recipe and move on to more advanced methods later.
For equipment you’ll need: a stainless-steel stockpot, a plastic fermenter, a glass carboy, a thermometer, a hydrometer, a fermentation lock and stopper, racking cane and tubing, and a sanitizer (like bleach). And that doesn’t include any bottling equipment! Bottling methods can vary, so pick one that suits your needs. And make sure that all equipment used is completely sterile.
Once made and set aside, it takes 2-6 weeks before your mead will be ready to bottle. It will be drinkable at this stage, but it will certainly taste better the longer you let it sit.
I have a complete guide to making mead, as well as a list of more than 50 mead recipes, if you’d like to try making it yourself.
Sugar Substitute in Baking
While it might be fun to try listing out every recipe I could find that uses honey, it would keep us here a long time. Honey can be used as a sugar substitute in almost all baked goods as long as a few rules of thumb are kept.
Every 1 cup of sugar you’re replacing should be swapped for ½ to ⅓ cup of honey. You’ll also want to reduce the other liquids by ¼ cup per 1 cup of honey used (so if there are 4 other liquids, reduce each by 1 tbsp). Without these reductions your baked goods may turn out too watery. Finally, while you’re baking your treats, reduce the time a little as honey-based recipes brown faster than those with sugar.
Pastry Glazes
Tired of a plain egg wash to glaze your fresh scones? Try using honey—it’ll add a touch of sweetness while still providing that finished shine. If you use infused honey, you can even add extra flavors into the mix as well.
Simply heat ¼ cup honey until it’s runny and mix in 1 tsp of liquid. The liquid can be water or citrus juice, depending on the flavor profile you want. Spread the mixture over your pasties while it’s warm and let it cool.
Marinades
Many recipes for meat marinades call for honey because it helps keep the cuts moist while they sit. It can add a nice sweetness to your meat—think of BBQ sauce, which often uses honey as its base.
If you’re looking to be adventurous and create your own marinade without a recipe, make sure you include these 4 ingredients: honey, an acid (like vinegar or citrus juice), a salt, and an aromatic (like garlic). This combo is seen in almost all honey-based marinades. The acids are necessary to tenderize the meat, while the salt helps add depth to the other flavors present.
Honey Marshmallows
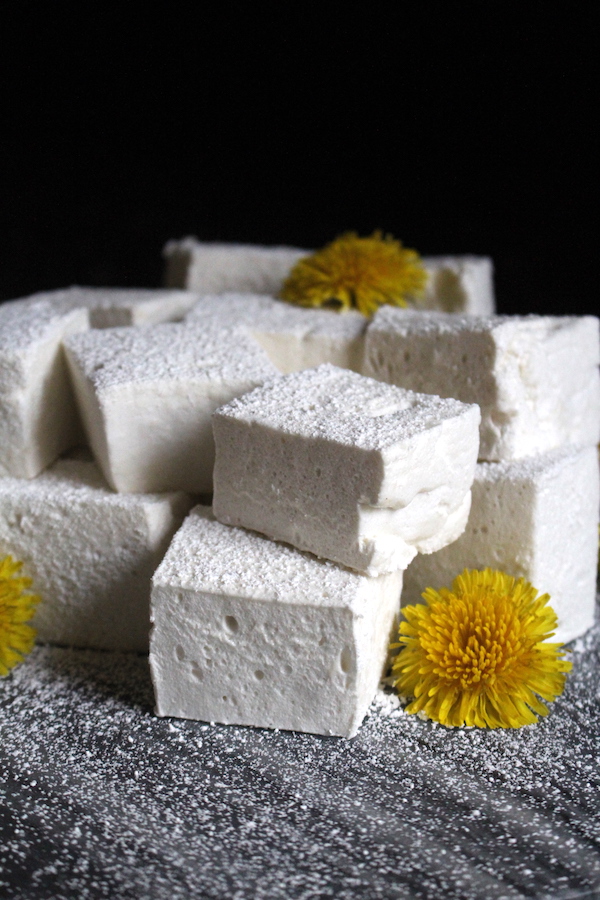
Yes, you can use honey to make your own honey marshmallows! Despite what I thought, though, the honey purely acts as the sweetener—you’ll still be using gelatin as the structural base. To make the marshmallows, you’ll need ½ oz package of powdered gelatin, 1 cup water, some salt, and 1 cup honey. If you like, you can add extra flavors like mint or lemon zest provided they are very finely chopped.
Start by coating an 8–9-inch pan with oil and then layer parchment paper on top. Next, coat a spatula with oil to prevent the marshmallows from sticking when you’re scooping them into the pan later. Pour ½ cup water into a bowl and sprinkle the gelatin on top. Let it sit while you stir the honey, salt, and the other ½ cup water together in a saucepan. Bring the honey to a boil, and let it boil for 6-8 minutes without stirring. Remove this from the heat and pour it slowly into the bowl of gelatin, mixing as you go. Whisk everything together for 10-15 minutes.
You should have a bowl full of fluffy, white, shiny mixture. Quickly move it into the pan, using the oiled spatula. Spread it evenly and let it cool at room temperature for 4 hours. Cut it into squares or shapes (making sure your tools are oiled). If you have potato starch, toss the marshmallows in the starch to help keep them from sticking to each other. Or you can wrap them up in cling wrap for the same effect. Store them in an airtight container and eat them within a week.
Honeyed Lemonades
I’d never considered the possibility of sweetening homemade lemonade with honey. Sugar itself seemed difficult enough to mix in, much less viscous honey (likely because I use chilled water so I can drink it right away…).
The trick to using honey as your sweetener is to heat up a portion of your water ahead of time until it’s hot. Mix this in with your honey in a bowl and it should dissolve easily. You can start with ½ cup of honey per every 5-6 lemons used and then adjust the recipe to match your tastes. Once you’ve mixed everything together you can either add ice or place it in the refrigerator for a few hours to cool it down.
Honeyed Fruit Popsicles
This is a quick, flexible, and easy recipe if you have some popsicle molds on hand. You’ll need three ingredients: honey, Greek yogurt, and fruit of your choice.
Cut up the fruit so it will fit easily in your molds. Next, mix together the yogurt and honey to taste. Fold in your fruit and fill up your molds. Once they’re frozen, you’re good to go!
Tea or Coffee Sweetener
You likely already know you can use honey to brighten up your mug of tea each morning. And you may be someone who enjoys using it to sweeten your coffee. But there is a trick for mixing in your honey without it all sinking directly to the bottom.
Instead of pouring the honey into the cup directly, pour it onto a spoon first and then use the honey covered spoon to stir your drink. This method also works if you’re making a latte—simply stir your espresso with the honey spoon before you add in your steamed milk.
Honey for Personal Use
There are a number of benefits to adding honey to your skin or hair care routine. Perhaps the largest benefit is that honey is an excellent moisturizer. It collects water into itself, but doesn’t let it go easily. Meaning honey will hold moisture against your skin or hair for longer. Be prepared to thoroughly rinse any area you use it on, though—benefits aside, it may still leave you sticky!
I’d actually recommend against using raw honey for some of these uses. Raw honey occasionally contains debris that might get caught in your hair or irritate your skin. Medical grade honey or processed honey may be better choices.
Hair Removal
Let’s be clear—honey won’t act like Nair so it’s generally safe to use around hair. That said, if you want to remove some hair, honey can act as an ingredient in a sugar wax to help moisturize your skin as you go.
Mix together ½ cup honey, 1 cup granulated sugar, and 1 tbsp lemon juice. Heat all three together until you can blend them into a smooth paste. Let it cool down to a comfortable, but warm, temperature. Spread this over your hair in the opposite direction it grows and lay a strip of cloth over it. Remove the cloth rapidly, pulling in the same direction as your hair.
When you’re done, the honey wax residue is easy to rinse off with warm water. As opposed to full wax, this method allows you to easily reuse your cloths by washing them and letting them dry between waxes.
Acne Treatment
As with any acne treatment, using honey to reduce your zits may be hit or miss. Give it a try on one pimple first before you ditch any other ointments you have on hand. Honey has excellent anti-microbial properties and is good on sensitive skin as it won’t fully dehydrate it.
To treat acne with honey, wash the area with soap and thoroughly rinse it. Dab a bit of honey onto it and leave it alone for 30 minutes. Repeat each day until it’s gone. If it’s in a troublesome area (right on the tip of your nose during allergy season!) try covering the area with a band-aid for the first couple of days to help avoid irritation.
Honey Hair Care
Keeping your hair and scalp well hydrated can be difficult, particularly if you have naturally dry or low porosity hair. There are a few different ways you can incorporate honey for extra moisture:
One method will have you simply add honey to your current bottle of shampoo and mix it all together. If you want to test out a honey shampoo before altering your full bottle, try mixing 1 tbsp of honey with 3 tbsp of filtered water (warmed). Use this in place of your regular shampoo.
Alternatively, you can make your own conditioner treatment by mixing 1 tsp honey with ½ cup warm milk. Coat your hair completely and let it sit for a minute or two. Rinse it out and shampoo like normal. Your hair should be well conditioned, but if you have particularly dry hair, you may follow it with a second round of your regular conditioner for deeper moisture.
Bath Soaks
Bath bombs are fun, but they don’t always leave me feeling like I’ve been enjoying a good hydrating soak. Adding in honey and milk to your bath water can replace your bubble bath and leave your skin soft and moisturized.
Simply begin filling up your tub with warm to hot water and mix in 1-2 cups of milk and ½ cup of honey. The honey should be diluted enough you won’t feel sticky afterwards, but a quick shower rinse should help remove any extra residue when you’re done.
Face Masks
Another way to moisturize with honey is with a simple face mask. A basic method calls for 1 tbsp of honey warmed and spread over your skin. Wait 20 minutes and rinse it off with warm water.
You can also try a recipe that combines 1 tbsp coconut oil, 2 tbsp warm honey, 1 tbsp green tea leaves, and 2 tbsp lemon juice blended together. It might be a bit harder to rinse off than the plain honey, but you’re guaranteed to feel refreshed afterwards!
Face Washes
If you’re low on time and can’t commit to a full face mask, you can make a simple honey face wash that will cleanse your skin and leave it moisturized. Warm ½ tbsp of honey and dissolve it into 1 cup of water. Lather this into your skin and rinse with clear water. You can also use a clean hand towel to apply the wash but you won’t get as nice of a lather with this method.
Lip Balms
This one is a bit tricky. Honey is an excellent way to help heal and hydrate dry, cracked lips. Simply dab a few drops of honey straight onto the affected areas. Allow it to sit for 5-10 minutes (the tricky bit). If you accidentally lick the honey off, you can apply more until you’ve had it on for the full time. But you might end up eating more honey than you planned…
Alternatively, you can warm ½ tsp honey and mix it with 1 tsp plain yogurt. This will spread more easily and coat your lips fully. Again, leave it on for 5-10 minutes.
Exfoliants
Crystallized honey is gentle enough that you can use it to exfoliate your face. It’s also strong enough to work on any other areas you may want to scrub into softness.
Use a spatula to scoop out your crystalized honey and spread it where you’d like to exfoliate. If it’s hard to manipulate, you can warm it up slightly. Don’t heat it to the point where it will become liquid or you’ll lose its scrubbing power. Once it’s applied, gently massage the honey into your skin. You can leave it there for a few minutes or immediately rinse it off with warm water.
Medicinal Honey
Long-standing traditions have held honey up as a great ingredient to use in treating all kinds of ailments. Lately, the medical community has been exploring honey’s makeup to better understand how it can be used to help patients. Studies have shown it’s even effective in killing off bacteria in wounds that are resistant to antibiotics. Diluting honey has no effect on the antibacterial strengths of honey– meaning it’s just as strong in your tea than out!
For all wound or skin treatment uses noted below, it’s generally recommended to use medical grade honey (honey that has been sterilized). If you use raw or processed honey there’s a chance outside contaminants will be introduced to the wounds and potentially infect them. You can use medical honey for the consumable options, but raw honey will work just as well.
Many people tout raw honey as a natural seasonal allergy reliever. Studies on this have shown the amount of pollen left in raw honey is likely too low to have an impact on symptoms and clinical studies have been conflicting. That said, there’s no harm in it. I won’t list it here but feel free to keep enjoying it when your hay fever gets the best of you.
As always, even for medical purposes, it isn’t a good idea to feed honey to any children under the age of 1. When treating wounds for infants, make sure any honey ointments are fully covered and inaccessible to their fingers, toes, or mouths.
Wound Healing
As an antibacterial, honey absorbs water out of its environment and will dehydrate any bacteria in wounds it’s applied on. Honey also begins to create hydrogen peroxide when its Ph is raised—such as when it comes into contact with the salt content of skin—adding to its ability to keep wounds clean. Additionally, it acts as an anti-inflammatory and a mild pain reliever which will help make the wound more comfortable while it heals.
To treat a wound with honey, clean it and apply a smear of honey. You can warm it up slightly to make it easier to spread. Cover the wound with a band-aid and replace the honey and band-aid daily.
Honey is also safe to use in wound treatments for many pets including chickens, cats, and dogs. You may find it difficult to treat your cat or dog with it (they enjoy licking it off), but if you need a quick, at-home remedy for a scrape on your chicken’s leg, honey will do the trick.
Treat Burns
Honey is an excellent way to treat everything from a sunburn to a severe burn. It will keep the wound sterile while also providing moisture to the affected area.
When treating the burn, gently clean the area and apply the honey carefully. Unlike with other wounds, you’ll want to avoid warming the honey as that may irritate the burn. Dab the honey on and cover it with sterile gauze (if it’s available), pressing lightly to help the honey spread. A honey dressing doesn’t have to be covered, but it may stick to clothes or bedding and rub off if left open to the air.
You should change the dressing every day for severe burns. Sunburns likely will only need a single day’s treatment. When removing any gauze or bandages covering the burn, soak the area in lukewarm water to help the honey dissolve. Without dissolving, the honey might cause the bandage to tug at the burn and tear the delicate skin.
General Purpose Balm
A honey balm can be used similarly to Vaseline to treat a variety of things from cracked lips to open lesions. The balm is less sticky than using straight honey and will smooth itself into place more easily.
To make your own balm, you’ll need equal parts honey, beeswax, and olive oil. Combine these three together in a Mason jar and place it in a saucepan of water. Heat the water until the ingredients have melted. Stir them together until well blended. Remove the jar from the water and cover it with a lid. Shake the jar every few minutes while it solidifies to keep the ingredients from separating.
Ringworm/ Athlete’s Foot
We’ve all heard of athlete’s foot or know someone who has experienced it. Athlete’s foot is a type of fungus known as ringworm, and can appear on more places around our bodies than our feet. It’s incredibly contagious and difficult to get rid of—it spreads to surrounding surfaces and can live on its own for a long time.
While there isn’t any current research supporting honey as a treatment for ringworm specifically, honey contains properties that will likely help limit the spread of ringworm (if not kill it outright). One such property is its ability to draw moisture out of its environment, a property shown to dehydrate and kill bacteria. Fungus thrives in moist environments. Additionally, a viscous coating of honey can help limit ringworm’s ability to come in contact with other surfaces and contain environmental spread. Finally, honey has been shown to have antifungal properties when used on other types of fungi.
If you’d like to try using honey to treat ringworm, or contain it until you can get ahold of a medication, it’s fairly simple. Coat the affected areas with a thick layer of honey and cover with a loose garment like an old sock. Every morning and evening, wash and dry the area thoroughly. Reapply the honey and cover it with a fresh garment. Disinfect your cleaning area when you’re done.
Treat Ulcers
Stomach ulcers typically form when a bacteria (H. Pylori) invades the stomach and breaks down the lining that contains stomach acid. In other cases they may form from overuse of NSAIDs, but they don’t actually form from stress alone—though it certainly doesn’t help. Many treatments are available to relieve or eliminate ulcers, but perhaps the sweetest one is honey.
To treat a stomach ulcer with honey, make yourself a cup of herbal tea. Caffeine may aggravate the ulcer, so try to avoid it when you can. Mix in 1-2 tbsp of honey and drink like normal. You’ll likely want to drink the tea several times during the day. While honey has been shown to have an effect on ulcers, there aren’t specific recommendations available for how much you will need to take. If you find the tea and honey are irritating to your stomach, try drinking it with a meal instead of on its own or vice versa.
Medicinal Herbal Infusions
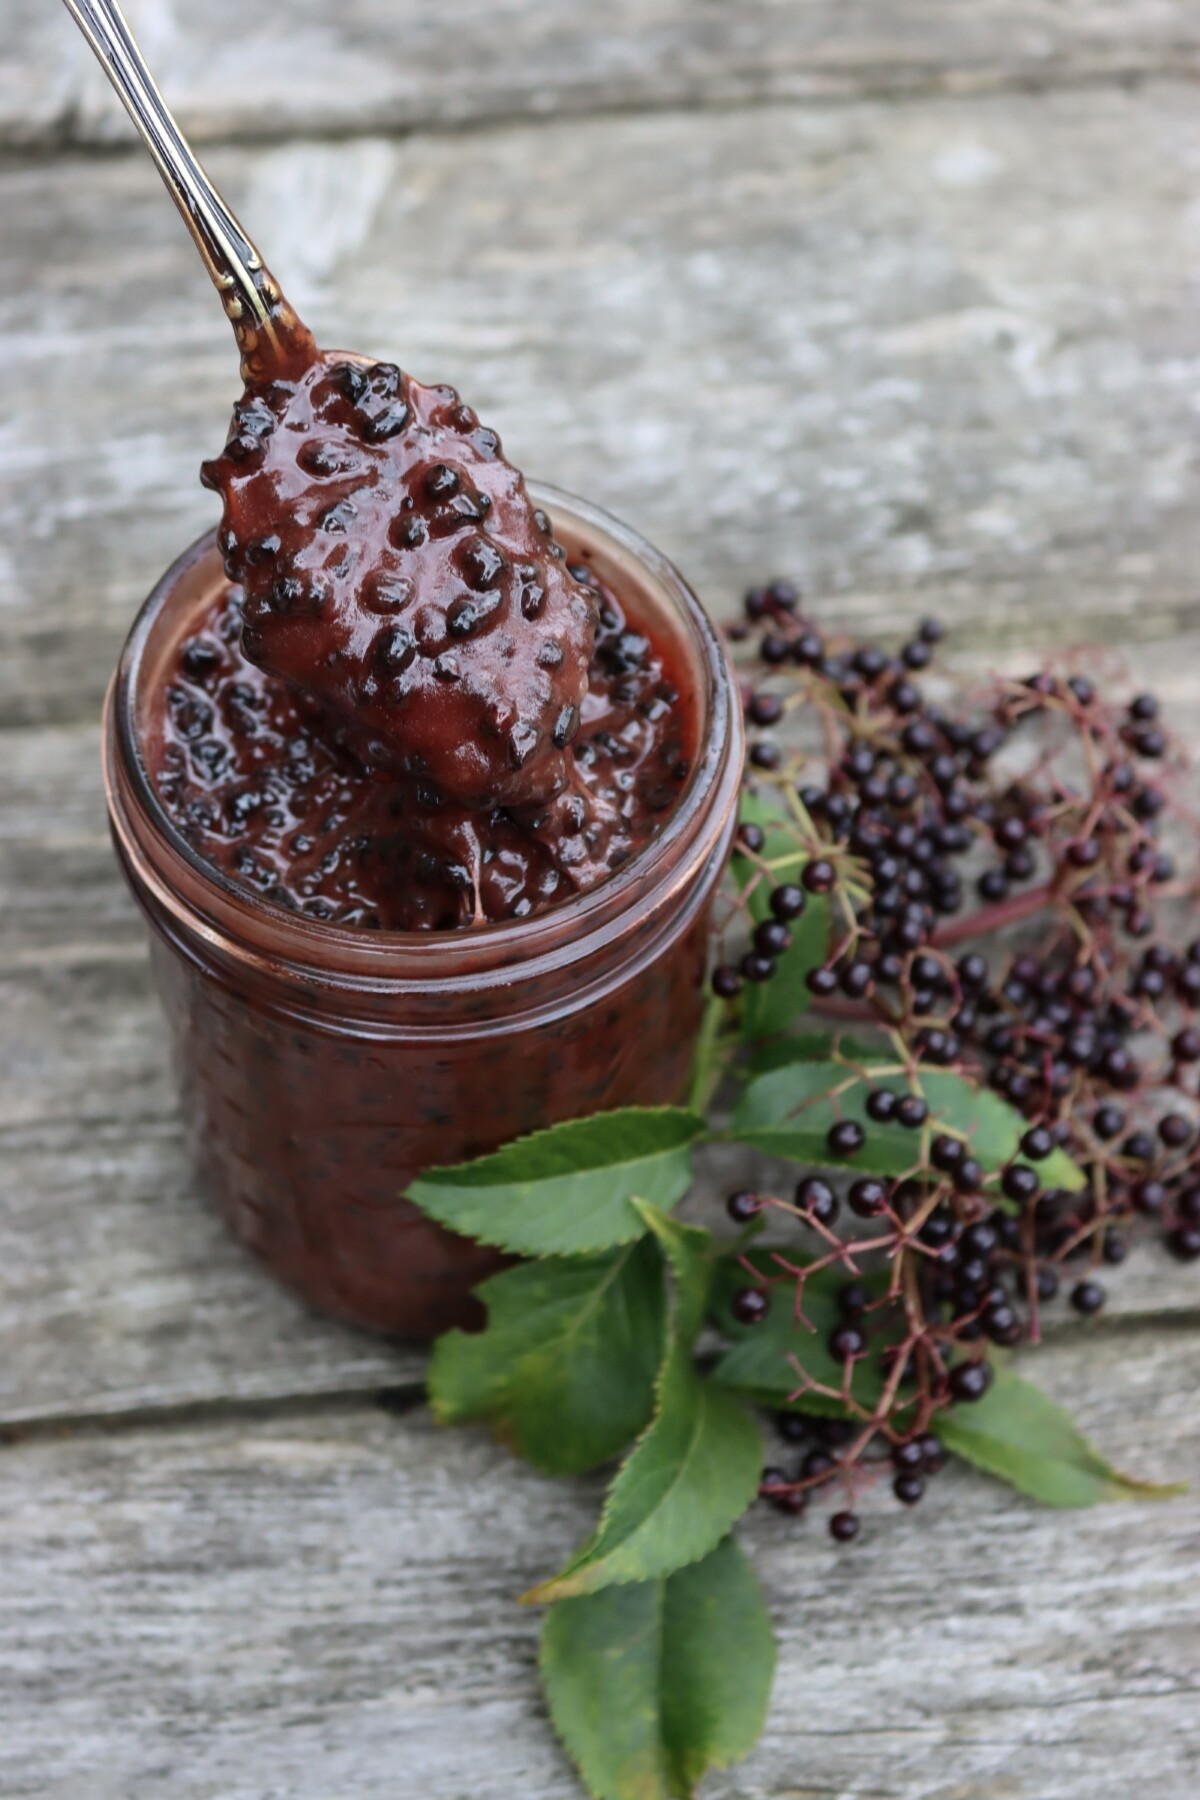
The methodology for infusing honey is generally the same as infused honey for the kitchen. Rather than picking out ingredients to suit your tastes, however, you’ll want to pick out herbs or spices to treat specific ailments.
On its own, honey is excellent at relieving symptoms of upper respiratory tract infections, is an antibacterial, and is a prebiotic. What you blend into it, then, should look to add vitamins or boost the relieving effect: ginger or peppermint are wonderful for colds, rosemary is good for infections, chamomile and lavender help with sleep, etc. You can eat a spoonful of your infusion, mix it in tea, or incorporate it into a meal. The options are almost endless!
Sooth a Cough or a Sore Throat
Eating honey in some form is guaranteed to help when you have a cold or a sore throat from seasonal allergies. There are also a variety of ways to treat these ailments.
As always, you can mix honey into your tea throughout the day. If you don’t enjoy tea, heating up a cup of water and mixing honey into it will serve you just as well. Another method is to take 2 tsp of honey right before bed. The honey will help soothe your throat and moisturize any dryness from a cough.
You also can make your own honey cough drops at home: take 1⁄2 cup honey, 1 tsp crushed ginger, 2 tbsp lemon juice, and 1 tsp ground cinnamon and place them in a saucepan. Heat the mixture to a low boil, stirring constantly. When it gets to 300⁰F (or when you can place a drop of the mixture in water and see it harden immediately) it’s ready to come off the heat. Let it thicken for a few moments and then put small drops onto parchment paper or a candy mold. Store them in an airtight container for when you need them.
Fermented Honey and Garlic
Another great way to prepare honey for cold and flu season is to infuse it with garlic and let the two ferment. Garlic is a natural anti-viral and fermented foods are an excellent source of probiotics. All three together are a great home remedy to keep on hand throughout the year.
Take 1 cup of raw garlic cloves that have been peeled and place them in a clean jar. Fill the jar with 1 cup of raw honey and stir to coat the cloves and remove any air bubbles. Place the lid on lightly and set the jar into a bowl for 1-2 weeks. Check on it to make sure the garlic is fully submerged and shake it anytime you need to mix things up. The bowl will help catch any spillage from the jar while it ferments. When done, you can place it in the fridge and use it as needed.
Acid Reflux
Honey is excellent at settling stomachs and has several properties that can help reduce the symptoms of acid reflux. It won’t act as fast as an antacid (honey itself is acidic) but also might be more readily at hand.
Like with many other remedies here, you can simply swallow a few teaspoons of honey to treat your symptoms. Many people, though, find it more effective to mix 1 tsp of honey with warm milk or plain yogurt before taking it.
Diaper Rash
It can be difficult to find a diaper cream that’s effective at soothing your little one’s skin. Honey has excellent moisturizing capabilities and has been shown to soothe severe diaper dermatitis.
To treat diaper rash, mix 2 cups of chamomile tea with 1 tsp of honey. Place this mixture into a spray bottle and spritz the irritated area every diaper change. Another method is to mix 1 cup of olive oil with 1 tsp of honey. Spread this onto the affected area and cover it.
If your little one is under the age of 1, make sure to use medical grade honey and cover the area well. Non-medical grade honey can run the risk of carrying the spores of clostridium botulinum bacteria, which is too weak to affect most people, but can be dangerous to infants.
UTIs
As mentioned earlier, when used as a topical treatment, honey is able to easily kill off harmful bacteria. In fact, honey is such a strong antibacterial, it can even be eaten to treat antibiotic resistant UTIs. It won’t act as quickly as other treatments, but won’t interfere with them either. You can safely take honey while also using over-the-counter medications or prescriptions.
Mix together 1 tsp of cinnamon, ½ tsp honey, and 1-2 cups of lukewarm water. Drink this a few times throughout the day and make sure to drink plenty of additional fluids.
Diarrhea
Few things are as uncomfortable to deal with as diarrhea. Whatever may have caused it, the first priority is usually to just get rid of it. Honey has been shown to help reduce the symptoms and duration of diarrhea in some cases. You are welcome to take it alongside any other treatments you may want or need.
Simply mix ¼ cup of honey with 1 cup of warm water and take it 1-2 times per day while symptoms last. You can take this mixture more often if you’d like as the honey will also help rehydrate your system.
Eye Problems
As a sufferer of dry eye, I run through a large amount of artificial tears in a given month. So I was pleasantly pleased to discover that the moisturizing effects of honey also extend to our eyes. Additionally, honey is an antibacterial; honey eye drops can help address conjunctivitis (pink eye) in addition to redness and irritation.
There are pre-made honey eye drops you can buy. Or you can make your own by combining 1 cup of boiling water with 5 tsp of honey. Make sure to boil the water for a full minute to sterilize it. Medical grade honey is a must for this recipe as raw honey contains particles that can damage your eye. Make sure the medical honey you choose has no other ingredients than honey and water.
Once you’ve mixed the two ingredients, let it cool fully down. Then you can use it as an eye wash, fill a sterile pipette, or fill up an empty eye dropper bottle. Any extras you keep should be refrigerated to keep the eye drops fresh for up to 2 months.
Insomnia
Alright, this remedy likely isn’t going to work for everyone. But if you don’t regularly sleep well, why not treat yourself to some honey before bed? At minimum it’ll likely put you in a good mood.
To help address insomnia that wakes you earlier than you like, take 1 tsp of honey sprinkled with salt right before you head off to sleep. It may take at least a week for this to start taking effect. And if you wake up restless in the early hours of the morning, you can get up for another serving to help soothe yourself back to sleep.
Anxiety
Research into honey’s ability to relieve depression and anxiety is still in the early stages. But the current results look promising: honey does seem to relieve stress but researchers are still trying to pin down why.
No matter the reasons why, in moments of high stress or anxiety, take some time to step back and make yourself a cup of tea: lemon and ginger or chamomile is recommended. Fill the tea with a large amount of honey—about as much as you can handle. Drink it slowly.
In times of lethargy from depression, or just any low mood, you can skip the tea and take a spoonful of honey to eat instead. If you begin to feel better, you can then move into making the tea for yourself.
Honey around the House
All of the above uses for honey involved eating honey or applying it to the surface of skin. But there are other uses for it around the house that don’t involve the people living in it.
Honey Painting
Is this a non-messy activity? No. Does the paint wash out? Yes. Will your kids eat their paint? Yes. Will the paint be safe to eat? Also, yes!
You’ll need paper plates or thick construction paper, plastic cups, popsicle sticks or cotton balls, honey, food coloring, and (yes) corn syrup. Keep in mind how light or dark your corn syrup and honey are as that will affect the brightness of the colors. To make one color, mix ¼ cup honey, 3-4 drops of food coloring, and 1 tbsp corn syrup in a cup. The corn syrup will help the honey spread easily.
Make as many colors as you like and let the kids go! Older kids may enjoy using a toothpick to try and get more details.
Root Plant Cuttings
Many of my friends are master propagators, but I rarely seem to get my cuttings to take off. Part of my problem likely is using plain water to root my cuttings. While it is possible (apparently) to root plants that way, adding some nourishment to the water helps.
Enter honey! Prep your water by bringing 2 cups of it to a boil and adding in 2 tbsp of honey. Let it cool down fully and fill up your propagation cup with it. Set in your cuttings and let them grow. When you’re ready to plant the cuttings, you can use the leftover honey water to water your plants.
Fertilizer
During the growing seasons of fruiting or flowering plants, fertilizer can be key to keeping them happy and thriving. You can make your own fertilizer at home with honey and water.
Boil about 7 cups of water and mix in 2 tbsp of honey. Let this cool down and use it to water your plants. The nutrients in honey contain potassium and phosphorus (among many other things) which are beneficial to plants. Keep in mind that how much potassium and phosphorus is in your honey will depend greatly on the region it’s from.
Foliar Spray
Another way to fertilize your plants is with a foliar, or leaf, spray. This can be especially helpful for any plants that have begun to droop. If it’s from a nutrient deficiency, a foliar spray can help give them the boost they need.
Add 2 tbsp honey to a gallon of water. Fill up a few spray bottles with the mixture and mist your plants every 1-2 weeks. If they were nutrient deficient, this should help them perk up.
Ant Traps
Is your garden overrun with large biting ants? You can build a literal honeypot to attract and get rid of them without putting down any poisons.
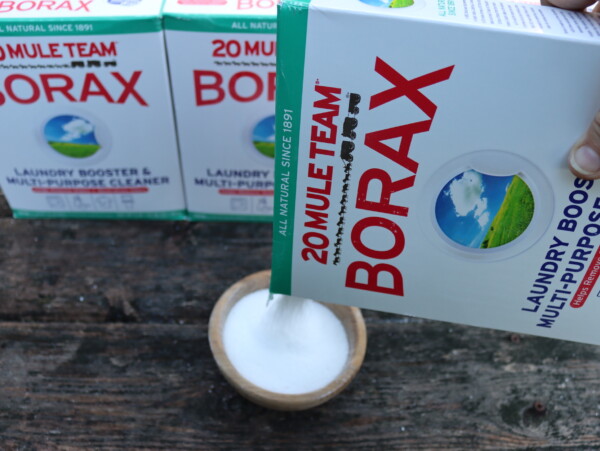
Mix together 2 tbsp honey, 2 tbsp peanut butter, and 1 tbsp borax. Put dollops of this on the trails of the ants and let it do its work. If you have outdoor pets, avoid putting this mix somewhere they can access it. While not toxic, borax can upset the stomachs of cats and dogs.
Slug Traps
I happen to live in a desert climate and was shocked to discover a mass of slugs in one of my potted plants last year. The plant didn’t last (sadly), and I took some time to research ways to protect the other plants I had outside from a pest I didn’t think could live in a dry climate.
One way to trap slugs is to fill a jar with honey, water, and some yeast. Choose a jar that’s tall enough that the slugs won’t be able to inch back out. Sink the jar into the ground in your garden and wait for the slugs to fall in. You’ll probably want to empty it every 2-3 days.
The honey will likely attract insects and other garden creatures to it, so I wouldn’t recommend leaving one out at all times. Rodents especially will enjoy the sweet treat and start coming by with more regularity.
Fruit Fly Traps
In my experience, most of the success of fruit fly traps is knowing where to put them. One apartment I lived in was plagued with them due to a nearby dumpster and one over-watered patio plant. I put traps in each room of my apartment and caught nothing until I placed my coffee cup down near my window and caught 20 in 5 minutes. So first things first—find out where the fruit flies like to hang out.
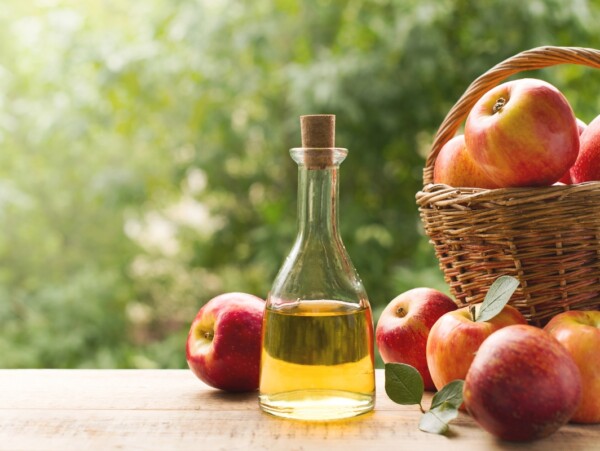
Next, you can make a trap for them using some apple cider vinegar, honey, and a piece of old to rotting fruit. Put these into a bowl and cover it with cling wrap. Poke a few holes into the plastic and set the bowl out near your gnats.
Useful Lists
Looking for other ways to use common household items?
