Affiliate disclosure: This post may contain affiliate links. Please see our Privacy Policy.
Brewing beer at home (or homebrew) is easier than you think. Once you understand the basic steps involved in brewing beer, you can customize your own recipes for truly unique homemade beer.
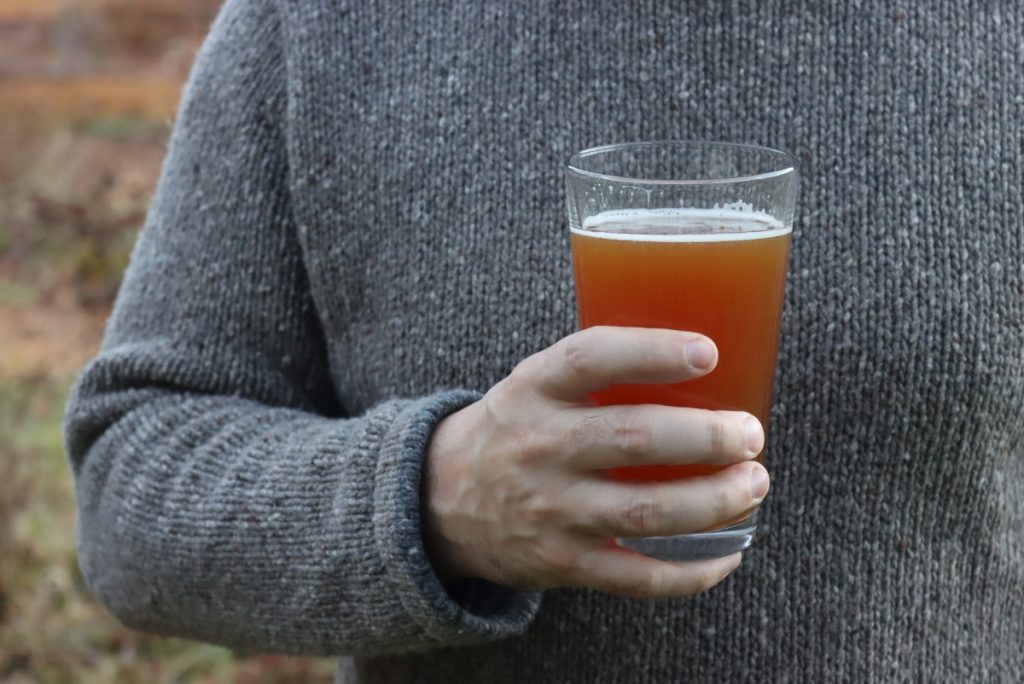
The basic process for making homemade beer isn’t all that complicated, believe it or not.
There are literally thousands of types of beer you can make, but only a few simple types of ingredients. In a way, it’s not all that different from making homemade bread.
Bread starts with flour, water, salt, and yeast. The same ingredients can be combined to yield french bread to focaccia. Add in a few specialty ingredients on occasion, like eggs or butter, and you now can make brioche, croissants, sandwich bread, and just about any carb-laden treat under the sun.
Similarly, beer is just water, malted grain, hops, and yeast. Combined in different proportions, treated in different ways, and with the occasional added specialty ingredients, you can make any beer in the world at home.
I’ll take you through the basic process for making beer at home, which covers the vast majority of beer styles.
While it’s true that there are some outliers, like obscure Nordic open kettle brews made within antique wooden vats, filtered through juniper, and fermented with special yeast…this process covers around 90% of beer types.
Even though the process is the same, it never seems to get old…
We’ve made around 100 gallons of beer every year for the past decade and I still love every minute of it.
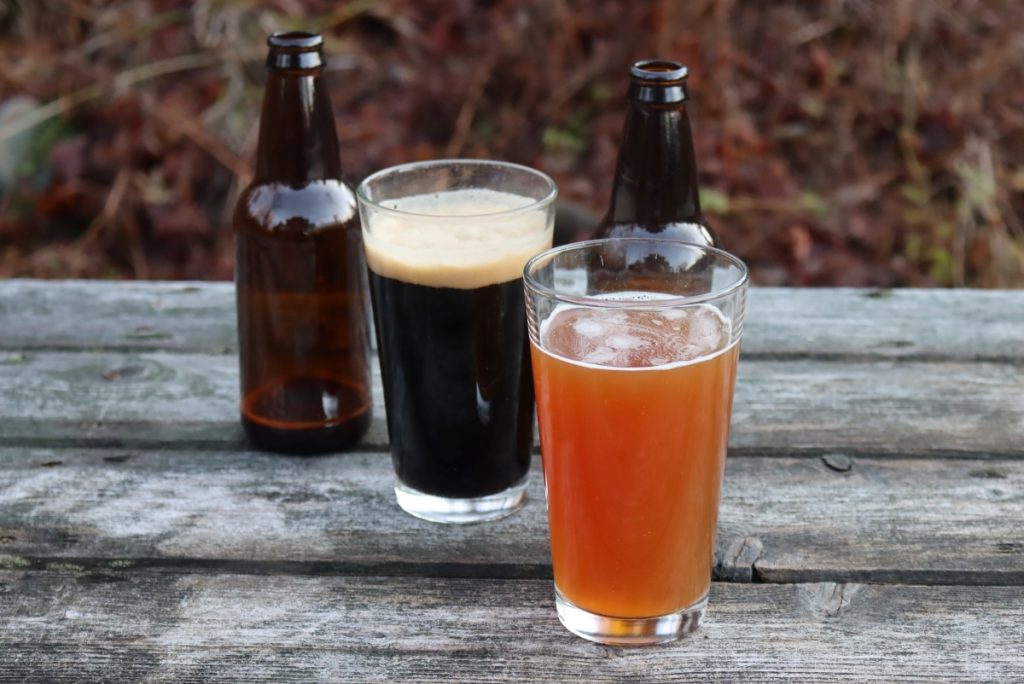
Home Brewing Equipment
To make a basic batch of homemade beer, you’ll only need a few pieces of specialized equipment. Just like any hobby, you can choose to spend hundreds (or thousands) of dollars on fancy equipment, but it’s not strictly necessary.
- Brewing Kettle ~ A large, heavy-bottomed pot used for boiling the wort (malty water). Most beer is boiled for at least an hour, and it can bubble up considerably. For a 5 gallon batch, I’d recommend at least an 8-gallon pot. We use the same pot for water bath canning and making bone broth, so it has other uses beyond brewing.
- Sanitizer ~ A one-step sanitizer cleans all equipment quickly, and won’t leave any residue to interfere with your homebrew. Thoroughly sanitizing all equipment is essential to prevent contamination from unwanted microbes.
- Thermometer ~ Many recipes require maintaining specific temperatures to extract sugars from malted grains, and you’ll need a kitchen thermometer that can read between 50 and 220 F.
- Hydrometer ~ A specialized (yet inexpensive) piece of brewing equipment used to measure the “potential alcohol” of a given batch. Taking a reading at the start and end of fermentation will allow you to calculate the alcohol by volume (ABV %) and give you some insight as to the residual unfermented sugar left in the finished beer.
- Fermentation Vessel ~ The size of your fermenter determines the batch size, and most people go with either a 1 or 5-gallon batch size. For one gallon batches, a small glass demijohn works well. For 5 gallon batches, use a 6.5-gallon brewing bucket. (The extra space accommodates both foaming at the top, and sediment from yeast and hops at the bottom.) If you’re planning on a secondary fermentation (optional), it helps to have 2 fermentation vessels.
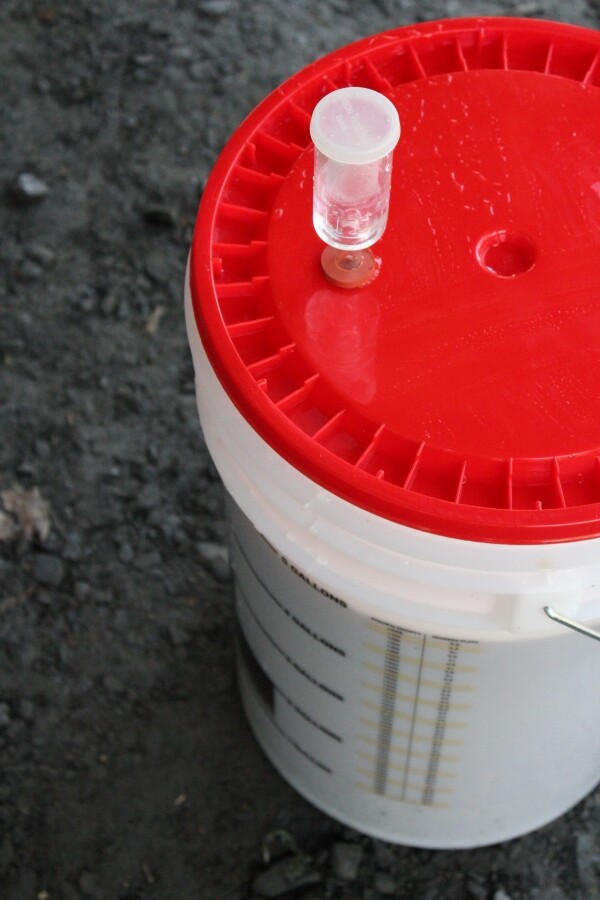
- Water Lock ~ Often one-gallon glass demijohns will come with a rubber stopper and water lock, but if not, you’ll need one to seal the jug. A water lock is a one-way valve that allows CO2 to escape but doesn’t let contaminants get into the homebrew. For a 5 gallon batch, the fermentation bucket will need a lid fitted with a small rubber gasket to accommodate a water lock.
- Auto Siphon ~ A siphon allows you to efficiently move the beer from one container to another, leaving the clouding sediment behind in the previous container. Homemade beer develops a thick cake of hops and spent yeast at the bottom of the fermenter, and you don’t want that in your finished beer. You’ll need this if you choose to do a secondary fermentation, and at bottling time.
- Bottling Bucket ~ Used to carefully fill individual beer bottles, is just a brewing bucket with a hole drilled near the bottom. A spigot is attached with gaskets to the hole, creating a small beer faucet. Turn it on and off to fill each beer bottle precisely.
- Beer Bottles & Bottle Caps ~ Any clean, sterilized beer bottles can be reused for bottling, or they’re available online already de-labeled and clean. They’ll cost you about $2 apiece empty, which is quite a bit more than just buying beer, drinking it, and then thoroughly cleaning the bottle. Caps, however, are not reusable and you’ll need new ones every time. The ease in delabeling seems to depend greatly on the particular brewery; some labels come off easily and others are nearly impossible. We’ve had good luck with bottles from Sierra Nevada.
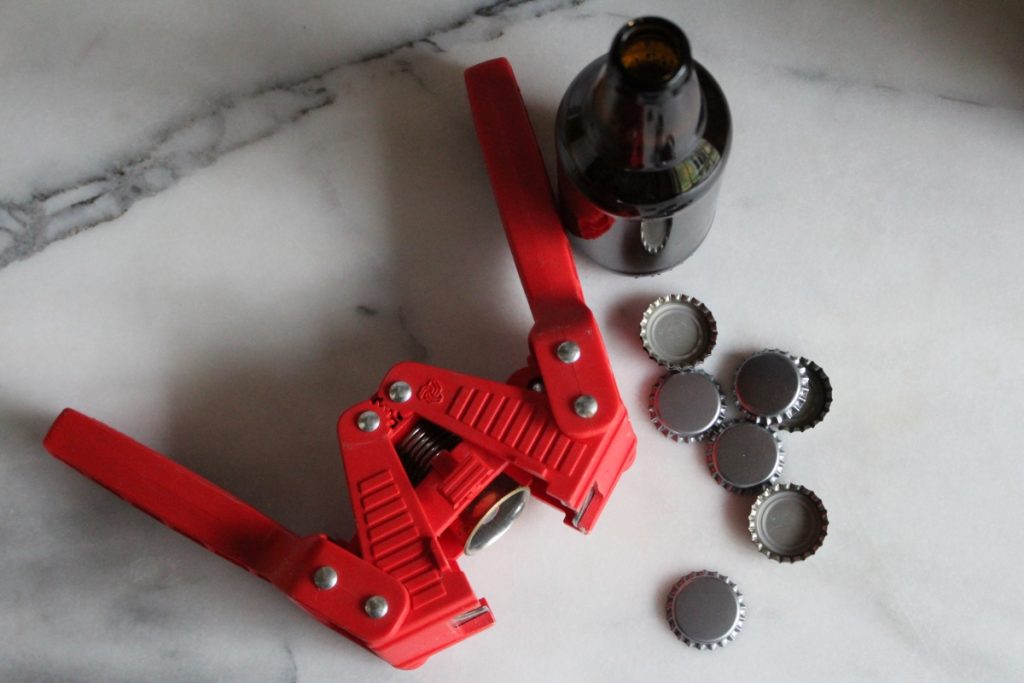
- Bottle Capper ~ A capper is used to seal each fresh bottle cap onto the glass beer bottle. They’re inexpensive and last a lifetime.
You can often find simple beer making equipment kits, in either one or 5-gallon size, that include all the equipment you’d need to make a beer start to finish. They’re usually inexpensive, and depending on the kit size they’ll cost somewhere between $40 and $100. Many also include grain, malt, and hops for making your first brew.
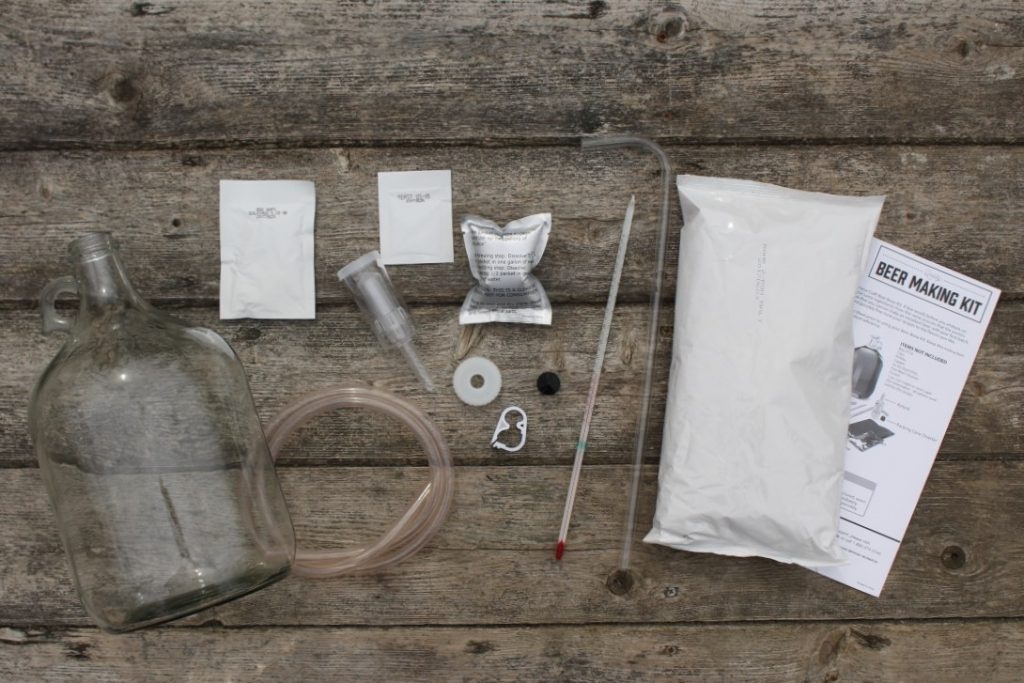
The simple one-gallon brewing kit pictured below includes a fermentation vessel, hops, yeast, sanitizer, siphon, thermometer, and malt. The only thing it’s missing is beer bottling equipment, just the bottles, caps, and bottle capper. If you’re doing one-gallon batches, you can get away using just a few reusable flip top Grolsch bottles (commonly used for bottling kombucha) instead of beer bottles and that’s what’s assumed by this kit.
Ingredients for Making Beer
The specific ingredients will depend on your beer recipe, but just about every homebrewing recipe will be a combination of the same basic ingredients. That said, there are many different types of malt, hops, and yeast, and different recipes call for different varieties to create different styles of beer.
- Malted Grains or Malt Extract ~ Malted grain is grain that has been sprouted to convert some of the natural starches to sugars, and then quickly dry roasted to preserve it in that sugary state. Using malted grains means you’ll need to extract the sugars from the grain (basically making malt tea) following specific temperature guidelines on the recipe. With malt extract, that step is done for you and you just pour malt syrup into the brewing pot. The primary grain used in beer is barley, but many beers also include some quantity of wheat, rye, corn, or oats.
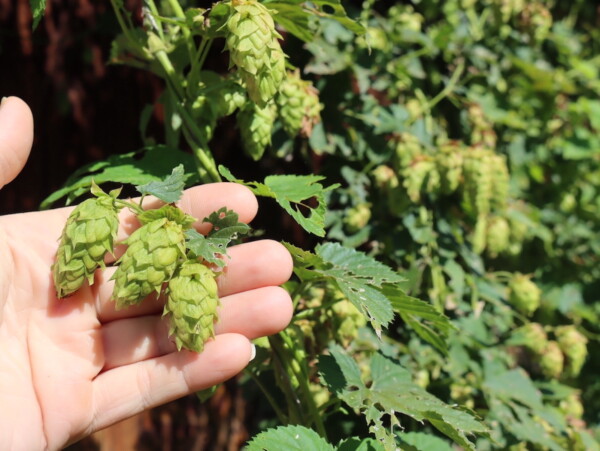
- Hops ~ A bittering agent, preservative, and flavor enhancer, hops add flavor to beer and prevent it from spoiling. There are dozens of commercially available hop varieties, each with a different flavor profile. Beyond that, how and when the hops are added will impact the flavor of the finished beer.
- Yeast ~ Brewing yeast is very different from bread yeast, and the particular strain you choose will completely change the flavor and body of the finished beer. Believe it or not, a lot of the flavor in a beer comes from volatile compounds produced by the yeast themselves rather than any differences in hops or malt. One strain might produce a clean, clear beer while another, fermenting the same wort, will produce a hazy beer with notes of citrus. Brewing yeast comes in convenient freeze-dried packets or liquid direct pitch starters. One very broad distinction in beer years is ale vs lager yeasts. In general lager yeasts prefer fermenting in much cooler temperatures (about 50-55F) and take longer than ale yeasts, which usually work faster and at higher (60-70F) temps.
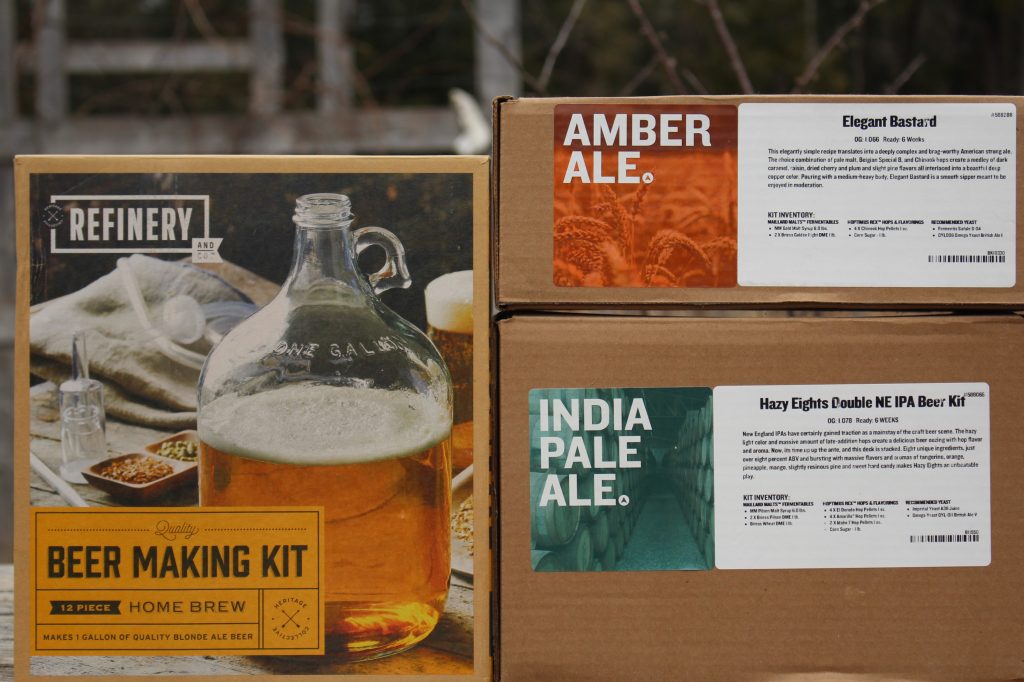
The hardest part of brewing beer at home is designing a recipe, and I always recommend that new homebrewers make their first few batches with a beermaking ingredients kit; pick a style you enjoy drinking and find a kit for it. This allows you to understand all the steps in the process without having to re-invent the wheel by figuring out your own recipe. There are also a number of books which have recipes for a variety of styles; my favorite is Brewing Classic Styles which gives an award-winning recipe for every major (and many obscure) types of beer.
Beyond that, recipes in homebrewing books often have hard to find ingredients, and you don’t want your brewing dreams to stall out before they get started for lack of a specific malt type.
Many kits are clone kits, designed to mimic a famous beer maker’s successful recipe, and their names are subtle plays on words to that effect.
How to Make Beer
Regardless of the type of beer you hope to make, the basic steps are usually the same. These basic steps assume you’re working with malt extract as your primary sugar source, and if you want to try making an all-grain brew (extracting the sugars yourself) things are much more complicated (both with extra steps and equipment).
- Sanitize All Equipment
- Warm the Brew Kettle
- Steep Grains (if applicable)
- Bring the Kettle to a Boil
- Add Malt Extracts
- Add Hops
- Cool the Wort
- Move to Fermenter and Add Yeast
- Primary Fermentation
- Secondary Fermentation (Optional)
- Bottling & Bottle Conditioning
Sanitize All Equipment
Before you begin brewing beer, always sanitize all your equipment. Most brewers use oxygen-based cleaners that leave no residue and can actually be used without rinsing (I still rinse it anyway). The most popular is One Step Cleaner, and it’s easy enough to follow the instructions on the bucket.
Contamination is unfortunate and can ruin a batch, or simply make it impossible for you to get consistent results with the same process. Adding in extra microbes to what is in effect a living process means that you cannot control the final flavor of the beer.
On the other hand, sanitizer is inexpensive and easy to use, and there’s no cheaper insurance when making beer at home.
Warm the Brew Kettle
After everything’s clean, it’s time to start warming water in your brewing kettle. Notice I don’t say “boil water” because in most batches there are steps that happen before the water comes all the way to a boil.
For example, steeping malted grains….
Steep Grains
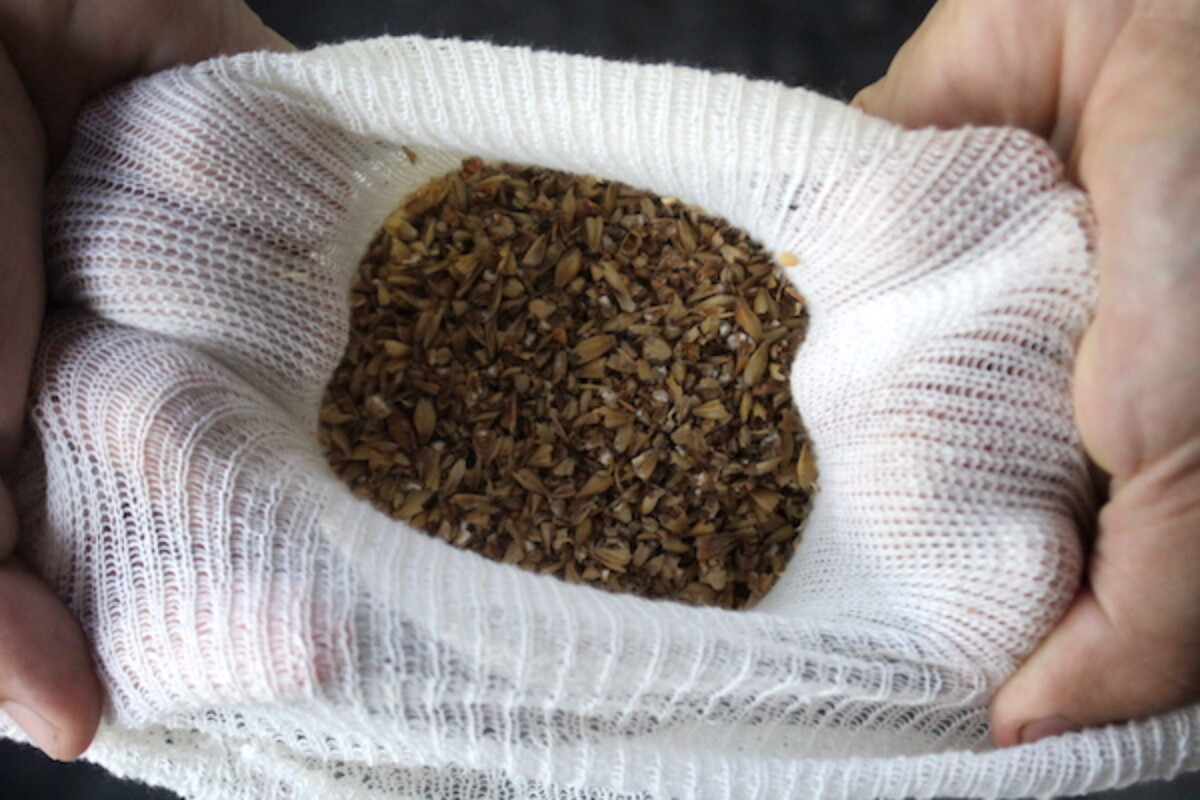
Most home brewing recipes require you to steep grains in very warm (but not boiling) water. This includes recipes that are predominantly made with malt extract; the steeping grains allow creating nuances of flavor that are hard to create using only extract.
Malt extract relatively one-dimensional, and you just can’t get as much nuanced flavor from a pre-extracted malt syrup compared to what can be done with all-grain. Beyond that, there just aren’t that many different types of malt syrup (and there are literally hundreds of types of malted grain).
Most of the sugars will be added later in the form of malt syrup, but early on before the brewing kettle comes to a boil you’ll be effectively making “malt tea” by steeping a bag of brewing malt in the water.
In all-grain brewing, temperature control is very critical, as extracting fermentable sugars from malt is an enzymatic process. For a recipe based on malt extract and steeping grain, temperature control is much less important as all the enzymatic reactions have already happened in the factory that made your malt.
Most recipes will say something like “Steep the malted grains for 20 minutes at 170 degrees before removing them and proceeding with the boil.”
Bring the Kettle to a Boil
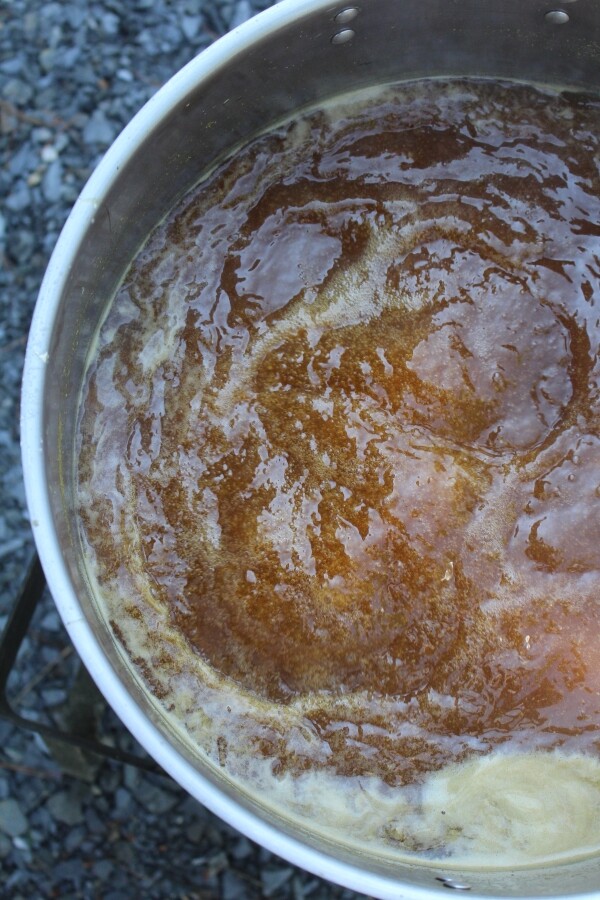
After you’ve steeped the grains, bring the kettle to a full rolling boil. The water should be very hot for the rest of the steps, and it’s a good idea to make sure the water level isn’t too high (or too low) at this point.
You’re going to be added both hops and malt shortly, so there should be enough space to accommodate them, as well as lots of extra headspace since the brew will bubble up considerably as more sugars are added.
Depending on the recipe, the mixture (known as wort once the sugars are added), will be boiling for around 60 to 90 minutes. The reasoning for this is complicated, but in a nutshell, the boil time will control how much the malt sugars are caramelized and what flavors are extracted from the hops.
Add Malt Extracts
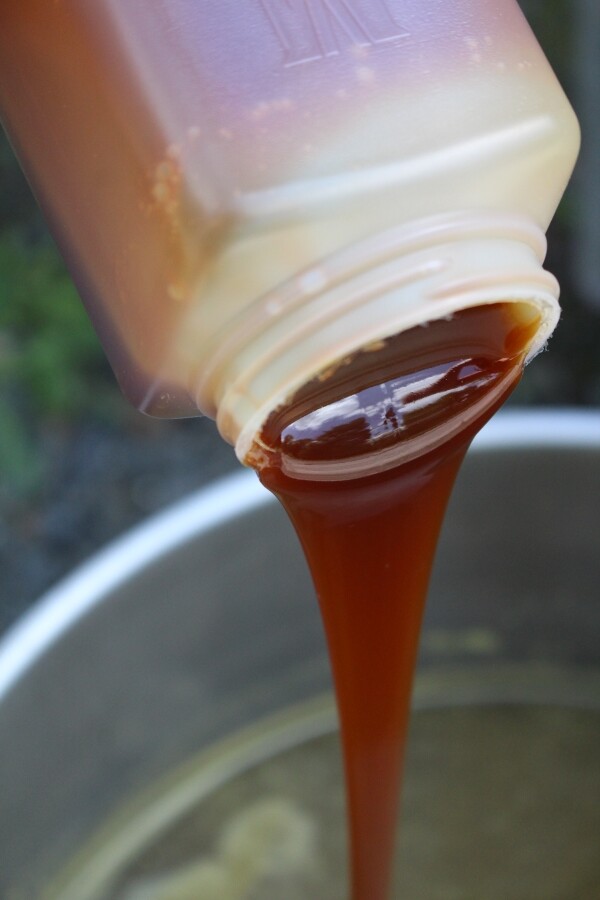
The malt extracts are added to a boiling brew kettle, and many people choose to temporarily turn off the heat during this process. Malt syrup is sticky and messy, and it can be tricky to add it while stirring. If it sits in contact with the bottom of the pot too long, it’s liable to burn and throw off your batch.
If you want to play it safe, turn off the kettle, add the malt and make sure it’s fully dissolved and stirred in before turning the heat back on.
(Or, get a buddy and have them stir while you pour, which is what we do.)
Add Hops
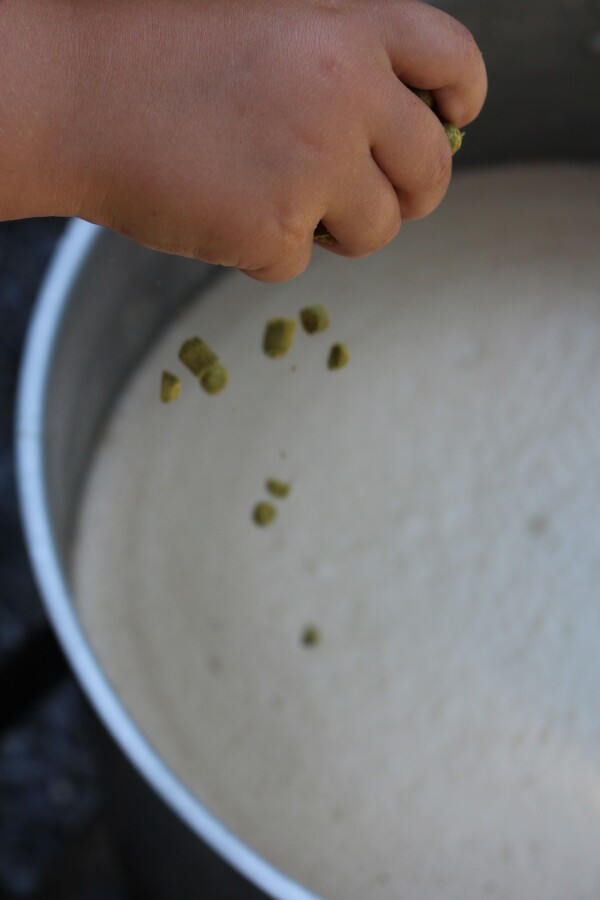
While I say “add hops” for this step, it’s actually a bit more complicated than that. When the hops are added will have a dramatic effect on the finished homebrew.
Bittering agents, known as alpha acids, are extracted from the hops during boiling, and longer boils will result in a beer with higher IBUs (International Bitterness Units).
While bitterness is important to a beer, since it helps it keep and balances the malty flavors, it’s not the only function of hops.
Hops also add floral esters and other volatile compounds that provide a lot of flavor to the finished beer.
Generally, some high alpha acid hops are added close to the beginning of the boil, known as bittering hops. After that, other hops are added at specified time intervals during the boil.
Some of the most floral and nuanced hops will be added at the very end, in the last few minutes of the boil, or even after the kettle is turned off.
Cool the Wort
Once the boil is finished, usually after 60 to 90 minutes, it’s important to cool the wort (sugar liquid) as quickly as possible. Why must it be cooled quickly?
If the wort is cooled slowly, proteins from the grains will precipitate out of suspension and make a cloudy and otherwise off-tasting beer. Fast cooling prevents this, but it’s tricky to quickly cool 5 gallons worth of boiling hot sugar water.
(This part is a lot simpler with one-gallon batches, as a small pot will easily fit in the sink and will cool quickly in a cold water bath.)
The low tech method involves moving the whole brewing kettle to a bathtub full of cold water, or setting it out into a snowbank, then stirring the wort so that the cold outside the pot cools the liquid inside.
The high tech method is known as a wort chiller, and it’s a coil of copper tubing that’s attached to a sink faucet or garden hose. Copper is very conductive, and the cold water flowing through the coils takes the heat from the wort and then dumps it out the other end of the hose as hot water.
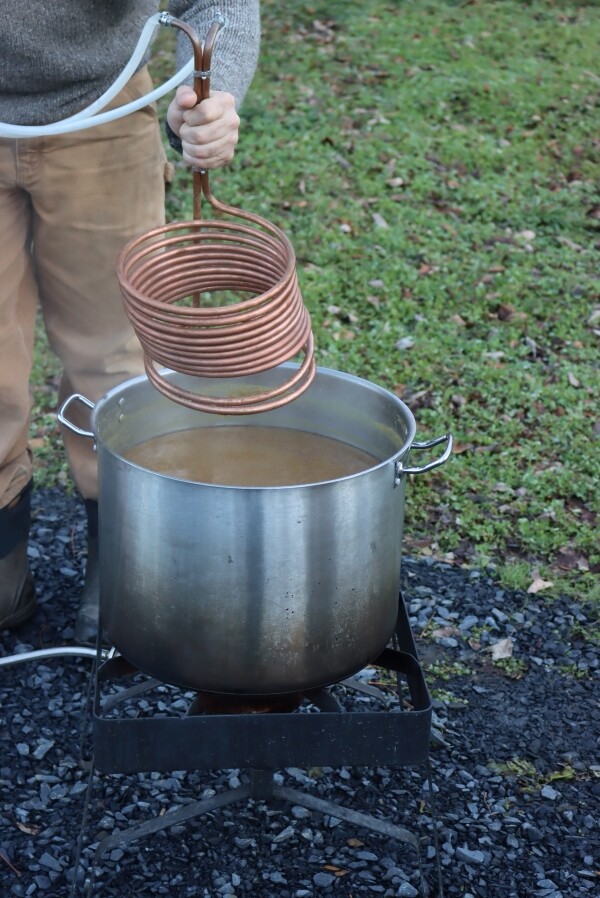
This works really well if you’re brewing on a propane boiler outdoors since it’s easy enough to have a hose nearby and a flower bed to absorb many gallons of water.
Inside the house, it’s trickier but works well enough so long as you have a sink that has threads for screwing on the wort chiller attachment.
Move to Fermenter & Add Yeast
Once the wort is cooled, usually to around 60-90 degrees depending on the recipe, it’s moved to a fermenter. Adding oxygen to the mixture at this point, known as aeration, will help the yeast get off to a strong start.
We’ll usually take a pint measuring cup and scoop the wort from the brewing bucket, pouring it by the pint into the fermenter from a height of about 4 feet up. The height causes the wort to churn in the bucket on impact and aerates the beer. This isn’t strictly necessary, you can just pour the whole brew kettle into the bucket.
Once the wort is in the fermenter, it’s time to add the yeast. Different types of yeast require different temperatures and preparation, so be sure to read the packet. Freeze-dried yeast usually must be dissolved in water at least 10 minutes before being added to the beer, as the sugars in the beer shock the dried yeast cells before they’re fully hydrated.
Other types of yeast come as liquid or direct pitch, and you’ll have to pay attention to their specific requirements.
Take a hydrometer reading at this point, to determine the potential alcohol of your homebrew. Comparing this initial reading to a reading taken at the end of fermentation, right before bottling, will allow you to calculate the ABV % of your beer.
(Here’s how to take a hydrometer reading.)
Primary Fermentation
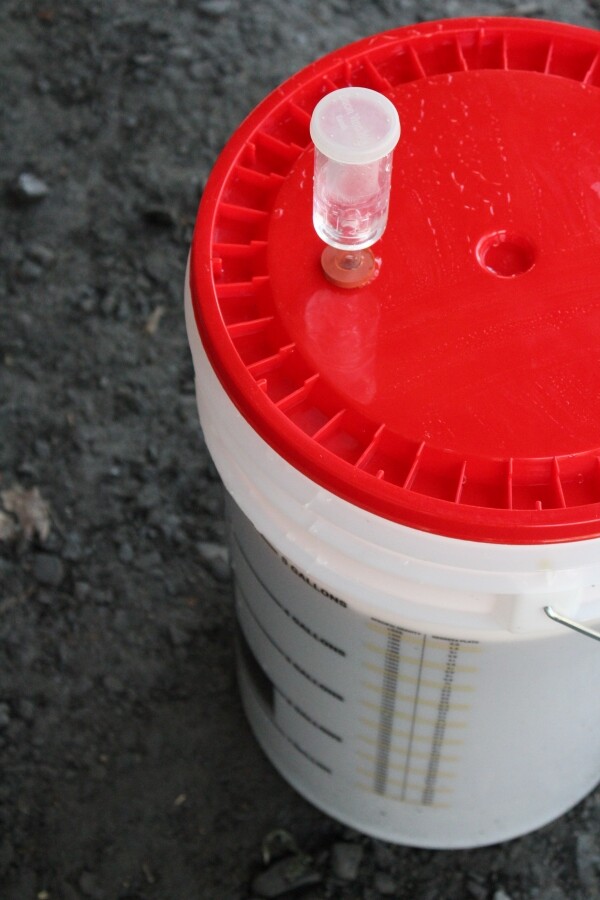
The wort and yeast are now in the fermenter, and it’s time to add a lid and water lock to prevent contamination as the yeast go to work.
A water lock is a one-way valve that allows CO2 from the fermentation process to escape but doesn’t allow anything to get into the fermenter. This is helpful, as it prevents acidic acid (vinegar producing) bacteria from entering and proliferating.
The problem is, if you’ve chosen a particularly vigorous top-fermenting yeast, the beer is going to foam like crazy in the first few days. This isn’t always an issue, but many recipes will suggest using a blow-off tube at the start of primary fermentation.
A blow-off tube is just a length of rubber tubing inserted into the grommet on top of the brewing bucket where the airlock would normally be. The other end is placed into a cup/bowl/jar of water, creating a water lock seal. As the beer foams, it can “blow-off” through the tube into the water.
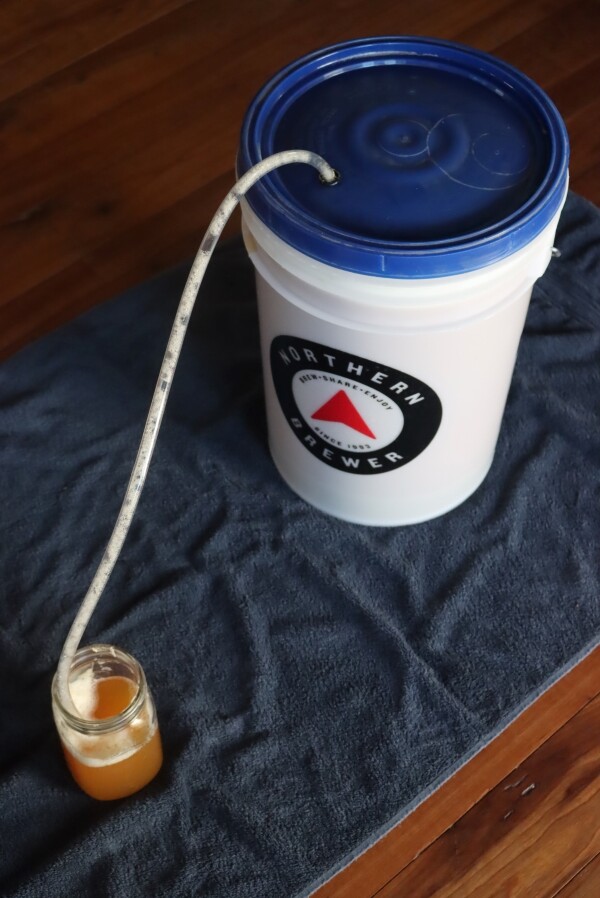
Once things calm down a bit, attach a regular water lock and proceed with primary fermentation as specified by your recipe.
This usually means allowing the beer to ferment at roughly 68 degrees for about 2 weeks, but every recipe is slightly different.
Secondary Fermentation (Optional)
Sometimes, beer making recipes will require a secondary fermentation, which simply means moving the liquid portion to a new clean fermenter and leaving the yeast/sediment/hops/etc behind.
A siphon is used to move the beer, which just pulls the liquid portion out and leaves the yeast cake undisturbed at the bottom of the fermenter.
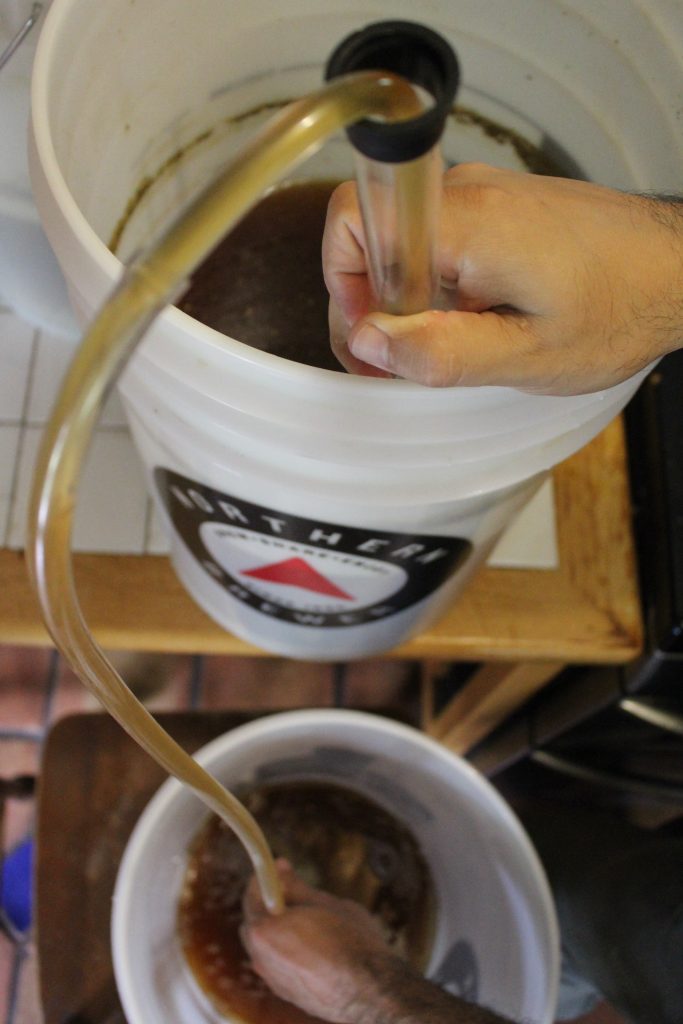
This helps the beer to clear and often kicks off a fresh round of fermentation as the yeast.
A secondary fermentation is not included in all beer recipes, but we usually move a beer into secondary even if only for a few days. It makes the process of bottling cleaner, as there are often several inches of yeast and sediment in the bottom of the primary fermenter.
Removing all that mess and allowing any that you’ve missed to settle out in secondary usually means a higher quality finished beer.
A secondary fermentation is also a good time for dry hopping, which is simply adding hops directly to the fermenter in a brewing bag. They’ll infuse their floral essences, but without adding any bitterness since it’s not boiling.
During primary fermentation, volatile esters are often lost to a violent fermentation, but things are calmer in secondary as the yeast are just about spent already.
This is the perfect time to add all manner of flavors, from hops to oak chips to fruit extracts.
Again, a secondary fermentation is optional, and many recipes just go with a quick 2-week primary and then move straight to bottling.
Bottling Beer
Take a hydrometer reading and compare it to your initial measurement. This is used to determine if the fermentation is complete. If your reading shows that there’s still a good bit of fermentable sugar, and the ABV % is less than what was planned in the recipe, allow the fermentation to continue until the fermentation is complete. Consider moving the fermenter to a warmer location to help the yeast along.
Once fermentation is complete, it’s time to bottle the beer.
Flat beer is not particularly tasty, so a bit of easily fermentable sugar is usually added at this point to kick off a tiny burst of bottle fermentation which carbonates the beer.
A small amount of corn sugar or dried malt extract is dissolved into warm water, and that’s added to the bottom of the bottling bucket. Adding the correct amount is essential here, as too much sugar will cause too much bottle fermentation and can result in exploded bottles. This is a good guide to “bottle priming” as it’s known, and will give you guidance on how much to add.
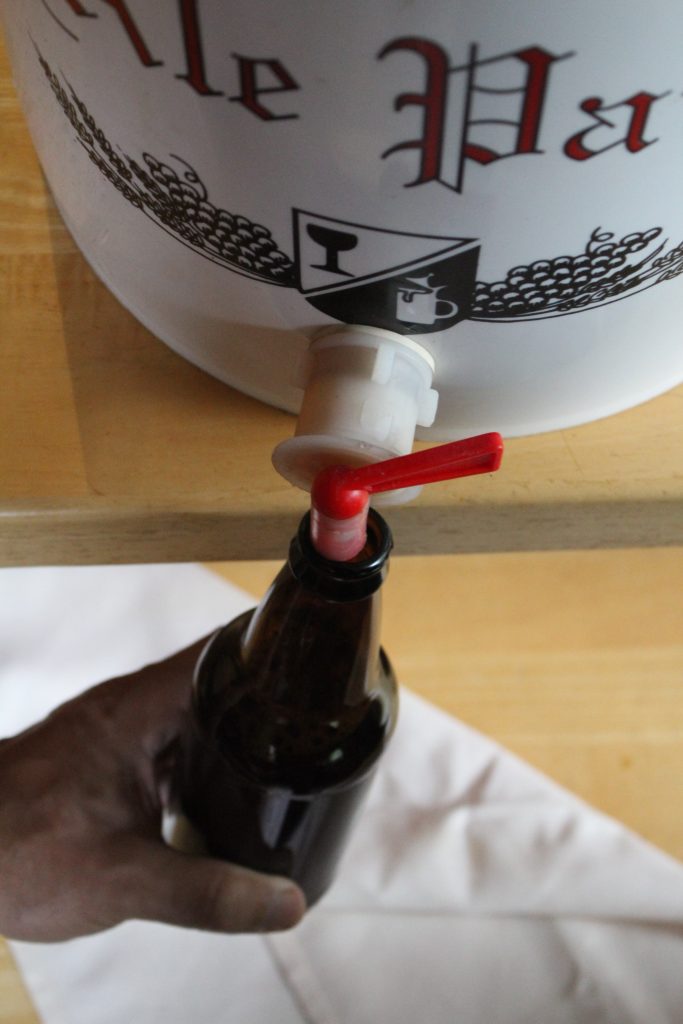
The beer is siphoned from the fermenter into a bottling bucket, which is basically just another fermentation bucket with a spigot attached to the front.
A spigot allows you to carefully fill beer bottles, filling them up about halfway up the neck and allowing roughly 1 1/2 inch of headspace. This headspace allows carbonation to occur, and gives a bit of cushion that prevents bottles from exploding.
Cap the bottles with a bottle capper using new caps each time. (While most brewing equipment is reusable, including the actual beer bottles, you do need new bottle caps each time).
Bottle Conditioning
After bottling you may be tempted to pop open a homemade beer right away, but it’s important to wait. The beer isn’t carbonated yet, and believe it or not, there’s quite a bit of flavor that develops within a week or two of bottling.
Allow your homemade beer to “bottle condition” for about 2 weeks before drinking.
Unlike homemade wine, most beer is consumed fresh, so after that 2 week bottle conditioning period, it’s best to drink the beer within a few months. Though it won’t “spoil” it just tastes best in the first 6 or so months after brewing.
There are some exceptions, and beers like IPA’s were originally brewed with a boatload of hops…to allow them to be shipped from Britain to India without spoiling (thus the name). Still, for the most part, plan on drinking your homemade beer within one year at most for the best quality.
Cost of Homebrewing
So I know what you’re thinking…this sounds like a lot of work. Why bother?
Well, besides the fact that fresh homemade beer often tastes better than even the most expensive craft beer (if made properly), there’s cost.
When you buy beer, there’s a huge markup and a lot of alcohol taxes added into the price, and you can make your own for about 1/4 to 1/2 the price.
If you invest in the equipment for making all-grain beer, you can cut the price even more since grain is much cheaper than malt extract. Beyond that, buying hops in bulk saves a great deal too (or even better, grow them yourself). And, if you save the yeast from batch to batch, you can save even more as fancy yeast strains are often $10 a pouch.
Lighter easy-drinking beers with less malt and hops obviously cost less, since there are fewer ingredients going into the pot, and heavier maltier beers and IPA’s with a lot of hops cost more. None the less, here’s a few cost examples:
Making 5 gallon batch of our favorite IPA (with a good bit of hops and malt) starts with 12 pounds malt extract, 4-6 ounces hops, and $10 of fancy liquid yeast. It costs about $1 per bottle, but similar craft beers sell for about $4 a bottle locally (and a lot more in bars).
If we make that same beer with grain (instead of extract), buy hops in bulk (by the pound instead of the ounce) and re-pitch yeast from a previous batch, the cost comes down to about 60 cents a bottle.
That’s for a beer that would retail for $4 a bottle. Around here, even “cheap” but decent beer runs close to a dollar a bottle, and making something equivalent would cost more like 30 to 40 cents a bottle.
This is all in 2020 dollars, and costs are always changing. I remember back when we started brewing our batches averaged 25 cents a bottle, and I’d have been outraged to see “cheap” beer at the store for $1 a bottle.
A few years from now, these numbers may not be accurate, but brewing your own beer will always be a lot cheaper than buying store-bought. It should cost you somewhere between 1/4 and 1/2 as much to make yourself, and once you’re good at it you’ll be able to make beer that’s better than anything money can buy…because it’s exactly what you like, tailored to your personal tastes.
Homebrewing Books
If you’d like to read more about making beer at home, I’d suggest investing in a few beginner homebrewing books. All of these are great reference manuals:
- The Complete Joy of Homebrewing by Charlie Papazian ~ This is one of the best intro home brewing books out there, and if you only buy one this should be it.
- How to Brew by John Palmer ~ Goes deeper into the science of brewing and has the best introduction to all-grain brewing that I have read.
Beyond Homemade Beer
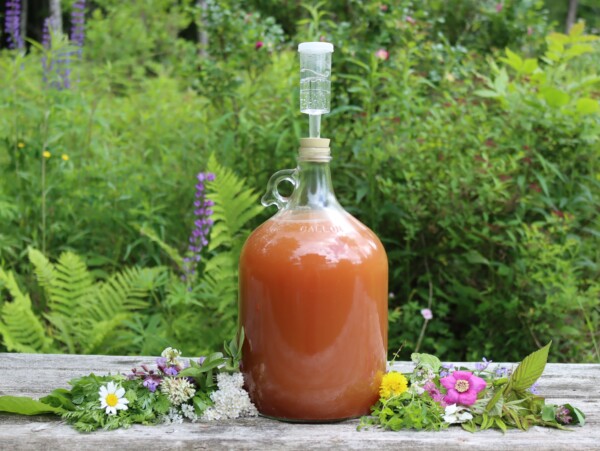
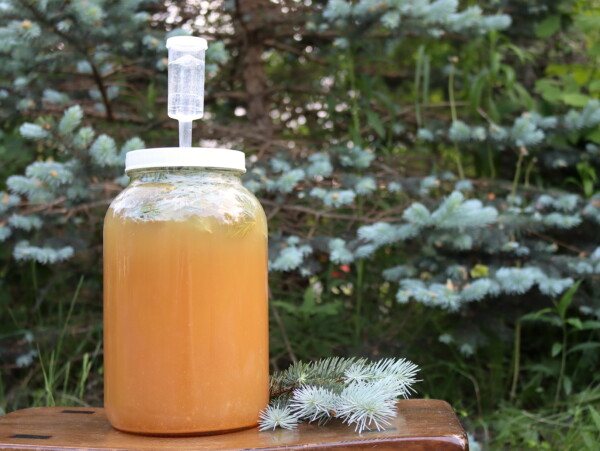
Once you have all the equipment to make homemade beer, you’ll also have everything you need to make wine, mead, cider and all manner of other fermented beverages. Beer making (especially all-grain brewing) is actually the most equipment intensive, and once you’ve made your first batch of homemade beer you’ll have everything you need on hand for more fun fermented beverages…


This is fantastic. Been making wine for a bit. Some concord, some berry and florals. My favorite so far is wisteria from my own Kentucky wisteria vine. I’m looking forward to trying a bunch of your recipes I’ve been devouring the past few days. Love the small batches idea to get things just right and see what I like. Beer is something I found a bit intimidating. It just sounded so much more complicated, but your article gives me enough info to give it a try in the near future. Thanks so much. Looking forward to an ice cold beer of my own making by next summer!
Wonderful!
Jeez Ashley, why are you always so wonderfully thorough? I’m commenting to save you time, which I think is worth it. Half way thru my life I’ve become a lazy ass Australian, and therefore can probably brew the stuff your talkin about in half the time. Here’s how I do it; Get to boilin a kettle of water ( about a quart), pour a kilo of dextrose, then the hopped malt syrup into the primary fermenter. Pour that boiling water on those ingredients and mix together, fill the fernmenter with 2 cases of beer worth of water, It’s cool enough to add the yeast- stir it in and seal up. Enjoy in 2 weeks and it took a lot less time and effort. Let me know if you want me to send the instructions from the side of the can if you don’t believe me. Love yer site
For those interested in a simple method of all grain brewing, look into the Brew In A Bag method. 😉
I recently been fascinated with beer making ever since my good friend installed a brewing system in his home. It was the perfect thing to start especially during the pandemic when time is all we have. Thanks for linking the products, I definitely will check those out!
You’re very welcome. We’re so glad you enjoyed it.
Something I have been wanting to do for many years now. My kids bought me a small beer making kit for Christmas 8 or 9 years ago. We moved not long after and it got put away (buried behind other stuff) in the garage at the new house. I found it a couple of months ago. Unfortunately all the ingredients that came with it are as hard as a rock now, and I am sure unusable. 🙁 The garage is detached and has gotten very hot and cold several times since it has been in there. At least everything else should still be usable. Now i’ll have to pick up a few things and see if I can make a few bottles of beer. See what you have gone and done? 🙂
=) I get accused of that a lot…enjoy!
Great article! I love brewing beer at home, and have upgraded many of my items to stainless steel just to cut down on contamination risks. Northern Brewer and Midwest Supplies have some great deals on kits and equipment. Great job on getting this info put together!
Yeah, we’re thinking of going the same route. Hoping to get a sink installed in the basement where we do our ferments so we can put stainless fermenters down there full time. I’d love to move away from plastic into all stainless too.
The other thing I did was move to kegging all of my beer. I have a 2 tap kegerator that I bought used. So nice to have some good homebrew on tap anytime I want it. The way mine is set up, I can adjust my CO2 pressure and bottle off of the kegs, or fill growlers if family wants some. I’m gonna have to try out some of your other blogs like the Mead, and hard cider ones. Look like great ways to go. Do you use your spent grains for breads or anything? Those make some really flavorful and hearty breads for sure!
Often enough we’ll make a small beer from the spent grains, and we’ve made bread too. More often than not though, they’re a treat for the chickens.