Affiliate disclosure: This post may contain affiliate links. Please see our Privacy Policy.
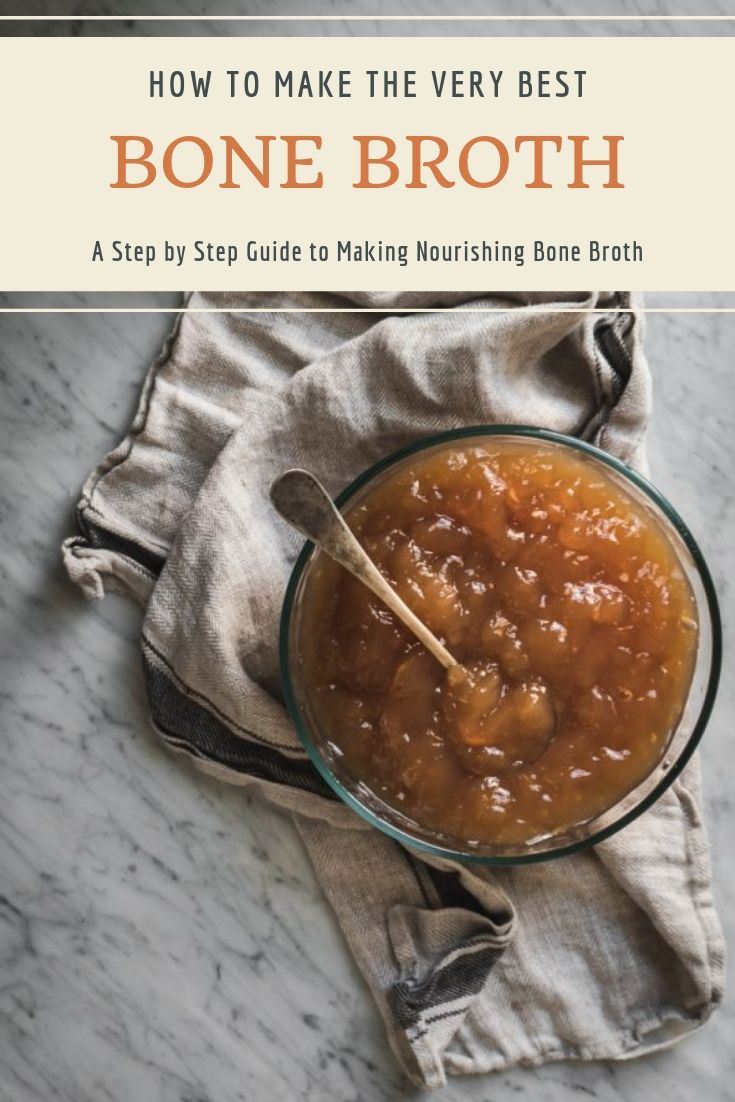
Bone Broth has moved from culinary cornerstone to contemporary craze. Cooking up a batch of bone broth is simple. It’s bones, water, and veggies.
Maybe some spices or herbs thrown in for extra flavor. But, not all ingredients are created equal. Here’s everything you need to know about how to make a bone broth that will knock your socks off.
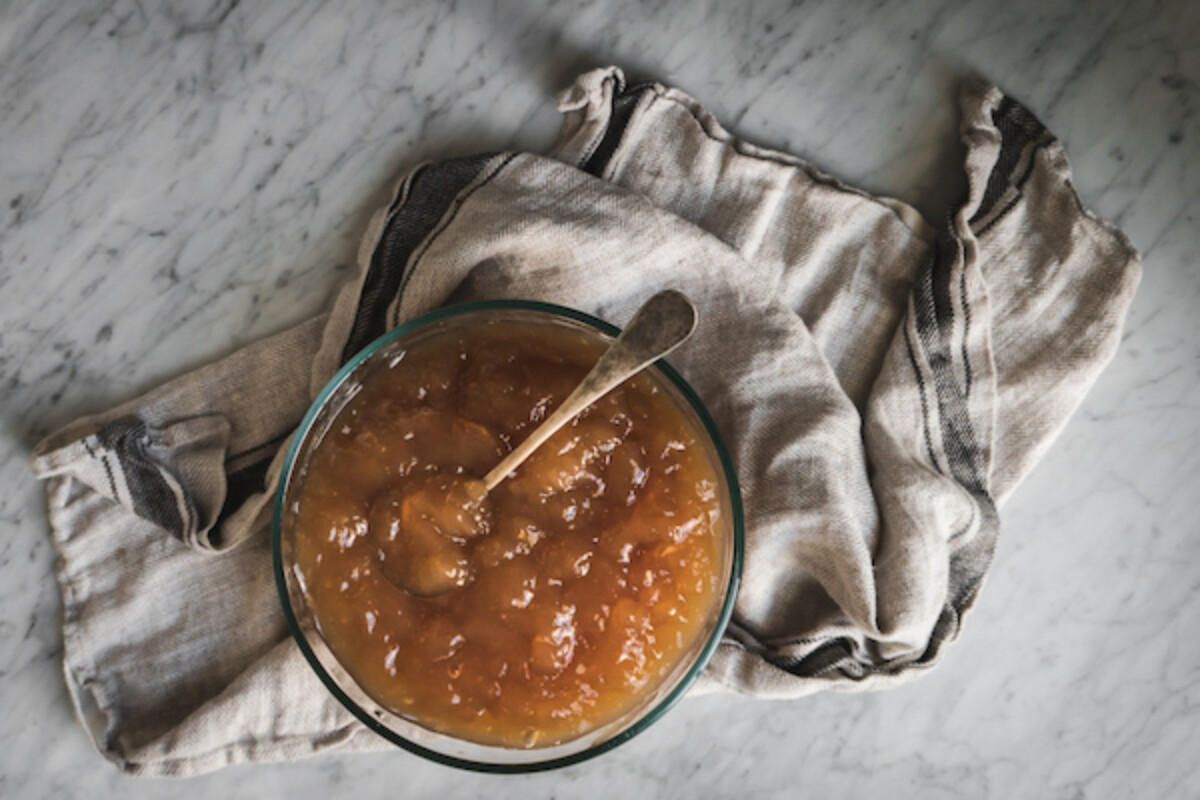
(This post was contributed by Melissa Keyser.)
About a decade ago, I started making my own chicken stock as a way to save money and to make the most of the roasted chicken I occasionally made. I thought nothing of the health benefits stock might bring, other than avoiding the cost, the packaging, and unknown quality of ingredients of store-bought broth. I was focusing simply on adding flavor to my soups and was thrilled there was one more element of my meal that I could make myself.
Then a few years ago, I noticed that bone broth had become trendy: hipster restaurants selling it by the cup out of walk-up windows, cartons of it frozen in the fancy natural food stores. These broths were advertised as sipping broths or bone broths, magical elixirs of the newest superfood wellness trend.
Why on earth would you want to drink a cup of lightly-flavored yellow water? And why would you pay so much for it?
I shook my head at the stupid people. No way in hell was I going to be someone who gave into such trendy foolishness- drinking broth from mugs like a fancy cup of coffee. I had jars of my broth frozen in the freezer, destined for soup like broths were supposed to be.
But as time went on, and I learned more about how my ancestors cooked, and about cooking and nutrients in general, I started to understand. And, as the first onset of colds hit my house earlier this winter, I became one of those dreaded trendy people.
I became one of those people who drank bone broth.

What is Bone Broth?
While I originally thought of bone broths as something trendy, it’s a traditional method of cooking. For thousands of years, keepers of the home and the hearth took the scraps left from whatever was hunted or killed that day and added to a pot of water.
Bone Broth is the original soup, a basic element of cooking and eating.
Boiling the bones and joints from animals in water for hours makes the magical compounds and flavors in the marrow, cartilage, and bones available to our bodies. Our ancestors may have not known the long scientific names, like glycosaminoglycans and proteoglycans that bone broths contain, but they knew that the broth was vital to our health.
The benefits of bone broth are both immediate and long term. It has been shown to reduce inflammation (the cause of many diseases like cancer and heart disease), and the high dose of collagen it provides nourishes skin, hair, bones, and smoother joints. It’s even been noted to help mental conditions, like depression and ADHD.
The Difference Between Broth, Stock and Bone Broth
Some say that bone broth is just a fancy name for stock. And in the ancestral kitchens or even the kitchen of a great-grandma of a hundred years ago, that would be correct- stock and broth are made from the same ingredients.
The word broth comes from the ancient German word Brühe, meaning “brew”. In the 18th century, the word stock was used to mean “broth made by boiling meat or vegetables”.
But, as our food supply has become commercialized and industrialized, the traditional broths transformed into something else. Standard commercial stock, bought in metal cans or cartons, is essentially chicken-flavored water, bought for the convenience factor, not for its nutrition.
Despite the name, the ingredients are all basically the same- bones, water, vegetables and maybe seasonings and spices. In modern times, the difference boils down to cooking times.
Bone broth is simply a term coined by artisan producers to set their nutritious products apart from the commercial broth makers. The majority of commercial broths are cooked for short amounts of time and at high temperatures- extracting flavor, but not the nutrients.
The longer the bones cook, the more nutrient-rich the broth becomes. A “real” traditional broth is made from bones that have been simmered for hours, even days. This creates a liquid that has complexity, flavor, and deeply nourishing.
A timeline is a simple way of understanding the difference:
Basic Broth: 2+ hours // Stock: 4-8 hours // Bone Broth: 10-24 hours+
An ancient South American proverb says “good broth can resurrect the dead”.
While achieving that level of magic in the kitchen for us everyday cooks might not be feasible, we can easily make up a batch of bone broth that our ancestors saw as a form of natural medicine- the nutrients extracted from the bones aid everything from building immunity, beating the common cold, to quickening recovery after an injury.
Which brings me back to my cup of sipping broth.
Since those first few batches of broth that I made when first learning to cook, my method has changed. I now focus on both flavor and nutrients. And while most of my broths are used in cooking, when suffering from a head cold, mugs of hot broth was one of the few things I was interested in consuming.
Along with my immune-boosting teas and other herbal practices, I’ve added regularly drinking broth into my winter wellness routine.

Bone Broth Ingredients
The amount of bones, veggies, and water needed to make up a batch of bone broth can vary, but it’s usually dictated by the size of the pot you are using. Keep that in mind when gathering up your ingredients- they all need to fit! Recipes are often written in pounds, which can be hard to translate into sizes of bones and bits- it might take a few times of broth brewing to learn what fits best in your equipment.
There are no hard rules when making bone broth, but if you need some guidance on quantity, aim for:
- about half the volume of vegetables for bones. So if you have 4 pounds of bones, you want 2 pounds of veggies.
- you want the water to cover the ingredients, but a general rule of thumb is about 4 quarts of water per 2-3 pounds of bones.
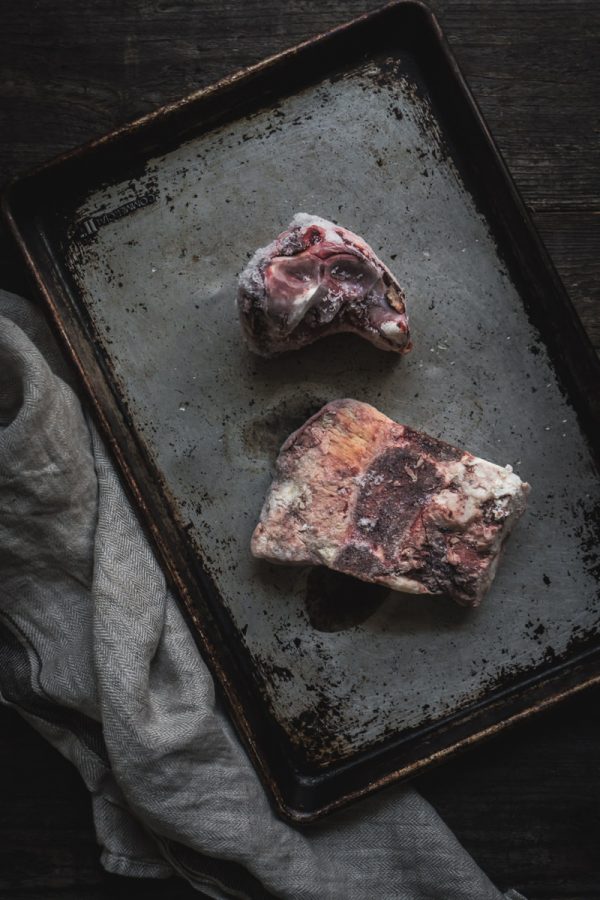
Understanding the Crucial Ingredient: Bones
Types of Bones to Use for your Bone Broth
Any kind of bones can be used for broth: fish, lamb, chicken, turkey, beef, pork, veal, shrimp, or venison. Think about what your end goal recipe is- chicken soup is best made with chicken stock, a pho will best be with beef broth.
Pork bone broth makes a great pot of beans and is especially tasty for heavy winter soups and baked beans. I like to make single-origin broth, only using one type of animal in my broth. However, it’s perfectly fine to mix different types together.
If you don’t have many bones at one time, keep them in a container in the freezer until you have a large enough batch to bother with.
If your goal is to enjoy bone broth for your health, aim for bones from animals that were grass-fed, organic, and pastured.
Cuts of Bones
Any type, or cut, of bones can be used! Joints and feet contain the most collagen and will produce a broth that is higher in gelatin. Some bones, like femurs, won’t contain much collagen but are still make a very good, nutritious broth.
If you’re buying a chicken, skip buying a whole bird, and ask your butcher for the feet, necks, wings, or backs- they are often much more affordable!
Similarly, pig feet contain so much gelatin you can stand a spoon in a bone broth made with just one or two of those.
Preparation of Bones:
Bones can be purchased from a meat market or butcher shop, they might be bones that you removed at home while preparing a cut of meat, or, bones leftover from a roast. Your bones can be fresh, frozen, uncooked, or already cooked or roasted. However, bones that have been previously boiled may not yield as much flavor or nutrients.
Bits of meat- cooked or raw, left on the bones is good! I often purchase a whole chicken and piece it out myself, and use the carcass for broth.
Or, when roasting a whole chicken, I make sure to save that as well. And those bits that come in that bag stuffed in the cavity? Throw those in as well!
Vegetables & Aromatics:
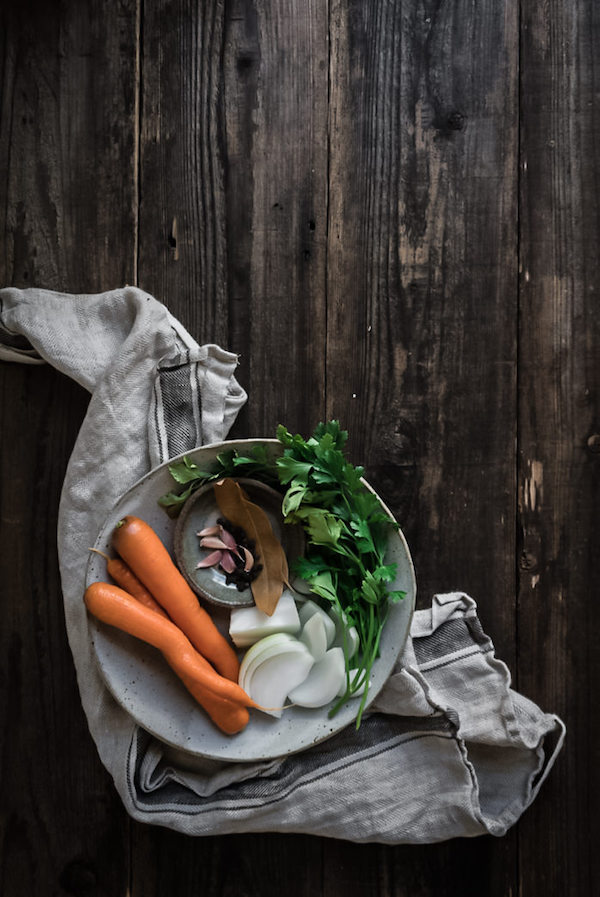
Vegetables and aromatic herbs add flavor to your broth and can be flexible based on what you have at hand. The standard in a mirepoix of carrots, onion, and celery. In my kitchen, I also add garlic, bay leaves, and peppercorns.
Other ingredients you can use may want to use in your broth are thyme, sage, rosemary, leeks, mushrooms, parsnips, fennel, corn cobs, fennel, tomatoes, zucchini, peppers, marjoram, basil, celery root, or Parmesan cheese rinds. Some ingredients may impart a flavor to your stock, so think about what you’ll be using it for.
Ingredients to avoid are turnips and rutabagas, cabbage, broccoli, cauliflower, beets, artichoke trimmings.
The broth caldron is an excellent way to use up ends and trimmings of things otherwise less palatable, but remember, it’s not a dumping ground. Any spoiled foods should be avoided.
Acid
Adding a splash of acid will help draw nutrients from the bones. I use apple cider vinegar, but you can also use wine. White wine is best for chicken, pork, or fish while red is great in beef or veal.
How to Make Bone Broth (Almost Good Enough to Wake the Dead)
Bone Broth Method One
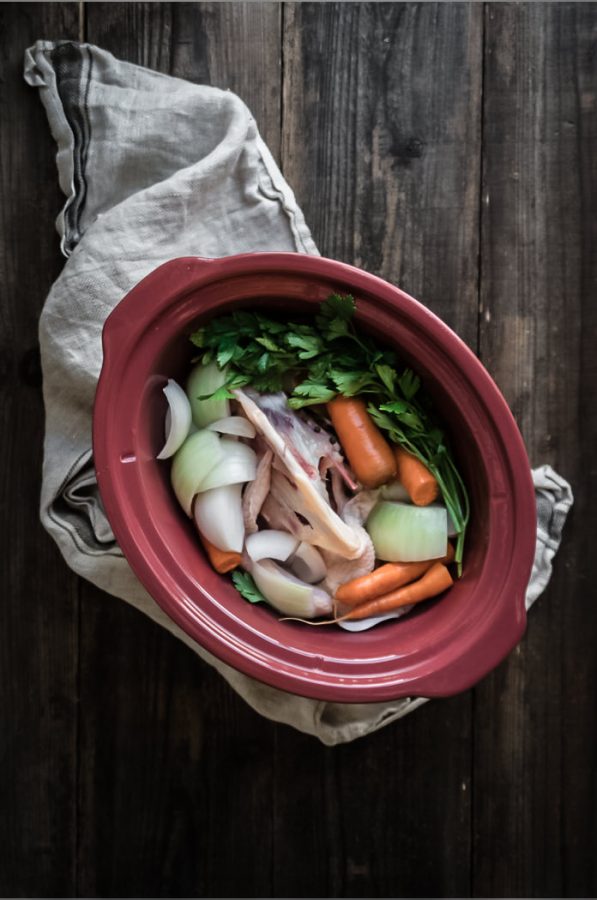
This is how I make chicken bone broth, and leave in a crockpot overnight.
Place all your ingredients in a big stock pot and cover with water. Bring to a boil, reduce heat and let simmer, partially covered, for the allotted time. If using a crockpot, set on low and crack the lid a bit.
- Fish and shellfish have lighter and delicate bones, and make a great broth in 1-2 hours.
- Chicken is best in 8-16 hours.
- Dense pork or beef bones you’ll need to simmer 24 hours, or even longer!
Strain, and enjoy!
Bone Broth Method Two
This is how I usually make my beef bone broth. I have the crockpot on low for 24 hours, then add the veggies for another 8.
Place your bones on a baking sheet and roast at 400ºF for 30-45 minutes (note– don’t roast fish bones, they are too fragile).
Place the roasted bones in a big stock pot or crock pot and cover with cold water. The gradual temperature increase will help pull out impurities (ie, scum- see below). Bring to a boil, then reduce to a simmer, uncovered.
Skim off any foam, scum or impurities that rise to the surface. I usually don’t get this on chicken, but I do on beef bones. Skim again as needed.
Once scum has stopped appearing, add a splash of acid.
Roughly chop veggies. For a deeper flavor, roast them for 15-20 minutes.
Add veggies and any spices and herbs to the pot with the bones. Add more water if needed to cover. Return broth to a simmer, and cooked, covered, for an allotted amount of time. NOTE: if you plan on cooking the broth for a day or two, wait until the last 8 hours to add the veggies. Otherwise, they might burn.
For long simmers, you may need to add additional water to make up for evaporation. Don’t worry, the gelatin and nutrients are concentrated in the pot!
Strain, and enjoy!
A Few Words on Fat
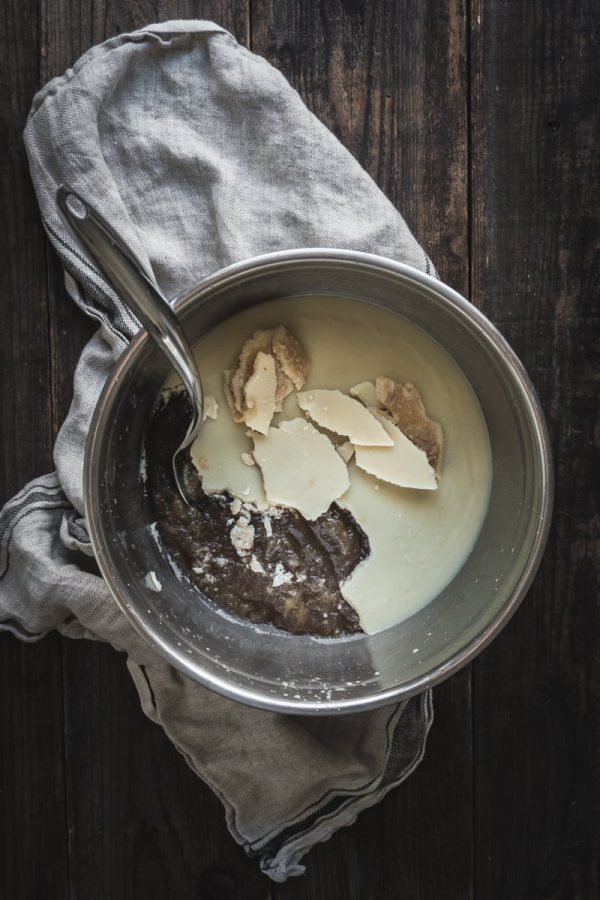
Depending on the bones you use, sometimes you’ll have lots of fat in the broth, other times not much at all. When I make chicken broth, I’ll leave the fat and just stir it into the broth.
However, I don’t like the beef fat, so I’ll separate that off. Once the broth is strained, let it cool and then skim or scoop it off- it will come to the surface and form a solid layer.
A Few Words on Gelling
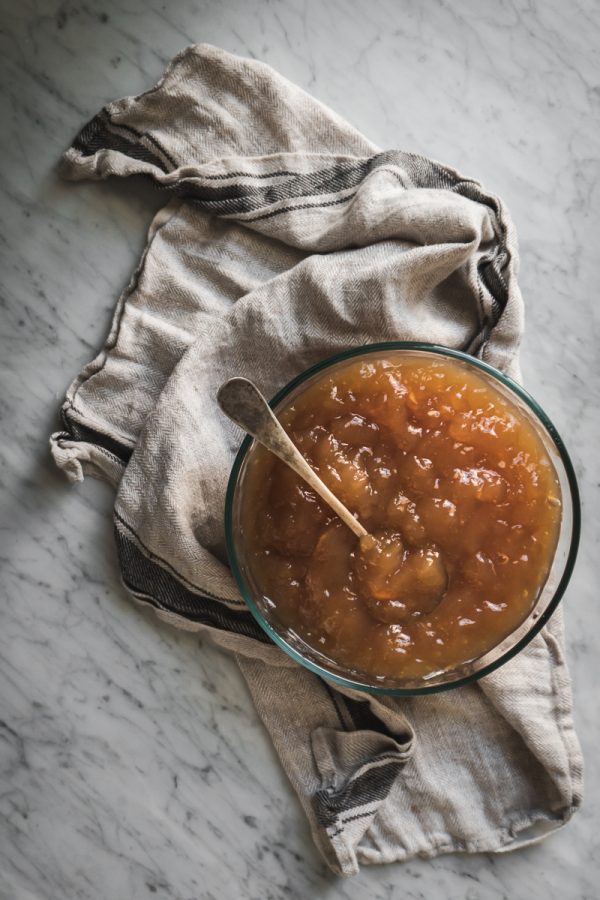
As the bone broth cools, it might start to firm up, creating what looks like a jiggling bowl of broth-colored jello. This consistency is impossible to strain and can be more difficult to measure. Because of this, I strain my broth and portion it out while it’s still warm.
The “jiggle factor” is often viewed as a badge of success for broth brewers, a sign that the wonderful collagen in the bones was pulled out. If your broth didn’t gel, it could be because you didn’t cook your broth long enough. Or, it’s simply because of the types of bones you used.
It’s not always about the gel. A femur bone, for example, or a body of a chicken, doesn’t have much collagen in them. But, gelled or not, you still made an excellent broth.
If you’re aiming for a jiggy bowl of broth, try for a good mix of bone cuts- you want a 1:1 ratio of main structural bones to parts with lots of connective tissue- like joints and feet.
Storing your Bone Broth
Broth will keep in the fridge for about 1-2 weeks, or in the freezer for a year. You can also pressure can bone broth for long term preservation.
I freeze the majority of my broth in wide-mouth pint mason jars. This size jar holds just shy of 2 cups, which conveniently, is just the right amount for cooking a cup of rice. It’s also very equivalent to a store-bought can of chicken stock, so it’s easy to know how much to pull out of the freezer when a recipe calls for cans of broth.
When freezing in jars, make sure you use ones that are straight-sided, and leave room for the broth to expand. I fill only to the bottom rim of the threads on the mason jar rim.
Make sure to label your jars! Trust me from experience, a jar of light-colored chicken broth looks just like a jar of lemon juice…
Ways to Use Bone Broth
Not into the idea of sipping bone broth? Use your newly brewed broth to cook rice or any grain that will absorb the liquid, braise veggies or meat, deglaze a pan, and of course, soups and stews!


I’m really hoping you can answer this question for me…
I’ve made several batches of grass fed beef bone broth following a ratio of approx. 4 quarts of water to 6lbs of bones. I’ve added apple cider vinegar but no vegetables. For all the recipes, I’ve added water as needed throughout 24 hours of simmering. In all my batches, I have had very large quantities of fat, but little to no broth left. Out of 16 cups of liquid, I made about 14 cups of fat! Do you know what I’m doing wrong?
Are you sure that it is fat and not just the bone broth gelling? Also, are you covering your bone broth as it is simmering? Also the general ration is 4 quarts of water for 2 to 3 pounds of bones. You’re using 2 to 3 times the amount of bones for the liquid which means that you will probably have a disproportionate amount of fat in relation to the liquid.
Good article…I didn’t realize the differences in the bones.
We processed our own meat chickens and last few years have been using the feet and shanks. With a cleaver chop in 3-4 inch pieces..not roasted. And pressure cooked 20 minutes… then strained …and and then canned 25 minutes. The gelatine is thick.. really like it.
That’s great! So glad you enjoyed the article.
How do you prepare chicken feet for the bone broth plkease?
Most people wash them off and then peel off the skin and remove the nails.
I am looking to use my multi cooker to water bath can a batch of bone broth I made. Any idea of a best practice to do that?
Bone broth needs to be pressure canned. This can only be done in a pressure canner not in a pressure cooker.
I always thought there was a lot of salt in bone broth used as stock…but there is no mention of salt?
Do not salt at all the broth… i added it as much as i want every time i’m gonna take a cup of broth and i salt it with Himalayan pink salt!!! Hope this helps you♥️‼️
I’m so excited about this article! It’s been on my to do list to research forever but I never got around to it, I consider myself pretty handy in the kitchen but I always thought I was doing something wrong with my broths when I would get scum…. turns out I just didn’t get far enough. Also, LOVE the idea of putting peppercorns in broth. I think that’s what my broth has been missing all along! I feel kinda dumb now that I didn’t just look all this up before and now it has fallen into my lap! Thank you! Love your blog! You make me feel like it’s all possible in a sea of overwhelm 🙂
Awesome, glad it’s helpful =)