Affiliate disclosure: This post may contain affiliate links. Please see our Privacy Policy.
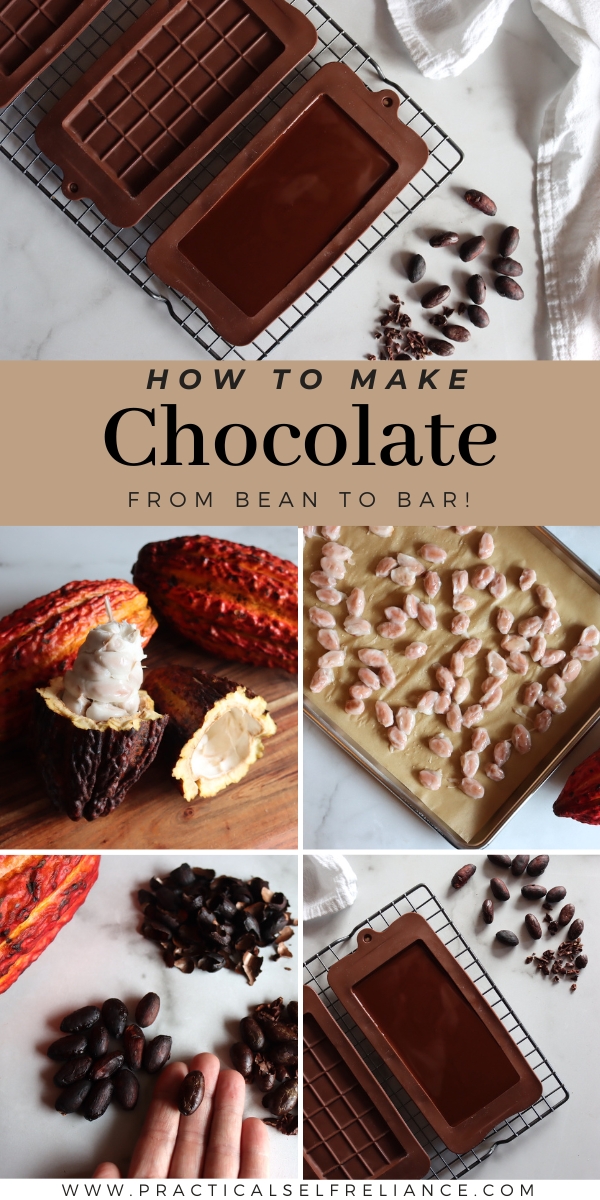
Ever wonder how chocolate is made? Follow the process from pod to bar, and you can make fresh chocolate right in your own kitchen!
Years ago, when I was working for a friend at their greenhouse in New Hampshire, I tended all manner of tropical edibles. Vanilla orchids, black pepper plants, and even cacao trees.
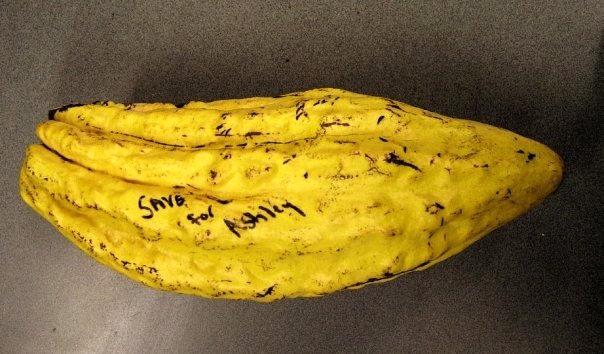
When the cocao tree set fruit, I asked my friend if I could have the pod for an experiment. I wanted to grow my own cacao tree.
She was happy to contribute and literally wrote my name on the pod so everyone knew it was saved for me. It hung there in the greenhouse for weeks until it finally ripened, with every single visitor asking, “Who is Ashley? And what’s she going to do with this Cacao pod!?!?!?”
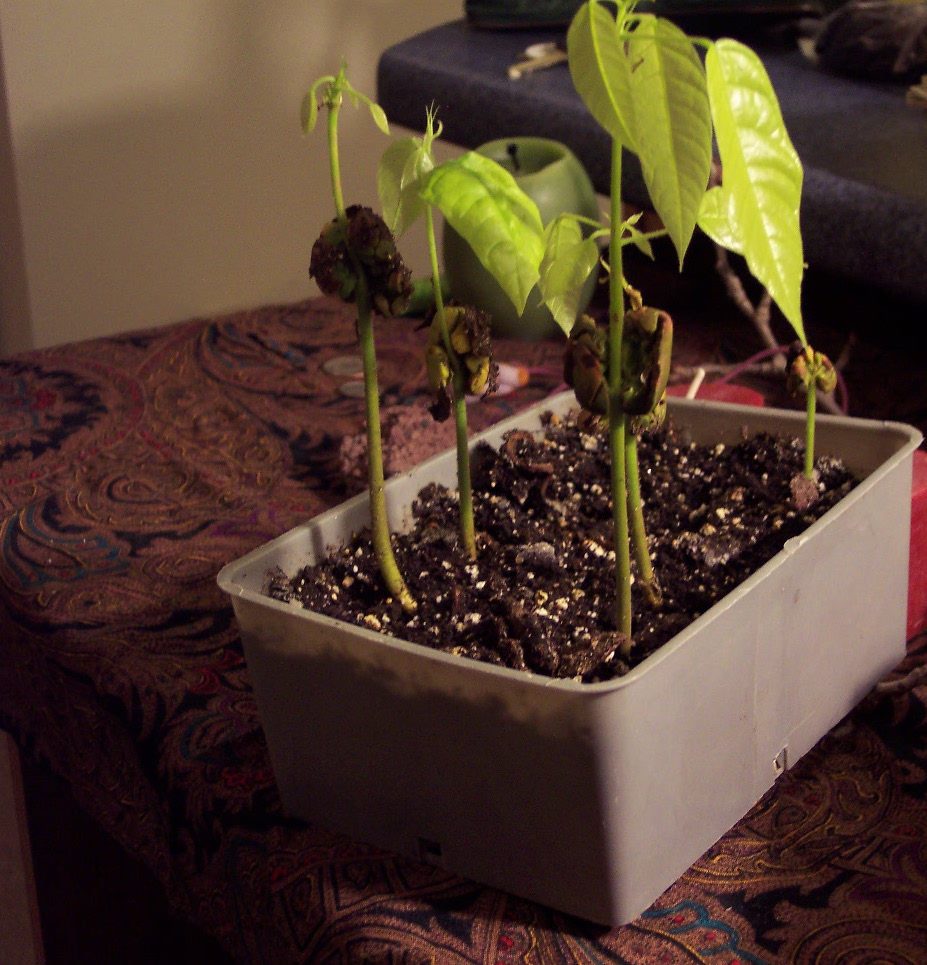
I brought my pod home, harvested the seeds, and successfully grew my own cacao trees. I dutifully cleaned the seeds, and then tended them in between wet towels on a heat mat until they germinated. Yes, I did get them to germinate, even in Vermont in February.
I potted them up in soil, and they grew remarkably fast. They were 6+ inches tall in just a week or two, and about 2 feet tall inside of a year.
I gifted them to friends and saved one beautiful cacao tree for myself.
Everyone who saw my tree always asked, “How are you going to make chocolate from the pods when it fruits?”
At the time, I had no idea. One thing at a time I’d say, that beauty needs to be at least 6 to 10 years old before it’ll set fruit.
Sadly, my tree only made it to a few years old before it died. I had a newborn, and I didn’t notice when it got infested with mites.
My daughter’s turning 7 soon, and with a true DIY spirit after my own heart, she asked, “Can we make our own chocolate for my birthday?”
Of course, we can!
I’d been meaning to get more cacao pods to try growing cacao again, and why not learn to make chocolate from scratch at the same time?
These days, you can actually buy fresh cacao pods online, and they’ll ship you a fresh crate of them.
Wonders of the Internet!
No need to find a local cacao tree, get a box, and you’ll have a fun chocolate-making project with the kids (plus, a biology project if you choose to sprout cacao seeds too).
Chocolate has been getting a lot of bad press lately since tests show that much of the dark chocolate on the market these days contains high levels of lead and other heavy metals. That’s due to the processing, not the beans themselves.
If you make your own chocolate, you can be sure it’s clean. While starting with the whole fresh pods is nice,it’s not strictly necessary. This process is much easier (and cheaper) if you just start with Whole Cocao Beans (in husk) or Cacao Nibs (husked beans).
Starting with either of those removes most of the work from the process of making your own chocolate at home, but still eliminates the processing steps that result in lead contamination on a commercial level (blending, grinding, etc).
Steps for Making Chocolate
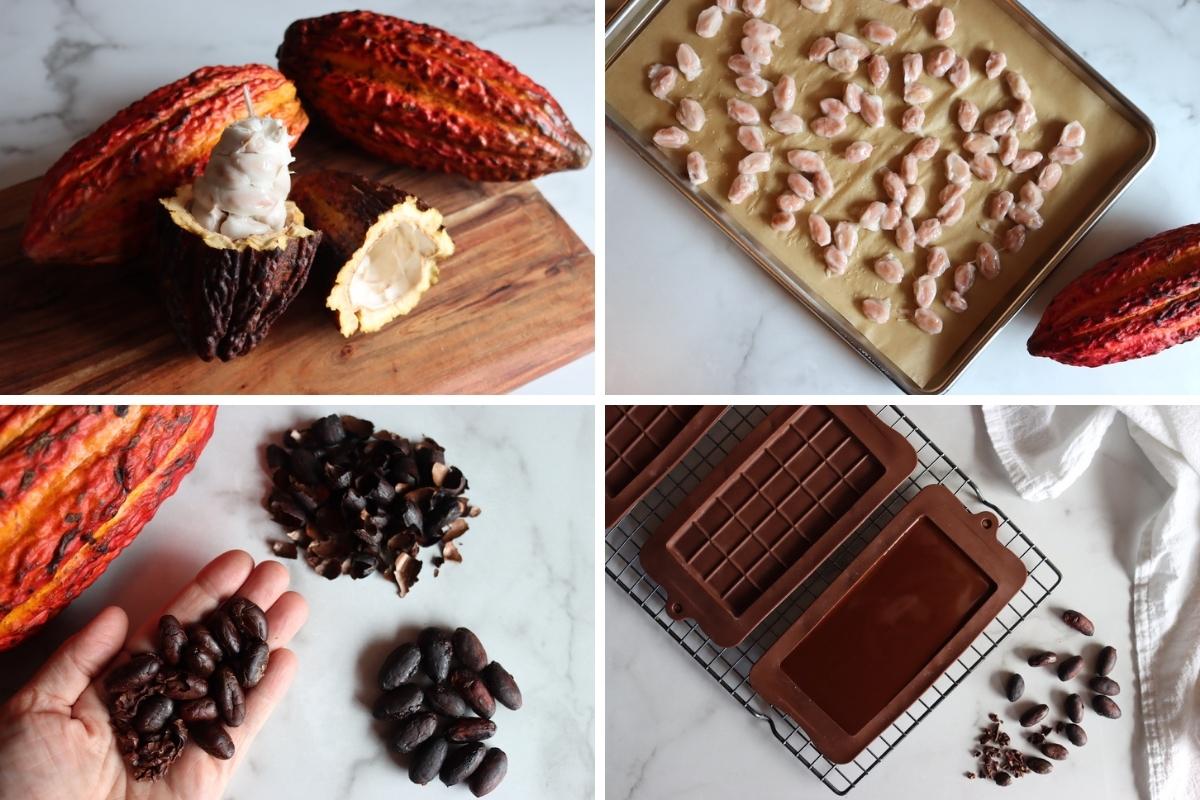
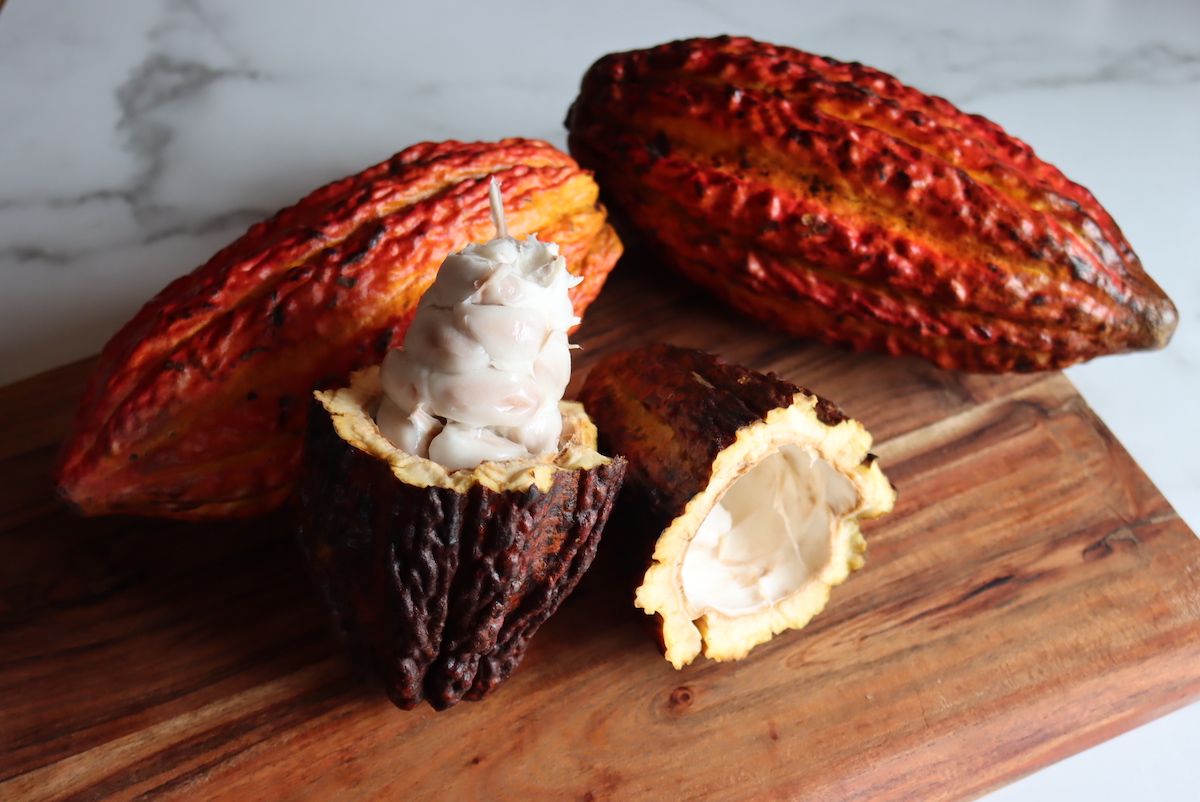
When you get your cacao pods, you’re going to look at these alien-looking fruits and wonder how on earth to turn them into chocolate. I’ll cover each step in detail, with pictures, but here are the basics:
- Crack the cacao pods with a mallet and remove the seeds and pulp
- Place the seeds/pulp into a container and set it in a warm place to ferment for 5 to 7 days
- Wash off the fermented beans and roast them in the oven
- Remove the outer shell from the beans, exposing the cacao nibs
- grind the cacao nibs into a smooth paste
- Add sugar and cacao butter (if using)
- Temper the chocolate (optional)
- Pour into molds and allow the chocolate to set into homemade chocolate bars
All told, the process takes about a week to ten days, but the vast majority of the time is hands-off while the cacao beans are fermenting. The fermentation process brings out their flavor and results in the characteristic “chocolate” taste we know and love.
You can skip the fermentation process and just roast the beans (or eat the beans fresh from the pod), but they’ll only taste vaguely like chocolate. It’s an interesting flavor, tropical-like fruit with hints of marshmallow, vanilla, and jolly rancher.
I’d recommend trying a few, since you’ll still have plenty left over to ferment and make into chocolate.
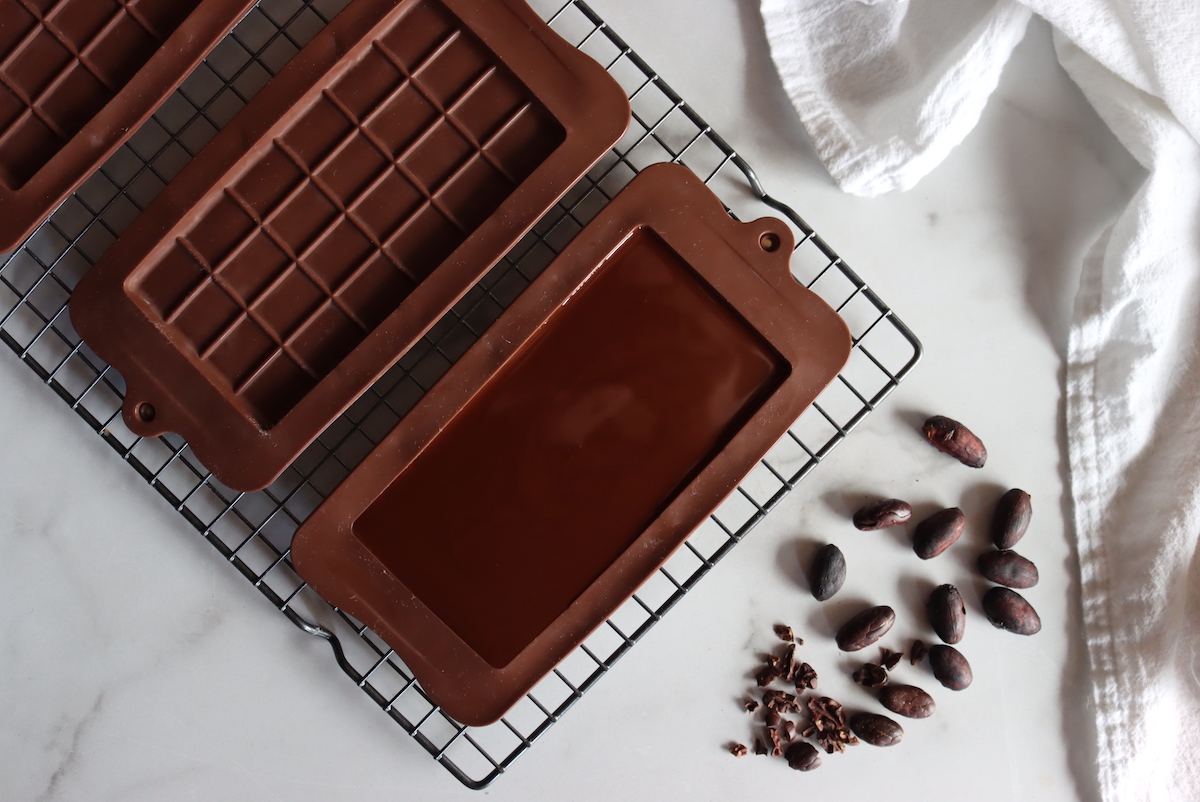
If you want to skip any steps in this process, and make it a bit quicker, you can actually buy chocolate or cacao at any stage in this process.
- Whole Cocao Beans (in husk) will allow you to skip the 5 to 7-day fermentation process.
- Cacao Nibs are husked beans, and you can skip the husking step (plus all the other previous steps).
- Cacao Paste/Liquor is the ground nibs ready to mix into chocolate, so you can skip the grinding step (and all the previous steps).
Really, this is a nice “choose your difficulty level” project since processed cacao is available for purchase at every step.
For us, we’re really hardcore into DIY, so we started with fresh pods purchased online, but that’s not necessary, and you can still make your own chocolate quickly in a single day starting with cacao liquor (or processed cacao beans, already fermented, roasted and ground).
You’ll still be able to blend your own chocolate, choose your sweetener (sugar, honey, agave, stevia, etc.), and choose how dark your finished chocolate will be.
Equipment-wise, you can get by with just a stove, a few bowls, and a food processor, but the following things are incredibly helpful:
- Mason jars and a silicone fermentation lid (pickle pipe) make the fermentation process cleaner, but a bowl with a towel over it will do.
- Some kind of warm chamber, like a yogurt maker, bread proofer, or Excaliber dehydrator will help keep your beans at the right temperature while fermenting. (In a pinch, your oven with the light on will work too.)
- High Powered blenders like a Vitamix or a clean spice grinder will make grinding the beans much easier, but a food processor will work (or a mortar and pestle as a last resort).
- Sous vide machine – For tempering the chocolate, is nice, but not necessary. I didn’t use it.
- Silicone chocolate bar molds – They make a nice bar, but you can shape your chocolate in whatever you have on hand.
I’d also suggest having food-grade cocoa butter on hand, as that’s what you use to “lighten” a chocolate bar. Few people like 100% dark chocolate, and though I love dark chocolate in general, I tend to like it at about 70%. That means some cocoa butter in there (and sugar) to blend it to a nice rich bar.
Cracking Cacao Pods
The first time I did this we used a giant cleaver to slice the pods in half. It took quite a few swings to get through the roughly 1” thick husk, and many of the beans were cut in the process.
Cut or damaged beans cannot be used to make chocolate, though you can eat them fresh. It’s better to give the pod a whack with a mallet, and a lot safer for your fingers. Just 2 or 3 hard whacks, and the pod will crack open.
If you do damage any of the seeds, you can eat those fresh, just don’t include them in your chocolate.
Similarly, if you see any spoilage inside the pod, don’t use those. The fruity pulp around the cocao beans should be a creamy white color, and if it’s brown or turning another color, then the pod is spoiled (or starting to spoil).
Once you crack them with a mallet, you’ll be able to pull out the sweet pulp and seeds inside.
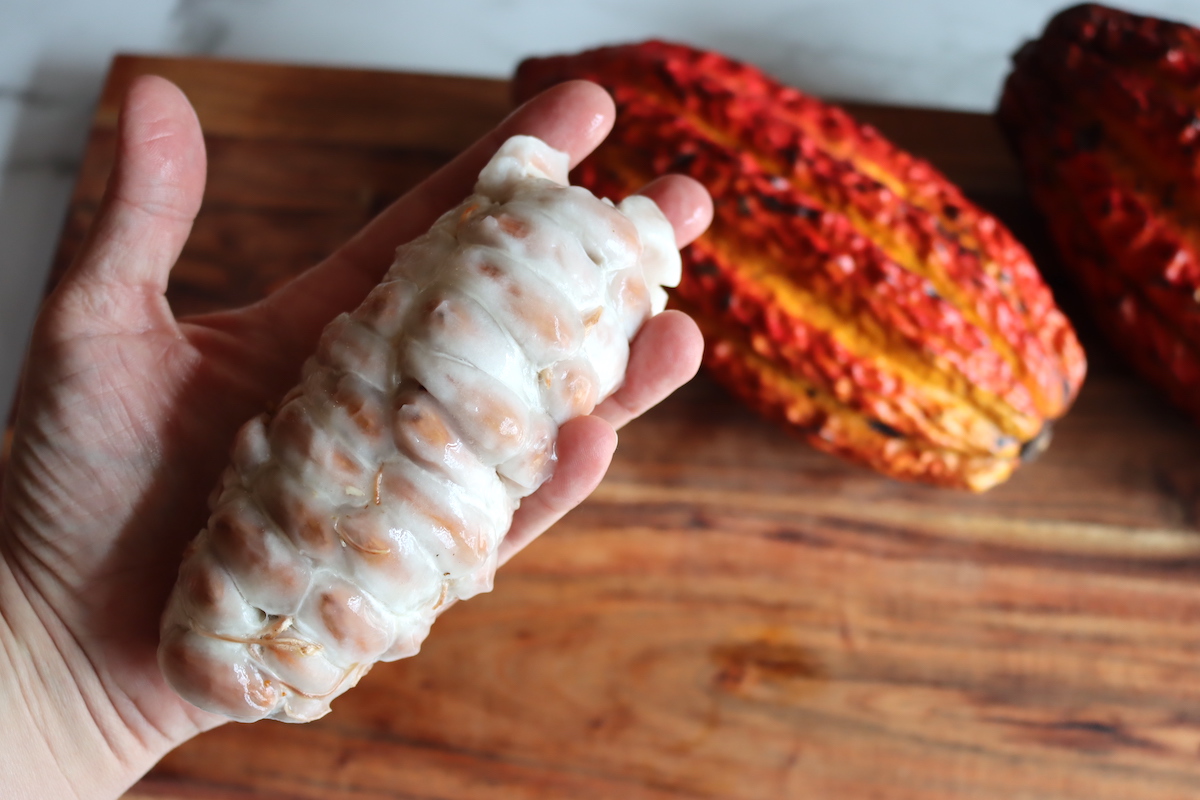
At this point, most of the cacao pods should go into a container (bowl or mason jar) and be set in a warm place to start fermenting.
I’d encourage you to keep some of them aside for enjoying fresh because while just about everyone’s eaten finished chocolate, very few people outside the tropics have sampled cacao as a fruit.
It is, in fact, a fruit, and the white pulp is incredibly sweet and tropical. The pulp has a texture that’s hard to describe…not quite gooey, because it’s a bit fibrous too. It’s actually really hard to get off the outside of the beans, which is another reason for the fermentation process.
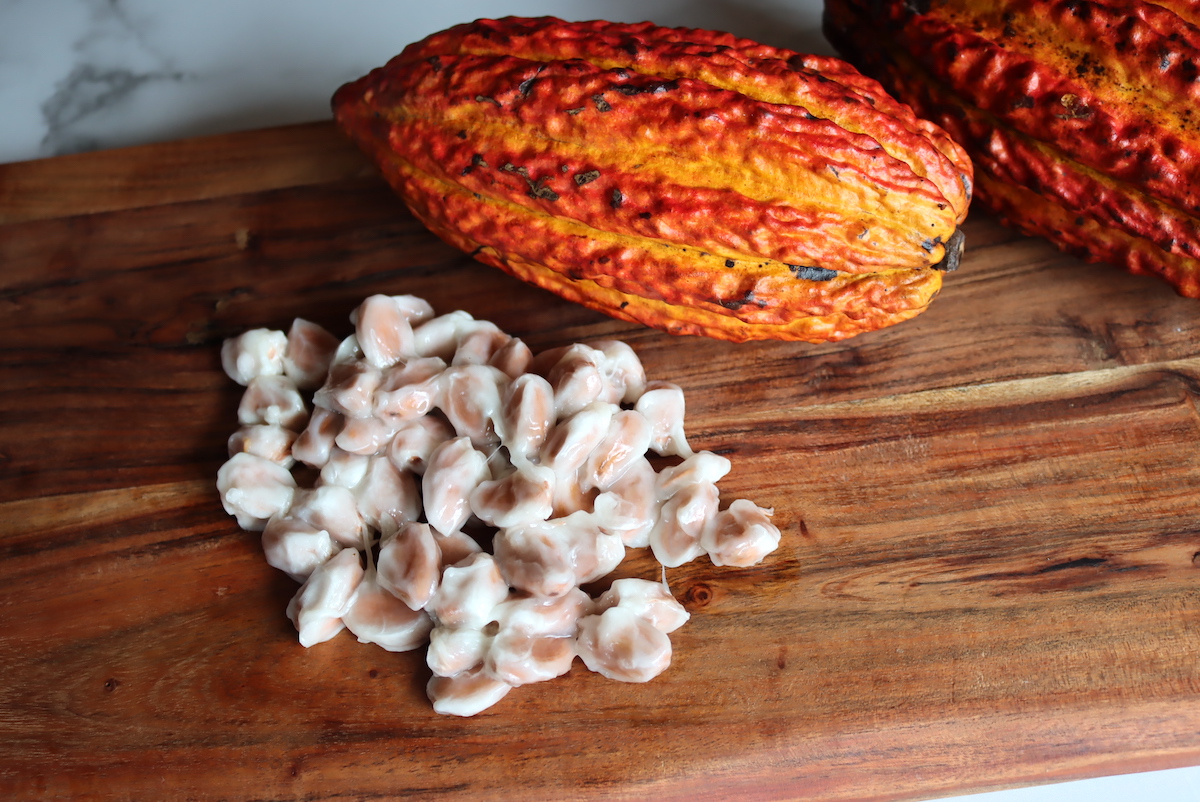
If you do want to try sprouting a few cacao seeds, you’ll need to eat the fruit of the outside as fermented beans taste great in chocolate…but they won’t sprout.
You’ve probably heard that dogs can’t eat chocolate, and few animals (besides humans) are capable of eating the actual cacao beans.
In their native regions, cacao is dispersed by small animals who carefully remove every last bit of the sweet pulp from the outside before discarding the bean (usually far from the mother tree). It’ll only sprout if cleaned, and the pods that fall to the ground and ferment won’t germinate and compete with the parent tree.
Feel free to eat the fruit off the outside of the beans, it’s sweet and tasty…though a bit cloying. You can also just chomp into the beans themselves, which have an interesting flavor. It’s not chocolate-y since they’re not fermented, but it is interesting and delicious nonetheless.
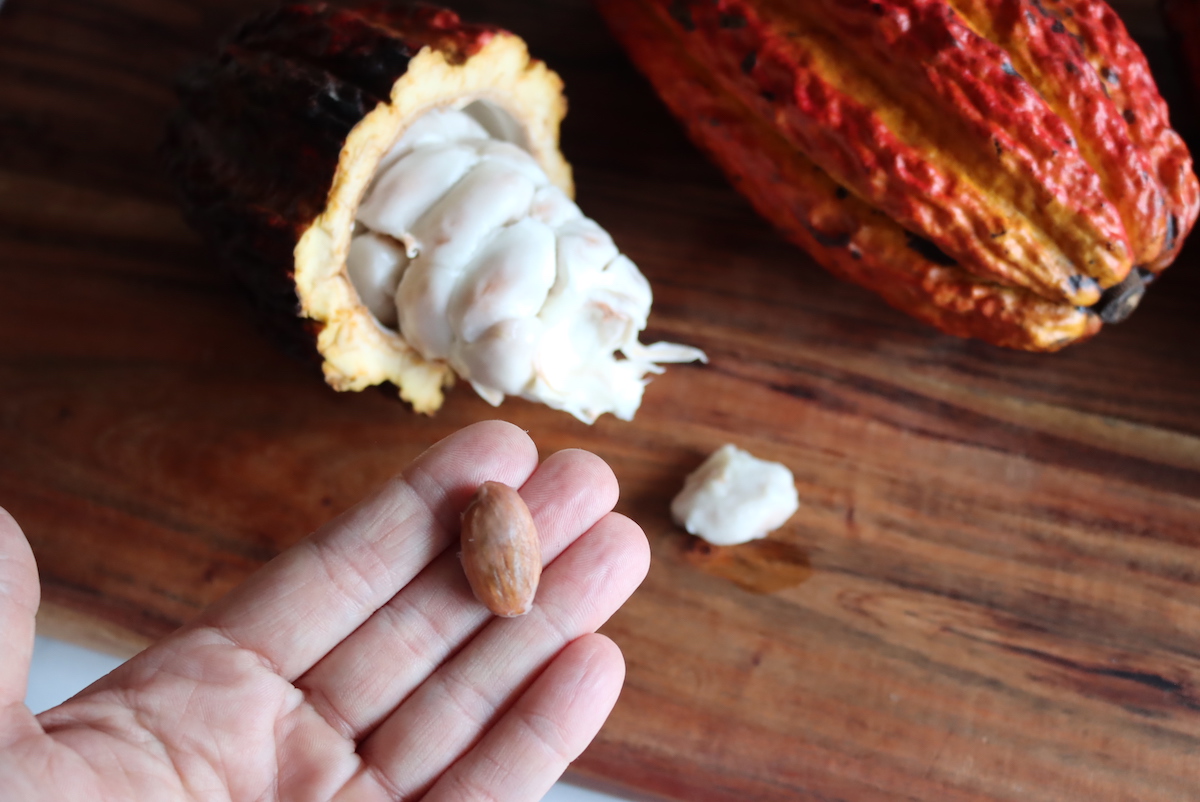
Fermenting Cacao Seeds
I had quite a few cocao pods, and we cleaned many of the seeds for sprouting, but I still had enough to experiment with the fermentation process. Some people use just a bowl with a towel over the top, but I have plenty of mason jars, so I used those.
I left jar of seeds at room temperature (around 65 to 70 degrees F), and I incubated the others at 100 degrees F. Unfortunately, the seeds at room temperature just molded (and smelled horrible), while the ones at around 90-100 degrees F developed a fragrant yeasty smell.
This makes sense, as chocolate is generally fermented in the tropics, where it’d never be as cold as “New England Room Temperature” during any step in the process.
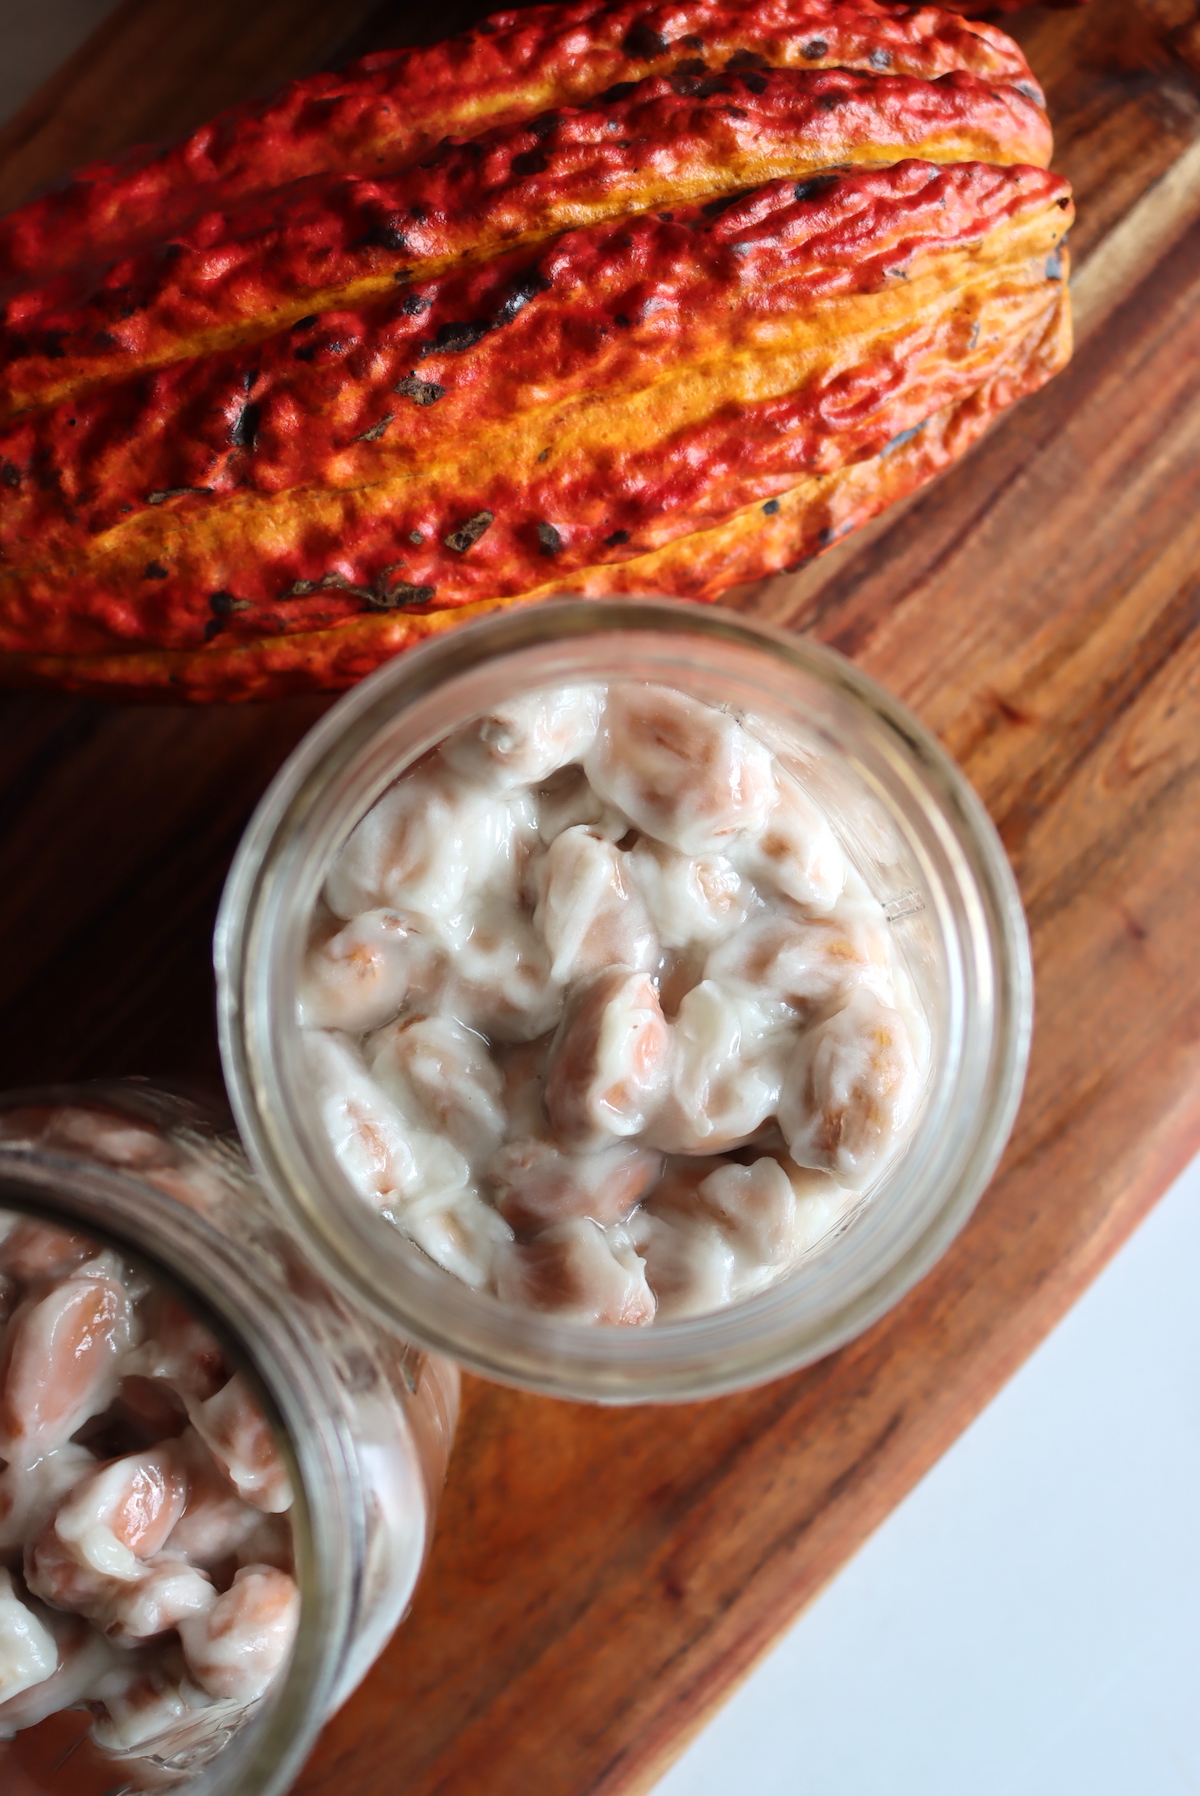
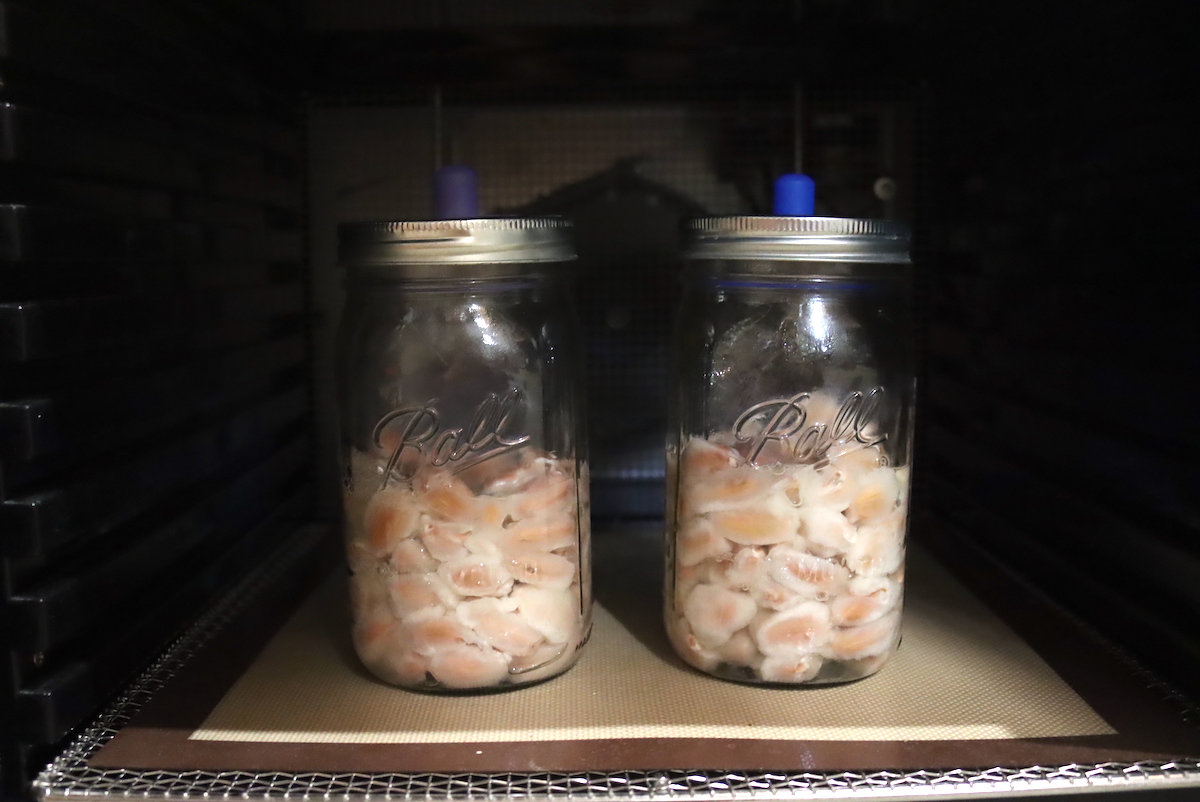
There are lots of ways to achieve this incubation temperature.
The simplest is placing them in your oven and leaving the oven light on. Most oven lights are incandescent, so they create a good bit of heat. People incubate yogurt this way, and that has similar temperature requirements.
(Be sure you don’t actually turn on the oven! Actual oven temps will kill the microbes you need for fermentation.)
You can also use a yogurt maker or bread proofer, as they’re both designed to incubate ferments gently.
I’m using my Excaliber dehydrator with the trays removed, since it’s basically a small heating chamber. My friend Colleen turned me on to this technique since she makes yogurt in her dehydrator using a similar method.
I’ve capped the jars with silicone fermentation lids that allow CO2 to escape but won’t let the seeds actually dry out in the dehydrator.
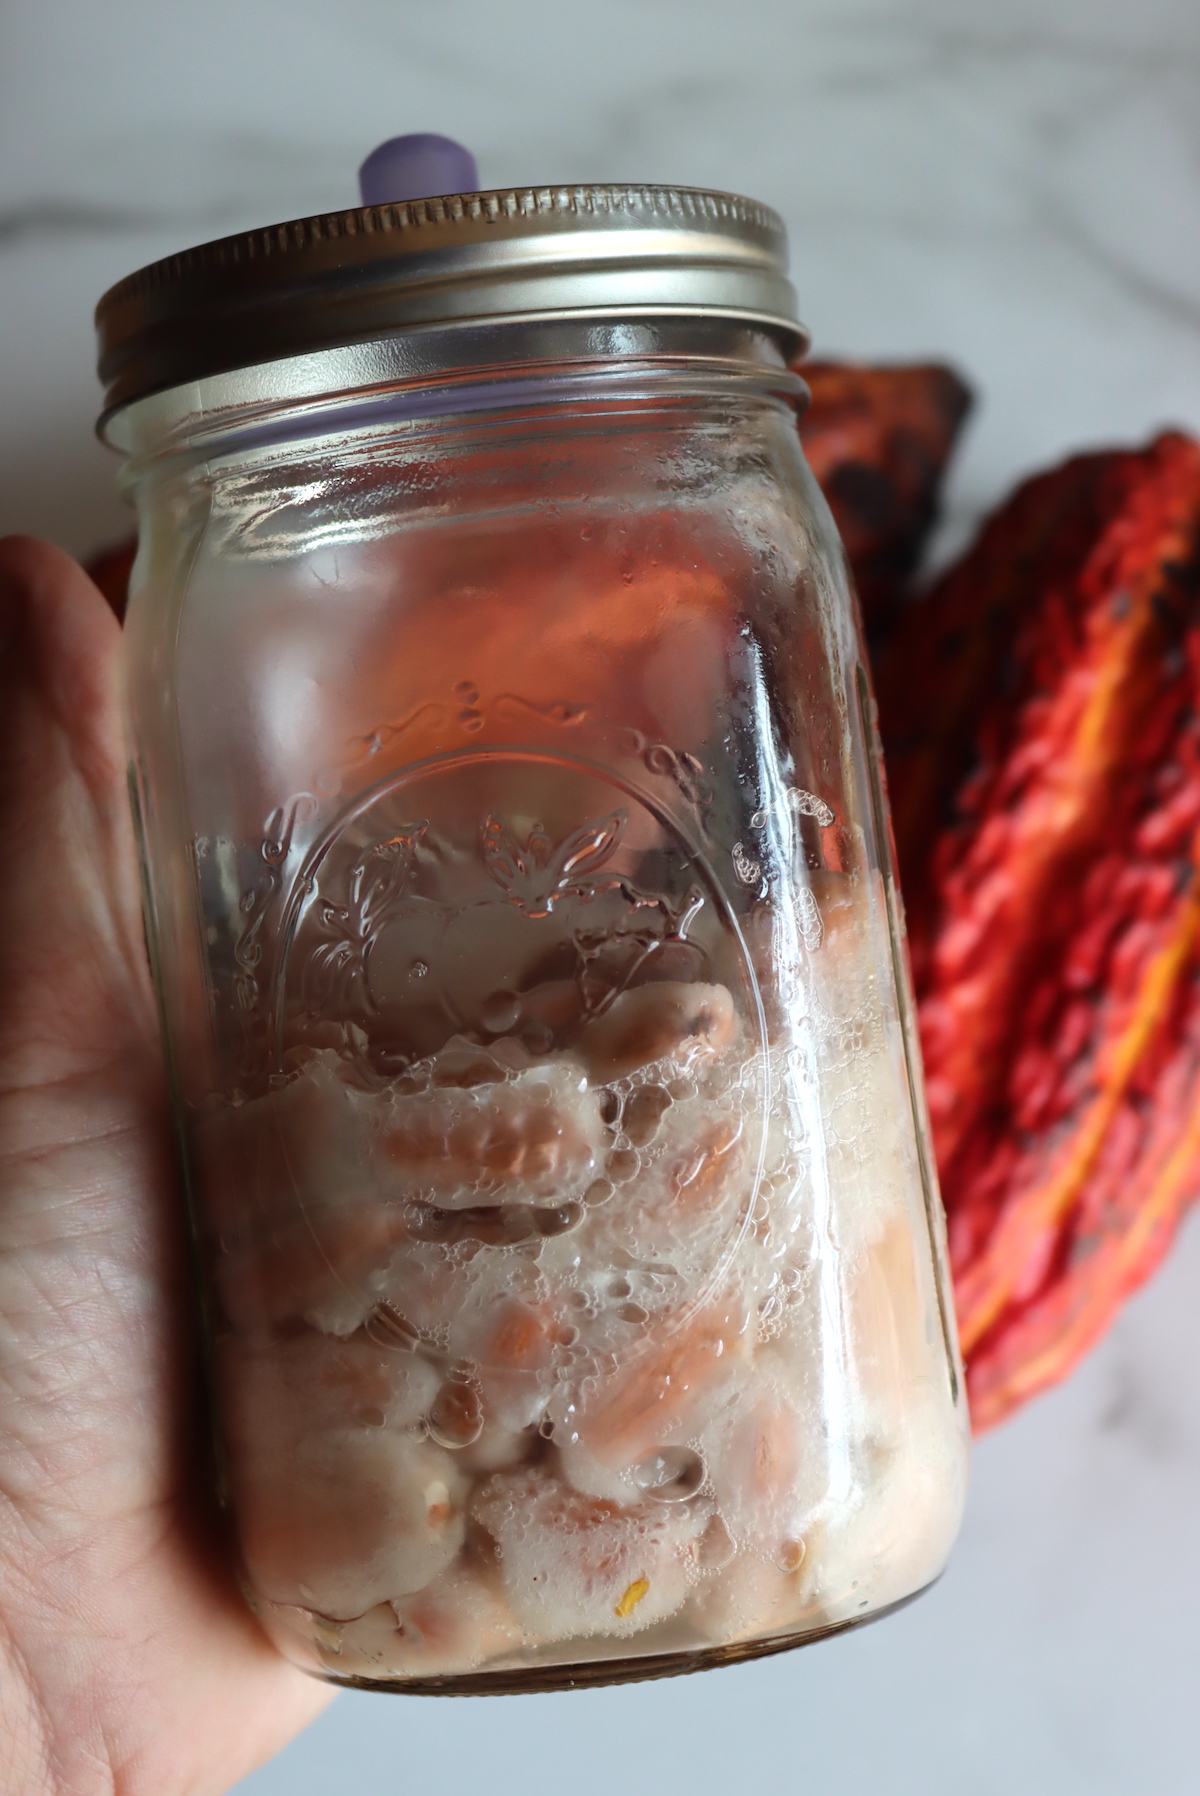
After 5 days, the seeds are bubbling nicely, and you can see (and smell) evidence of a healthy, active fermentation.
I do a lot of home ferments, from sourdough recipes to sauerkraut and homemade beer, and this smells like a mix of yeasty alcoholic fermentation along with plenty of lactic notes from an active Lacto-fermentation (like yogurt and fermented pickles).
There’s a whole natural community in here working to bring out the flavor of the chocolate.
Preparing the Cacao Beans for Roasting
After 5 days of fermentation, the jars were bubbling consistently, and the beans smelled pleasantly fermented (not spoiled, but like yeast/yogurt). I roasted a few beans as a test batch, and they came out wonderfully, so I decided to stop the fermentation and roast all the beans.
I’m using a silicone fermentation airlock, so the beans are still white after fermentation, but if you do an open ferment just covered with a towel the beans will oxidize and turn brown while fermenting (like apple slices left out).
That’s totally fine and not a problem at all, so don’t worry if your beans are brown (so long as they smell pleasantly fermented and are not moldy).
There’s no airlock in the tropics where these are fermented, just giant vats. I only put the airlock on there because I was incubating the batch in my dehydrator, and I wanted them warm but not dried out.
The problem at this point is they’re still covered in a lot of white pulp, which I assumed would disintegrate during the fermentation process. It didn’t.
I split the batch in two, and tried to wash one batch off under running water. They didn’t seem to change and still stayed covered in fruit mass.
The other batch, I just spread out on the tray to roast unrinsed.
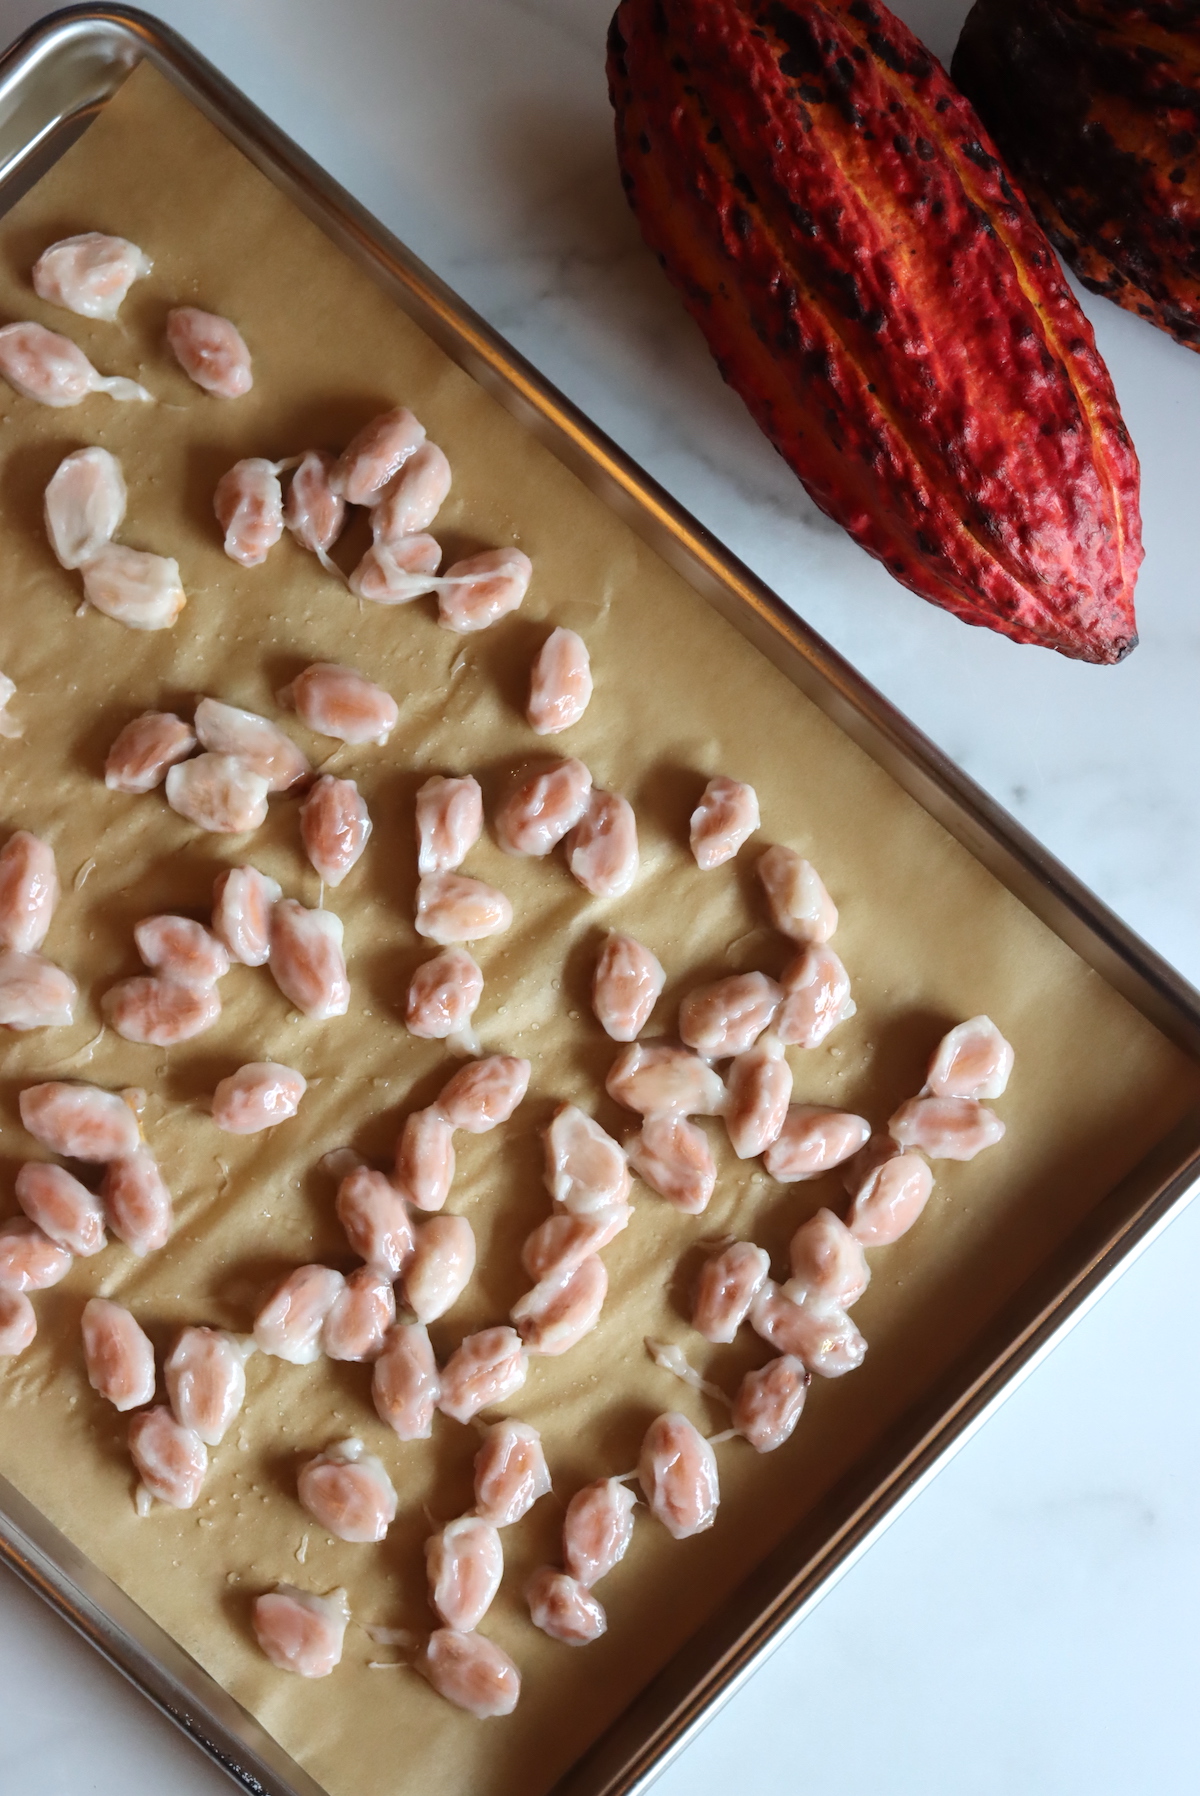
In the end, the rinsing was actually pretty important as while it didn’t remove the fruit pulp, it did wash out the residual sugars. The remaining fruit pulp just dried into a clear husk over the brown bean with those.
The un-rinsed batch actually caramelized and started to burn on the outside, so I removed those from the oven, rinsed off the sugars under running water, and put them back in. They cooked nicely after that.
Roasting isn’t really all that hot, it’s just enough to dry them out and get the husk to separate from the bean.
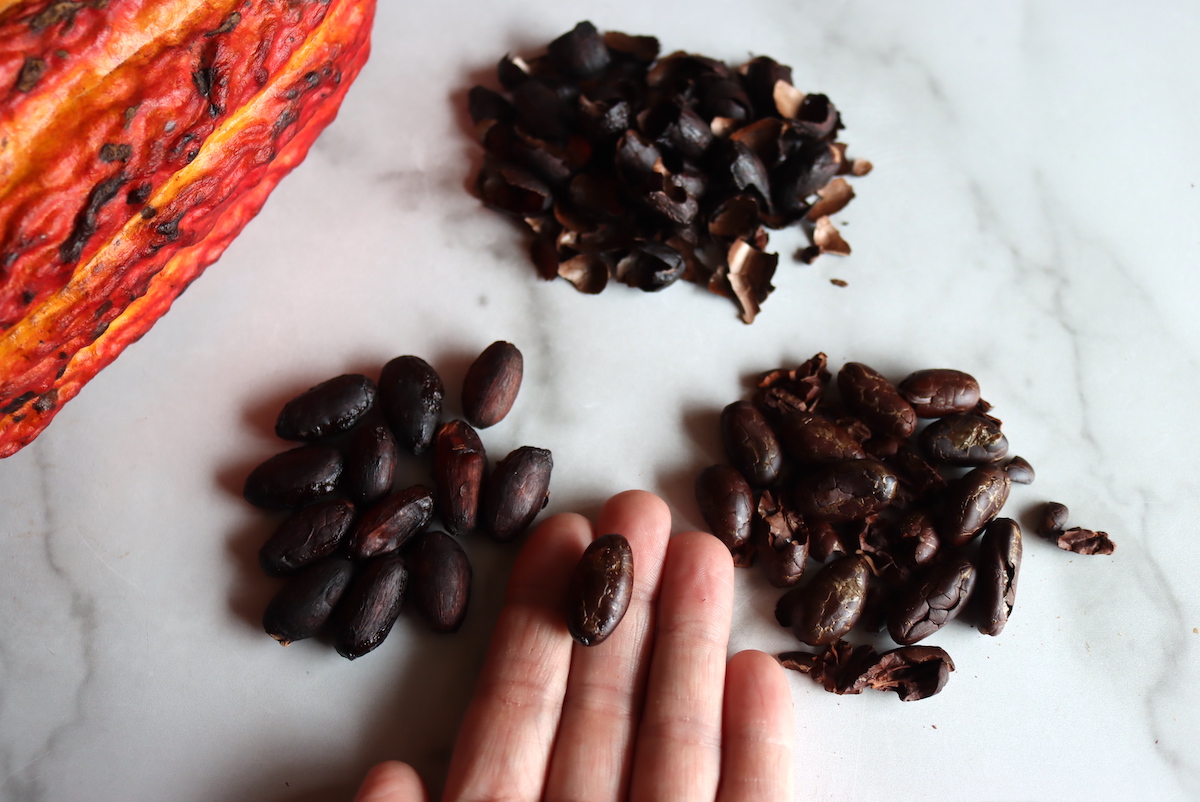
Preheat your oven to 275 F and roast the beans for about 35 to 45 minutes, until they’re uniformly brown, and the husks slip easily from the beans (and the beans fall apart in your hand when pressed).
Husking Roasted Cocao Beans
Once your beans are nicely roasted, it’s time to remove their outer papery husk. This can give a bitter taste to your finished chocolate, and it doesn’t grind well. You really do need to remove it before grinding the beans into chocolate.
It’s papery, and brittle.
The husk should break apart with gentle pressure from your fingers. The beans inside might also shatter, and that’s fine, since they’re going to be ground anyway.
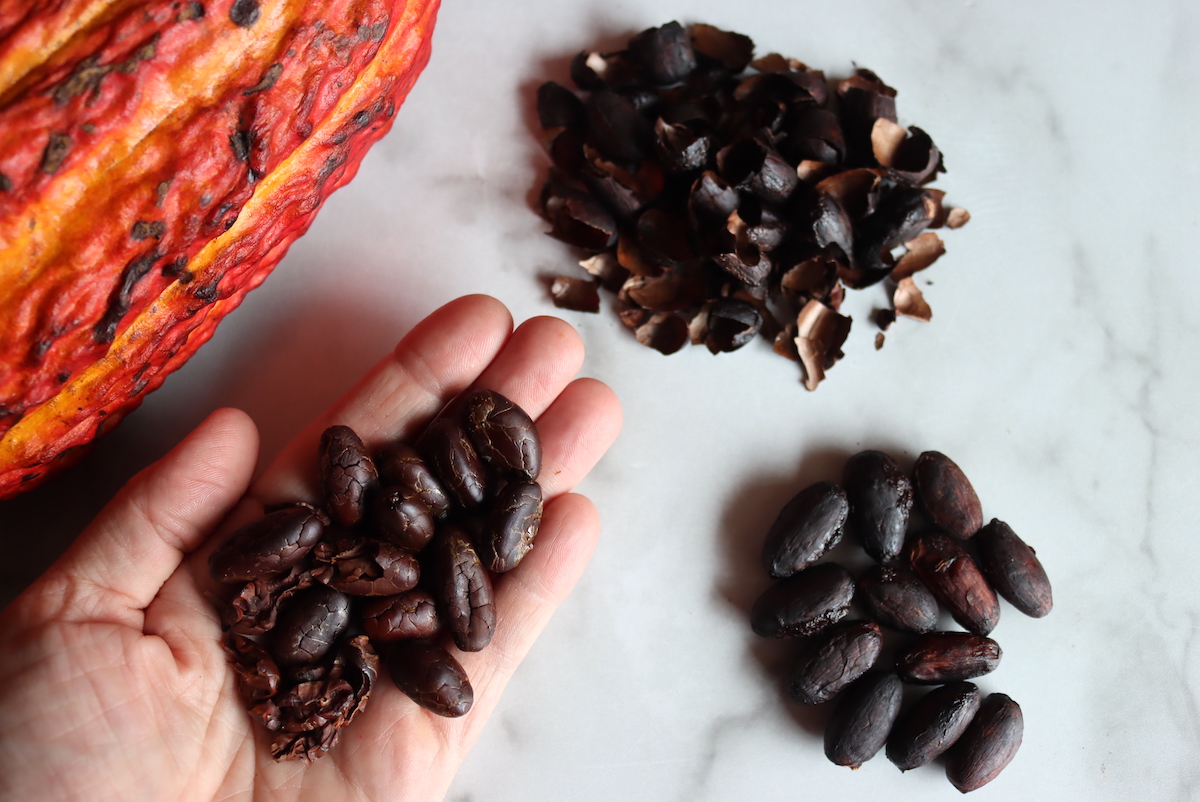
If you’re gentle though, you can simply press off the brittle husks and keep whole roasted cacao beans in hand.
You’ll notice that the beans break apart easily into little irregular chunks, and those are known as “cacao nibs.” If you want to skip all the work done until now, including the fermentation step, you can just buy cacao nibs (which are shelled) or whole cacao beans (which you’ll need to shell yourself).
Grind Cacao Nibs
At this point, you have husked cacao beans (or nibs), and they’re usable as is. Lots of baking recipes use cacao nibs, or you can just eat them as is. They taste intensely chocolate-y, like the darkest dark chocolate you’ve ever had…and without the sugar.
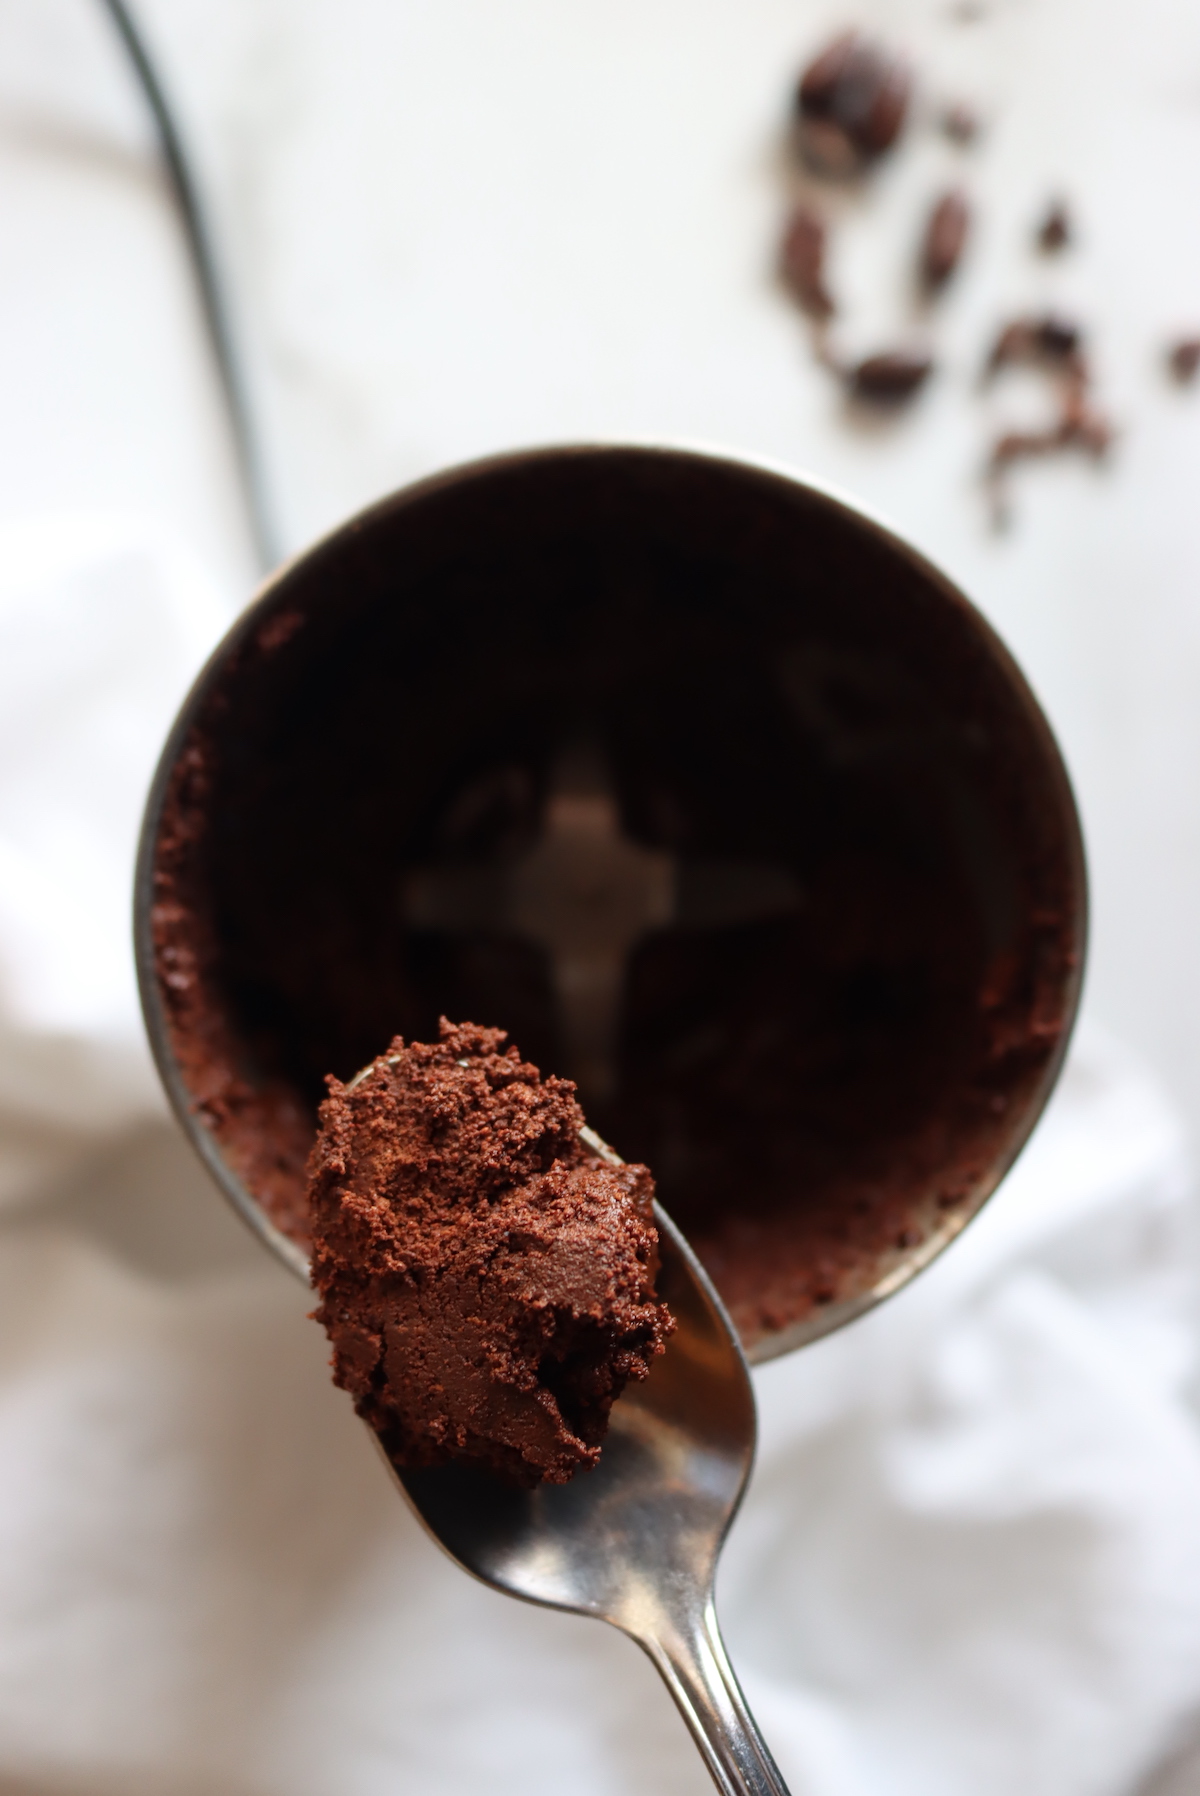
Or, you can keep going and grind them into a chocolate paste (also known as chocolate liqueur). If you’re skipping ahead at home, you can also buy pre-ground chocolate paste, which will allow you to skip all the steps up to this point.
The best way to grind the nibs is to use a high-powered blender, like a Vitamix. Failing that, you can also use a clean spice grinder (which I’m using) or a food processor.
Know that if you use a food processor, it’s going to be running for a long time (and the resulting chocolate will be a bit grainy). Food processors really aren’t equipped for this kind of grinding, and they don’t do the best job.
Commercially, they actually grind and mix the chocolate for days on end, until it’s perfectly smooth. You’re never going to get there at home, but a spice grinder or Vitamix will get you close.
Add Sugar and Cocoa Butter
You now have a chocolate paste (also known as chocolate liquor), which forms the base of your chocolate.
The next step is a blending step, where you choose how much sugar and cocoa butter to add. If you want a really dark bar, you’ll just add enough sugar to balance the natural bitterness in the cacao bar, and enough cocoa butter to help smooth it out.
An 80% dark bar is going to be 80% chocolate paste, and 20% other ingredients, be they sugar or cocoa butter.
Cocoa butter is just the fat from chocolate, with all the “chocolate-y” bits removed, so it’s already in your cacao liquor…and what you’re doing by adding more is lightening up the chocolate.
I generally like a minimally sweet chocolate bar, that’s about 70% dark. My kids like it a bit lighter, and usually opt for somewhere in the 40 to 60% range.
This is where the artistry comes in, and everyone’s tastes are really different when it comes to chocolate. I’d encourage you to play around with ratios here. This is one place where it’s nice just to buy a sack of chocolate paste so you can get your recipe right, rather than using your painstakingly fermented fresh beans to experiment.
For my 70% bar, I went with 70% cacao paste, 20% cocoa butter, and 10% sugar (by weight).
You’ll need to get food-grade cocoa butter, as you’re eating it, of course…they also sell it for cosmetics, and that’s not always food-grade.
Be sure to grind the sugar in your spice grinder too, so it’s very fine and it’ll melt easily. Don’t use powdered sugar, as that contains cornstarch. You want granular sugar, but just ground at home until it’s very fine so it doesn’t make a gritty cholate bar.
Grind the sugar first, then set it aside. Next, grind the chocolate into a paste and add in the sugar. Finally, place them into a double boiler and add in cocoa butter (if using). Melt it all together gently, until it’s just barely melted (but not cooked or overheated).
At this point, you have finished chocolate, blended, and ready for use. You can pour it into molds and make a lovely homemade chocolate bar.
Tempering Chocolate (optional)
So there’s a process that chocolate goes through on a commercial scale that allows it to be shelf stable for months (or years) at a time without degrading in quality. That’s known as “tempering,” and it’s a very specific process that raises and lowers the temperature of the chocolate in a prescribed way to “set” the crystalline structure in the fat globules.
It’s finicky, to say the least, and tricky to do at home.
Luckly, it’s completely optional. It will not impact the quality of your homemade bar in the short term, provided you keep your chocolate in the refrigerator. Keeping it cool will allow the crystal structure to stay perfect, and you can just eat your bar in the near future and skip the tempering step.
(If you don’t keep it in the refrigerator, untempered chocolate will get a “bloom” that looks like white powder on the outside, and it’ll lose its sheen. It’s mostly cosmetic, and not “spoiled” technically, but it’s not nearly as nice as a crisp, shiny bar.)
The easiest way to temper chocolate a home is using a sous vide machine since it can hit and maintain precisely programmed temperatures. (But be careful, the cholate cannot get wet in the process, so it’ll need to be well packaged.)
If you’re interested in tempering your homemade chocolate, the video below describes that process in incredible detail starting at the 6-minute mark:
Making Chocolate Bars
Tempered or not, once you’ve blended your finished cholate, it’s time to form it into chocolate bars (or some other shape).
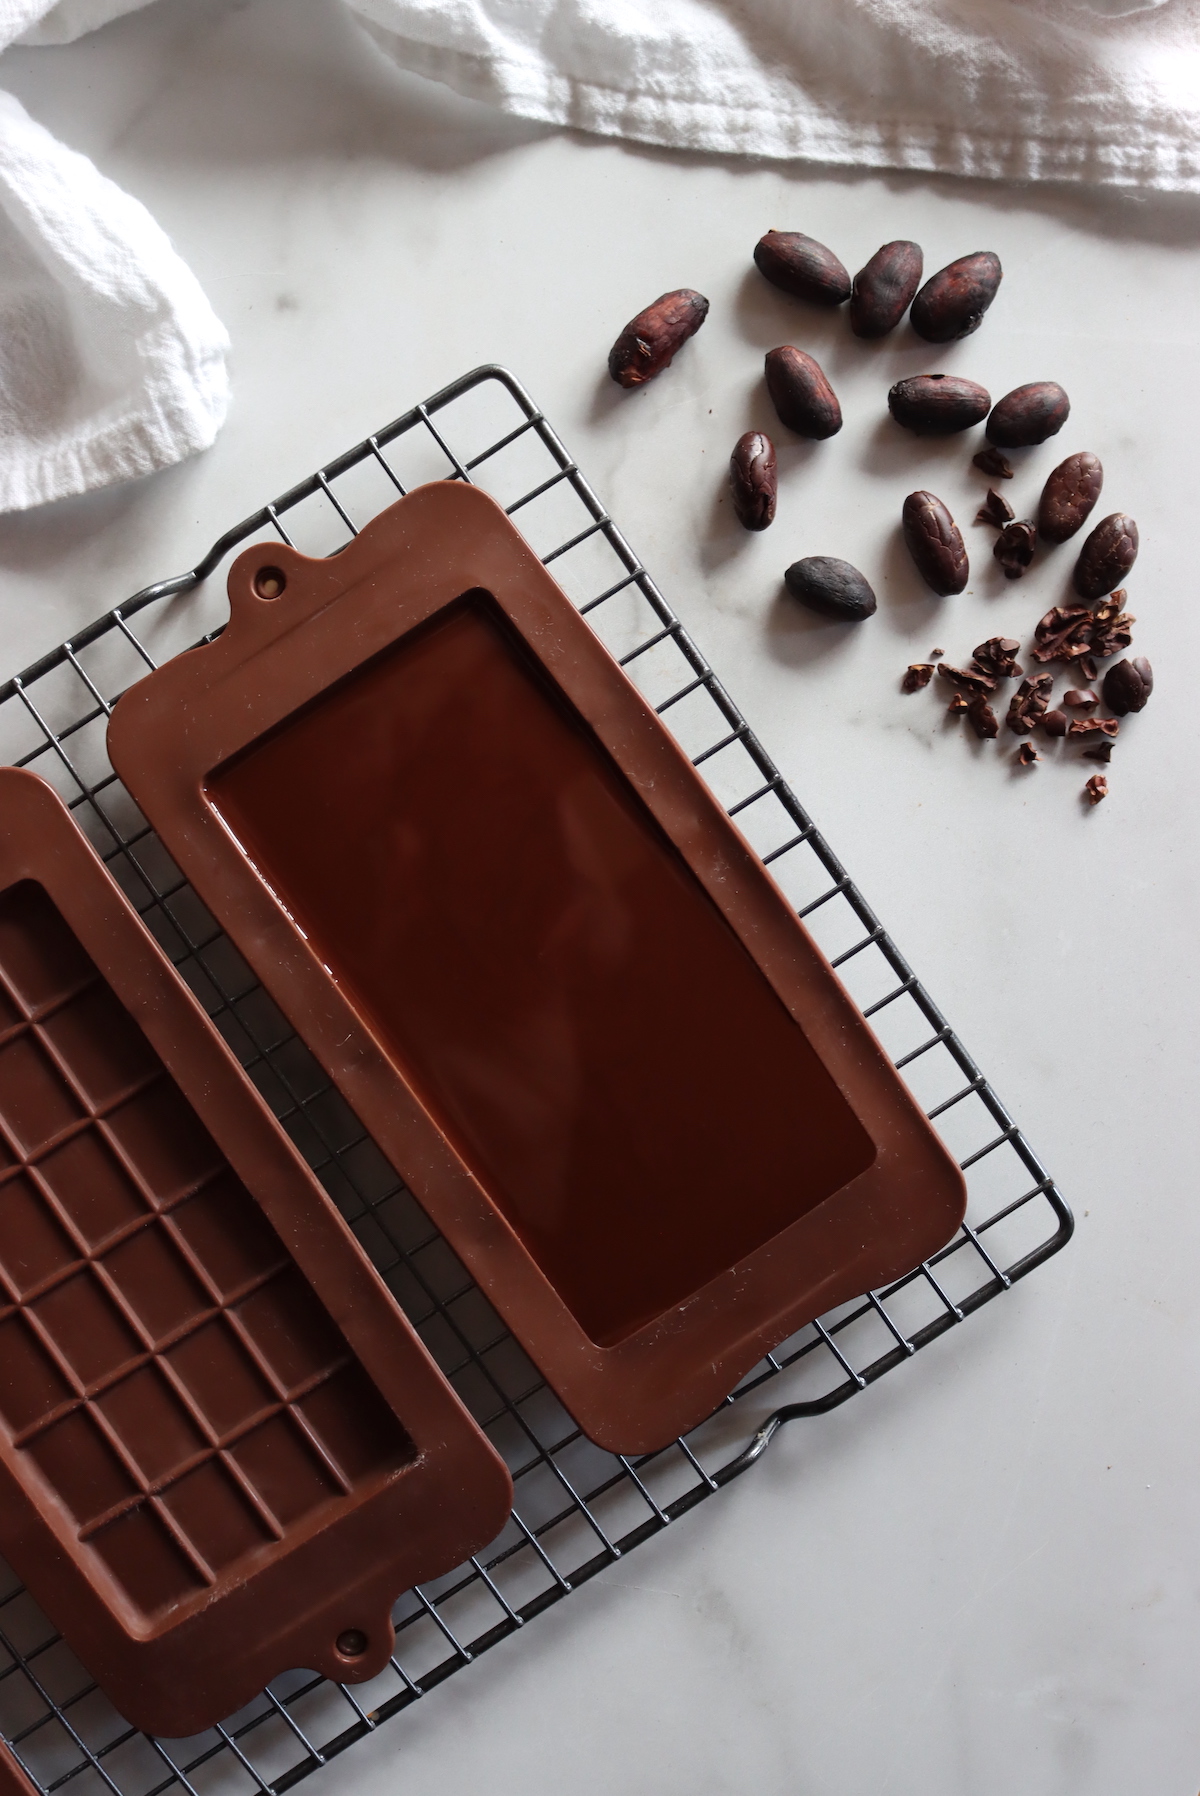
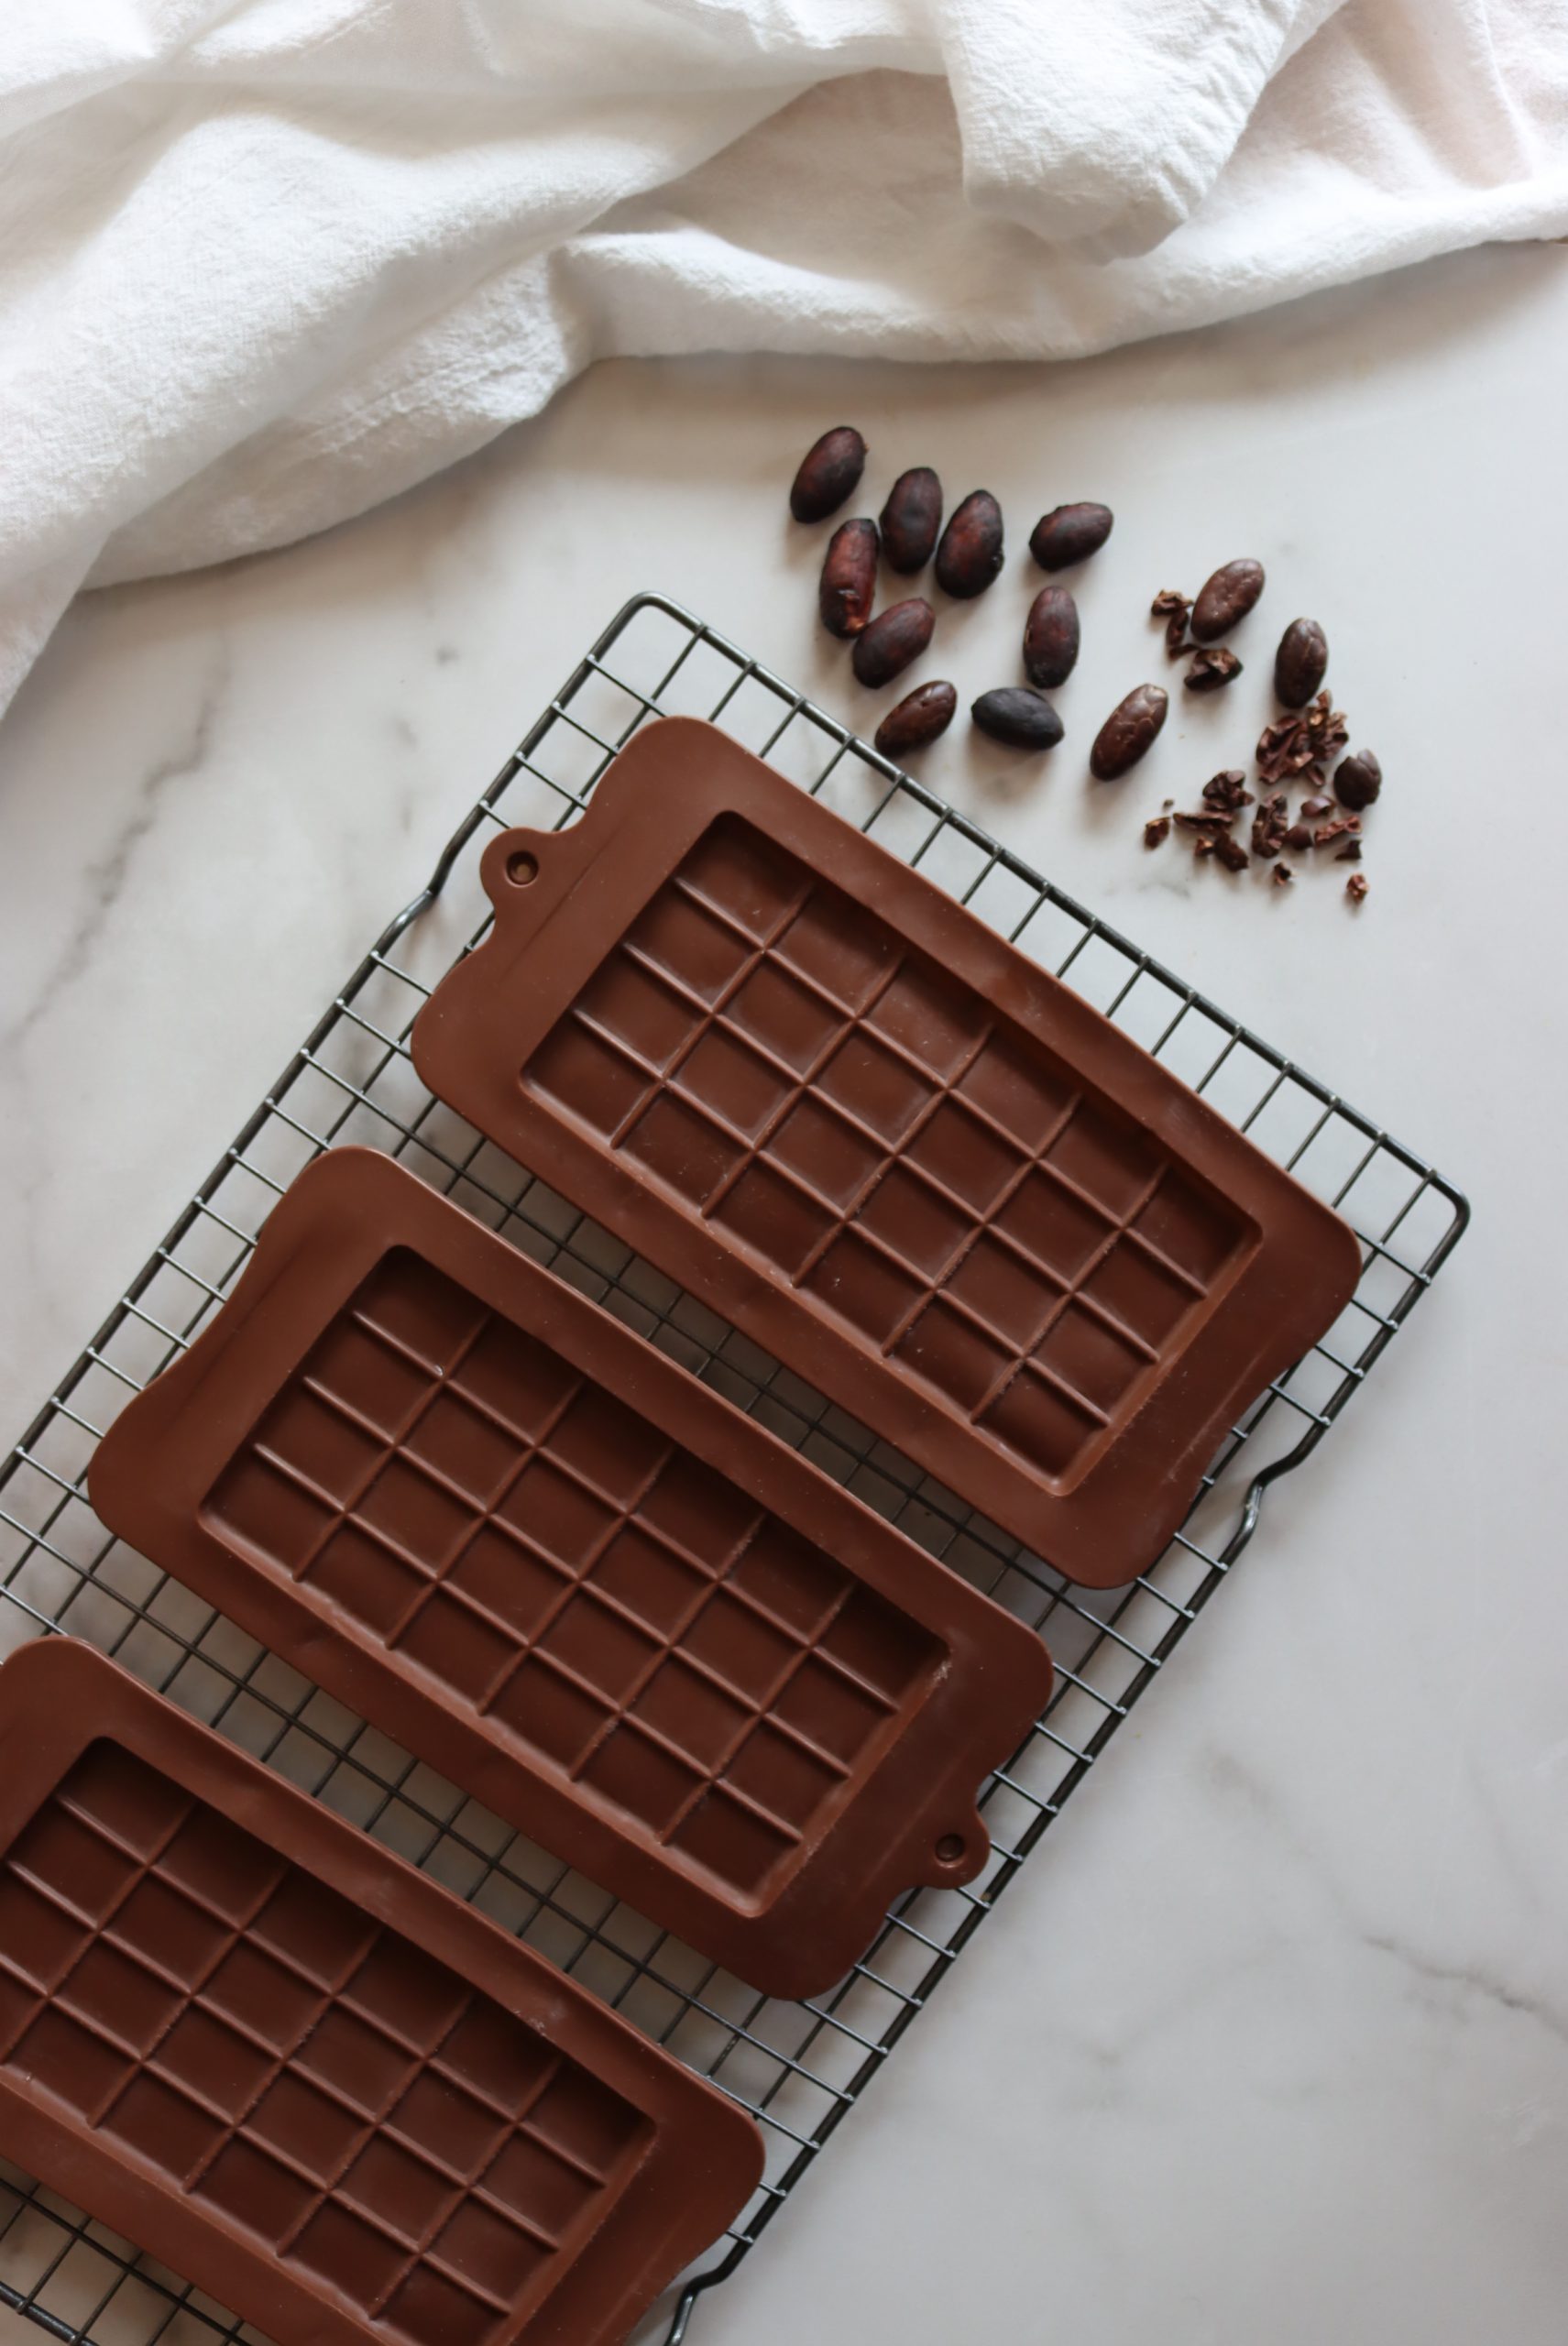
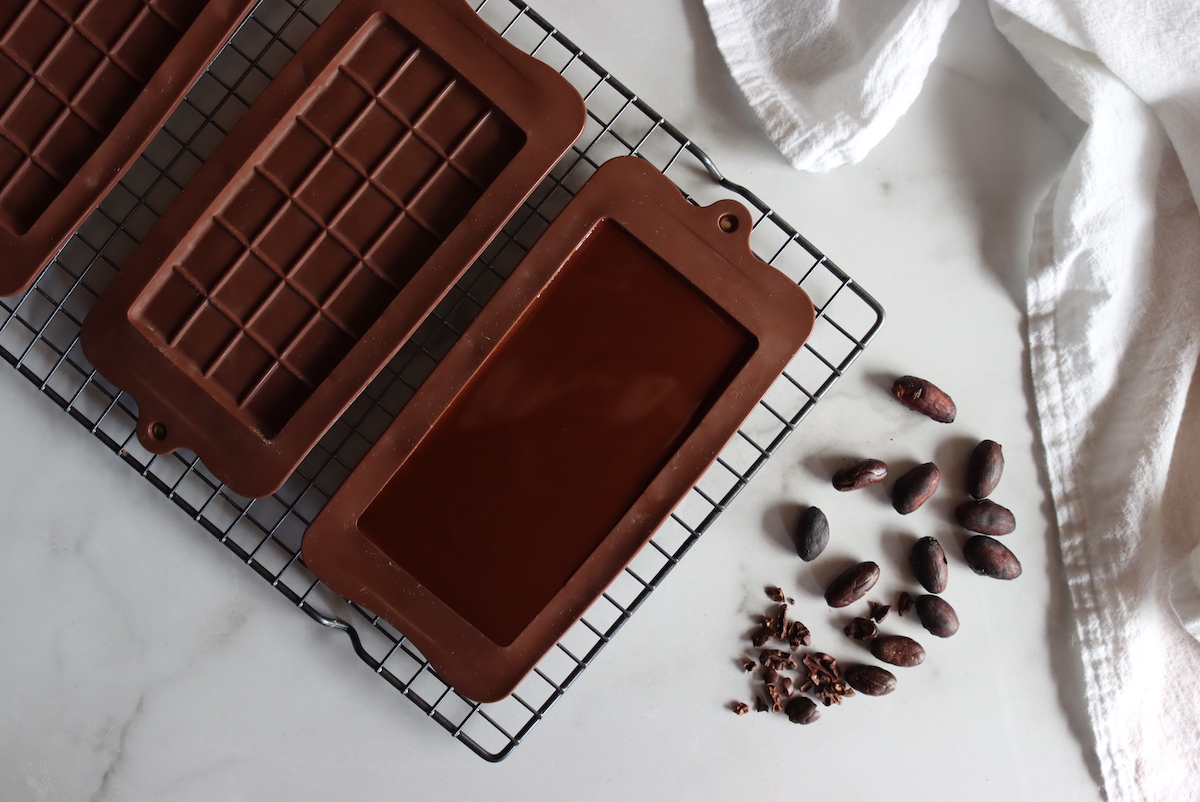
I’m using silicone chocolate bar molds that make really lovely homemade chocolate bars…but you can use anything really—even a greased muffin tin, just anything to shape the chocolate so it can set.
Pour the melted chocolate/sugar/cocoa butter mixture into your mold and place it in the refrigerator for about an hour to set it completely.
Once set, wrap it and keep it in the refrigerator (if not tempered) or at cool room temperature (if tempered).
Enjoy!
DIY Kitchen Projects
Looking for more fun DIY Kitchen Projects?
- Beginner’s Guide to Cheesemaking (with Recipes)
- How to Make Jam (with Recipes)
- How to Make Mead (Honey Wine)
- How to Make Pancetta (Cured Pork Belly)
- How to Make Apple Cider Vinegar


Thank you! How would one make cocoa powder? Would a grain mill work?
That is a darn good question, and I don’t have a great answer. Cocoa powder has the cocoa butter stripped out, and is just the cocoa solids. I don’t know how you do that on a home scale outside a factory.
HI, we just started growing our own cacao in Hawaii and I am following your recipe with one modification. A friend here uses red wine yeast added in to the fermentation. I fermented for 6 days and it never got bubbly but had a very nice smell. I am roasting now after washing the beans well. I am finding that it takes a lot longer than 35 to 45 minutes due to the residual water. Next time I am going to air dry the beans after washing and maybe throw in the dehydrator again for a bit before roasting. I don’t know if its our oven or the extra water from the washing but I have it up to 300 degrees and still roasting after a couple hours. I have tasted some and they are great but the shell is still not papery enough in
many cases so I am trying to get them uniformly dark roasted like in your picture. I harvested 11 pods (some were smaller than others) and they all fit in the 1/2 gallon mason jar without issue ( maybe 2/3 full)
thanks
You’re welcome. Thanks for sharing.