Affiliate disclosure: This post may contain affiliate links. Please see our Privacy Policy.
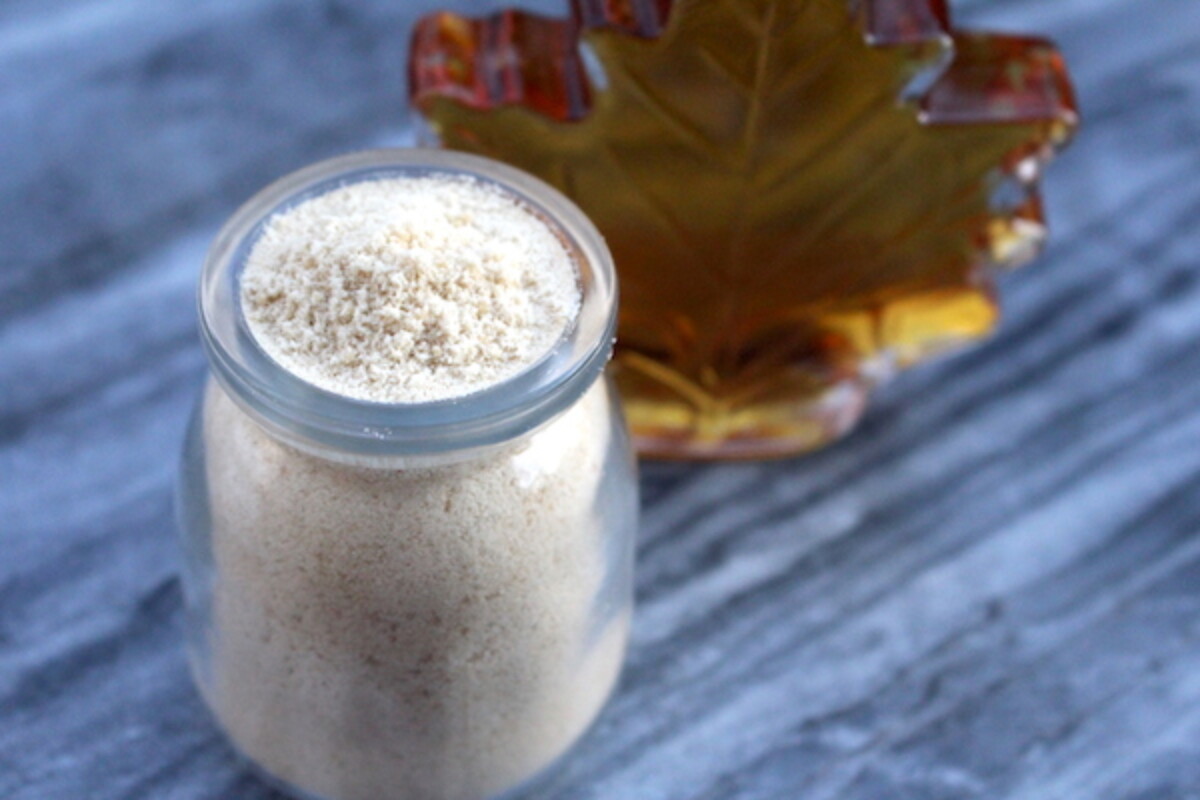
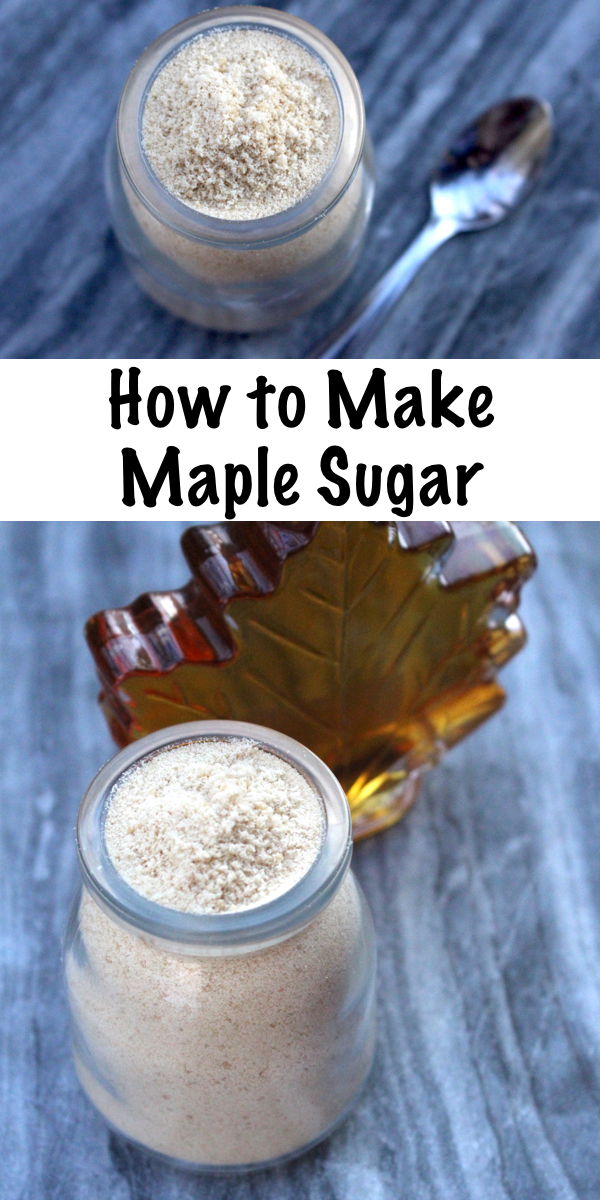
Homemade maple sugar is easy to make at home and only takes about 20 minutes, start to finish. The best part? All you need is one ingredient…maple syrup.
Maple syrup is downright delicious, but it can be tricky to substitute maple in place of granular sugar in recipes. Maple sugar is different, and it’s very convenient for use in your favorite recipes. The problem is, it can be expensive to buy, as much as $25 to $30 per pound.
Maple syrup is expensive, but it’s nothing compared to maple sugar. It takes roughly one pint of maple syrup to make one pound of maple sugar, but the syrup is half the price of the sugar.
You’d think with that kind of cost that it must be hard to make your own maple sugar, but it’s actually remarkably easy. Since we make our own maple syrup on our land here in Vermont, converting some of it to maple sugar means we can cook just about anything with homegrown sweetener.
What is Maple Sugar?
Maple sugar is just maple syrup that’s been cooked a bit longer and then stirred with a paddle until it forms a granular sugar. Making cane sugar is actually a similar process, where the cane juice is heated and then stirred with a paddle until it crystallizes.
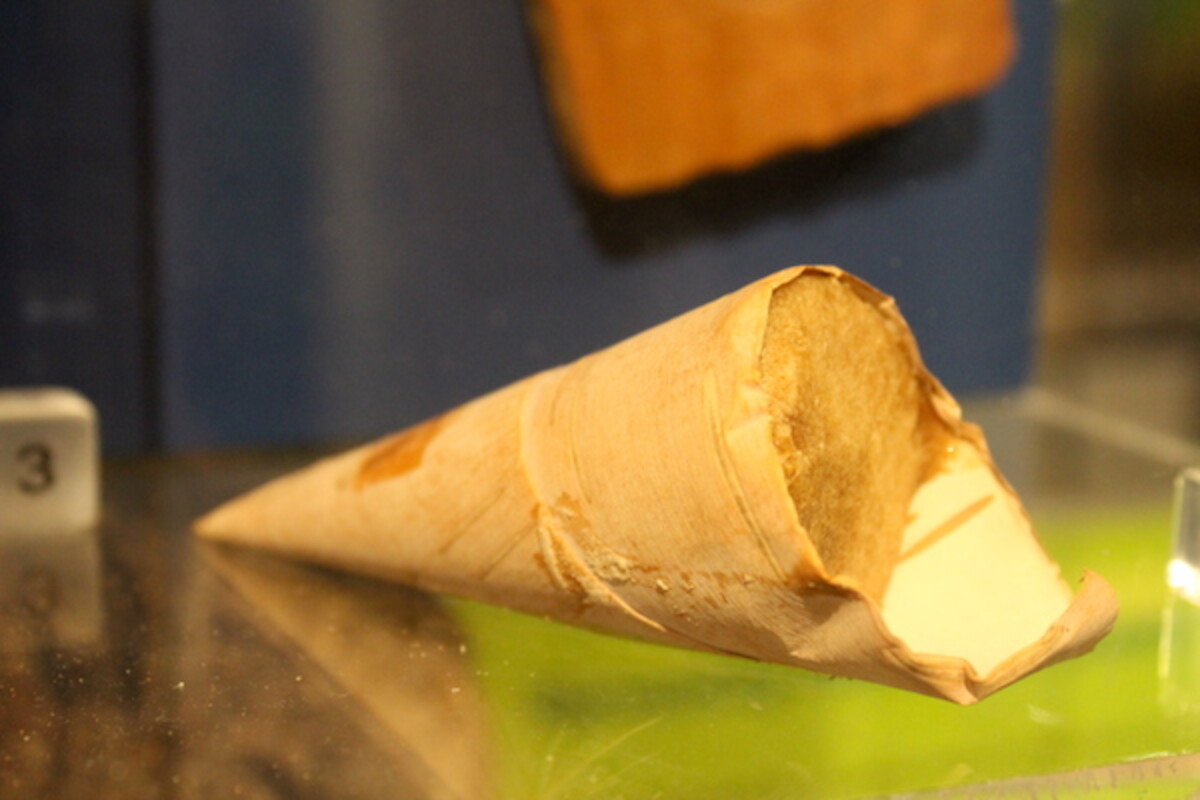
In the days before European colonization, native peoples poured this hot syrup into troughs made from hollowed-out logs and stirred it with giant paddles until it crystalized. Granular sugar is a lot easier to transport and store than liquid, especially before convenient bottles. In a more solid form, the sugar cakes could be stored in birch bark packets, like this birch bark cone from a museum display here in Vermont.
To make maple syrup, you cook maple sap until it’s heated to 7.5 degrees F above the boiling point of water. Fun fact…the boiling point of water changes with elevation, so it’s not always 212 F.
For every 500 feet of elevation above sea level, the boiling point of water drops by about 1 degree. Our home is at about 1000 feet in elevation, so water boils at 210 degrees F, and when we’re canning up our homemade maple syrup it’s cooked to 217.5 degrees.
According to the Cornell Maple Bulletin, “Granulated maple sugar is prepared by heating maple syrup until the temperature is 45° to 50° F (25° to 28° C) above the boiling point of water.” This corresponds pretty closely to the “hardball” stage for candy making. There’s a bit of wiggle room in there, and the temperature doesn’t need to be as exact as when you’re making maple syrup, so it’s much easier for the home maple sugar maker.
Choosing Maple Syrup for Making Maple Sugar
The first step to making maple sugar is obtaining some maple syrup. You can make it yourself like we do, or you can buy a pint at the grocery store. It really makes no difference to the final product. What does matter is the grade of maple syrup you’ve chosen.
Maple grading used to be simple, and “Grade A Fancy” was the very light delicate syrup with minimal maple flavor, while grade B is much darker and has a lot more maple-y taste. It was a little joke Vermonter’s played on out-of-state tourists because the best tasting syrup is grade “B” and by naming it that, Vermonters were able to keep it to themselves.
In the last few years the maple trade organization changed things up, and now everything’s grade “A.” More or less because grade “A” sells better, but now it’s hard to know what you’re buying. Here’s a guide to the current maple grading system, but in a nutshell look for the darker syrup if you want more concentrated maple flavor, and lighter grades if you want something that approximates table sugar (why bother?).
For dark full flavored maple sugar, choose what’s currently known as “Grade A Dark Amber” (formerly grade B).
How to Make Maple Sugar
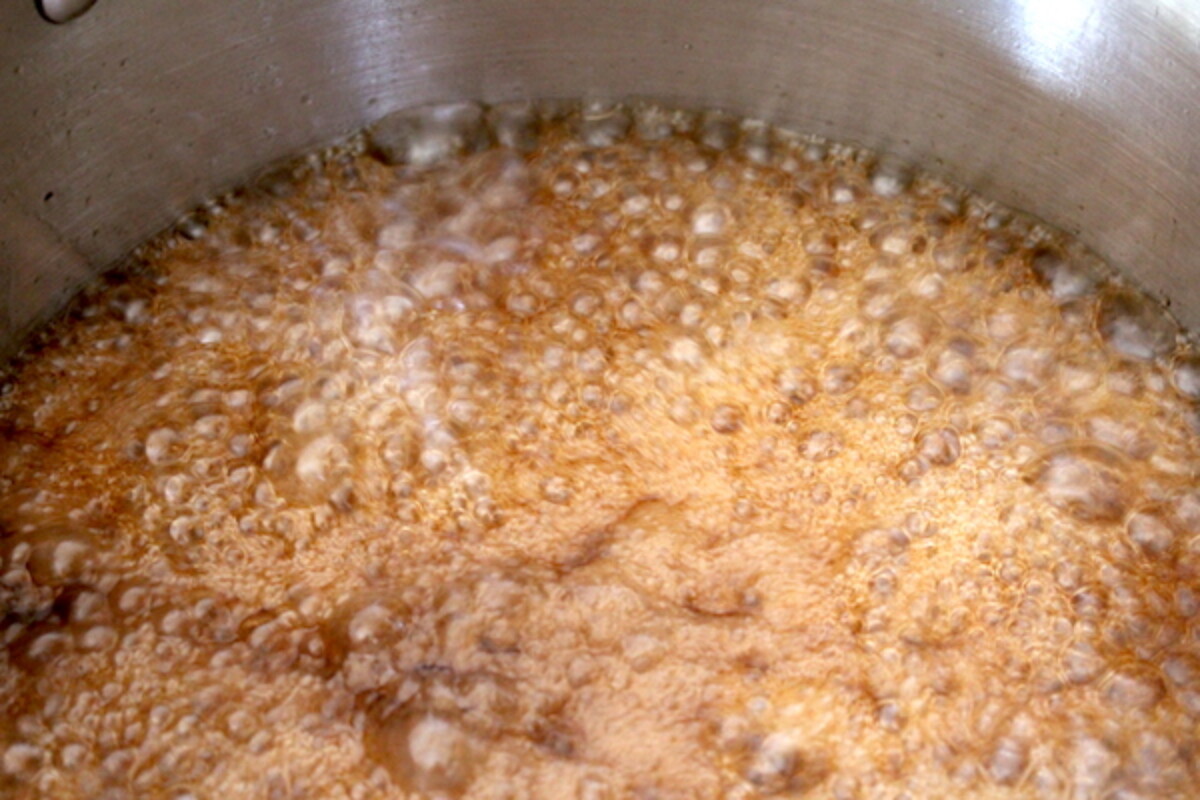
Regardless of the maple syrup you choose, the process is the same. Place the syrup in a deep, heavy-bottomed pot and bring it to a boil over medium-high heat.
It’s important that you don’t stir the syrup as it boils because that can initiate crystallization prematurely. Not the end of the world, but you’ll end up with something more like maple hard candy instead of maple sugar. If that happens by mistake, just add water to the pot to re-dissolve the sugar and start over.
The syrup will bubble vigorously, and often sugar makers add a tiny sliver of butter to the pot to help keep the foam down. I think a better trick is to take a pat of butter and run it in a ring around the hot pan about an inch above the level of the syrup. When the syrup starts to bubble, it’ll foam up and hit that tiny greased ring and the bubbles won’t foam over that, at least in my experience.
Either way, use a deep pot so that there’s plenty of space. That’ll allow the syrup space to foam, but you won’t need to stir it to prevent an overflow.
At medium-high heat, maple syrup reaches maple sugar stage pretty quickly. On my stove, it only took about 12 minutes of cooking to reach 255 to 260 degrees F.
I use an instant-read digital candy thermometer for this, and it’s really convenient. Once the syrup is up to temp, remove the pot from the heat immediately so that the syrup doesn’t scorch.
At this point, you can either begin stirring immediately or you can wait for the syrup to cool to a more manageable temperature. The Cornell Maple Sugar bulletin discusses this point, with a note of caution: “Following cooking the syrup can then be stirred immediately or allowed to cool to about 200° F (93°C), and stirred either in the cooking vessel or in an appropriately sized container until granulation is achieved. Due to the high temperature of the syrup when it is being handled and stirred several precautions should be observed. The producer should have protective gloves, protective apron, long pants, closed shoes, and eye protection.”
Keep in mind, that’s in a commercial setting where they’re working with huge amounts of extremely hot syrup. At home, yes it’s hot, and it will burn you if you get it on yourself, but there’s no reason to go full hazmat when making maple sugar.
You have two options, either begin stirring the maple directly in the pot with a sturdy wooden spoon or carefully transfer the hot syrup to a stand mixer. If you stir it by hand, it takes about 5-7 minutes of continuous stirring and a lot of elbow grease.
As the syrup thickens, it becomes very difficult to stir, and if you stop it’ll harden into a solid brick. If you’ve got a few strapping teenagers in the house, put them to work stirring it by hand.
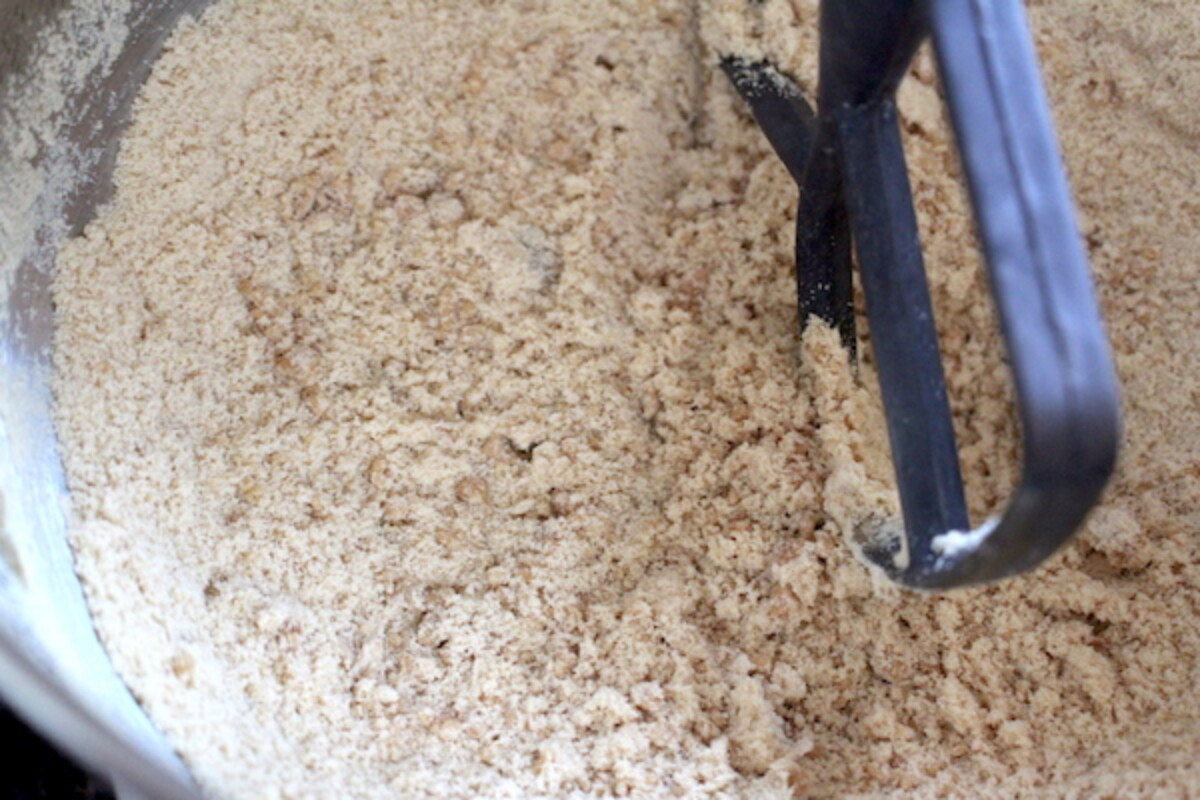
If not, a KitchenAid mixer makes short work of the job. After about 1 minute on low, the sugar is already starting to form into crystals.
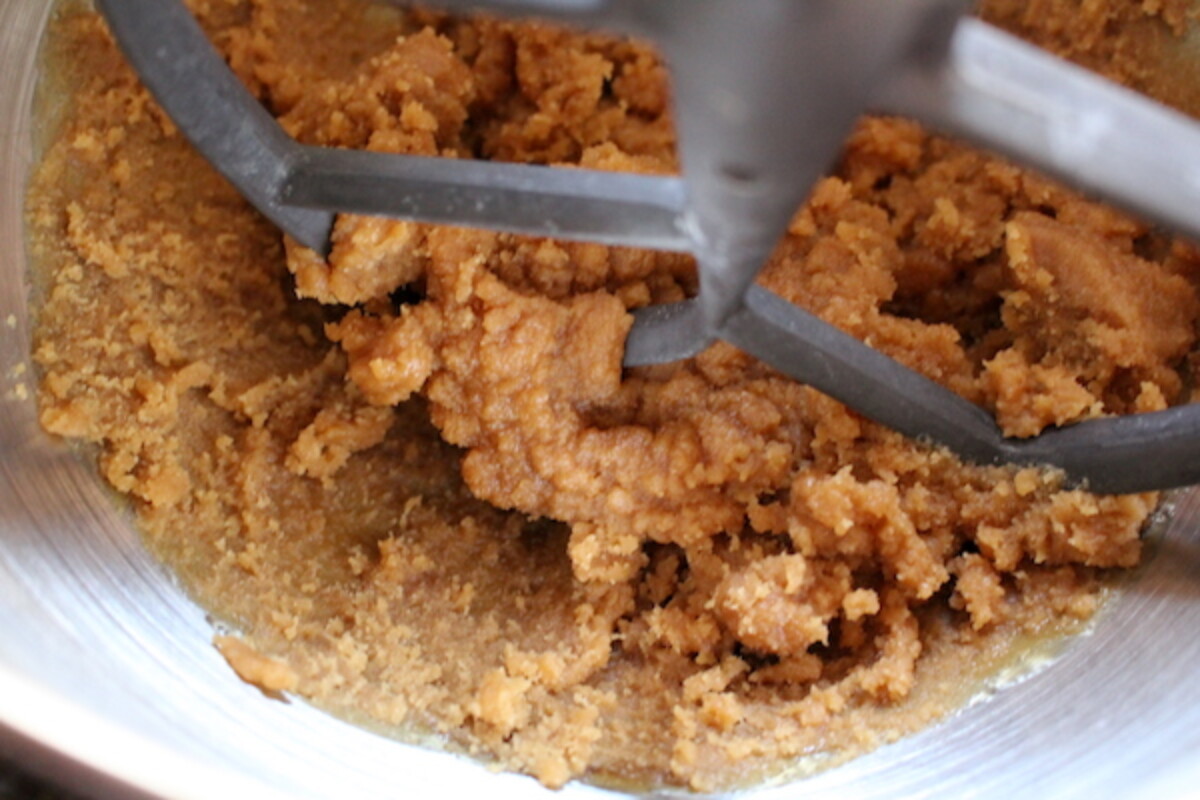
Keep the mixer steadily paddling the maple and it’ll be a fine maple sugar soon after. In a KitchenAid mixer with the paddle attachment, it only took about 2 minutes from hot syrup to full maple sugar.
I didn’t allow it to cool to 200 degrees, I just put the hot “hardball” stage maple syrup directly into the stand mixer and turned the paddle on low. Keep it on low so it doesn’t splash, but still obviously keep your face and hands away for safety.
Once the color changes dramatically, and the syrup has formed into a light-colored powder it’s done.
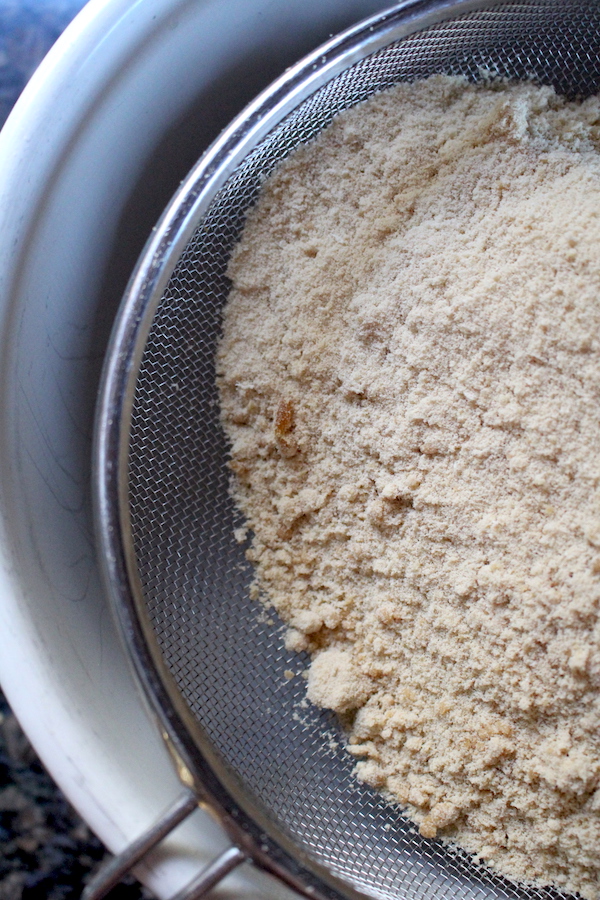
Turn off the mixer and marvel at your homemade maple sugar! At this point, the maple sugar is technically done, but there are going to be some larger chunks in the mix. If you want a smooth maple sugar that’s good for baking, you need to sift it through a fine-mesh strainer.
That’ll give you fine maple sugar, and then you’ll have some larger maple nubbins sifted out. Those bigger pieces are perfect for sweetening coffee or using in other hot liquids where they’ll dissolve.
I didn’t have to worry about that, my 3-year-old daughter swooped in and stole the leftover chunks. They’re just basically tiny pieces of maple sugar candy, and you cant keep tiny baby hands off them.
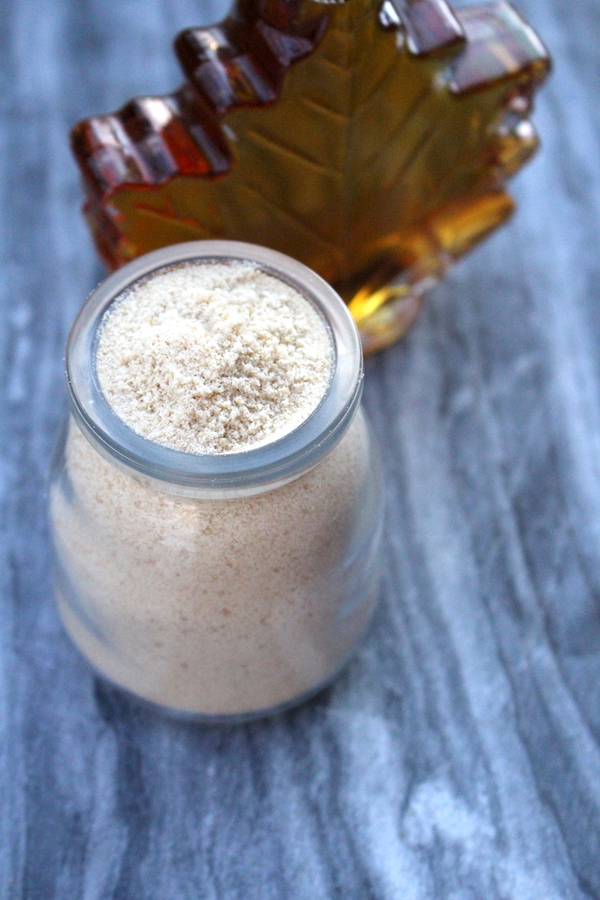
Once you’ve filtered out the maple sugar, store it in a jar with a tight-fitting lid and it’ll keep at room temperature indefinitely, just like table sugar.
Homemade maple sugar makes really lovely gifts, and it’s a great way to take something simple you can pick up at the grocery store and turn it into something a little bit exotic for your loved ones. Most people have never had the luxury of maple sugar, and it’s not often sold outside the northeast.
A note on yield: Though the syrup cooks down considerably as water evaporates, the resulting sugar fluffs back up in volume. If you’re trying to make 1 cup of finished sugar, start with one cup of maple syrup. One pint of syrup yields about 1 pint of maple sugar, or about 1 pound of maple sugar.
How to Make Maple Sugar
Ingredients
- 2 cups maple syrup
Instructions
- Place maple syrup in a heavy bottomed deep pan, such an an enameled dutch oven.
- Bring the syrup to a boil over medium high heat. Cook until it reaches 255 to 265 degrees F (or 45 to 50 degrees above the boiling temperature of water at your elevation).
- Turn off heat, and either begin stirring immediately or wait until the syrup cools to around 200 degrees F. Either way, stir by hand or using a stand mixer until the thickened syrup forms into granules.
- Sift the sugar through a fine mesh strainer for more even maple sugar granules.
- Store the maple sugar in a tightly sealed jar at room temperature and it should keep indefinitely.
Notes


I have made this 3 times now. Just love it. I have found doing 1 cup at a time is easier to manage than two cups. I do mix by hand and have found it really isn’t that hard to do. Once it’s a sugar I add vanilla powder or vanilla beans in and it’s pure heaven!! I then will make maple sugar cubes for my coffee. Thank you!
That sounds really lovely. Thanks for sharing.