Affiliate disclosure: This post may contain affiliate links. Please see our Privacy Policy.
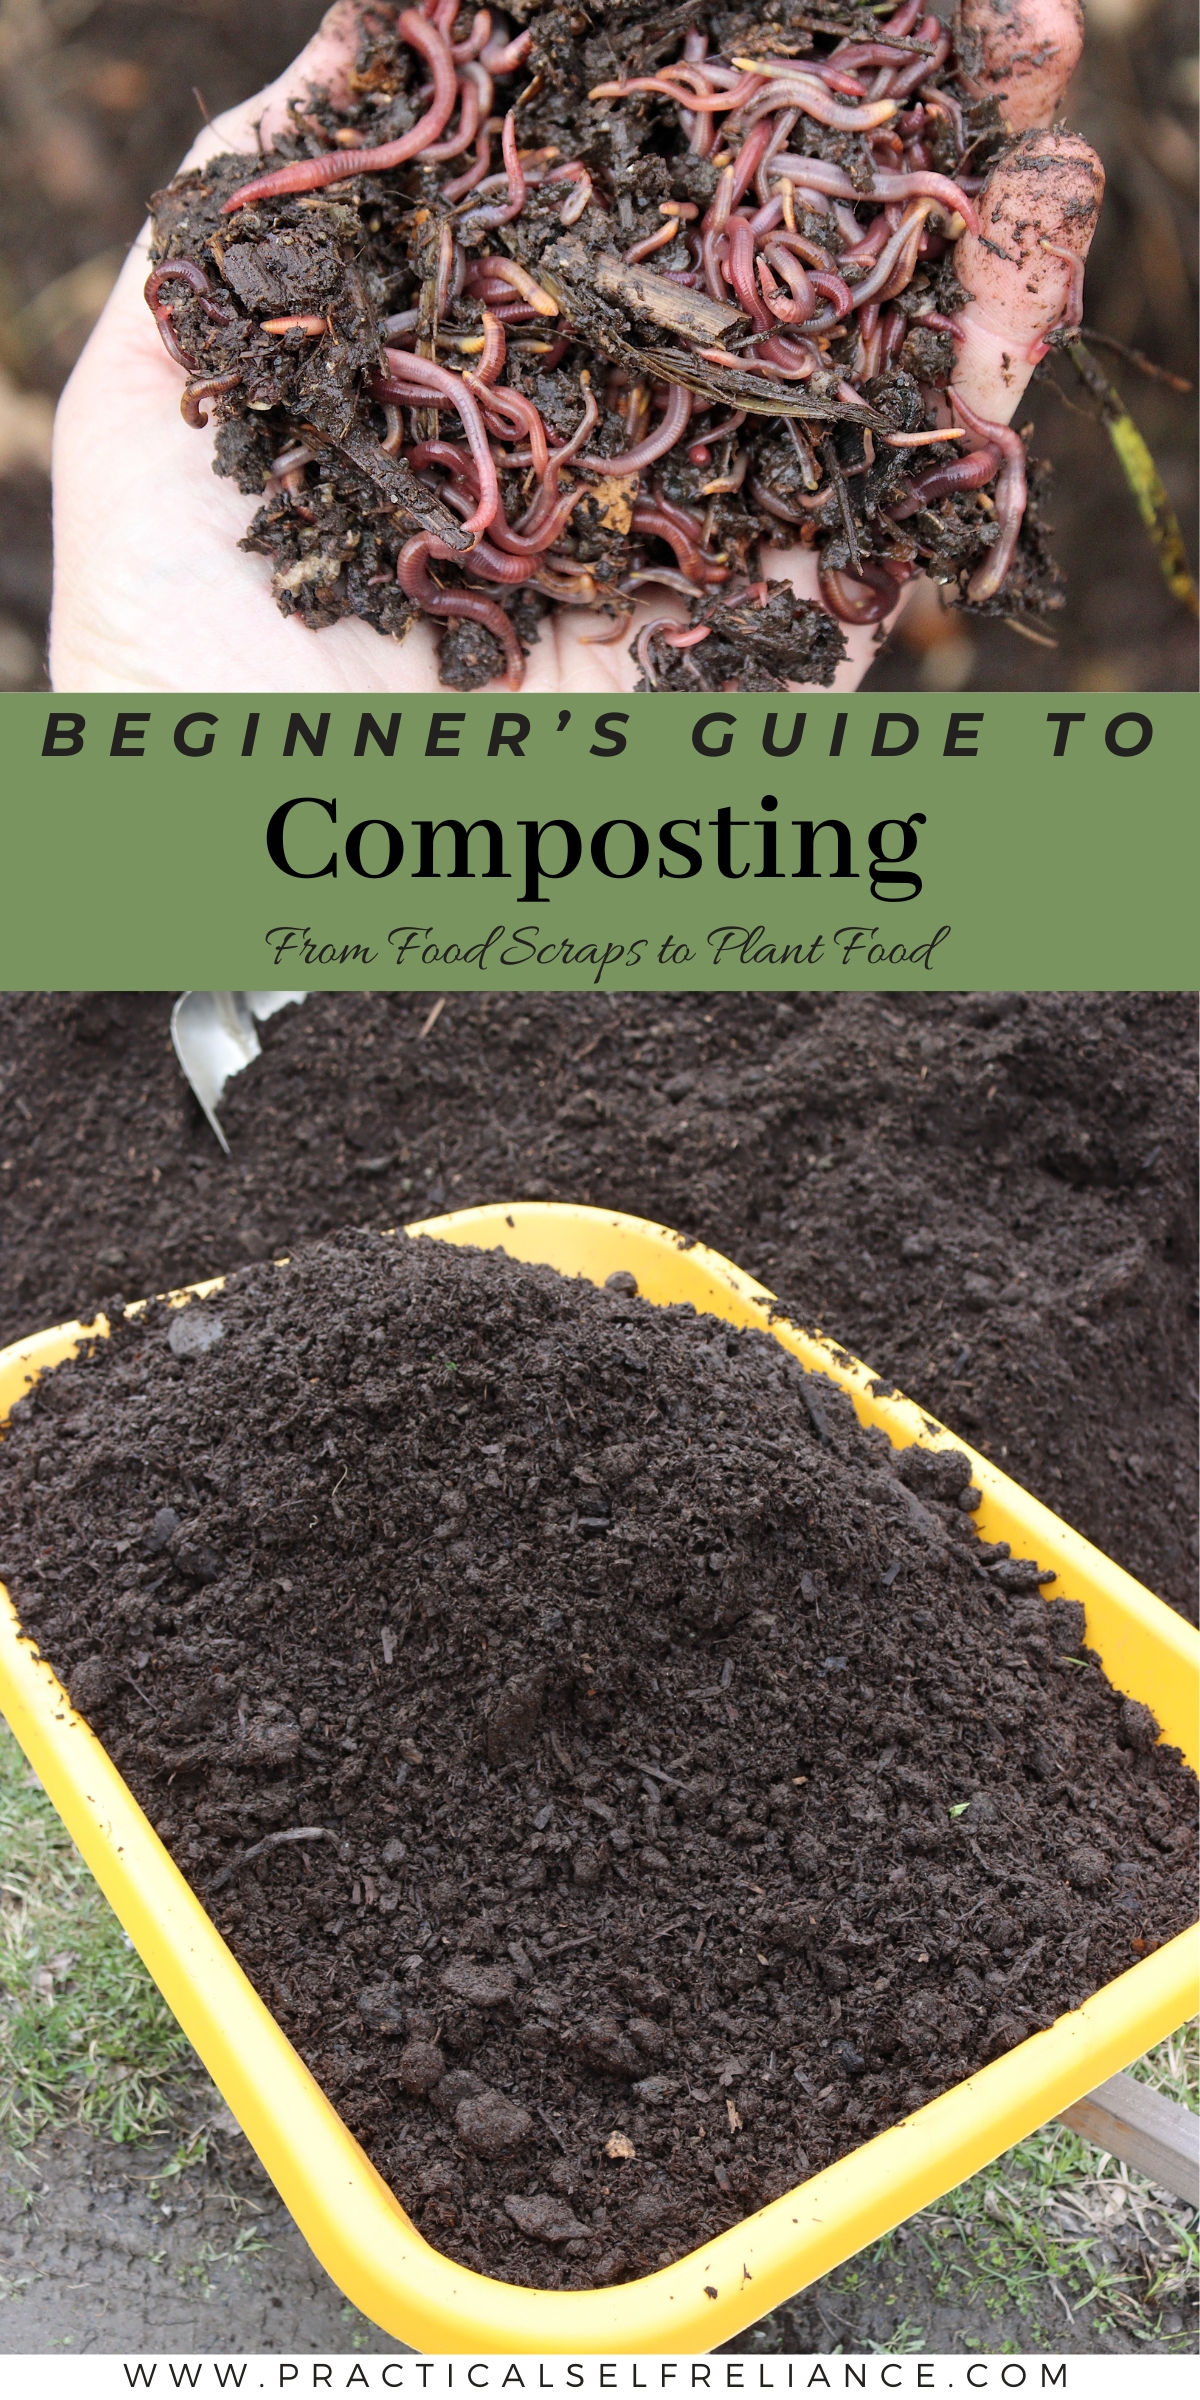
Composting at home might sound messy, but with the right plan and materials you can easily (and cleanly) make your own organic compost at home!
Composting is an excellent way to recycle food, improve your garden, and save money on fertilizer. But not many people make the leap into saving their food scraps and plant trimmings from the trash.
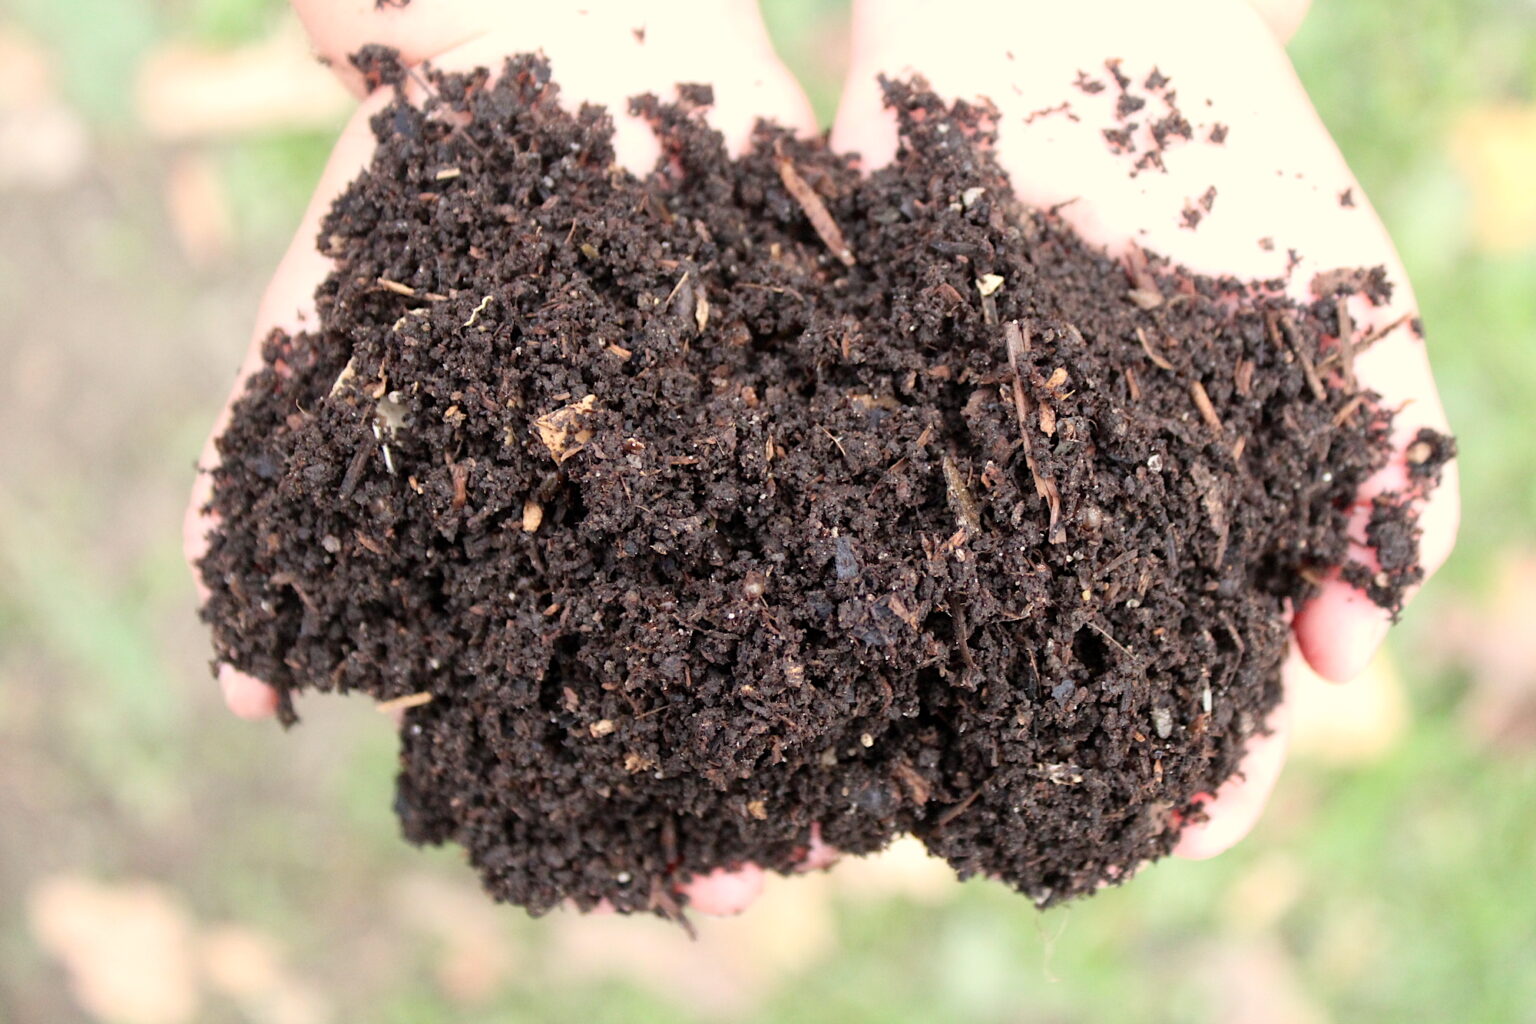
Besides time and space concerns, the number one thing most people balk at in starting their own pile is the smell. No one wants their backyard reeking of rotten eggs or manure (I know I don’t). But the reality is that properly built and tended compost doesn’t smell bad at all—if anything it will smell like ordinary dirt.
Whether you have a big yard, a small patio, or even just a little storage space, there are several ways you can get started with composting at home or in your community.
Composting Methods
While there is certainly more to making your own compost than just chucking old food in a heap, each of the 5 methods discussed here can be as simple or as complex as you want them to be. Just remember to use the right composting matter for each method and you’ll find your piles to be pretty forgiving.
Additionally, there are dozens of resources available online to help guide you. The EPA’s composting webpage is a great place to start and many cities and states have local programs available to teach and encourage composting in their area.
There are six methods of composting listed below:
Composting Methods
- Backyard composting
- Countertop composting
- Vermicomposting (worm based)
- Bokashi composting
- Compost Tea
- In-Ground composting
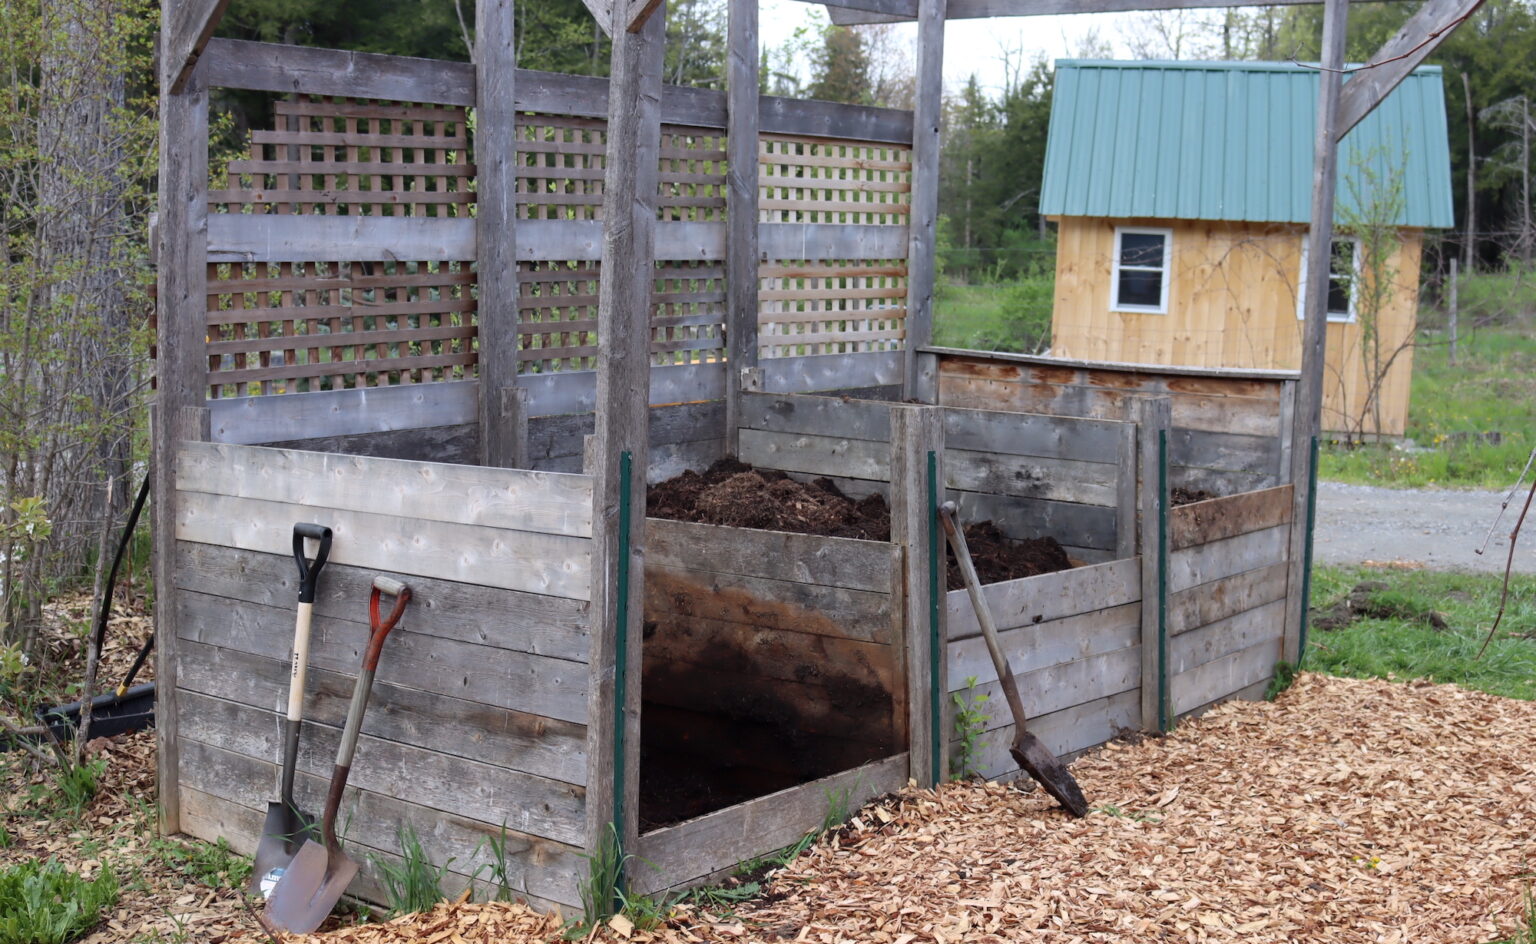
Backyard Composting
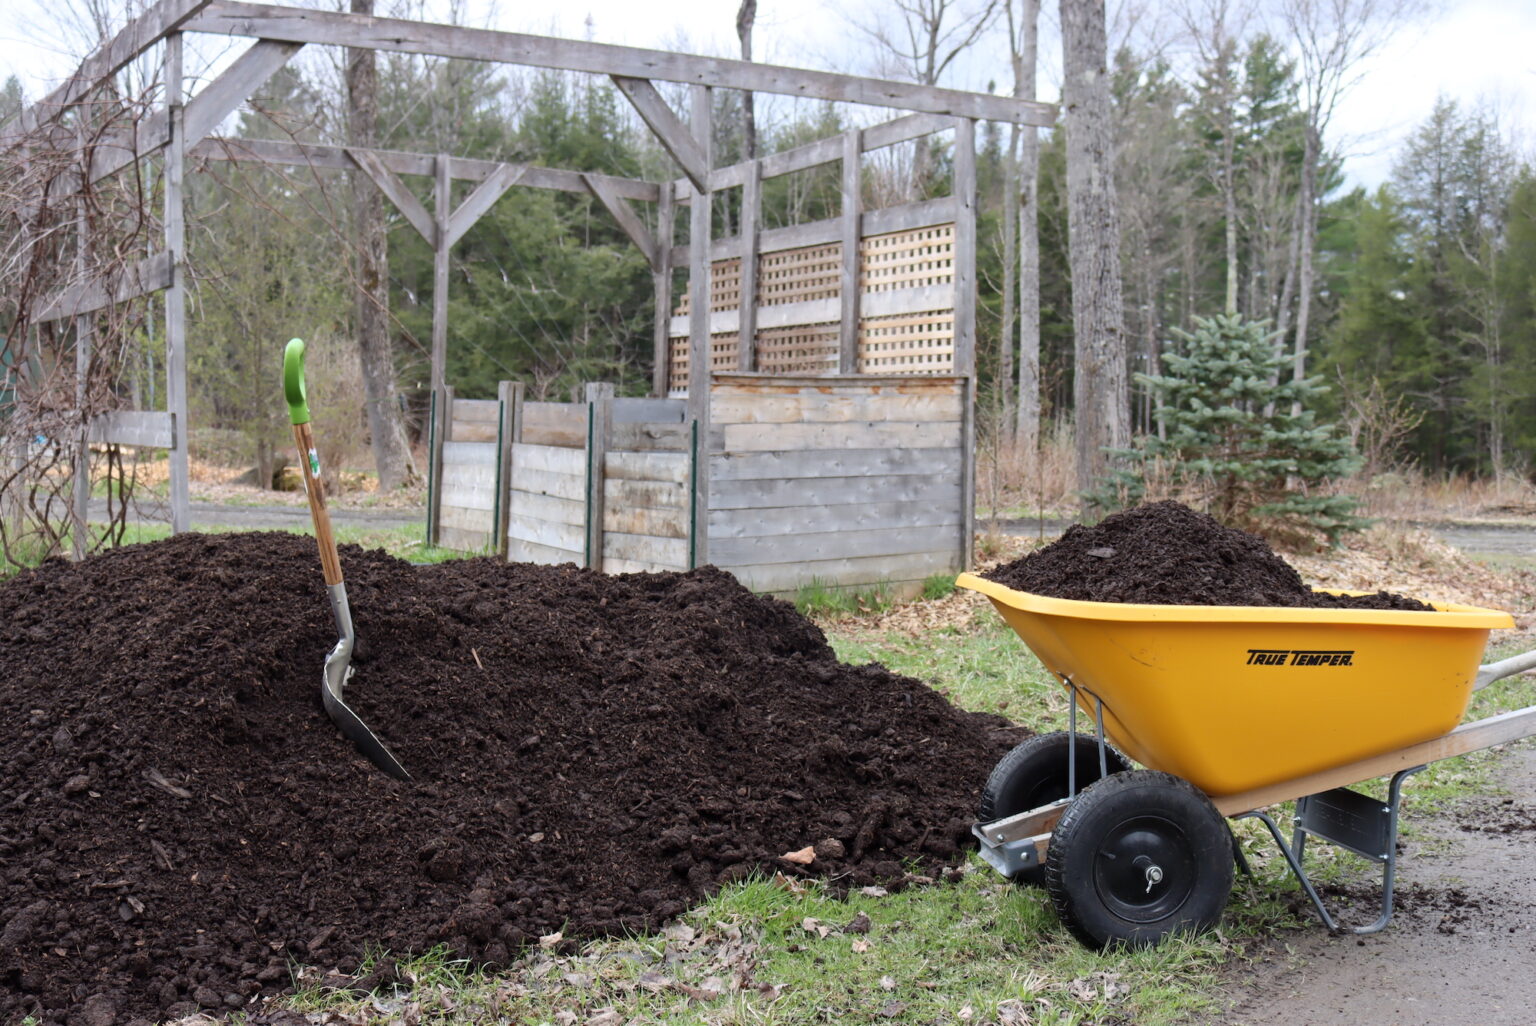
Heaps of kitchen scraps and old leaves are often what comes to mind when people think of composting in general. And while you can certainly go that route, you can also create smaller piles that can fit into a bucket.
Materials
Put simply, you only need 3 things to get set up with a backyard compost pile: something to contain your compost, something to aerate your compost, and something to sift your compost.
Most people refer to their compost containers as “bins.” This doesn’t mean a literal storage bin (though it can). To create your bin, you can recycle old pallets, stack hay bales around your compost, put up a chicken wire fence, or use a garbage can. The key to remember is that compost needs oxygen—so don’t choose something airtight!
To aerate your compost, you need to be able to mix your pile every few days. A classic pitchfork will work perfectly for this, or a sturdy stick. Composting tumblers are also a great option and you can make your own if you don’t want to buy one.
You also can make your own compost sifter if you’re so inclined, but commercial options can be found at most gardening stores.
Compost thermometers are available to help you check if your compost is heating up enough. They aren’t required for composting, but they can offer some peace of mind if you’re just getting started.
Location
Pick a spot in your yard with good drainage. Avoid starting your compost up against your fence or anywhere it’d be difficult to access regularly. Having a watering source nearby is a plus!
What to compost
Backyard composting matter is sorted into 2 categories: “greens” and “browns.” Greens are typically kitchen scraps like fruits and veggies or any items high in nitrogen. Browns are generally tree-based materials such as wood chips and paper that are high in carbon.
Below is a list of greens and browns that are recommended for composting:
Greens
- Fruit and veggie scraps
- Eggshells
- Coffee grounds
- Coffee filters
- Paper tea bags (with staples removed)
- Grass Clippings
Browns
- Twigs
- Leaves
- Paper (not glossy or colorful)
- Cardboard (not waxy, with tape and glue removed)
- Wood chips (untreated, unpainted
There are specific items you want to avoid putting into your compost to prevent weeds or diseases from spreading. Some of these items can be composted on a commercial scale, but your at-home pile won’t get hot enough to break them down:
Materials to avoid
- Animal products (meat, fish, bones)
- Dairy products
- Greasy foods (high in fat or oil)
- Produce stickers
- Compostable tableware or bags
- Cooked food (in large amounts)
- Invasive plants
- Weeds gone to seed
- Pest or disease-riddled plants
- Plants killed with herbicide
- Pet waste
- Dryer lint
Beginning your pile
Before you actually start, you’ll need to collect your greens and browns. Find somewhere in your yard that’s convenient and will prevent your browns from blowing away. Set up a bucket or two for collecting greens (under the sink is a great option).
To begin your backyard compost pile, first breakdown your tougher materials into smaller chunks. Thick branches should be turned into wood chips. Corn cobs should be chopped into 1-2in pieces. Breaking them down will allow them to decompose more quickly and can be done when first set aside for the pile, or right before they’re added.
In your “bin,” set down a layer of bulky browns (branches, twigs, leaves) that’s about 4-6in thick. This will help oxygen reach the bottom of the pile. From there, alternate between green and brown layers, aiming to end with a layer of browns. Ideally you should use about 2-3 times more browns than greens in the pile. Dampen, but don’t soak, the pile and leave it alone.
Turn your pile to mix the materials and aerate everything about every 3-4 days. You don’t need to water the compost unless it seems dry (it should have the consistency of a moist sponge). If you’re in a hot and arid climate, you’ll water your pile about once a week. As your pile sits it will heat up on its own to 130-160⁰F, so it should be noticeably hot when you turn it.
If your compost seems cold, add more greens and turn the pile. And if you’re noticing a bad odor around the pile, add browns to help reduce moisture and turn it more often.
Harvesting your compost
Depending on what you put in, how large your pile is, and how regularly you turn it, it can take anywhere from 2 weeks to a full year for your compost to break down. So be patient! Maintain the pile until you can no longer spot food scraps and the pile isn’t heating up between turns. At this point, stop adding materials to the pile, but continue maintaining it for 4 more weeks as it cures. It’s now ready to harvest!
You’ll want to sift your compost to remove any final bits that might not have broken down fully, like eggshells or peach pits. These can be added into a new pile, so don’t throw them away!
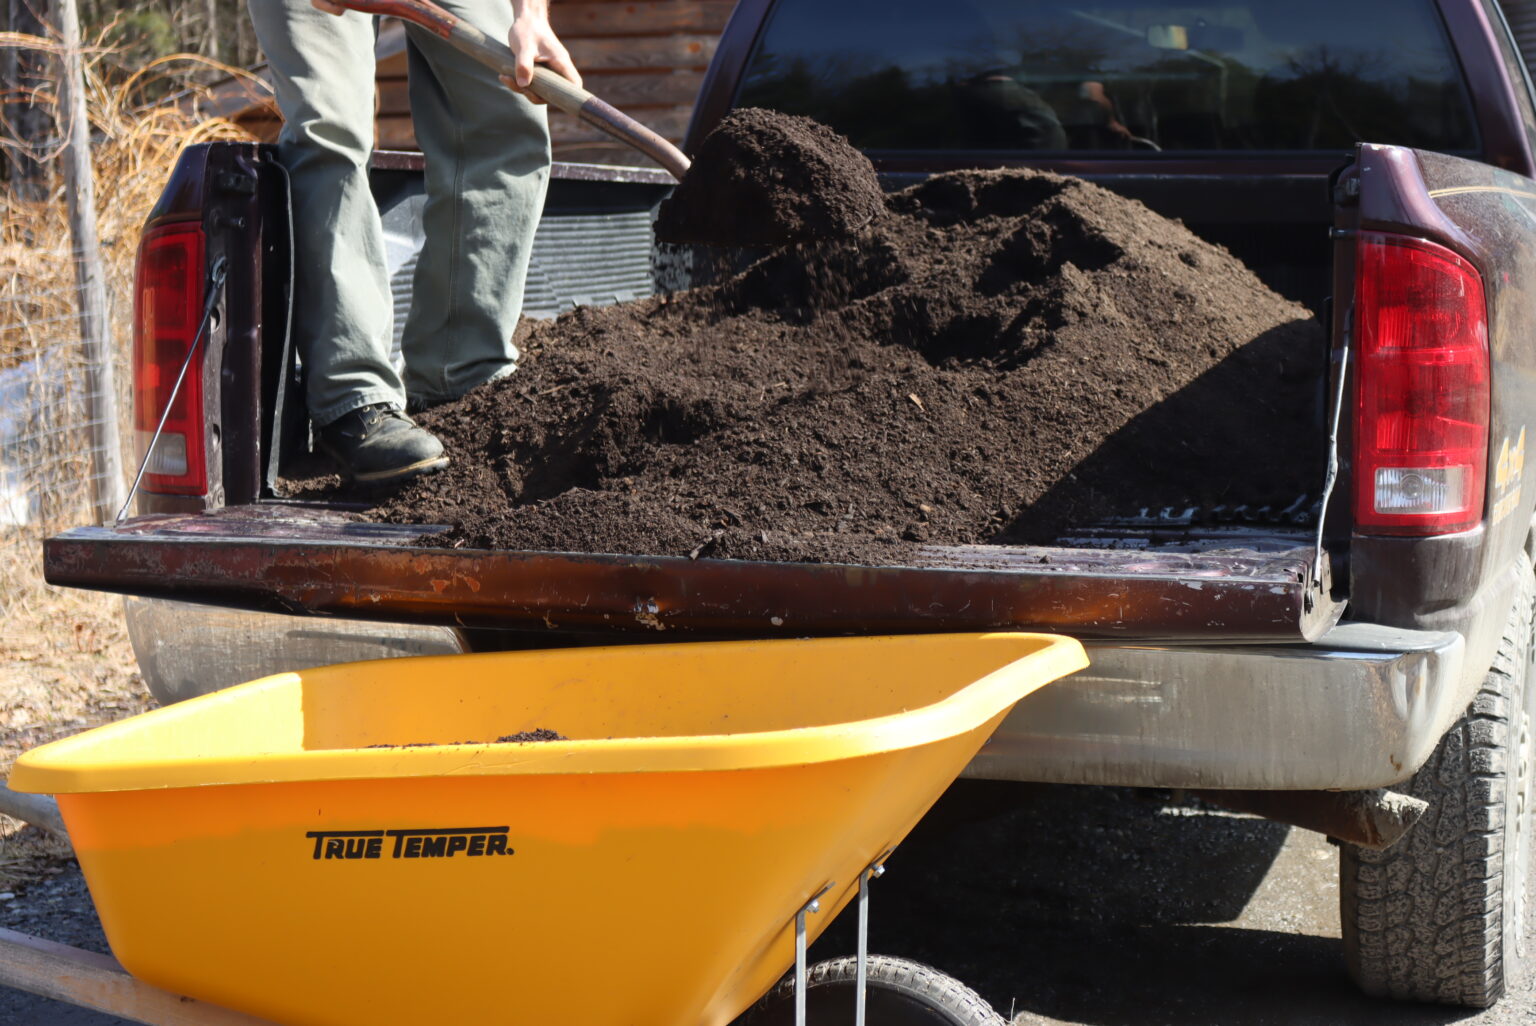
Once sifted, your compost is ready to use! Whatever you don’t immediately add into your garden can be returned to its bin or into a new storage bucket until it’s ready to use. Compost won’t go bad, but it will lose nutrients the longer it’s stored.
Countertop Composting
The most compact and fastest method for composing is countertop composting with an appliance. With a simple, plug in countertop composter, you can have compost in as little as 24 hours.
These machines have grinders that mechanically break down the food scraps, and then they rely on heat and enzyme activity to quickly break everything down into convenient plant food.
This is the method I’ve recommended to my parents in a suburban area. They have dogs, and they don’t want them breaking into the compost bin, but they also have plenty of plants that could use the fertilizer.

Materials
To get started, you’ll need a countertop composting appliance. Personally, I’ve used and tested a Vego, and it works really well. The most common models are listed below:
Countertop Composting
I have a detailed article on how to use a countertop composter, but it’s really quite simple.
You put the food scraps into the bin, and then press start.
The machine turns them into compost in 8 to 24 hours, depending on the cycle you’ve selected.
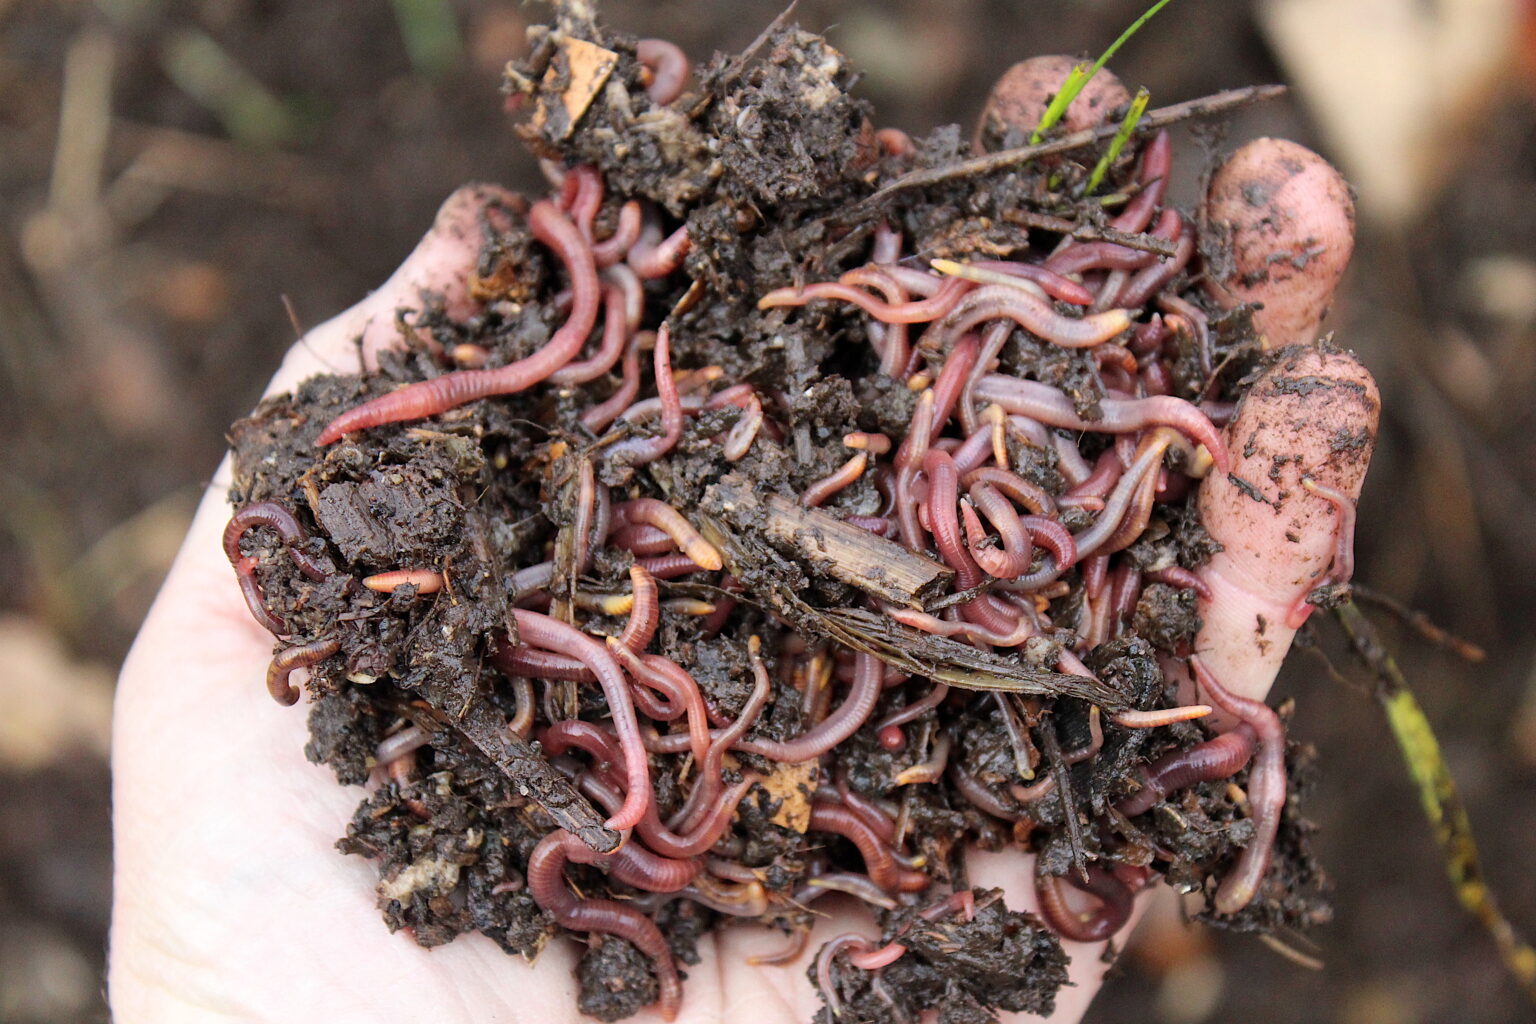
Vermicomposting (worm based)
This is a more compact form of composting that uses worms to break down the materials (as opposed to heat). It’s easier to maintain than a backyard pile and is a great project for kids!
Materials
To get started you’ll need a tight-lidded container, bedding, and worms.
Worms don’t like light, so your container needs a tight lid to allow them to reach the upper layers comfortably. You can use plastic storage containers, or construct a bin out of untreated wood.
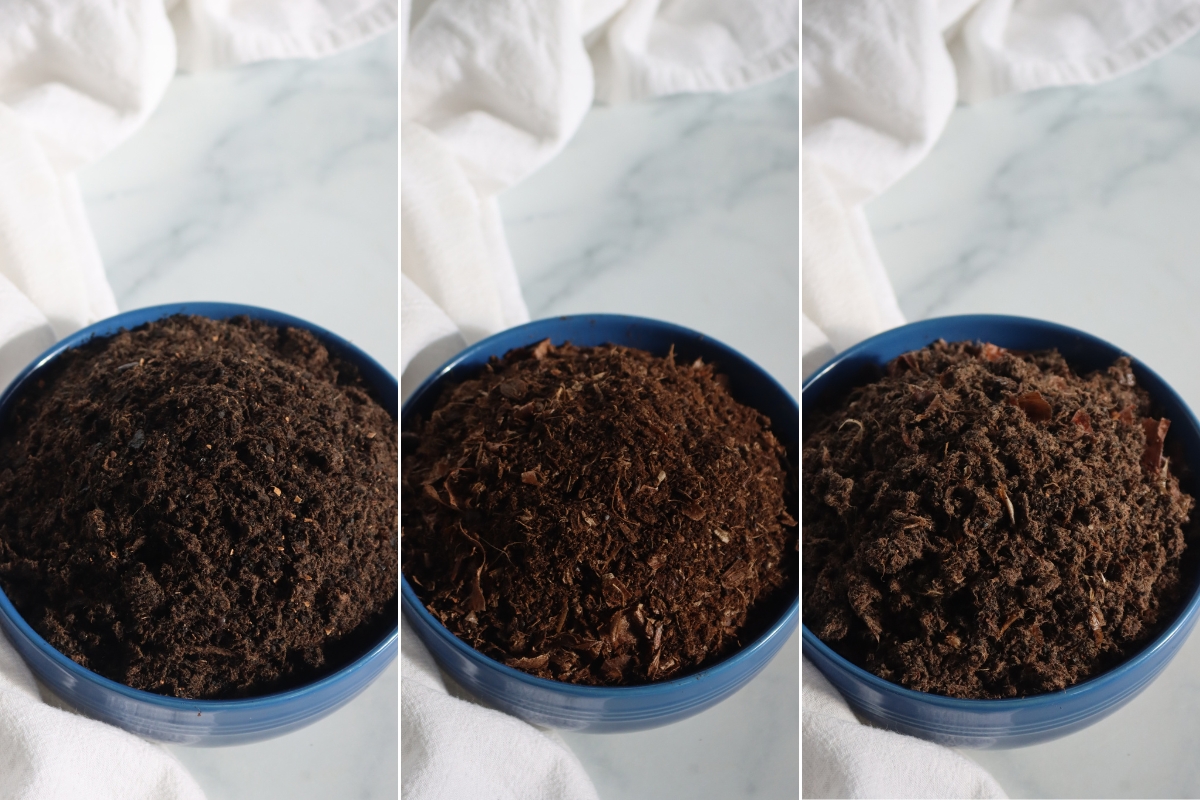
You can make your own bedding by soaking non-glossy newspaper or leaves for 10 minutes before they go into the bin. Straw, mature compost, shredded cardboard, peat moss, and wood chips are also viable options. The goal is to provide your worms with something that can allow airflow, retain moisture, and provide a bit of insulation.
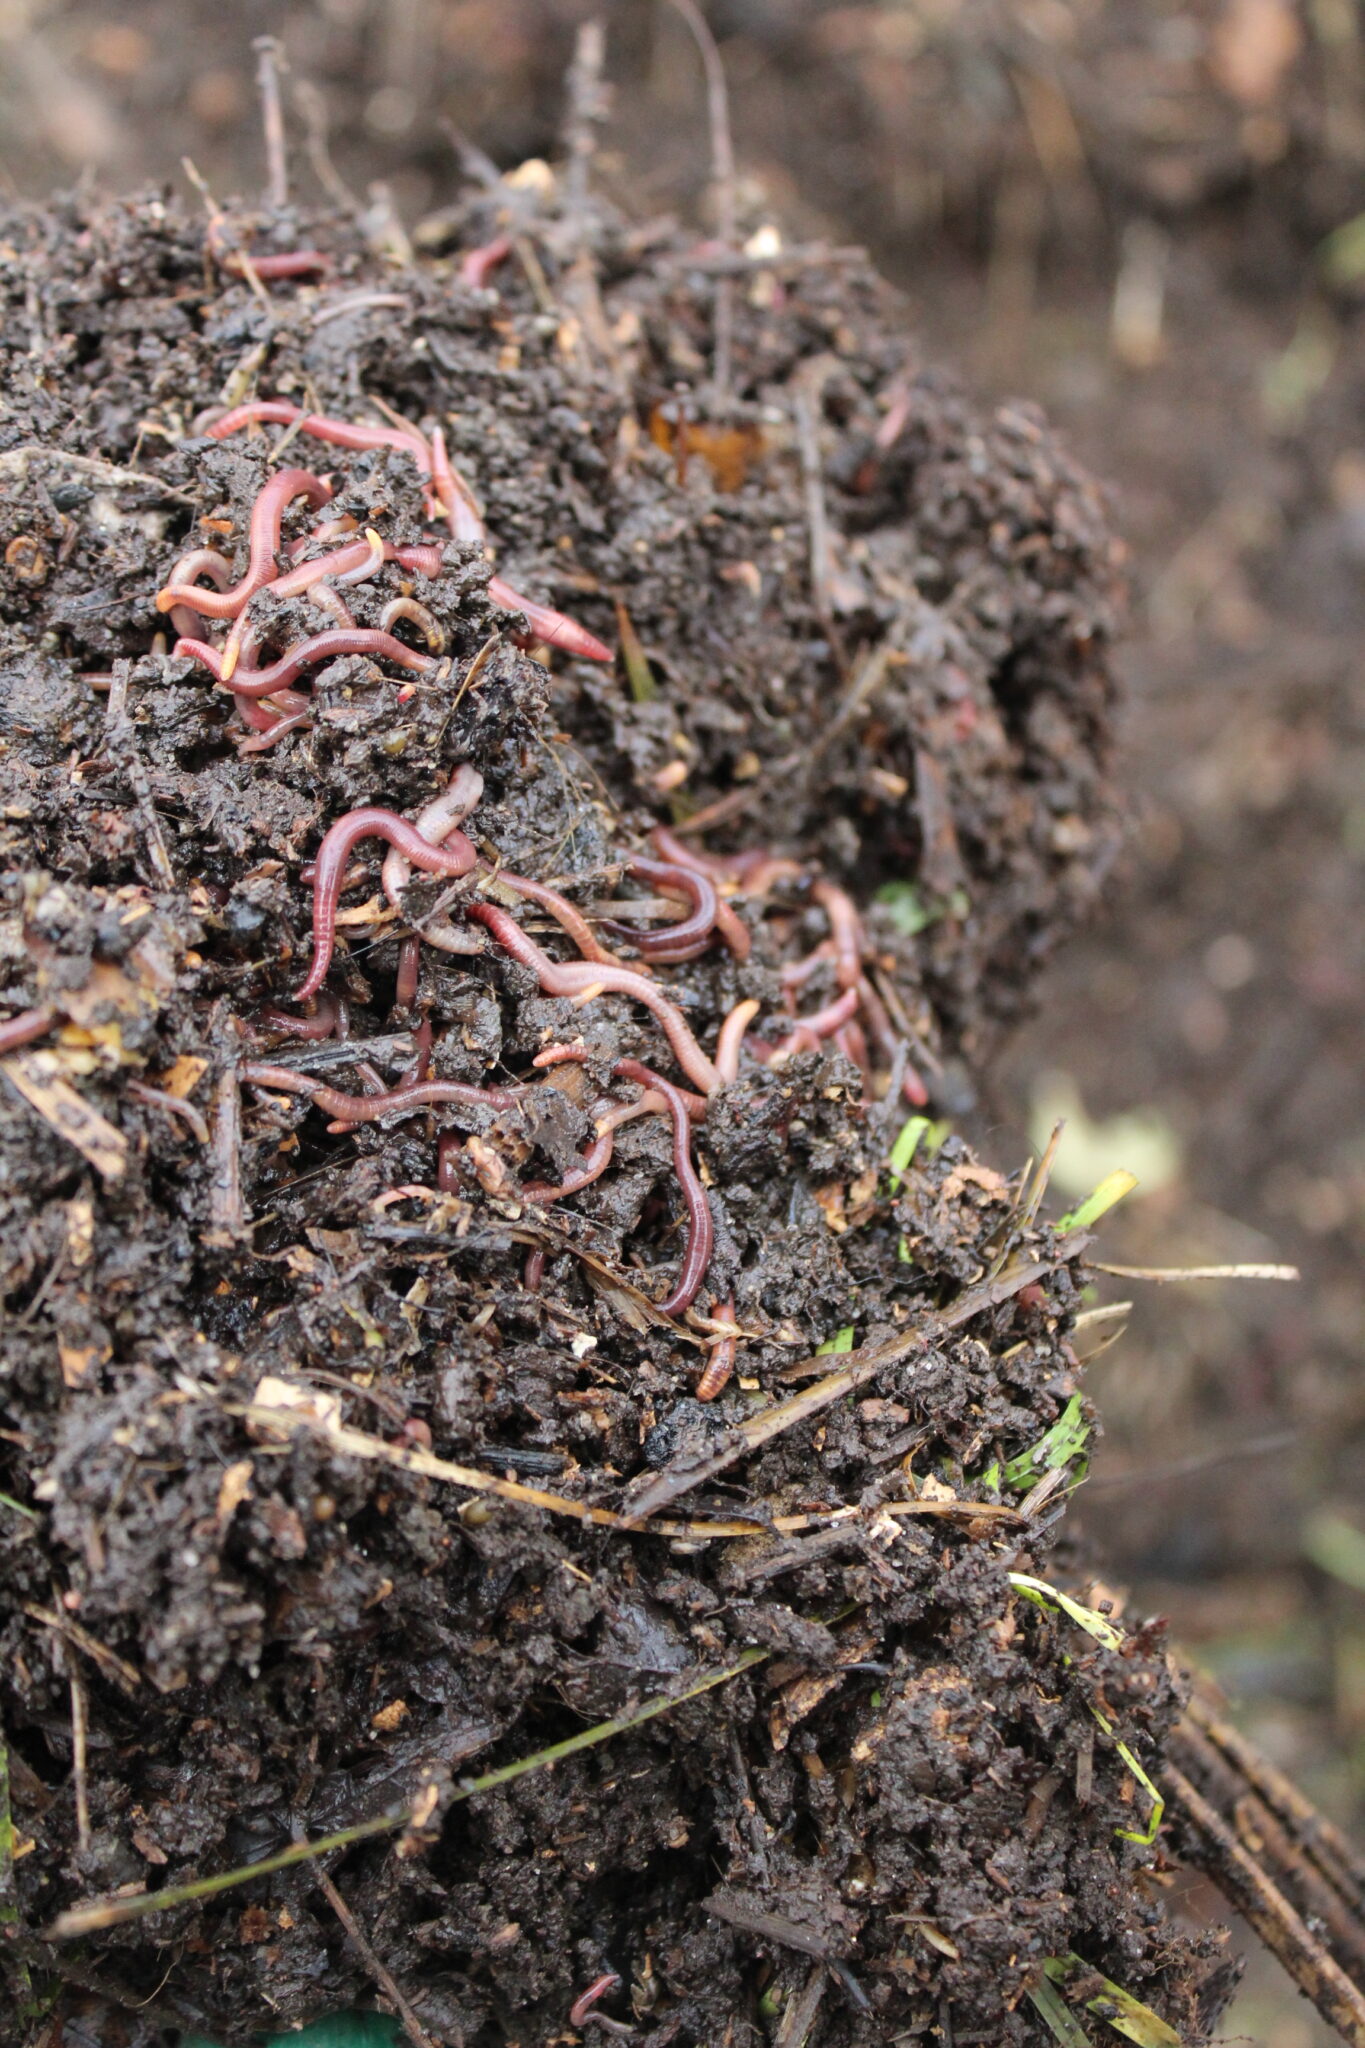
For worms, you’ll most likely use Red Wigglers. Only 7 species of earthworm are recommended for composting, and Red Wigglers are by far the most common. Worms can be purchased online. Many people source worms from friends who already vermicompost or from vendors at farmer’s markets.
Location
Since your container should shut out any light, the main consideration for your bin’s location is temperature. Ideally your worms want to be kept between 59-77⁰F. With enough bedding, that range can extend to 32-95⁰F. If you have space inside, great! If not, plan on insulating your worms during colder months.
What to compost
Vermicomposting can break down the same materials as a backyard compost pile and you can follow the same guidelines. However, worms don’t like citrus or aromatics like garlic and onions, so don’t add those into the bin.
Beginning your pile
Once you have your container and location selected, add about 4in of bedding to the bottom of the bin. Add in your worms and a handful of soil over the whole thing. From there you can start feeding your worms!
Cut up your kitchen scraps and save them in a bucket or tupperware. When ready to feed your worms, add in the scraps and cover them with 2in of bedding, shutting the lid tightly at the end. In general, you’ll want to feed your worms once they’ve finished eating the last round of kitchen scraps.
Try not to disturb your worms too often. Opening the lid will scare them into the bottom of the bin, away from the light, and will slow down the composting process.
Harvesting your compost
This is the trickiest part of vermicomposting. You need to remove the compost without removing the worms.
Perhaps the simplest method is to dump your worm bin out: spread out a tarp or piece of cardboard and upend the whole thing! Let your worms wiggle down, away from the light, and begin skimming off the top layer with a trowel. Avoid scooping out any worms. Once you’ve harvested about half of the compost, place the remainder (plus worms) back into the worm bin and feed them for their trouble.
Alternatively, for people with large bins, push all of the compost to one side. In the empty half, add fresh bedding and food scraps—don’t add anymore food to the original half! Over the next few weeks the worms should move to the new side where the food is. You can now remove the compost from the original half.
Bokashi Composting
This is the method most recommended for people living in an apartment or somewhere with ordinances that might prevent them from backyard composting. Bokashi is a method that ferments foodstuffs in an anaerobic setting—meaning you don’t need to aerate (or smell) anything!
Materials
Complete bokashi kits are available online and are a great option for beginners. Many companies offer replenishment subscriptions as well, making it easy to keep the materials you need on hand.
For the more ambitious, here’s what you’ll need: a bucket system that can drain off water, bokashi bran, and somewhere to bury the bokashi compost.
Bokashi bran is a mix of bacteria and yeast that will help break down your food scraps. It’s essential for making compost in an enclosed system and will prevent your compost from smelling while it ferments.
Unlike the other compost on this list, bokashi compost won’t fully break down on its own. When it’s done fermenting it will need to be buried as In-Ground compost (see below) or added to an existing compost pile.
Location
Anywhere the bucket will fit!
What to compost
Again, you should follow the same guidelines as the Backyard Composting system for “greens”, with a few caveats. Thanks to the bokashi bran, you can add meat and dairy to the bucket! This is the only at-home compost system that is capable of safely breaking down these food stuffs.
Beginning your pile
Chop up food waste and add it into the bucket along with a sprinkle of bokashi bran—usually 1 tablespoon per inch of food waste. Only open the bucket when adding to it as you’ll want to limit how much air is interacting with your compost. As you add things in, keep a rock or heavy plate on the top of the pile to squish things down and limit the oxygen even more.
Once your bucket is full, check that it’s tightly closed and set it aside for 2 weeks. As the bokashi continues to ferment, a liquid known as “compost tea” will begin to develop. Drain this off and use it as you would any other compost tea (see below). You’ll likely need to drain the bucket every 2-3 days.
Harvesting your compost
After the 2-week period, your Bokashi is ready to be buried or added to another compost to finish curing. You can leave it in the bucket for as long as you would like, just be aware it isn’t likely to ferment any further.
Compost Tea
Alright, this is the one exception to the compost smell rules—compost tea is going to stink!
If that’s the case, why make it? Well, it’s a little easier to make and maintain than proper compost. And it produces an organic liquid fertilizer that doesn’t have to be buried in your soil. It’s also the only at-home method for composting invasive plants!
Materials
To make a compost tea you’ll need 3 items: a container with a lid, a string or rope, and something to hold the plant material (the tea bag).
Many people use a hessian bag to make compost tea. However, an old towel will work just as well. Some people don’t use anything as their “tea bag.” Instead, they strain out the plant matter at the end.
Location
Anywhere your container will fit! Though preferably downwind of anywhere you or your neighbors enjoy spending time.
What to compost
You aren’t going to be adding kitchen scraps to your compost tea. Instead, compost tea works best with soft plant matter (weeds, grass cuttings, etc). If you’re planning on using the tea as fertilizer on edible plants, avoid using any toxic plants.
Many people add a bit of straw, aged compost, or soil to the mix to help kick-start the fermentation process.
Beginning your pile
Set out your hessian bag or old towel and begin filling it with your composting matter. Try not to pack the matter in too tightly or the tea will have difficulty brewing. Tie up your “tea bag” and try to leave yourself a bit of extra string hanging off of the bag.
You’re welcome to skip the tea bag and put the plant material in loose. It will make it harder to separate the tea from the leaves, so to speak, so the choice is yours.
Fill up your container with water. Rainwater is preferable for this process. But tap water that has been left out for a few days to release its chlorine will work as well.
Submerge the tea bag into the container, draping the string over the rim to make it easier to remove the bag later. Cover the bucket loosely with its lid and leave the container alone. If you want the tea to ferment quickly, plan on stirring it a few times per day. Otherwise, feel free to leave your tea to its own devices.
After a few days you’ll start to notice the smell. It’s pretty strong (and usually unpleasant)—but it’s a sign the tea is brewing, so don’t give up yet! Wait until the smell begins to lessen, about 2-3 weeks, and your tea is ready.
Harvesting your compost
Once your tea is done fermenting, it should have a milder smell and now be a dark brown color. Remove the tea bag and add the contents to a compost pile (if available and desired).
The tea is now ready to use! However (and this is a big however), don’t pour it directly on your plants. This stuff is strong! You’ll want to dilute it—usually you’ll aim for 1 part tea to 10 parts water.
Compost tea can be added to a spray bottle for misting foliage. You’ll want to strain the tea first or else it’ll clog up your spray nozzle. And you’ll also need to dilute the tea even further—closer to 1 part tea to 20 parts water.
In-Ground Composting
Also known as Pit composting or Dig-and-Drop composting, this is a great option for amending the soil in your yard!
I have a lot of very tough, clay soil in my area and I’ve been using in-ground composting to help soften and improve part of my yard for a future vegetable garden. It’s a very simple way to compost, though I can’t say it’s effortless.
Materials
Really all you need for this style of composting is a shovel. However, depending on how you’d like to approach in-ground composting, a bucket may also be needed.
Location
In your garden, near your plants or where you’d like to plant seedlings.
What to compost
I’ve seen the most debate around what you can compost when it comes to the in-ground method. Generally, everyone agrees that fruit and vegetable scraps are safe, and that’s what I’ve been using. When I have some old leaves or wood chips available, I also add those in.
Beginning your pile
I’ll cover 3 methods here. Each has their own benefit, so take a look at each and think about what suits your yard best.
Single hole method: Collect a small amount of kitchen scraps (1 gallon or less). Dig a hole in your garden in a space where you won’t disturb the roots of your plants. You’ll want the hole to be at least 12in deep (which can be tough if you live somewhere with hard soil). Add your scraps to the hole and cover it up. You’ll want your scraps to have at least 8in of soil on top of them to prevent pests or pets from digging them up. As you go, mark where you last buried scraps so that you don’t accidentally dig up your compost before it’s done.
Trench method: This method is best for people with large vegetable gardens. Next to your plants (or where you’ll start seeds/seedlings), dig a long trench. Again, you’ll want it about 12in deep. Add your collected scraps to the trench and fill it back in with 8in of dirt. Some seedlings won’t do well next to a compost trench, so do your research before planting next to one.
Bucket method: While a bit over-engineered, this method does require a bit less digging. Take a bucket and knock the bottom out of it. Drill several large holes in the side. Now dig a hole in your garden big enough to fit the bucket. Sink the bucket into the hole and loosely cover it with a lid. As you create kitchen scraps, add them to the bucket (making sure to keep a rock on the lid to discourage curious animals). When the bucket has less than 8in of space left in it from the top, slide the bucket out of the hole and fill it in. Create a new hole and bury the bucket again.
Harvesting your compost
In this method, the compost is created right where it needs to be. So you don’t have to harvest anything!
Composting Resources
Composting can feel overwhelming when you first get started. But in addition to many wonderful getting-started guides, there are a few other resources out there to help you keep going!
Several websites offer excellent in-depth advice on how to troubleshoot issues with your compost heaps.
Additionally, if you’re finding yourself low on browns to add to your pile, check-in with your local arborists. Many will offer mulch and/or wood chips for free as a way to save money on dump runs. But be prepared for a literal truck-load of material!
And if you’ve read this far and still feel like composting is out of your reach, that’s ok! More and more communities are starting up local co-ops that allow neighbors to submit kitchen scraps to a common composting group. Some charge an upfront fee or a subscription, but many are free. Alternatively, ask the neighbors on your street if anyone has a compost heap you can contribute to.
The composting community is very active online and a great resource to check-in with whenever you’re feeling lost or confused.


I’ve been at my new property for just a little over a year now and this is the most successful composting I have done since 1999! I bought new worms twice because I thought the first ones escaped the bucket I started to compost in. I found a deep bathtub under the boat-port and dragged that out to make more compost under my carport. It turned out all my worms must have survived or laid a lot of eggs because now I see piles of them like in your photo when I dig down to bury more compost! I’m hoping to find more discarded bathtubs or other similarly large items to start more because in Florida I have learned large containers are superb for growing food in. It keeps the worms in and the nutrients don’t wash down into the soil and disappear.