Affiliate disclosure: This post may contain affiliate links. Please see our Privacy Policy.
Guanciale is a traditional Italian recipe for home-cured pork jowl. It’s essential for many Italian dishes, like Pasta Carbonara. Believe it or not, this simple curing recipe is perfect for beginners and straightforward to make with just a few simple ingredients.
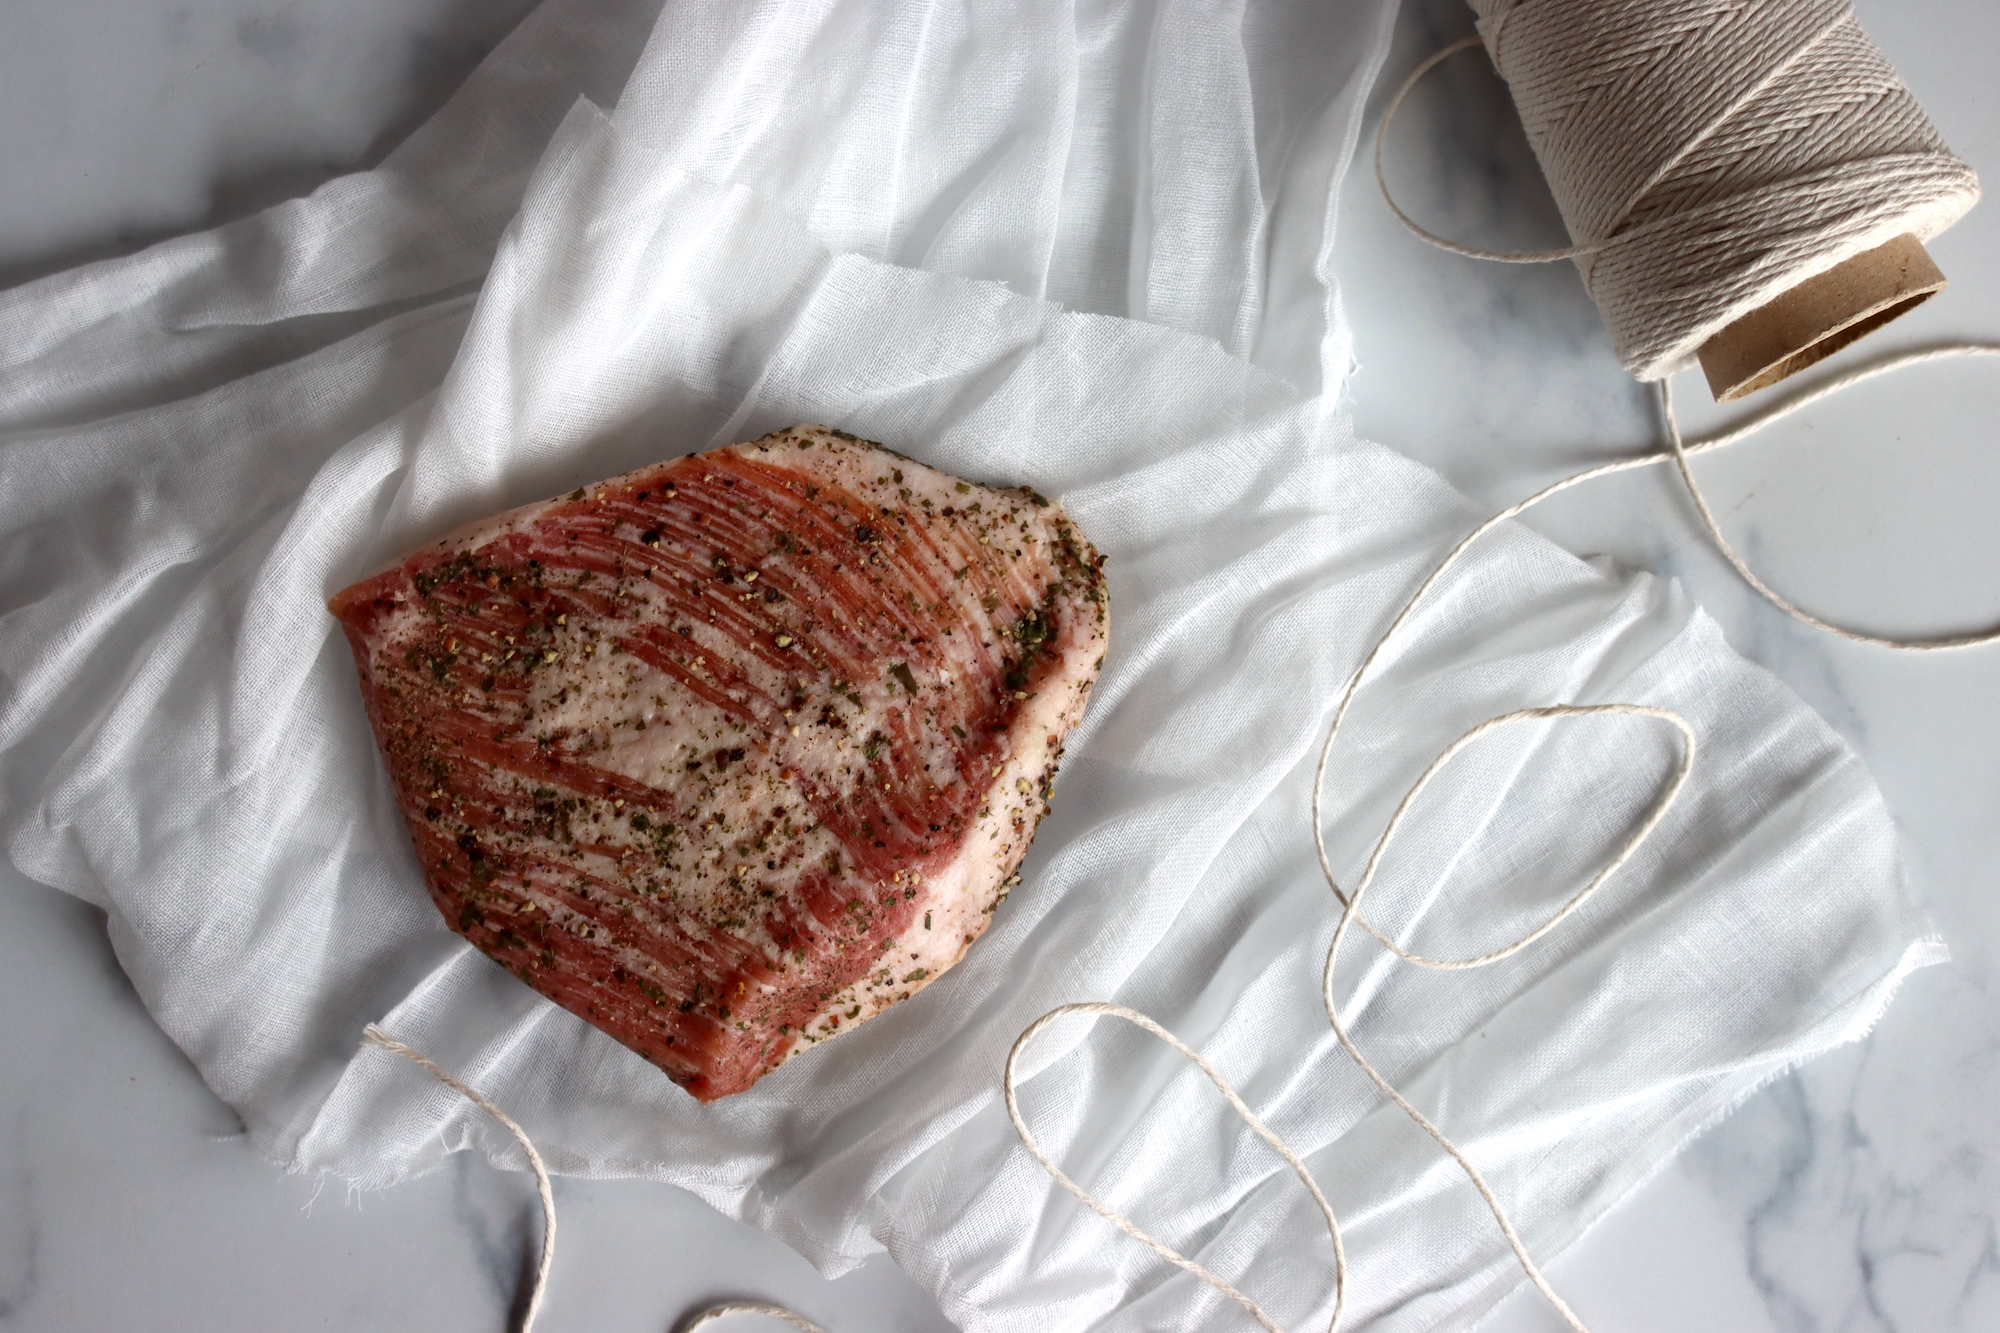
Guanciale sounds fancy, but it’s easy to make at home. The recipe calls for a straightforward brine with a few basic spices. You will need to let it cure over a long period, but it’s still much less physically demanding than making sausage or some of our other meat preservation recipes.
However, it still takes work. To make good guanciale, you’ll need to create conditions for good bacteria to flourish while suppressing bad bacteria. It’s important to follow the recipe carefully and monitor your meat as it cures.
Thankfully, with quality meat, salt, seasoning, and a bit of patience and care, you can create delicious guanciale at home, even if this is your first time curing pork.
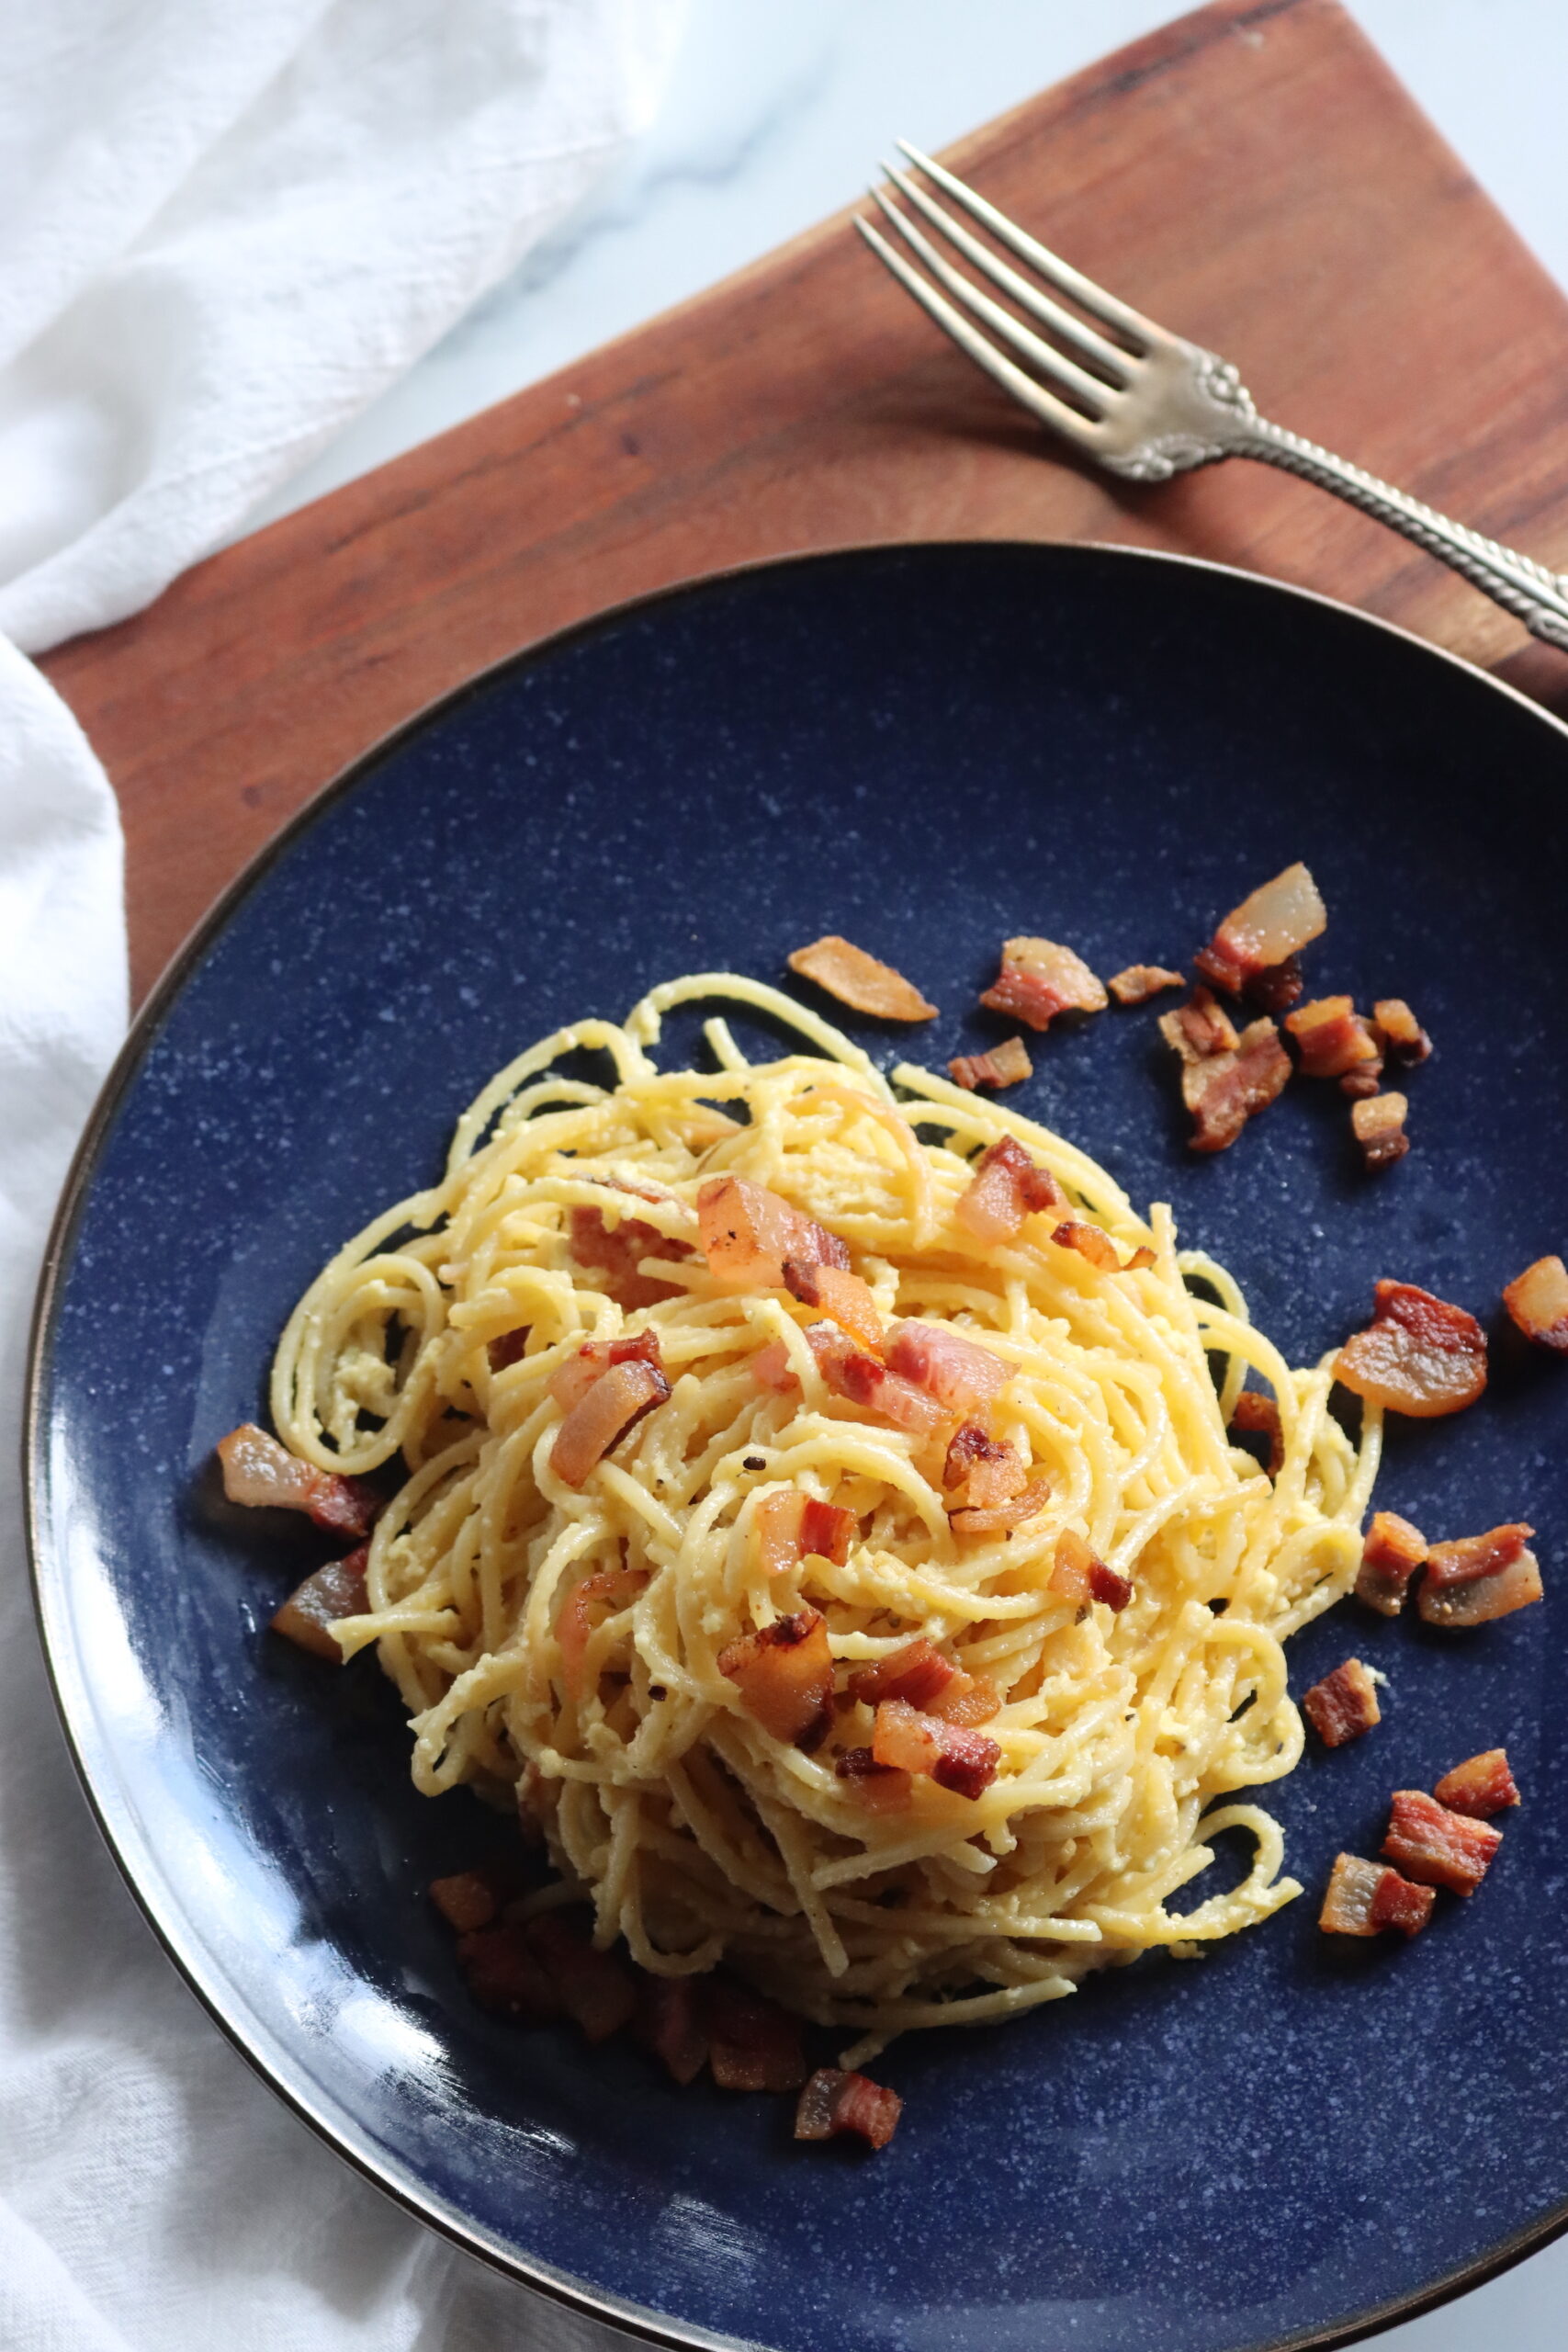
And then, you’ll have my favorite hard-to-find ingredient for a truly Authentic Italian Pasta Carbonara!
What is Guanciale?
Guanciale is cured pork jowl. First the jowl is trimmed and then left to cure in salt and seasoning for one week. Then it’s hung to dry for a week to several months.
The finished meat is rich and velvety with a distinct pork flavor that’s stronger than other cured meats like pancetta.
It’s delicious on its own, but is a specialty in Italian pasta dishes like bucatini all’amatriciana and spaghetti alla carbonara. The fat melts off the meat and adds delicious flavor and silky texture to the sauce.
Other cultures make cured pork jowl. In the United States, particularly in the Southeast, some people still smoke and cure pork jowl. It’s sometimes referred to as jowl bacon or joe bacon and is a common ingredient in beans and black-eyed peas, adding a lot of flavor to a warm, cheap, filling meal.
Guanciale differs from American jowl bacon in that it’s cured but not smoked. Its unique flavor has become a symbol of Italian cuisine.
In Rome, some cooks stick with the basics, curing guanciale with just salt and ground black pepper. But like any recipe, cooks add their own personal touch. Some people season guanciale with minced garlic, rosemary, sage, peperoncino, or oregano.
Ingredients for Guanciale
When making guanciale, the meat is cured in a flavorful mix of salt and spices. The total amount depends on the weight of your pork jowl, but for a 1 kg (1000 g or 2.2 lb) piece of meat, you’ll need the following:
- 100% Pork Jowl (1000 grams or 2.2 lbs, for this example)
- 30% fine sea salt (30g or about 1 TBS plus 1 ¼ tsp)
- 3 cloves garlic cloves (minced)
- 28 g or 4 TBS coarsely ground black pepper
- 1 tsp crushed, dried rosemary
- 1 tsp crushed, dried sage
- 1 ½ cups of dry white wine
The most important ingredient for this recipe, and also the hardest to find, is the meat.
Pork jowl isn’t widely popular in the United States, so it may take some work to find a good quality cut unless you raise and process your own pig at home. That’s one reason guanciale tends to be expensive.
I recommend you avoid factory farmed cuts from the supermarket. I’ve found their results lackluster.
If it’s available to you, I suggest finding a local farm or market offering meat from heritage breed pigs. Older breeds have much more fat, marbling, and flavor, making them the perfect choice for home curing.
Especially if you’re harvesting your own pigs, guanciale is a wonderful way to turn a cut that’s often overlooked by modern food cultures. There are many people who wouldn’t consider eating a cut from a pig’s face, but it turns out delicious and is such a great way to eliminate waste.
If you’re working with homegrown pork, you’ll need to remove the glands and trim the cut. Remove any excess fat and meat so that you’re left with about 2.2 pounds.
If you’re purchasing from a local market, a butcher will typically trim the meat for you if you ask.
(Even after trimming, pork jowl is a fatty cut. This lends guanciale its silky texture and incredible flavor.)
Once you’ve got the meat, the other ingredients are fairly simple. All you need is sea salt and seasoning. If desired, you can also use pink curing salt, which we will discuss below.
The amount of sea salt you use should be about 3% of the weight of the trimmed pork jowl. The exact seasonings you use are up to you. I’ve adapted this recipe from Salumi: The Craft of Italian Dry Curing, and I like to use fresh garlic, black pepper, rosemary, sage, and white wine.
Some recipes call for very little seasoning, often just black pepper, which can allow the “porkiness” of the jowl to shine through. When selecting seasonings, consider what dishes you will use your finished guanciale to make.
Do You Need Nitrites for Guanciale?
Currently, the accepted standard for curing meat at home is that whole muscle cuts, including pork jowl, don’t require nitrites or ‘pink curing salt’ as long as they are prepared as simple dry cures, meaning that they are not smoked. Guanciale is a dry-cured whole muscle cut, meaning it is safe to cure without added nitrites.
You can find further details on curing salts on my post on making pancetta. This great YouTube video also provides everything you need to know about when curing salts are necessary.
However, it’s perfectly acceptable to add pink curing salt if desired. Many people use them for food safety. Their job is to make it even harder for bacteria to grow, but they also affect flavor, texture, color, and other aspects. If you prefer meat cured with it, it’s fine to use it for this recipe. It will give your guanciale a more bacon-like flavor.
If you decide to add pink curing salt to your guanciale, purchase Instacure #2 (not Instacure #1). Instacure #2 is suitable for dry-cured meats like guanciale that need to hang to dry or cure over a long period.
I don’t use curing salt for my guanciale and love the way it turns out. Even without the added curing salt, it still comes out pink, flavorful, and rich.
How to Make Guanciale
Unless your butcher has already done this for you, start by trimming your pork jowl. It’s essential to remove the glands, as their flavor will taint the meat and ruin your whole cut! You should also aim to have the pork jowl be an even thickness all the way through. Remove any scraps, hanging bits of meat and fat, or thin sections.
Weigh your trimmed pork jowl.
A whole, trimmed pork jowl is typically around 2 pounds, though it can vary.
While pork jowl isn’t the biggest cut, it’s one of the best. It’s delicious for slicing, and when thin, the fat literally melts in your mouth. It also adds incredible depth and savory flavor to any dish.
As the meat cures, it loses moisture and, therefore, weight. By the time your guanciale is finished, it will have lost 20 to 30% of its original weight.
The measurements in this recipe are going to be listed for 1000 grams of meat (or a 2.2 pound pork jowl). The other ingredients are a percentage of the weight. 1000 grams makes for easy math, but you may need to adjust the recipe to fit your cut.
For the cure, you’ll need:
- 100% Pork Jowl (1000 grams or 2.2 lbs, for this example)
- 30% fine sea salt (30g or about 1 TBS plus 1 ¼ tsp)
- 3 cloves garlic cloves (minced)
- 28 g or 4 TBS coarsely ground black pepper
- 1 tsp crushed, dried rosemary
- 1 tsp crushed, dried sage
- 1 ½ cups of dry white wine
Weighing the salt for this recipe and getting the percentage correct is important. You need at least 3% salt to make guanciale safely. Use a kitchen scale with accurate gram measurements like this one. 30 grams of sea salt is roughly 1 tablespoon and 1 ¼ teaspoon.
Salt varies in volume greatly, depending on how it’s ground. Getting the amount of salt correct for guanciale and other dry cures is critical to the final product. However, you can safely use rough approximations for the other seasons. They’re there for flavor, not for preventing bacteria growth.
Some people like to add more than the recommended amount of salt. This is perfectly safe as well, but leads to a very salty final product. Over-salted guanciale is suitable for adding in small amounts to flavor other dishes, but won’t be enjoyable on its own or in large amounts.
Set your trimmed pork jowl on a cutting board and mix your salt and seasoning, including the garlic, pepper, sage, and rosemary.
If you’re working with curing salt, wear gloves for this process each time you handle the curing mixture or meat.
Sprinkle this mixture all over the jowl and rub it in well. Then place the salted jowl into a Ziploc freezer bag, dumping any additional salt mixture in with it. Press all the air out of the bag and seal it.
Place your bag in a baking tray and set in the fridge for one week. During this period, turn your bag over once a day, massaging the meat a bit each time you do.
After about one week, your pork jowl should be cured. It should feel uniformly firm throughout the entire cut.
Pour the wine into a non-reactive baking dish like glass. Remove the pork jowl from the bag and brush off as much of the curing mixture as possible before submerging it in the wine. The wine will help rinse off more excess salt. Then you can transfer your pork jowl to a clean cutting board.
Now you’ll need to dry age the meat. This is a critical step. During this period, the meat will lose weight and change in texture and flavor. The meat isn’t just drying out during this process like you would dehydrate beef jerky. It’s actually fermenting, similar to yogurt or sauerkraut. There are “good” microbes in the meat, just like the probiotics in yogurt.
These microbes thrive in relatively high humidity, between 65 and 80%. This high level of humidity also helps prevent the meat from losing too much weight or becoming dry and tough.
You also want to keep the meat cool during this period. Ideally, between 50 to 60°F (or 10 to 14° C). Lower temperatures are also perfectly acceptable as long as the meat doesn’t freeze, but below about 50°F, the meat will take longer to cure.
Traditionally, many folks would have had a specific area, like a moist cellar where they cured meat. Today, many people opt to cure their meat in the refrigerator.
Modern refrigerators are generally between 37 and 39°F, which is fine for dry aging. Unfortunately, they also are very low in humidity as they are designed to be “frost-free.”
Thankfully, these days you can purchase specialized wraps for the meat that regulate humidity, keeping the meat moist enough even in a refrigerator.
I don’t have a “frost-free” refrigerator. As I live completely off-grid, relying on a solar system, I rely on off-grid appliances, including an unusual DC refrigerator. I also have a basement that stays around 58°F. Unfortunately, its humidity varies widely and sometimes drops as low as 40%.
To regulate the humidity, I use Dry Curing Wraps from The Sausage Maker.
To use the wraps, just slightly dampen the meat and then wrap it on all sides with the dry curing or similar cellulose-based wraps. The wraps will keep the meat at the correct humidity regardless of ambient conditions, whether you’re curing in the refrigerator or a cool basement like me.
If you have a space where you can regulate the humidity, keeping it between 60 and 80%, you can skip the wraps entirely. Some folks also skip the wraps with lower humidity, but this can lead to your guanciale drying out too quickly.
If you’re not using a wrap, use a sharp paring knife to cut a hole into the corner of the jowl about once inch from the edge. It doesn’t have to be huge. Thread a clean length of kitchen twine through the hole and knot it where it meets the pork. Tie the ends together to form a loop for hanging.
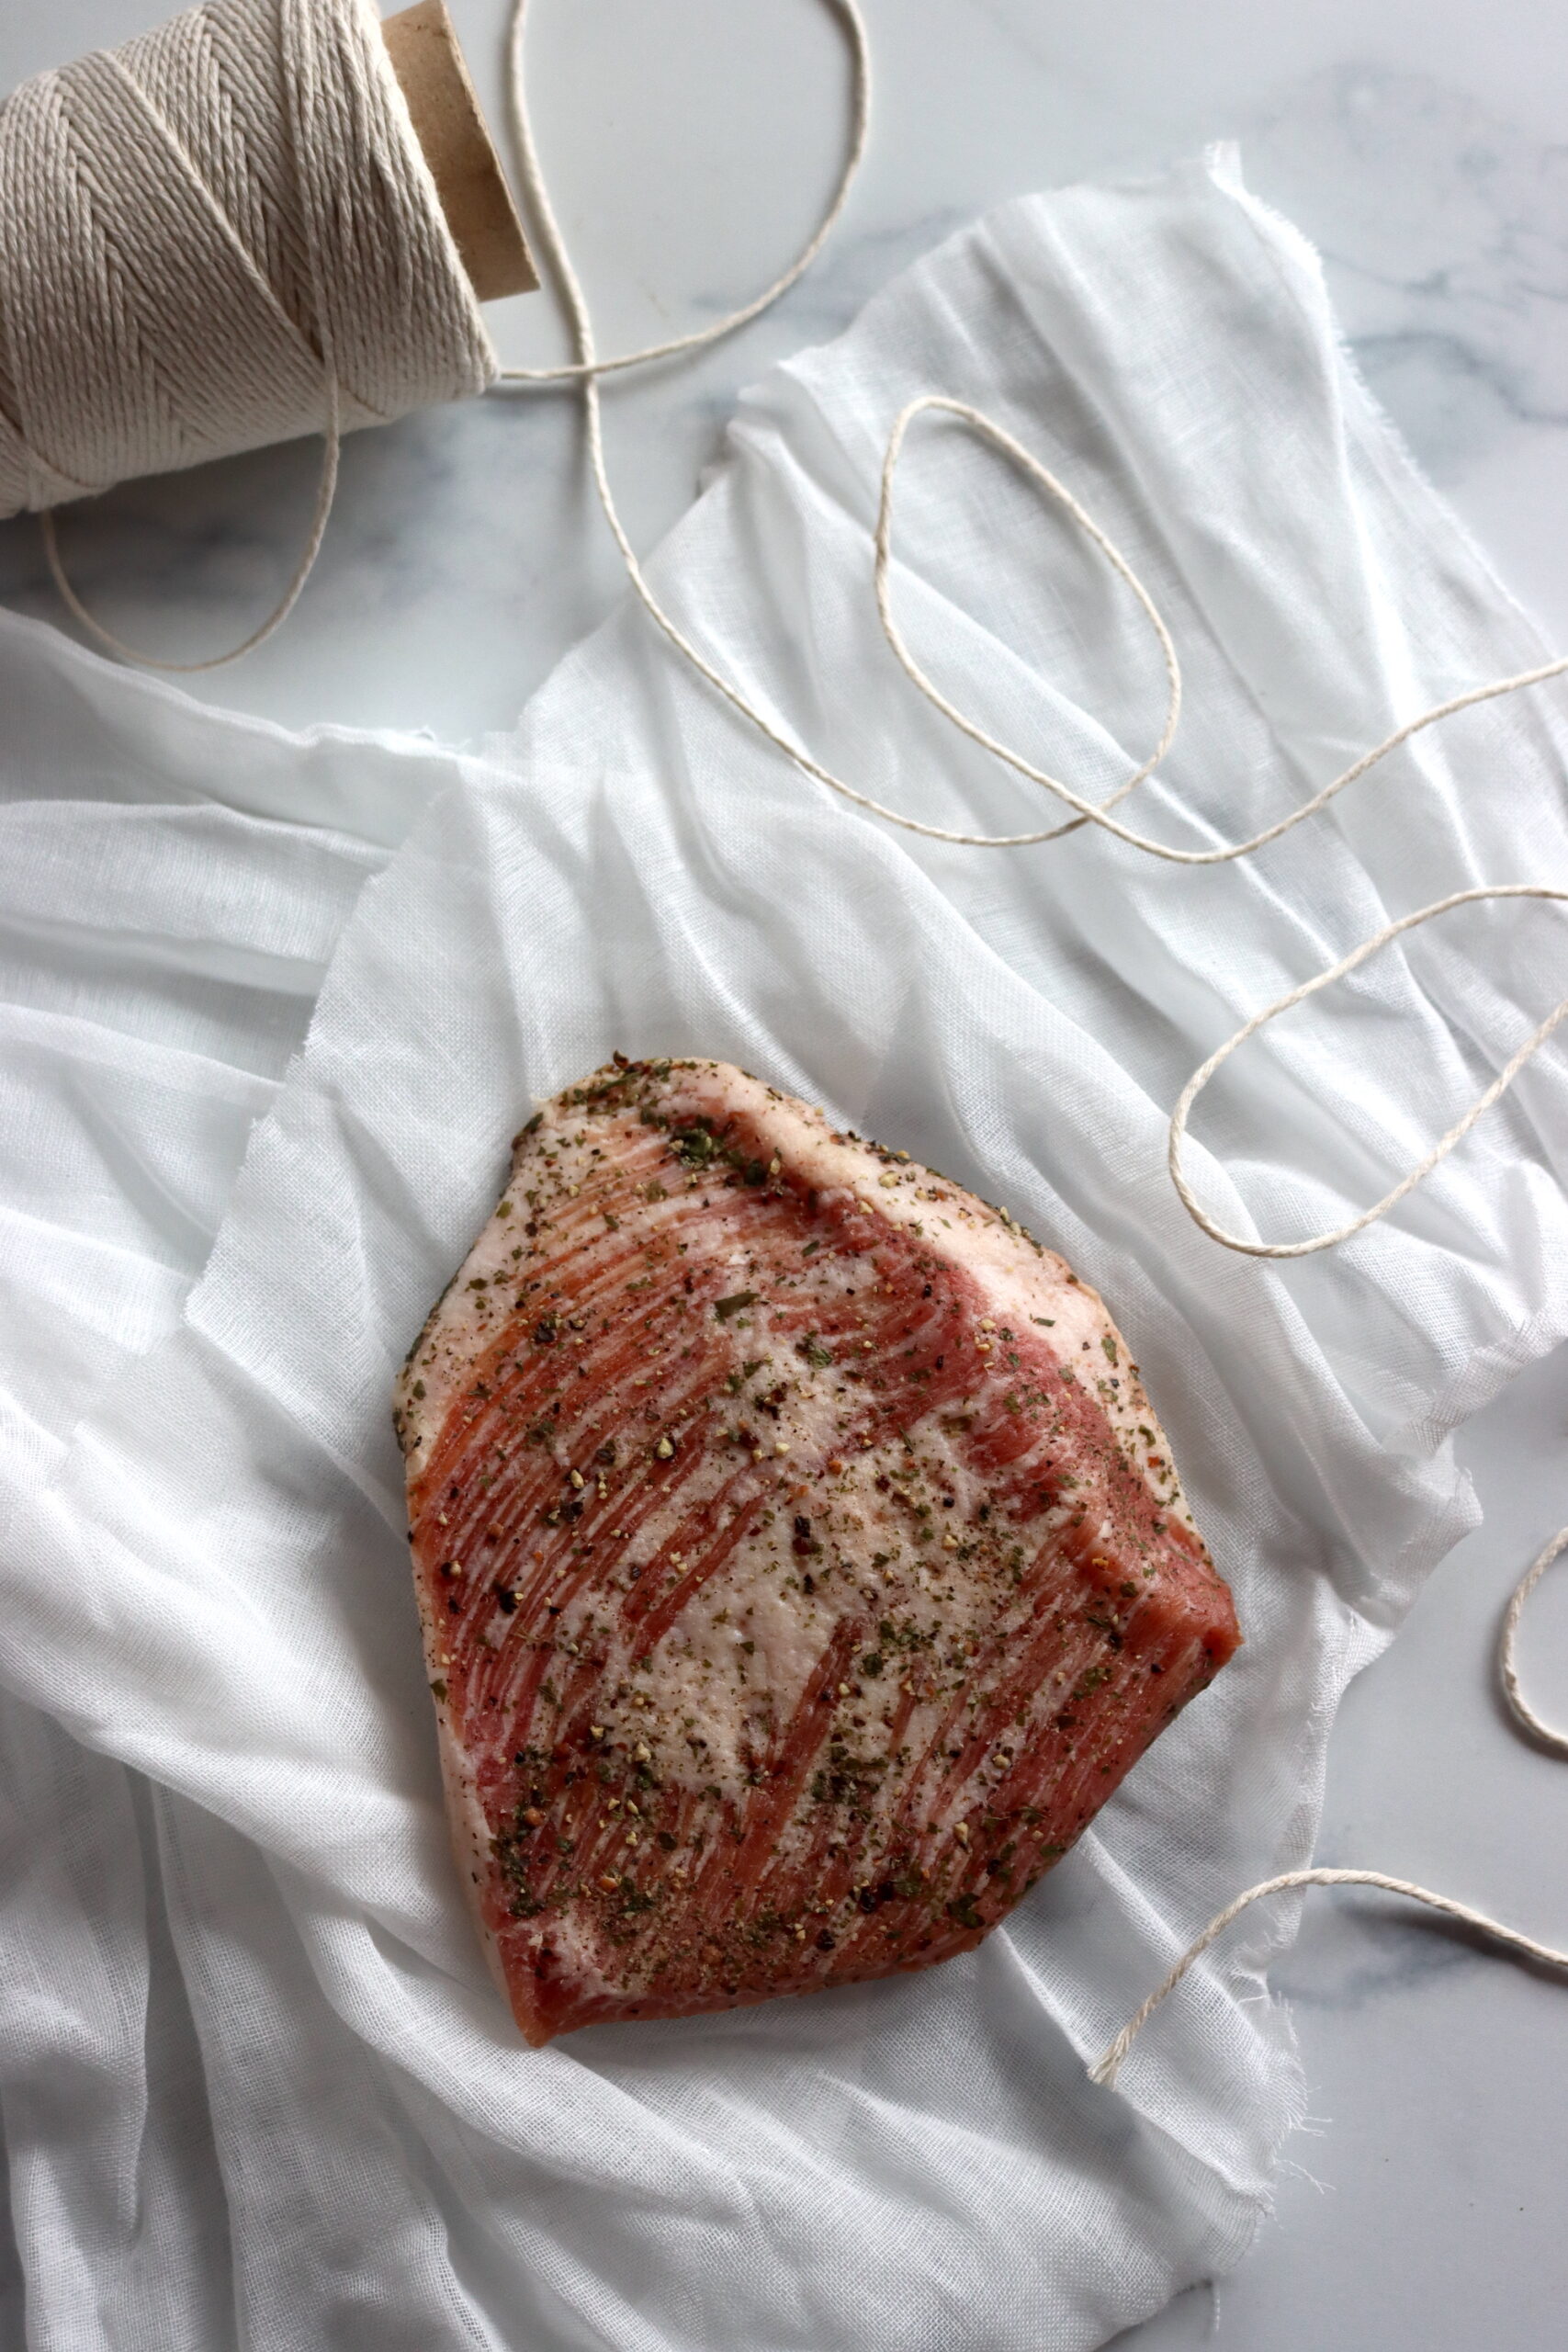
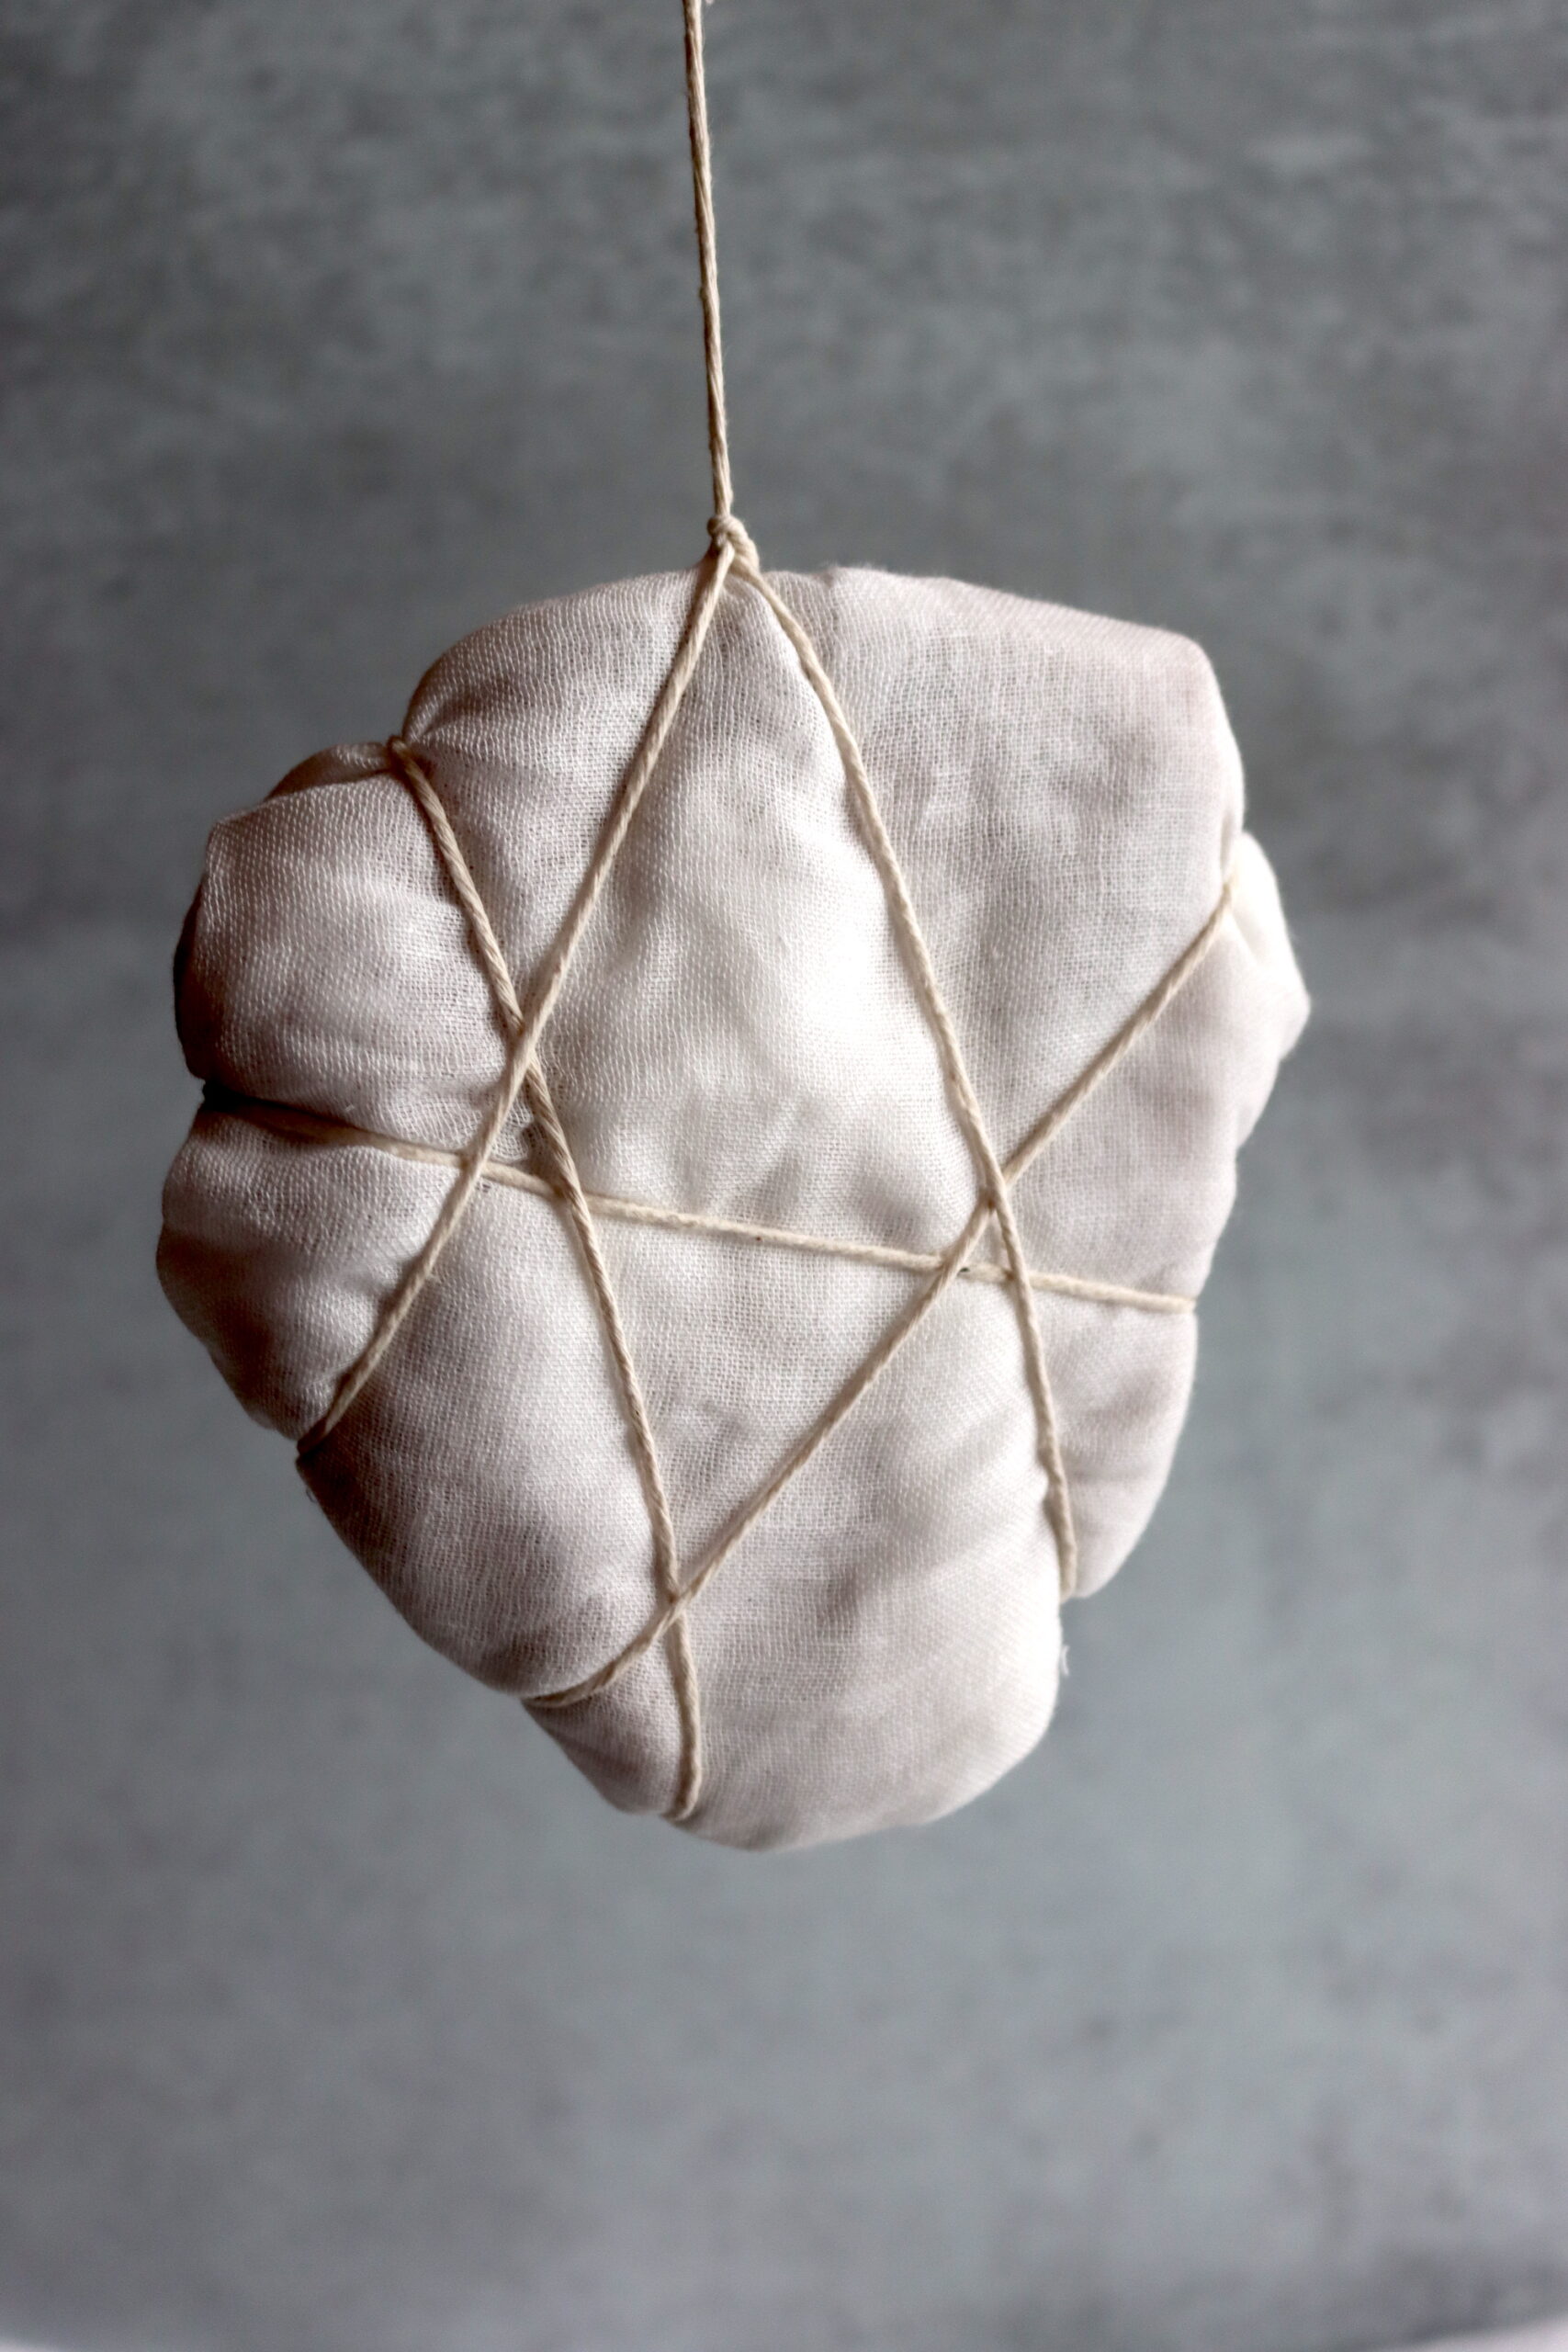
If you’re using a wrap, you’ll need to truss the jowl with butchers twine to hang it. Trussing is a way to lace the meat with twine. I like to wrap it with cheesecloth before trussing, as that keeps everything clean.
If you don’t have a place to hang the meat in your fridge, skip the twine. Instead, place the meat on a wire rack or grate with a tray underneath, like this one. It’s essential that there is air circulation on all sides of the jowl. Don’t leave it sitting on something solid. Turn the jowl over every couple of days while it’s in the fridge.
Weigh the pork jowl and write the weight somewhere you won’t lose it. You’ll need to know this later!
The dry age, hanging time for your guanciale will vary with temperature and humidity. Generally, it takes three to five weeks. You want the meat to lose 20 to 30% of its weight. (That’s why the weight from day one is critical.)
In a spot with high humidity, or in a cold refrigerator, this process can take even longer. While it means you might need a bit more patience, it can lead to a more flavorful final product. Some cooks like to keep their humidity at the top end around 80% for a slower, more flavorful cure.
Once the meat reaches 20 to 30% of its original weight, it’s ready to eat. It will be considerably smaller at this point. If you’re using a wrap, you shouldn’t have to adjust it. It will shrink as the meat does.
You can let the meat continue to dry at this point, but I wouldn’t let it go too much longer. You want it to remain sliceable and slightly moist for best eating.
Remove the twine and dry age wrap if you used one. If you have trouble with the wrap, wrap the whole thing in a damp towel for a minute, then it will be easy to remove.
Whether you’re enjoying it plain or cooking it, it’s best to cut guanciale thinly. Each cut should only be about 1cm thick. Cut long strips and then chop those up further, as needed for cooking. Ensure that each piece has fat and meat on it.
The fat on these thin strips will melt in your mouth when eaten as a charcuterie. They’ll also fry nicely with the fat melting when making dishes like pasta carbonara.
The garlic, sage, and rosemary in this guanciale create a classic savory flavor that pairs well with pasta dishes. But if you’re looking for a more neutral flavor for your own recipes, you can opt to just use black pepper.
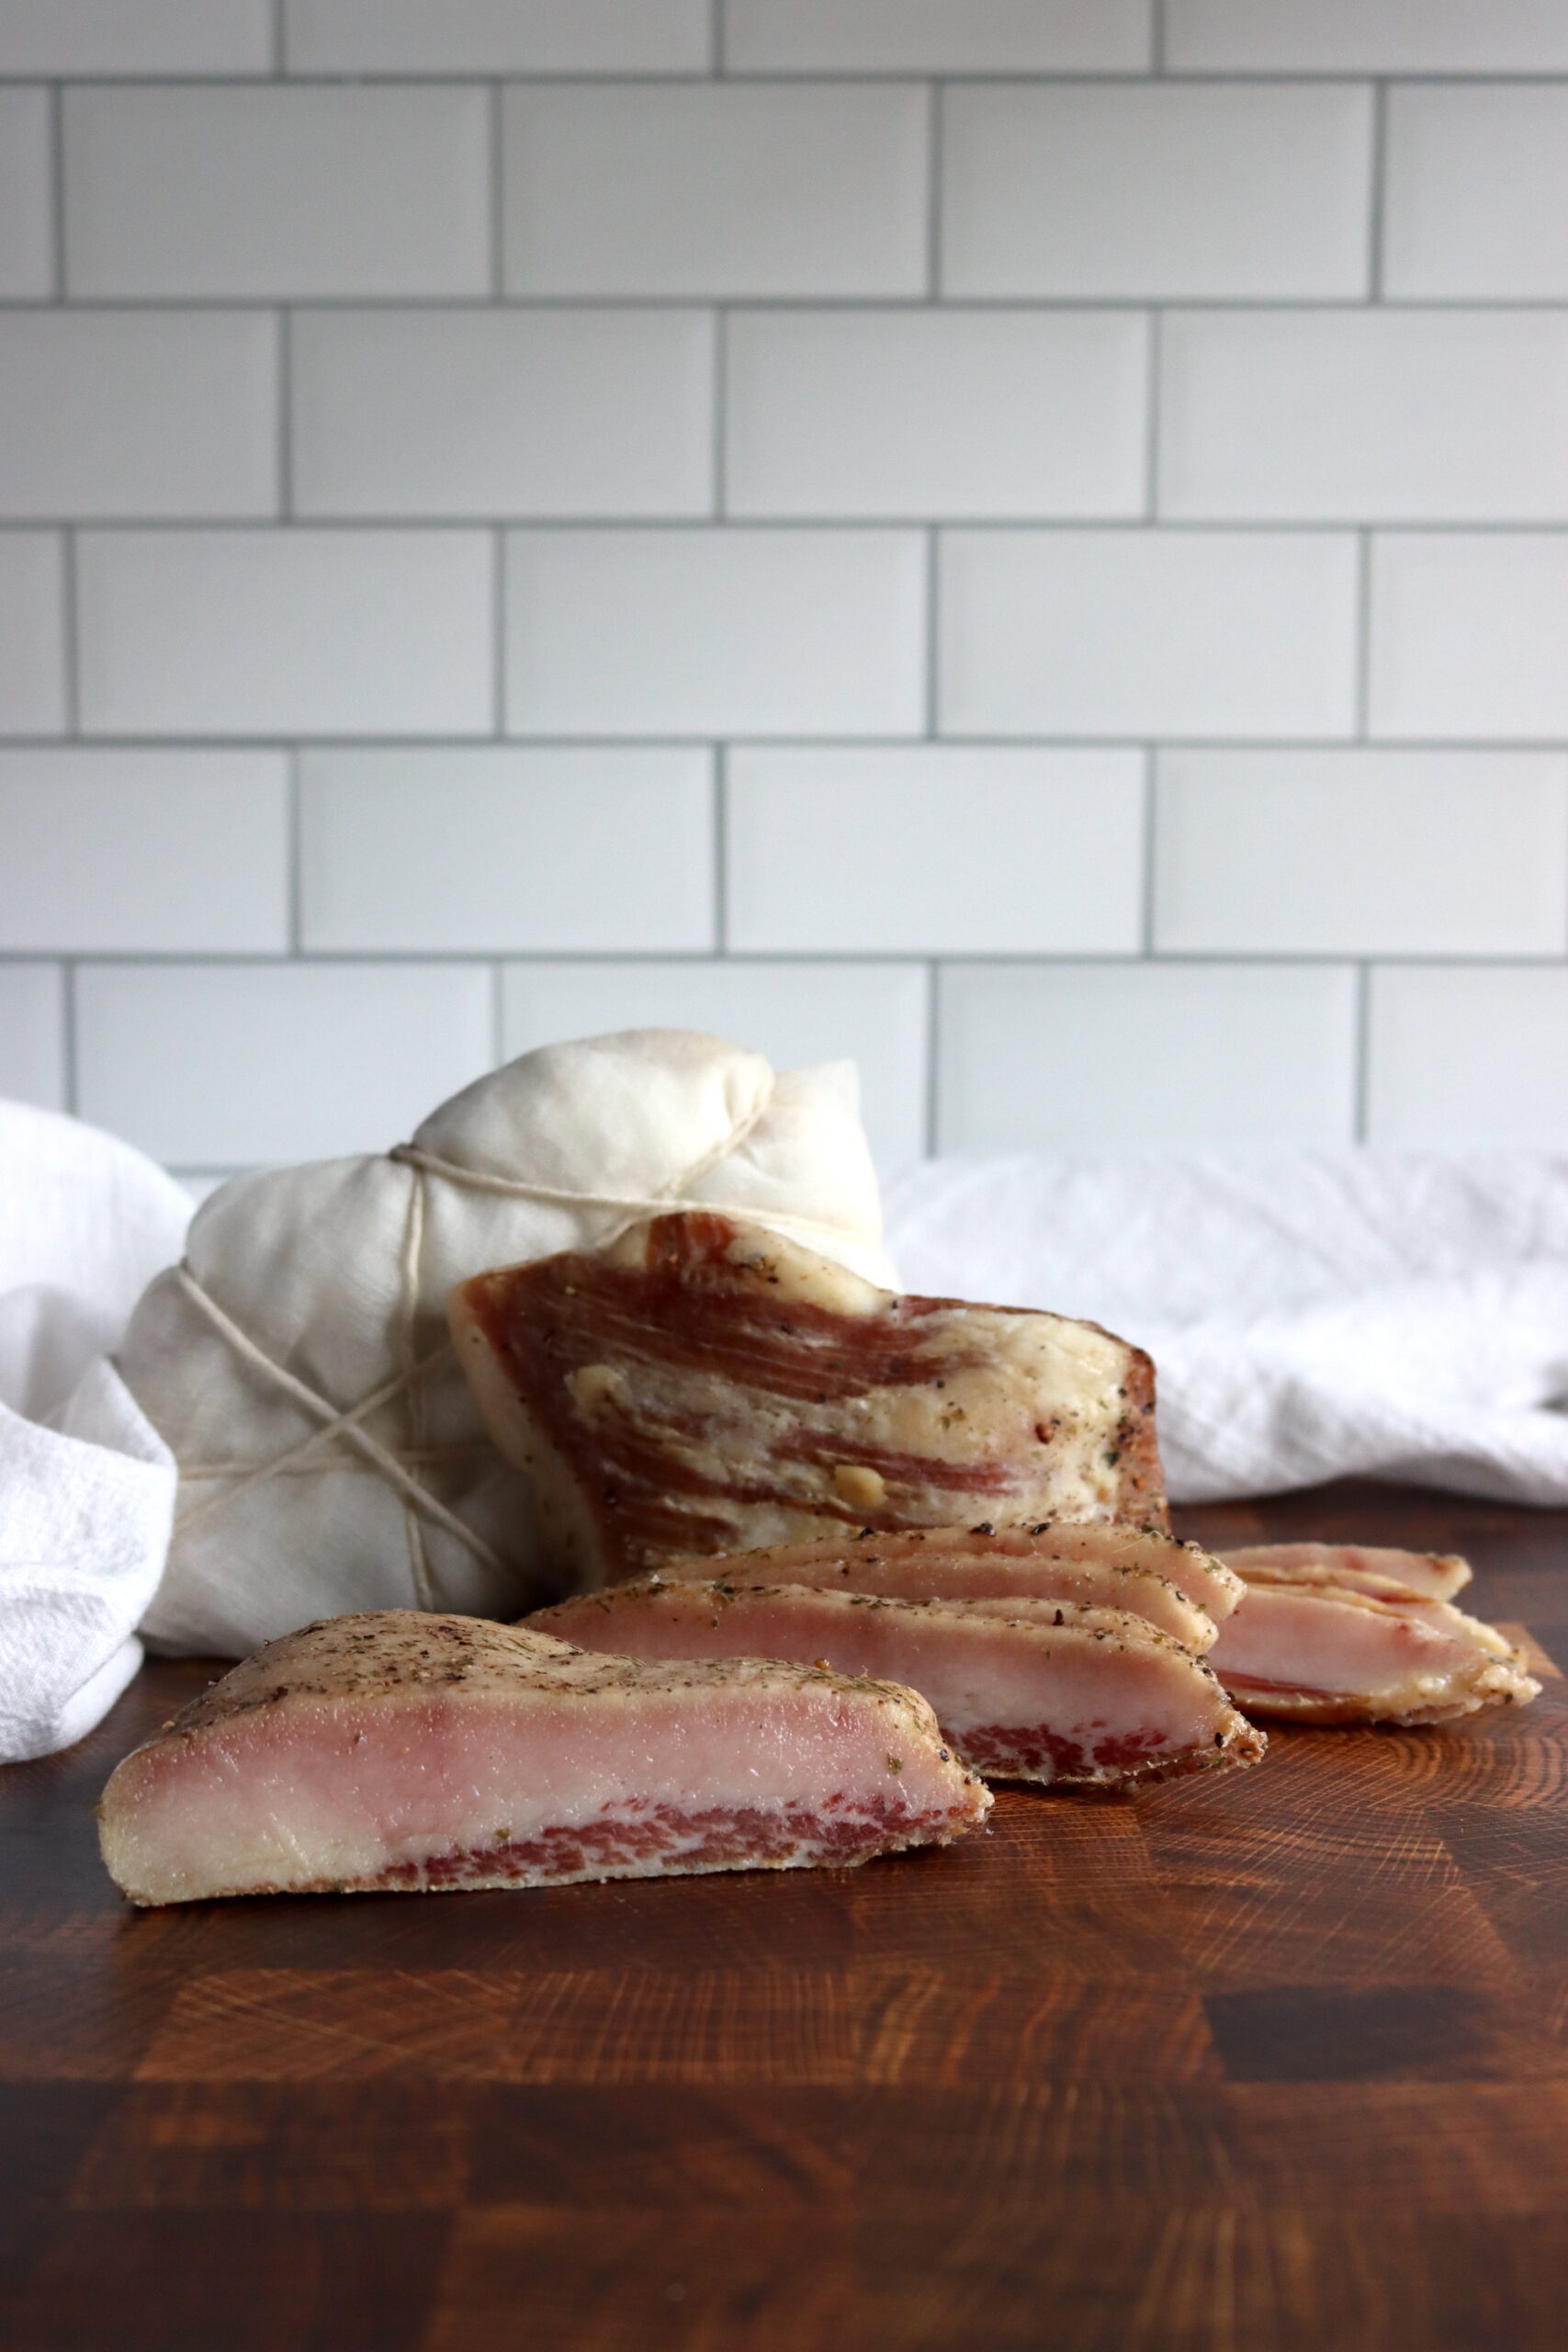
Storing Homemade Guanciale
To store your homemade guanciale, I recommend cutting it into 4 or 8 oz pieces.
Then you want to seal the pieces up to keep as much air out as possible. Sealing them well is essential because it prevents the guanciale from continuing to dry out.
If you have a vacuum sealer, seal each piece separately. If not, wrap them each in plastic wrap as tightly as possible and then put each in a Ziploc.
Sealed this way, you can store the guanciale in the freezer for up to one year. Once you open a piece and begin cutting and handling it, you can store it in the refrigerator for up to one week.
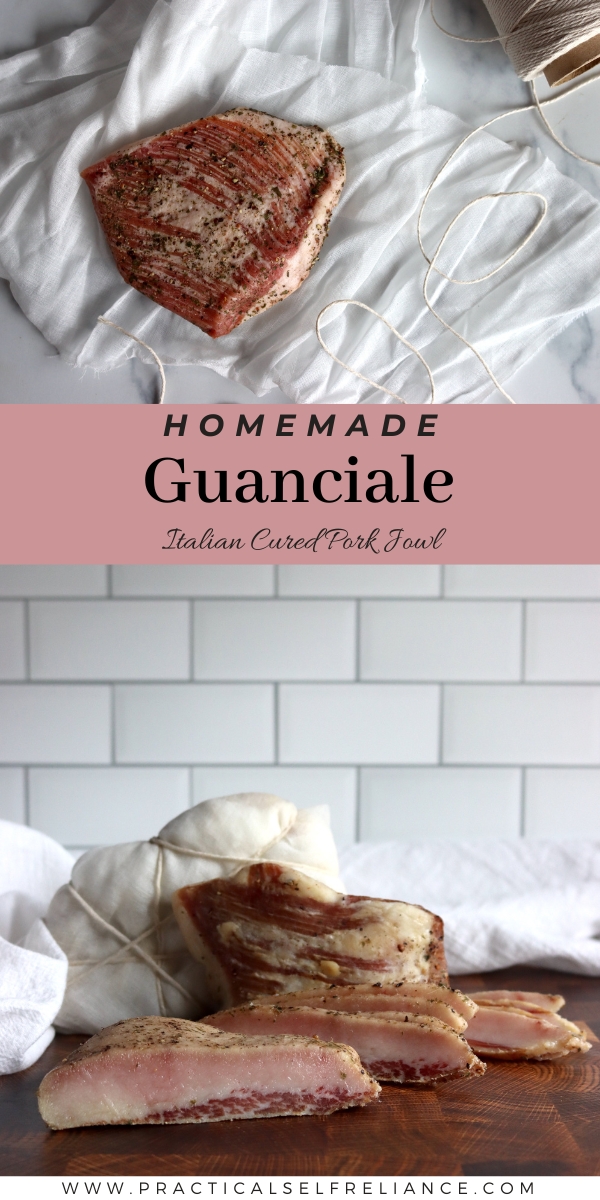
Guanciale (Italian Cured Pork Jowl)
Ingredients
- 1000 g Pork Jowl, 100%, 1000g or 2.2lbs for this example
- 30 g Fine Sea Salt, 3% weight of meat, 30g, about 1 TBSP plus 1 ¼ tsp
- 3 Cloves Garlic Minced
- 28 g Coarsely Ground Black Pepper, about 4 TBSP
- 1 tsp Crushed, Dried Rosemary
- 1 tsp Crushed, Dried Sage
- 1 ½ Cups Dry White Wine
Instructions
- Quantities in this recipe are based on the weight of your fresh, trimmed pork jowl. Weigh everything to determine actual quantities. Do not approximate the amount of salt you need. It MUST be by weight. For reference, I’ve listed the recipe and ingredients for a 1000g (2.2 lbs) pork jowl. A trimmed pork jowl is typically around 2 pounds.
- Trim your pork jowl into a smooth, even section, removing the glands and any hanging pieces.
- Weigh the trimmed pork jowl.
- Calculate the salt and spices you need as a percentage of the total weight of the meat. The salt must be at least 3% of the weight of the meat. Slightly more is okay. Do not use less. (You can adjust the spices to your taste, but these are the percentages I have tested for good flavor in the finished product).
- Mix the salt and spices and rub the mixture thoroughly into the pork jowl. Place the coated jowl and any extra salt mixture into a Ziploc bag. Remove as much air as possible and seal it.
- Store the pork jowl in the refrigerator for about one week or until it’s cured. During this period, flip the bag each day and massage the jowl a bit each time. When the meat is cured, the texture will change and it will feel evenly firm across the whole cut. If you’re unsure, a longer cure is better than taking it out early.
- When cured, remove the pork jowl, shake off extra salt, and rinse it in the white wine to remove salt and seasoning.
- Weigh the pork jowl and note the weight (this is critical).
- If you’re using a charcuterie wrap to help control humidity, wrap the pork jowl on all sides at this stage. Then truss it to hang.
- If you’re not using a wrap, be sure you have a cool spot with 60 to 80% humidity. Cut a hole in the jowl and string it with a loop of butcher twine for hanging.
- Hang your pork jowl. It’s ideal if your jowl cures at 50 to 60°F but cooler temperatures like in your refrigerator are fine, it will just take longer to cure. If you’re using a refrigerator, ensure it gets good airflow on all sides by hanging it from a rack or setting it on a wire rack with a drip tray beneath. If the jowl is laying on a rack, turn it regularly. Do not set it on a solid surface. Do not cure in an area with temperatures over 60°F.
- Allow the pork jowl to cure for 3 to 5 weeks or until it has lost 20 to 30% of its initial weight, you recorded in step 7.
- Once cured, remove the charcuterie wrap (if necessary) and slice thinly (about 1 cm thick) to cook or serve.
- Vacuum seal or wrap tightly with a combination of plastic wrap and Ziplocs to store in the freezer for up to one year or the fridge for one week.
Notes
Nutrition
Nutrition information is automatically calculated, so should only be used as an approximation.
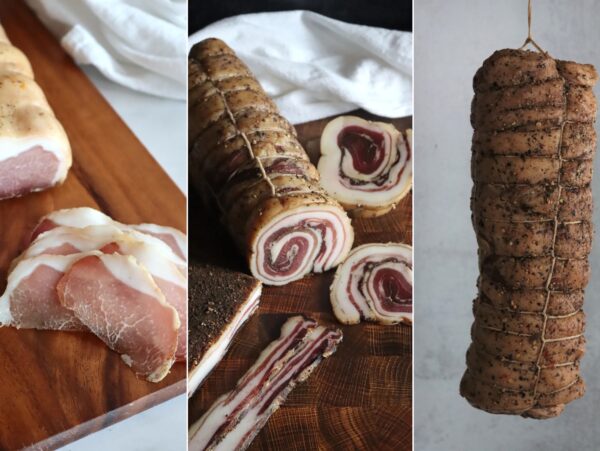
Home Charcuterie Projects
Looking for another home curing recipe?
Food Preservation Guides
Have other homestead products to preserve?
- How to Freeze Vegetables (A to Z Guide)
- Drying Herbs at Home
- 100+ Canning Recipes (How to Can Everything)
- Beginners Guide to Cheesemaking
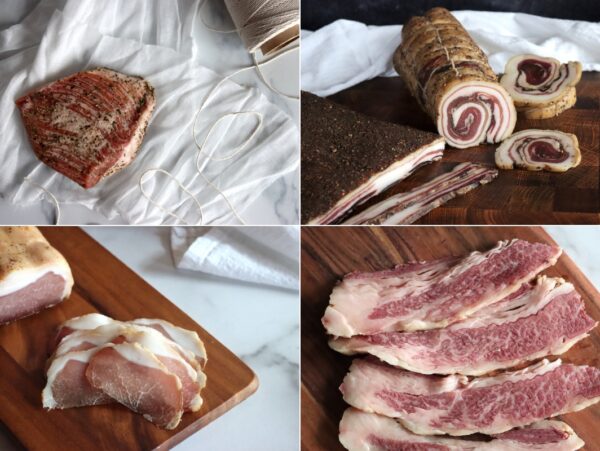

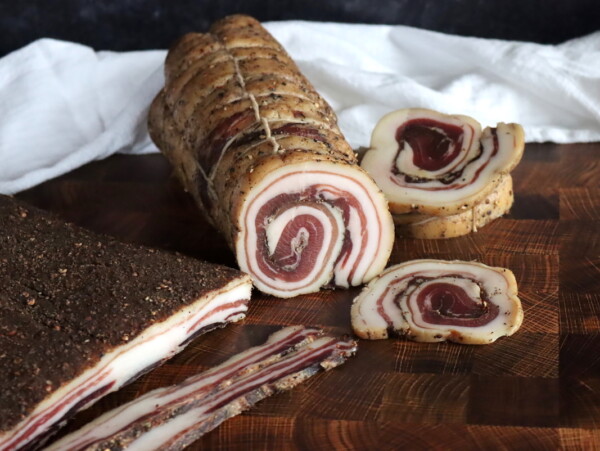


Is the scondary cure time, the 16 weeks or so,! be able to be done in a secondary fridge? Fridges run about 40 deg F. Will this affect the time for hanging and would a bowl of water be necessary in there as well?
Thanks.
Ideal conditions are 50 to 60 degrees so I would not recommend going below this. Anything below that really slows down the drying time which affects the water activity. I have heard of people using temperature controllers that run interference on the fridge’s thermostat. If you can find something like that, then it might work. You will still want to control the humidity to make sure that you are maintaining at least 55% humidity.
Can smoke it after curing ?
Yes, you can smoke it after curing if you prefer.
Should I drain off the liquid or is it okay? My jowl is leaking?
I have turned my jowl and it is now also several smaller jowl parts. I glopped some more cure onto the newly exposed parts, because that seemed like a good thing to do.
Hello fellow Vermonter!!
Do you refrigerate during the first 6 days?
Hey there! Yes, for the first curing portion it’s in the refrigerator.
Will I be able to let it hang in the refrigerator? My basement isn’t as cool as you suggest. If 50-60 degrees is ideal, what temperatures are acceptable? Thanks!
I did a bit of research on this for you, and as best I can find, up to 65 degrees F is acceptable.
Is curing something for 16 weeks without nitrate or nitrite safe?
Generally, whole muscle cures are fine without added nitrites, it’s ground meat and rolled meats that strictly require it. Panchetta is made without nitrites when cured flat, but when it’s made as pancetta arrolatta it must have added nitrites because you’re rolling the outside into the center. Prosciutto cures for a year or more without any nitrates, just salt, because it’s a whole muscle cure.
From a safety perspective, nitrites are added to prevent botulism contamination, which can happen when you take the outside of a muscle and roll it in on itself so that a surface potentially contaminated with spores is not inside in an anaerobic space. If the muscle is whole, there are not botulism spores inside it and the surface is not in an anaerobic space.
Adding nitrites will help the meat keep a nicer color (pink instead of turning brown) on whole muscle cuts. Nitrites are often avoided when the cut will be cooked, nitrites react badly to heat and since botulism toxin is destroyed by cooking anyway. Guanciale isn’t meant to be eaten raw, it’s a cooked meat, which is another reason I’m not adding nitrites.
That said, when curing meat, you’re responsible for your own safety and it’s all about your comfort level. If you feel better-adding nitrites, then by all means do so. Definitely don’t take my word for it, I always encourage people to do their own research especially when it comes to food safety.
Can I use a jowl without skin for this recipe? That’s how it can back from the butcher.
Yup, that’ll work just fine.