Affiliate disclosure: This post may contain affiliate links. Please see our Privacy Policy.
Dandelion mead is a bright floral honey wine that’s well worth the effort each spring. It’s a bit like old-fashioned dandelion wine, but with more body and character since honey always makes a better floral wine.
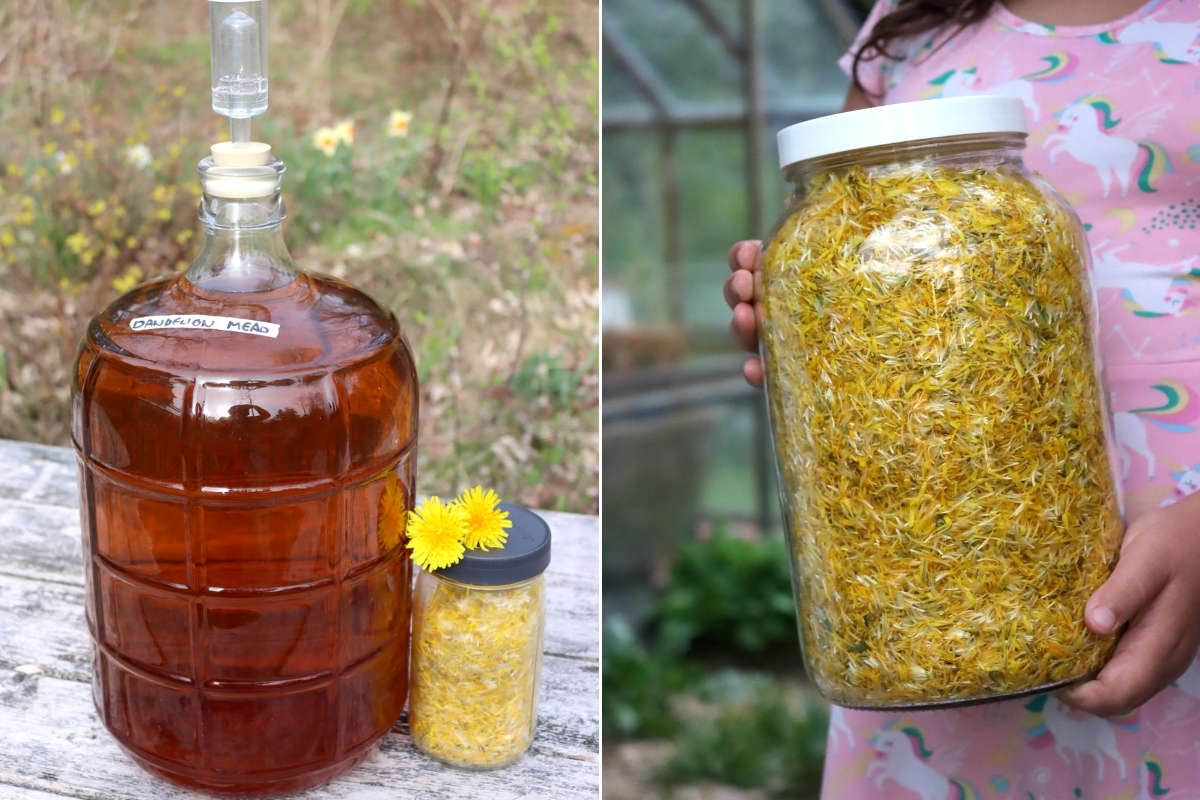
Table of Contents
- Harvesting Dandelions for Dandelion Mead
- Ingredients for Dandelion Mead
- Equipment for Dandelion Mead
- How to Make Dandelion Mead
- Add Yeast
- Primary Fermentation
- Racking
- Secondary Fermentation
- Tasting and Adjusting
- Tertiary Fermentation (optional)
- Bottling
- Floral Wine and Mead Recipes
- Dandelion Mead Recipe
- Dandelion Recipes
- Edible Flower Recipes
Dandelion mead is hands down my absolute favorite mead to make at home. The delicate floral flavor of dandelion petals combines with the honey to create a truly unforgettable mead.
Old-fashioned dandelion wine is well known in rural areas, especially in Appalachia, but it can be a bit thin and lacking in body. That’s because plain sugar feeds the yeast, rather than honey, and sugar wines often lack body. To counter this, winemakers often add all manner of additives…bananas, white grape juice, or honey.
But if you use honey from the start, and make a dandelion mead, which is more or less just a dandelion honey wine, the results are absolutely spectacular.
Harvesting Dandelions for Dandelion Mead
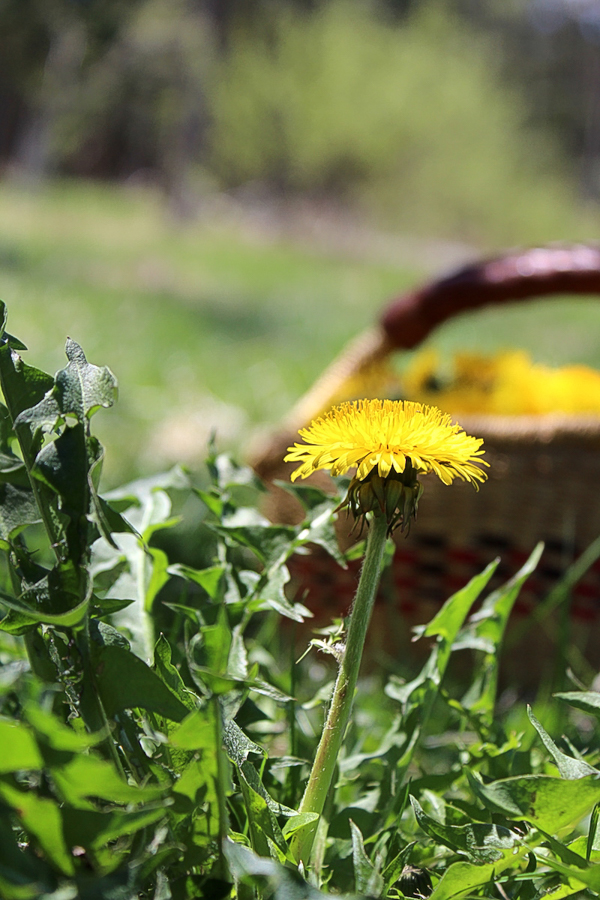
The hardest part about making dandelion mead is harvesting and cleaning the dandelion flowers themselves.
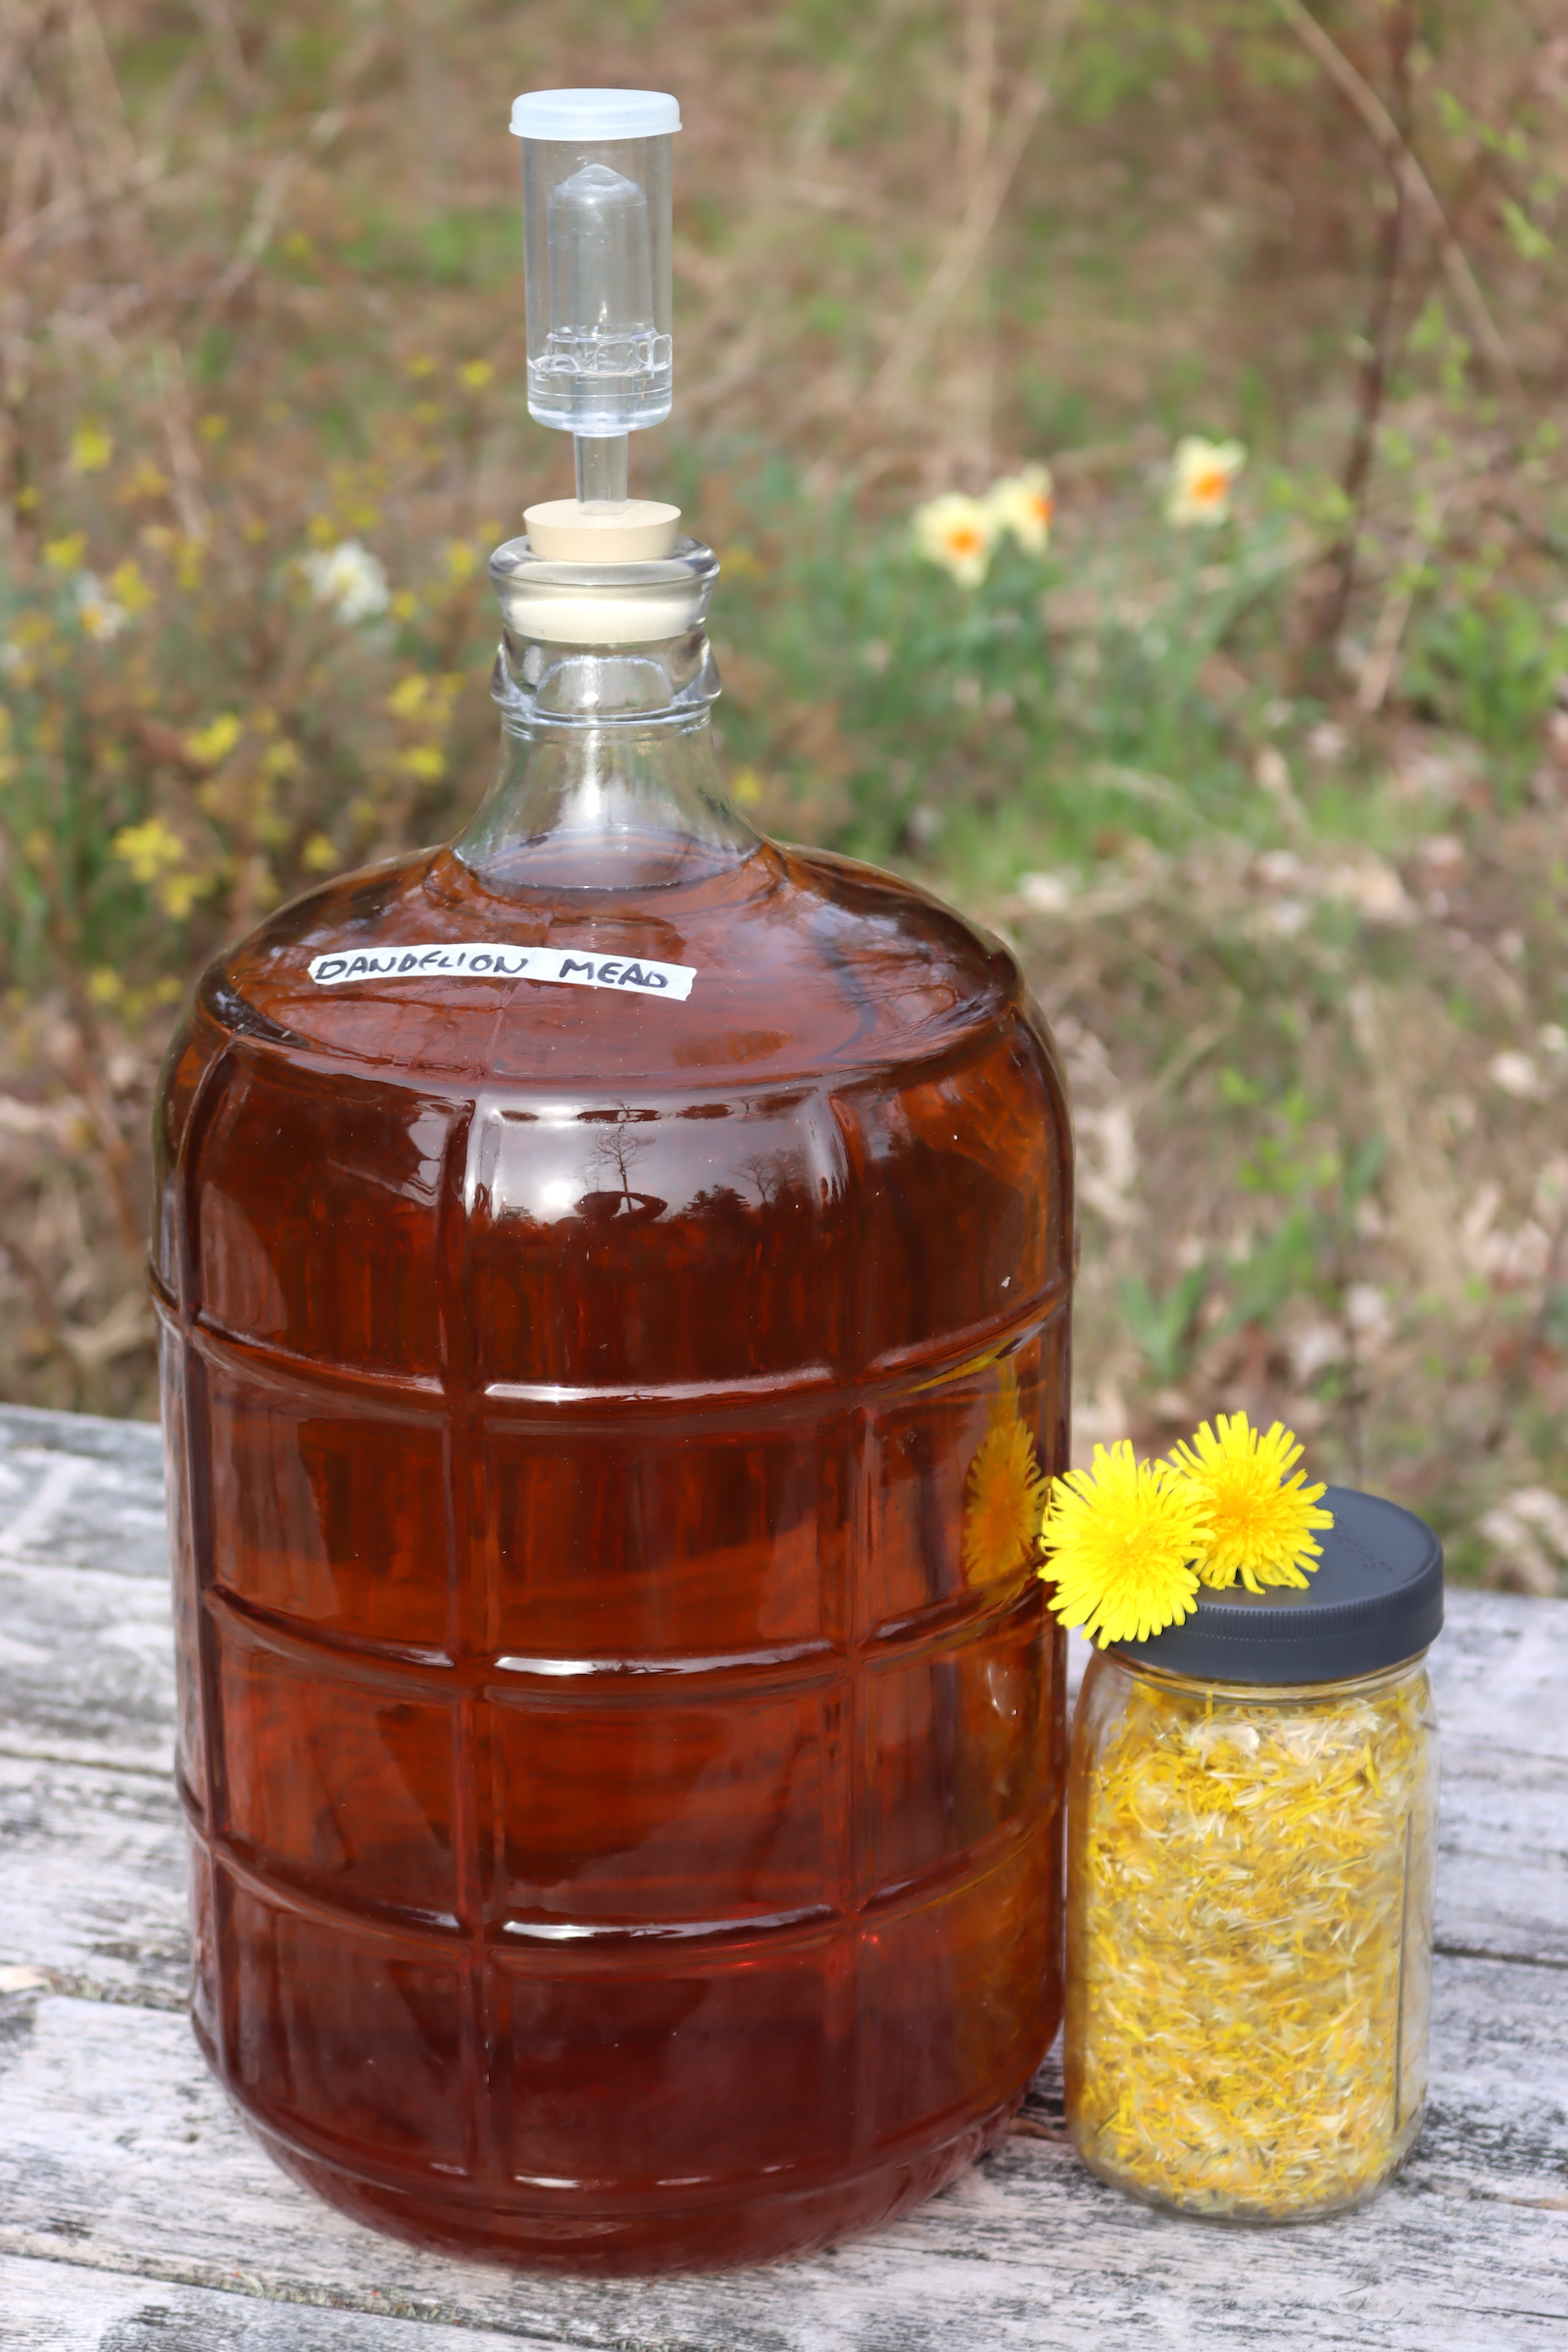
To make a one-gallon batch of dandelion mead, you’ll need about 1 quart of cleaned dandelion petals, which comes from about 1 gallon of fully opened dandelion flower heads.
In a dense patch, it takes about 15 to 20 minutes to pluck a gallon of dandelion flowers. Those same flowers though, will take about an hour to clean by hand.
Everyone has their own technique, but the end goal is that you pull out just the yellow petals and leave all the green sepals/leaves behind. Those green parts will turn your mead bitter, while the cleaned petals will instead give a light floral taste.
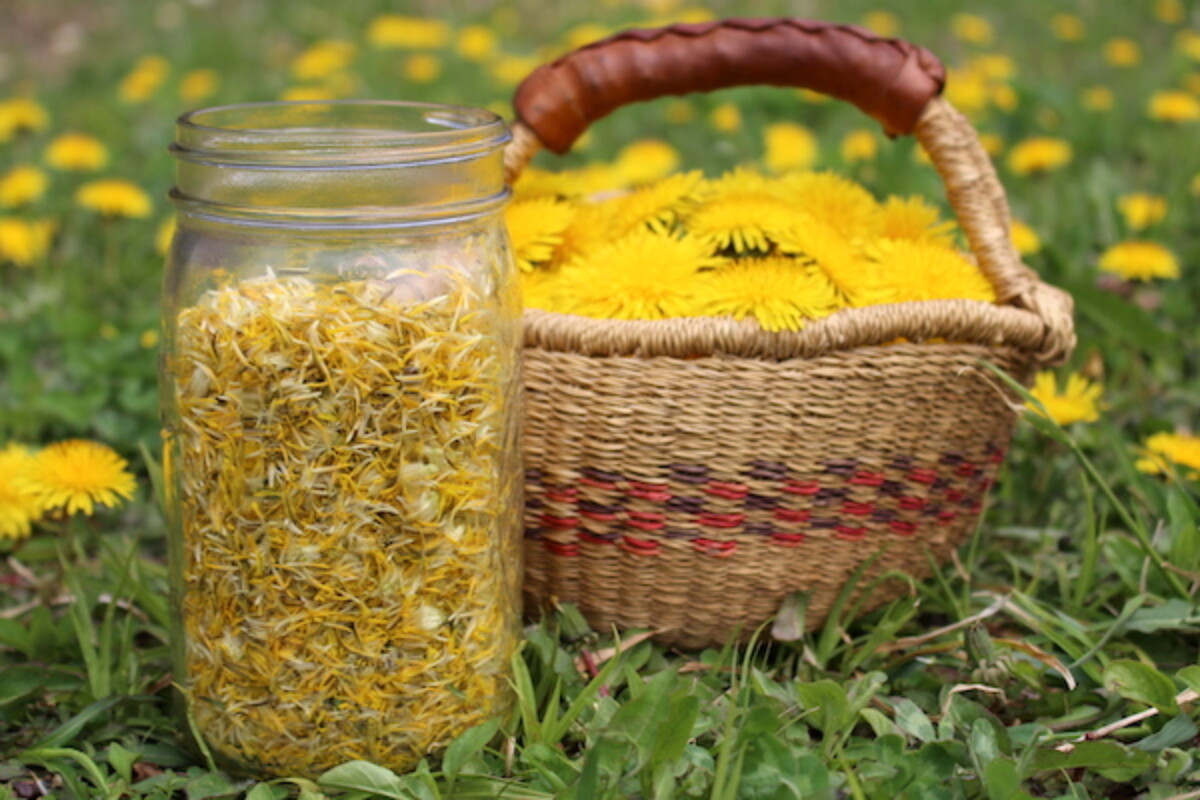
We love making big batches of dandelion mead, so I bribe my kids to help out. They love sitting outside in the spring sun, hanging out with Mama, listening to the birds, and cleaning dandelion flowers…
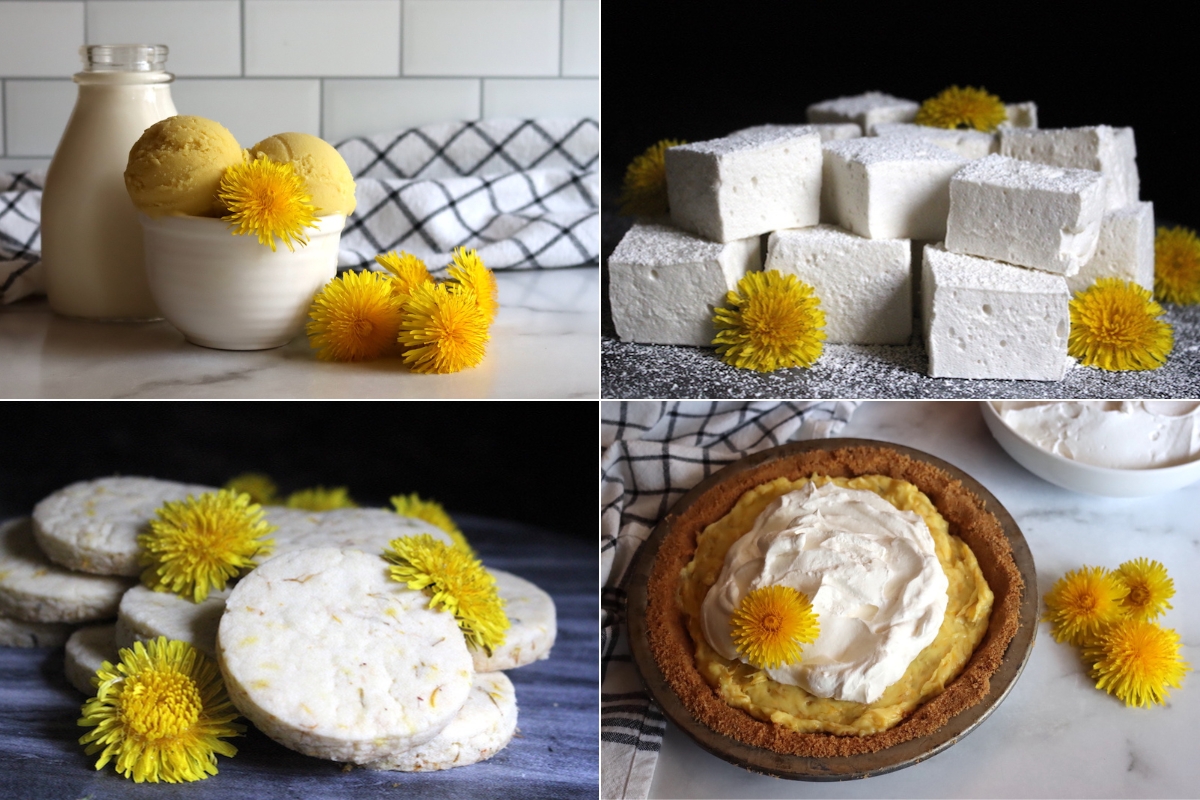
But they also know that when they help clean dandelion petals, there will inevitably be dandelion desserts. Every year, we make a few new dandelion treats. In the past, it’s been:
- Dandelion Ice Cream
- Dandelion Marshmallows
- Dandelion Cream Pie
- Dandelion Cookies
- Dandelion Gummy Bears
The list goes on…but if you want little dandelion helpers, you’ve gotta pay them well!
Once the dandelion flower petals are cleaned and separated from the greens, the process for making dandelion mead is the same as making any other herbal mead or floral mead. (The recipe is actually more or less the same as if you’re making elderflower mead or rose petal mead.)
I’ll walk you through all the steps, but if you’re at all confused, I’d suggest reading through my beginner’s guide to making mead at home.
Ingredients for Dandelion Mead
The ingredients are pretty straightforward and not all that different from any other basic mead recipe. If you’re looking for substitutions, read through my guide to wine/mead-making ingredients, as it’ll give you options for substituting just about all of the winemaking ingredients for common things you’d otherwise have in your kitchen (i.e. black tea in place of tannin powder).
For a basic one-gallon batch, you’ll need the following:
- 1 quart of dandelion petals (no green parts)
- 2 1/2 to 3 lbs honey*
- 2 tsp acid blend (or 2 Tbsp lemon juice from 1 lemon)
- 1 tsp yeast nutrient
- 1/4 tsp wine tannin (or 1 cup of strongly brewed black tea)
- 1 packet wine yeast
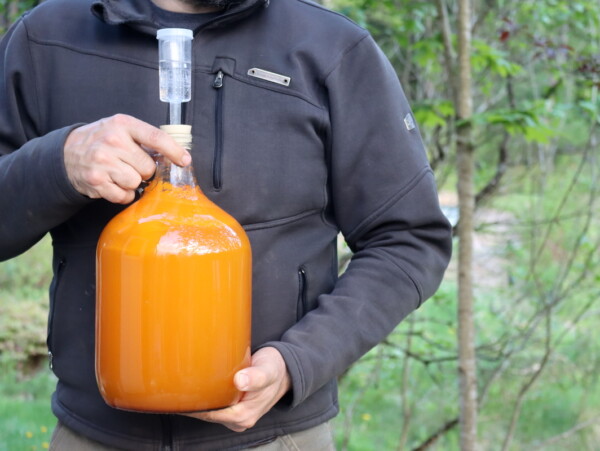
All the pictures in this guide are a 3-gallon batch, and we tend to make a big batch every few years rather than a small batch every single year. We’ll sometimes make a 5 or 6-gallon batch if we’re feeling really ambitious (and bottles make excellent holiday presents).
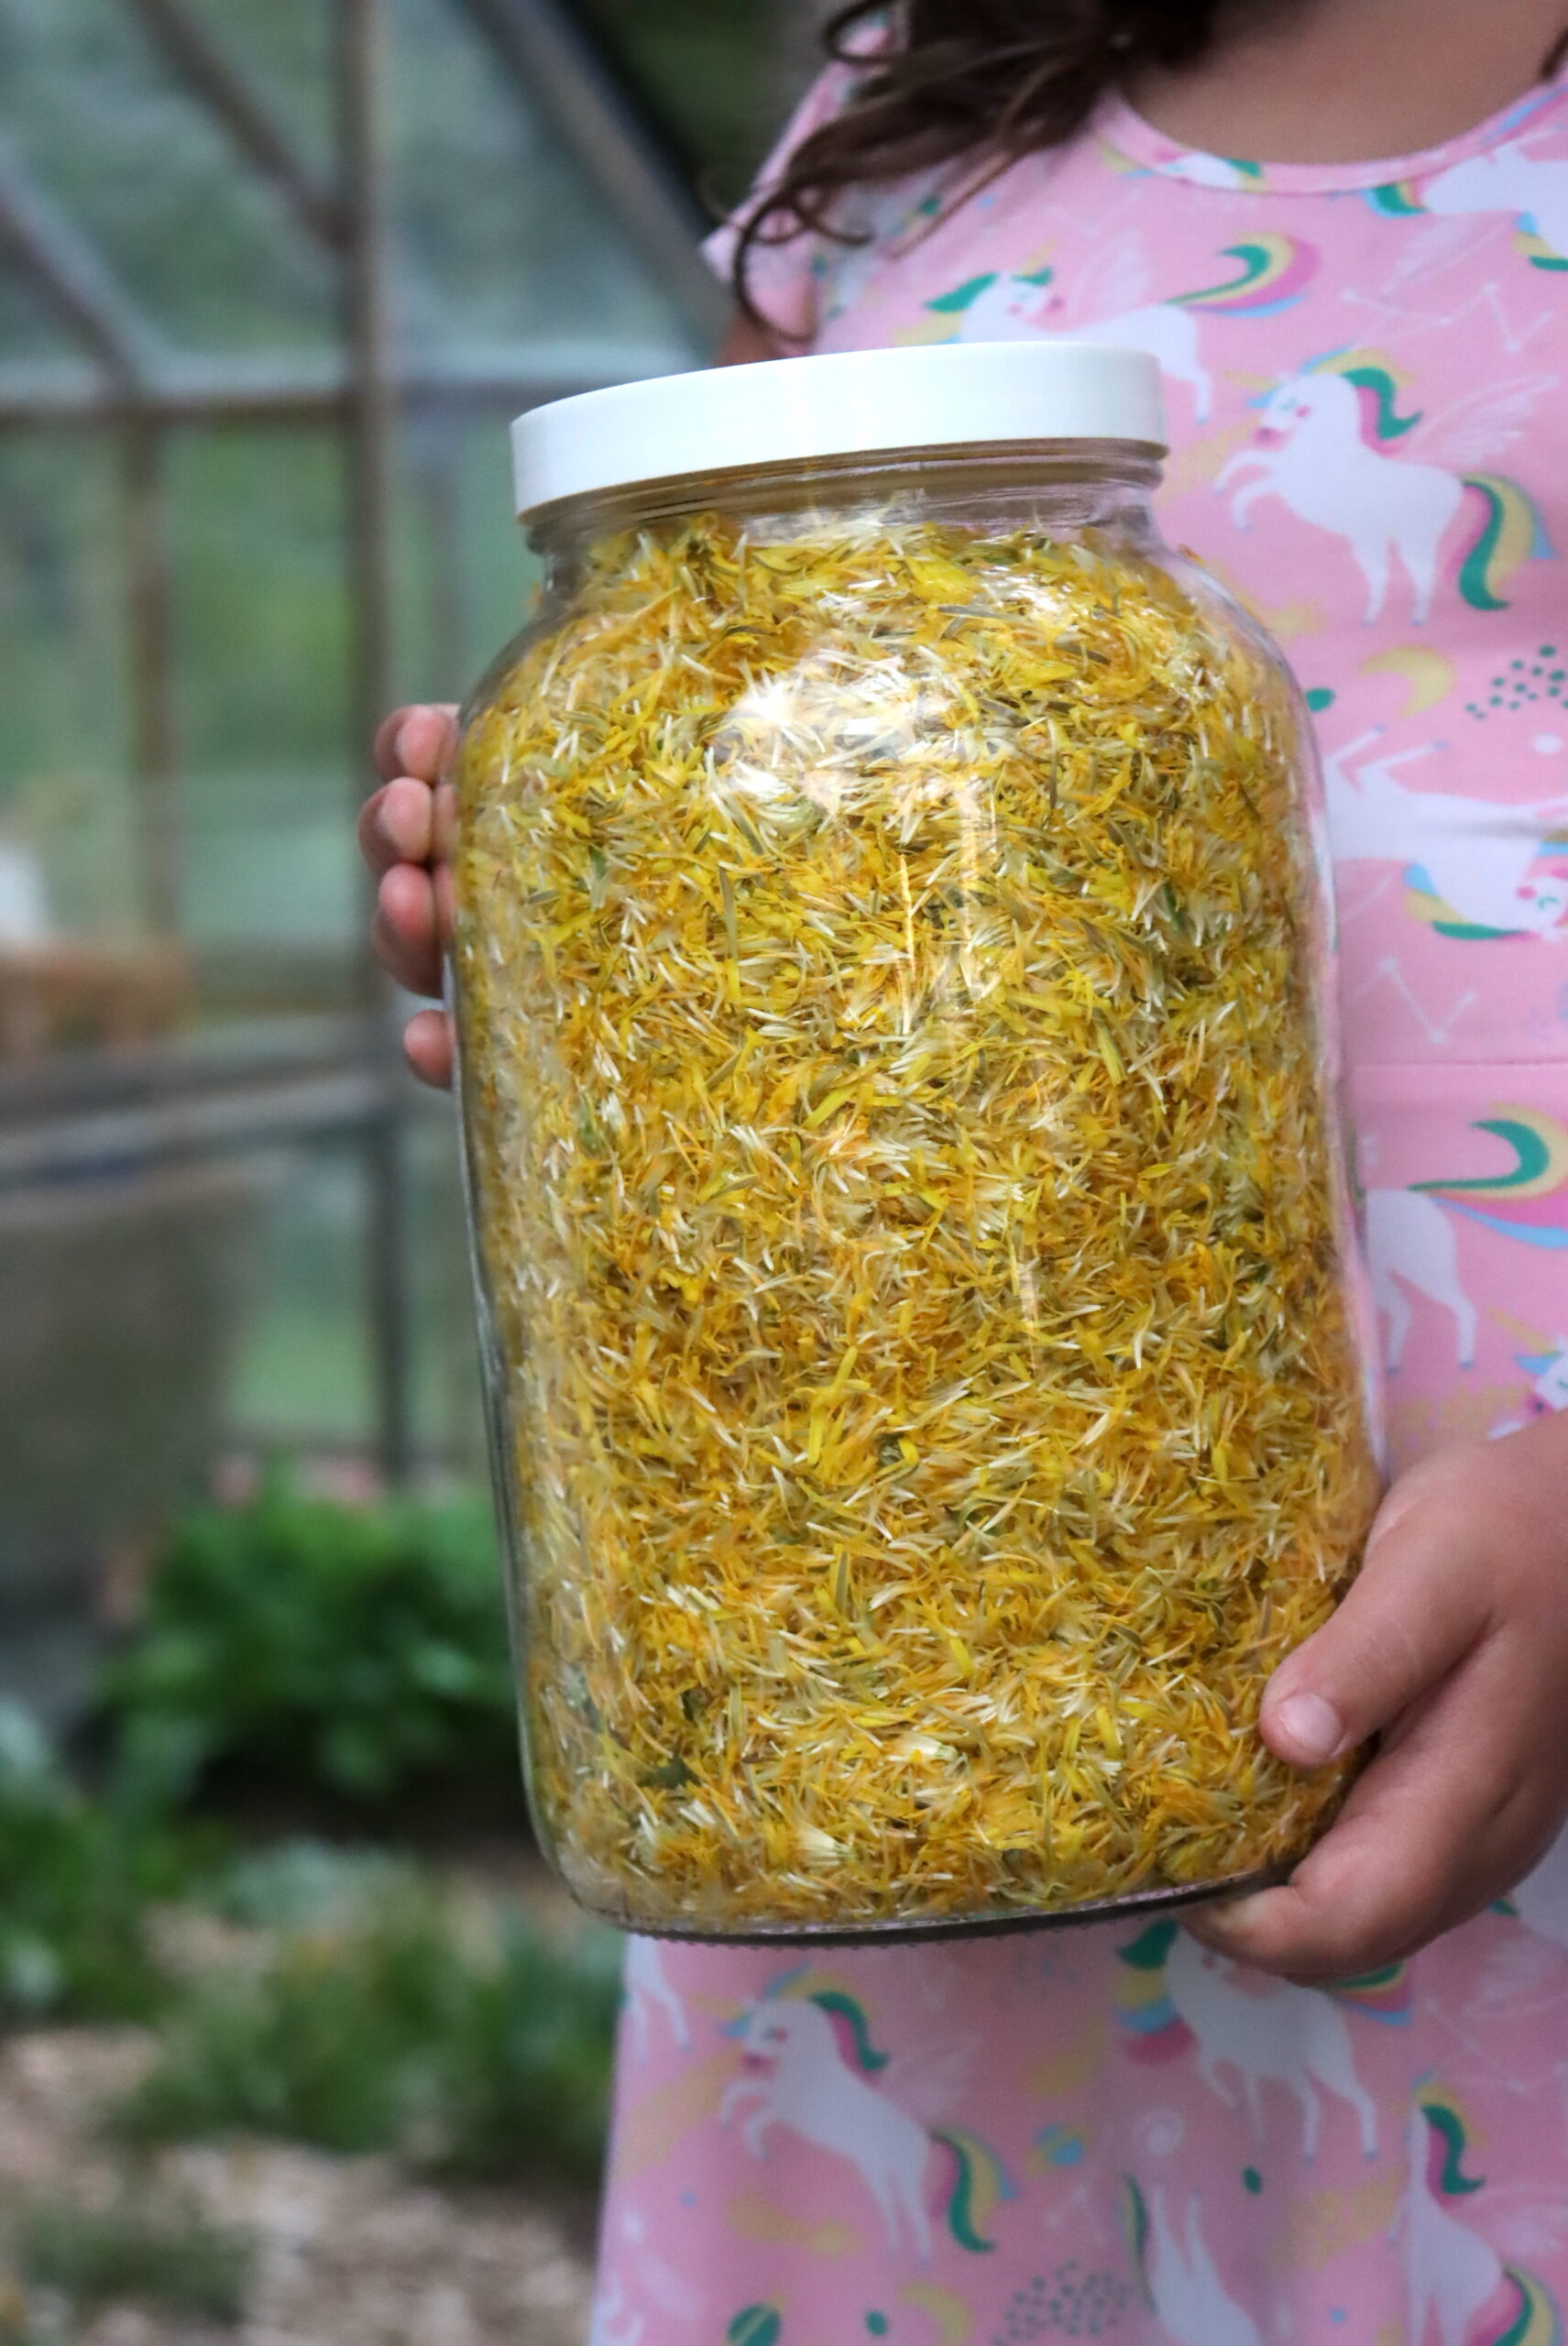
To make a larger batch, simply multiply all the ingredients (except the yeast) by 5. A single yeast packet is sufficient for anywhere from 1 gallon up to 5 gallons, as the wee beasties will rapidly multiply anyway. It’s just a starter, and a packet will start various quantities easily, at least up to 5 gallons per pack.
You can use any wine yeast, but good choices are:
- Red Star Cote des Blancs ~ One of the best choices if you’re looking for a sweeter finish, this yeast has a lower alcohol tolerance (12-14%) and works best in the temperature range of 64°F to 86°F. It’s perfect if you’re aiming for a smooth, sweet wine.
- Lavin D47 ~ This yeast brings a rich, fruity, and floral profile to your wine, with a touch of tropical fruit and citrus. It ferments at a moderate pace and may take a little longer to start. It has an alcohol tolerance of up to 15% and thrives in temperatures between 59°F and 86°F.
- Lalvin K1-V1116 ~ Known for its versatility, this yeast is great for challenging fermentation conditions, including extreme temperatures or low nutrient environments. It produces fruity and floral esters and has a high alcohol tolerance (up to 18%). It can handle a wide temperature range, from 50°F to 95°F, making it a reliable choice for varied conditions.
If you’d like other options, see my guide to winemaking yeasts. Whatever you do, don’t use bread yeast. The yeast actually contributes a lot of flavor to the finished wine, and bread yeast will make it taste like bread (and it’ll die out at only 2-3% alcohol, whereas mead yeast usually goes up to 12 to 18% alcohol, depending on the type).
For the honey amount, that’s adjusted based on how sweet or dry you want the finished mead, and your yeast choice. I’d suggest starting at 3 pounds, as this recipe works well as a reasonably sweet mead, and scaling back if it’s too sweet for your tastes.
Equipment for Dandelion Mead
This is the same equipment you’d use to make any wine, mead, beer, or hard cider. It’s well worth the investment if you plan on doing any other fermenting. That said, you can get the job done with things you’d have in a well-stocked kitchen, and my guide to winemaking equipment walks you through what you can use instead.
The basics include the following:
- One Gallon Glass Carboy (x2): These tall, narrow vessels are essential for fermenting your herbal wine. You’ll need two because after 7-10 days of active fermentation, the wine must be transferred to a clean container, leaving behind any sediment. Most carboys come with a rubber stopper and an airlock included.
- Rubber Stopper and Air Lock: This simple but important setup creates a one-way valve, allowing carbon dioxide to escape during fermentation while keeping unwanted air and contaminants out, which helps prevent the wine from spoiling or turning to vinegar.
- Brewing Siphon: A siphon is handy for transferring the wine from one container to another, especially when racking the wine or bottling it without disturbing the sediment.
- Wine bottles: Wine bottles are the best choice for long-term storage. While beer bottles and Grolsch-style flip-top bottles work fine for short-term use, wine bottles are better suited for aging and preserving wine.
- Bottle Corker: If you’re using traditional wine bottles, a corker is necessary to securely seal them. Be sure to use fresh, clean corks for sealing your bottles to prevent contamination.
- Brewing Sanitizer: A no-rinse brewing sanitizer is essential for sanitizing all your equipment before you start.
With flower wines, I tend to use a wide-mouth fermenter for the primary, since the flower petals can clog the narrow neck of a traditional carboy and be a mess to clean. Since I’m making a three-gallon batch in the pictures here, I’m using a mesh brewing bag and infusing the petals in a bucket fermenter for primary.
For secondary, I move it to age in a glass 3-gallon carboy (they also come in 5 or 6-gallon capacity).
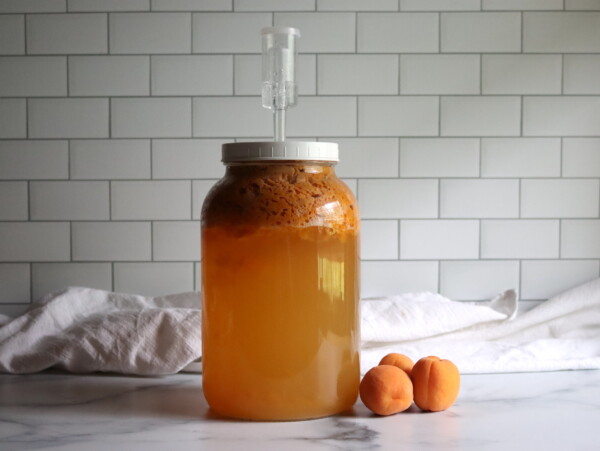
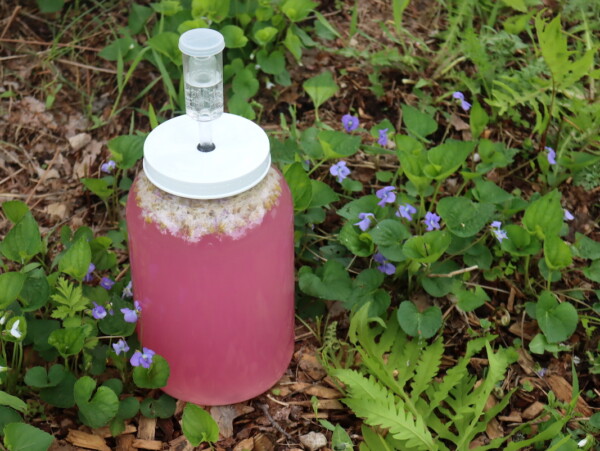
The picture below shows the wide-mouth one-gallon fermenter I used to make a dandelion wine a few years back. The dandelion petals really do mat together, and you can’t use a narrow-neck carboy with the petals in there, as they’ll clog it up and eventually blow the top.

How to Make Dandelion Mead
Since the flavor of dandelion petals is pretty delicate, I opt for “cold infusion” rather than making a tea from them.
This approach helps retain the aromatic and flavorful compounds that are often lost when heating the petals. Since the petals are lightweight, a wide-mouth fermenter works better than a traditional narrow-neck carboy for the infusion process.
For larger batches, I use a mesh brewing bag to contain the petals inside a bucket fermenter, which makes it easier to manage during fermentation.
To begin, place the dandelion petals into your fermenter, either directly or inside a mesh brewing bag. Then, heat about half a gallon of water on the stove until it reaches a boil. Once the water is boiling, remove it from the heat and stir in the honey until fully dissolved.
Allow the mixture to cool to room temperature before pouring it over the dandelion petals in the fermenter. At this point, add the other ingredients such as yeast nutrients, lemon juice, and tannin powder—leave the yeast out for now.
Add Yeast
The yeast is added just before you start the fermentation process. To avoid shocking the yeast, it’s important to rehydrate it first in a bit of room temperature water. Don’t add dry yeast directly to the sweetened flower mixture—it could harm the yeast’s ability to ferment, since going right into a sugary mixture can shock them if they haven’t fully rehydrated.
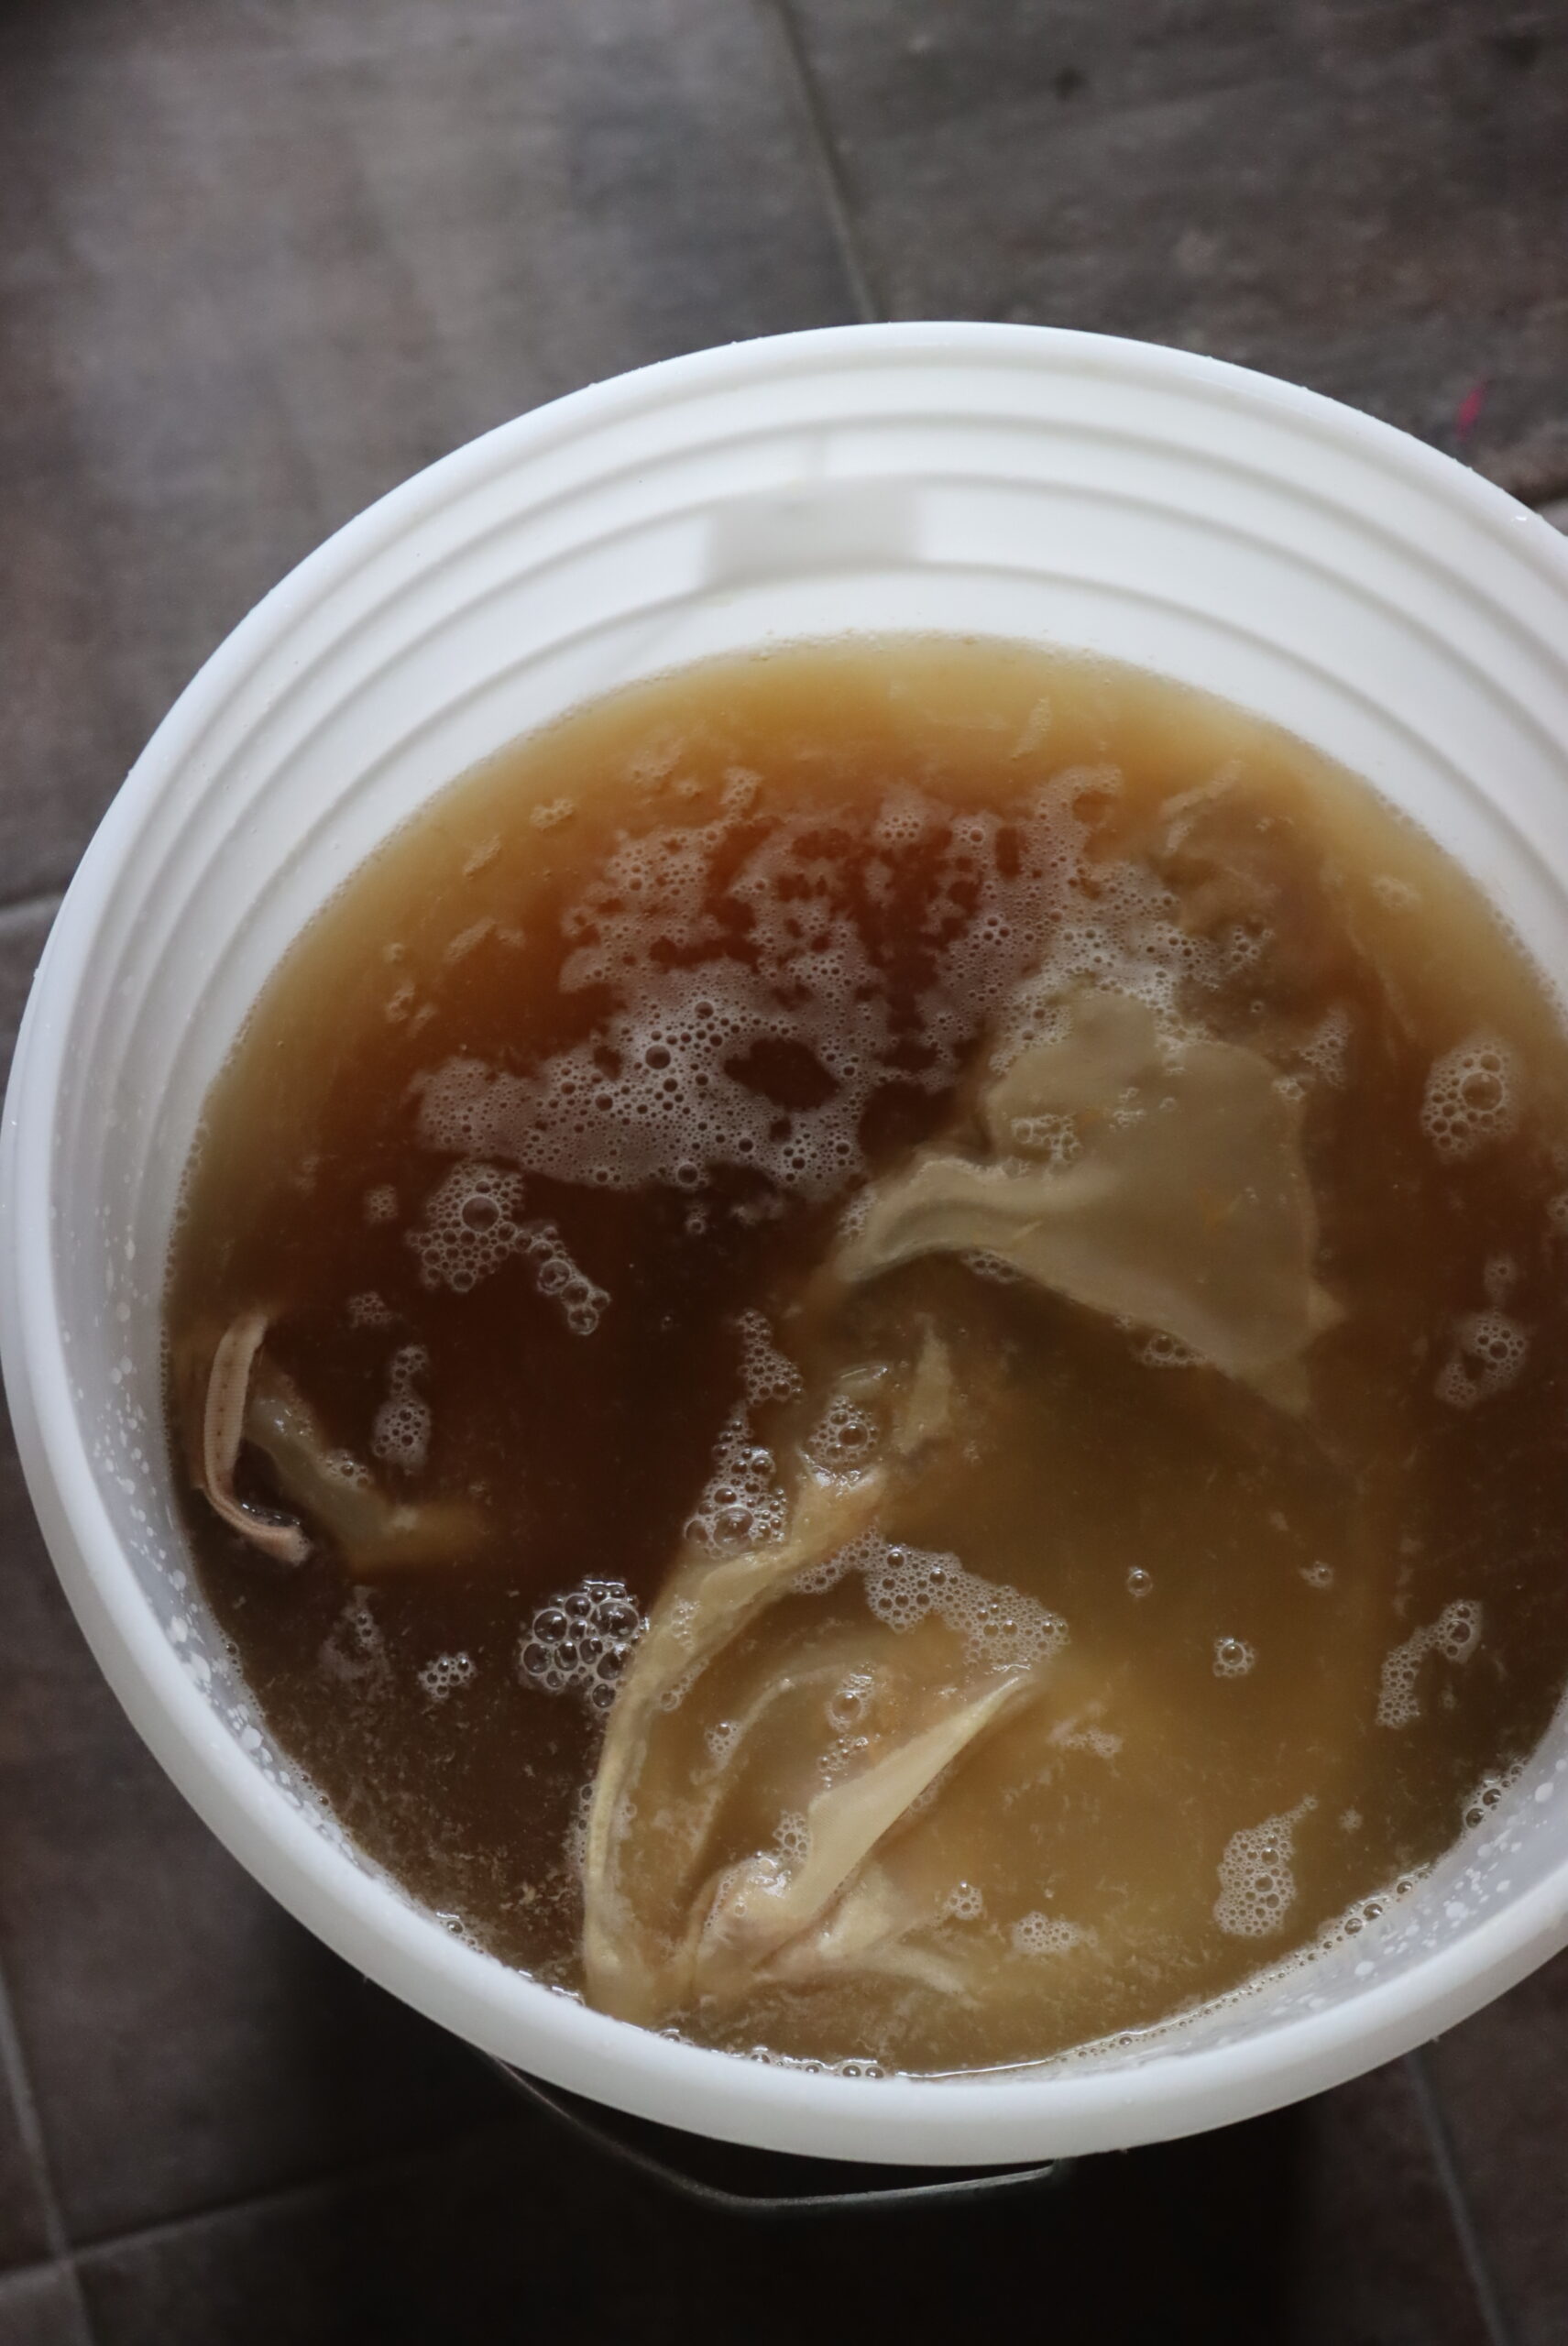
Once the mixture has cooled, ideally to room temperature, you can stir in the yeast. Within 24 to 72 hours, you should start to see visible bubbling as the fermentation kicks off.
Primary Fermentation
During the first 7 to 14 days, the mead undergoes primary fermentation. This is when the yeast is actively consuming the sugars and multiplying rapidly. Expect a lot of bubbling and frothing, and there will likely be a good amount of sediment that collects at the bottom of the fermenter. Since the alcohol content is still low at this point, the fermentation can take place in an open bucket, covered with a towel.
While an airlock isn’t absolutely necessary during primary fermentation, it’s cleaner to use a wide-mouth fermenter with an airlock, especially if you have children or pets around.
Racking
Once the initial fermentation subsides and the activity slows, it’s time to rack the mead. This means transferring it to a clean vessel, leaving the sediment (or “lees”) behind. To do this, use a brewing siphon to avoid disturbing the sediment. At this stage, the flowers are also filtered out, and you’ll be left with a clearer liquid ready for secondary fermentation.
Secondary Fermentation
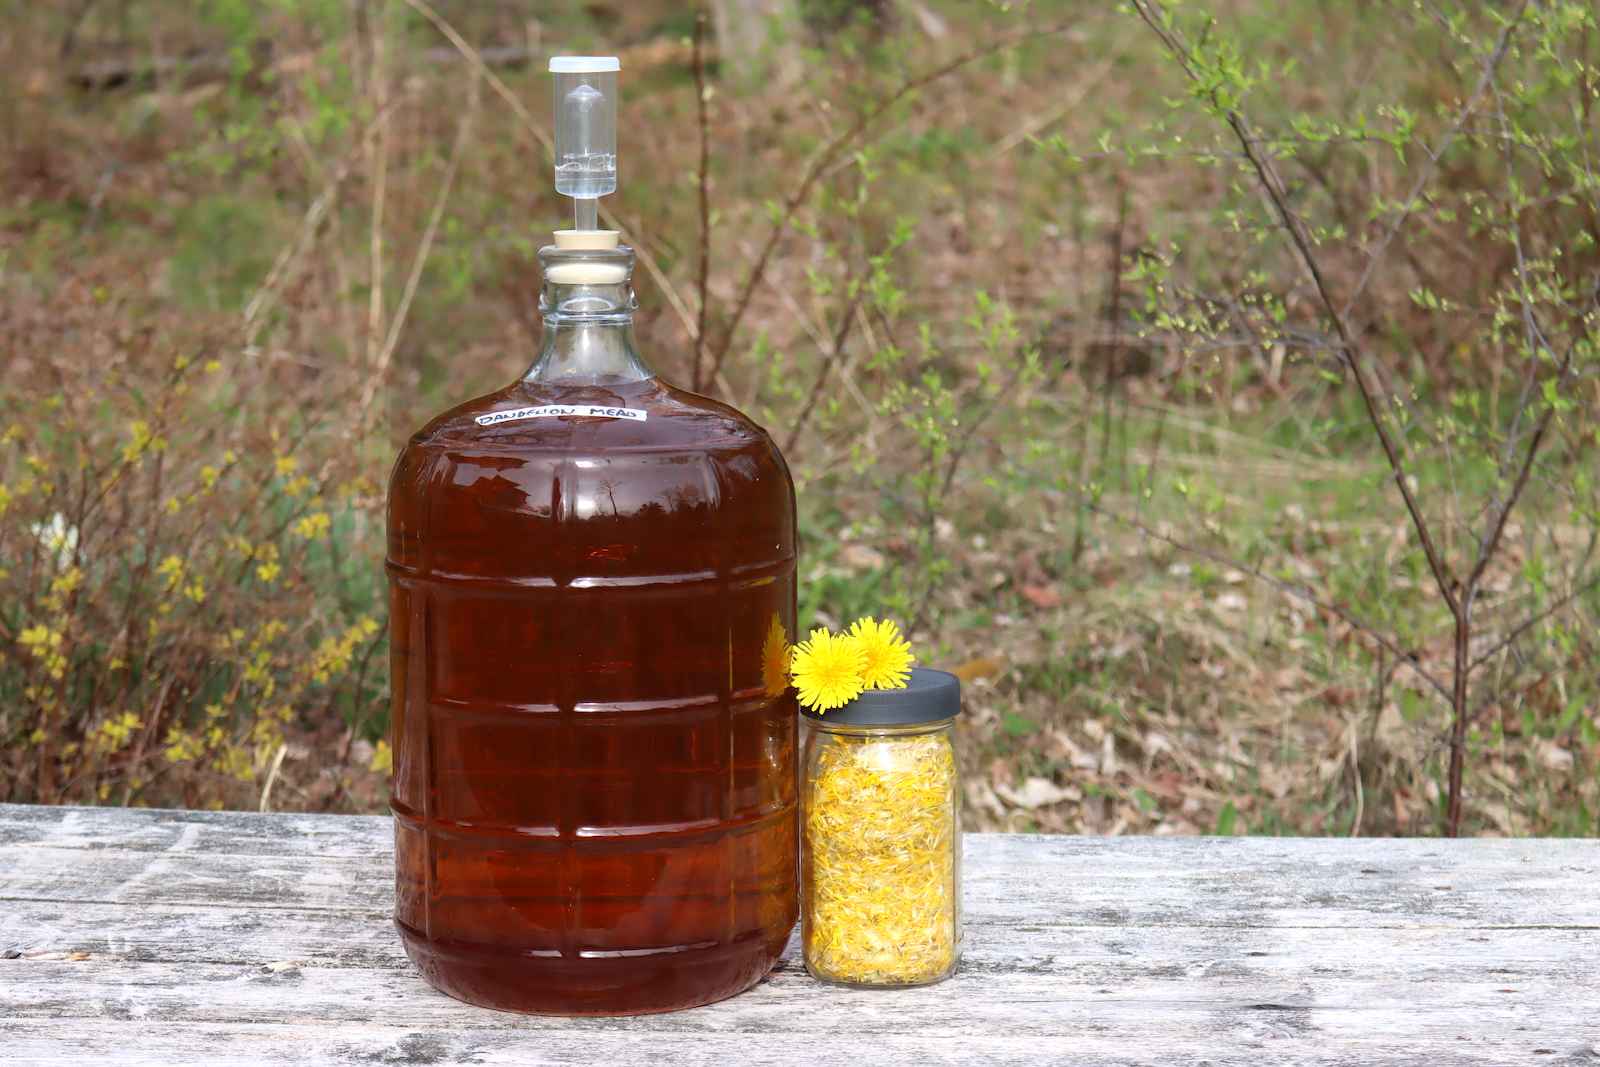
After racking, seal the fermenter with an airlock to continue the fermentation process in a controlled environment. The airlock allows CO2 to escape but prevents oxygen from entering, which could spoil the mead. In secondary fermentation, dandelion mead typically takes about 2 months to fully ferment. If you’re fermenting in a cooler space (below 65°F), it could take up to 4 months. Ensure the fermenter is kept in a dark, cool place, such as a basement or closet, at a stable temperature of around 65 to 68°F (18 to 20°C).
At higher temperatures, the mead will ferment faster, but that also causes a lot of the more delicate flavors to volatilize. Regular room temperature will work (70 to 75 F), but slightly cool is better.
For secondary, I move my meads to glass carboys so that they ferment cleanly. Buckets are great for a quick primary, but in secondary, the mead is in there for longer, and the quality is better if you ferment in glass (plastic will work in a pinch, though).
Tasting and Adjusting
Once the mead has finished its secondary fermentation, it’s time for the first taste test and to make any necessary adjustments. At this stage, the flavor will likely be a bit “raw” since it hasn’t undergone bottle aging yet, but it will give you a good indication of how the final product will taste.
If the mead is too dry for your liking, this is when you can add a bit more sugar or honey to sweeten it up. On the other hand, if it’s too sweet, consider adding some acidity (like lemon juice) to balance it out, or you might choose to pitch a more robust yeast strain, such as Lalvin K1-V1116, to consume any remaining sugars. If you feel the flavor needs more complexity, you can also adjust the tannin levels or any other flavor components that may be off.
If the flavor is spot on and you’re happy with the result, you can move on to bottling!
Tertiary Fermentation (optional)
If you’ve made any adjustments to the flavor, it’s a good idea to rack the mead into a fresh fermenter for a few additional weeks. This extra time allows the flavors to settle and mature, and gives any additional yeast or sediment a chance to fully drop out before bottling.
Bottling
When it’s time to bottle, use a brewing siphon to transfer the mead into clean bottles, ensuring you leave any remaining sediment behind. Once filled, seal the bottles with corks or caps.
Some people choose to add potassium sorbate at bottling to prevent any further fermentation, but I typically don’t do this. I prefer to let the secondary fermentation run long enough to ensure the yeast has fully completed its work. If needed, I will rack the mead into a tertiary fermenter to give the wine time to settle and ensure all yeast activity is finished.
Floral Wine and Mead Recipes
Looking for more flower wines and meads?
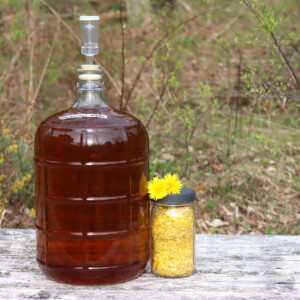
Dandelion Mead
Ingredients
- 1 quart of dandelion petals, no green parts
- 2 1/2 to 3 lbs honey*
- 2 tsp acid blend, or 2 Tbsp lemon juice from 1 lemon
- 1 tsp yeast nutrient
- 1/4 tsp tannin powder, or 1 cup of strongly brewed black tea
- 1 wine yeast
Instructions
- Begin by adding around half a gallon of water to a large pot and bringing it to a boil. Once boiling, stir in the honey and continue mixing until fully dissolved. Remove the pot from the heat and let the mixture cool completely. If you're planning to hot-infuse the petals, now is the time to add them. For a cold infusion, add the flowers directly to the primary fermenter instead.
- If you're using a cold infusion method, place the flowers into the primary fermenter and then pour the cooled honey water over them. A wide-mouth glass fermenter or a bucket fermenter with a brew bag works best for this method, as it gives the petals enough room to float without clogging the neck. If you're using a narrow-neck fermenter, it's better to do a hot infusion to avoid a messy situation with the petals.
- Once the flowers are added, incorporate the remaining winemaking ingredients, such as yeast nutrients, tannins, and lemon juice, stirring well to combine.
- Add cool water to the fermenter to bring the liquid level to within 1 inch of the top. This should amount to about 3 quarts (or 3/4 gallon) of water if you're using a standard gallon fermenter. Be sure that the mixture is no warmer than 90°F (32°C), and ideally closer to room temperature, before moving on to the next step.
- Rehydrate the yeast by dissolving it in 1/4 to 1/2 cup of room-temperature water. Let it sit for about 10 minutes to activate before adding it to the fermenter.
- If necessary, add more water to bring the total volume up to the neck of the fermenter, then seal the vessel with a rubber stopper and a water lock. This will allow the CO2 to escape while preventing contamination from entering.
- Allow the fermentation process to begin. Over the next 10 to 14 days, the primary fermentation will take place. You should start to see bubbling within 24 to 72 hours as the yeast begins its work.
- Once the primary fermentation slows down, use a siphon to transfer the liquid into a clean secondary fermenter. Be sure to leave any sediment behind and remove the flower petals (or the brewing bag containing them) at this stage. If you're using a wide-mouth fermenter, you can switch to a narrower-neck vessel for the secondary fermentation. Seal the new fermenter with a water lock and let it sit for about 2 to 4 months, or longer if you’re fermenting in cooler conditions.
- When fermentation has fully finished, it's time to bottle your mead or wine. Use a siphon to carefully transfer the liquid into bottles, making sure to leave sediment behind. If you're bottling mead, it's recommended to use corked bottles, as they offer a better seal for longer-term storage. Flip-top Grolsch-style bottles are fine for short-term use but won’t age as well.
- Once bottled, allow your wine or mead to condition for at least 2 months before drinking. The flavors will continue to develop and mellow, improving with age.
Dandelion Recipes
Every part of the dandelion plant is edible, from root to blossom! These dandelion recipes will keep you busy in the kitchen (and stock your apothecary too).
- 12+ Dandelion Root Recipes
- 60+ Dandelion Flower Recipes
- 12+ Dandelion Seed Recipes
- 50+ Dandelion Leaf Recipes
Edible Flower Recipes
Looking for more ways to use edible flowers in your kitchen?
- 15+ Borage Recipes
- 60+ Nasturtium Recipes
- 50+ Rose Recipes
- 50+ Lilac Recipes
- 50+ Elderflower Recipes
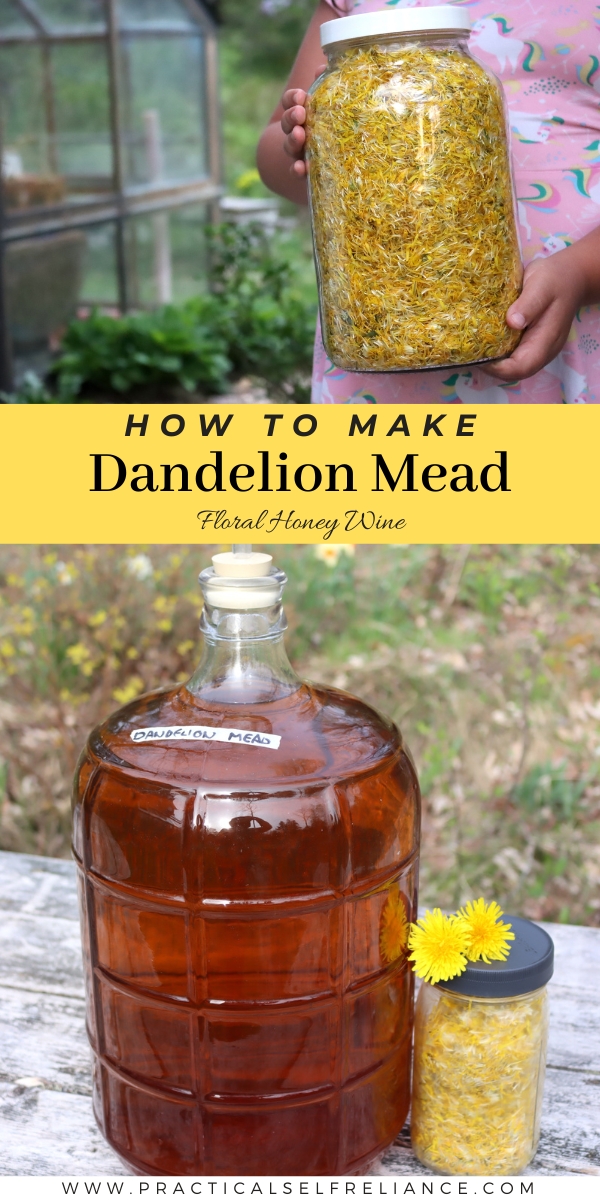
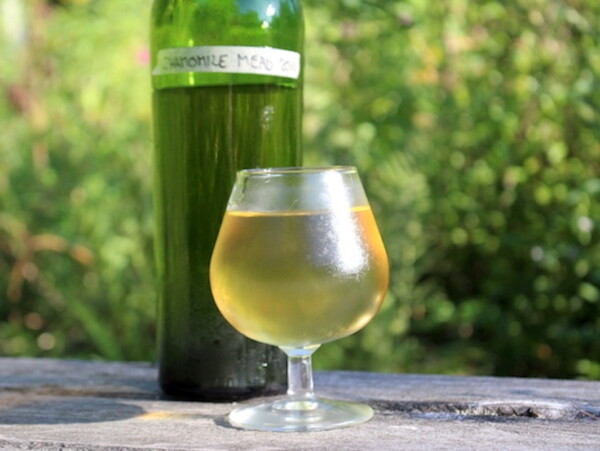


This is hands down our absolute favorite homemade mead. We’ve made hundreds of batches of mead at this point, but nothing compares to a good dandelion mead.
Thanks
You’re very welcome.