Affiliate disclosure: This post may contain affiliate links. Please see our Privacy Policy.
Drying apple slices at home is a simple way to preserve apples for healthy snacks right from the pantry. Everyone loves tasty apple chips!
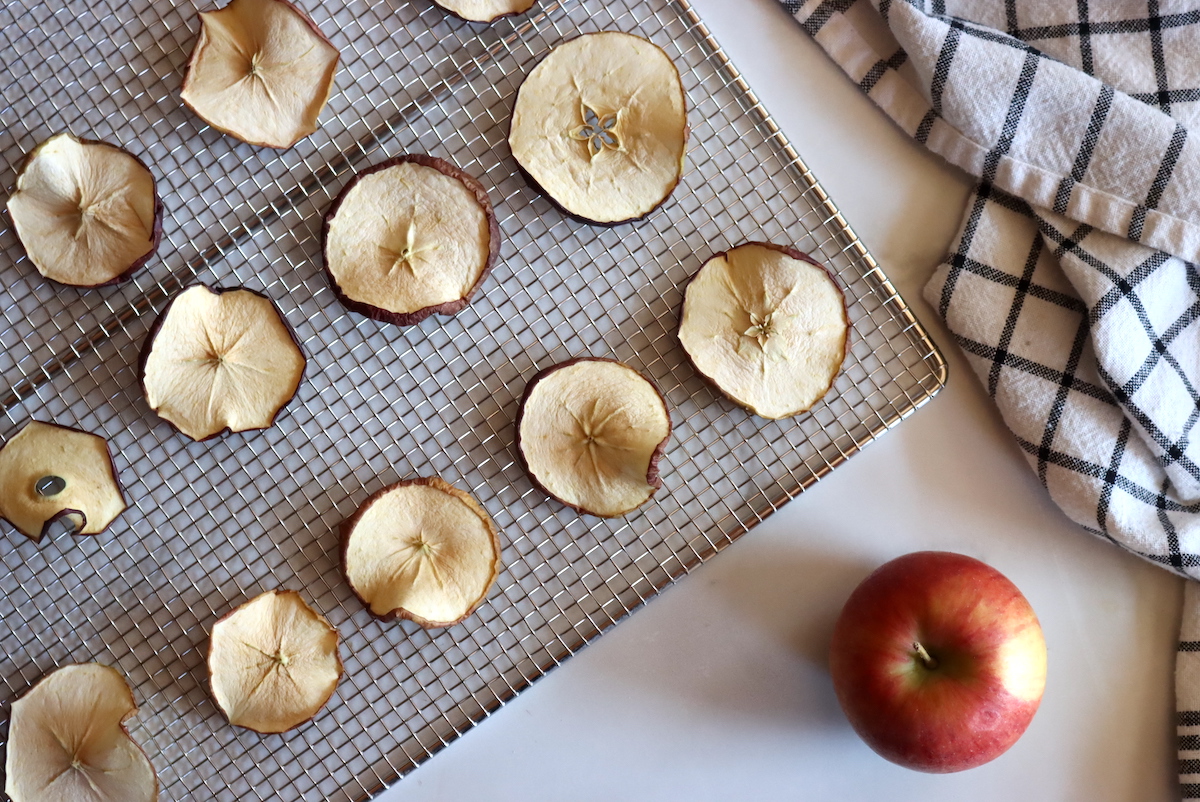
Apple chips were one of my favorite snacks as a kid, and I had to beg my mom to buy them. She knew nothing about cooking, and she always assumed that apple chips required some kind of industrial process to make. No one could make these things at home!
If she only knew that people have been dehydrating apples for millennia, originally just laying them out to dry in the sun with the help of autumn winds. Dried apples were a staple long before water bath canning, and even before there were root cellars (or storage apple varieties).
Traditional sun-drying takes a long time, and you need a herd of children to keep the critters and flies at bay. Just one surprise rainstorm will ruin the batch.
While it doesn’t take space-age technology to dehydrate apples, it is much easier with modern appliances. A simple food dehydrator, or even a regular oven, makes the process almost effortless.
My school-age self would have loved to know how easy it is to make dried apples, and I could have just made them myself!
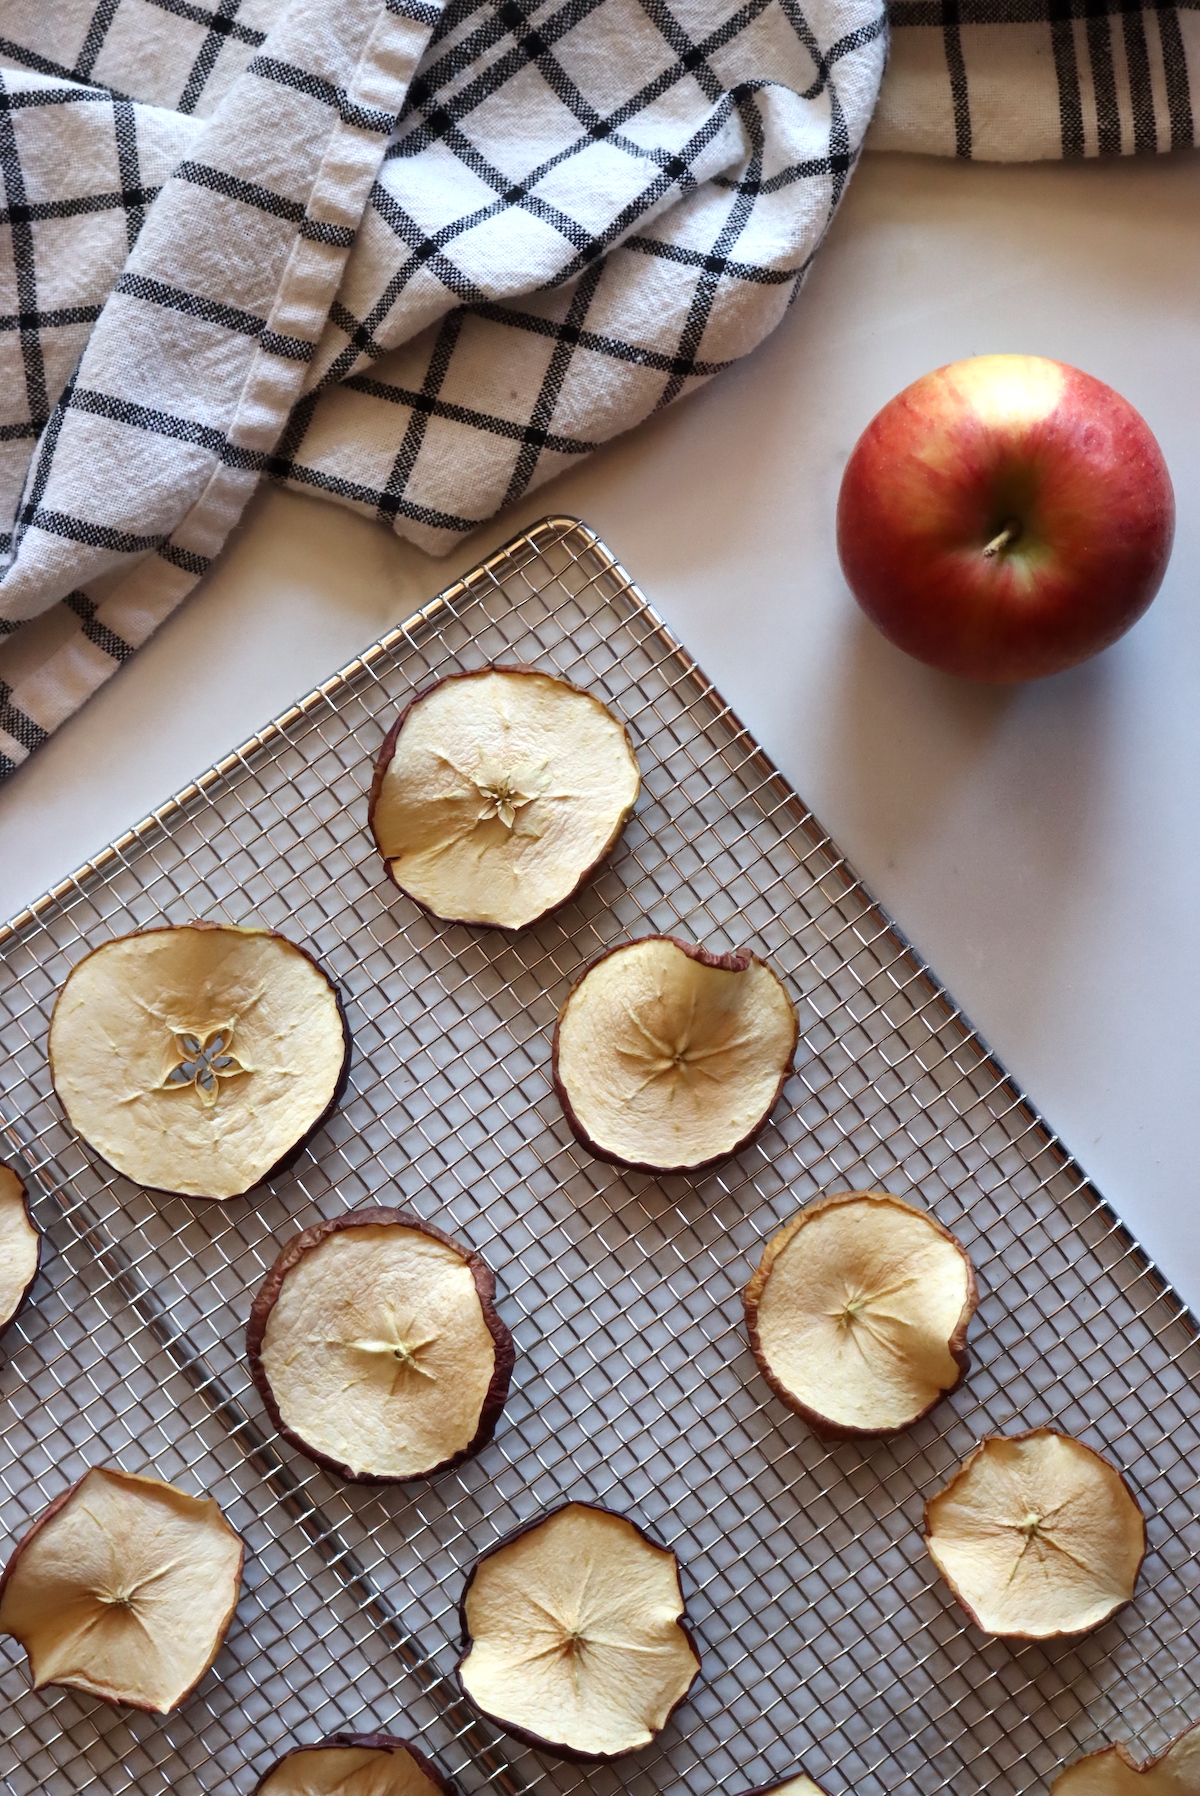
Best Apples for Dehydrating
When we started to look into heirloom apple varieties for our homestead, I was surprised to learn that there are quite a few apple varieties that are grown specifically for dehydrating.
Maiden’s Blush is one such apple variety, and it has a good balance of sweet/tart flavors that result in truly amazing apple chips. It also resists browning naturally, and has pure white flesh, meaning that you’d still get pretty dried apple rings even if you didn’t dip them in lemon juice.
While you might find these antique apple varieties at small heirloom orchards or on old homesteads, they’re not grown commercially any more.
In terms of modern apple varieties, the best choices are:
- Cortland
- Fuji
- Gala
- Golden Delicious
- Pink Lady
- Granny Smith (for tart apple chips)
Avoid extra juicy apple varieties, as they’ll shrivel up more during dehydration. The more juice you have to remove, the more they’ll shrink and the longer the process will take.
Preparing Apples for Drying
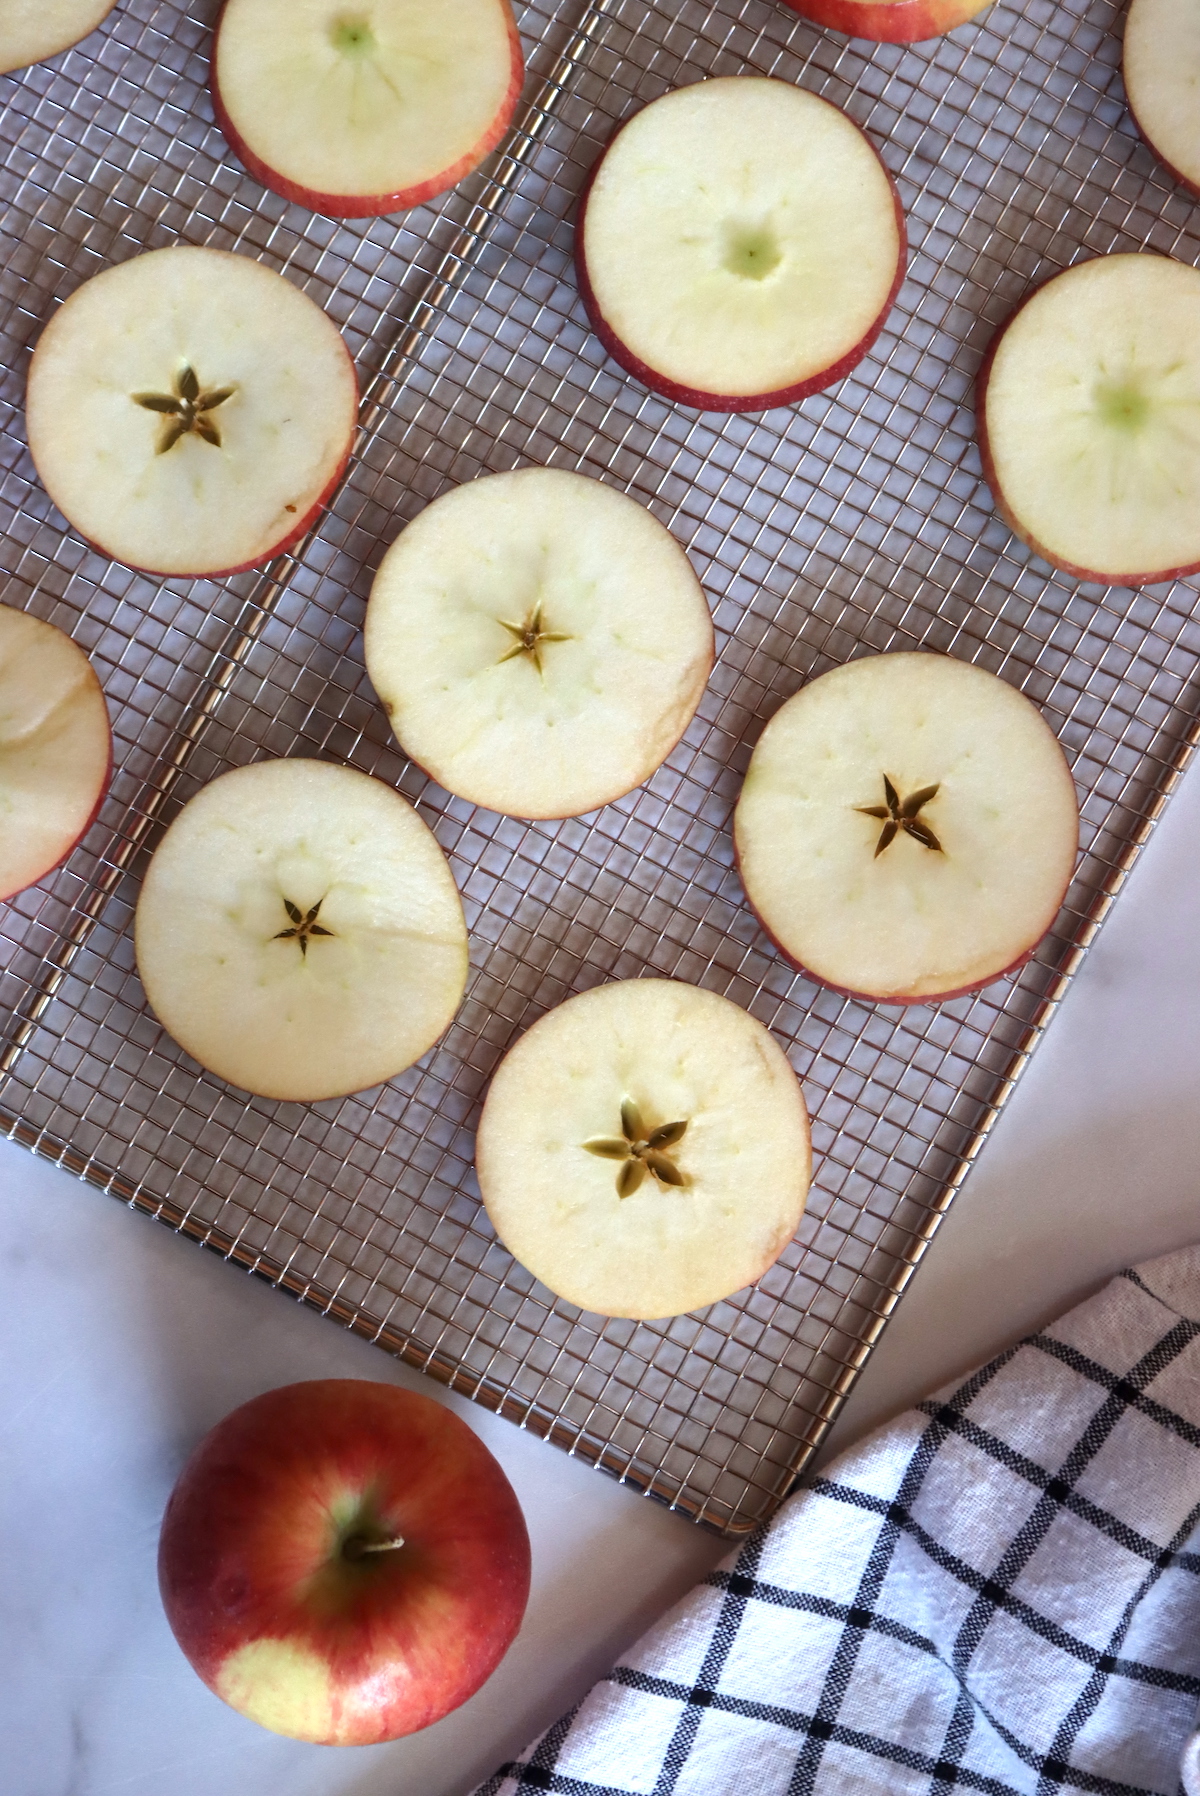
Start by slicing the apples into your desired shape. Most people opt for round slices (or apple chips) that are made by slicing the apple every 1/8 inch from side to side along its equator.
If you do a lot of dehydrating apples, you might want to invest in a Mandoline slicer as it makes the process much quicker. It also makes the slices an even thickness, which means they’ll all dry evenly.
(They’re useful tools for other food preservation tasks too, and they’re incredibly handy when making sauerkraut at home.)
Pop out the seeds as you slice the apples. They should fall right out as you work, but if not, the tip of a paring knife will nudge them out.
Many people choose to pre-treat apple slices with lemon juice or citric acid to prevent browning when dehydrating. It has its pros and cons, and everyone seems to have their own preference.
Personally, I skip this step, for several reasons:
- Tart Flavor ~ Lemon juice makes the apple slices tart, and gives them a distinct lemony flavor. Some people like that, but my kids won’t eat them that way.
- Acidic Apples Don’t Brown ~ Many apple varieties, especially the most flavorful types, don’t tend to brown quickly. If they have a good bit of natural acidity, then they’ll stay pretty white during dehydration.
- Laziness ~ Honestly, I really don’t care if they brown…though it’s not really an issue the vast majority of the time anyway.
If you want to pre-treat your apple slices before dehydrating them, follow these instructions from the Colorado State University Extension:
“Prepare the citric acid solution by stirring 1 teaspoon (5 grams) of citric acid into one quart (1000 milliliters) of cold water. For the lemon juice solution, mix equal parts of lemon juice and cold water (i.e., 1 cup lemon juice and 1 cup water). Cut the peeled fruit directly into the citric acid or lemon juice solution. Allow to soak 10 minutes, then remove with a slotted spoon, drain well and dehydrate.”
Temperature for Drying Apples
Most of the nice home dehydrators allow you to select a temperature for dehydrating. This is really helpful if you’re preserving herbs, which have delicate, volatile aromatics and want to be dried at low temperatures.
Apples (and other fruits) need moderate temperatures for dehydrating, and they’re usually dried at 135 to 145 degrees F (57 to 62 C). That’s warm enough that they dry quickly (so they don’t spoil) but gentle enough that they still retain their best flavor.
I’m using an Excaliber dehydrator that has adjustable temperature and time settings. Cosori dehydrators also have this feature, and they’re incredibly popular these days because they’re whisper-quiet and all stainless steel.
Economy dehydrator models, such as the stacking Nesco type, don’t allow you to set a temperature, and they default to 165 to 175 F. That’s the minimum safe temperature for making jerky, which has the highest temperature requirements of any dehydrated food.
You’ll lose a lot of the subtle flavors in the apples if you use one of those, but it will get the job done.
Similarly, if you’re dehydrating apple slices in the oven, most ovens only go down to around 170 F for food safety reasons.
Be sure to use racks that allow air circulation on all sides, like these stainless steel oven-safe racks with trays underneath. I use those to make big batches of jerky in my oven, and they work wonderfully for dehydrating.
How Long to Dehydrate Apples?
Apples generally take about 8 to 12 hours to fully dehydrate in a dehydrator set to 140 degrees F.
The actual time will depend on the type of apple, how thick they’re sliced, and the humidity in the room. Juicer apples will take longer, as will thicker slices. Aim for around 1/8 of an inch thick.
Ambient humidity plays a huge role in dehydrating, and it’s harder to take moisture out of food when there’s a lot of natural humidity in the air. Foods dehydrate a lot faster out west in the dryer states than they do up here in Vermont. (Down south, where it’s really humid, they’ll go even slower.)
My Excaliber dehydrator comes with a handy guide that gives you times based on the ambient humidity. Here’s what it says for apples:
- 10 to 30% Humidity: 7 Hours
- 31 to 50% Humidity: 9 Hours
- 51 to 70% Humidity: 11 Hours
- 71 to 80% Humidity: 13 Hours
- Above 80% Humidity: 15 Hours
I checked the humidity in the room when I dried mine the last time, and it was around 40%. It took about 8 to 10 hours to dehydrate the slices, based on thickness, so their estimate of 9 hours for that humidity is pretty good.
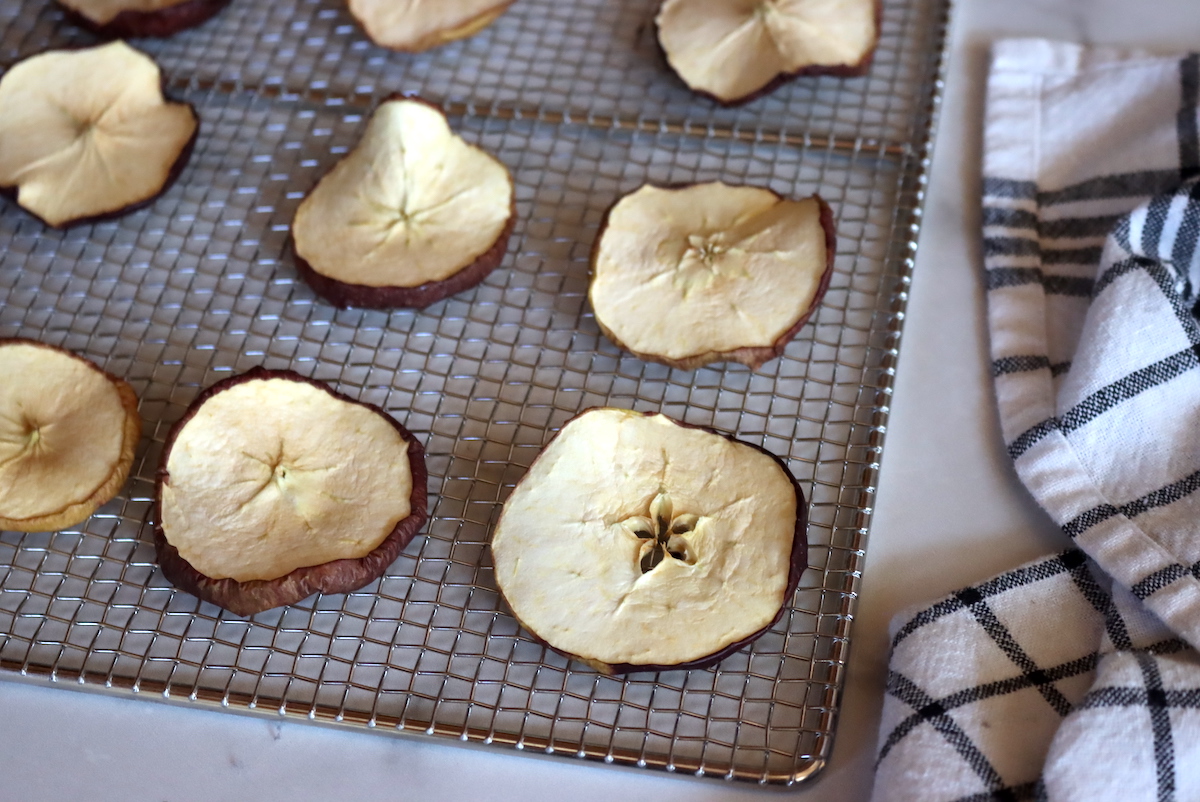
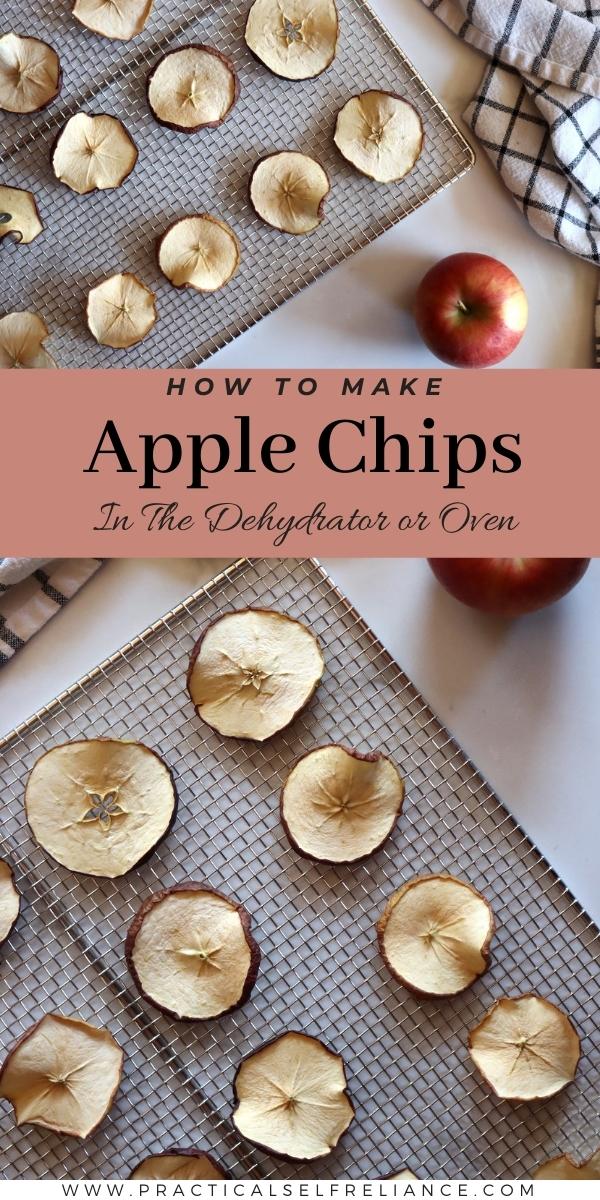
The apples are done when they are completely dry to the touch, but not so dry that they snap. They should still be pliable and a bit chewy.
How to Dehydrate Apples in a Dehydrator
If using a dehydrator, set the temperature to 135 to 140 degrees. Arrange the apple slices on trays and dehydrate for 8 to 12 hours (adjusting for humidity).
The apples will be flexible when finished, but completely dry to the touch.
How to Dehydrate Apples in the Oven
In an oven, you don’t get quite the same quality since you’re dehydrating at higher temperatures. Most ovens only go down to around 170 degrees. Mine happens to go down to 150, and has a convection fan, so it works pretty well for dehydrating.
If you’re using your oven, you’ll want to put oven-safe cooling racks on top of baking sheets, which will allow for airflow on all sides of the apple slices. These stainless steel racks and sheets work really well in the oven. (Keep in mind, not all cooling racks are oven safe.)
Set the oven as low as it’ll go, and then dehydrate the food for 2 to 4 hours. If your oven only goes down to 200 F, then it might be a bit faster than that. At 170F, you’re looking at around 3 to 4 hours without a convection fan, and 2 to 3 hours with one.
Propping the door open slightly with the handle of a wooden spoon can help speed things up a bit too, as it allows the moisture to escape the oven. Be sure to run your vent hood fan to help increase airflow in the kitchen.
Fresh to Dried Yield
When dehydrating apples, you’re removing most of the weight, which is great for backpacking or trail snacks. Ten pounds of fresh apples yield just one pound of dried apples.
If you could pack them tightly, like in a vacuum sealer bag, it’d take 4 pounds of apples to make about a pint of dried apple slices. Generally, if you’re just packing them loosely in a mason jar in your pantry, you’ll get about 2 pounds of fresh apples into a pint once dried.
Ways to Use Dried Apples
These days, most people dry apples for eating as apple chips, but historically they had a bigger role in the kitchen.
Dried apples were rehydrated and baked into pies, or diced to bake into quick bread loaves (tea bread) and cookies. These days, most people prefer canning apple pie filling rather than making pies with dried apples (though dried apple pies are pretty darn good).
Before canning, apples would be dried in season, and then just barely rehydrated to make apple jam for toast. Not many recipes survive for dried apple jam, but you can see similar recipes for fig jams with dried figs. Since figs are more perishable, but dried figs are readily available, that’s still made these days. I think fresh fig jam tastes better, but back in the day, I definitely would have taken a jam made with dried fruit than no jam at all.
These days, people get creative with apple chips and add them to granola and cereal (diced first). They’re also steeped in tea to add a wonderful apple flavor, and a subtle sweetness.
Dried apple chips can also be added to savory dinner recipes, especially those that involve a long braise. Try adding dried apple chips to a pot of braised pork and watch how much flavor they give the dish.
They’re also used in simmer pots along with cinnamon sticks to make fall potpourri. They smell lovely and add a real festive air to the house in what’s otherwise known as “pumpkin spice season” these days.
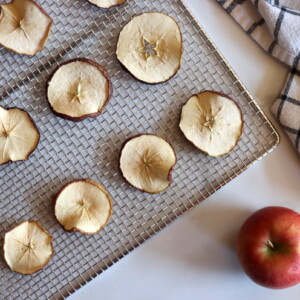
Dried Apple Slices
Ingredients
- 10 Pounds Fresh Apples
Instructions
- Wash apples before beginning, but no need to peel (unless you want to).
- To make traditional apple chips, slice apples horizontally into thin slices, about 1/8 inch thick. (You can slice them however you want, even into shapes, triangles, wedges, sticks, whatever…so long as they’re thin.)
- Arrange apples on a dehydrator sheet in a single layer, leaving space between each slice.
- (Dehydrator) Set the dehydrator to 135 to 140 degrees and dehydrate for 8 to 12 hours. When finished, the apples should be dry to the touch but still pliable.
- (Oven) To dehydrate apples in the oven, set the oven as low as it will go (usually 170 degrees F) and turn on the convection fan (if you have one). Place apples up on trays to allow good airflow all around. Check them regularly, and flip if necessary. They should dehydrate in around 2 to 4 hours in the oven.
Notes
Yield
Ten pounds of apples will dehydrate down to roughly 1 pound of dried apples.Dehydrating Time
Total dehydrating time depends on ambient humidity, and apples will dehydrate slower when it’s more humid. Be sure to adjust your expectations for dry time based on the ambient humidity, which can vary considerably based on your location:- 10 to 30% Humidity: 7 Hours
- 31 to 50% Humidity: 9 Hours
- 51 to 70% Humidity: 11 Hours
- 71 to 80% Humidity: 13 Hours
- Above 80% Humidity: 15 Hours
Ways to Preserve Apples
Dried apple chips aren’t the only way to preserve apples!
- Hard Cider
- Apple Wine
- Boiled Cider (Cider Syrup)
- Canning Apple Slices
- Apple Butter
- Homemade Apple Cider Vinegar
Dehydrator Recipes
Looking for more dehydrator recipes?


My family fell in love with cinnamon flavoed dried apples we picked up on s trip one time. I have not found directions to make my own and was wondering if it would work to dust slices with cinnamone before drying them, or if the cinnamon would become air born during the drying process and cause problems with the dehydrator. How could this be prevented?
All you need to do is dust the apples lightly with cinnamon (or with cinnamon sugar, which is sometimes what the ones you can buy are dusted with). It doesn’t take much, and it’s easy to overdo the cinnamon. Dust them before you dehydrate them so it sticks to them while they’re wet, then dehydrate as usual.
Great step by step instruction and thanks for suggesting the best varieties to use.
Wonderful, glad it was helpful to you!
I thought the corer, peeler, slicer machines wouldn’t work,(https://www.amazon.com/lasting-Magnesium-Stainless-Powerful-Suction/dp/B09BKTSJFJ/ref=asc_df_B09BKTSJFJ/?tag=hyprod-20&linkCode=df0&hvadid=550292507167&hvpos=&hvnetw=g&hvrand=2110064732796482430&hvpone=&hvptwo=&hvqmt=&hvdev=c&hvdvcmdl=&hvlocint=&hvlocphy=1027411&hvtargid=pla-1459134953689&mcid=40f029f0e65b3819a0ddedd31dcbf5df&gclid=Cj0KCQiAn-2tBhDVARIsAGmStVnDV-LrfBPJ0KBbOpQuFvszf6gZUTelJQL9nANFGIPRB_KKcWS3aQIaAnD3EALw0_wcB&th=1) but after hearing from two people within a week say how much they loved theirs, I ordered one. I haven’t yet used it, but am looking forward to it. It was less than $20, so it seems well worth it. Any of the options can be overridden. Like, you don’t have to slice the apples, but you can if you want, and it doesn’t take up a lot of storage space. I was just wondering if you ever tried using one and what your impression was if you have.
I personally really like using the corer, peeler, slicer. It definitely makes the work go much faster.
Since writing that comment, I got mine out and used it with some pretty old apples. The first one was mangled, but the second one was beautiful. I am very excited to use it with fresh, crisp apples and hopefully, ones that I’ve grown!
That’s great!
Hi Ashley, thank you for all of the wonderful information you provide! Just made a big batch of your tomato jam, my favorite!
Anyway, what is the best way to store dried apples? Do you just keep them in a mason jar, on a dark shelf? Thanks!
Yes, once they’re completely dried, they can be kept on the shelf in a cool, dry and dark place.
Can you use crabapples/
Yes, just be aware that the drying time may be slightly different.