Affiliate disclosure: This post may contain affiliate links. Please see our Privacy Policy.
Dilly Beans, or Dill pickled green beans, are an old-fashioned favorite that’s packed with flavor. If you like dill pickles, I’m betting that you’re going to love dilly beans even more!
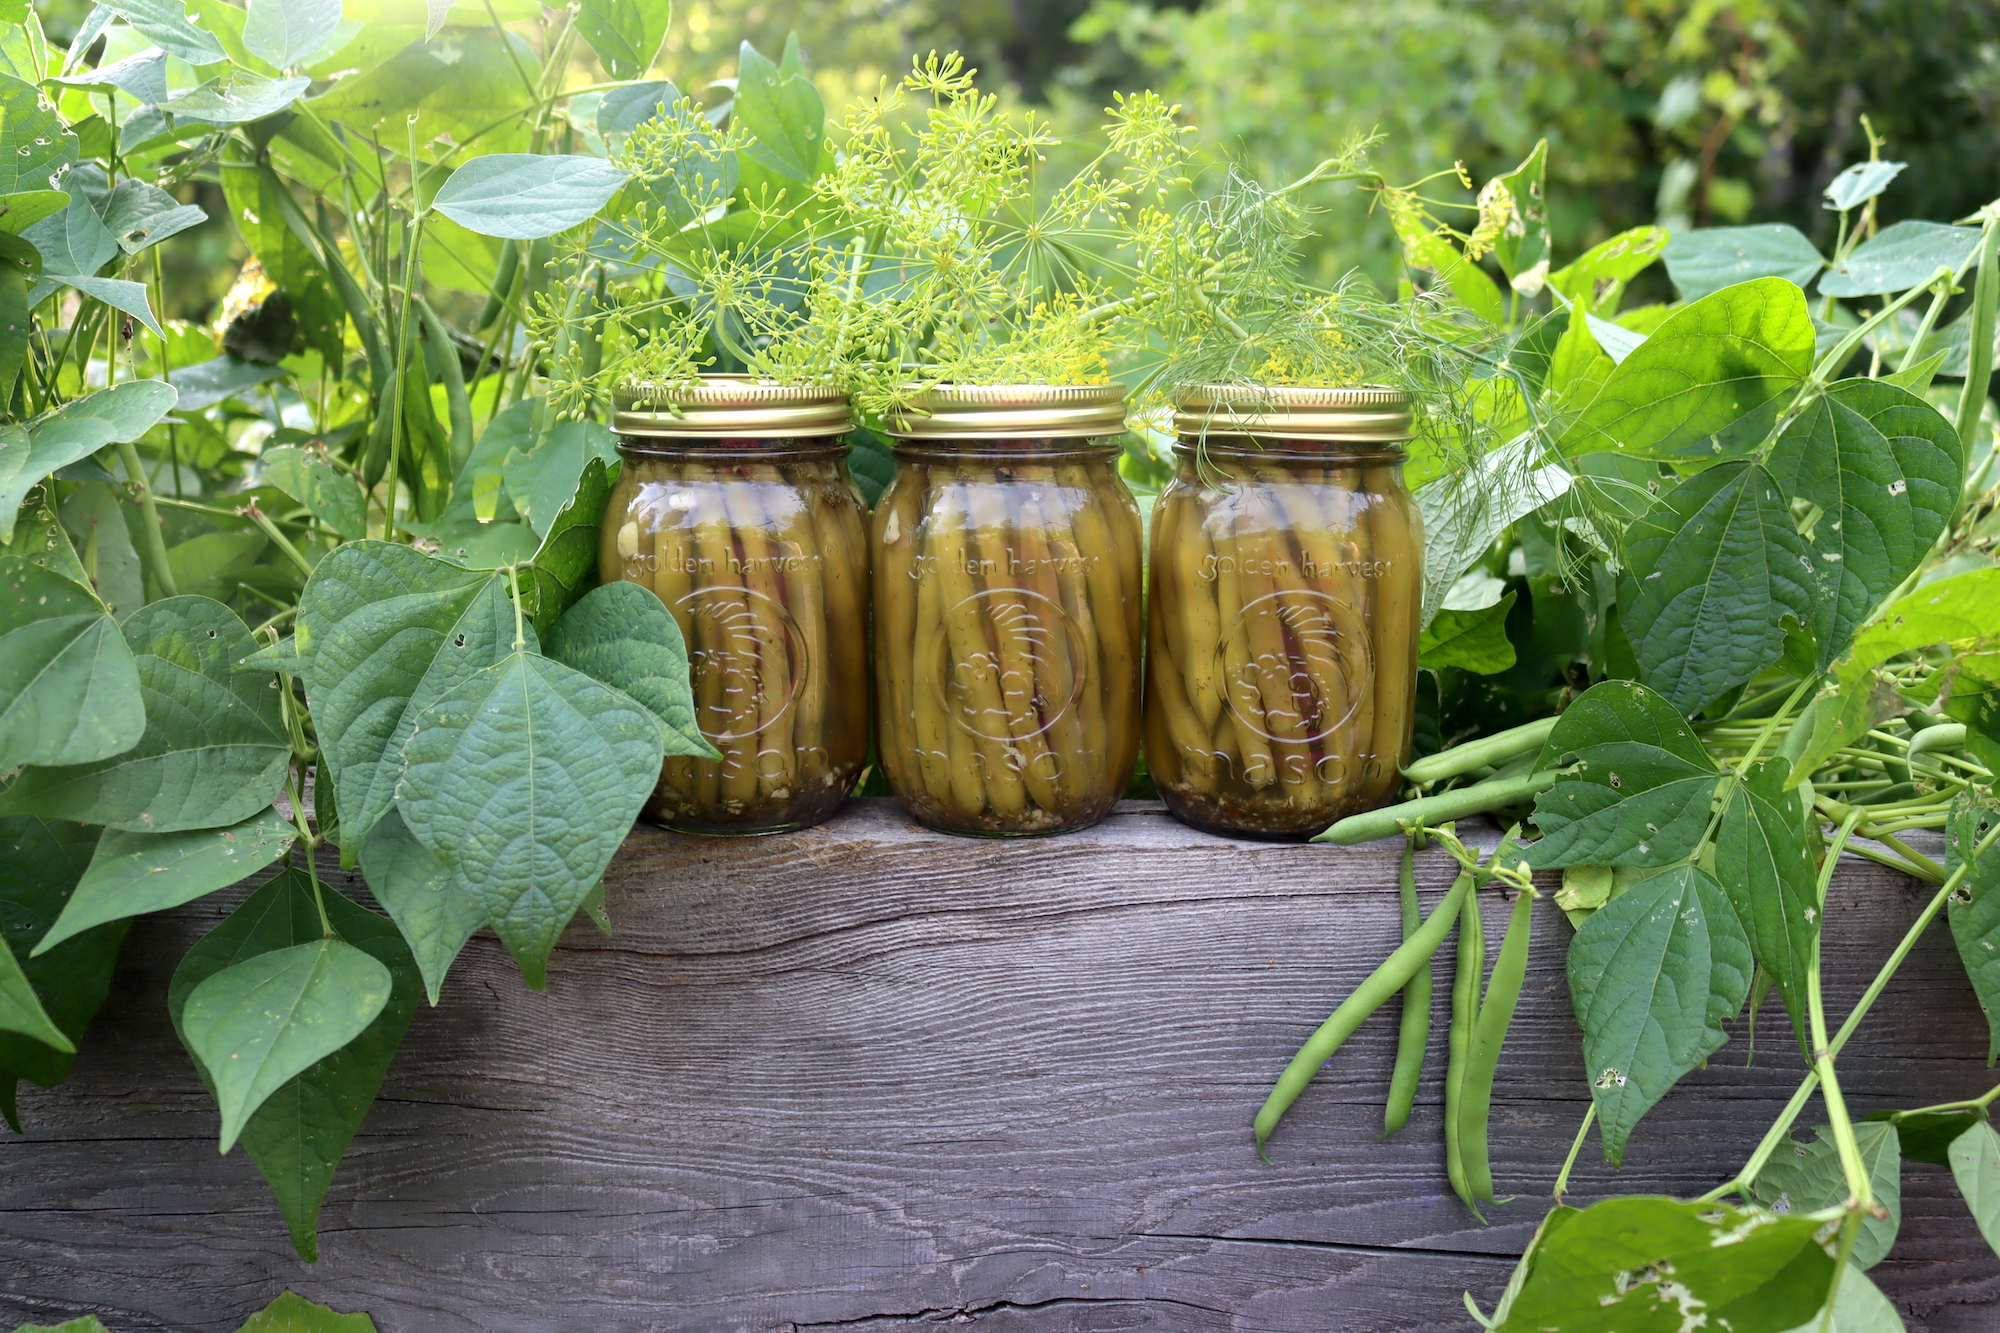
Have you ever tried dilly beans?
These zesty, tangy, and crunchy pickled beans are simply irresistible! Whether you enjoy them as a snack or a side dish, dilly beans are sure to elevate any meal with their bold and refreshing flavors.
Believe it or not, dilly beans are incredibly easy to make and can at home.
It’s a great way to use up the extras from your green bean harvest so you can enjoy them even in the dead of winter.
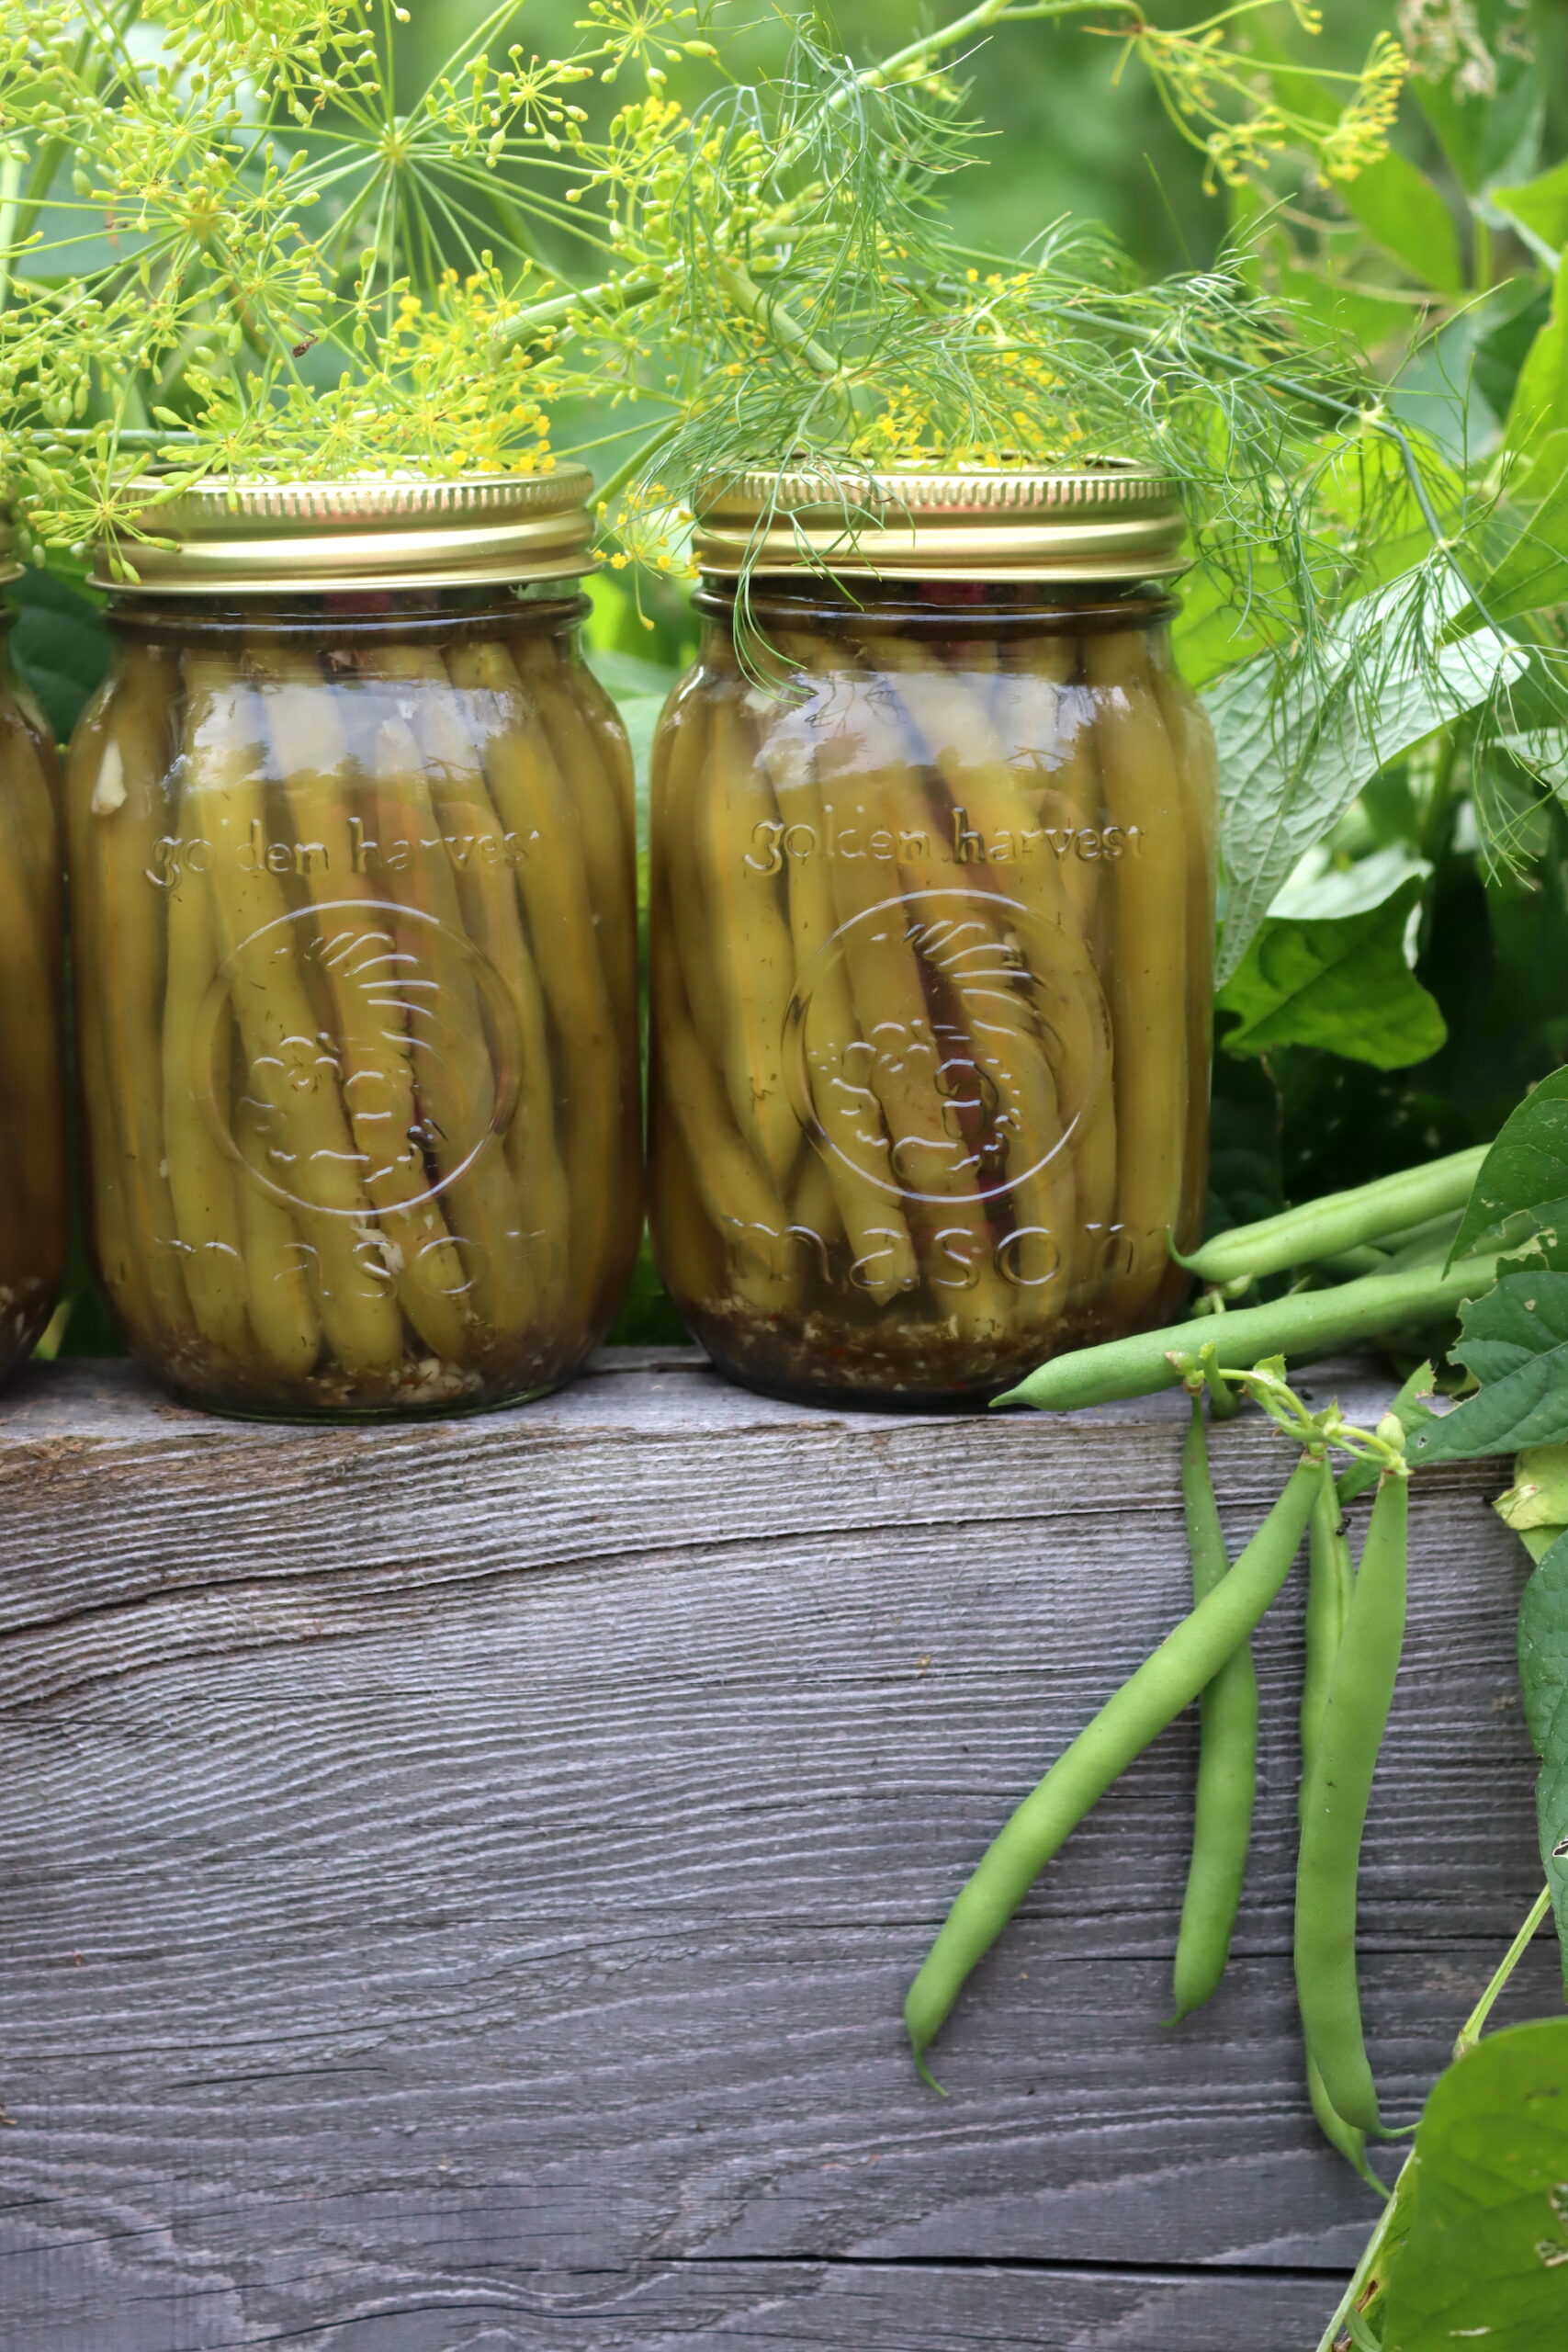
Ingredients for Canning Dilly Beans
This recipe is a safe, tested canning recipe developed by the USDA, and it’s adapted from the USDA’s Complete Guide to Home Canning.
The ingredients for canning dilly beans are quite simple. To make a canner batch of eight pints, you’ll need the following:
- 4 pounds of green or yellow beans
- 8-16 heads of fresh dill
- ½ cup of pickling salt
- 4 cups 5% white vinegar
- 4 cups water
- 1 tsp red pepper flakes (optional)
- 8 cloves garlic (optional)
Whenever possible, choose beans that are fresh and tender (around five to six inches long). This will yield the crunchiest, freshest-tasting finished product possible.
Garlic is optional, but if you’d like to include it and don’t have fresh cloves available, minced is fine – just use one teaspoon of minced garlic for every clove.
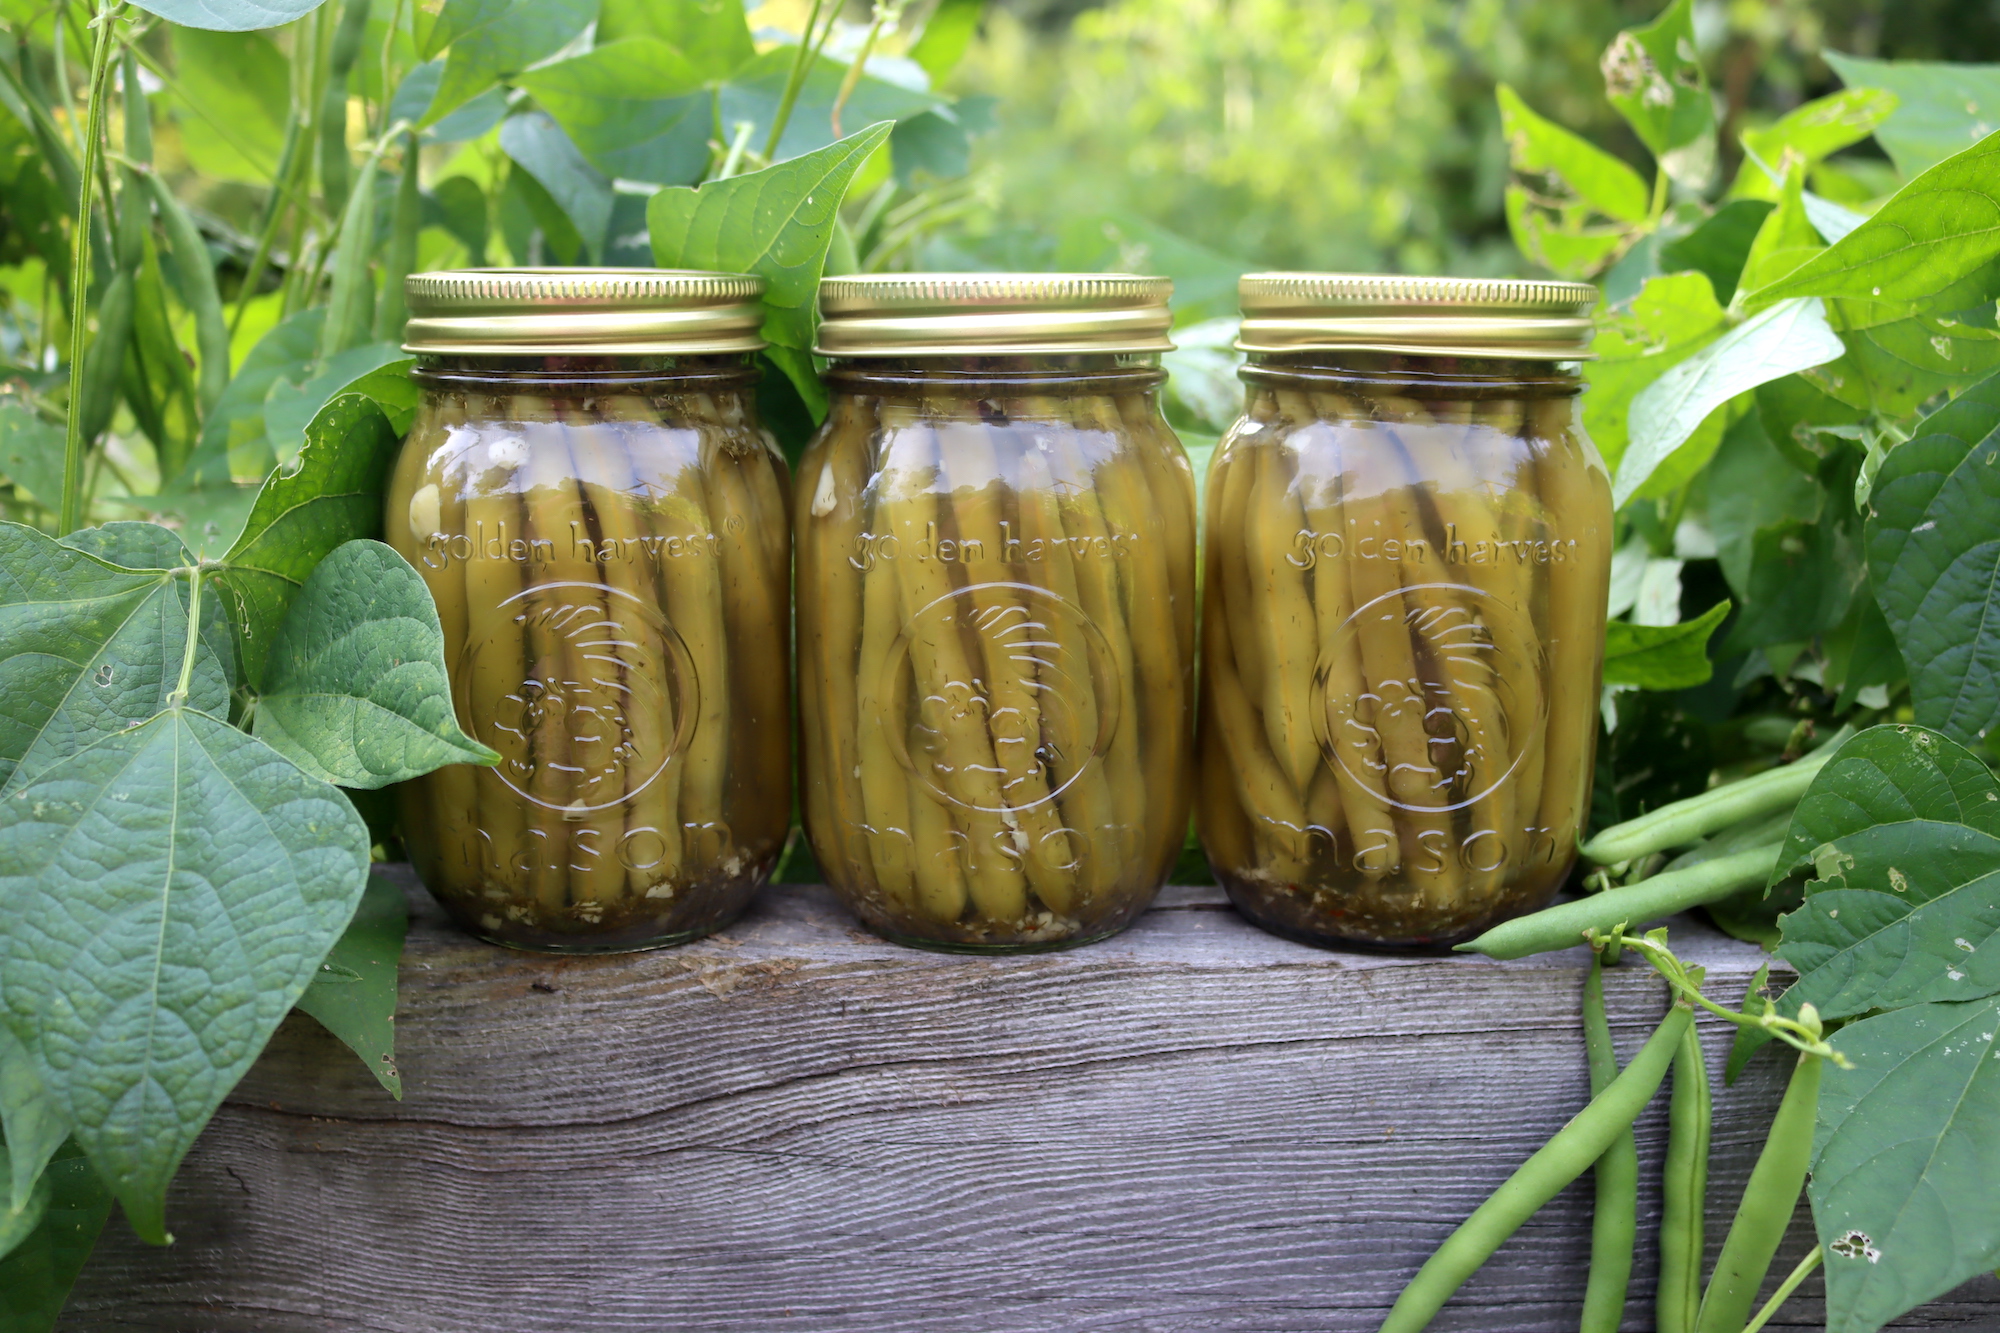
Canning Dilly Beans
Begin by gathering your ingredients. Sterilize your pint jars and lids and have them ready to go.
Wash and trim the ends of the green beans, then cut them into 4-inch lengths. One by one, place the dill heads and garlic cloves (if using) into your sterilized pint jars.
With the beans upright, pack them into the jars, leaving a 1⁄2 inch of headspace. If necessary, trim the beans to ensure a proper fit in the jar.
Now, it’s time to make the brine.
In a medium-sized saucepan, combine the salt, vinegar, water, and pepper flakes, and bring to a boil. Once boiling, pour the hot solution into your jars of beans, being careful to leave a ½ inch of headspace.
Wipe any food residue or liquid that might be on the rims of the jars.
Adjust the lids on the jars, making them fingertip-tight. Then, place the jars into the canner. Add more water if needed.
You’ll process points for 10 minutes, adjusting for altitude as needed. Don’t start your timer until the water has begun to boil.
After the processing time has finished, turn off the heat. You may remove the jars from the canner to let them cool on the counter.
Let them cool for 24 hours, check the seals on the jars, then label and store them for up to one year.
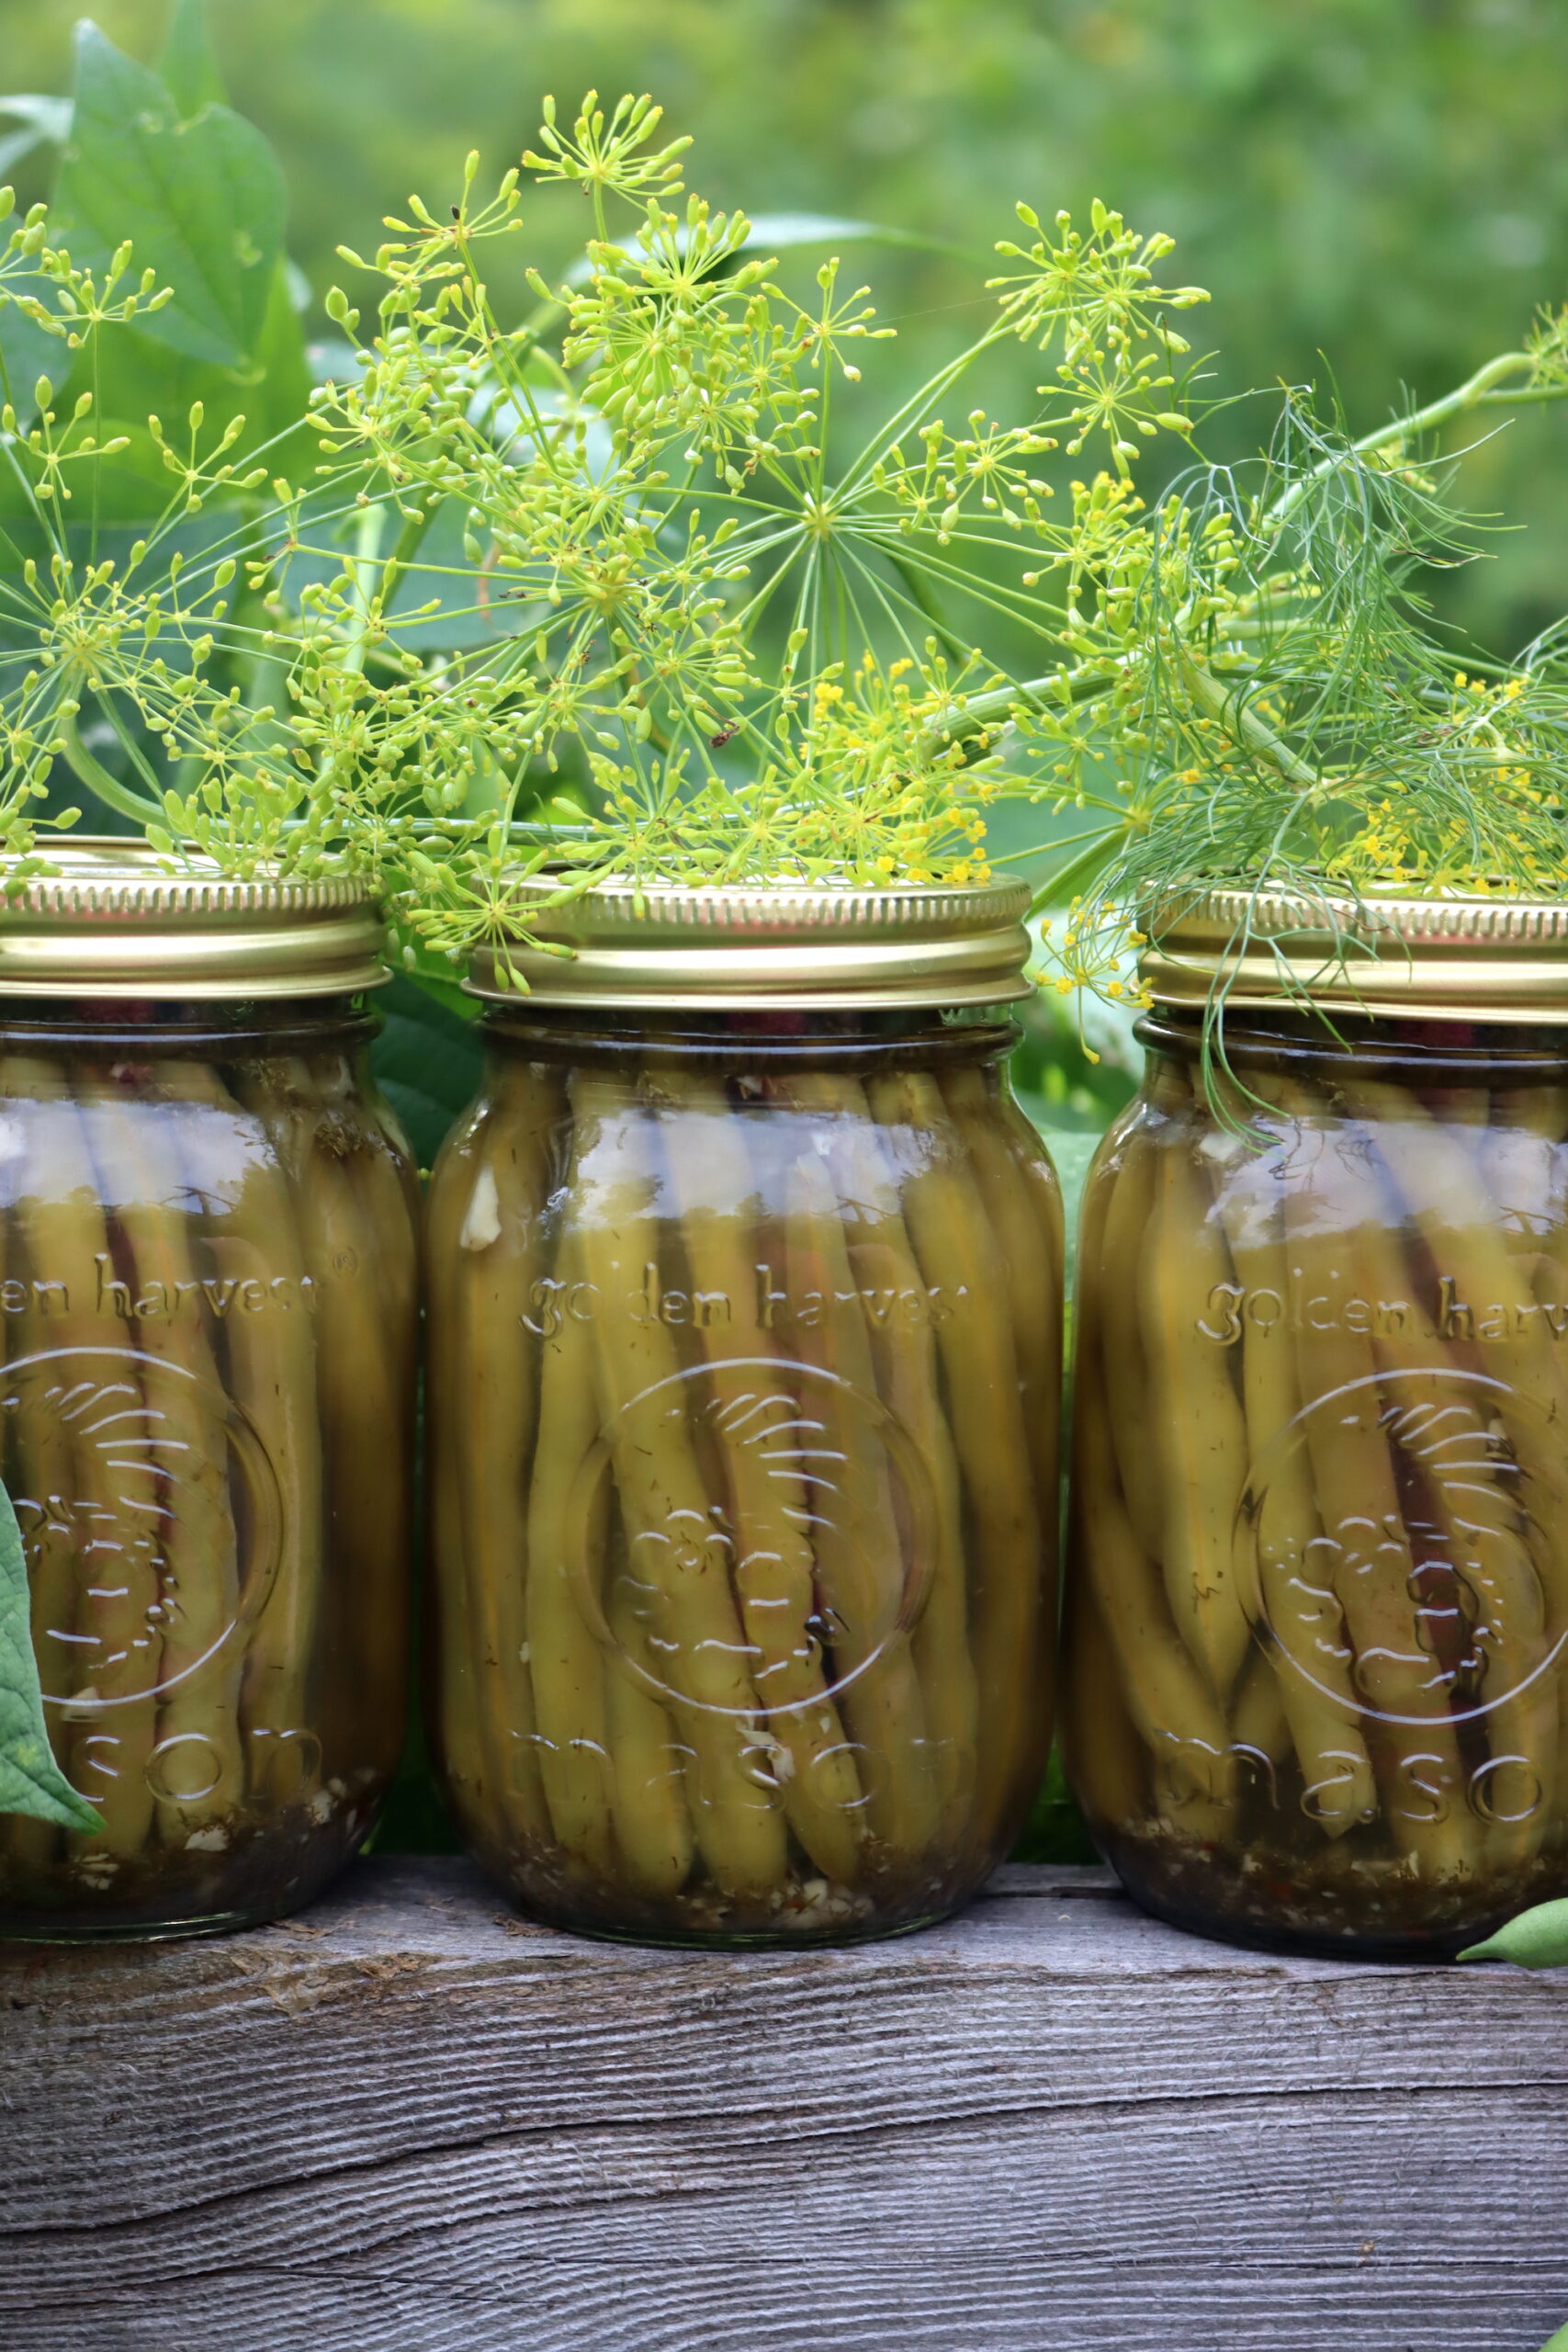
Altitude Adjustments for Canning Dilly Beans
Dilly beans are generally processed in pint jars, and unfortunately, the National Center for Food Preservation has not tested times for quart jars.
The processing time for pints below 6,000 feet in elevation is 10 minutes. Above 6,000 feet in elevation, increase the processing time to 15 minutes.
Processing times are the same if you use smaller quarter-pint jars.
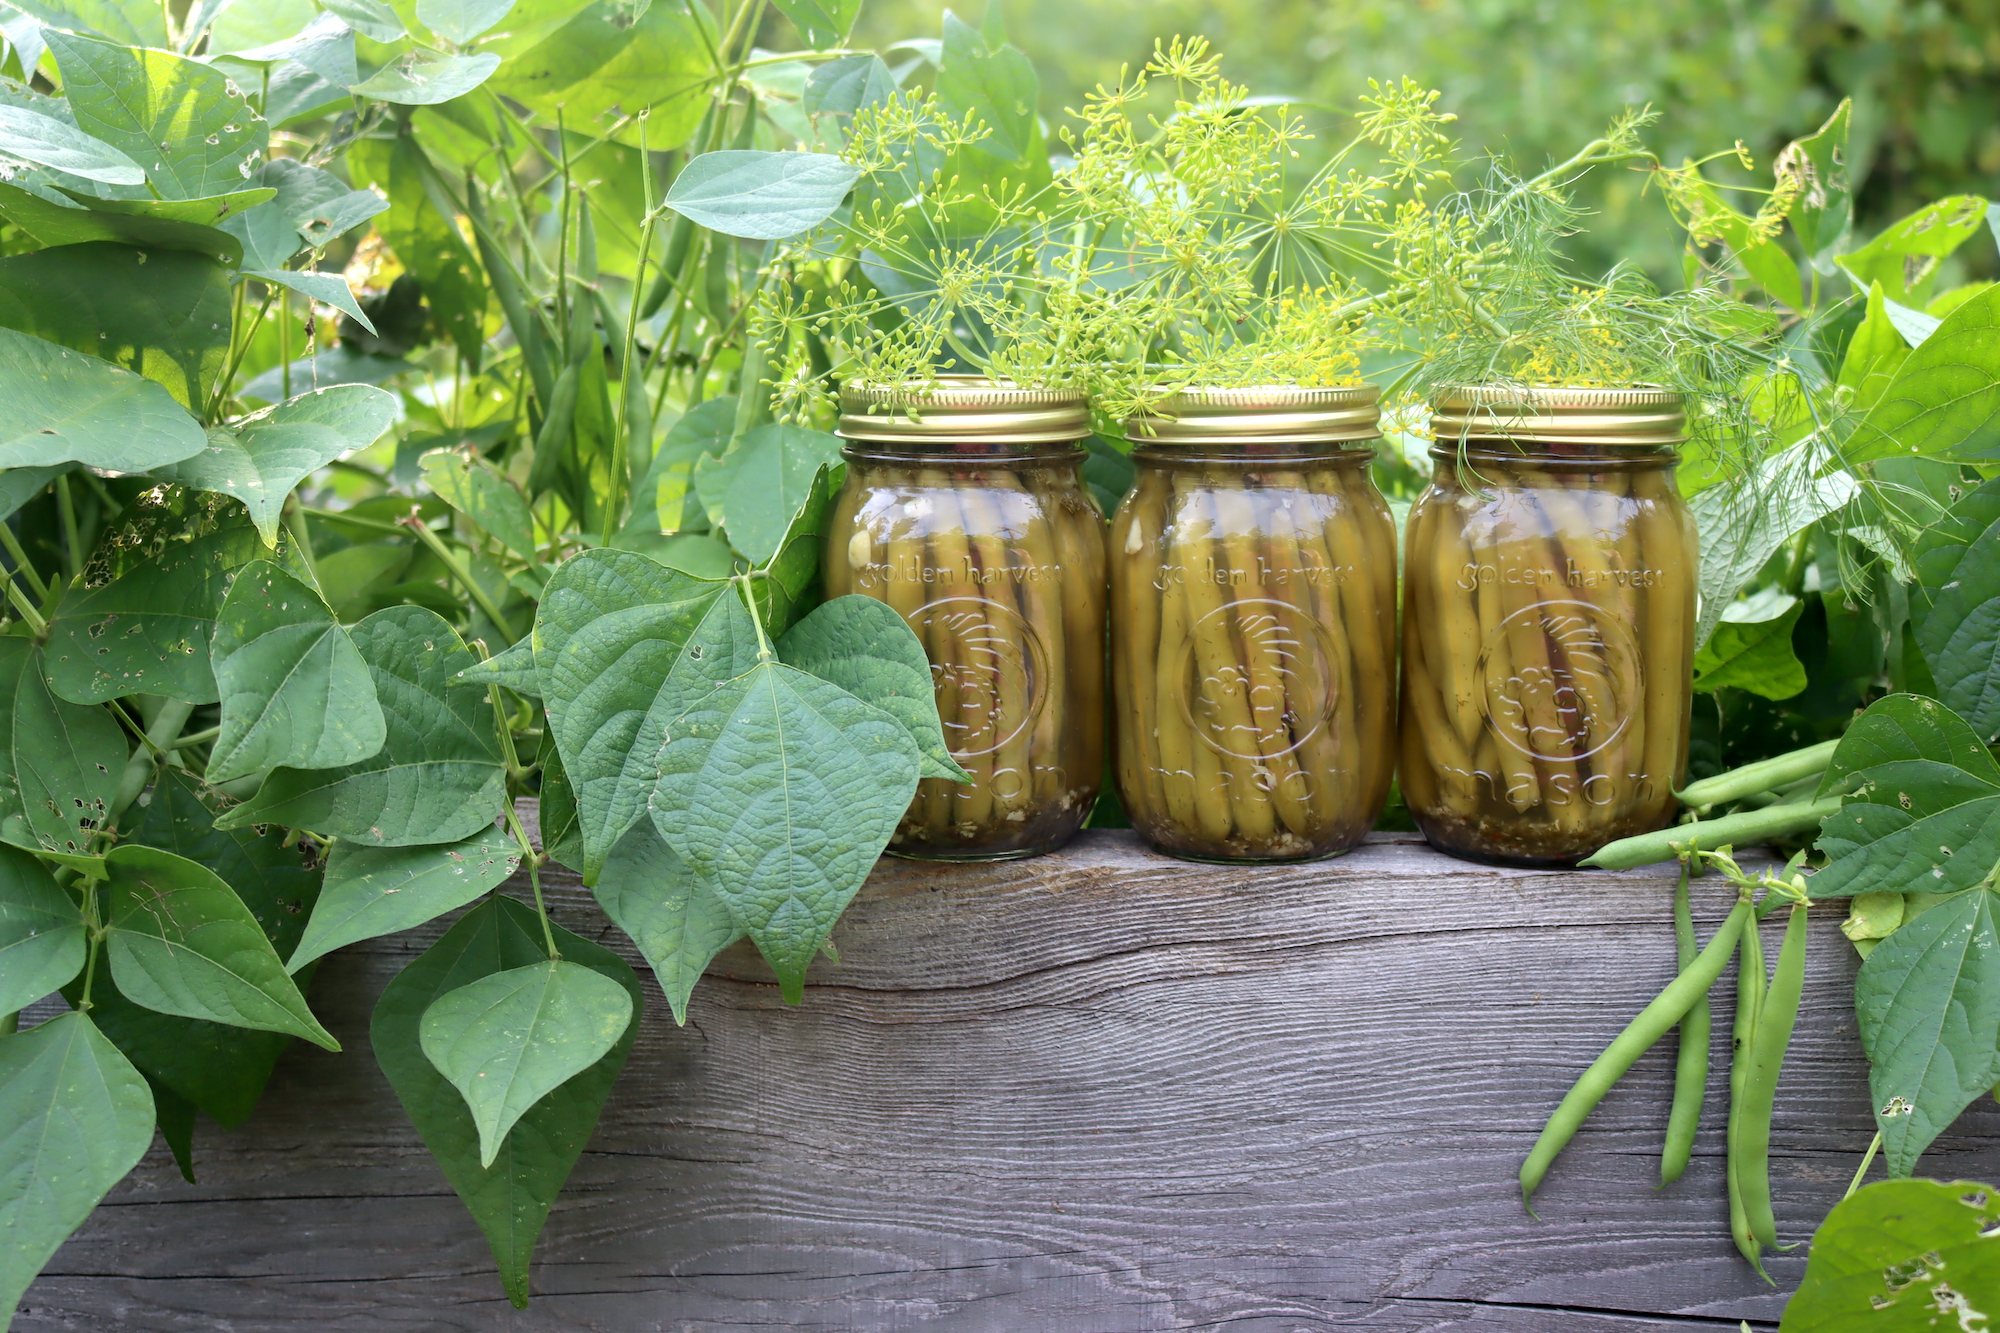
Serving Dilly Beans
Dilly beans are ready to eat straight out of the jar, as they are already seasoned with a mix of vinegar, salt, garlic, and dill.
These delicious little pods can be served in many ways, depending on your taste and preference. If you like them as a snack, you can simply pop them out of the jar and munch on them raw.
They make a delicious and healthy alternative to chips and crackers, especially when you’re craving something savory and crunchy. You can also chop them up and add them to your favorite salad, sandwich, or wrap for an extra kick of flavor and texture.
Dilly beans are a great accompaniment to cheese and charcuterie boards, as they balance out the richness and saltiness of the other items.
When it comes to pairing dilly beans with other foods, there are many options that can complement their tangy and spicy profile. One classic pairing is with beer, particularly light and crisp ones that can cut through the acidity and enhance the herbal notes of the dill. You can also pair dilly beans with wine, especially white varieties that have a vibrant acidity and fruity flavors, such as Sauvignon Blanc or Pinot Grigio.
If you prefer non-alcoholic beverages, try serving dilly beans with lemonade or iced tea, which can balance out the tartness and quench your thirst. As for food pairings, dilly beans go well with grilled meats, fish, or poultry, as they add a refreshing contrast to the charred and smoky flavors.
You can even pair them with roasted vegetables, quiches, or frittatas, as the acidity of the beans can cut through the richness and add a pop of color to the plate.
Dilly Beans (Dill Pickled Green Beans)
Ingredients
- 4 pounds of green or yellow beans
- 8-16 heads of fresh dill
- ½ cup of pickling salt
- 4 cups 5% white vinegar
- 4 cups water
- 1 tsp red pepper flakes, optional
- 8 cloves garlic, optional
Instructions
- Sterilize your pint jars and lids and have them ready to go.
- Wash and trim the ends of the green beans, then cut them into 4-inch lengths.
- Place the dill heads and garlic cloves (if using) into your sterilized pint jars.
- With the beans upright, pack them into the jars, leaving a ½ inch of headspace. If necessary, trim the beans to ensure a proper fit in the jar.
- In a medium-sized saucepan, combine the salt, vinegar, water, and pepper flakes, and bring to a boil.
- Once boiling, pour the hot solution into your jars of beans, being careful to leave a ½ inch of headspace.
- Wipe any food residue or liquid that might be on the rims of the jars.
- Adjust the lids on the jars, making them fingertip tight.
- Place the jars into the canner. Add more water if needed.
- Process pints for 10 minutes, adjusting for altitude as needed.
- After the processing time has finished, turn off the heat. You may remove the jars from the canner to let them cool on the counter, or you can let them cool off inside the canner.
- Let them cool for 24 hours, check the seals on the jars, then label and store for up to one year.
Notes
Altitude Adjustments for Canning Dilly Beans
Dilly beans are generally processed in pint jars, and unfortunately, the National Center for Food Preservation has not tested times for quart jars. The processing time for pints below 6,000 feet in elevation is 10 minutes. Above 6,000 feet in elevation, increase the processing time to 15 minutes. Processing times are the same if you use smaller quarter-pint jars.Pickling Recipes
Looking for more simple pickling recipes?
- Pickled Corn Salad
- Pickled Three Bean Salad
- Pickled Green Tomatoes
- Old Fashioned Lime Pickles (Cucumber pickles with pickling lime)
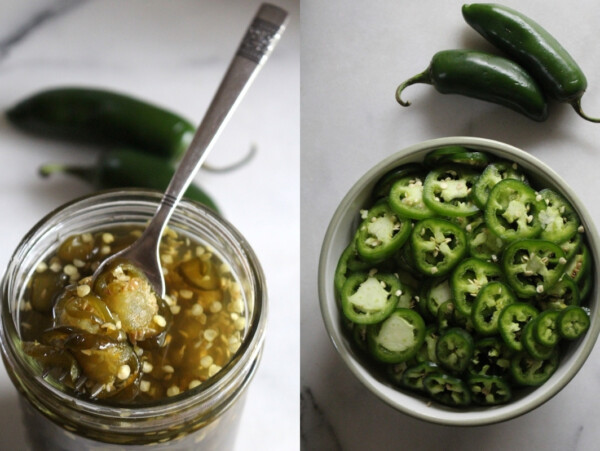
- Pickled Jalapenos
- Dill Pickles
- Bread and Butter Pickles
Summer Canning Recipes
Keep your canning pot bubbling this season with these summer canning recipes!


Question (I’m new to this): The recipe states leaving a 1/2″ headspace when placing the green beans in the jars, and then 1/2″ headspace when adding the hot vinegar. Does that mean 1 inch total headspace (the beans being 1/2″ below the vinegar, and then the vinegar being 1/2″ below the jar edge)? Thank you; I’m looking forward to making this tasty recipe and canning it to give as gifts.
No, the finished headspace is 1/2 inch total. To be clearer, when you add the liquid, you are maintaining the 1/2 inch headspace.
Are you pressure canning these beans of just a water bath canner? Thank you.
These are pickled so they can be water bath canned.
Great Recipe! Love the ease and crispiness of the beans. I used yellow beans and in addition to the garlic glove I added some McCormack pickling spice.
Thanks for sharing. We’re so glad you enjoyed the recipe.