Affiliate disclosure: This post may contain affiliate links. Please see our Privacy Policy.
Driveway alarms have existed, in some form or another, since those first full-service gas stations around the time of the first automobiles. A little bell at the filling station notifies the attendant, but that same principle can be applied at home. These days, driveway alarm systems are inexpensive and much more advanced than old-time types. They’re easy to install, effortless to use, and unlikely to miss a visitor (or go off by accident).
It’s incredibly helpful if you have a long driveway, or just value your privacy and want to know anytime someone’s coming to call.
One of the best things about our homestead is our extra-long driveway that snakes through the woods before reaching our home. We have more than 600 feet of separation from the road, which insulates us from road noise and gives a real sense of privacy.
Add in the fact that our super-insulated house shuts out even the slightest noise, and you’ve got a recipe for a peaceful sanctuary like no other. (And low heating costs, which are great too!)
It’s absolutely spectacular, at least most of the time. Sometimes, absolute peace and quiet have their drawbacks, though. We have a tendency to be surprised by repairmen, package deliveries, or neighbors dropping by. When I’m expecting someone, I walk to the window every few minutes, always wishing I had just a bit of advanced notice before they’re at the door.
Even worse, occasionally, people come up our long driveway uninvited. Once I looked out the window at 10 pm to see taillights driving away, and then I had to run outside to check on everything…hoping nothing’s missing.
We’ve had a string of robberies out here in our rural community, mostly things from sheds and outbuildings where thieves can pull up unseen and make off without confrontation. Quite a few chainsaws have sprouted legs and walked off, leaving nothing but strange tire tracks in the snow…all while the homeowners are present!
Wouldn’t it be nice if I could just know when someone was coming? Confident that we’re alone in our private sanctuary here on the homestead, until I hear a bell that announces someone inbound, whether it’s a friend visiting or someone with less benign intentions.
We looked into all manner of driveway alarm options, but most can be set off by the wind or wandering wildlife. Finally, we found one that gives no false alarms, and it has yet to miss someone coming up the drive.
After installing a driveway alarm, we get 15 to 20 seconds’ notice before someone arrives, giving us time to collect ourselves, or any children or dogs playing outside the house. We’ve had it installed for a few years now, and it’s been an absolute lifesaver.
I honestly can’t imagine living anywhere without it.
Types of Driveway Alarms
All driveway alarms we’re aware of work in basically the same way. Some kind of sensor detects the passage of a vehicle or person and wirelessly transmits to one or more receivers which alert you via sound and/or lights.
The major sensor options available for home use are infrared and magnetic.
Infrared sensors are effectively motion sensors – if something moves in front of the sensor, it goes off. That might be caused by anything from a car to a plastic bag blowing in the wind. They’re good in some ways because they catch every motion…but that also means they’re constantly putting out false alarms, especially if you live in an area with a lot of wildlife.
Magnetic sensors rely on a buried probe that senses metal objects moving past it. In theory, these sensors are intended to detect only vehicles, so it doesn’t go off when deer walk by.
We’ve found that they go off if anything metal moves past, even things a lot smaller than a car. Depending on the type, they can be quite sensitive; ours will go off from someone walking past carrying an object like a shovel, and other metal tools will also set it off (knives, bolt cutters, crowbars, etc).
In principle, you could have a seismographic alert, which detects the vibrations of a vehicle or person walking over the surface. But sensors of this type seem to be limited to protecting large industrial or government installations, not home use. Those would cost you a pretty penny, and they’d still go off when wildlife walks by.
(Dakota Alert does make a system with a rubber hose that works by pressure, just like the systems at service stations. It sets off the driveway alarm by pressure as a car drives over the cable, which should work well in suburban spots with concrete driveways. It’s simple to install, and really all you do is lay the rubber hose across the driveway and tack up the transmitter. Obviously, the cable is visible though, so the visitors will know you have a driveway alarm.)
We’ve found our magnetic sensor to be accurate and dependable, and it’s yet to miss a visitor or go off as a false alarm. We’re using a system from Dakota Alert, which comes with a sensor, transmitter, and receiver. We added on a doorbell that works with the same receiver (but with a different chime), and a second receiver for our shop. That way we always know when someone’s coming, even if we’re not in the house.
If you want to be notified of ANY movement at all near your house, and you don’t live in an area with too much wildlife (like a suburban neighborhood), then you might try an infrared sensor. They work on the same principle as a motion sensor outdoor light (but without notifying the visitor that you know they’re there). In that case, consider an inexpensive solar-powered motion detector alarm option that installs in seconds, and you never have to replace batteries, all for well under $100. On our land here in Vermont, the deer would set it off multiple times a day, but it’d work great in the city or suburbs.
The motion sensor model is simple, and completely plug-and-play. The magnetic version is a bit more complicated to install, but it’s well worth it for rural homes with long driveways. That’s what I’m going to take you through, as that’s what we use. You should be able to install it in under 2 hours, and if it’s done right, it’ll last a lifetime.
Driveway Alarm Components
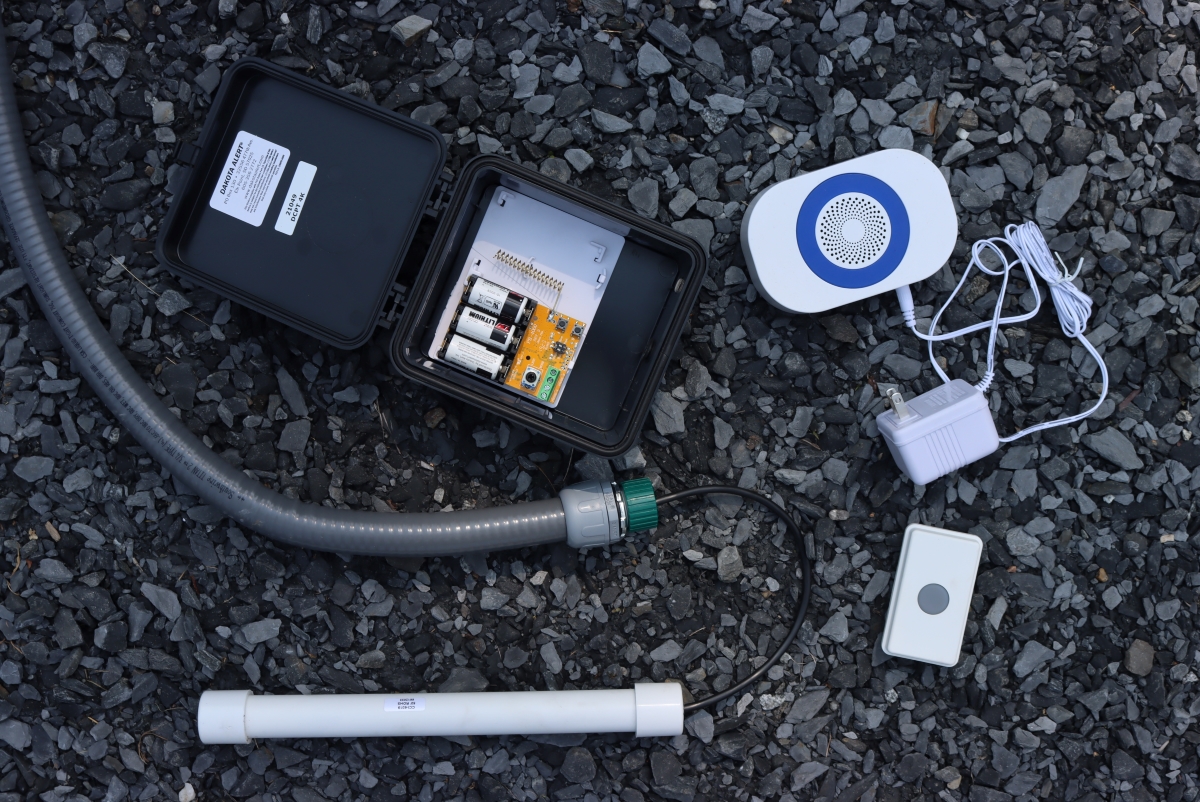
The parts of a driveway alarm are pretty simple. We’re using a Dakota Alert 4000 System, which includes:
- Battery-Powered Transmitter ~ It can be mounted outdoors near your driveway, either visible or hidden, and it’ll transmit up to a mile to the receiver in your house. Ours is powered by three CR123A batteries, which last years.
- Sensor Rod ~ This attaches to the transmitter with a 50-foot cable, and needs to be placed near the driveway. Ours is buried a few inches deep along the side of our gravel driveway. It does not need to be under the driveway, just near it.
- In-home Receiver ~ This plugs into the wall and goes off when the driveway alarm detects someone coming. It can be set to a number of different chimes, and it also has a silent mode that goes off with a light (great if you have napping infants at home).
- Optional doorbell ~ It connects to the same receiver and allows you to have a wireless doorbell that can go off in multiple locations. I actually carry one of these with me when I’m out working around the house, so I can signal my husband if I need help. Works wonders in an area without cell phone reception, and it’s easy to carry.
They also sell a door or window security kit that detects if a door or window is opened and signals on the same alarm system (either as an auditory alarm or as a silent light).
We added a flexible conduit to protect the cable, which is essential with rodents and other wild animals in the area. That ensures that our system is durable and long-lasting, and won’t be damaged by rodents or frost heaves.
Installing a Driveway Alarm
It’s worth giving some thought to the best location for a driveway alarm before you install it.
You will want to balance maximizing the amount of time between the alarm sounds and your visitor’s arrival, and false positives. With our magnetic system, we placed the sensor about 100 feet after the start of the driveway. This prevents any false alarms from trucks driving by on the road (or pulling into our driveway to make a U-turn), but still gives us plenty of advance notice.
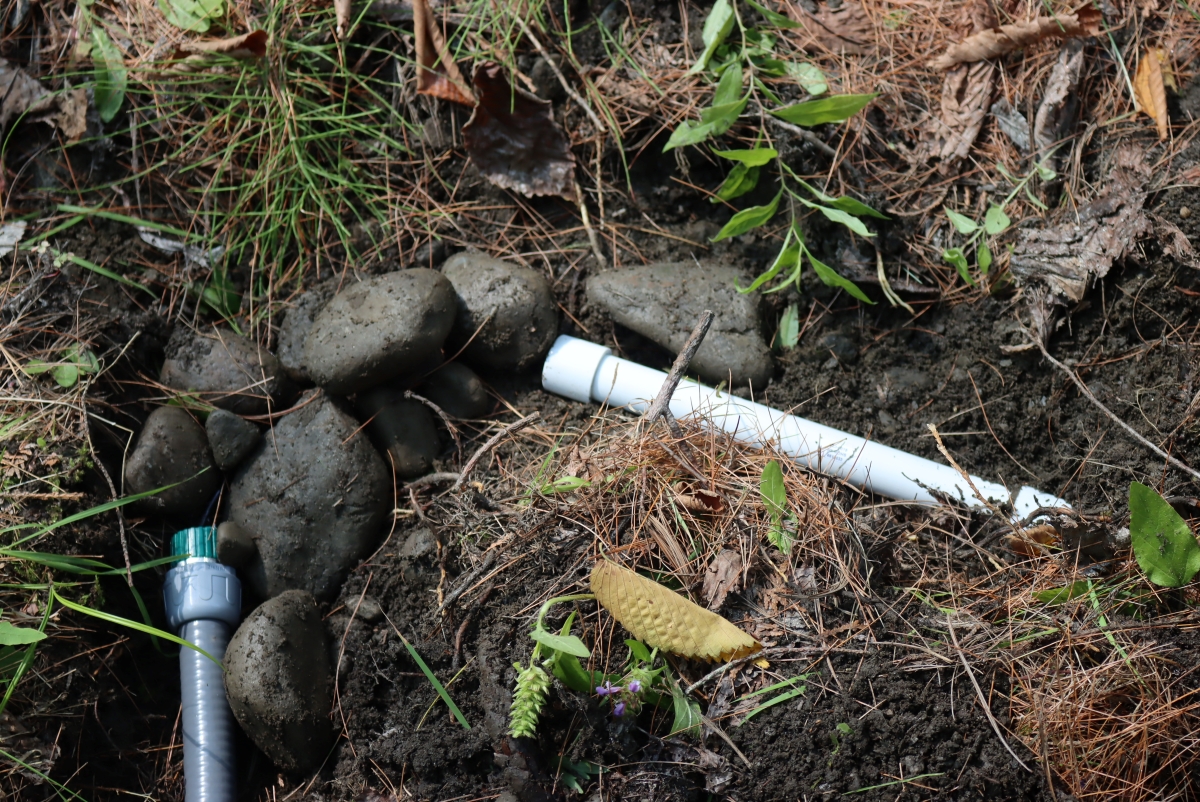
The sensor doesn’t actually need to be under the driveway to work, just nearby, so it’s fine with paved driveways. Our driveway is gravel, but with all the plowing that happens in the winter, we didn’t want to put it under the actual driveway surface. It’ll eventually work its way up with frost heaves, or the plow will scrape down to its level. Either way, installing under the driveway is a recipe for destruction in our snow-bound land.
We buried the sensor next to our gravel driveway, a few feet from the edge. It still goes off if something small and metal moves on the far side of the driveway 12 to 15 feet away, like someone walking by with a metal tool. It definitely signals every time for something as big as a car.
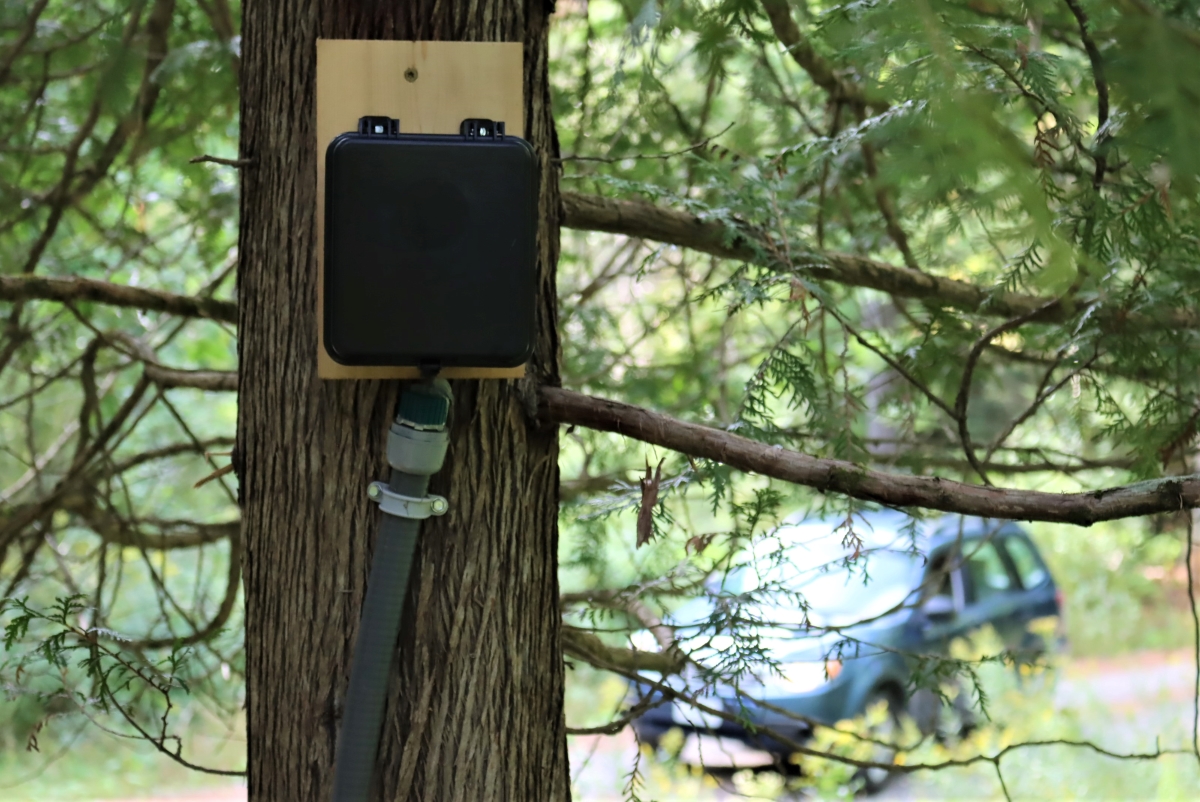
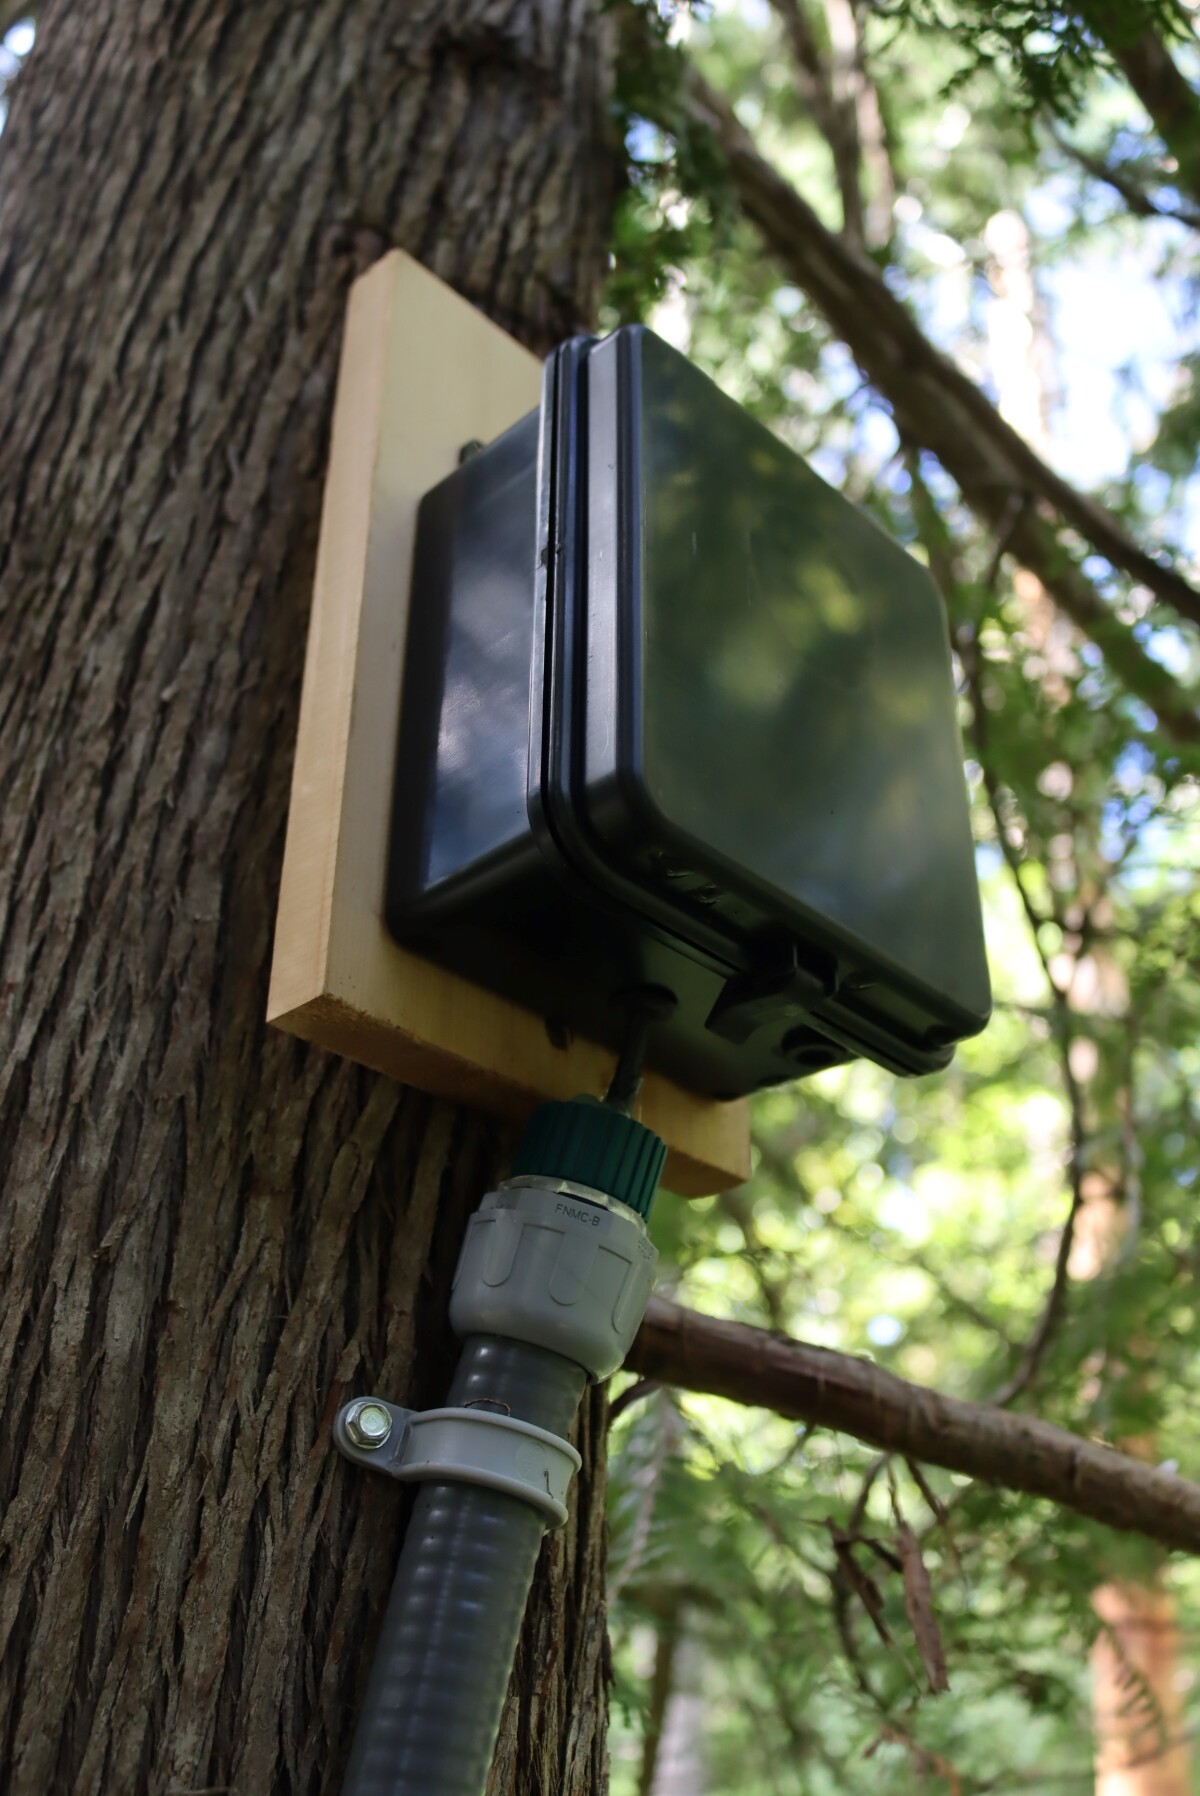
The antenna/control box should be placed high off the ground, both to improve radio range and to protect it from snow, pooling water, or inquisitive animals. We had plenty of trees to choose from, but depending on your homestead, you may prefer using a fencepost or the side of a building.
Ours is hidden on the backside of a tree, facing the house for good transmission but hidden from view if you’re on the driveway. My daughter insists that we need to spray paint the whole thing brown to hide it better, and maybe she’s right…but driveway alarms aren’t exactly common. No one’s expecting you to have one, so no one’s looking to find one. Even if they were, scouting 600 feet of driveway in the off chance there might be something is more likely to get you seen (and photographed) by a trail cam, which are common around these parts.
The sensor comes with a 50-foot cable, so the transmitter isn’t right next to the driveway anyway (unless you want it to be).
And if you want to really hide it, there are plenty of good ways to do so if you’re creative.

One downside of magnetic-type alarms is that they rely on a buried cable between the sensor and the control box.
The first time we installed a driveway alarm, we just buried the cable and then ran it up the side of a tree to the transmitter. Unfortunately, our local wildlife loves electrical cables, and it only lasted a year before they found the wire. We noticed the problem after getting a bunch of false alarms, followed by the alarm not working at all.
Not protecting the wire was a very expensive mistake for us!
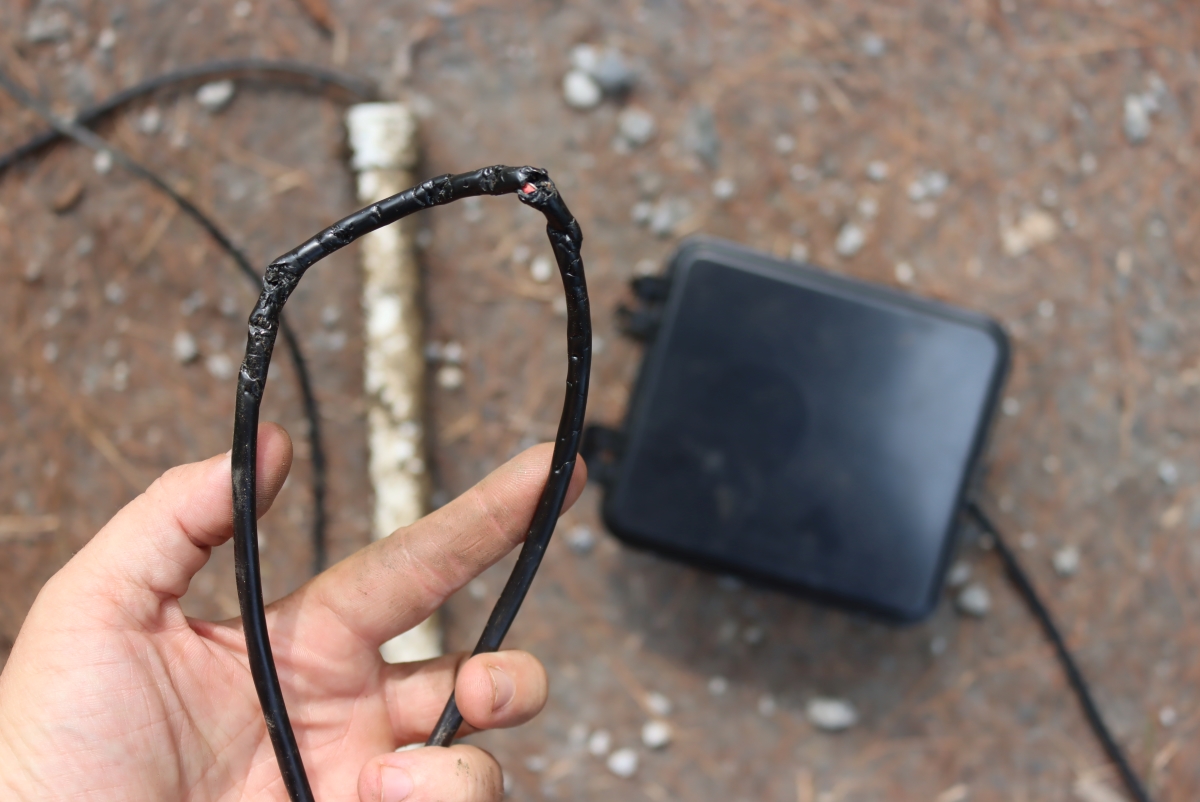
After that experience, we protected the entire cable of our next installation using a liquid-tight flexible conduit rated for underground burial. We decided to go with one that includes an interior sheath of metal tubing, which is more expensive but will hopefully save us any repeat experiences with chewing friends.
To install a driveway alarm the way we did it, you’ll need the following:
- Dakota Alert Magnetic Driveway Alarm ~ Includes sensor, transmitter, and receiver
- Liquid-tight 3/4″ Conduit
- 3/4″ conduit fittings
- Hose caps (preferably plastic so they are easy to drill)
- U brackets to attach the conduit to a tree or post
- All-Purpose Silicone caulk
- Cordless Drill & screws ~ For attaching the transmitter to a post or tree
- Shovel
- Wire strippers (optional) ~ Only if you need to shorten the cable length
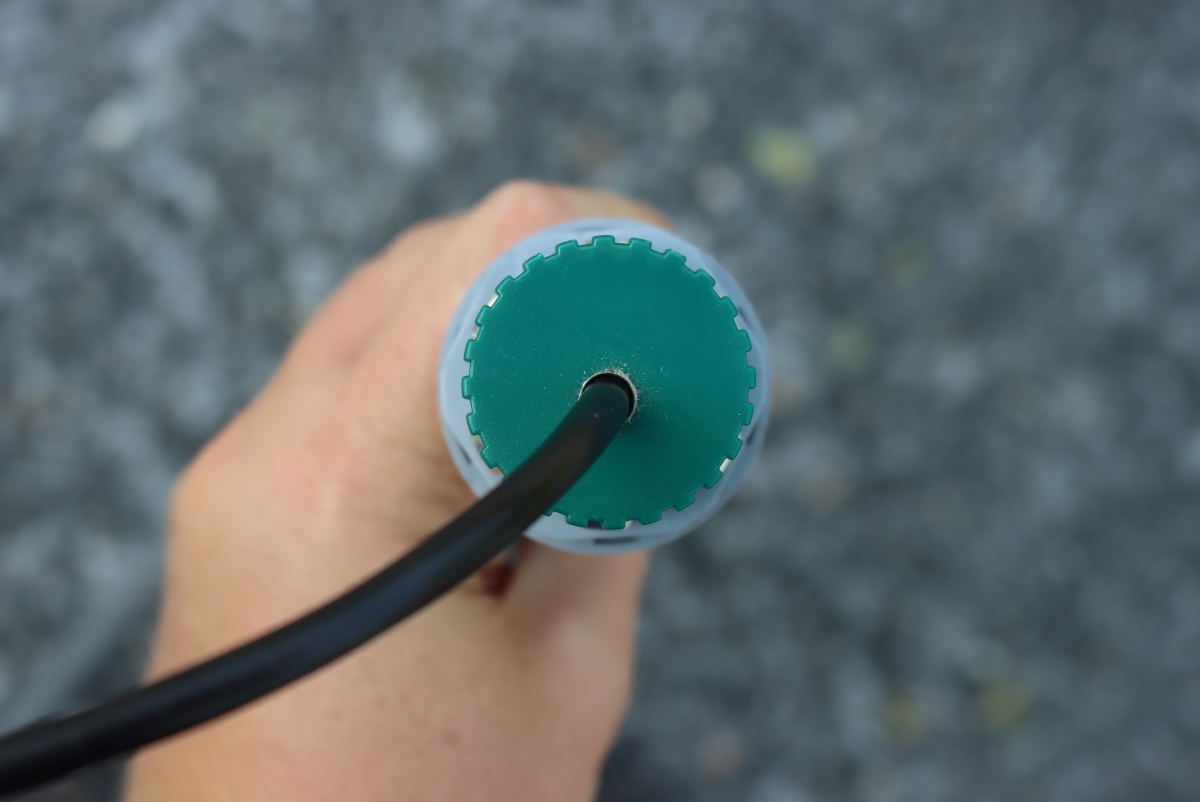
The idea is simple: the cable runs through the conduit. At each end, a fitting is attached, and a hose cap is placed onto that. Drilling a hole through the hose cap allows the wire to pass through. Finally, both ends are sealed with silicone caulk.
Start by detaching the cable from the circuit board in the transmitter box. It’s tightened on by a pair of screws, and it comes off with a few twists. Make sure you note which color wire goes into which terminal!
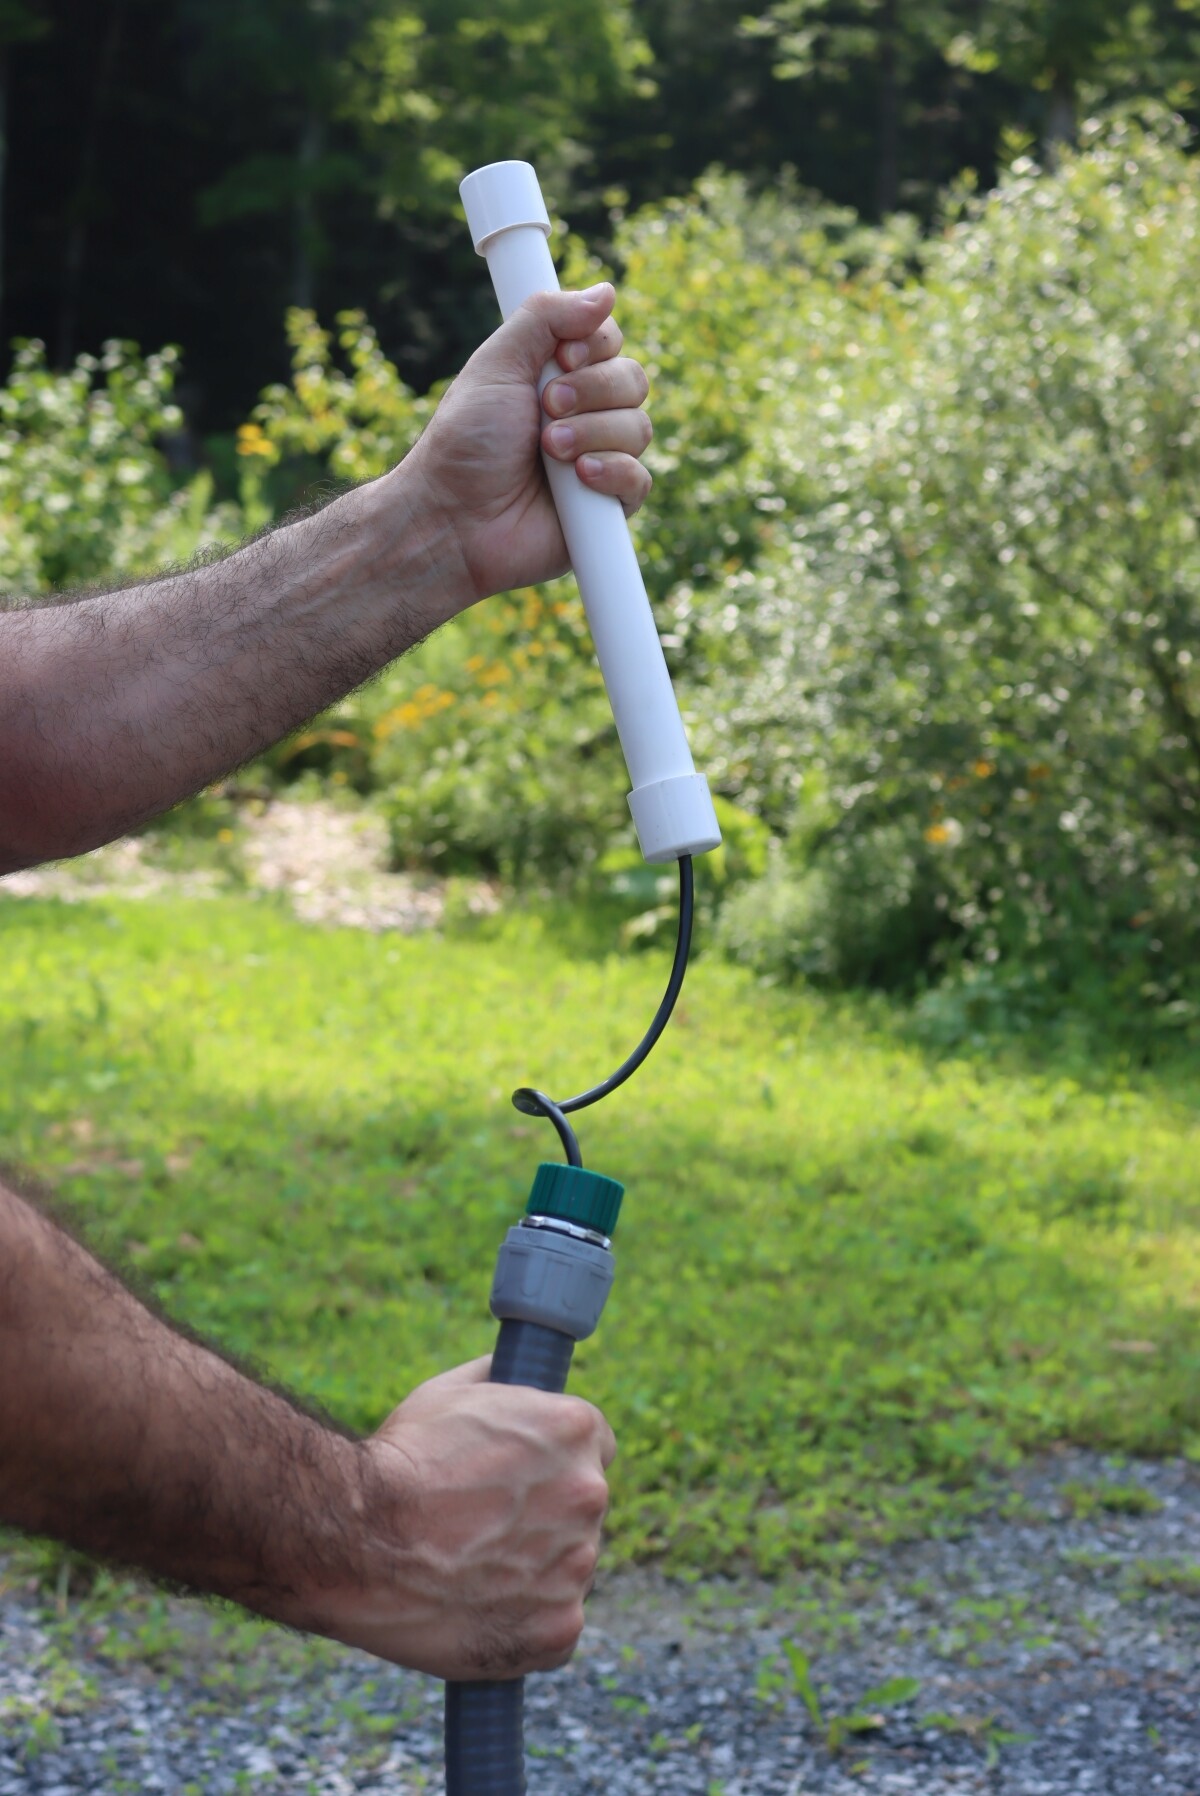
Next, simply feed the cable through the conduit. The cable is somewhat rigid, so we just fed it through from one end, and we were able just to push it all the way through.
There’s another technique I know for getting the wire through a conduit, and it starts by using a shop vac to suck a piece of string or twine through the conduit. Once the string is through and sticking out both ends, you tie it onto the cable and just pull it through. That wasn’t necessary in our case, but if you have trouble, that’s a simple way to make it all work.
Only one side of the cable is detachable – the side that feeds into the sensor will not detach. You’ll be feeding the cable through toward the transmitter. In the end, you’ll have a short distance of cable attached to the sensor; the shorter, the better, and then the sensor itself.
The ends of the conduit were sealed by attaching conduit fittings, onto which we screwed hose caps. The hose caps are solid, so to run the wire through, we drilled an appropriately sized hole with a cordless drill.
After detaching the wire from the control circuit, we fed the wire first through the hose cap, then the conduit. After feeding the wire all the way through, we could feed on the other hose cap.
Finally, during installation, we sealed both sides using waterproof silicone caulk. We wanted the whole setup to be waterproof, so water isn’t pooling inside the conduit underground. Probably not necessary, given that it’s coated wire that’s designed to be buried as it is, but we didn’t want to have to install this thing a third time.
An ounce of prevention is worth a pound of cure, as they say…and in this case, a few ounces of silicone cost just pennies.
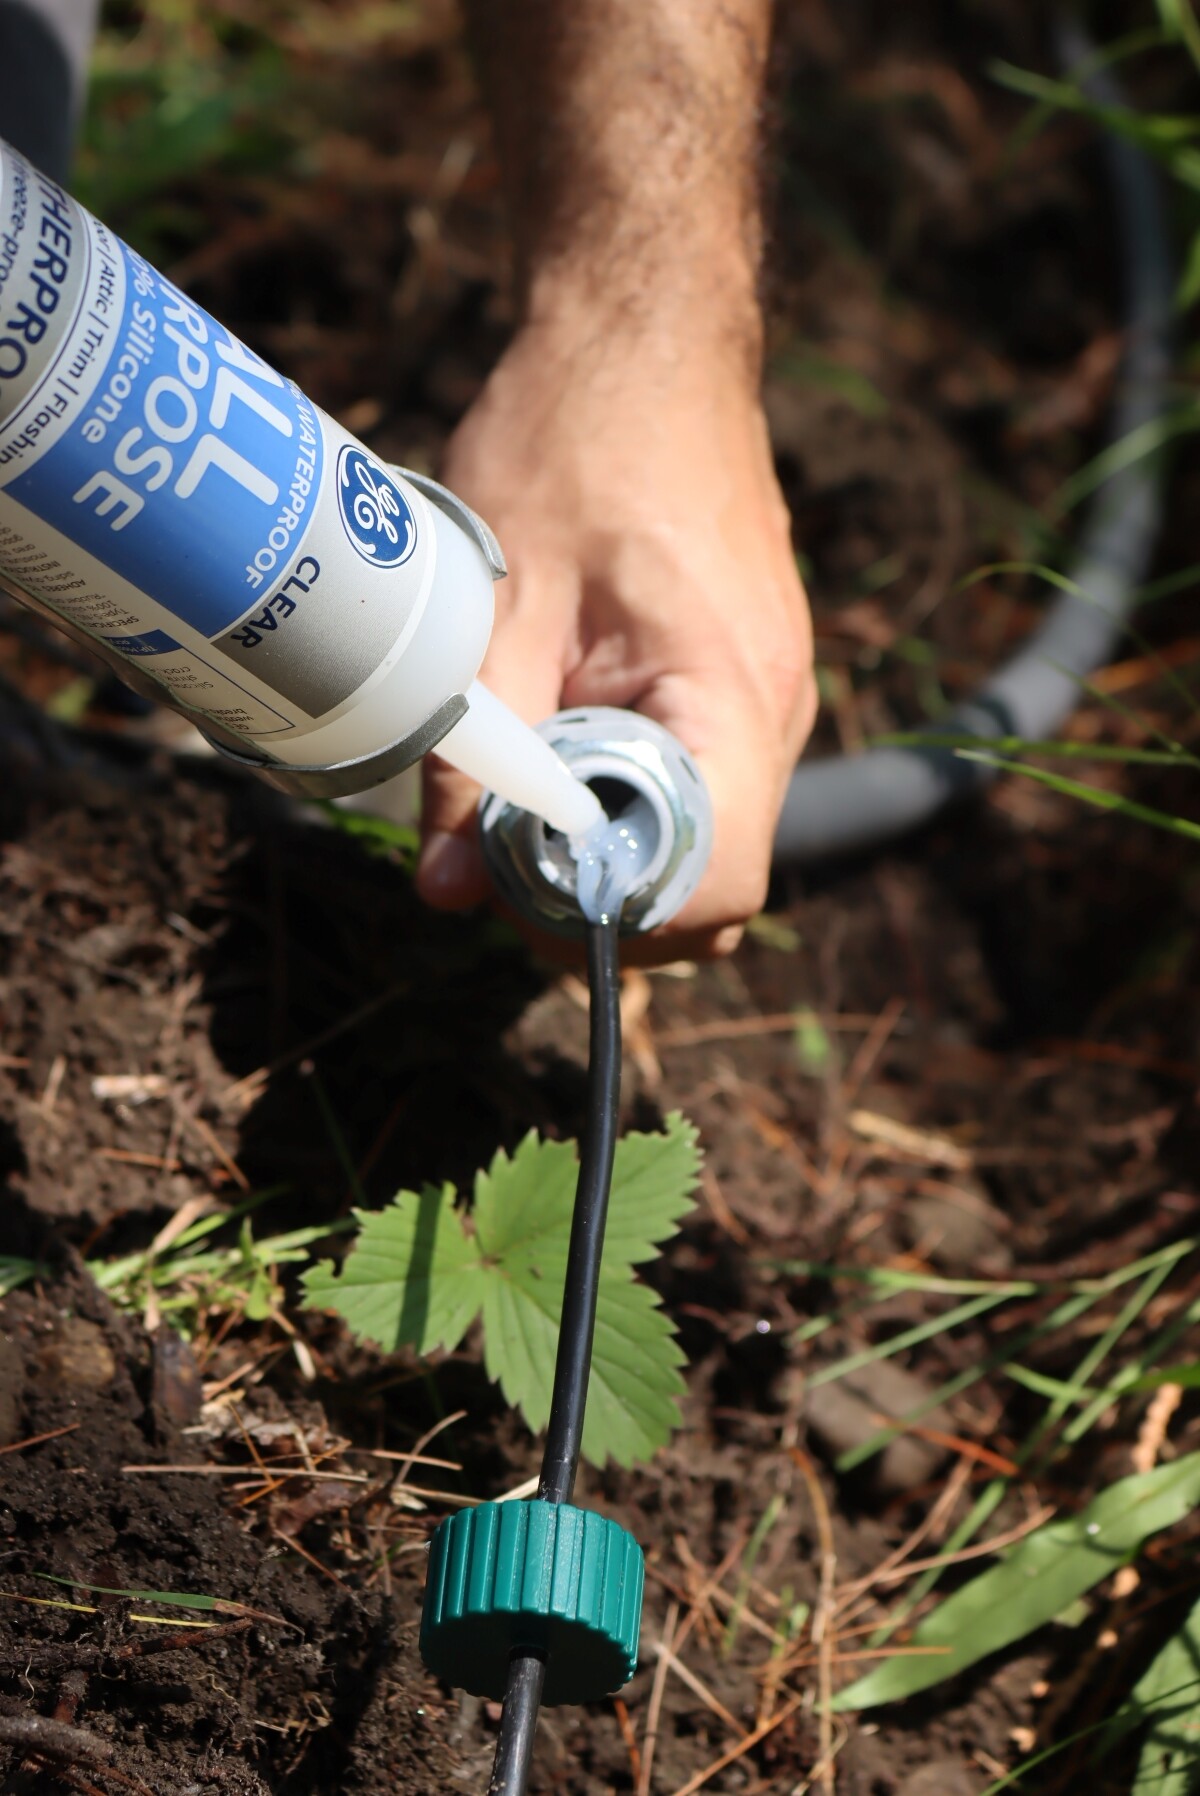
Once we’d caulked everything into place so it was all watertight, it was time to re-attach the cable to the transmitter. We only needed 25 feet of the 50-foot cable, putting it all into a 25-foot conduit. We cut off the other 25 feet and stripped off the wires to reattach them to the transmitter.
If you’re using all 50 feet, that’s even simpler, and you’ll have your transmitter farther from the driveway, making it easier to hide if that’s your goal. In that case, you can get just get 50 feet of conduit and skip the wire stripping.
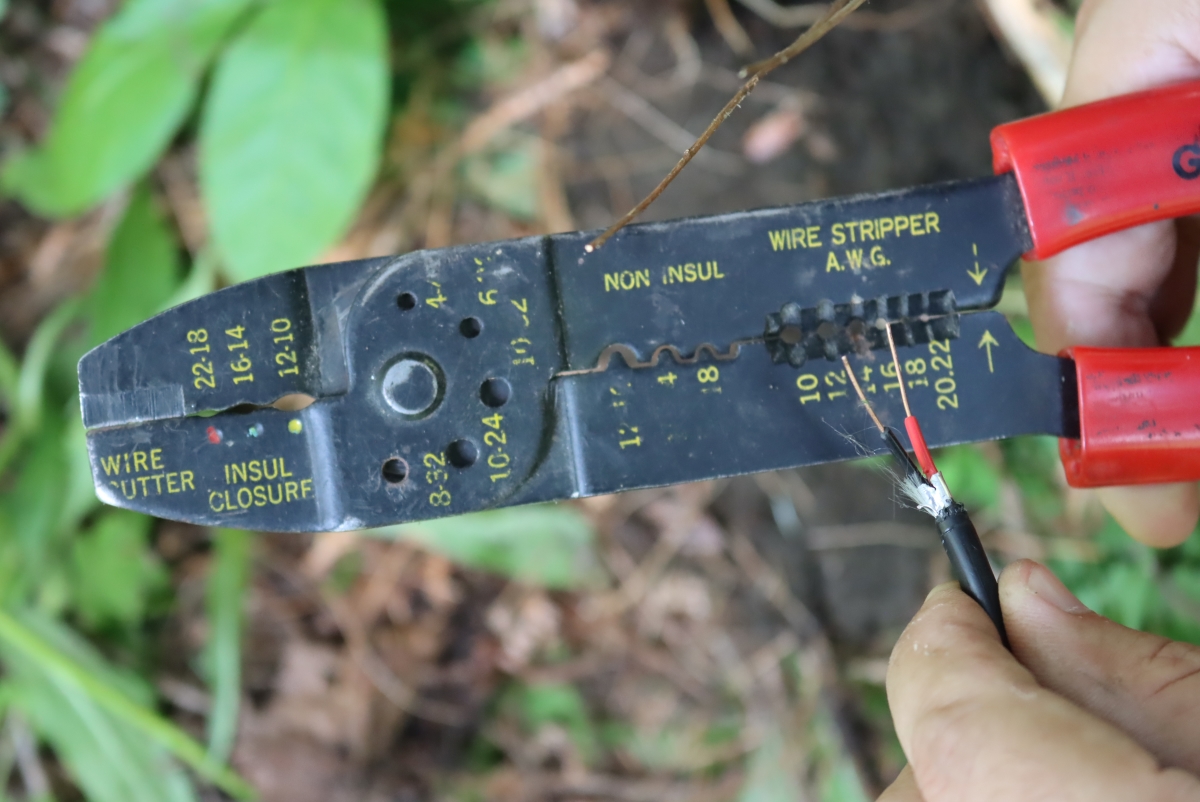
For whatever reason, if you end up shortening the cable as we did, then you can use wire cutters with built-in wire strippers. They’re a handy tool to have around the house anyway.
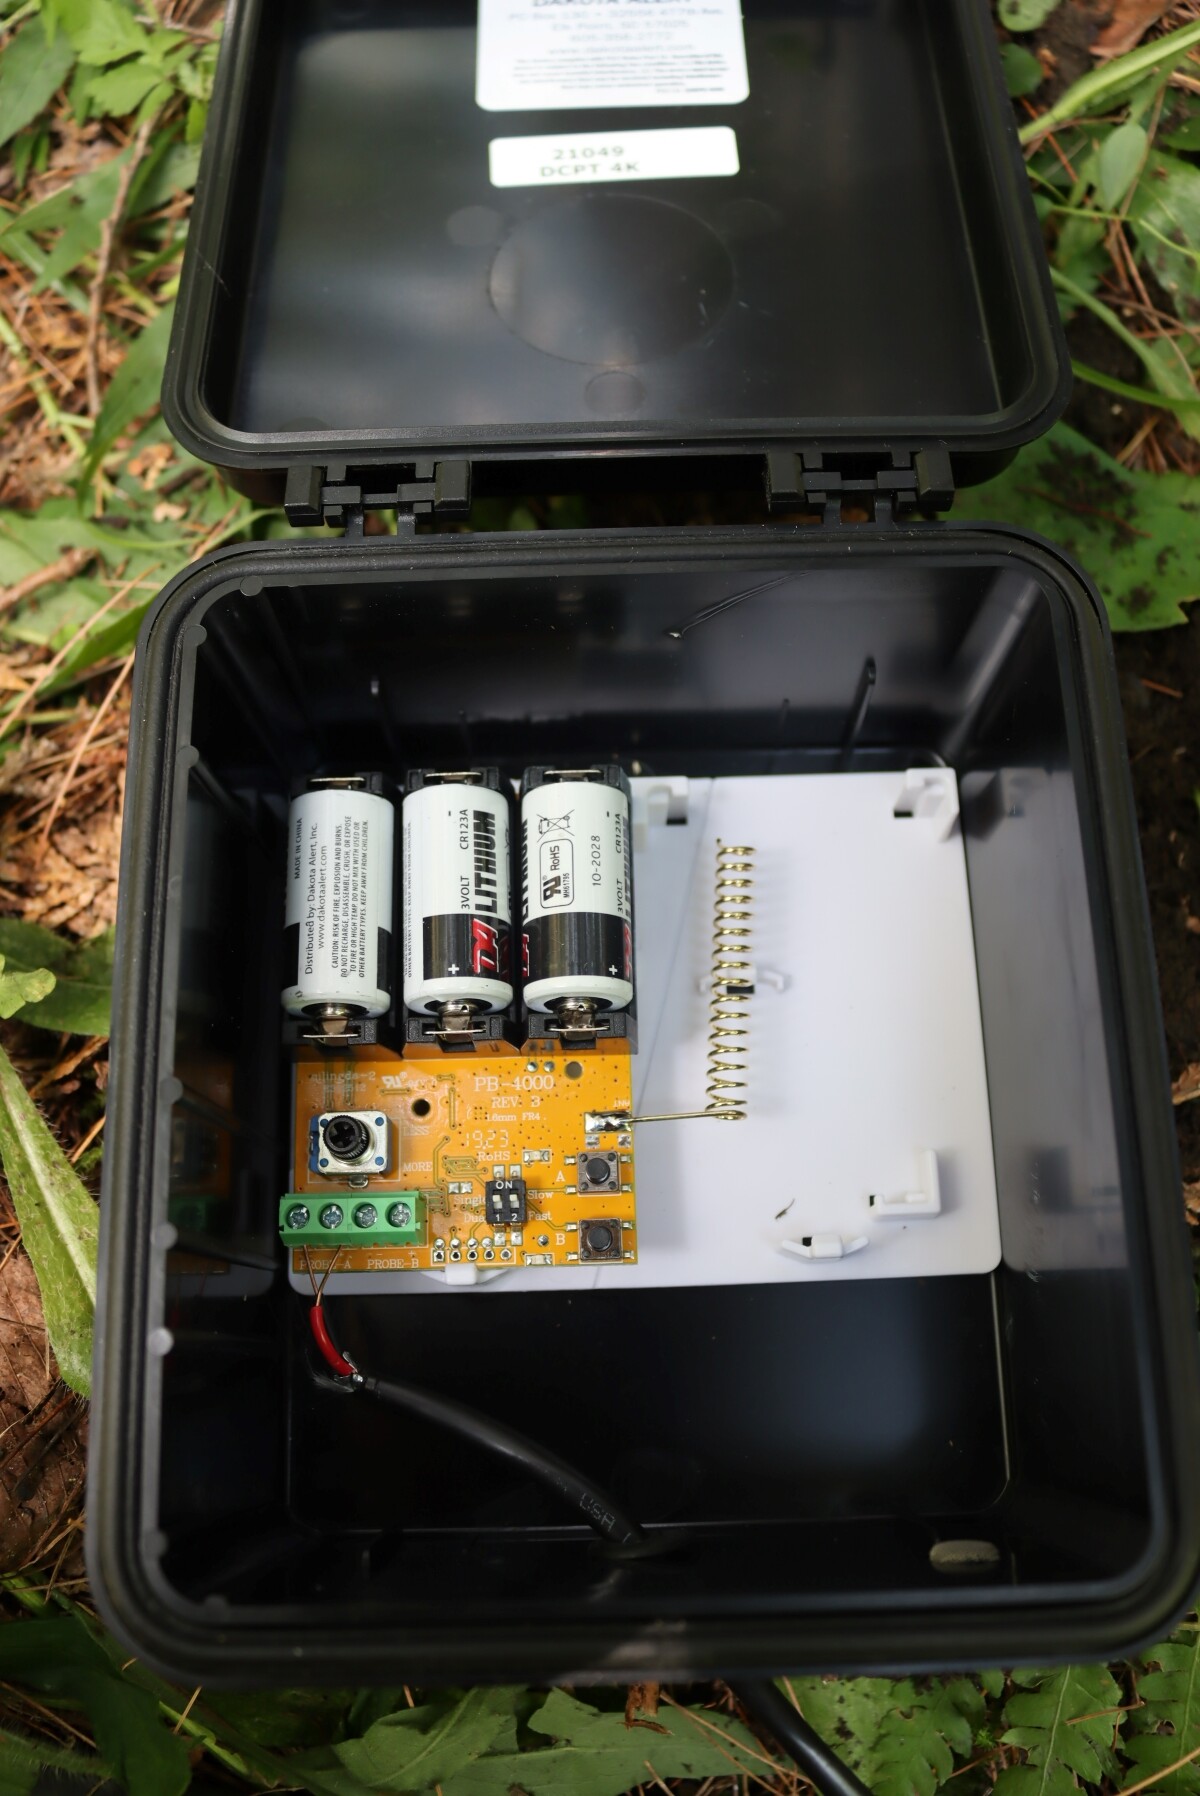
Here’s the inside of the control box (below).
As you can see, it’s pretty simple to re-attach the wires back into the box. Simply put the wires into the terminals and tighten them down using the screws.
That little metal coil of wire in there is the antenna, and it’s incredibly powerful, though it doesn’t seem like it. It’s transmitting up over the hill and through dense woods on our land, and it’s never let us down.
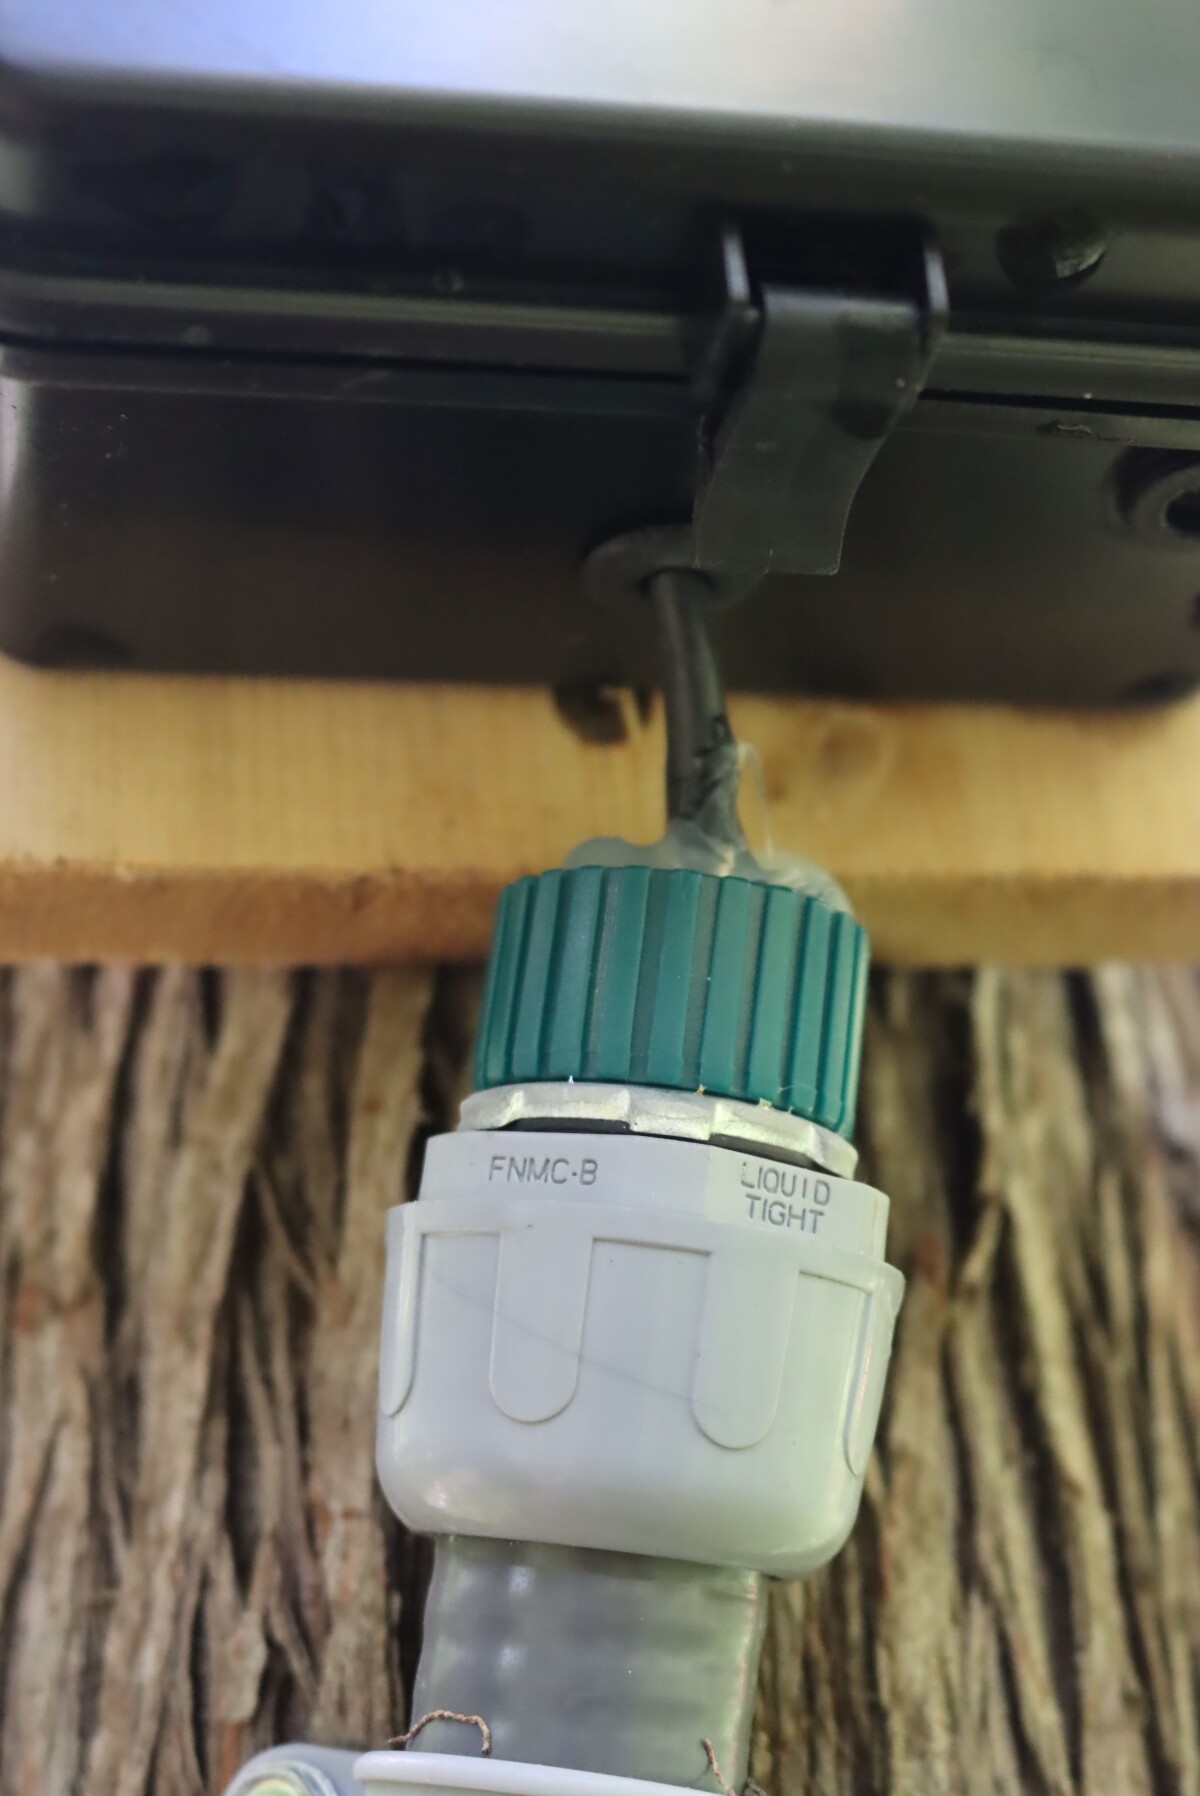
The final step was to caulk the other end up near the transmitter, just to seal off the whole system. Leave as little cable as possible between the conduit and box as possible, as that’s the spot where it’s vulnerable.
If you’re feeling ambitious, you can even measure it out very carefully and take the conduit right up to the box. You could even trim a circular hole in the transmitter box and slip the conduit right into the bottom of it, attaching and sealing around the edge with caulk. In that case, there’d be no exposed cable at all.
We went with the simpler option and left about a 1” gap between the conduit and the box, making the install simpler, and leaving only minimal risk of rodent damage.
Testing a Driveway Alarm
Testing a driveway alarm could not be more simple: just do the sorts of things you would want the alarm to signal, and check if it goes off.
It can be useful to have an assistant that you can communicate with using handheld radios or a cell phone. Since we don’t have cell service out here in the boonies, radios are incredibly helpful.
In our case, we tested the alarm by driving a car past the sensor at various speeds.
Before I even got into the car to test it, I actually set it off while cleaning up our work zone. I walked past holding a shovel, and my husband signaled me on the radio that he heard it. I laughed, and then set it off again, walking by with my pocket knife.
This thing is sensitive!
It had no problem at all detecting a whole car driving by….but since deer don’t carry pocket knives, it’s not going to have any false alarms.
Other Parts of A Driveway Alarm
The receiver units of a driveway alarm are pretty simple; they just listen for a notification alert from the sensor and ring a bell.
So the natural addition is a doorbell that signals to the same receivers as your driveway alarm. In the Dakota system at least, each sensor (magnetic, doorbell, or whatever) can be given a distinct tone.
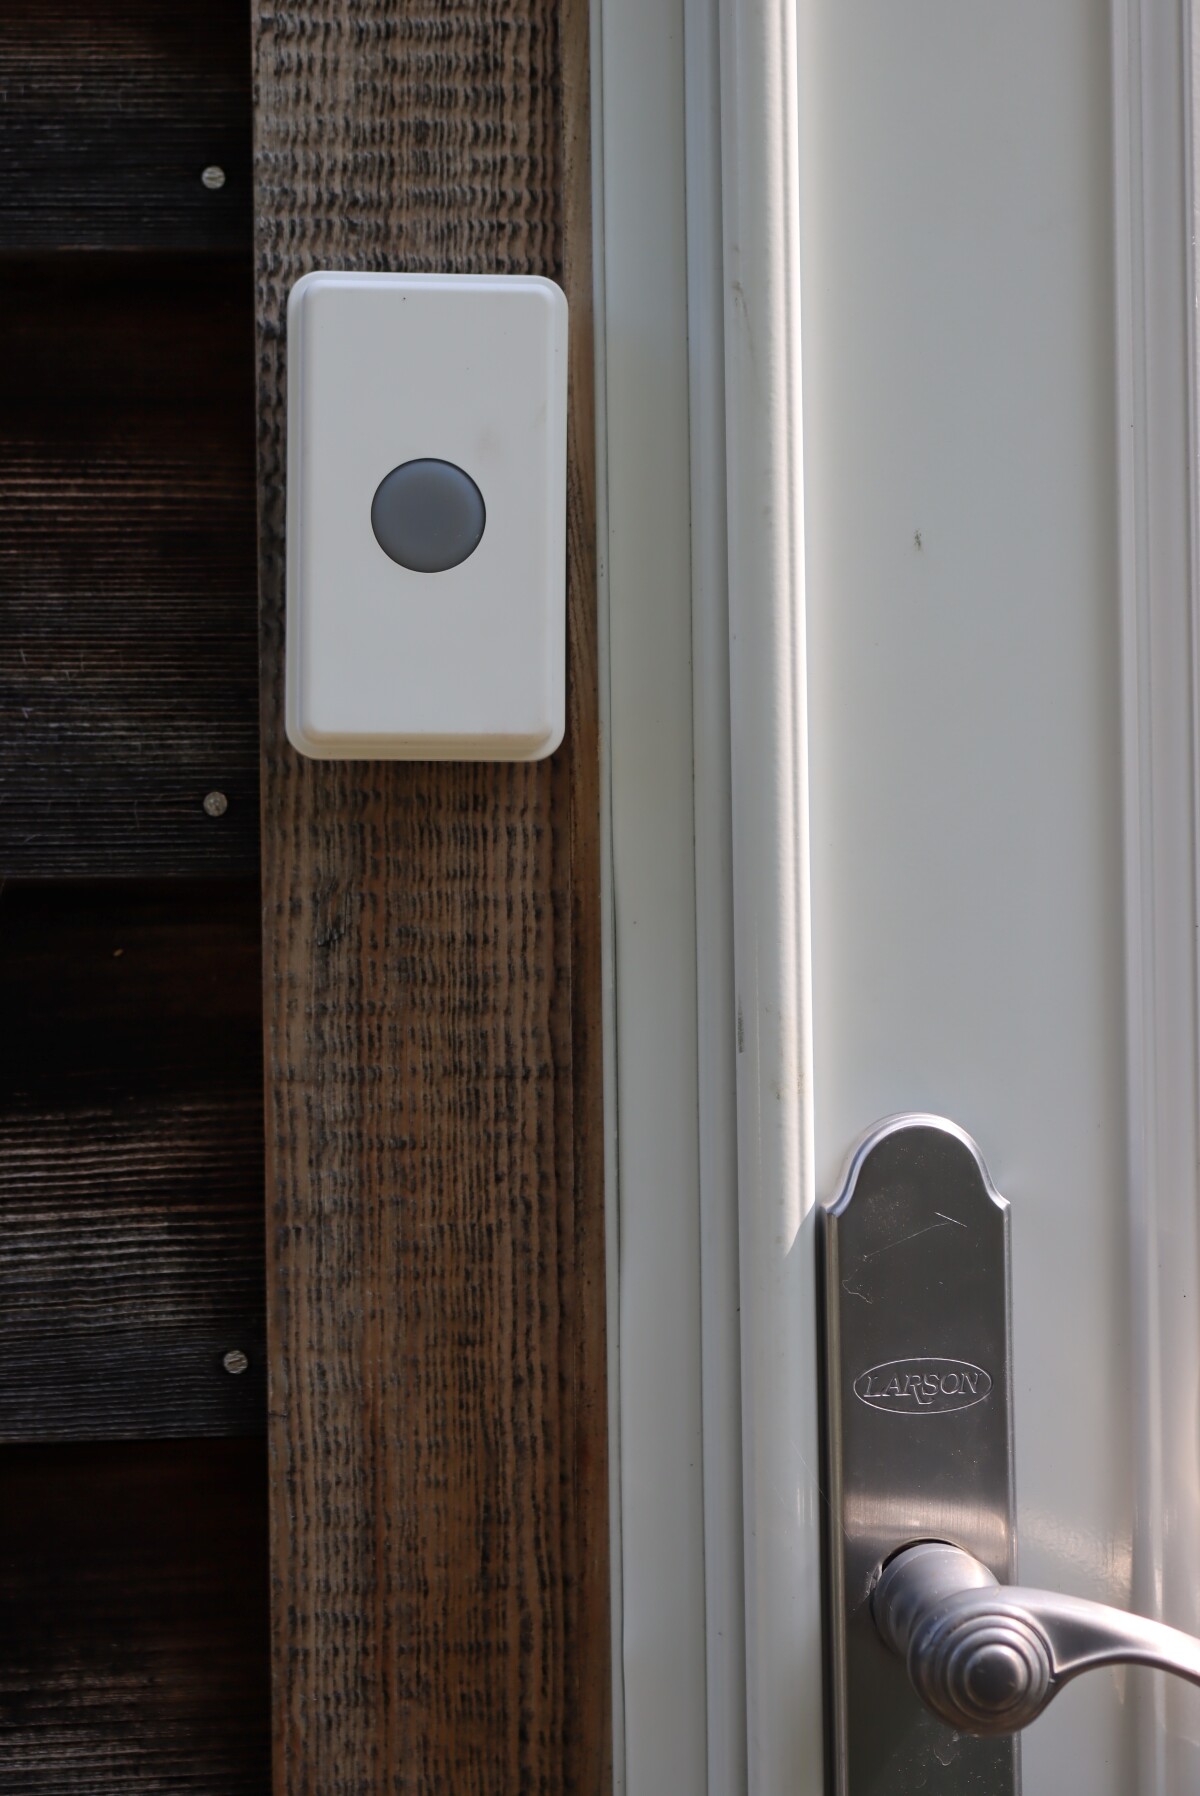
The doorbell alarm is just a pushbutton that sends a radio signal to the receivers. Dakota advertises that it has a mile range, so having a second unit set to an unusual tone works great as an emergency alarm.
These bells can be removed from the wall easily, and then slip back in to hold secure.
We got a second one and mounted it on our tractor so that when I’m out working in the woods, I can call for help if needed. It’s mounted to the tractor dash, so I can reach it if I need it. I can also slip it off the mounting and carry it in my pocket when I’m out working around the homestead.
Believe it or not, I’ve had many occasions to use this on our homestead, as a quick call for help to my husband working inside. It’s quick, silent, and easy to use.
You can push the button in your pocket without anyone knowing you’re signaling, which is a lot easier than whipping out a cell phone. We don’t have cell service, so it’s really the best option (short of radios) in our case.
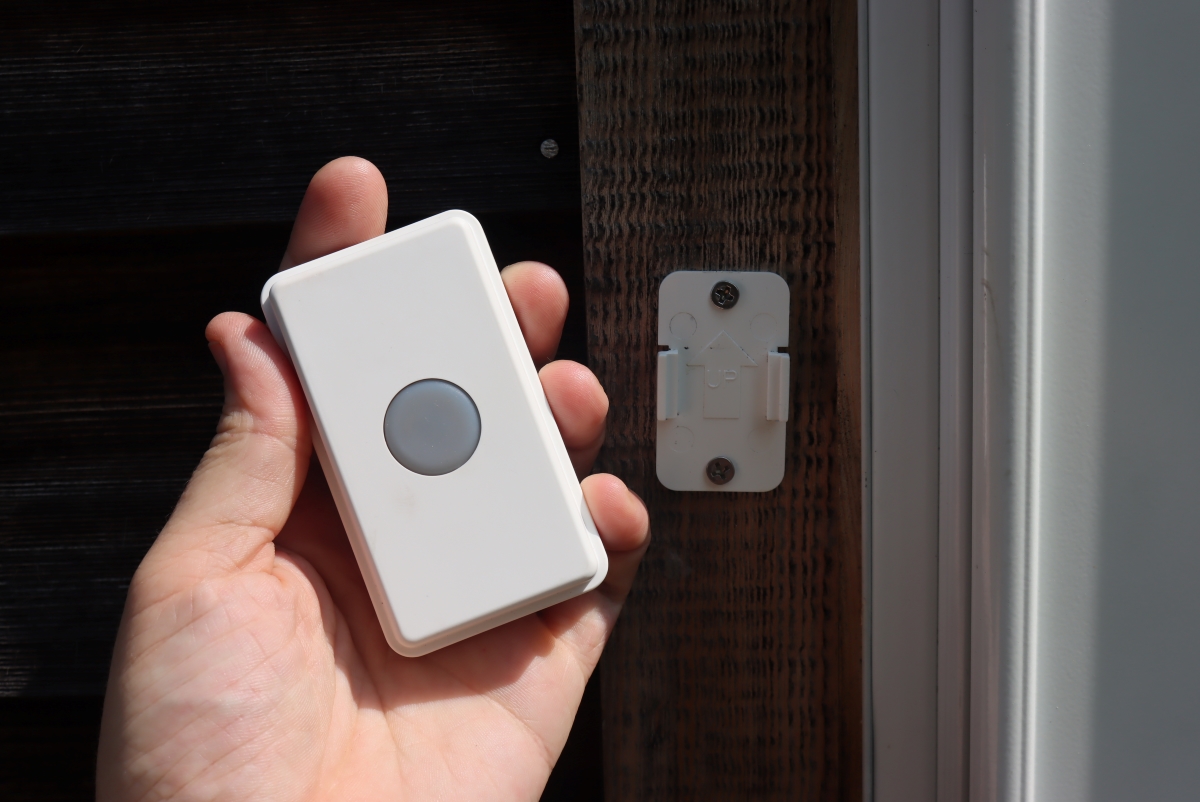
I particularly love that it all hooks into the same system, and it’s worked flawlessly for years now.
If we ever moved to another place, I’d definitely install the same system. At this point, I can’t imagine living without a driveway alarm, and I absolutely love knowing when someone’s coming to our little private piece of heaven back here in the woods.
DIY Projects
Looking for more DIY project tutorials and resources?
- Building an Apple Storage Rack
- DIY Grow Lights for Seed Starting
- How to Build a Cider Press for Free
- Beginners’ Guide to Candlemaking
- 100+ Books for Self-Reliant Living
Everyday Preparedness
Interested in everyday preparedness? A driveway alarm is just one simple way to help prepare your home, but there are lots of ways to be ready for any emergency.
- Best Emergency Food Suppliers
- How to Freeze Dry Food at Home
- Canning Water for Emergencies
- Survival Gardening: Our Real Life Dry Run


Excellent article. We live a mile off of the main road and it’s a very rural location so you definitely helped me find a solution to our problem.
Thank you so very much,
You’re very welcome.
The links you give don’t go to what they say they are. You are going to want to check and fix them. This is a great article though. Thanks
Thanks for the heads up, I just went through and fixed them!
This sounds pretty sophisticated, and a bit difficult for a single older woman. I do not have a long driveway, being right on the road…I have tried the cheap ones that go off on a windy day! I am looking into the rubber hose one. Like the service stations of the 50’s. You CAN hide it with just a bit of dirt over it will still allow for the alarm working. You could also hide it by simply putting it into a hose, and they will think it is just a hose… I do like the idea of having the ability to carry a bell that would indicate I need help. I have 5 acres, and often require assistance out in the “back40”.
It also sounds pretty expensive.
Putting the rubber hose into an actual hose is BRILLIANT!!!! I hadn’t thought of that, but that’s perfect.