Affiliate disclosure: This post may contain affiliate links. Please see our Privacy Policy.
Fermenting in cold climates can be tricky, but cool temperatures can actually improve flavor and shelf life. Learn how to ferment successfully in winter, even in the coldest of climates.
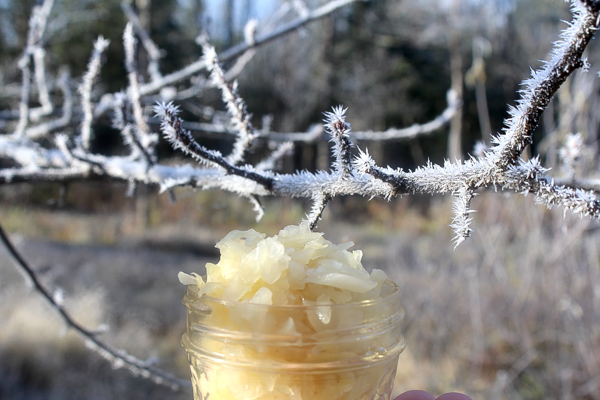
Living in Vermont, I know cold. With six months of winter, a lingering mud season, and frosts that can hit as early as September, it’s fair to say that chilly weather defines much of the year. While fall foliage brings tourists, locals know it signals a shift to slow-cooked meals, stacked firewood, and a different rhythm in the kitchen—especially when it comes to fermentation.
Fermentation is a microbial process, and like all living things, microbes have a temperature sweet spot. So how does cold weather affect fermentation—and how can you make it work in your favor?
Whether you’re baking sourdough, making sauerkraut, or homebrewing in your garage, here’s how to adapt your ferments for winter.
Cold Weather and Quick Ferments
Some ferments happen quickly—within hours or days. Sourdough starters, rising bread dough, and fruit-based ferments like lacto-fermented cranberry relish or this unique probiotic jellied cranberry are both good examples.
These fast ferments depend on ambient warmth to support microbial activity. When temperatures drop, dough won’t rise, starters stall, and fruit ferments may never kick off. Fortunately, these short ferments are easy to adapt in winter.
The key is finding a warm microclimate in your home. I often move bread dough and other quick ferments downstairs by the woodstove. About five feet from a roaring stove or two feet from a gentle burn usually hits the sweet spot—warm enough to keep your culture active, but not so hot that it dries out or kills the microbes.
Use your own skin as a thermometer. If the air feels gently warm to the touch—comfortable, not hot—that’s a good place for your ferment. Cozy for you is cozy for your microbes.
If you don’t have a woodstove, try placing jars near a heat vent, on top of a fridge, or inside an unheated oven with the light on. A seed-starting heat mat on low can also do the trick.
Cold Weather and Slow Ferments
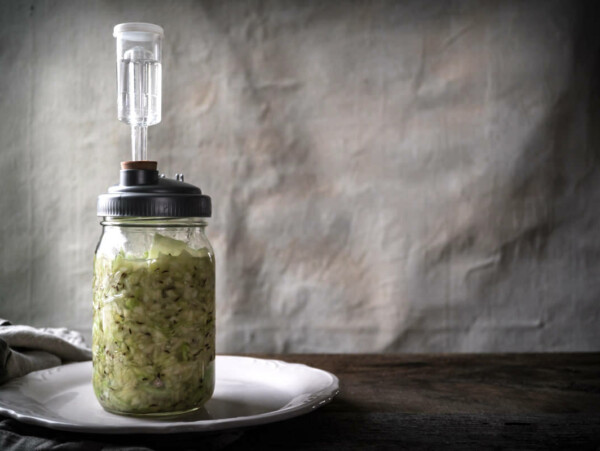
Longer ferments—like sauerkraut, kimchi, or fermented carrots—don’t need warmth. In fact, they benefit from cooler temperatures.
Cold temperatures slow the fermentation process, which allows deeper, more complex flavors to develop. While fast ferments are satisfying, slow ferments are where the magic happens.
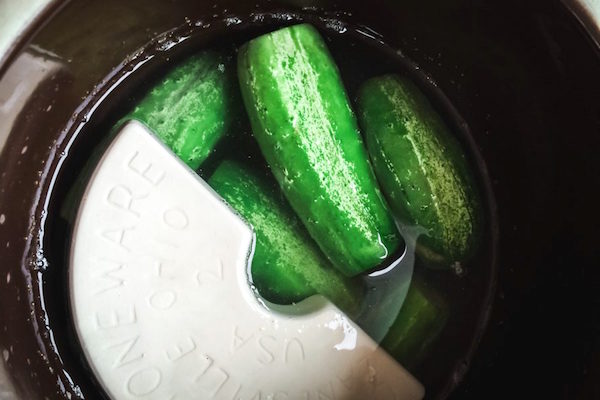
Historically, fermentation was a winter task. Fresh fall cabbages were shredded and packed into crocks, then stored in cool basements or root cellars. Without refrigeration, winter temperatures acted as natural preservation—slowing the ferment and extending shelf life.
At temperatures around 50°F (10°C), lacto-fermentation is especially stable. Ferments can take 3 to 6 months to reach maturity, but the flavor and crunch are worth the wait. Even 60°F to 65°F (15–18°C) can yield a well-developed ferment in 6 to 8 weeks.
If your house runs cold in winter, don’t fight it. Let your home’s cool corners—like a mudroom, back hallway, or basement—work to your advantage. Just make sure your ferments are protected from freezing temperatures, which can destroy texture and microbial viability.
Some families in Korea still use in-ground fermentation crocks, and I’ve even heard of homes built with fermentation pits cast into the foundation. A root cellar or an unheated pantry may serve the same purpose in your home.
Fermenting Homebrew in Cold Weather
When it comes to homebrewing, temperature matters even more. Ale yeasts thrive at warmer temperatures (60–75°F), while lager yeasts prefer cooler conditions (45–55°F). If your home is chilly in the winter, consider brewing lager styles, cold-crashing cider, or experimenting with farmhouse ales that tolerate cooler conditions.
Fermentation chambers, like insulated boxes with temperature controls or converted chest freezers, can help regulate brew temps year-round. If you’re not that technical, just pick yeasts that work with your ambient conditions and allow for longer fermentation times in the cold.
As with food ferments, patience pays off. Slower brews often develop better clarity, stability, and flavor.
Troubleshooting Cold Climate Fermentation
If you’re running into trouble, here are a few tips:
- No bubbles? Slow starts are common in the cold. Give it more time or nudge the temperature up slightly.
- Off smells? Too cold, and certain bacteria may outcompete your intended cultures. If your ferment smells rotten instead of tangy, it may have stalled.
- Mushy texture? Freezing temps can damage vegetables. Avoid placing jars directly on cold basement floors or against exterior walls.
- Uneven ferments? Try rotating jars occasionally or wrapping them in a towel to buffer temperature swings.
Cold Weather Fermentation (Is Worth It?)
Winter fermentation teaches patience. It slows the process, but it rewards you with better flavor, longer shelf life, and a deeper connection to traditional methods. So instead of fighting the cold, work with it. Embrace the slow bubble of kraut in the basement and the long rise of sourdough near the fire.
When you finally crack open a winter-fermented jar in March, the flavor will be worth the wait.
Fermentation Guides
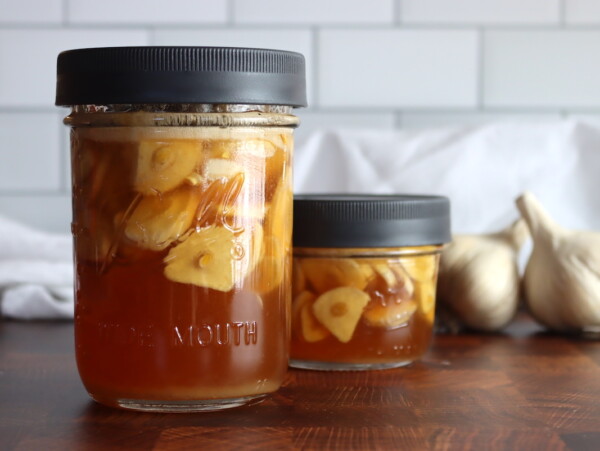
Looking for more fermentation inspiration? Try making your own sauerkraut at home, and you can even do it the old fashioned way by making sauerkraut in a crock. If you’re into homebrewing, you can also learn how to make hard cider at home, or make mead, or even homemade wine from grapes! For something simpler, and with a health focus, learn how to make fermented honey garlic for a natural winter remedy.


“Longer, slower, cooler fermentation actually allows more flavors to develop in your home ferments.”
Great reminder.
I tend to eat my kraut around 9-12 months.
Great info…..from living years in Atlanta and moving back to Massachusetts makes a huge difference in fermenting!!! Thanks so much
I bet it does make a big difference.