Affiliate disclosure: This post may contain affiliate links. Please see our Privacy Policy.
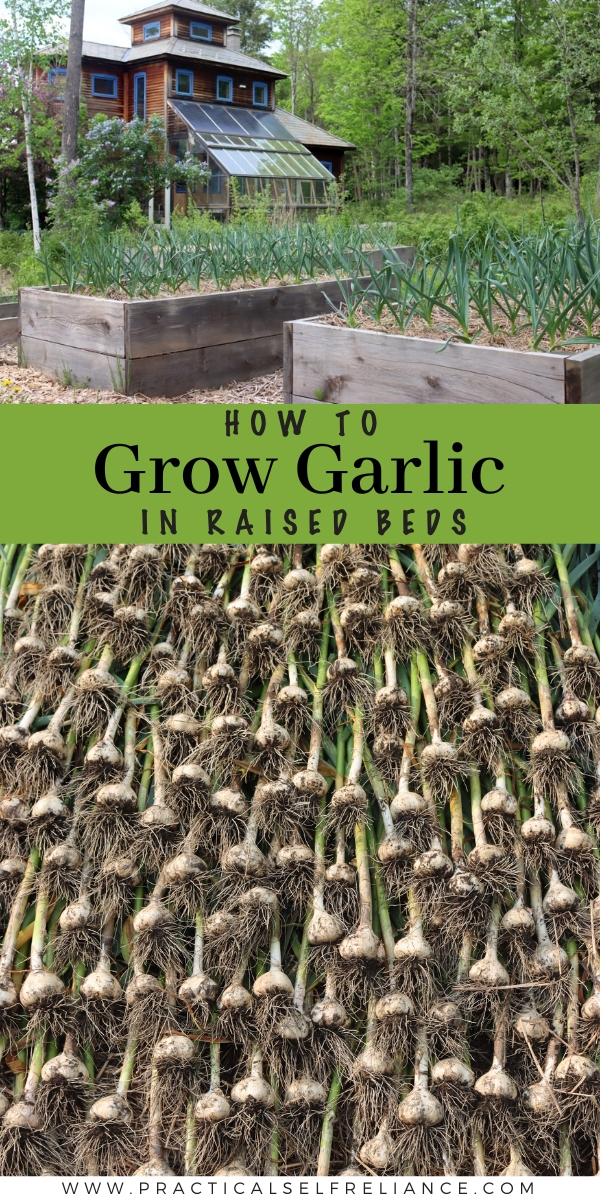
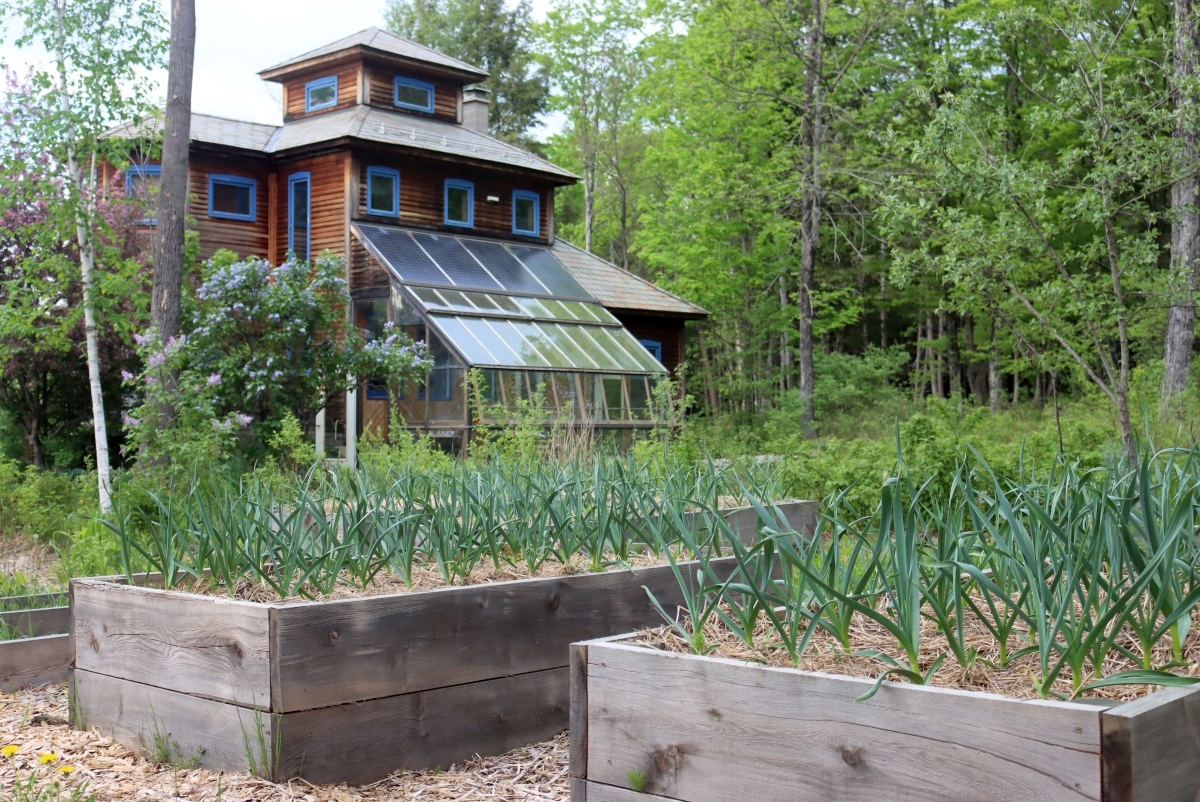
Growing garlic in raised beds has been a huge success on our homestead. We’ve gotten excellent production from every bed with minimal effort. I don’t weed, fertilize, or irrigate these beds, and each 4×8 bed has produced buckets of garlic!

We love using fresh garlic in our cooking, and for most people, it’s a low-maintenance crop. Unfortunately, our homestead has heavy, wet clay soil that doesn’t lend itself well to any sort of root or bulb crop. We’ve tried amending areas with plenty of compost and straw but have still struggled to get the best bulb production from garlic.
Garlic needs loose, well-drained, fertile soil to reach its full potential. It just doesn’t thrive with wet feet. Plus, it struggles with any weed pressure, which is a more significant issue in our main garden. Needless to say, our traditional beds gave us pretty poor yields.
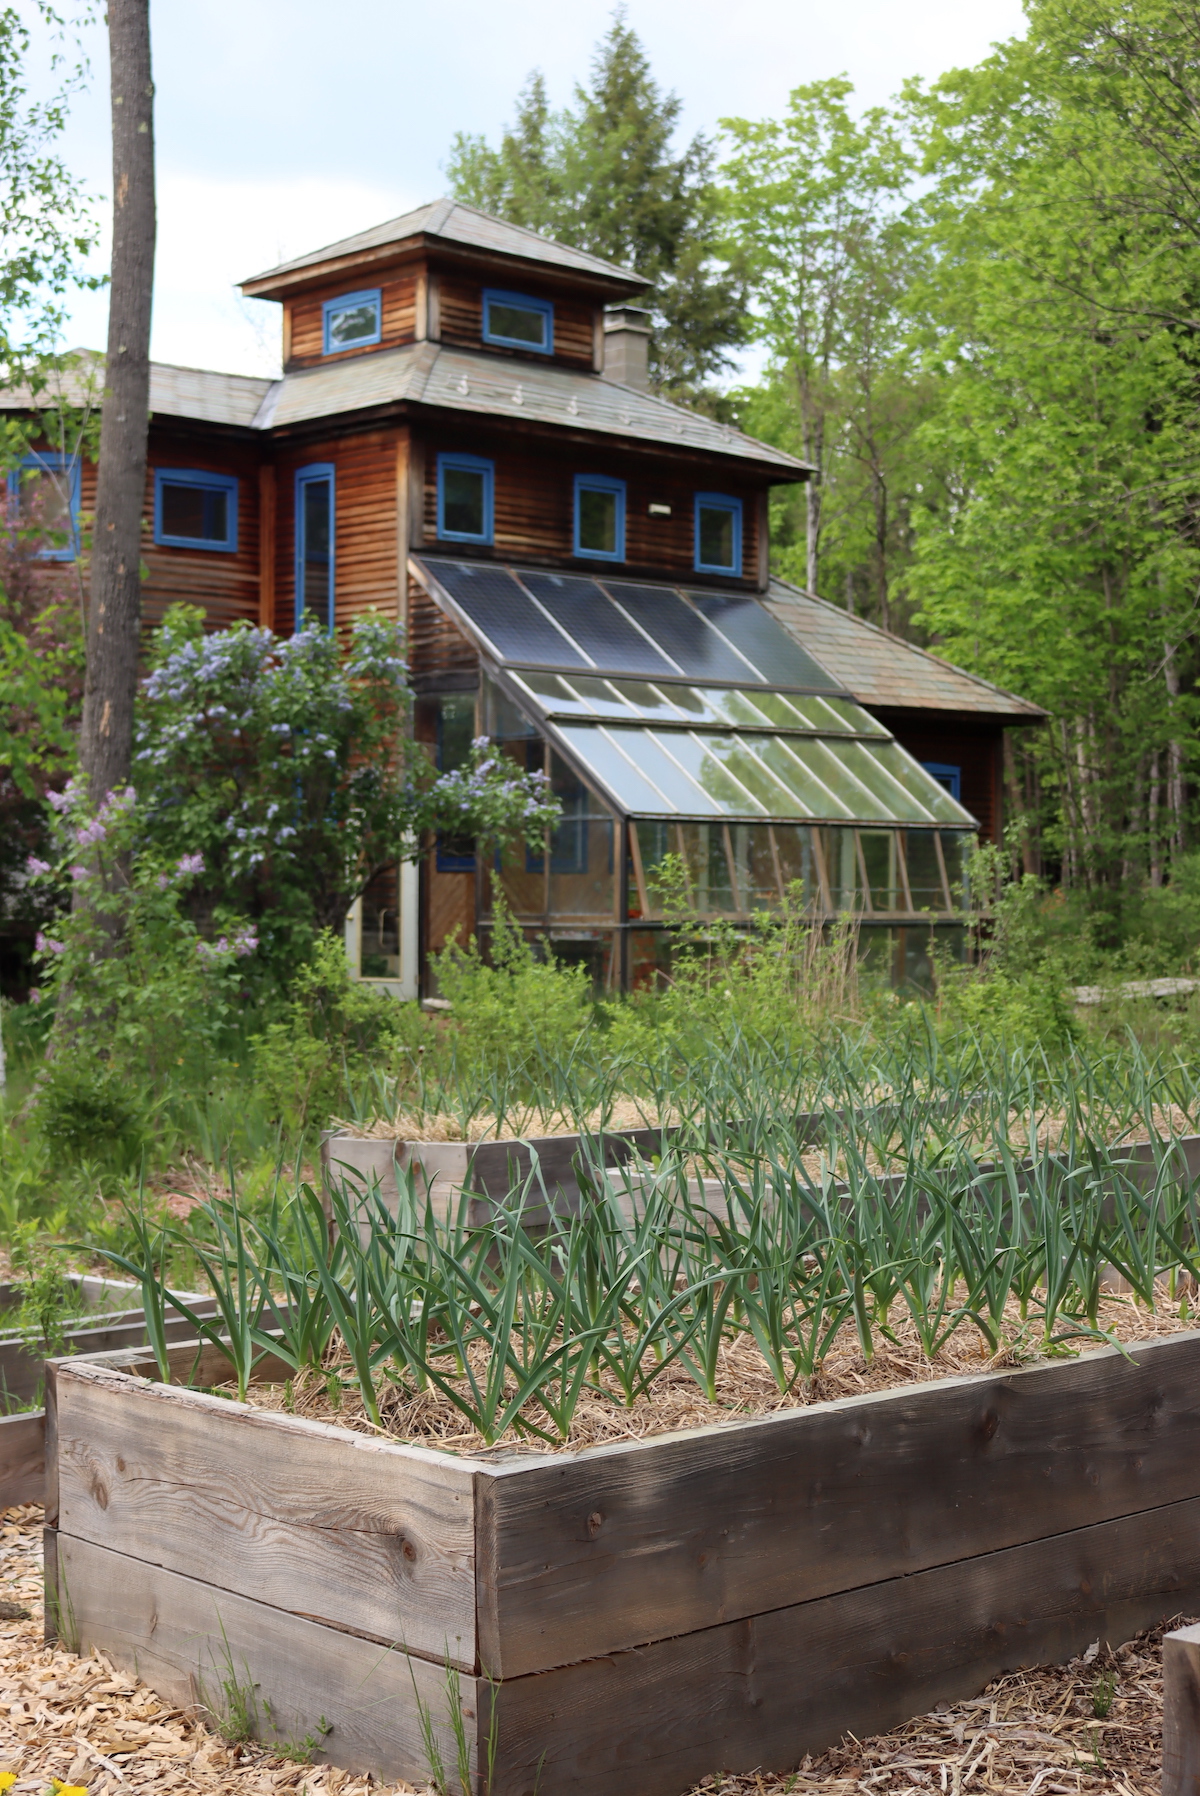
A couple of years ago, we put in 24 raised beds to improve our harvest for growing potatoes, carrots, and other root crops. Each bed is 2 feet deep with good soil and compost to ensure adequate space and drainage for roots. Our native clay soils are only about 12 inches deep before you hit hardpan.
This hardpan means the soils hold water, especially during wet seasons like spring. This can be especially problematic as this is when garlic is trying to put on good growth. Garlic tended to rot during wet years, and we had issues with other crops not having enough good soil to establish deep root systems.
We have a separate fenced-in garden for many of our tender crops, like strawberries, lettuce, and green beans. The raised beds around our house aren’t currently fenced, but they’re still fine for crops like garlic, potatoes, and onions, which the deer seem to ignore.
Unlike our main garden, they also lack access to a garden hose. Thankfully, our garlic did fine in these raised beds without any additional watering.
Planted, mulched, and basically neglected, our garlic still grew and produced a magnificent harvest, and we pulled buckets of garlic bulbs from each bed.
(As garlic grows primarily in the fall, spring, and early summer, it tends to get plenty of rain without additional irrigation. However, this may not be the case if you live in an arid area.)
Selecting Garlic Varieties
If you only get your garlic from the grocery store, you may be under the impression that there’s only one kind of garlic. In reality, we can divide garlic into four major categories.
There’s softneck (braiding) garlic (Allium sativum var. sativum), hardneck (topsetting, rocambole) garlic (Allium sativum var. ophioscorodon), Asiatic (turban) garlic (Allium sativum), and elephant garlic (Allium ampeloprasum) which is actually more closely related to leeks than the other “true” garlic and contains just one cultivar. These garlic types all offer unique characteristics. When you choose a garlic type, you’ll want to consider its ideal climate conditions, culinary uses, and storage ability.
Once you’ve narrowed it down to type, you can also explore all the wonderful garlic cultivars available. There are mild, smooth softnecks like Silver Rose, hardnecks with rich, hot flavor like Spanish Roja, and early maturing Asiatic garlics like Korean Mountain.
Softneck Garlic
Softneck Garlic is probably what you’re most familiar with, as it’s what they carry in most grocery stores. It’s also the most domesticated form of garlic. The stiff necks still present on hardneck garlic have been bred out of softneck garlic, making it pliable for braiding. Softneck garlic has also been bred with storage in mind and keeps well for 9 to 12 months.
Generally, softnecks are widely adaptable and, in many areas, are the most productive. Softneck garlic tends to grow best in USDA hardiness zones 3 through 9 but is not hardy to regions with extreme cold. Those in northern areas, like me, may get better production with the more cold-hardy hardneck garlic.
Most softneck cultivars are fairly mild. They usually have more cloves per bulb than other types of garlic, though the cloves tend to be smaller.
Growers sometimes divide softnecks further into two types: artichoke types and silverskin. Artichoke types have 3 to 5 cloves and a bumpy appearance. They’re widely adapted and productive. Silverskin types have a smoother, white appearance and are popular in southern and western states, though they can be grown in the east.
There are several great choices of softneck garlic:
- California Rose (One of the most popular in the US with mild flavor, excellent storage, and large bulbs.)
- Inchelium Red Garlic (Cold-hardy heirloom from Washington with robust flavor.)
- Lorz Italian (Easy to peel, large, flattened bulbs that are excellent roasted.)
- Nootka Rose (Medium-sized bulbs with mild, striped cloves and an incredible shelf-life.)
Hardneck Garlic
Hardneck garlic is the only garlic I grow in our Vermont gardens. It remains a bit wilder than softneck but can still be incredibly productive, especially in northern areas. Hardneck garlic has a slightly shorter storage period, 6 to 9 months, but makes up for it with flavor. Hardnecks are generally more diverse in flavor than softnecks and tend to offer more hotter varieties. While they produce fewer cloves, they tend to be larger and easier to peel.
Our family loves the intense flavor that hardneck garlic offers. Hardneck garlic is really expensive at our local farmer’s markets, costing between $18 and $22 per pound, so we decided to grow our own. In our raised beds, we’ve also been able to produce great bulbs, about twice the size of grocery store garlic.
Hardneck garlic has the added benefit of producing scapes. The scapes are the garlic’s flowering stem. After they emerge, they curve into a circle. At this stage, they’re a tasty, chopped topping for soups, salads, and other dishes or can be pickled.
If left to grow, they straighten out, grow upwards, and form a cluster of bulblets covered in a papery sheath that can be used in dried flower arrangements. The bulblets can also be planted, though they take a couple of years to form mature bulbs. However, most growers harvest the scapes when they’re young and tasty. Leaving garlic scapes on reduces the bulb size.
Generally, hardneck garlic is recommended in zones 3 to 6, but a few widely adapted varieties can be grown in zones 3 to 8. Here on the East Coast, I usually recommend them to growers in Virginia and farther north.
- Georgian Crystal (Excellent hardneck for southern growers with large, porcelain bulbs.)
- German Extra-Hardy (Very winter-hardy with a strong flavor when raw that mellows when cooked.)
- Metechi (Robust, spicy garlic with exceptional cold hardiness.)
- Music (Hardy Italian variety with strong flavor and easy to peel cloves.)
- Zemo (Great garlic flavor and medium heat.)
Asiatic Garlic
Asiatic or turban garlic is a subtype of the artichoke-type softnecks. However, many growers think of them as “weakly-bolting hardnecks.” They are hardneck garlic that forms scapes but sometimes revert to softnecks when grown in warm climates. If left to grow, their short scapes form clusters of bulblets similar to other hardnecks except that the papery covering forms a distinct long, hollow tip or beak that looks a bit like a bean pod.
Asiatic garlic will grow in zones 3 through 9. It tends to be very early-maturing and must be harvested as soon as one or two leaves turn brown. It doesn’t store well compared with other types, just 4 to 6 months, but is incredibly beautiful and interesting. Asiatic garlic often has stunning purple-striped skin and turban-shaped bulbs. The flavor tends to be hot and spicy when raw but turns rich and creamy when baked.
Unfortunately, these types of garlic aren’t prevalent in the United States. You may have to do some digging to purchase seed stock, though I have seen some small growers on Etsy.
Here are a few cultivars you may want to consider:
- Korean Mountain (Intense garlic with wasabi-like heat.)
- Korean Red (Robust and hardy with beautiful red stripes.)
- Pyongyang (Matures rapidly producing striped bulbs with nutty, intense garlic flavor.)
- Wildfire (As intense as its name suggests.)
Elephant Garlic
Elephant garlic is a single cultivar that isn’t technically a true garlic. Thankfully, it’s grown the same way, so you can still follow the same planting instructions as you would for any true garlic. It generally thrives in zones 3 through 9.
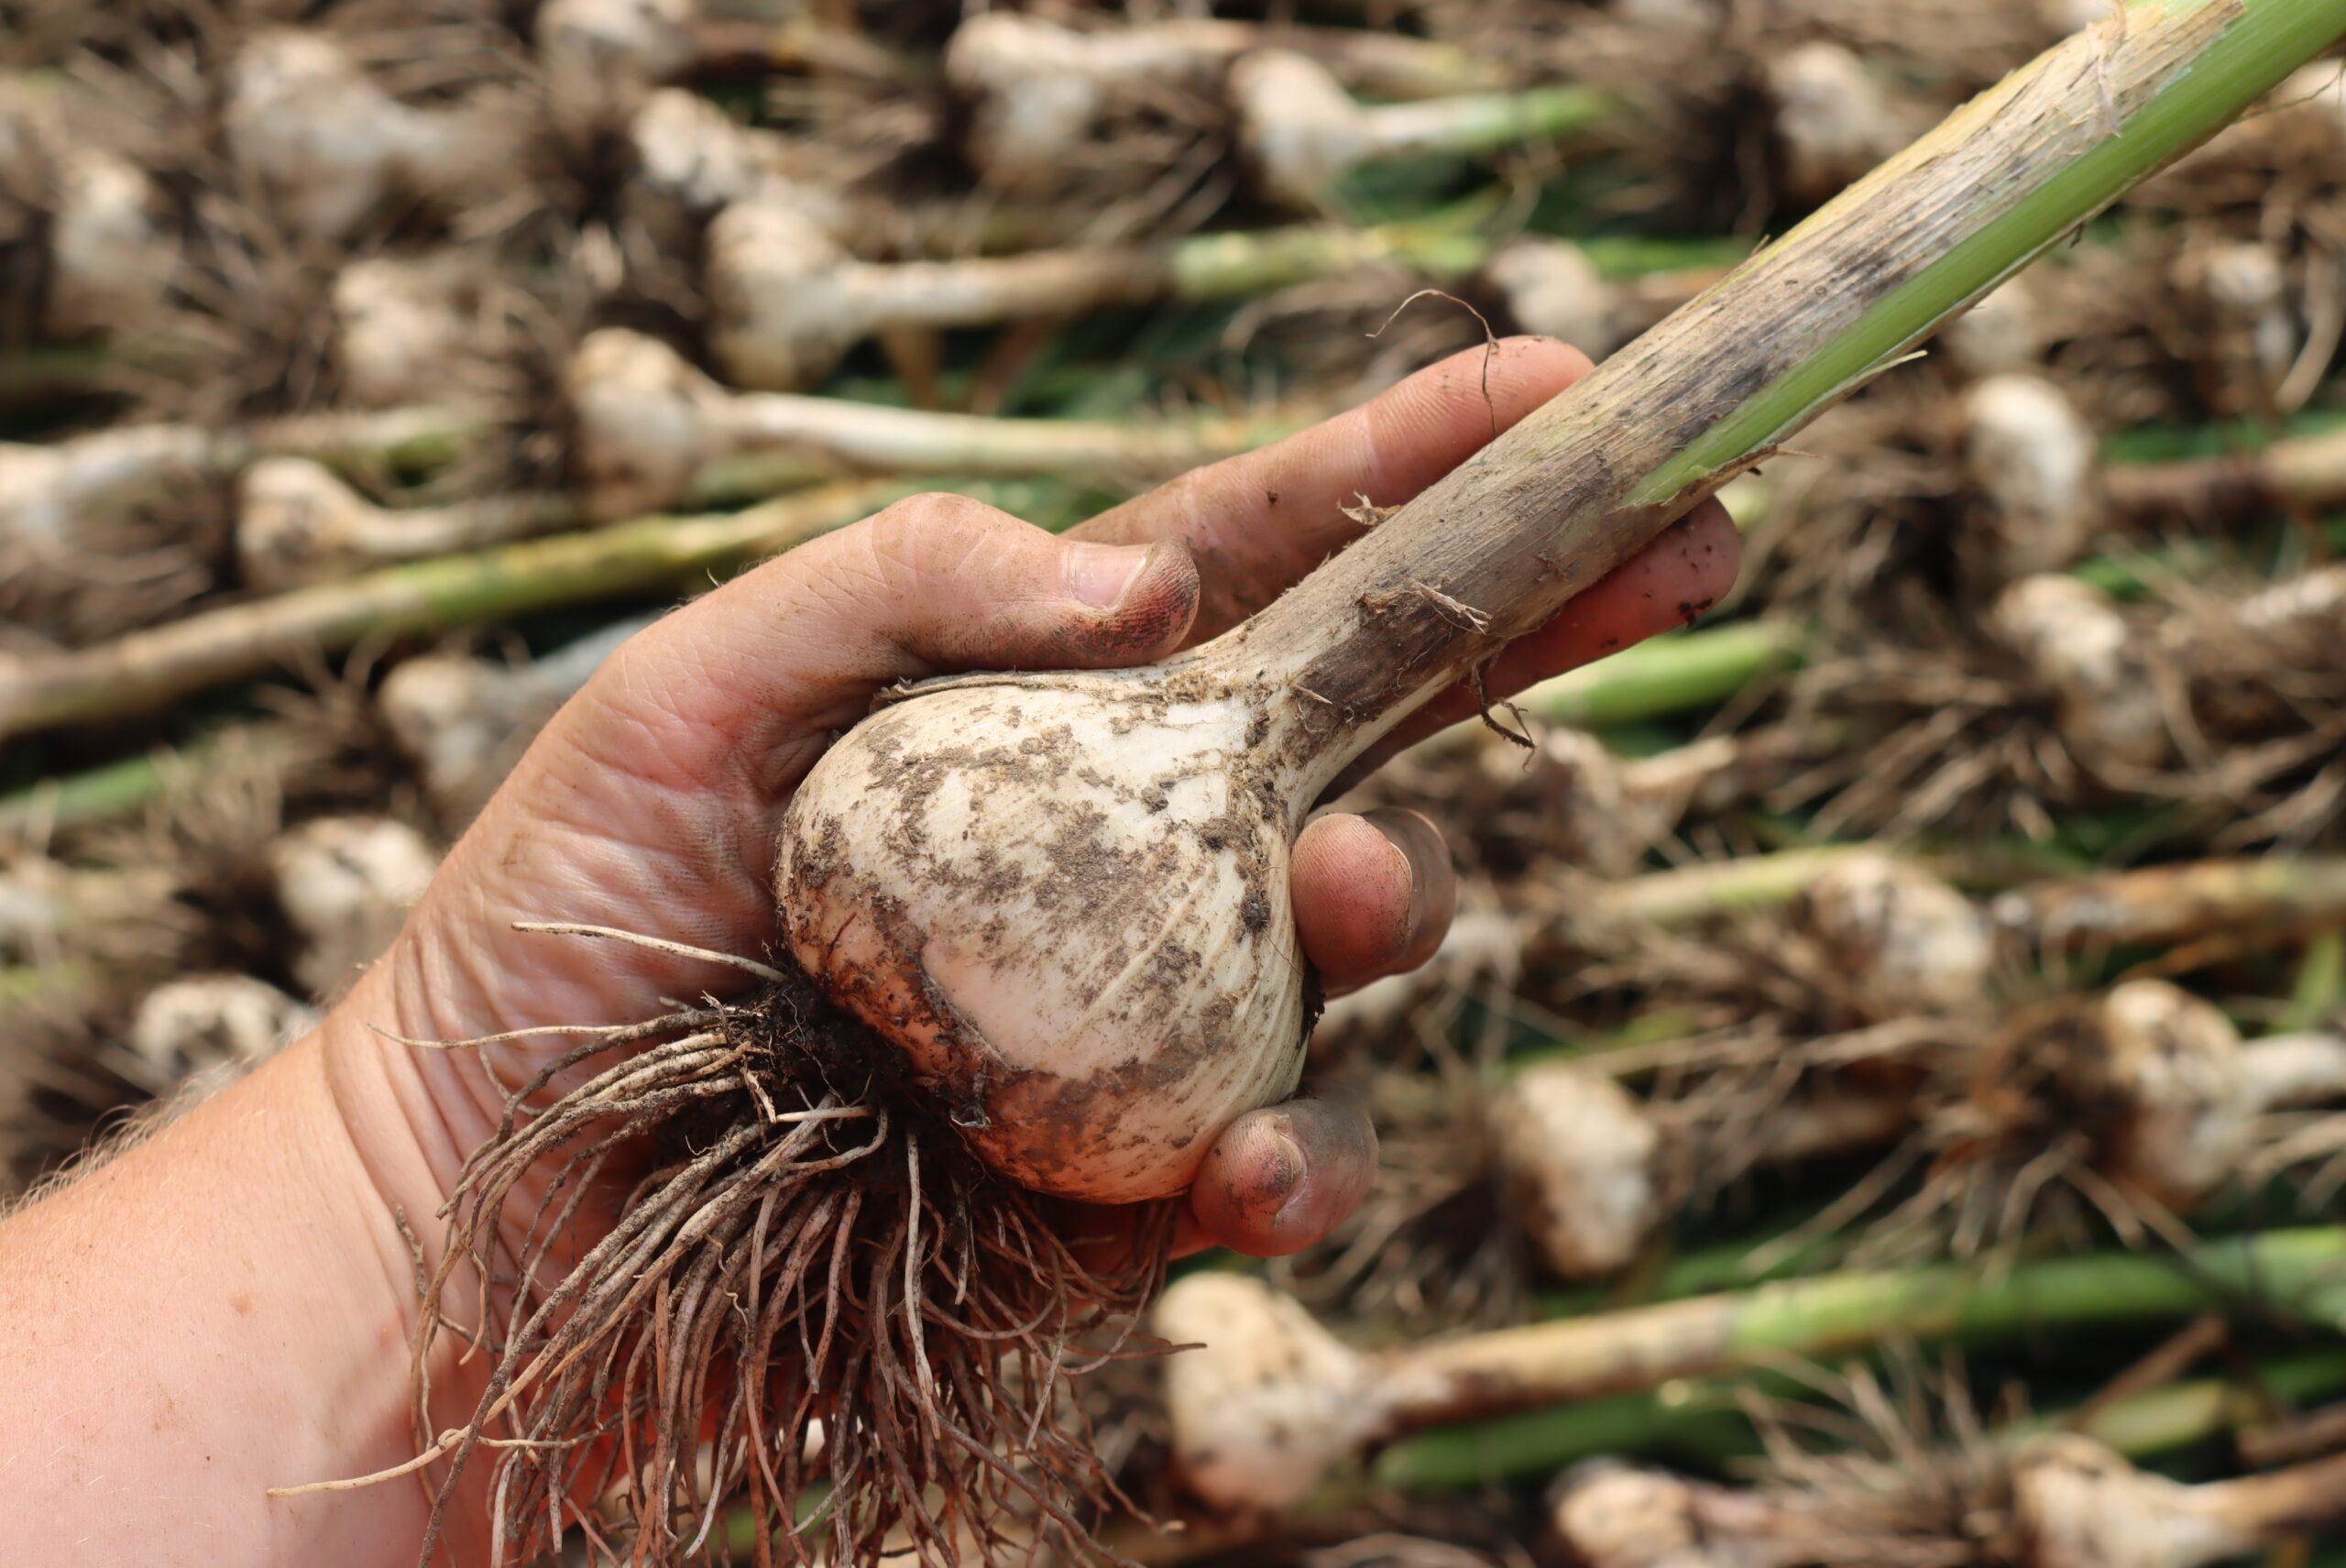
Elephant garlic is more closely related to leeks and produces large bulbs up to the size of a grapefruit. A single clove of elephant garlic may grow to the size of a whole bulb of “true” garlic. These large bulbs also have a much milder flavor. I don’t grow elephant garlic because I love the heat and flavor of “true” garlic. However, some folks enjoy it raw, sliced onto sandwiches and salads or as a steamed vegetable with a bit of butter and salt.
Elephant garlic is also a great candidate if you’re looking for a storage crop. In the right conditions, elephant garlic easily keeps for 10 months, making it easy to produce a year-round supply for your family.
- Elephant Garlic (Massive, mild bulbs.)
It’s a good idea to purchase garlic from a small seed company near you to ensure you get garlic adapted to your region. Some regional options include High Mowing Seeds, Seed Savers Exchange, Southern Exposure Seed Exchange, and Territorial Seed Company.
When to Plant Garlic
One of my favorite things about garlic is that you don’t need to plant it during the busy spring rush. Garlic must be planted in the fall. Unlike tender annuals, garlic actually requires a chilling or “dormancy” period. You’ll get the best production if your garlic goes through 4 to 8 weeks of temperatures below 40˚F (4°C). This necessary chilling period is why you can’t grow garlic in zones warmer than zone 9.
Though I don’t have any experience with it, some growers get garlic in warmer areas (zones 10+) by placing their garlic cloves in the refrigerator for 10 weeks before planting them.
The exact date to plant your garlic varies with where you live, your USDA hardiness zone, and your expected first frost date. Plan to plant your garlic 6 to 8 weeks before your first fall frost. If you live in a northern area like I do in Vermont, this may be in September. Farther south, you may be able to plant your garlic in October or even November. Some southern gardeners have even gotten away with tucking garlic in as late as January, though you may see a reduction in bulb size if you plant this late.
When you plant in the fall, before your first fall frost, your garlic has time to put on root growth. Typically, you won’t see much top growth during this period. Then garlic enters a dormant period during the winter as the temperature drops or the ground freezes.
In the spring, the garlic “wakes up” from dormancy as the temperatures rise. The existing root structure allows the garlic to quickly put on plant and bulb growth through the spring and early summer so it’s ready to harvest before the hot, late summer days.
Garlic Depth and Spacing
Garlic is a space-wise crop that’s great for small gardens but still needs adequate space to produce good bulbs. For most gardens, you should plant cloves at least 6 inches apart or 4 inches apart in rows 10 to 12 inches apart.
In our 4×8 foot beds, I plant four rows of garlic with 16 cloves in each row. This gives me 64 large bulbs of garlic per bed.
Elephant garlic produces larger bulbs and requires more space. Plant each clove of elephant garlic 10 to 12 inches apart.
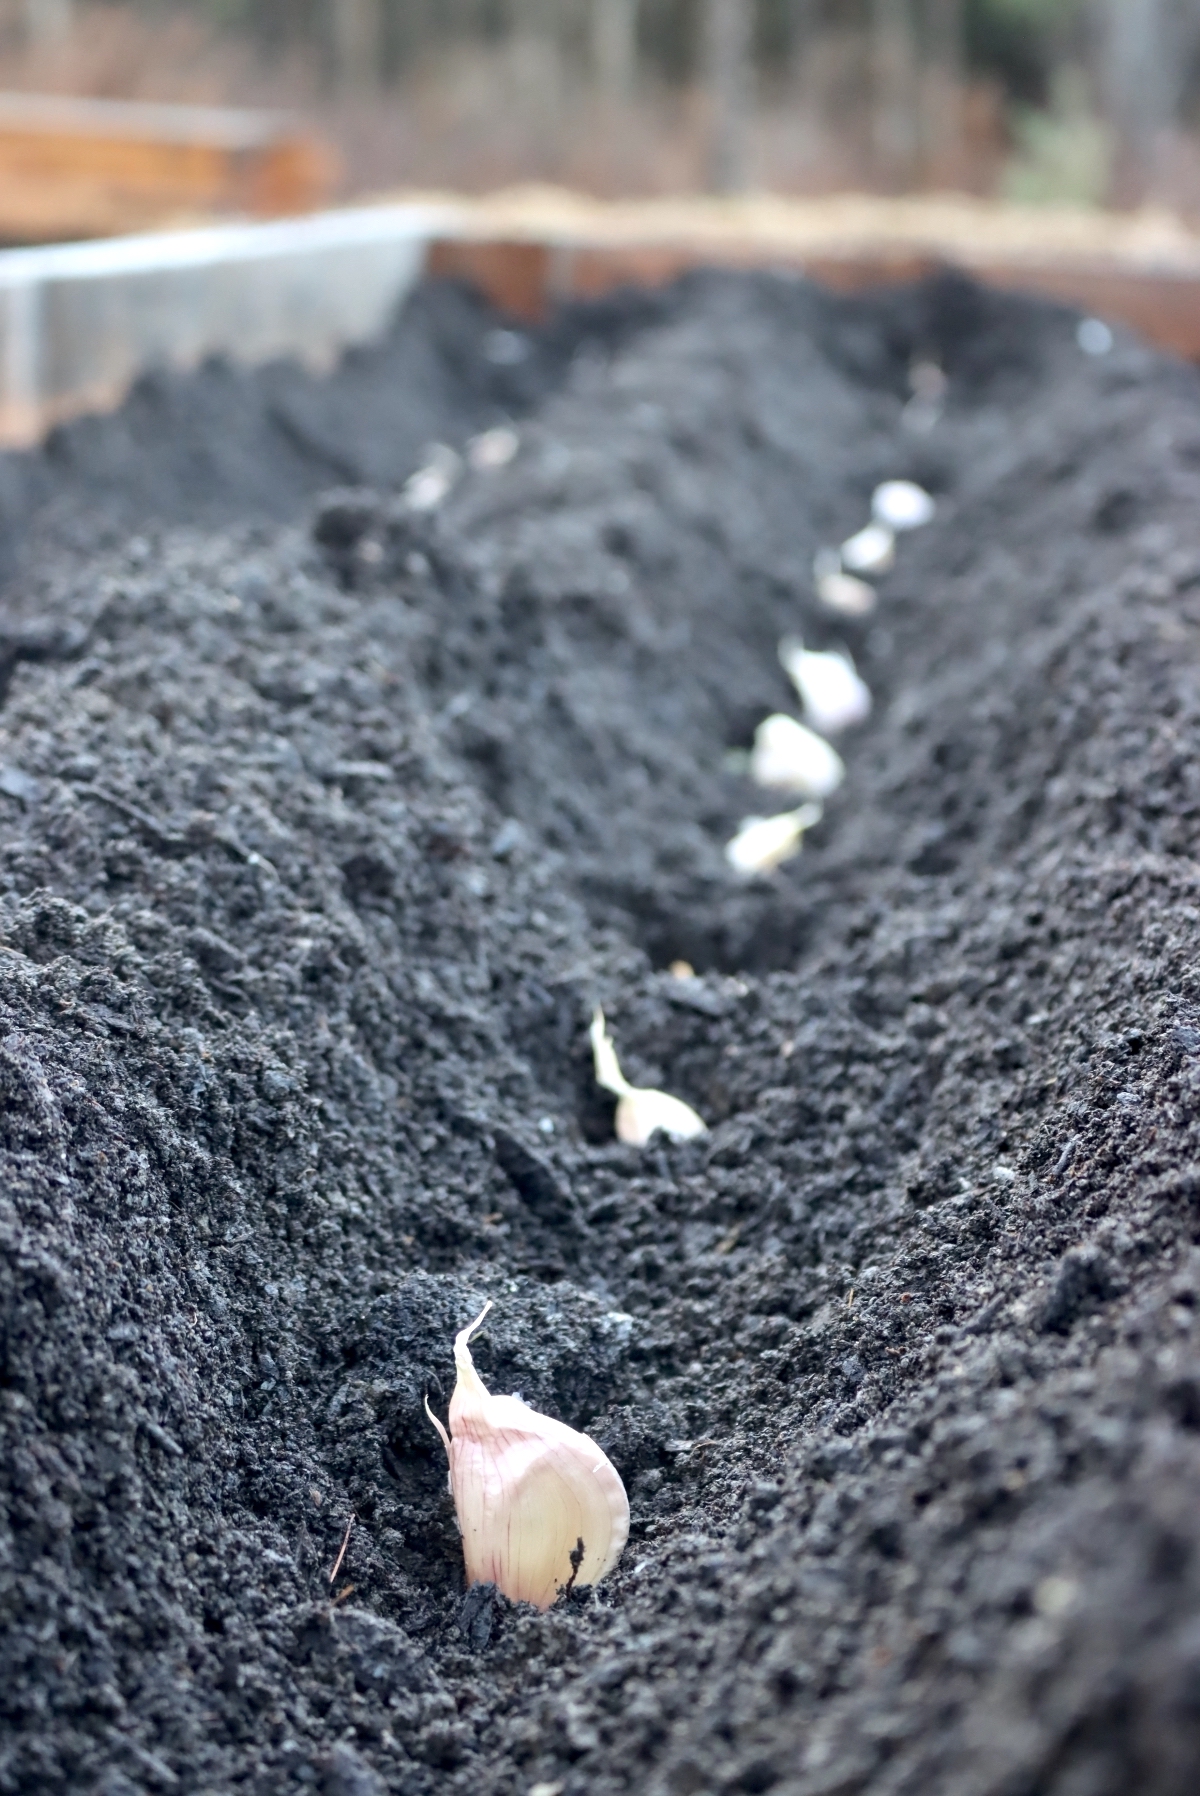
The depth at which you plant your garlic will depend on your area. Southern growers in zones 7 and warmer can get away with planting their garlic relatively shallow, with just 1 to 1 ½ inches over the top of the cloves. In northern areas, it’s better to have 3 to 4 inches of soil over the tops of the cloves.
How to Plant Garlic
To begin, you need to prepare your garlic for planting. Generally, when you purchase seed garlic, you’ll receive full bulbs. When you plant garlic, you plant individual cloves, so you need to separate your bulbs just before planting time. Keep the skins on the cloves as much as possible; they help protect them from rotting.
If you’ve saved your own garlic from a previous year or have a lot of garlic to choose from, select larger cloves from larger bulbs. While not as preferable, you can also plant large cloves from smaller bulbs.
As mentioned above, garlic performs well in raised beds because it loves loose, well-drained, fertile soil. Generally, it’s easy to meet garlic’s requirements with raised beds, but there are still a few things to keep in mind.
First, fill new raised beds with finished compost or a mixture of good-quality soil, aged manure, or finished compost. Compost and manure improve soil structure and add fertility.
Surprisingly, garlic is a heavy feeder. A yearly application of the manure or compost to your raised beds can help improve production. Nitrogen-deficient garlic often displays yellow-green necks during the growing period, while phosphorus-deficiency presents as light green plants that mature slowly. Potassium deficiency presents similarly with light green plants that develop brown tips and poor bulb formation.
You also want fairly neutral soil with a pH of 6.5 to 7.0. Generally, this isn’t a huge deal with new raised beds, but a soil test may be in order if you’re having issues.
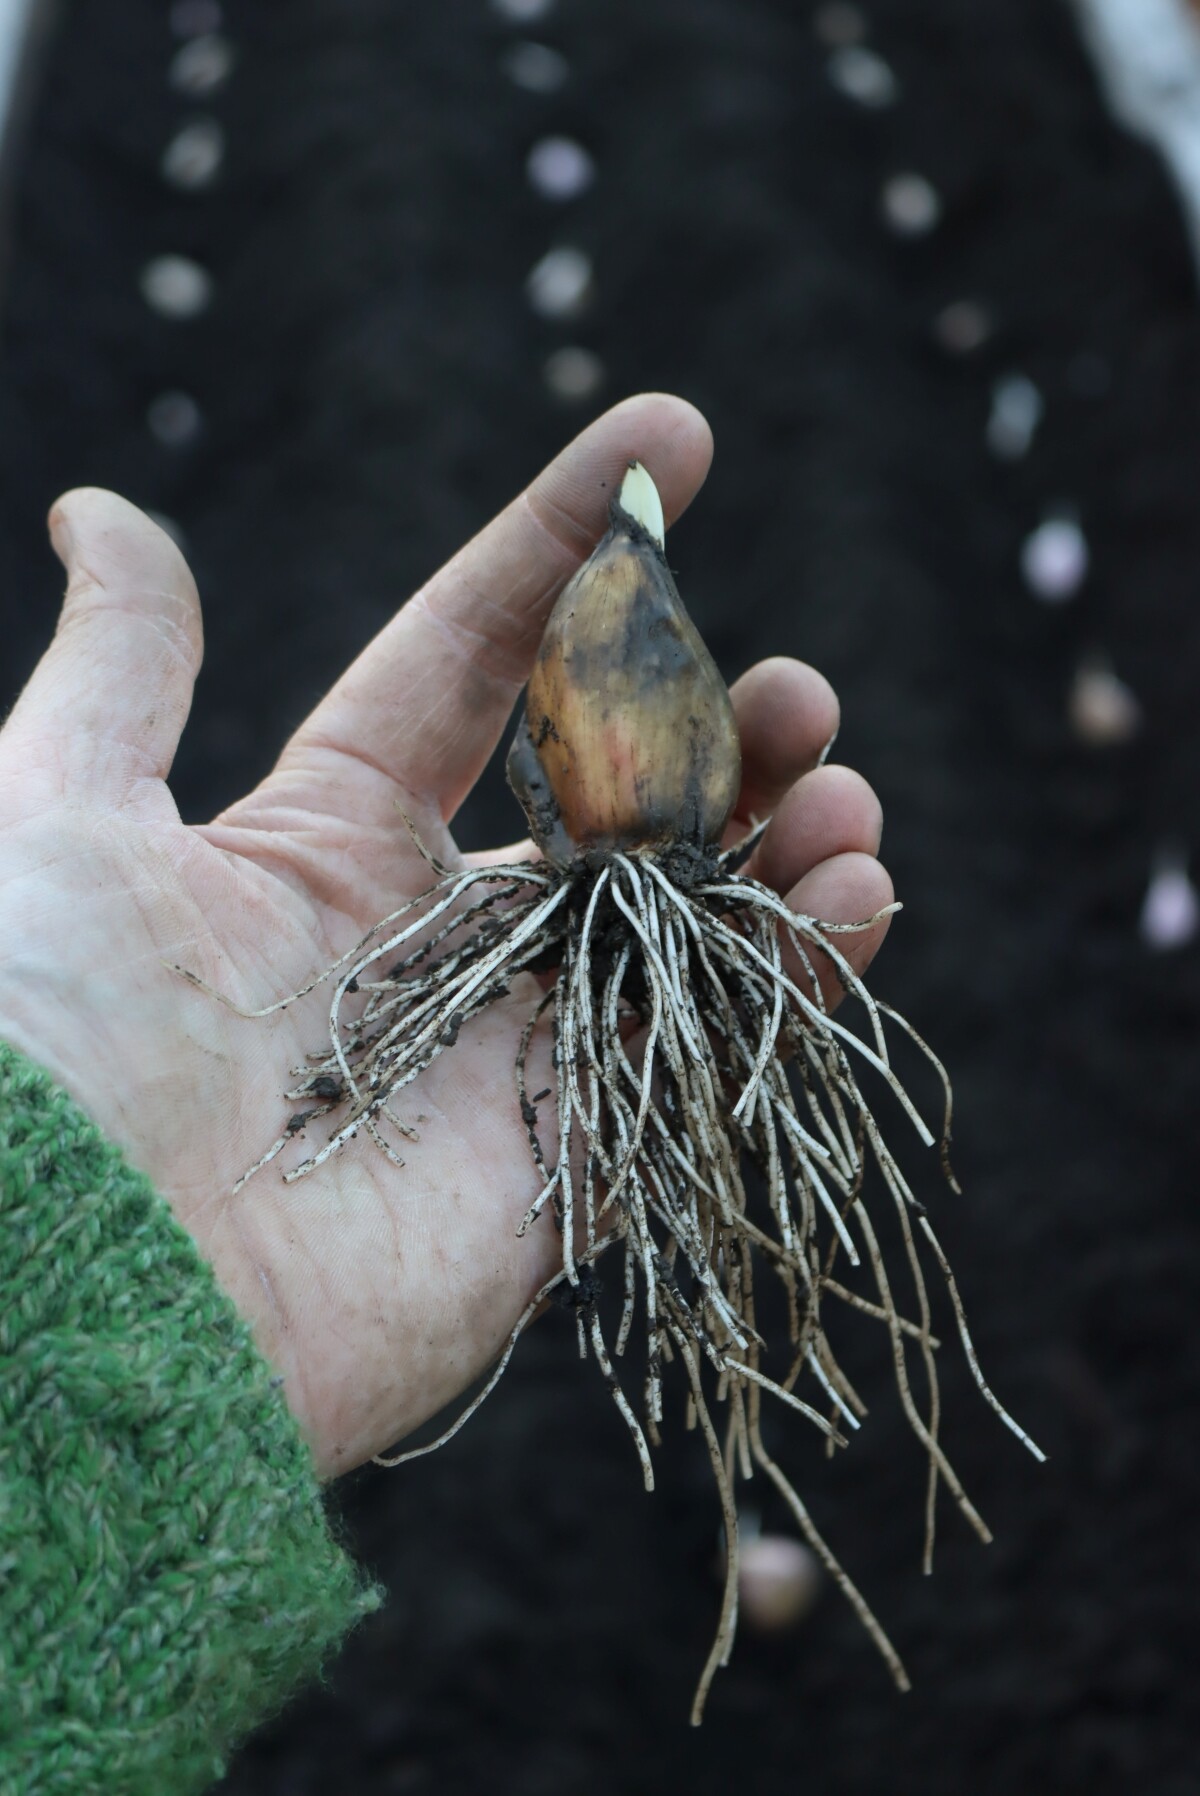
Once your bed is ready, create trenches of holes for your garlic cloves, about ½ to 4 inches deep, depending on your climate. Then, place each clove, pushing them gently into the soil so the pointed tip is facing up.
Mulching Garlic
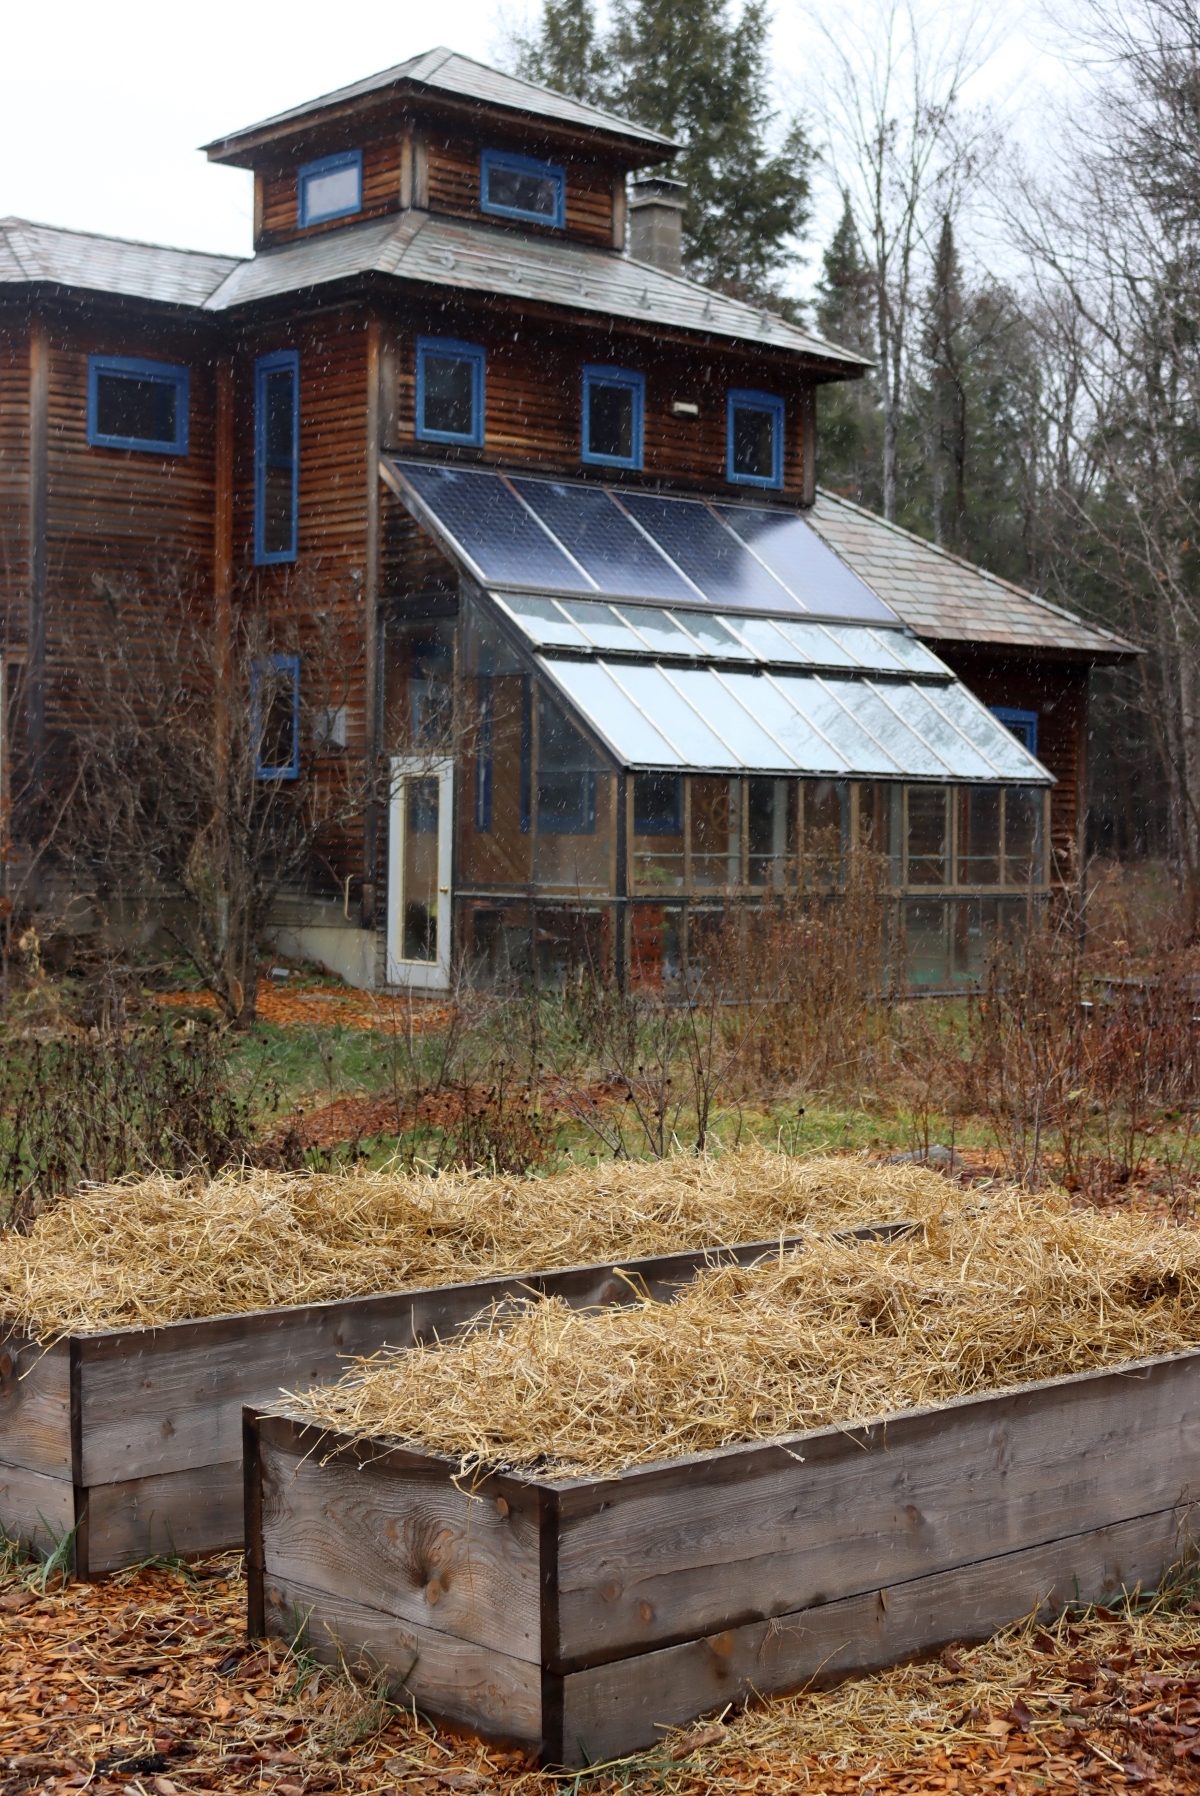
Mulch is critical to good garlic production. During the winter, mulch provides a bit of insulation from freeze and thaw cycles. You can get away with a relatively thin layer of mulch in southern areas, but in northern regions, you’ll need a thick layer. A thick layer of mulch, combined with good snow cover, can make shallower planting depths possible.
However, thick layers of mulch can prevent plant growth. Wait until the tips of your garlic are knocked back by frost to place deep layers of mulch. Then, pull them back in the spring as soon as the thaw begins to allow for early growth.
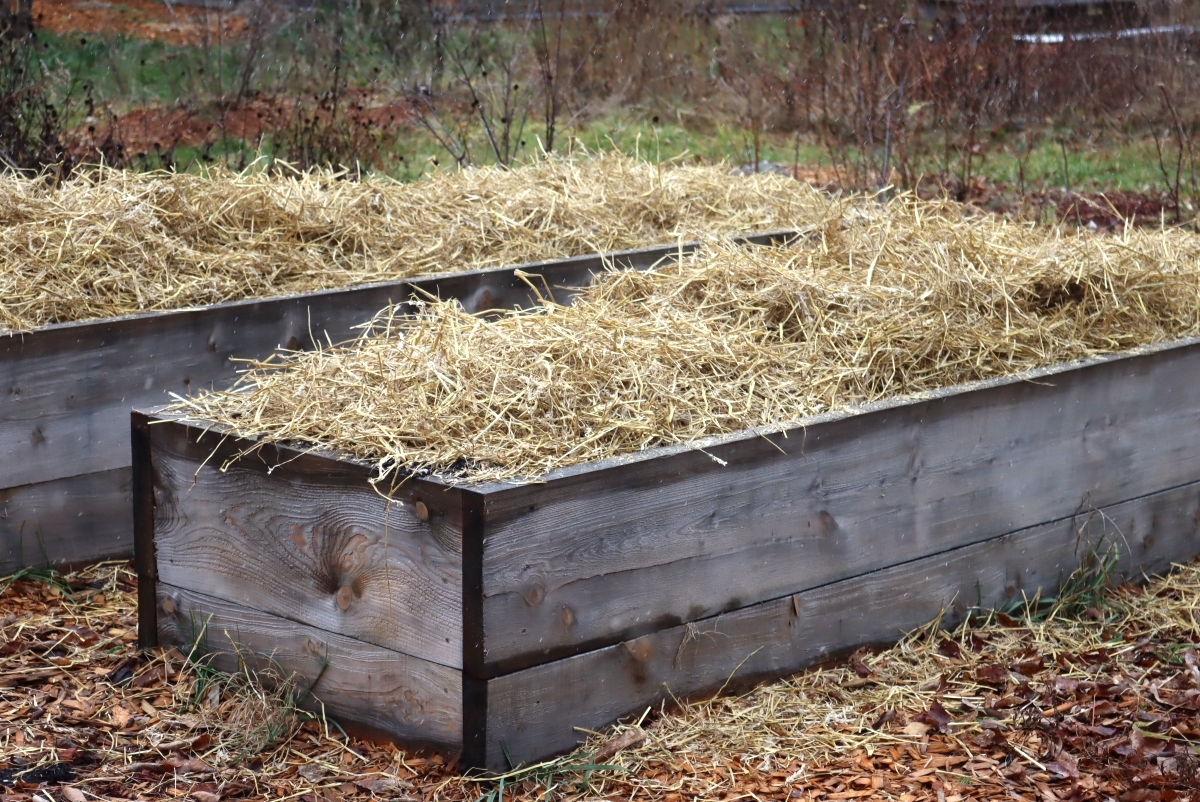
I prefer to mulch my garlic with straw as it’s easy to use, stays in place well, and is free from weed seeds.
However, you don’t need to purchase expensive mulch to care for garlic. Using what you have available, including old leaves, hay, or grass clippings, is fine.
Overwintering Garlic
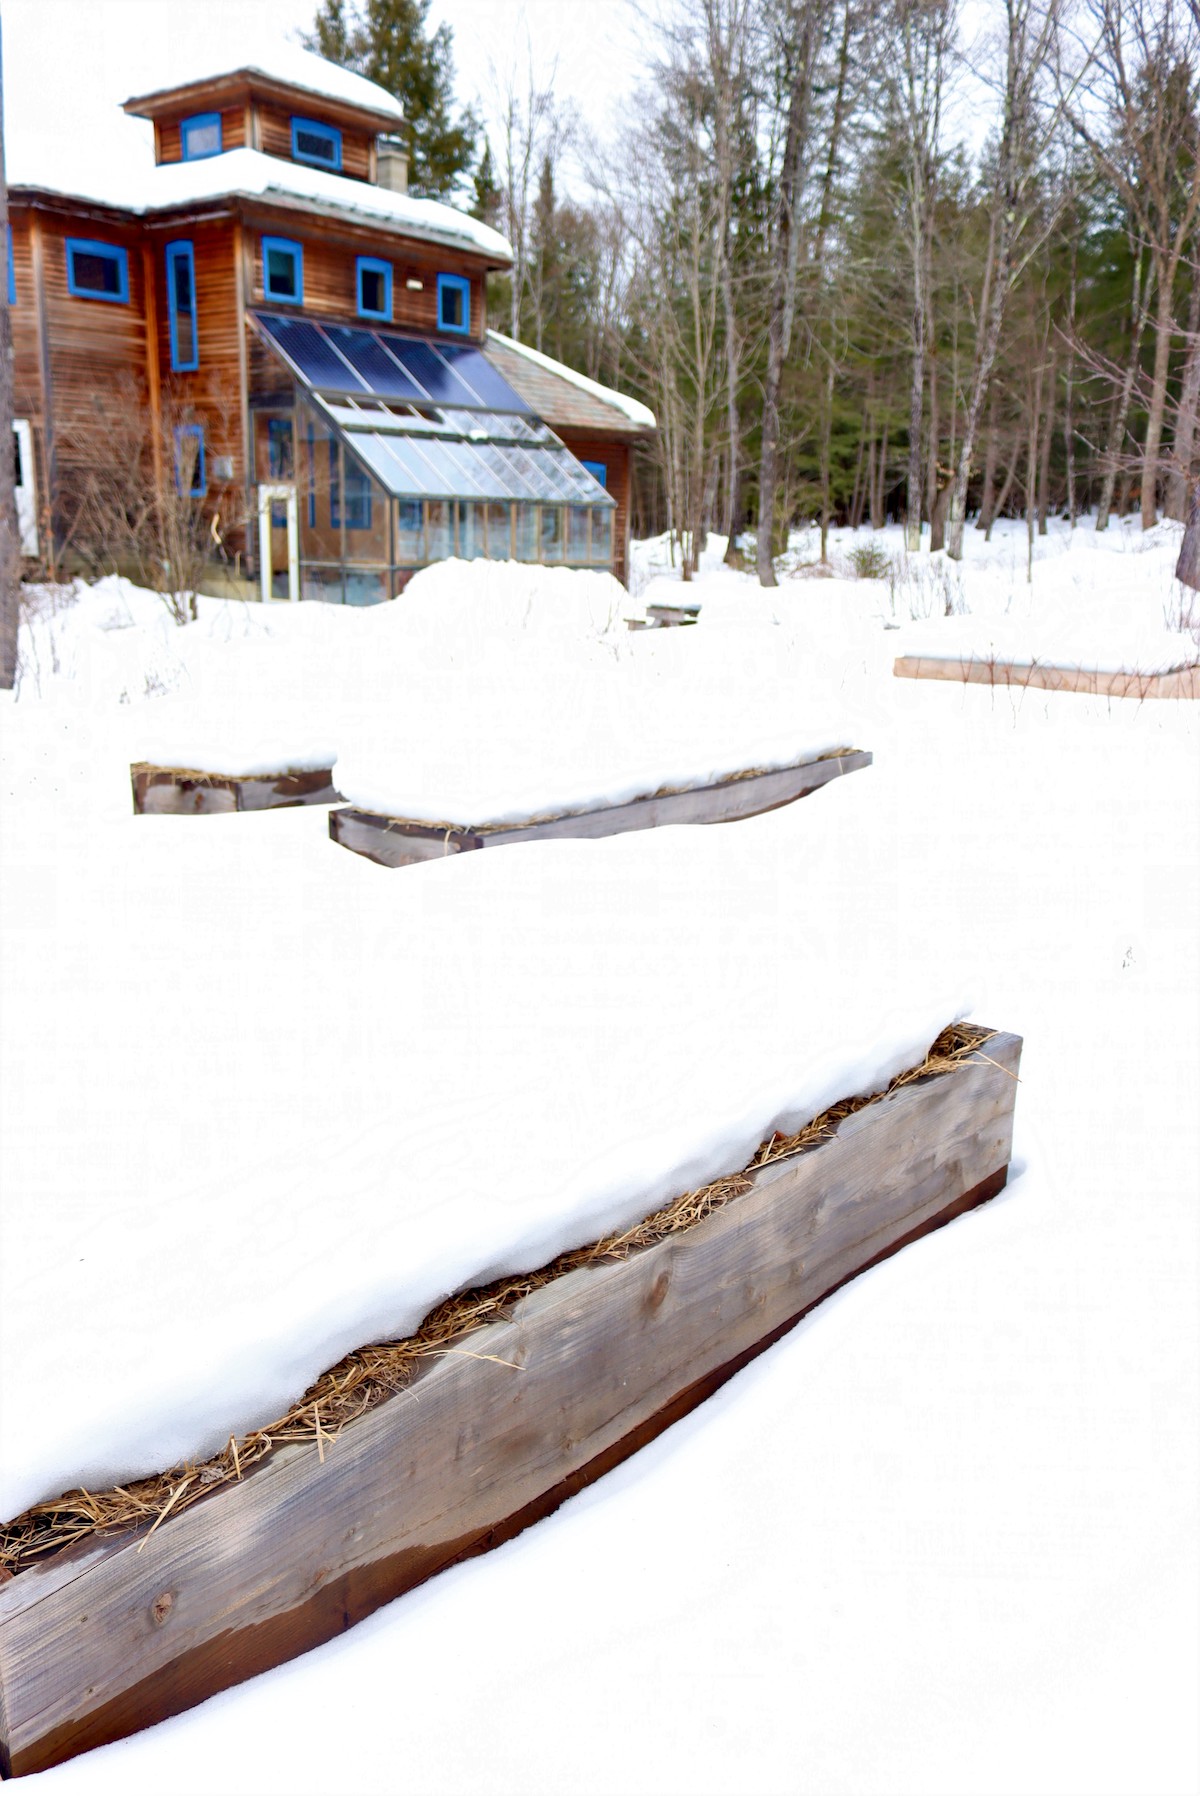
There’s not much to do in garlic during the winter. In northern climates, like mine, you’ll probably have a snowpack form on top of your garlic beds. Don’t remove the snow! The layer of snow over your garlic acts like extra insulation.
In southern climates, your garlic may need a bit more care. If the mulch you placed in the fall is beginning to rot away, you may need to give it a bit of a refresh. You may also see your garlic start growing in late winter, and if you live in a warm, dry area, you may need to begin spring care a bit early, which we’ll review below.
Tending Garlic in Spring
As spring temperatures climb, your garlic will need a little more care. As mentioned above, if you live in an extreme northern climate and still have a thick layer of mulch over your garlic, you should pull it back a bit so the garlic can grow through it easily. You don’t need to totally remove it, though.
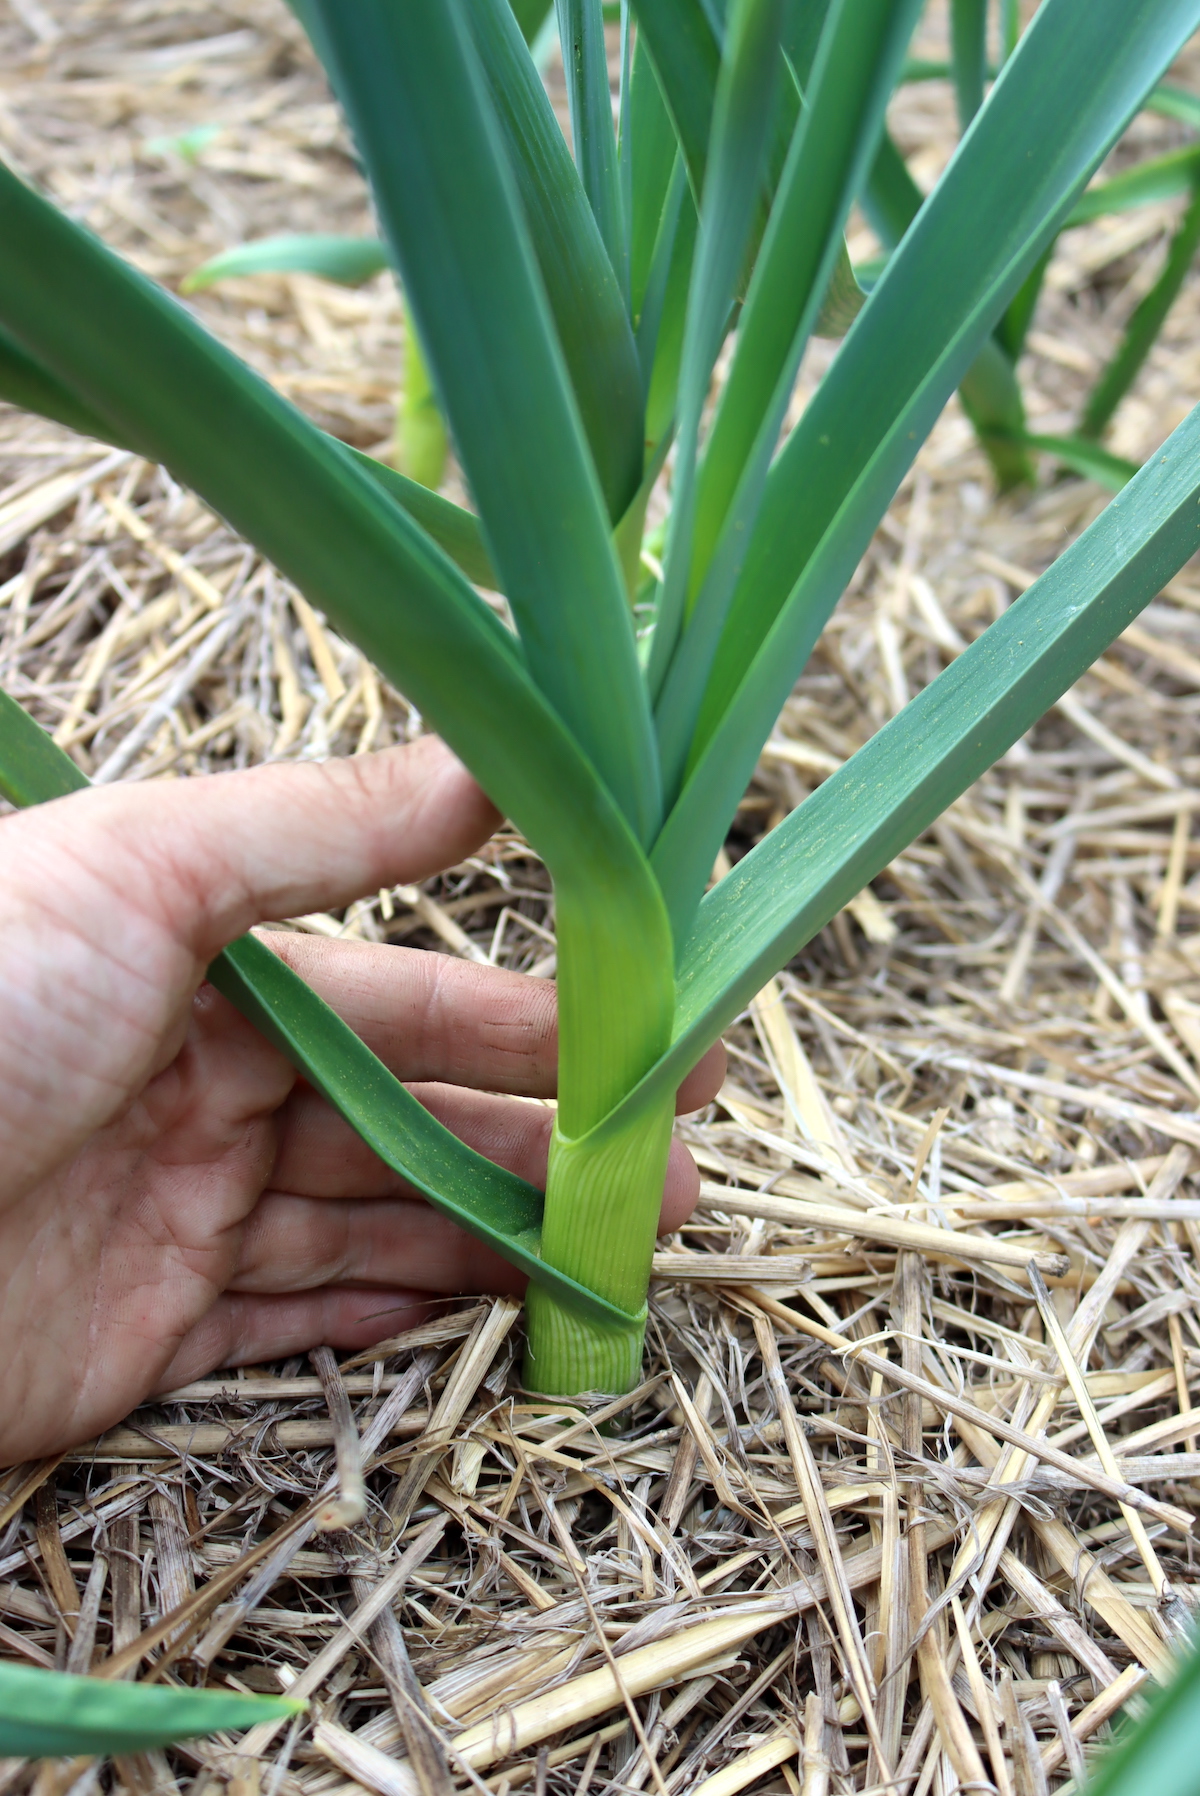
Keeping the mulch around the garlic in the spring is beneficial no matter where you live. Mulch helps hold in moisture, even eliminating the need to water in some climates. It also helps suppress weeds, which is essential for good bulb production. Mulch will also add organic matter to the soil in your beds as it breaks down.
Garlic and other alliums don’t compete well with weeds. Allowing them to grow can seriously reduce bulb production, so it’s best to keep your raised beds weeded and add more mulch whenever necessary.
Depending on your climate and seasonal variation, you may also need to water your garlic. Generally, we get plenty of rainstorms to sustain our garlic through spring and early summer here in Vermont. However, if you live in a dry area, you should water your garlic consistently. It thrives in moist but not soggy soil. One disadvantage of raised beds is that they tend to dry out more quickly than traditional beds, so keep an eye on them if you’re experiencing a dry season.
If you’re working with old raised beds and are concerned about the soil’s fertility or are seeing signs of a deficiency in your garlic, you can side-dress the plants in spring. Sprinkle compost, chicken manure, rabbit manure, or fertilizer between each row of garlic. Don’t allow chicken manure or fertilizer to touch the plants directly; it could burn them. Always follow recommended application rates for fertilizer.
Compost is my favorite option because it’s impossible to overdue. You don’t run the risk of overfertilizing your crops when using finished compost.
Removing Garlic Scapes
If you’re growing hardneck, Asiatic, or elephant garlic, your plants will produce scapes. These are flower stems that produce clusters of aerial bulblets with a papery covering. When they first emerge, they curl around in a complete circle before shooting upward. At this stage, they’re excellent for fresh eating with a milder flavor than the mature bulbs.
Use a pair of small garden shears or sharp scissors to snip garlic scapes off just above the plant’s leaves. Enjoy them fresh in salads or as a garnish. They also go well in cooked dishes like soups and stir-fries in place of mature garlic. If you have more than you can use, you can try pickling garlic scapes for later use.
Even if you don’t enjoy garlic scapes, you should still remove them at the fresh-eating stage. Allowing garlic scapes to mature and produce bulblets reduces the bulb size of your garlic.
Southern Exposure Seed Exchange estimates that for each week a scape remains on the plant after this stage you lose about 5% in bulb size. In my experience, it’s much more than that.
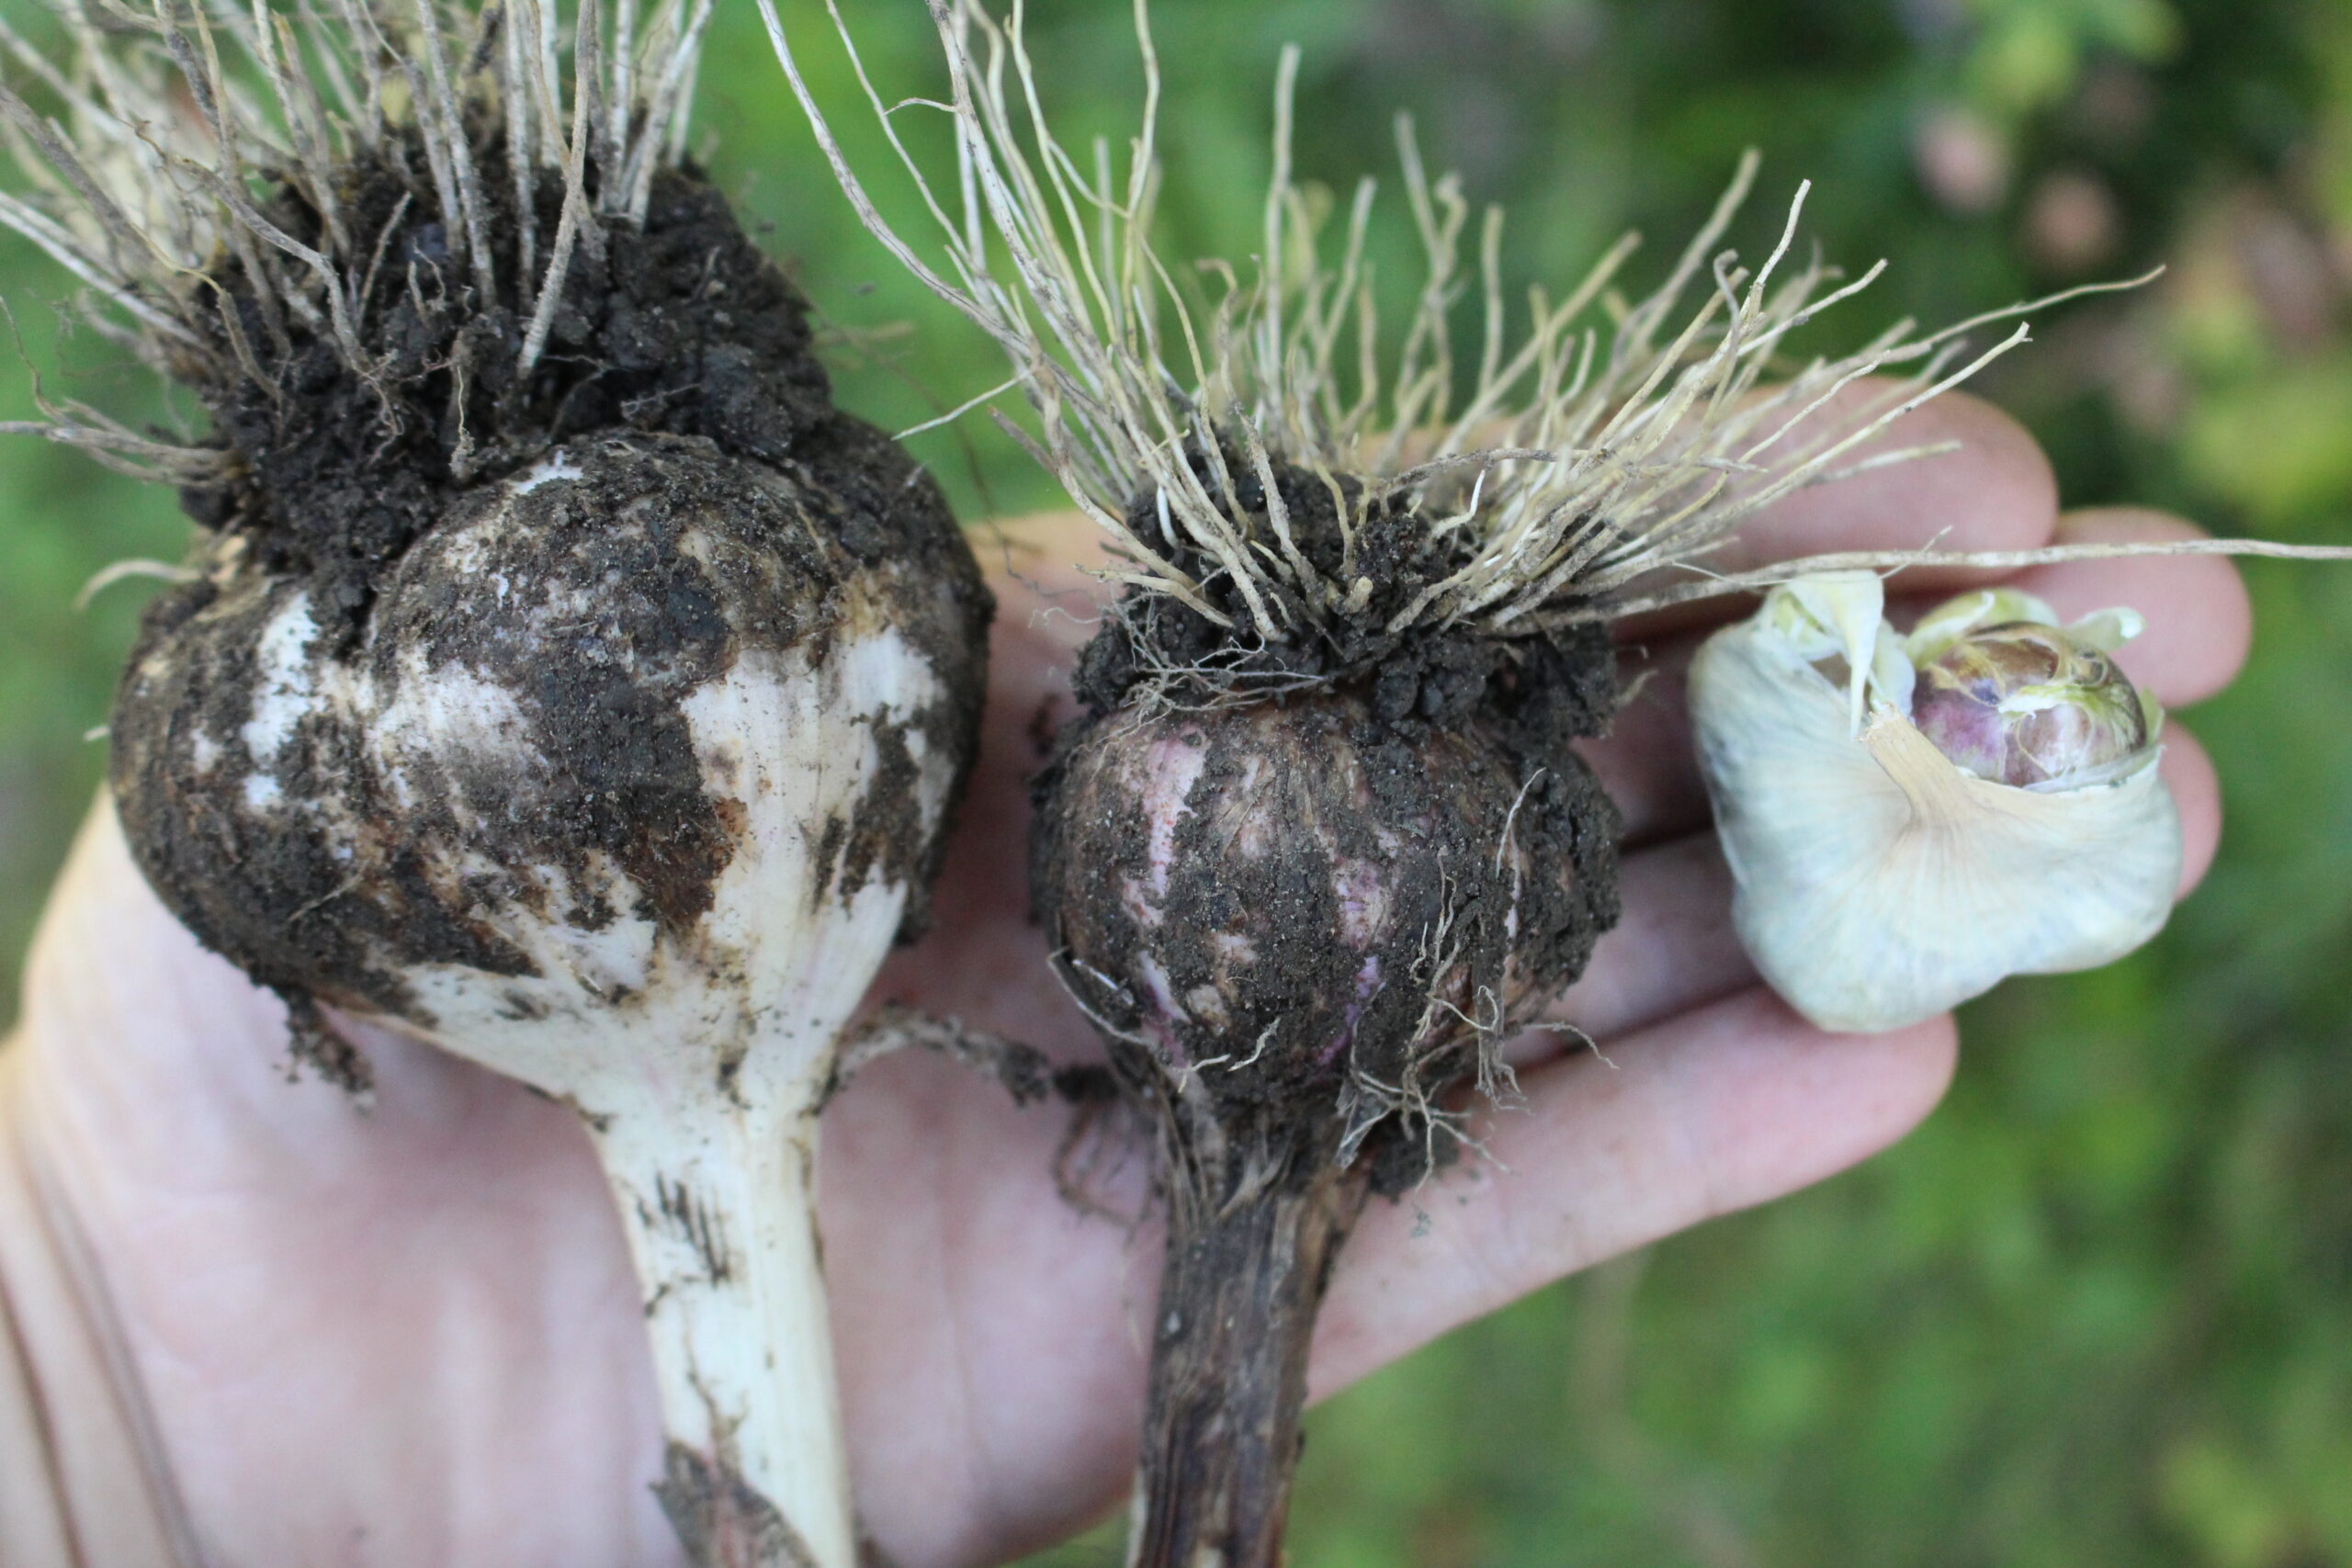
The bullets scapes produce will make more garlic. However, it takes two years of growing for a tiny bulblet to produce a full-size bulb of garlic. While you could start a large patch of garlic this way, and sometimes nature will do it for you if you miss a scape, it’s generally best to start garlic from full-size cloves so that it’s ready to harvest the following year.
If you miss a few scapes, they can also make a quirky addition to flower arrangements, whether fresh and green or mature and dried.
Harvesting Garlic
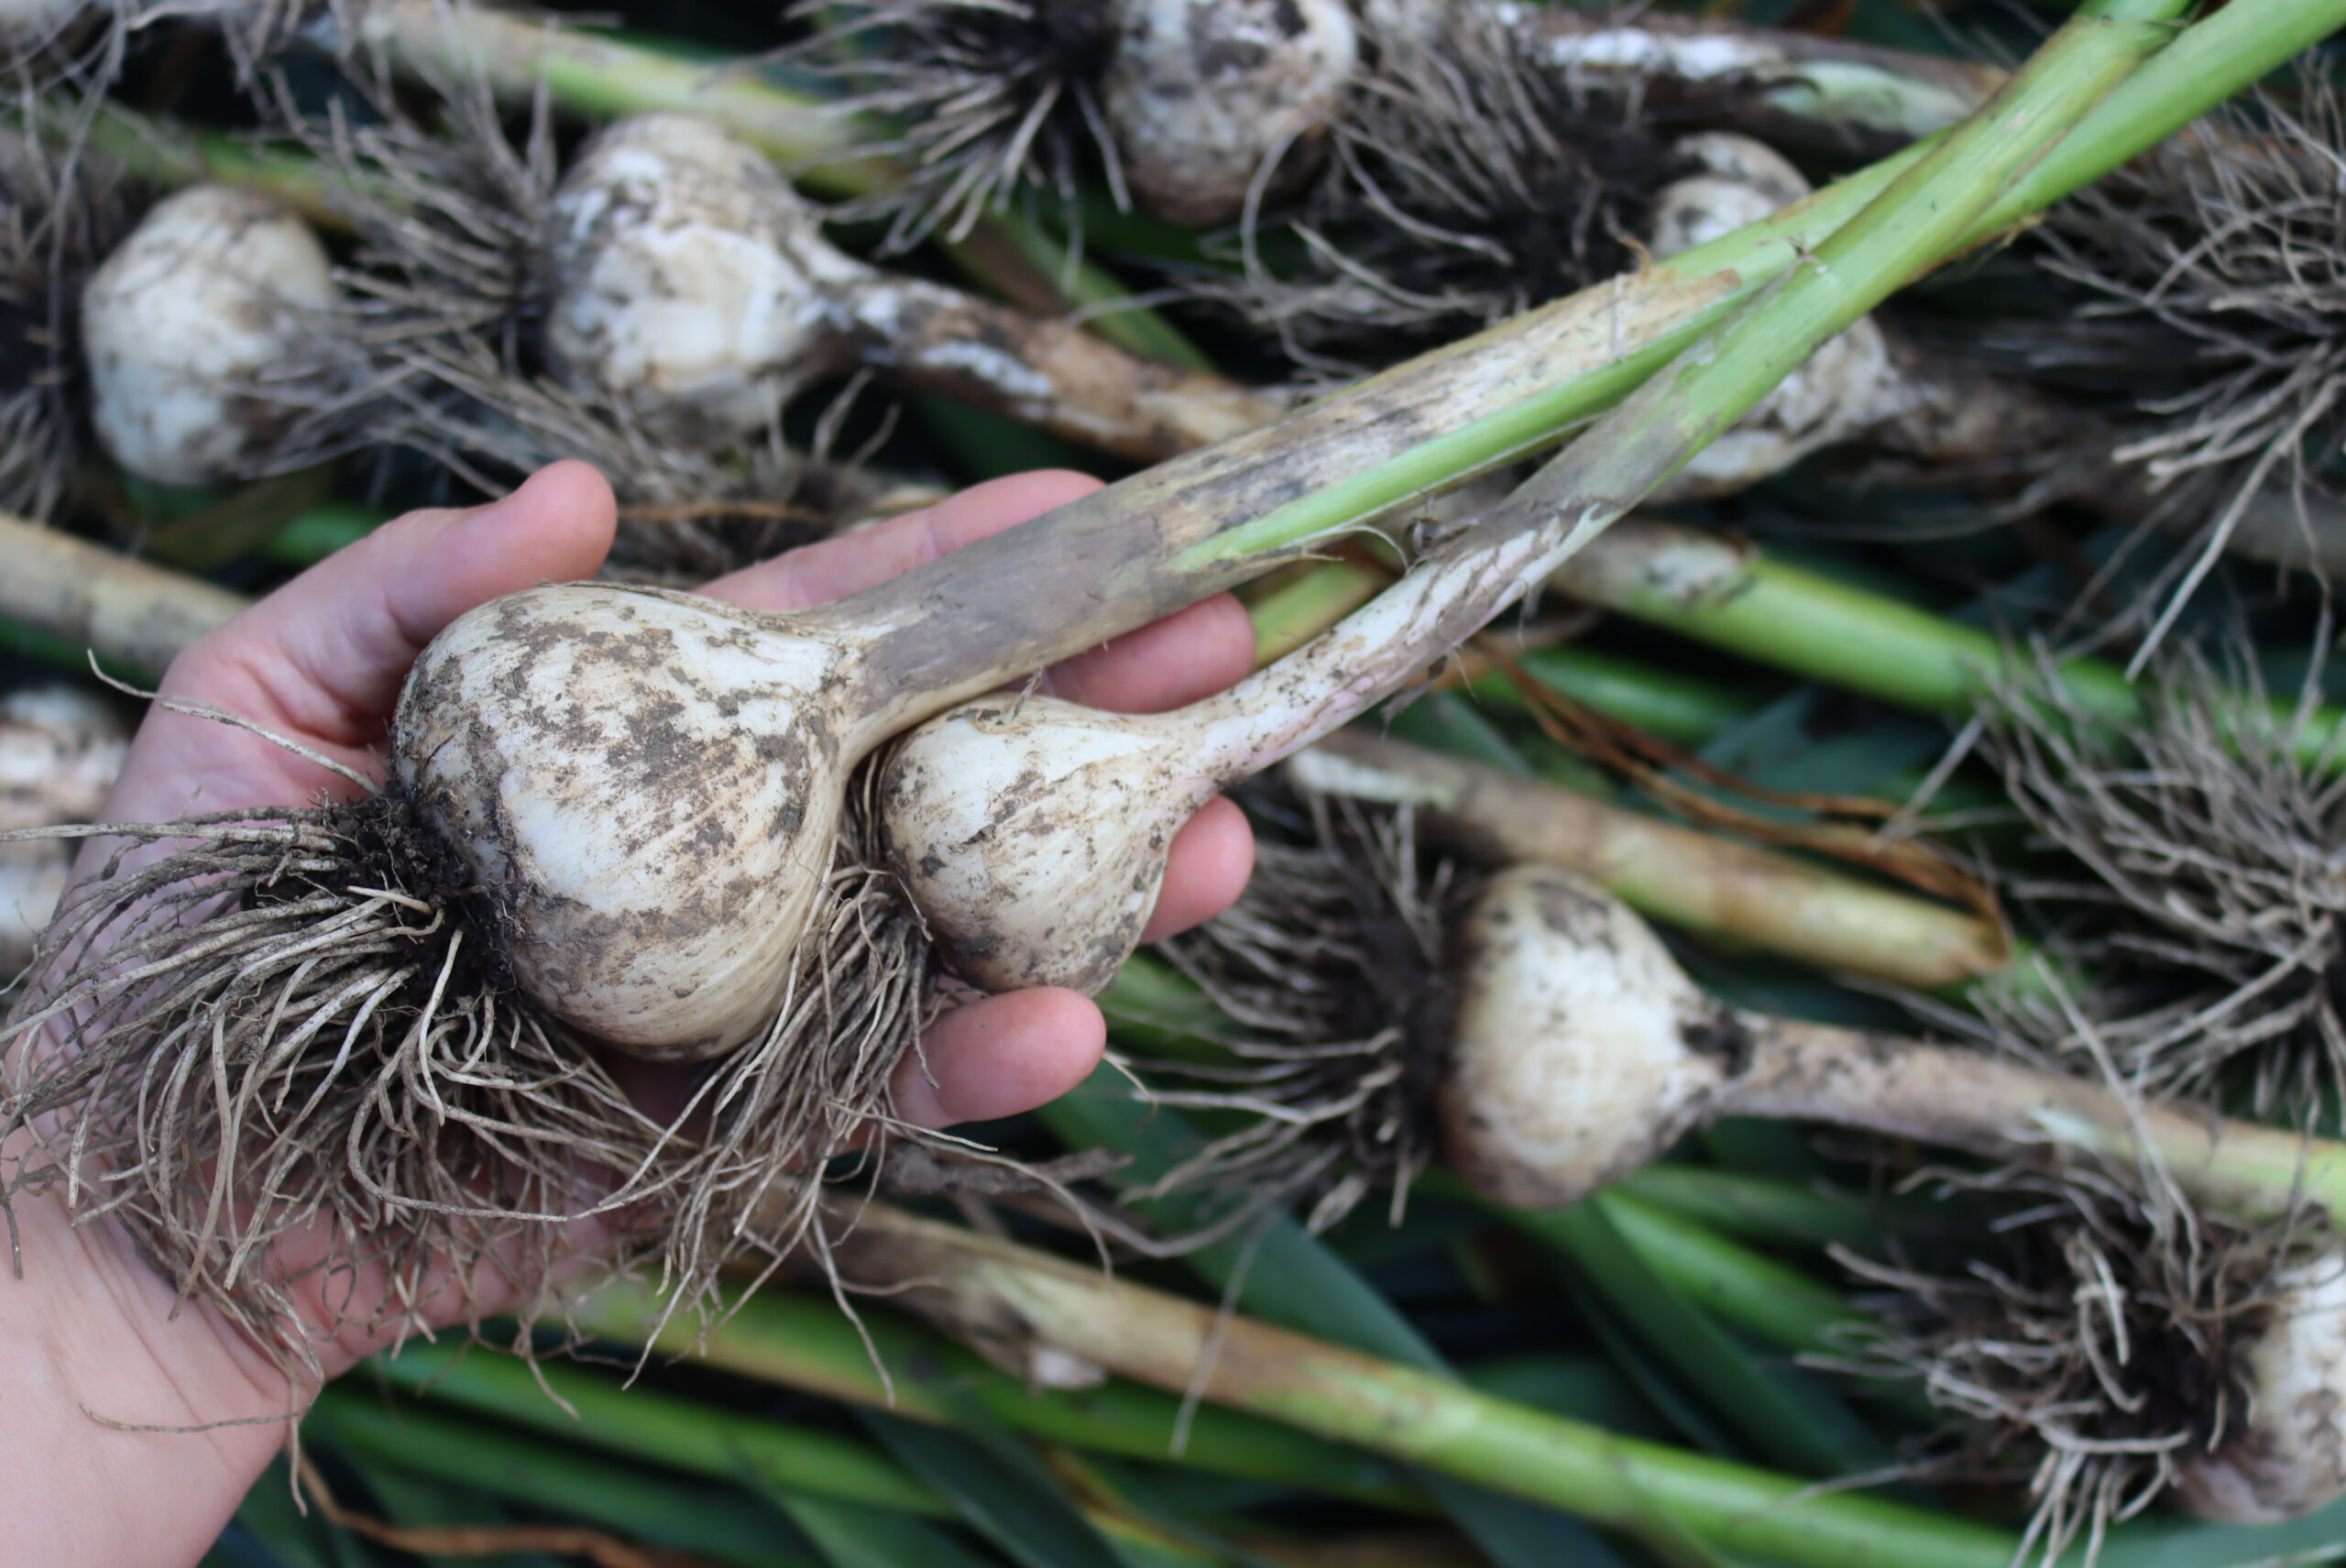
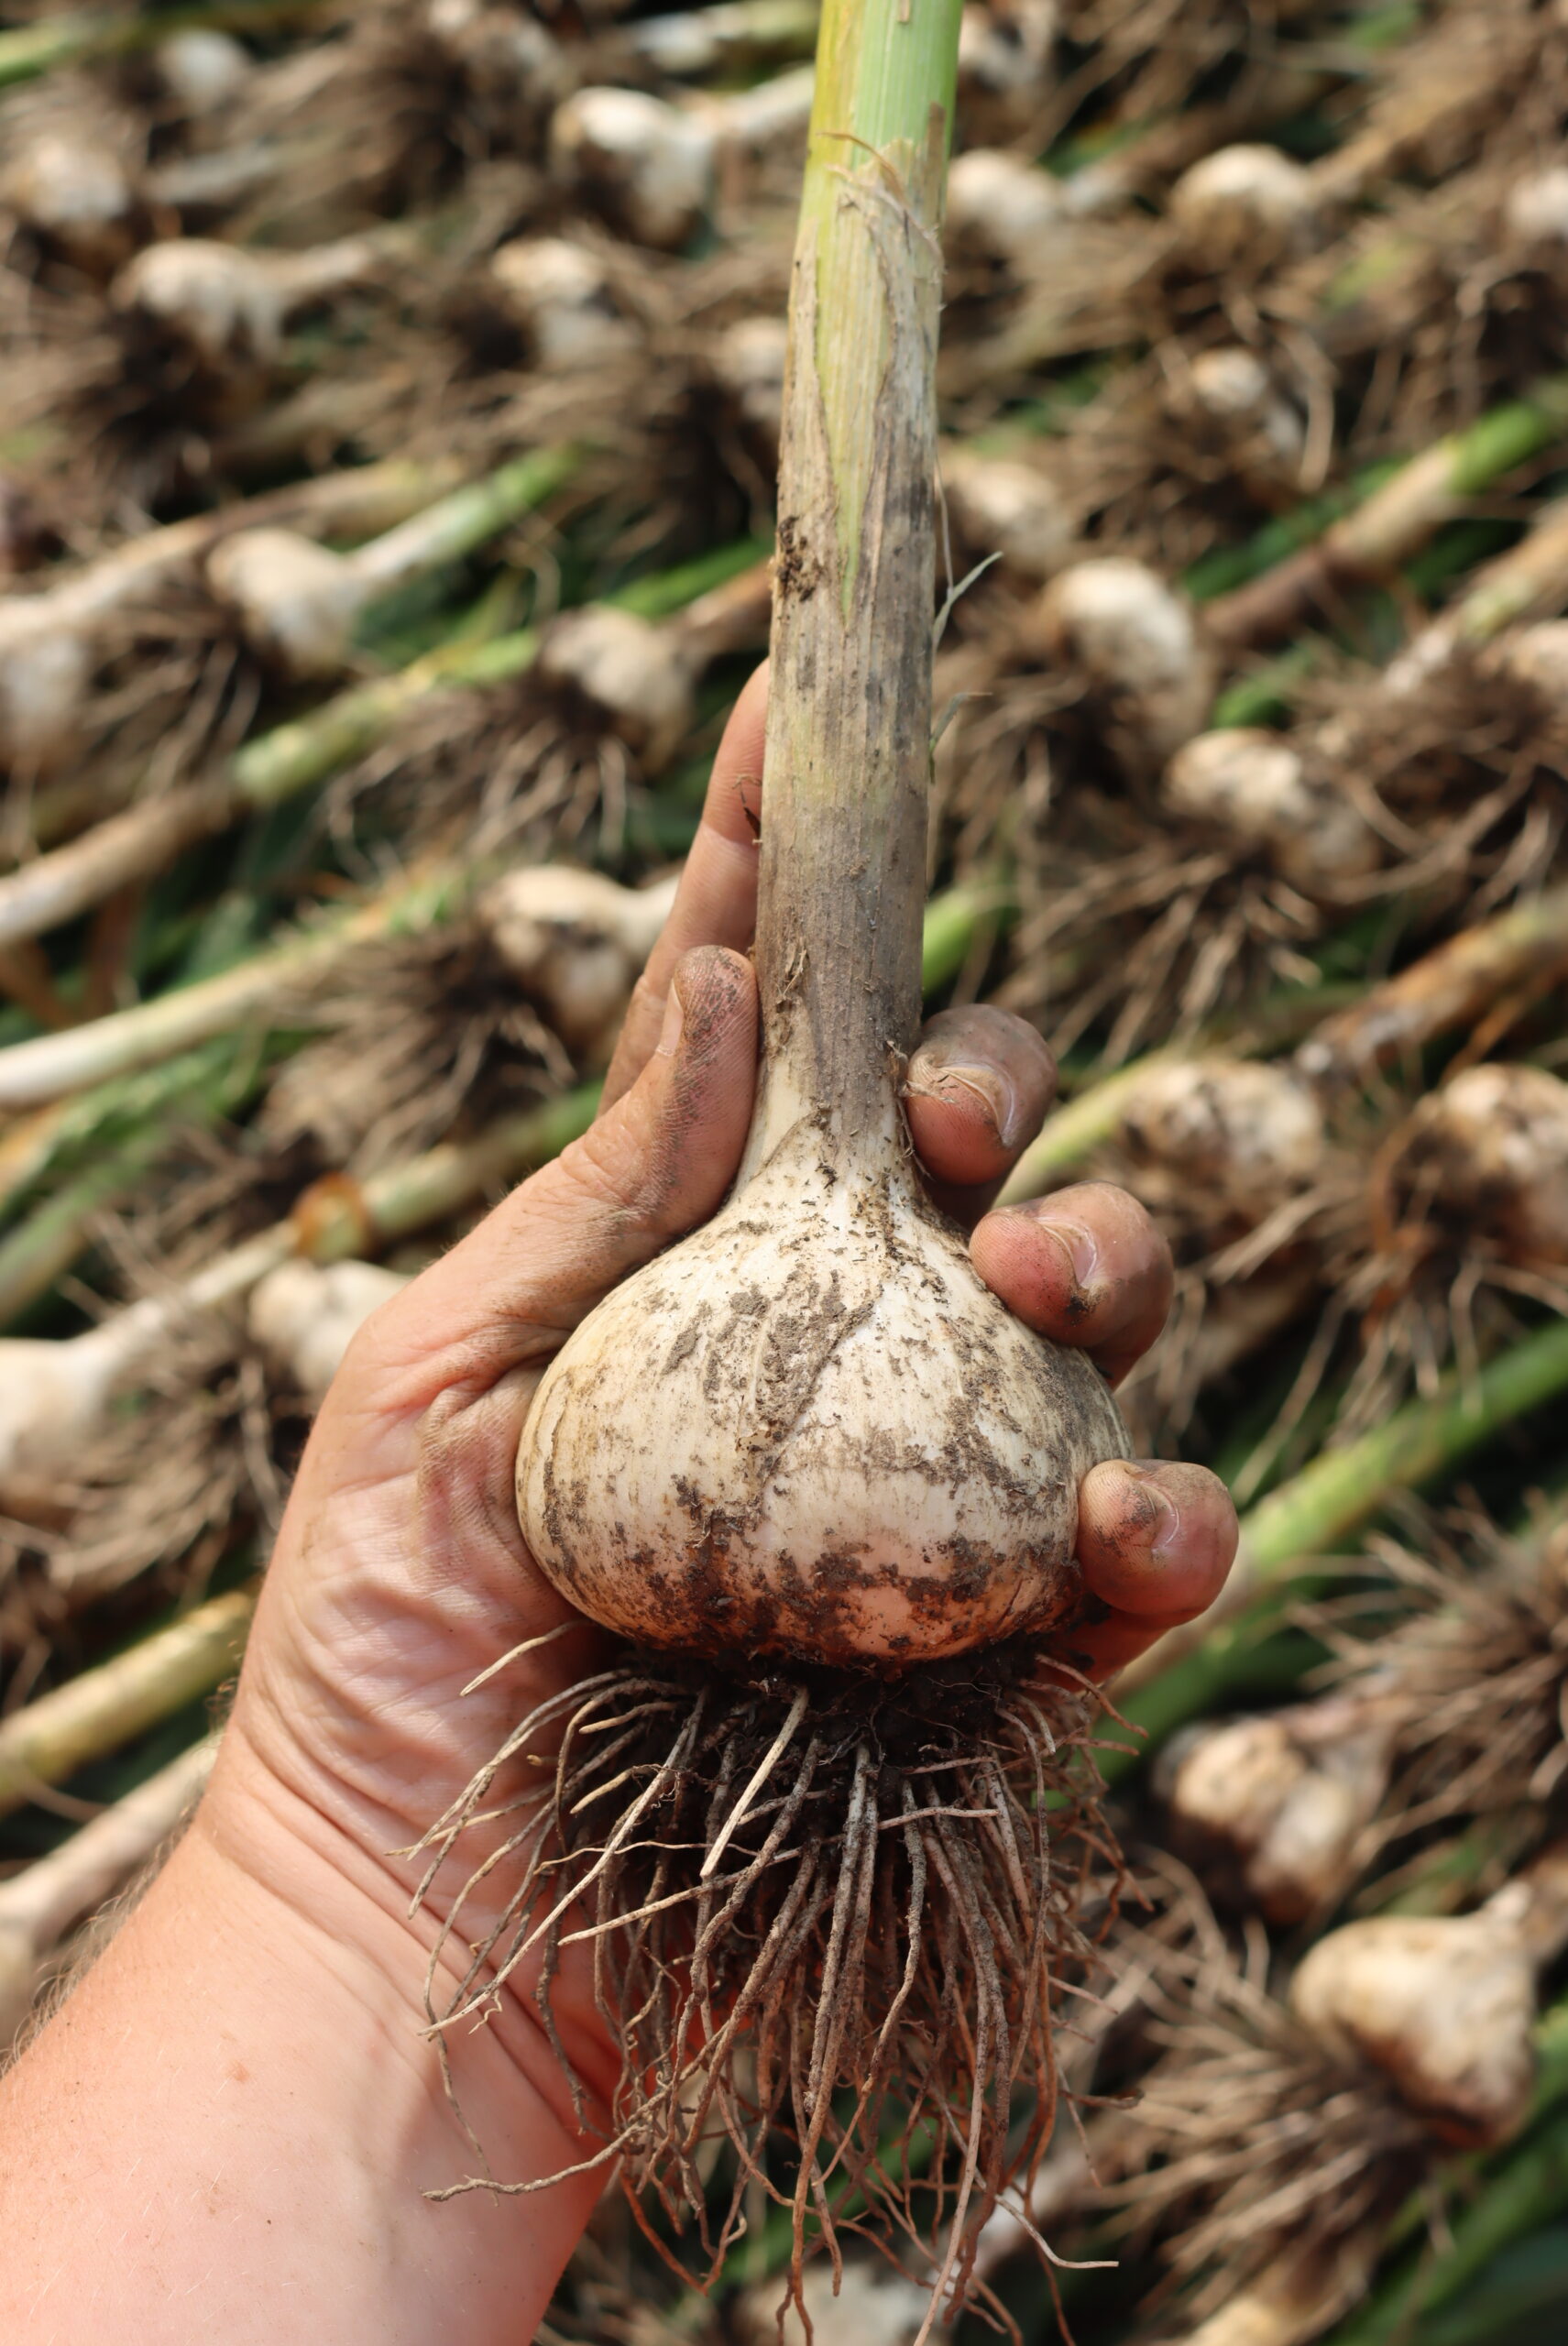
Depending on where you live, you can harvest your garlic between June and August. The garlic harvest is a treasure hunt! I’m always shocked at how much garlic we can unearth from just a few raised beds. With minimal effort, this crop is incredibly productive.
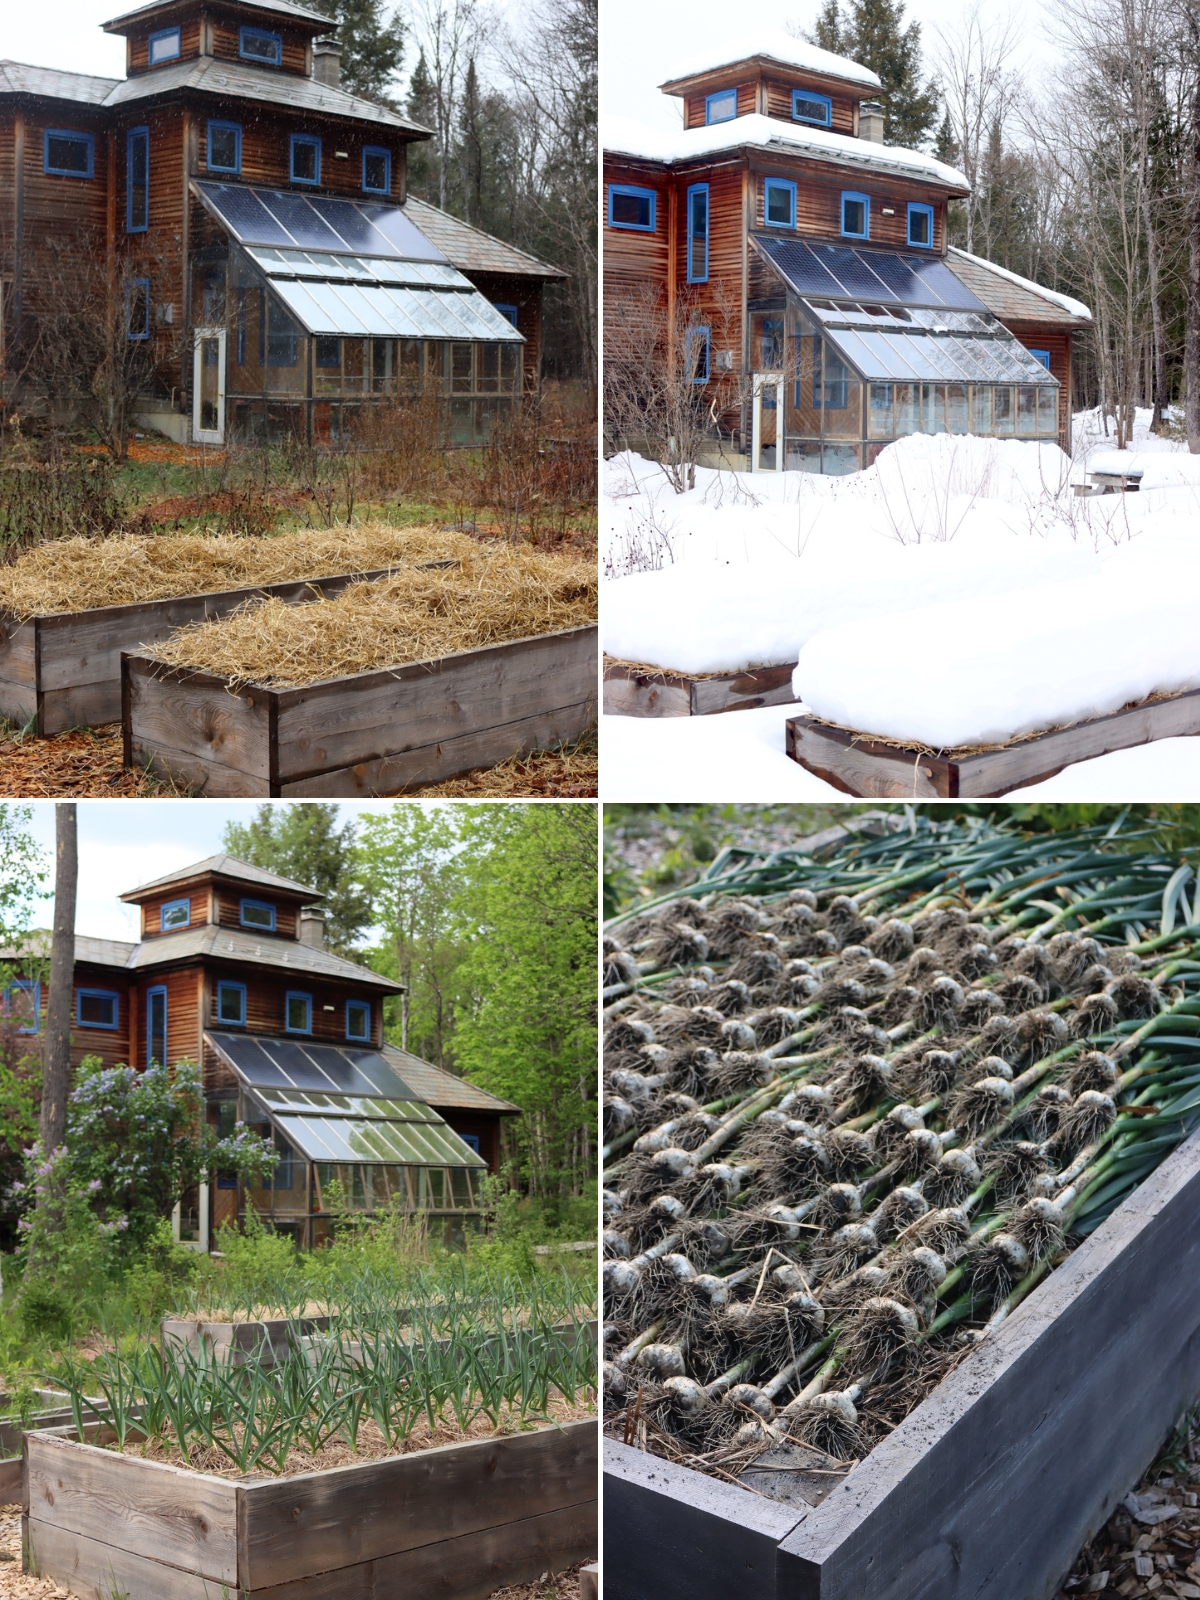
If you have a garlic type that produces scapes, you can generally expect to harvest your bulbs about four weeks after you harvest scapes, but no matter what kind of garlic you’re growing, there are some cues to watch for. The plants will reach their full size, stop growing, and begin to yellow. When the bottom few sets of leaves turn yellow or brown, it’s time to pull them. Softneck garlic may also fall over.
Don’t wait until the entire plant turns brown. If left in the ground too long, the papery skin around the bulbs will sometimes begin to split or rot. Garlic with damaged skin usually doesn’t last as long in storage.

If you’ve been watering your garlic, stop watering a couple of weeks before your harvest so that the outer skin on the bulbs dries out. When digging your garlic, use a garden fork or broadfork to gently lift the soil and bulbs so it’s easier to pull your garlic.
Don’t tug on the stems roughly; the garlic won’t cure and store as well if the stems break off.
Curing Garlic
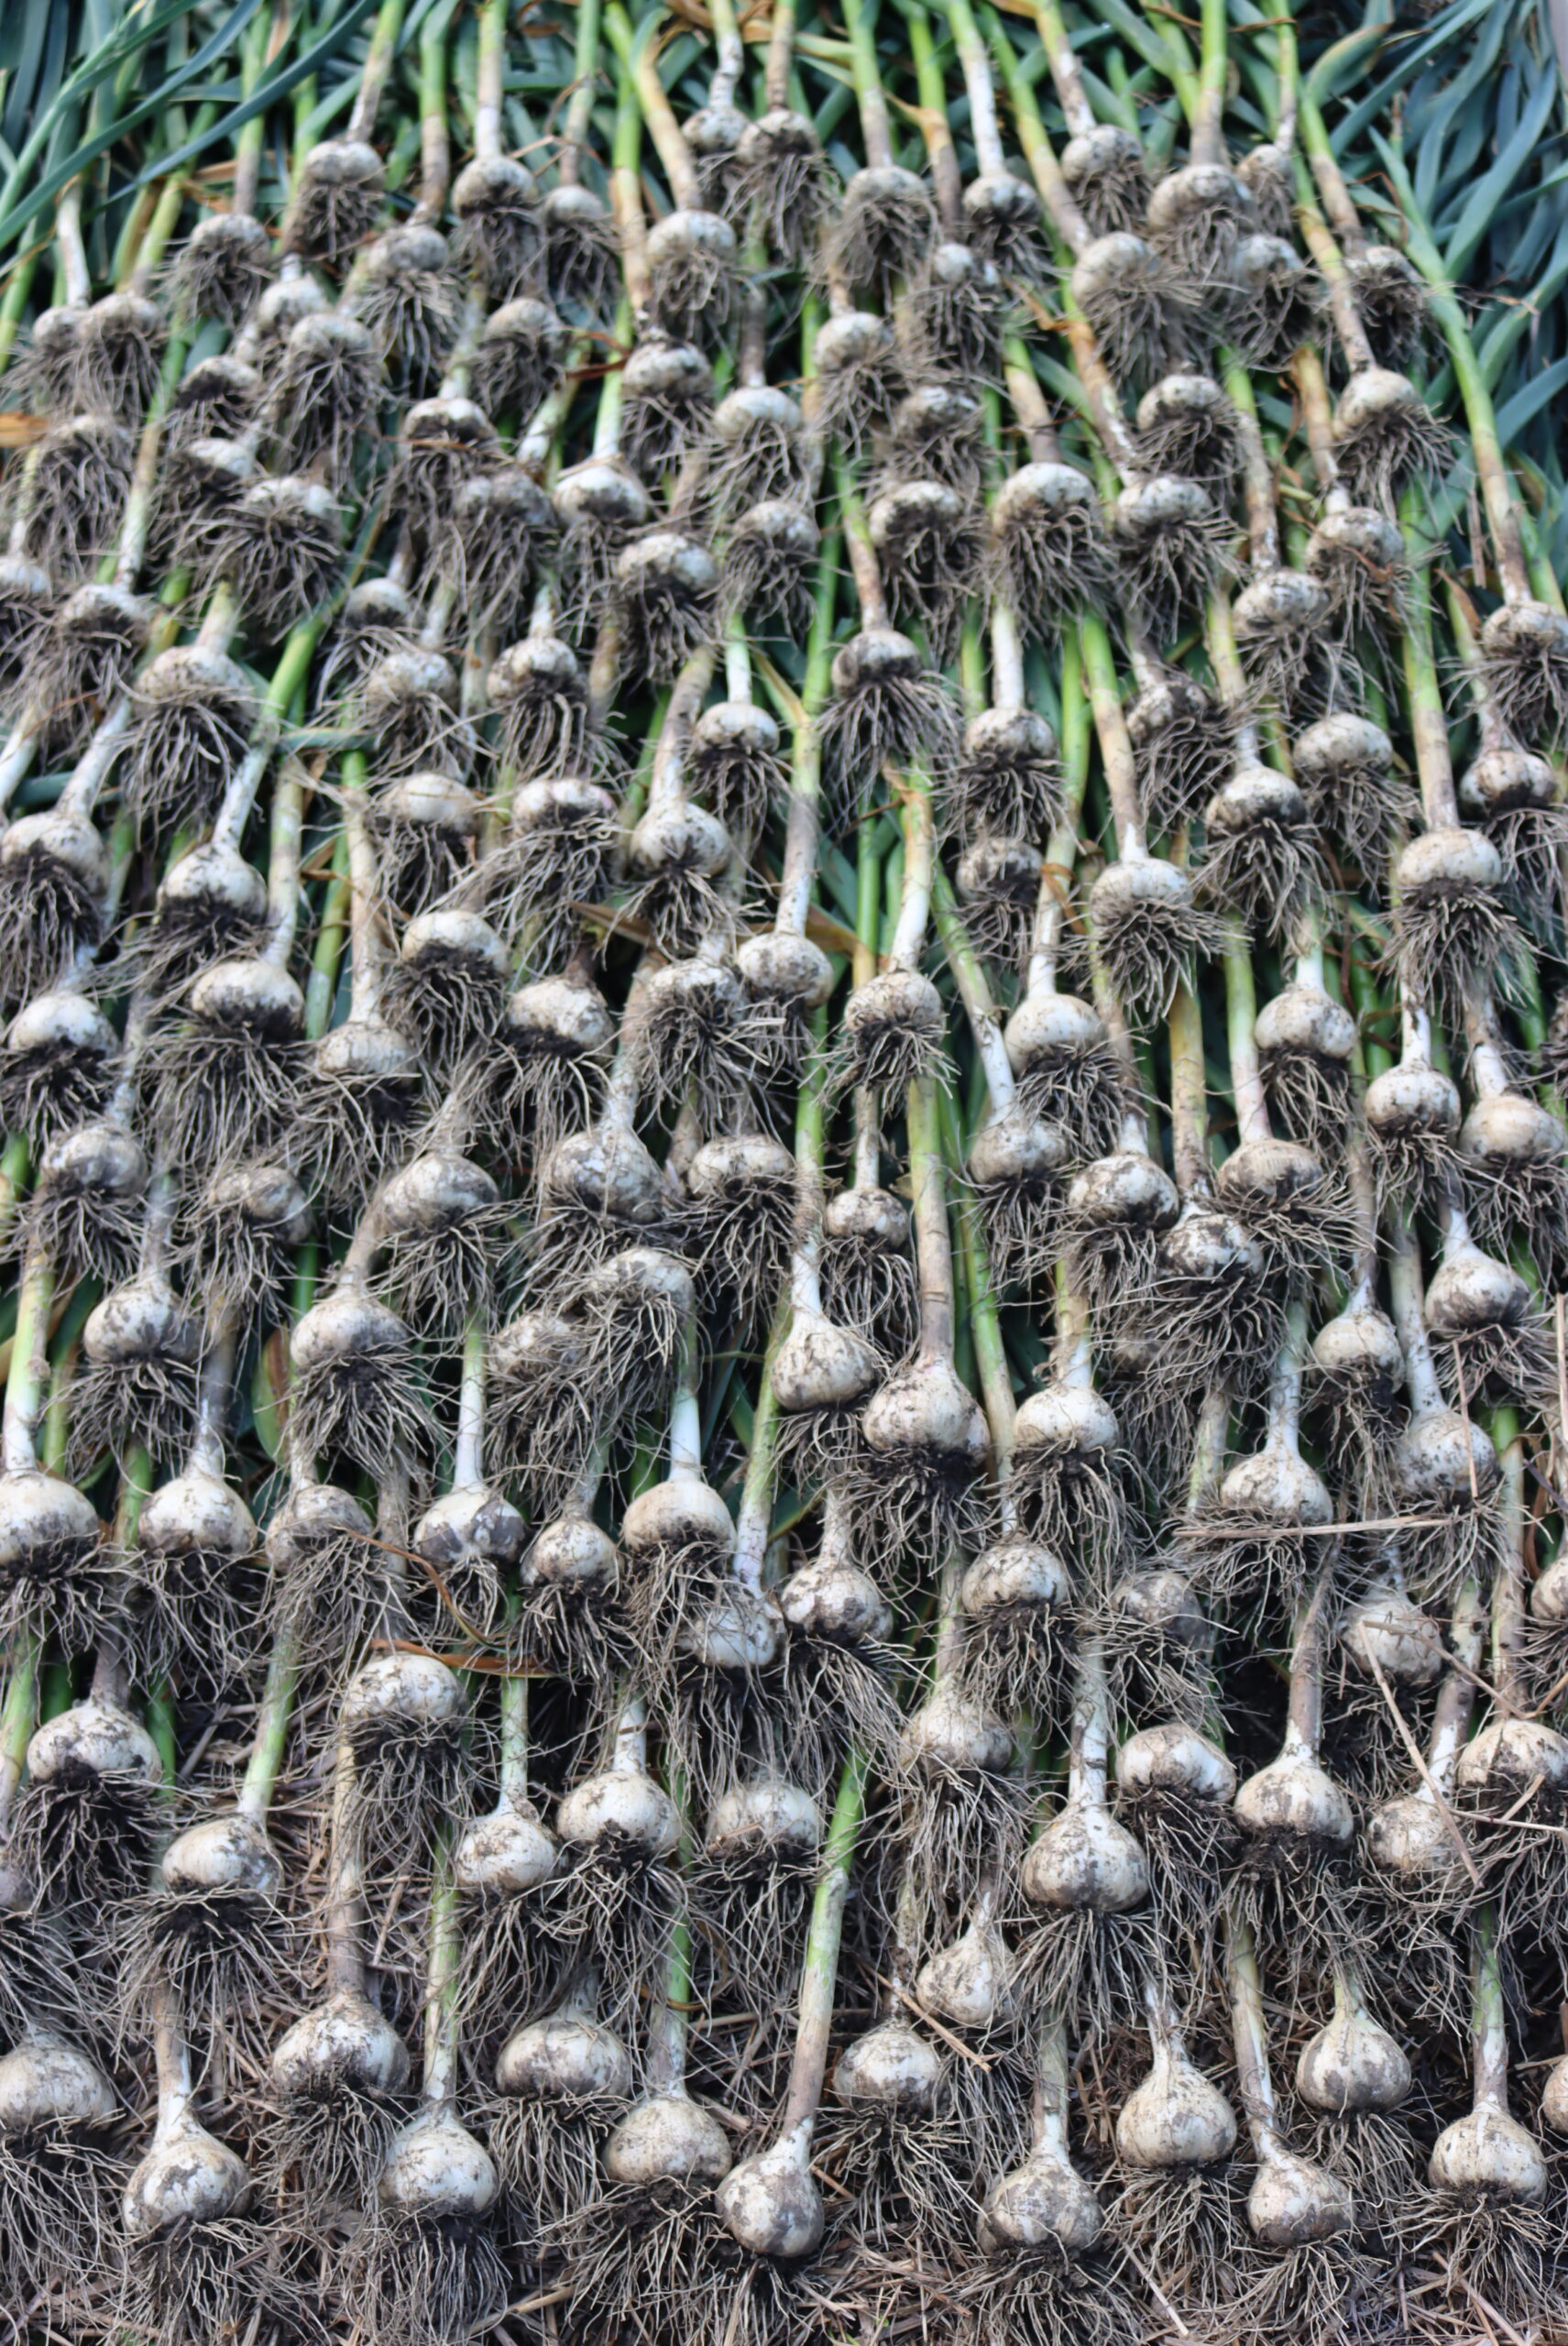
Garlic is a great storage crop with a surprisingly long shelf life, but that’s only if you cure and store it properly. Curing is a simple process of allowing the bulbs to dry so that the skin and flesh become firmer for storage.
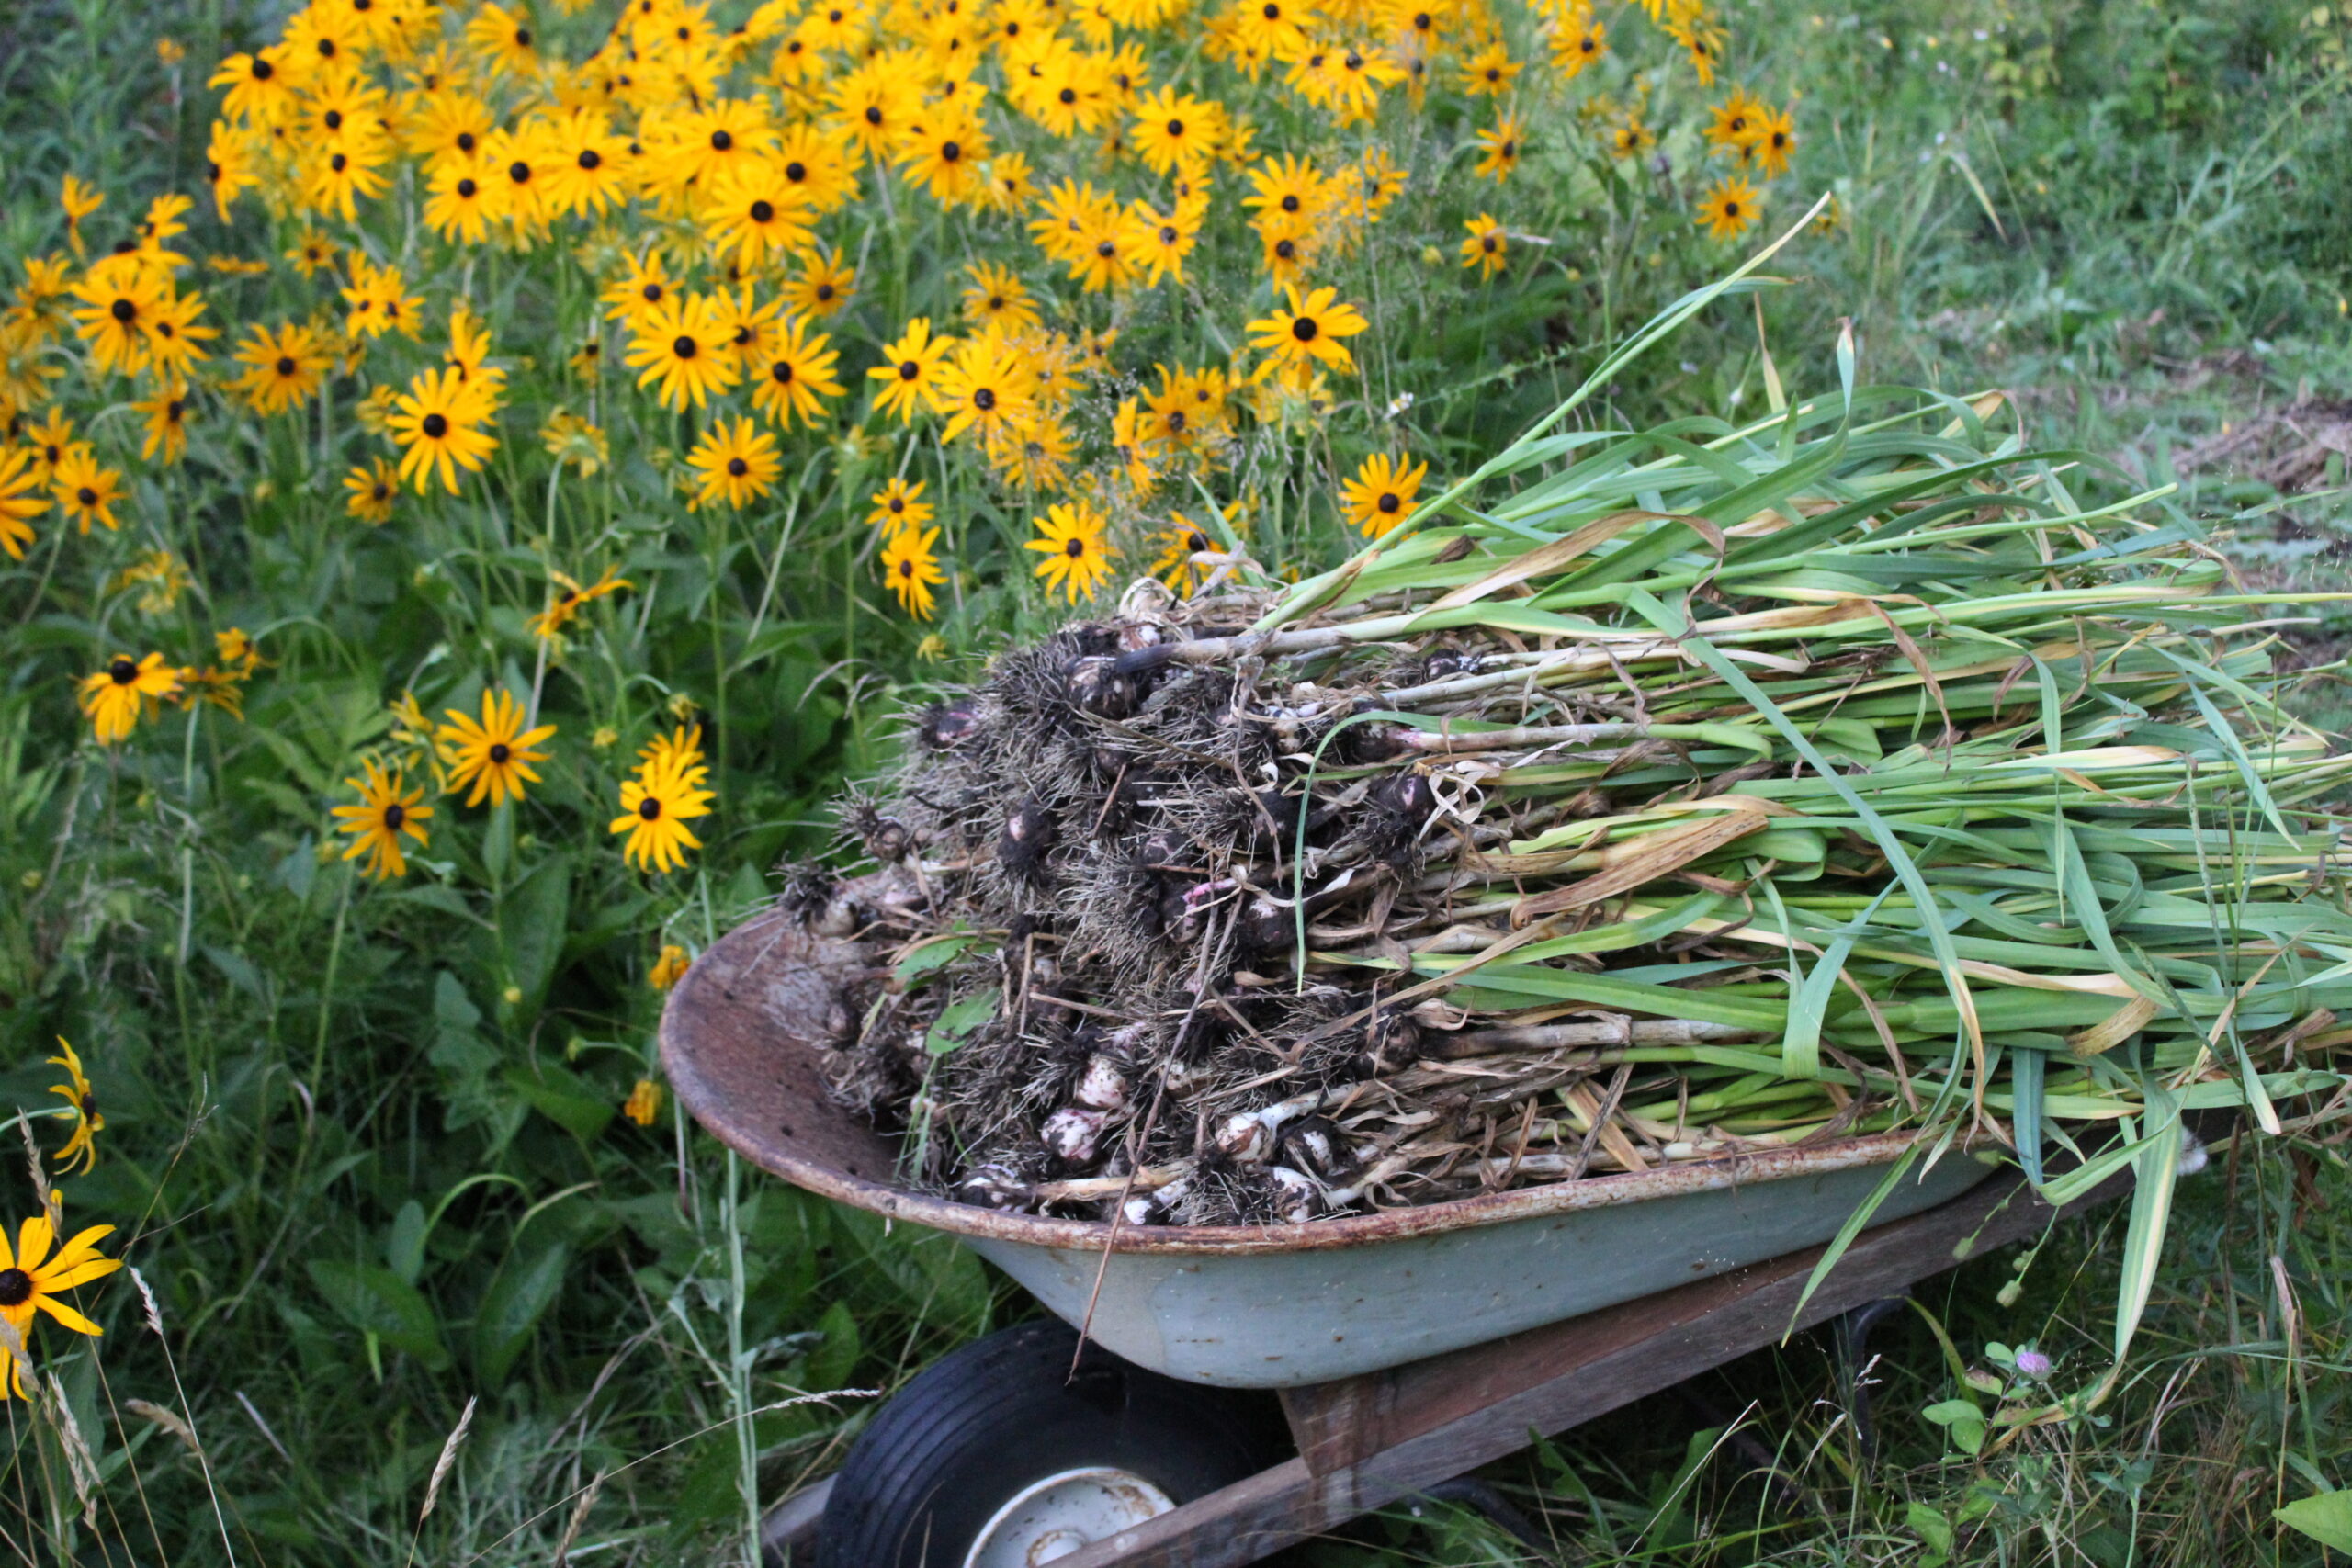
To cure your garlic, you’ll need somewhere warm, dry, and out of direct sunlight that receives good airflow. Porches, barns, garages, and hoop houses covered with shade cloth are often popular choices for this process.
Don’t remove the stems and leaves before curing your garlic. You can remove them later for storage, but they actually help during the curing process by wicking moisture away from the bulb. They also serve as an indicator so you know when your garlic is thoroughly dry.
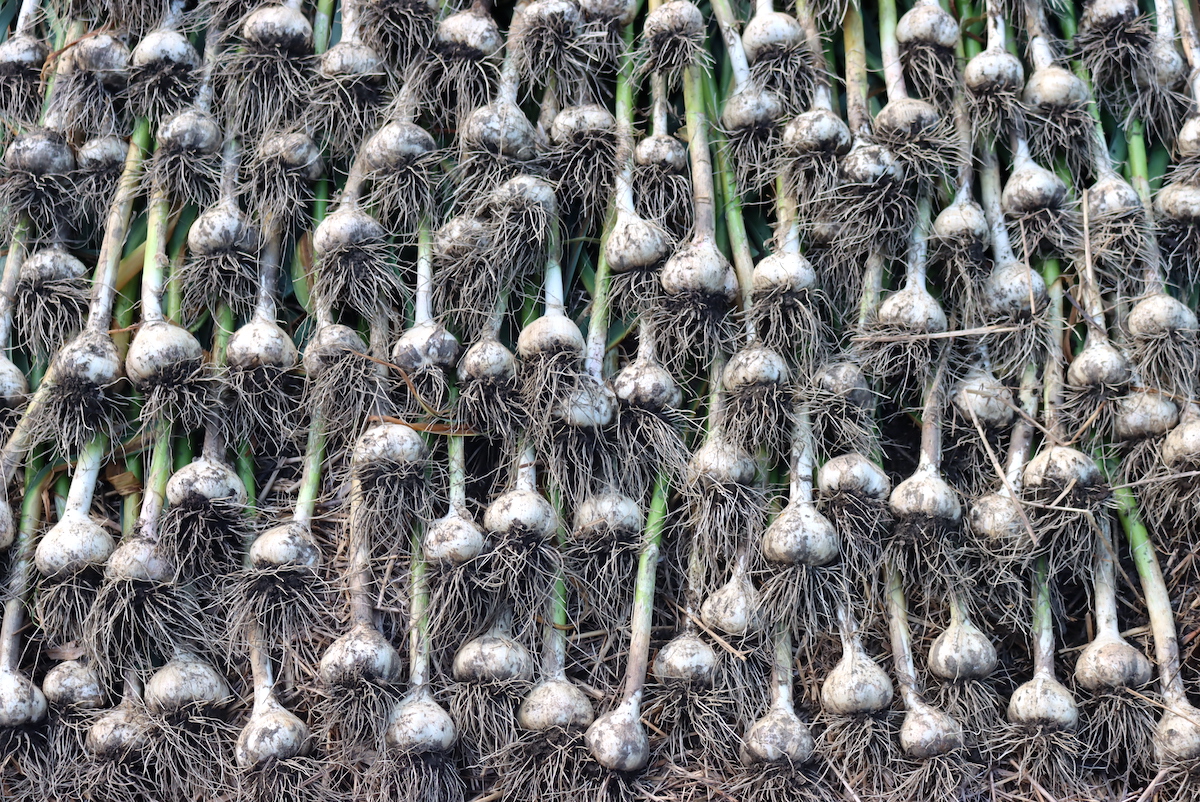
There are several ways to ensure that your garlic gets enough airflow. The first, which may be a good choice if you’re limited on space, is to hang your garlic in small bundles. Don’t add too many to each bundle; you want to ensure air gets to all the bulbs. Hanging these from a barn or garage ceiling may keep them out of your way.
Wire tables made from hardware cloth or other wire fencing are another popular choice. You can lay your garlic out on the wire or, for maximum use of space, feed the top of the plant down through the wire so that only the bulbs are sitting on the wire, with the leaves and stems hanging down.
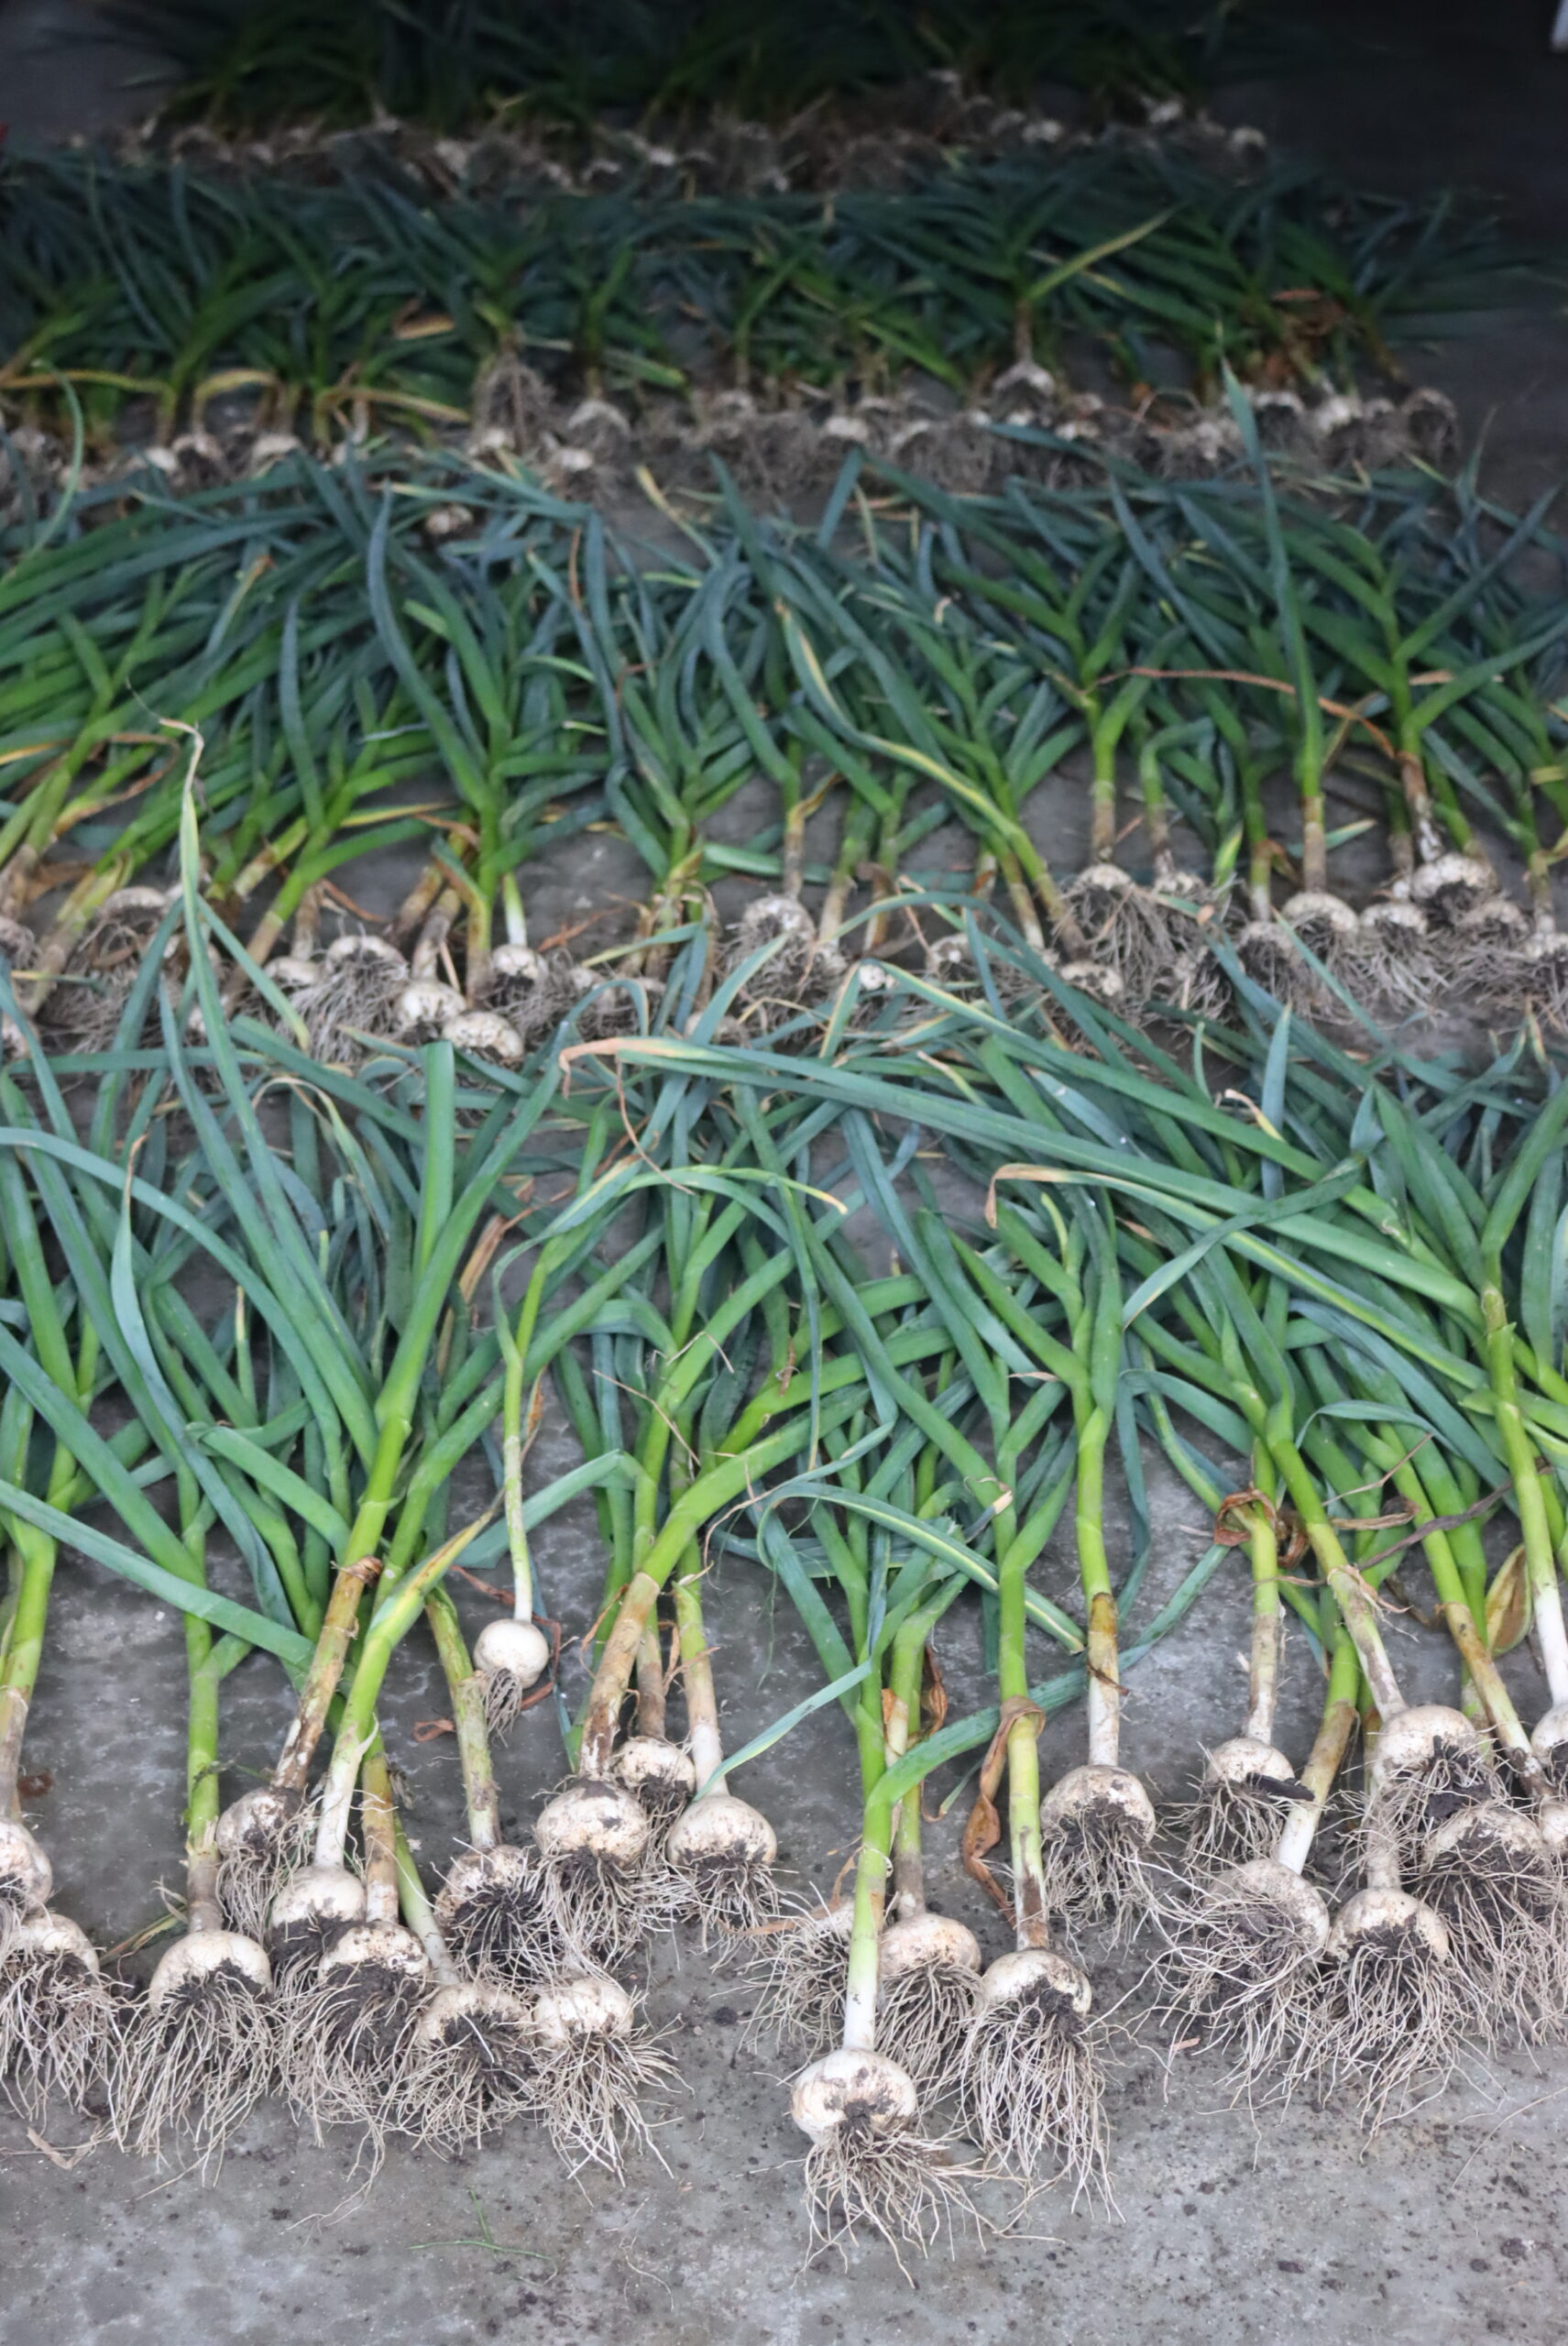
The last option is my favorite because it’s a low-effort option. Lay your garlic out on the floor in rows, leaving space for airflow between each row. I put a fan on mine to ensure they get plenty of air and dry quickly. This method only works if you have a good dry area. Don’t lay garlic on a damp floor.
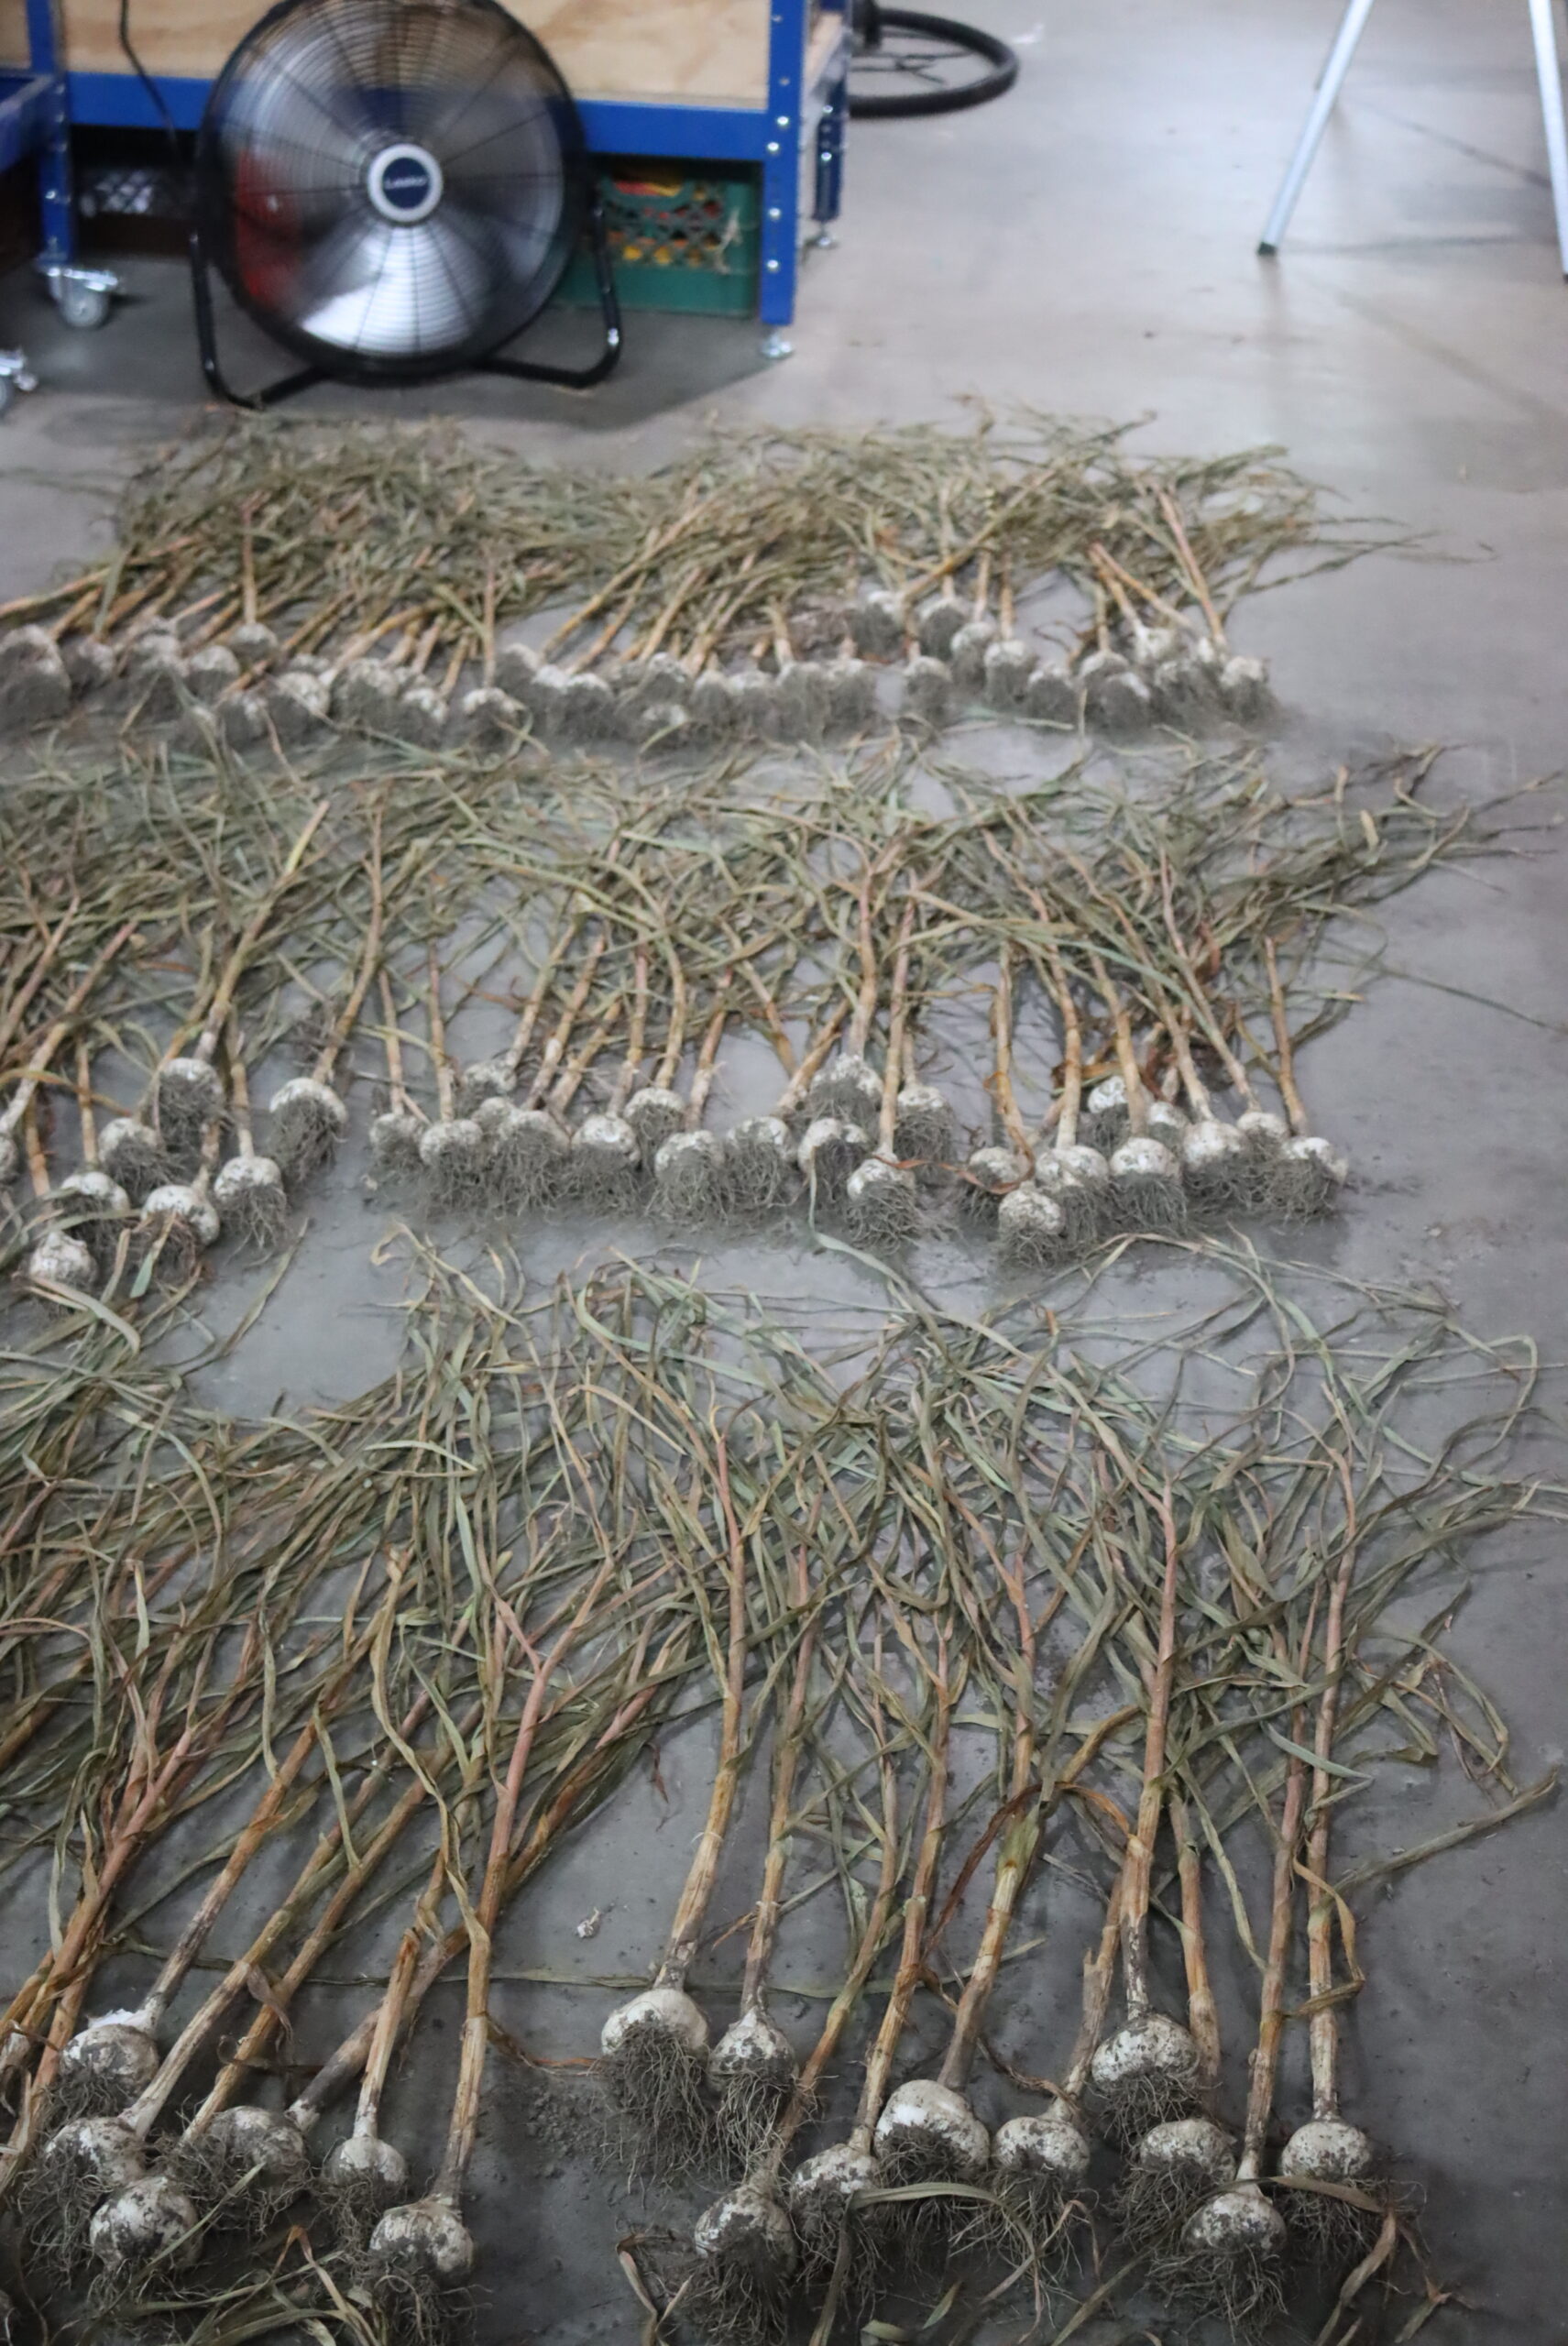
When your garlic is fully cured, the leaves and stems will be brown, dry, and brittle. Depending on your climate and curing method, this may take 1 to 2 weeks to 1 to 2 months. Garlic will cure more slowly in humid areas.
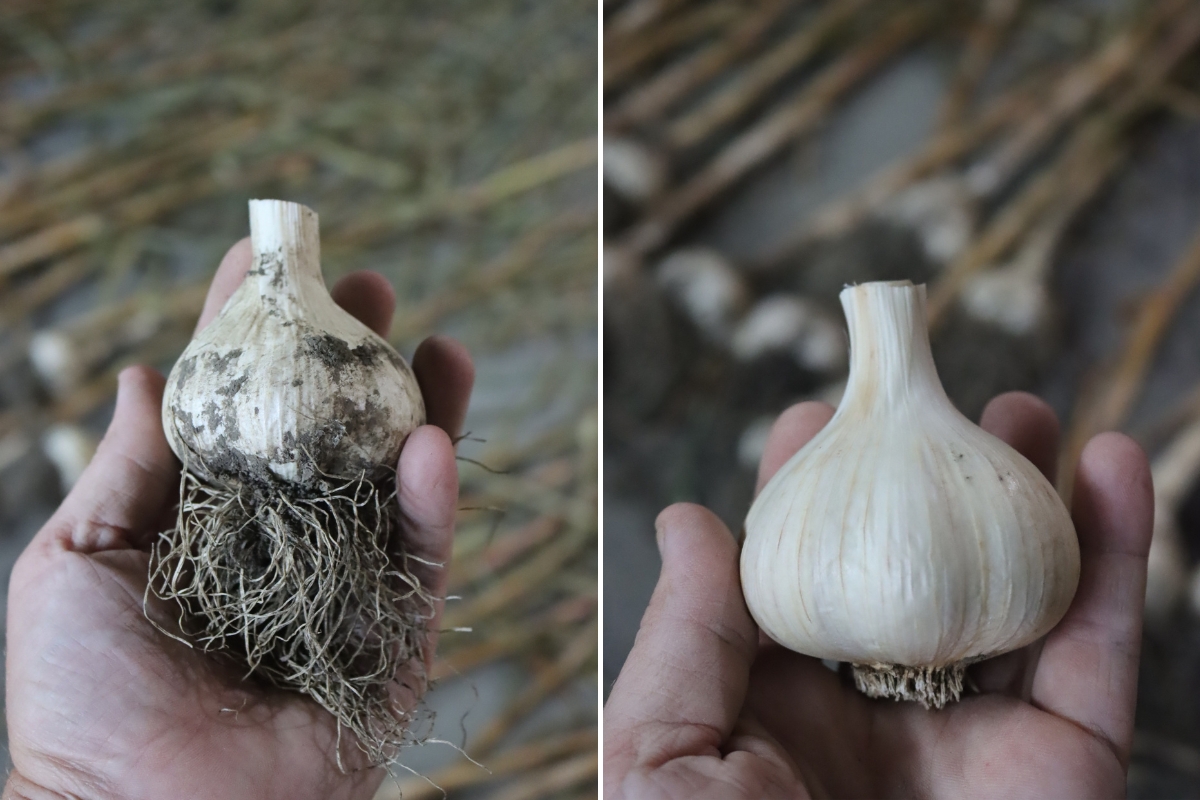
Once your garlic is fully cured, you can get it ready for storage by cleaning it up a bit. For hardneck, Asiatic, or elephant garlic, use shears to trim off the stems, leaves, and roots. Knock off any big chunks of dirt and gently remove the dirty outer layer of paper skin. Then, your bulbs are ready for storage!
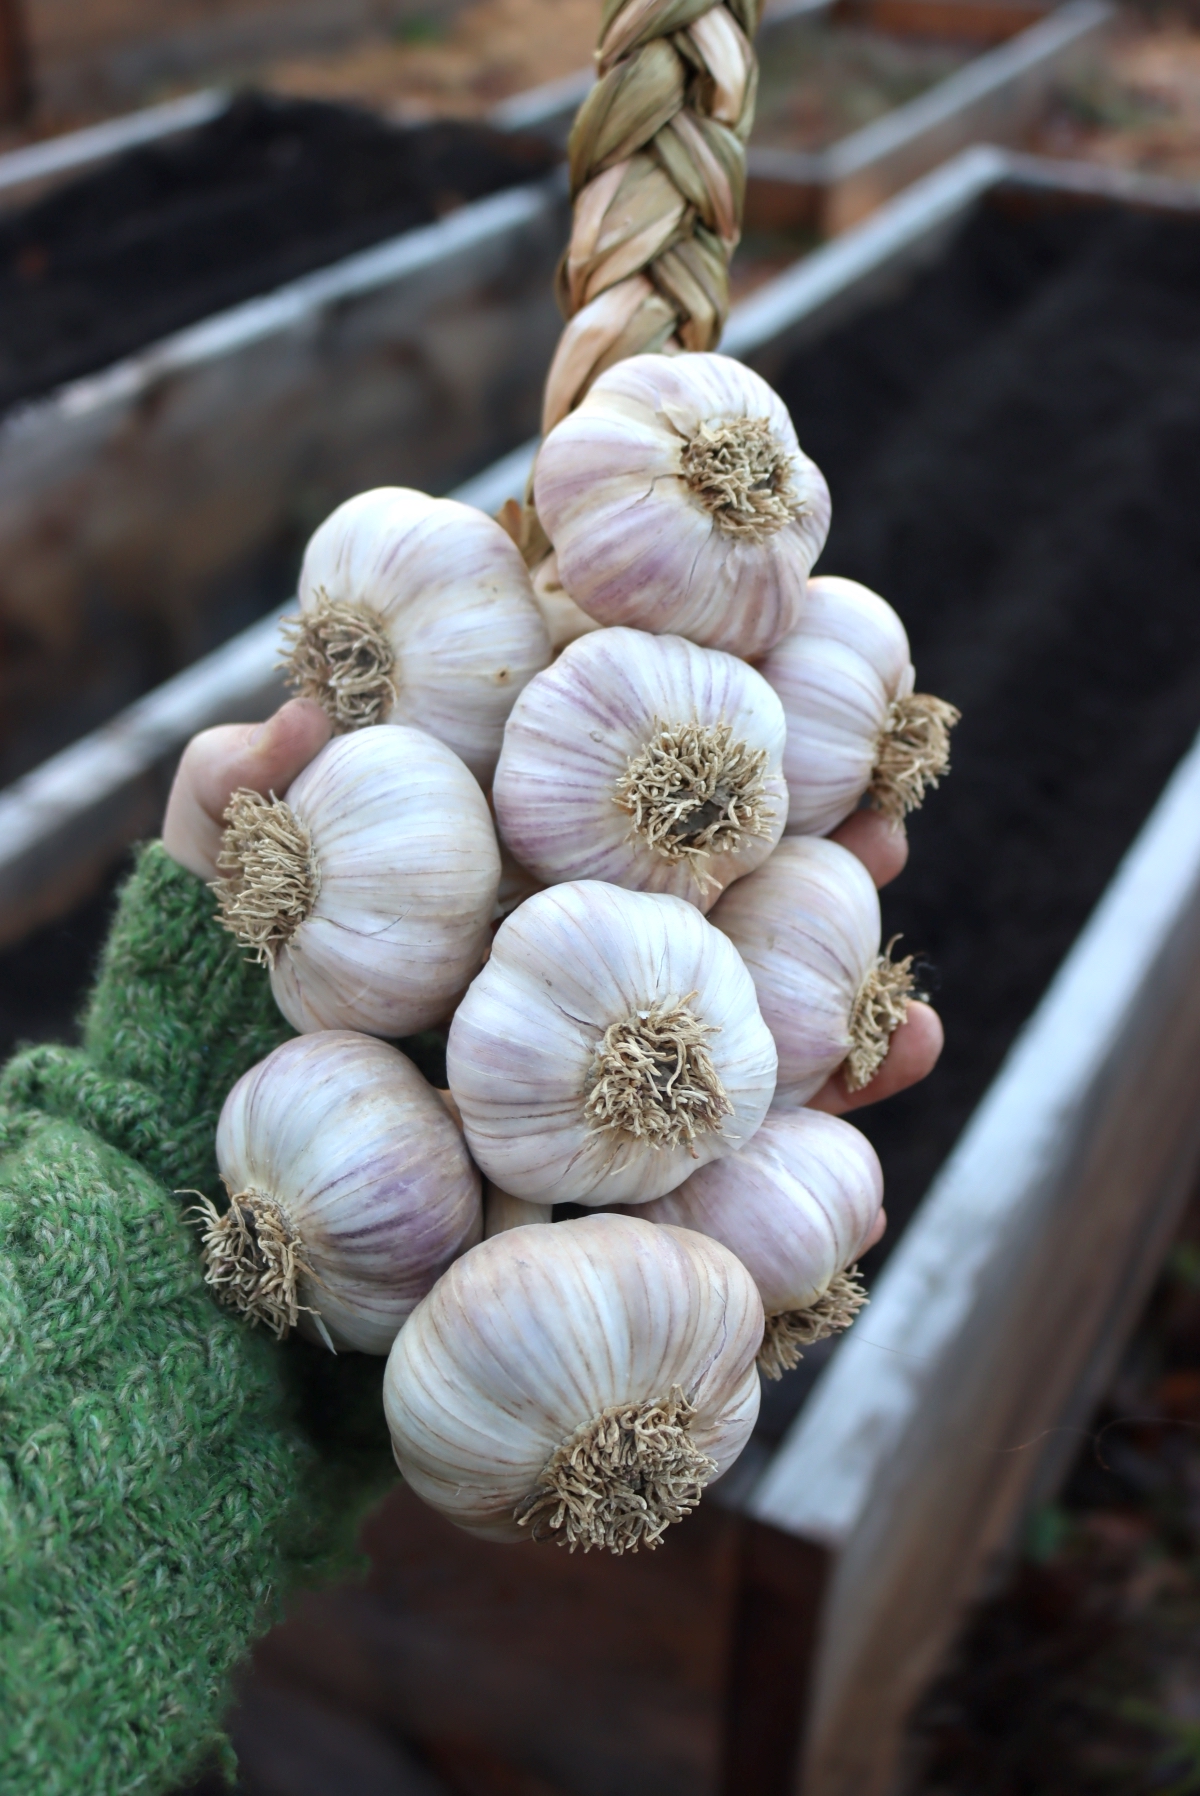
You can prepare softneck garlic the same way, but its soft, pliable stems are perfect for braiding. Rather than removing the whole stem, I recommend trimming the roots, removing the outer skin, and then braiding bundles of softneck garlic to hang in the kitchen. They’re true farmhouse decor!
Storing Garlic
Unlike so many staple crops that must be canned, frozen, or kept cool and moist in a root cellar, garlic is an easy keeper. Garlic keeps fairly well when stored at room temperature, though for best results, you can store it somewhere cool, around 55°F. Avoid storing garlic in the refrigerator, damp basement, or root cellar, as garlic doesn’t handle moisture well.
Store garlic whole in braids or open baskets or boxes. Avoid closed containers and plastic bags, as they will retain moisture and shorten the garlic’s shelf life. Don’t separate the bulbs until you’re ready to use them. The cloves won’t last as long as whole bulbs. Depending on your variety, your garlic may keep anywhere from 4 to 12 months.
If your garlic is reaching the end of its shelf life, there are ways to preserve it. You can pickle garlic or dehydrate garlic to make your own garlic powder. Pre-mincing garlic and freezing it into ice cube trays also creates a meal-ready option if you have the freezer space.
Gardening Guides
Once you get started, growing your own food is addicting. There’s nothing like pulling golden potatoes from the earth or biting into a crisp cucumber straight from the plant. Here are a few of my favorite garden guides to give you a great harvest:
- Growing Potatoes in Raised Beds
- How to Grow Blackberries
- How to Grow Tomatoes from Seed
- Complete Guide to Growing Peas
- Beginner’s Guide to Growing Mushrooms
