Affiliate disclosure: This post may contain affiliate links. Please see our Privacy Policy.
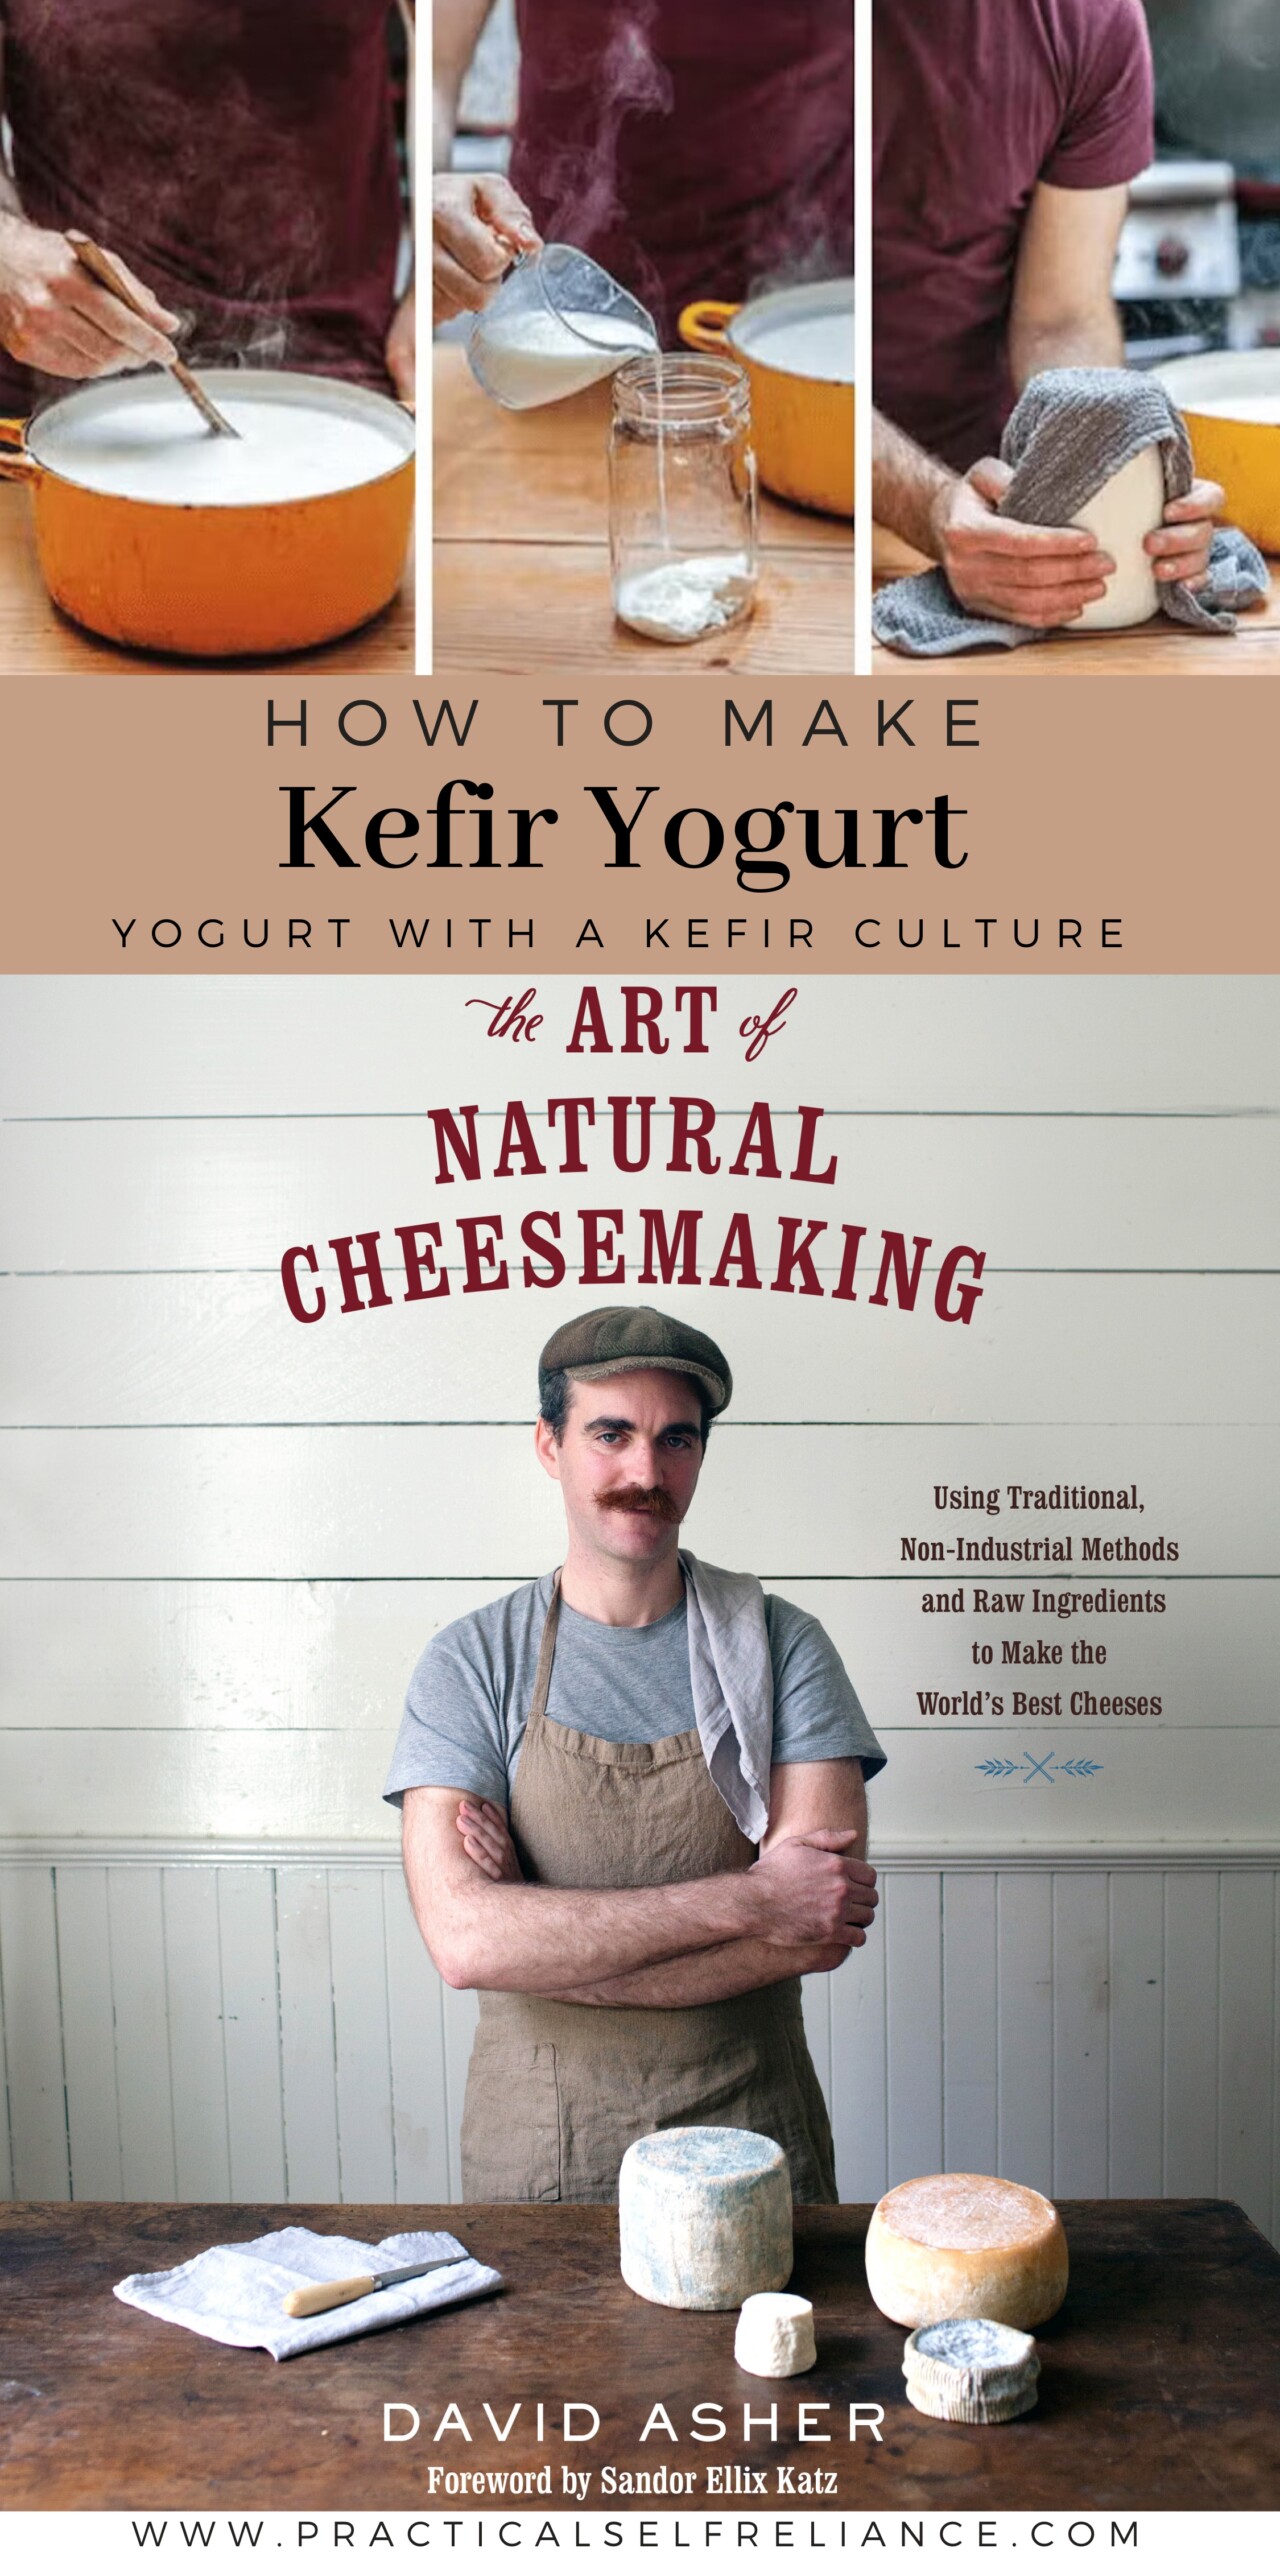
Making yogurt with kefir might sound unusual, but it’s a simple, effective method that produces thick, flavorful results without the need for commercial starter cultures. If you’re already keeping a kefir culture for cheesemaking or drinking, you can use it to make yogurt too—saving time, money, and fridge space.
This approach comes from David Asher’s The Art of Natural Cheesemaking, and it’s a great option for anyone looking to make yogurt at home.
Most people think of kefir and yogurt as two separate worlds—one a pourable, tangy probiotic drink, the other a spoonable breakfast staple. But what if the same kefir culture you use to ferment milk into a bubbly beverage could also be used to make thick, creamy yogurt? It may sound unconventional, but this lesser-known method draws from centuries-old techniques and offers some real advantages in a home kitchen.
If you’re already keeping a kefir culture alive for drinking or cheesemaking, you can skip the powdered starters, skip the store-bought yogurt, and use what you have on hand. The process isn’t all that different from making yogurt with traditional starters—heat the milk, cool it slightly, stir in a bit of culture, and incubate—but using kefir as the starter introduces a wonderfully diverse community of beneficial microbes that contribute to rich flavor and excellent texture.
This method comes from David Asher’s The Art of Natural Cheesemaking, a favorite in our house for its thoughtful, low-intervention approach to dairy fermentation. His yogurt-making process focuses less on gadgets and additives, and more on paying attention to the milk itself—how it’s heated, how long it’s held, and how gently it’s handled. The result is a thick, flavorful yogurt made with nothing more than milk, heat, and culture.
Whether you’re looking to simplify your starter culture routine or just curious to try something new, making yogurt with kefir might surprise you. It’s a technique rooted in tradition, supported by science, and well worth trying in your own kitchen.
The following extract is from The Art of Natural Cheesemaking by David Asher(Chelsea Green Publishing, July 2015) and is reprinted with permission from the publisher.
In the process of yogurt making, milk is first cooked; once it’s cooled, a small amount of yogurt starter culture is added to the cooked milk, and the inoculated milk is then incubated at a warm temperature until the yogurt sets.
But though most yogurt makers source their yogurt starter either from packages of freeze-dried yogurt culture or with a bit of yogurt saved from a previous batch of yogurt-making, I make yogurt with kefir.
(With this technique, however, you can make it from prepared yogurt or yogurt starter culture too. Just choose your starter and follow the instructions as written.)
Kefir culture is a diverse source of many beneficial cheesemaking cultures and can serve as a starter for making any kind of cheese. Conveniently, active kefir grains rise to the top of warm milk and can be easily removed from the curd once it has set.
And though it may be an unconventional approach to yogurt-making (is there a recipe in this book that isn’t unconventional?), using kefir as a yogurt starter works.
That’s because it’s the cooking of milk prior to culturing, followed by a high-temperature culturing period, that transforms milk to yogurt, and not any specific culture that is added to the milk.
Cooking the milk achieves several ends: First, it concentrates the milk, which results in a thicker curd as the yogurt ferments.
Second, it denatures the albumin proteins in the milk into the curd, which also thickens the yogurt; and third, the high-temperature cooking and subsequent incubation reduces the oxygen in the milk, which encourages the appropriate types of fermentation that give yogurt its best qualities.
Making yogurt with kefir, the high-temperature incubation encourages the development of Lactobacillus and Streptococcus bacteria, both endemic to kefir and both responsible for giving yogurt good flavor and texture.
The low-oxygen conditions encouraged by the high-temperature incubation of the fermenting milk reduce the activity of kefir’s yeast and fungal cultures, thus eliminating any effervescence that would normally develop.
In the struggle to attain the perfect yogurt curd, many yogurt makers pull out all the stops. Some believe that the only way to get a good thick yogurt is to add powdered milk or milk protein concentrates, which, unfortunately, can have questionable origins.
Others invest in expensive and unnecessary yogurt-making machines. Many replace their yogurt starter cultures frequently, especially those who use DVI yogurts, whose lab-raised bacteria are sensitive to contamination if reused.
However, I’ve found that given that the milk is unprocessed, and the cultures are healthy and active, getting the right texture in yogurt is all about following the proper technique— specifically paying attention to the milk as it is cooked and incubated.
How to Achieve the Perfect Texture
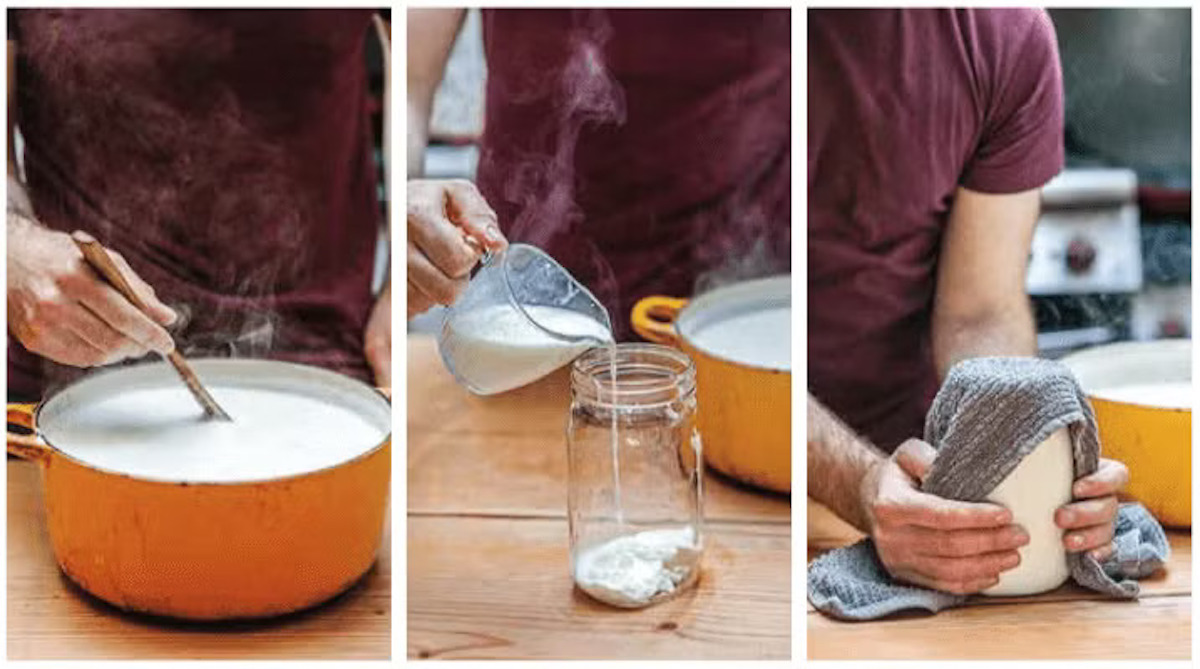
For yogurt to develop its best texture, its making demands the maker’s full attention. The milk should be cooked slowly to a high enough temperature— 185°F (85°C)—and for a long period of time, at least half an hour.
The milk must be stirred nonstop as it is cooked, to encourage evaporation but also to ensure that it does not scorch on the bottom or form a skin on the top, both of which are coagulations of milk solids that take away from the thickness of the yogurt.
What to Do After Cooking
After cooking, you must cool the milk to the appropriate incubation temperature, stirring all the while to prevent a skin from forming.
The cooled milk is inoculated with starter culture (the less you add, the better the result!), then the inoculated milk is incubated in a warm place to ensure it remains in the range of temperature at which yogurt sets best—between 100 and 110°F (that’s 38 to 43°C).
Once the milk has thickened, it has finished its transformation into yogurt and can be placed in the refrigerator to halt its fermentation, or left to ferment longer if you’re looking for a more acidic yogurt.
Kefir or Yogurt Starter Culture
I’ve found excellent results when carefully following this technique when using traditional yogurt cultures (many of which can be found in yogurt-making communities or from natural culture companies like Cultures for Health), or kefir.
The advantages to using kefir as a yogurt starter, however, are that you need not bother keeping any other starters if you’re keeping a Kefir Culture for cheesemaking.
However, these days, it’s honestly more common for someone to have a bit of storebought natural yogurt on hand, as kefir isn’t nearly as common as yogurt in modern kitchens.
That said, if you are using kefir at home, to either make a drink or as a cheesemaking starter culture, it’s good to know that you can in fact make it with a kefir starter culture.
If the kefir is prepared with raw milk, the result will be a true raw milk yogurt.
Homemade Yogurt with Kefir Starter
Ingredients
- 1 gallon Whole milk, pasteurized or raw, preferably unhomogenized
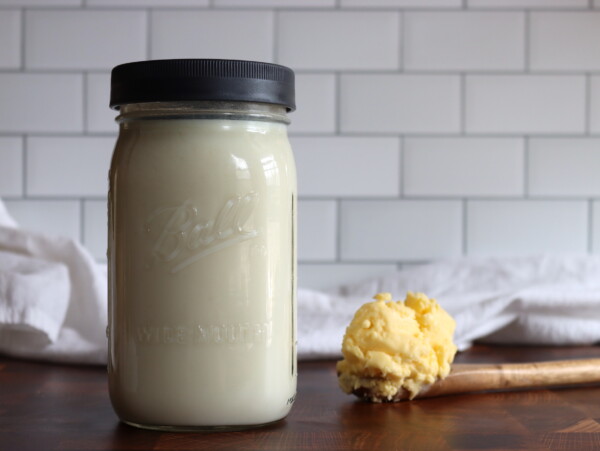
- 3/4 cup active kefir, 180 mL, strained kefir grains, prepared the day before, or yogurt
Instructions
- Slowly warm the milk to 185°F (85°C) over medium heat. Stir the milk as it warms.
- Cook the milk at 185°F for 30 minutes to 1 hour. Stir it nonstop. The longer the milk is cooked, the thicker the yogurt will be.
- Cool the milk to 110°F (43°C): Take the pot of milk off the heat, and stir it until the temperature falls to that point. Don't add the culture before it cools to 110 F or you may kill the culture.
- Add the yogurt culture to the milk: Add 1⁄4 cup (60 mL) of kefir to the warm milk. Stir to incorporate
- Incubate the kefir yogurt for 12 to 36 hours, until it's reached the desired flavor and consistency. Kefir culture is notoriously unpredictable in therms of incubation times for yogurt, so just try to check on it every 12 hours or so until fully cultured.
Notes
Nutrition
Nutrition information is automatically calculated, so should only be used as an approximation.


how long do you culture it? I didn’t see that in the recipe.
The culturing time for kefir yogurt can be quite variable, both dependent on the vigor of your culture and your tastes in yogurt (some like it a bit more cultured than others). In general though, the culture time usually falls in the 12 to 36 hour range.
Very cool article! I was wanting to find out if adding a little homemade kefir to warm milk along w a scoop of yogurt would increase the probiotics in the new batch of yogurt or if the cultures would even cohabitate. It never occurred to me i could skip the scoop of yogurt entirely and get a more richly diverse probiotic yogurt from just the kefir! But it makes sense, completely! I will definitely be trying and likely switching over to kefir yogurt:) Thank you for this thoughtful post and a super informative website:)