Affiliate disclosure: This post may contain affiliate links. Please see our Privacy Policy.
While I love tending my garden in the summertime, for me, there’s nothing that compares to the satisfaction of making maple syrup from my own trees. There’s no weeding, no watering. Just set up a hammock and lounge all summer and let the tree do the work.
When early spring hits and temperatures warm above freezing, I’m itching to get outside. There’s no better way to spend an early spring day than walking from maple to maple and surveying your crop. Sure, homemade maple syrup is a lot of work, but all the work comes at a time of year when there’s not much else to do outside.
Break out your boots and get a bit of exercise, and you’ll be rewarded with truly local maple syrup.
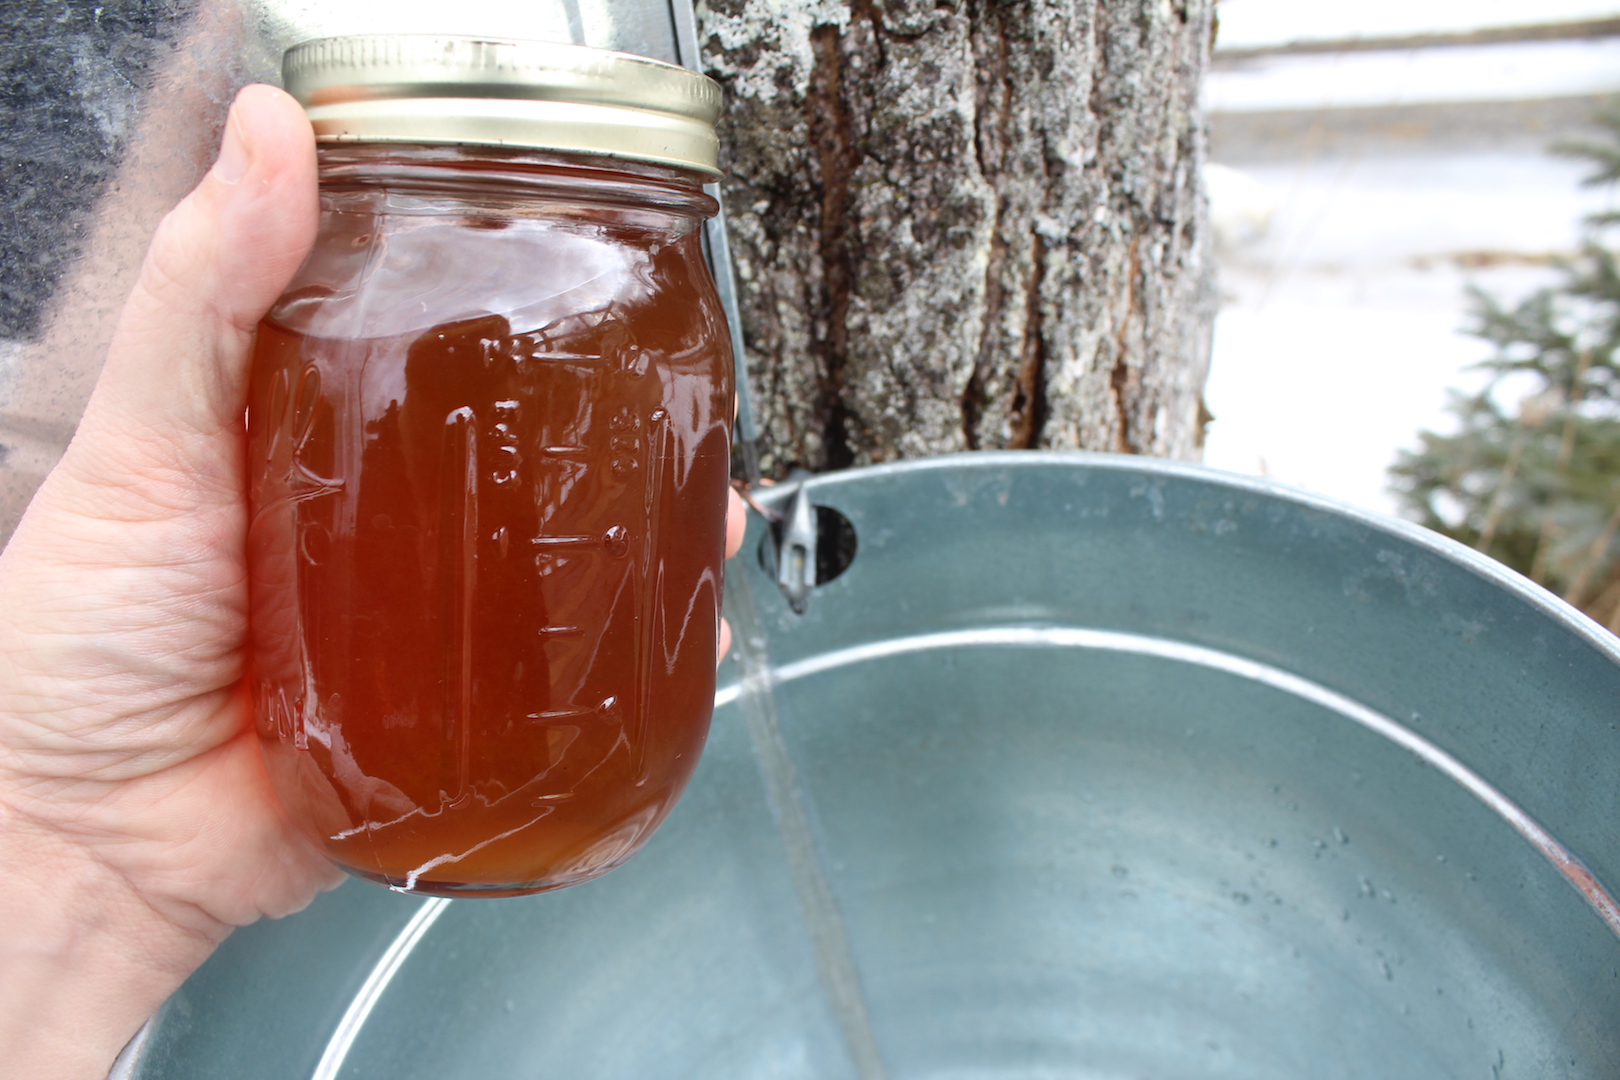
Choosing Trees to Tap for Syrup
Ideally, you’ve identified the maple trees on your land during the summer months when they were in leaf. In the wintertime, the bark is distinctive and the branching pattern at the top is a dead giveaway to a trained eye. If you’re just getting started, make sure you mark your maple trees ahead of time to avoid any confusion.
Keep in mind, just about any deciduous tree can be tapped for syrup. If you make a mistake and tap a different kind of tree, it’s not the end of the world. The sap flow may not be as heavy, and the taste will likely be different, but it should still make syrup.
Choosing Maple Taps (Spiles)
There are many different types of maple syrup taps:
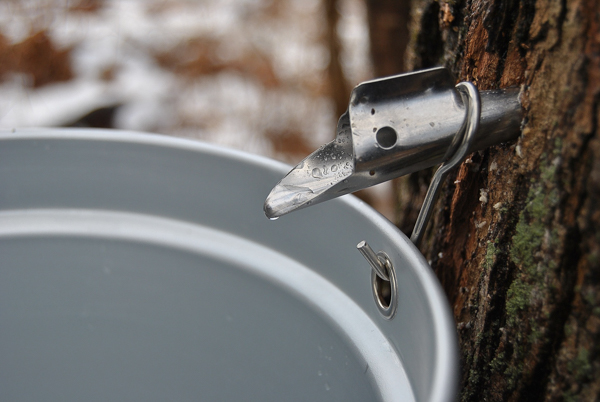
Metal Taps – Metal taps come in a number of different shapes. Most are made of aluminum and have a fin or hook for hanging a sap bucket.
The most common size is a 7/16” tap, but some producers are now making a 5/16” tap that they call a “tree saver tap.” The smaller hole reduces sap flow slightly, but it is much less damaging to the tree.
Plastic Taps – Plastic taps are cheaper, but they often break after just a single season. Many plastic taps are 5/16” size so that means less tree damage. Plastic taps come as a standard bucket type of tap, but there’s another variety of plastic tap that’s specially designed for use with tubing.
Tapping with Buckets or Tubing
We use buckets on our homestead. I’m not a fan of plastic in contact with my food, especially when it’s going to be out in the sun, exposed to UV all day long.
I’ll admit tubing has its advantages. It’s cheap and if you’re setting up a large sugarbush, you can run sap lines from tree to tree and never have to walk up and collect sap buckets.
The thing is…collecting sap buckets is the best part. Taking a walk to visit my trees on the first warm days of spring, with the melting snow crunching under my feet is just the therapy I need after a long Vermont winter.
We use the smaller 5/16” tree saver taps and drill holes with a wicked sharp 5/16” drill bit that we keep especially for tapping. New buckets aren’t cheap, but you buy them once and they’ll last a lifetime. Antique buckets are often available at garage sales and flea markets, but they’re no longer used commercially because the old formulation used lead to make the old style galvanized buckets.
If you’re just tapping a few trees, start with a simple backyard tree tapping kit. It’ll save you money purchased all together, and it has everything you really need.
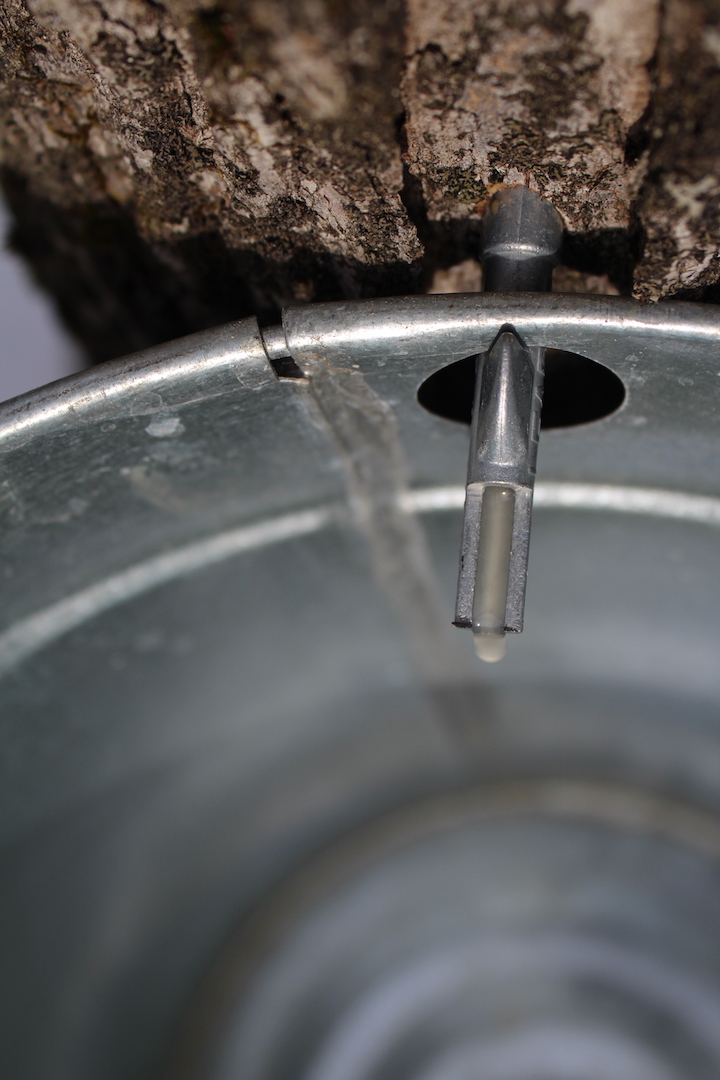
Tapping Maple Trees
Start by choosing maple trees that are at least 10 inches in diameter. Drill a hole using either a 5/16” bit for tree saver taps and plastic taps, or a 7/16” hole for old-style metal taps. It’s best to mark your drill bit with a little bit of masking tape for depth so that you don’t drill too deep.
Tap maple trees on the south side for best sap flow. The south side, or sun-facing side, warms earliest in the morning and sap will begin running on that side of the tree first. If for some reason you can’t get to the south side of the maple tree, any side will work in a pinch.
Collecting Maple Sap
In sugaring season, the temperatures are warm and the sun is shining, but that means that the sugary sap will ferment if not collected promptly. Sap needs to be collected daily and stored somewhere cool out of direct sunlight. In ideal circumstances, you’d boil sap at least every other day to prevent the sap from fermenting.
If the sap does begin to ferment, it’s not the end of the world. Some of the sugars will convert to alcohol, which will cook off during the boil, so you won’t get as much syrup. If it goes too far down the fermentation path it can develop off-flavors, so it’s best to avoid it if at all possible.
Boiling Maple Syrup without an Evaporator
Commercial syrup makers and serious hobbyists invest in a maple syrup evaporator known as a sugaring arch. Evaporators are expensive, and unless you’re tapping at least 20 to 50 trees they’re completely unnecessary.
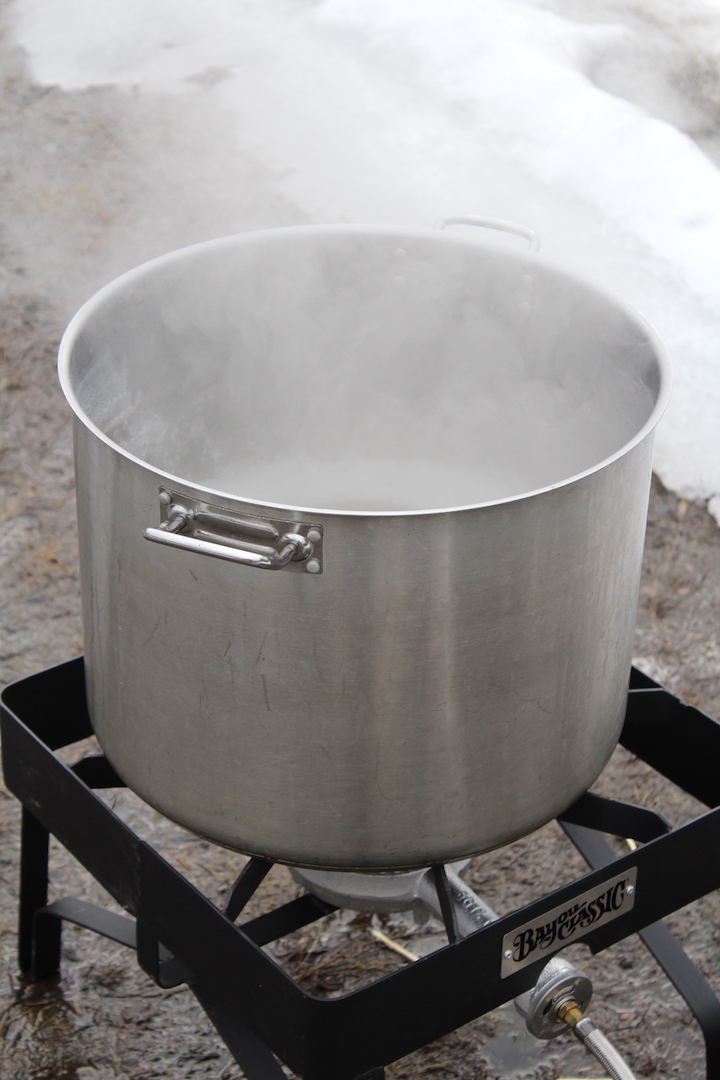
There are plenty of options for making maple syrup without an evaporator. The simplest is cooking the sap down on a high output burner designed as a turkey fryer.
While you’d think it’d be prohibitively expensive to boil sap with 20-pound propane tanks, it’s actually not that bad. In our experiment, a single propane tank (roughly $10) made three quarts of finished syrup or 3/4 of a gallon. Syrup sells for more than $60 a gallon most years, so that’s a pretty good payback.
We use a simple and inexpensive high output propane burner, and it’s lasted many years and more than paid for itself.
Finishing Maple Syrup
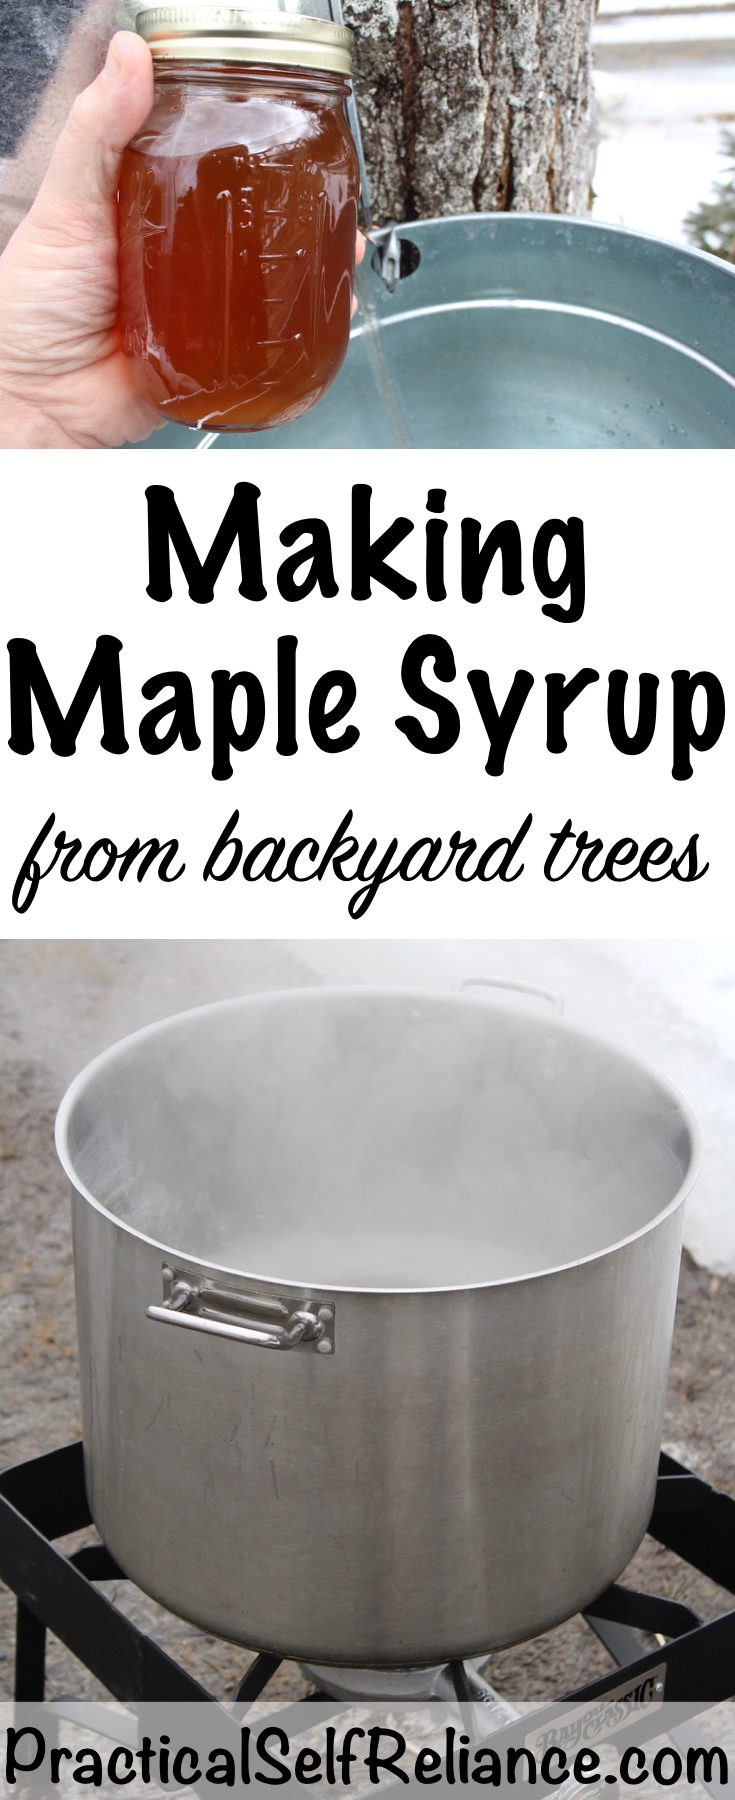
Once the syrup has boiled down and you’ve driven off most of the water, it’s time to bring it inside. It should have a light brown color before you bring it in, but it’ll still be pretty watery.
A good sap run from 3 trees is about 5 to 6 gallons of sap or a full extra-large stockpot. Once that’s boiled down to about a gallon of sap or less, you can bring it inside the house for finishing on the stovetop.
Maple syrup is done when it’s 7.5 degrees above the boiling temperature of water. Water boils at 212 F at sea level, but it actually boils at a lower temperature at higher elevations.
For every 500 feet of elevation gain, water boils about 1-degree cooler. We’re at about 1000 feet, so water boils at roughly 210, and syrup finishes at roughly 217.5 degrees F.
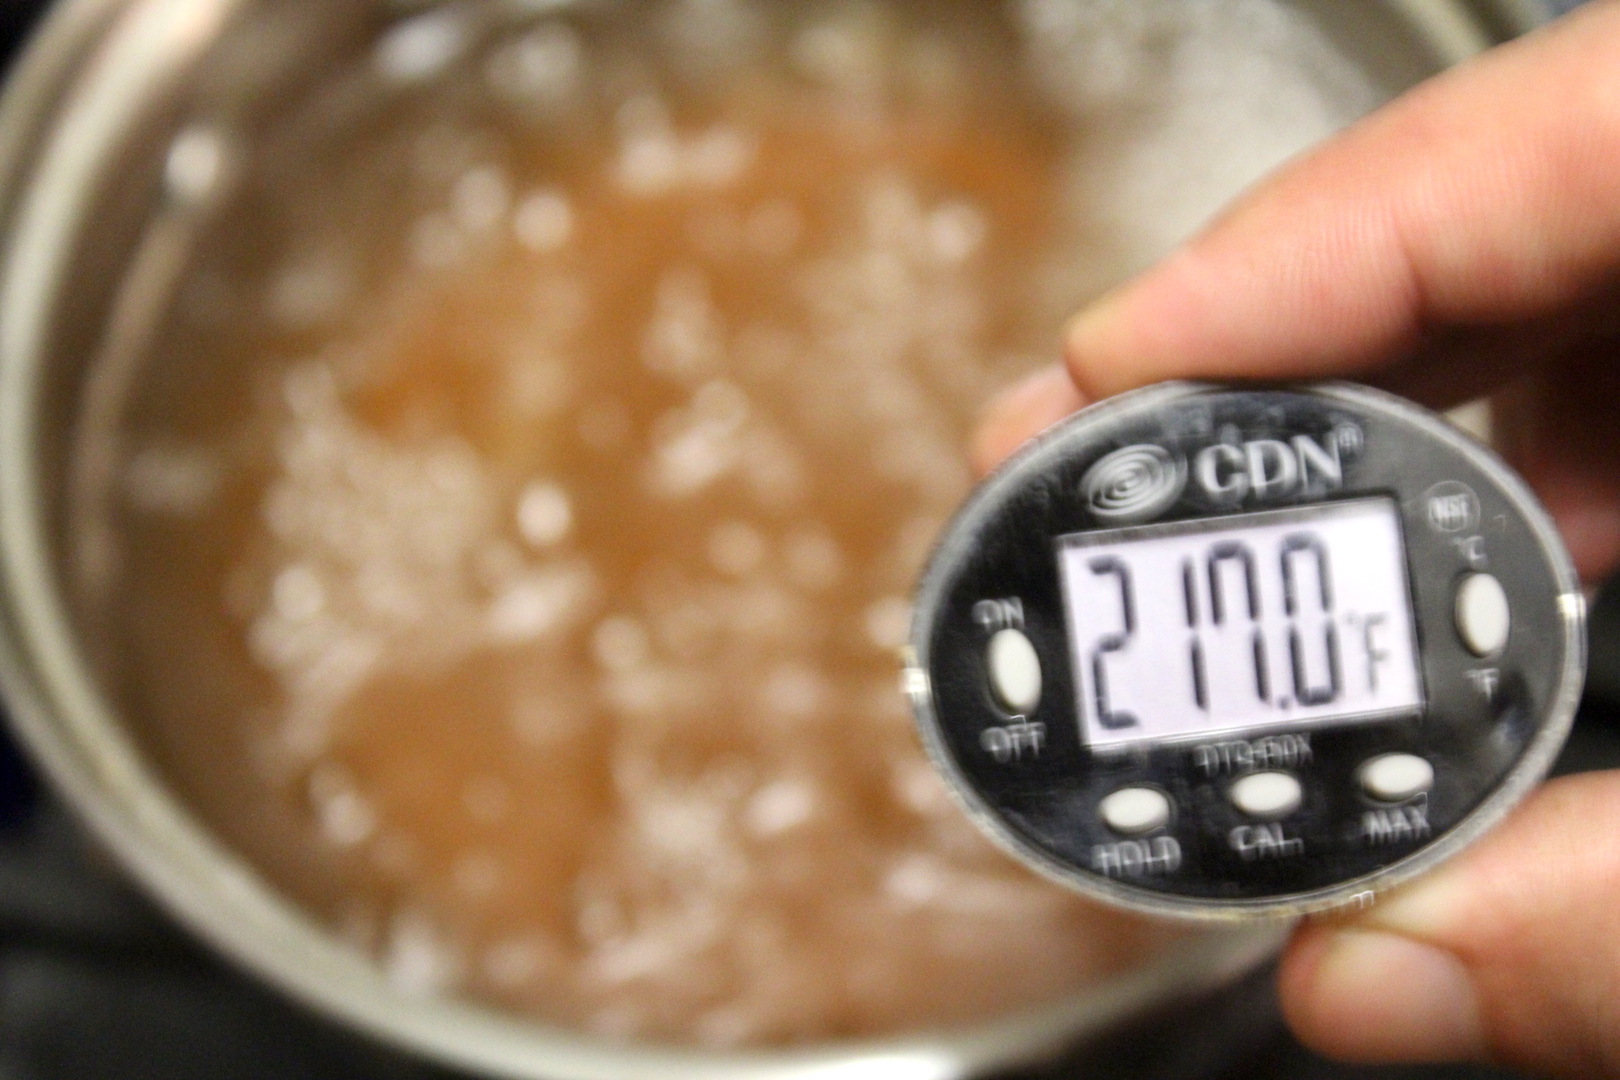
Once it hits your finished temperature, turn off the heat. At this point, you can filter the syrup through cheesecloth if you want.
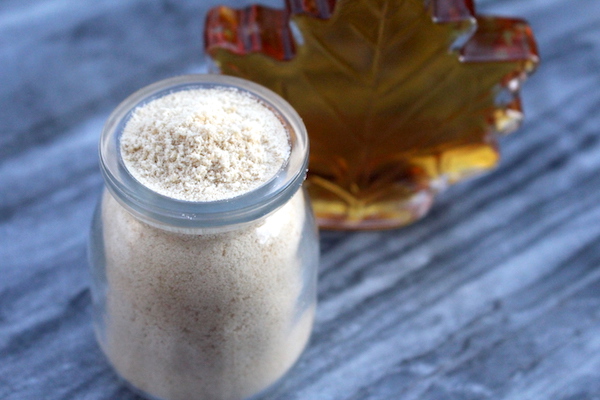
That removes what’s known as “sugar sand” or the extra minerals in the syrup. If you don’t filter, they’ll settle to the bottom and I think it’s a particularly tasty treat.
You’ll never find sugar sand in commercial maple syrup, and I take it as a special bonus for making my own syrup. Once the jar is empty, I eat the sugar sand with a spoon.
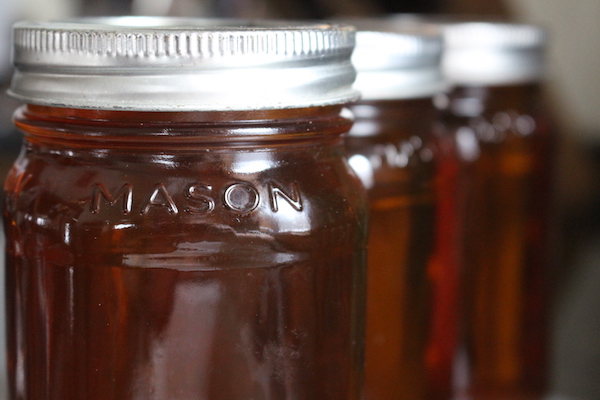
Pour the hot syrup into canning jars, filling to within 1/4 inch of the top before sealing with a canning lid. Sealed jars will keep the syrup from spoiling for an extended period, and it’s good enough for most home use. I’ve also written detailed instructions on canning maple syrup for long-term preservation.
Selling Backyard Maple Syrup
In most places, you can sell backyard maple syrup without restriction. Some states have specific restrictions on selling unfinished sap in large quantities, but that’s generally $5,000 or more of sap in a year. That’s a lot of sap…
If you’re dreaming of starting a profitable backyard maple syrup operation, the main considerations are high startup costs. While you can boil enough syrup for your own use on a turkey fryer, you’ll need something a bit more efficient for producing syrup for sale.



So the sap can ferment … how much alcohol would it produce if you let it? Enough to for distillation and making what would probably be a very expensive liquor? If that wouldn’t deserve the name “eau de vie” I don’t know what would 😉
So sap is 1 to 3% sugar naturally, and it does ferment, but not enough to produce a really meaningful amount of alcohol on its own. When you’re making mead, for example, a good 20% ABV uses around 25% honey by volume and a strong champagne yeast.
You can add maple syrup, or cook it down partially to concentrate it for fermentation. In that case, you’ll want to look up how to make maple beer or wine, as there are good tutorials out there. As to distillation, I can’t advise you there since it’s not something I do (or even can do legally in this country).
Best of luck!
> In that case, you’ll want to look up how to make maple beer or wine, as there are good tutorials out there
I think I’ll also want to buy some of that stuff first to see if I find it worth the effort 🙂
Distilling is illegal here too except for people in certain regions under specific conditions (which AFAIK would cover home-made maple syrup).
As a producer, I must tell you that eating sugar sand( niter) is not a great idea. It can make most people very sick. Selling to the public is a whole different story. Stainless steel everything. There are regulations for producing and labeling. This is a food product.
It’s simply candy, and I know generations of people who have eaten it.