Affiliate disclosure: This post may contain affiliate links. Please see our Privacy Policy.
Outside of the tropics, it’s hard to grow your own sugar cane. Just about everywhere else has some type of tappable tree that you can use to make your own backyard maple syrup.
On average, a single maple tree will produce enough sap to make a quart of maple syrup. If you only have a few maples in your yard, it hardly makes sense to invest in a full-sized sugaring arch. There are plenty of safe and efficient ways to boil maple syrup without a big investment.
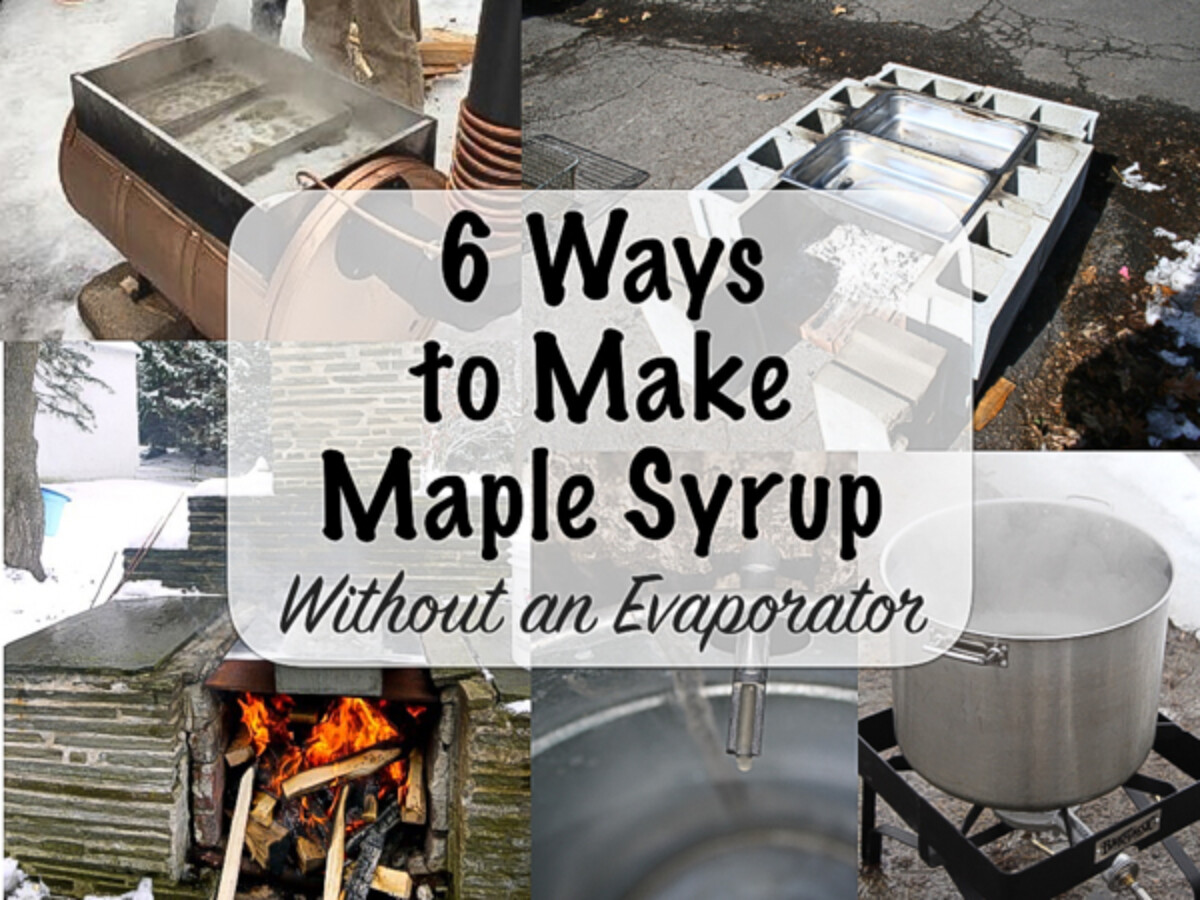
Making Stovetop Maple Syrup
While this may seem like the easiest method, it’s a horrible idea. Adding that much steam to your house is a sure recipe for mold. I know, it seems tempting.
I was tempted. We tried it one year and a few weeks later the wall of a cool upstairs closet grew a mold monster roughly as large as my silhouette. Not pretty, and never again.
If you have an industrial style fume hood over your stove that you can really crank up, and you’re only boiling sap from a single tree…then maybe. Beyond that, your primary boil needs to happen outdoors.
Once you’ve boiled your sap down most of the way, you will have to bring it in to finish on the stove. Maple syrup needs to be boiled hard to drive off all the water initially, but it needs to be finished slow and gentle so it’s not overcooked.
Take a look at these instructions for finishing and canning maple syrup for details.
Cooking Maple Sap on a Propane Burner
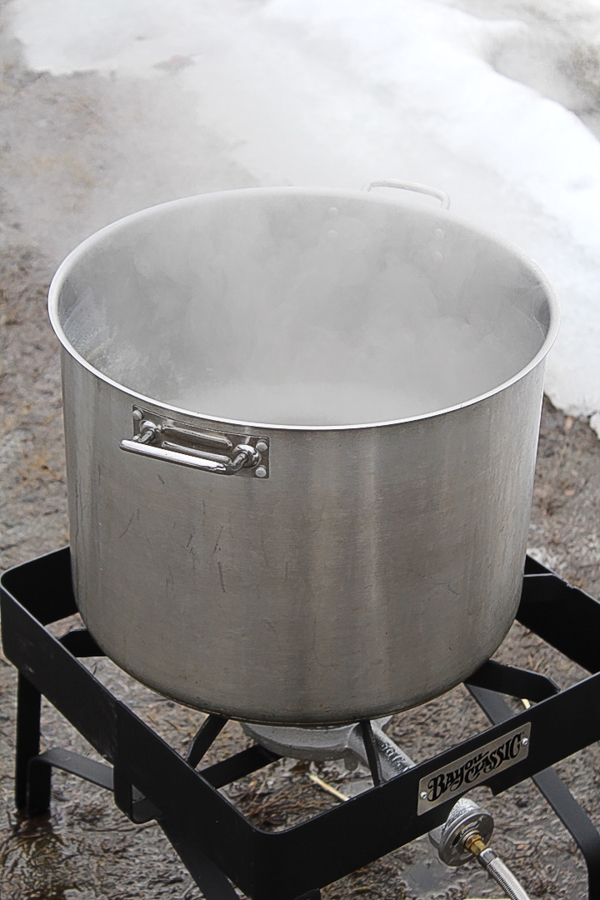
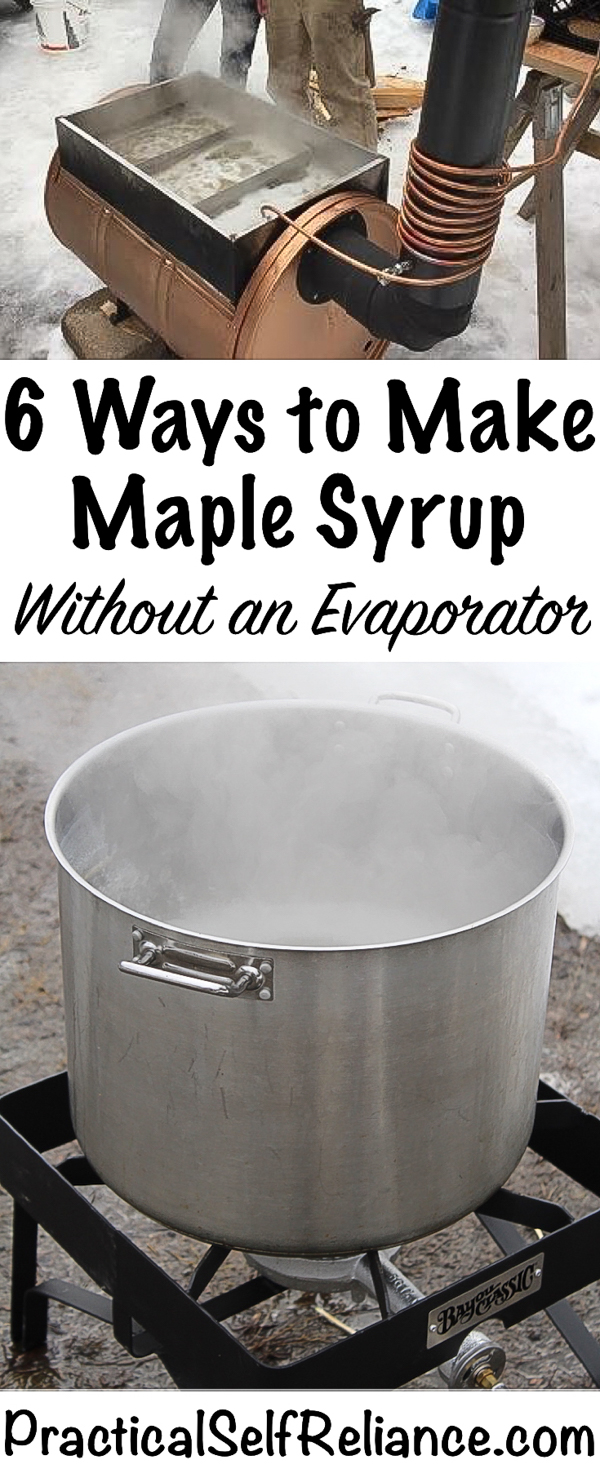
The most popular method used to make backyard maple syrup is the turkey fryer method. A high output propane burner puts out a lot of BTUs and is perfect for evaporating sap.
I initially thought that it would be way too expensive to boil maple sap down with propane, but it’s actually not bad. Our local hardware store fills 20-pound propane tanks, the standard BBQ size, for $10.
We were able to make half a gallon of syrup on a single 20-pound propane tank. We did finish it inside, so it’s slightly more propane than that, but still not a bad rate for a half-gallon of syrup that sells for about $30.
Besides the cost, you get the satisfaction of knowing this syrup came from your yard. For me, there’s no syrup that tastes better.
Building a Cinder Block Boiler
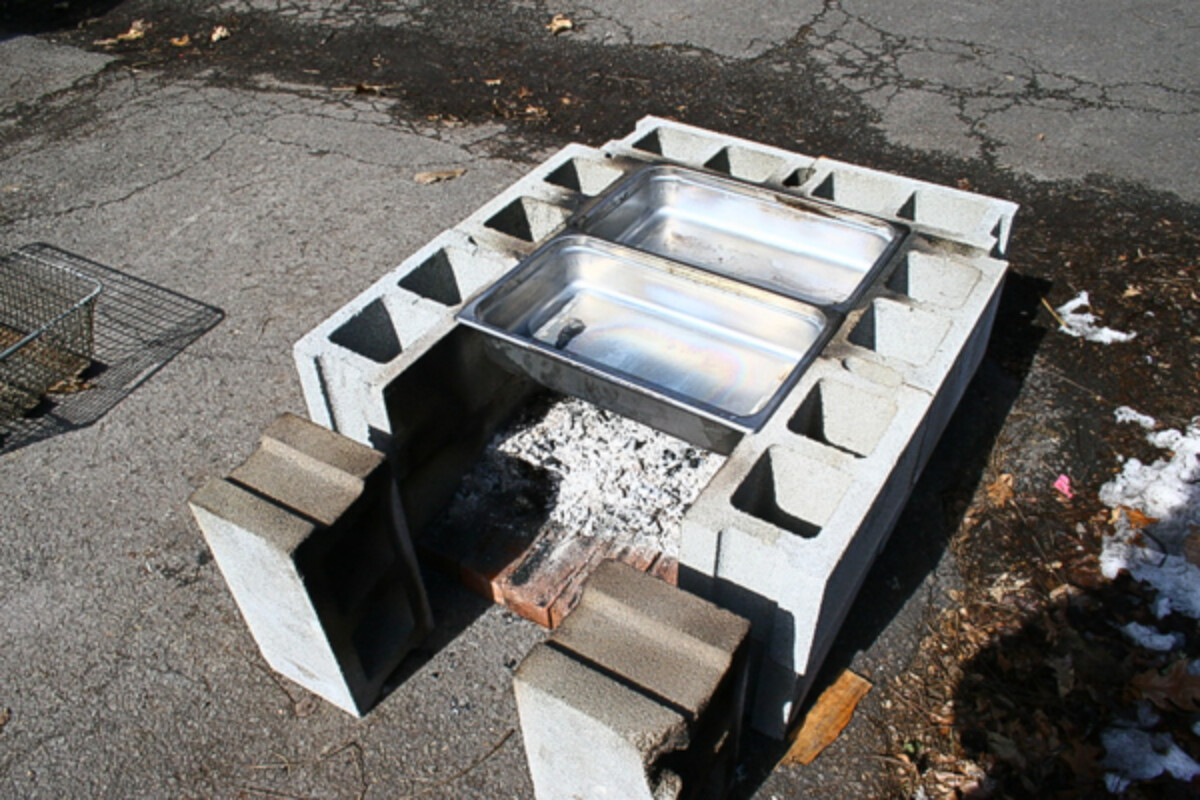
If you’re tapping more than just 3 or 4 trees, it makes sense to build a cinder block evaporator. Cinder blocks are relatively inexpensive, and you don’t actually need to attach them together as an evaporator. Just stack the blocks and add a few steam table pans to hold the maple sap.
Some friends of ours made 11 gallons of syrup last year on a cinder block evaporator, so you can really work these things to produce substantial amounts of syrup.
If you have access to firewood, they’re also a great way to save money on sugaring fuel.
Making Maple Syrup on a Woodstove
Making maple syrup on an indoor wood stove has the same drawbacks as making syrup on your stovetop, too much moisture in the house. You can often find a second-hand woodstove at a garage sale or flea market for dirt cheap, and you don’t need anything fancy for making syrup outdoors.
A simple metal box that you fill with fire will just about do it. Top the stove with steam table pans and you’ve got yourself an easy DIY evaporator.
Boiling Maple Sap in an Outdoor Fireplace or Grill
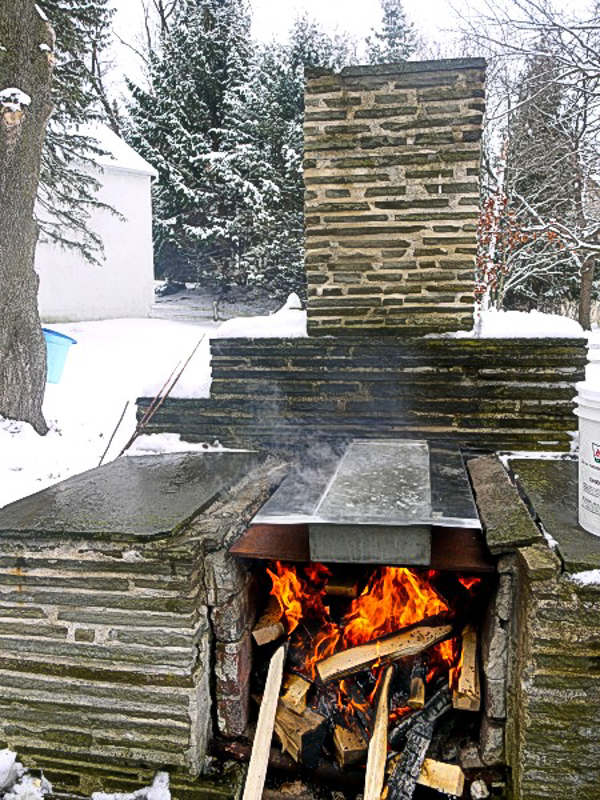
With basically 6 months of winter here in Vermont, we never get around to building summer luxuries. Someday I want an outdoor masonry grill to serve as a summer kitchen, but we never quite get around to it. But realizing that a masonry grill can be used as a sugaring arch in the winter and early spring might add a bit of extra motivation.
Not only are they beautiful, but you can also use your backyard fireplace to make syrup. The beautiful outdoor fireplace below is used by Susan at Learning and Yearning to boil maple sap each year.
Boiling Sap on a Metal Drum Evaporator
When we priced out evaporators for our small-scale maple sugaring operation, we actually opted to skip a full-scale traditional evaporator altogether. Our operation won’t ever exceed 150 trees, and realistically 75 to 100 is our long-term goal. Given that, we purchased a barrel evaporator from Vermont Evaporator, a local Vermont company based 7 miles from our house.
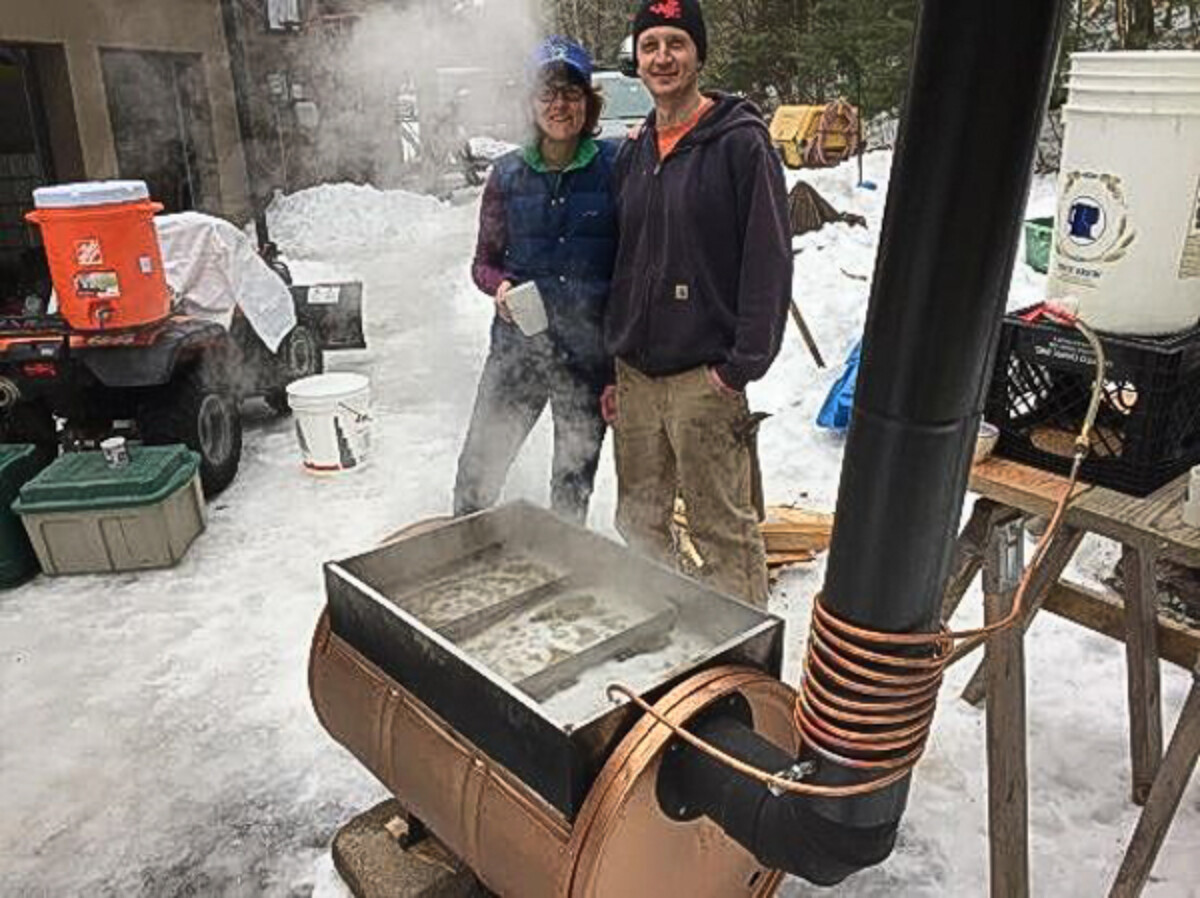
The evaporator costs about 1/3 the price of a traditional sugaring arch, which was a big draw. We’ll still be able to make syrup using wood fuel, which is also important to us.
In the summer months, it converts into a grill and it comes with grill grates so that it’s useful year-round. They also just came out with a smoker conversion kit, so you can use it as a smoker.
The best part of all is that it’s portable. One person, yes literally a single person of average strength, can pick it up and move it around. That means we can keep it out for BBQ in the summer and use it somewhere convenient for winter sugaring.
It’s sort of an evaporator, but it’s not much more expensive than the average BBQ these days, and you can use it year-round.
If you have welding skills and equipment, you can try your hand at making your own. With the cost of materials and the fact that we’d need to buy a stainless steel sugaring pan, we chose to buy one pre-assembled since it supported local industry.



This might be the most trust fundy author out there (her daddy is loaded). She bought a $2000 syrup system to make a few pints every year lol. I wish these people would go away.
I’m confused by your comment here. Can you explain what you’re referring to? This post is about making syrup without an evaporator.
Boiling all way down to the syrup is too costly using electricity in CT here. I bottled the sap and throw it into my freezer to get rid of about 3 quarters of the water in the sap. Then boil down the rest on the stovetop. Removing water by freezing is times more energy-efficient than by boiling.
My daughter in law sets her Nesco roaster outside and boils it down to a certain point, then she brings it indoors to finish it up. She said it works great and she’s never had a problem
I boil in my house all the time. Heres why I think its okay: I wouldn’t worry a bit about using a humidifier- even if I had 2 humidifiers running the the house (like if I had a cold or something and used a vicks humidifier). The 3-4 gallons of water I am evaporating is not really different. Don’t get me wrong: Im careful. I watch the humidity. I look for condensation on windows. But theres no reason to not boil a few gallons inside.
Just found you. Former retired off gridder. Trying to adapt to living in a small rural village. My husband taps our 3 front lawn trees. We had a 500 tap pipeline at our farm. Real hard adjustment.