Affiliate disclosure: This post may contain affiliate links. Please see our Privacy Policy.
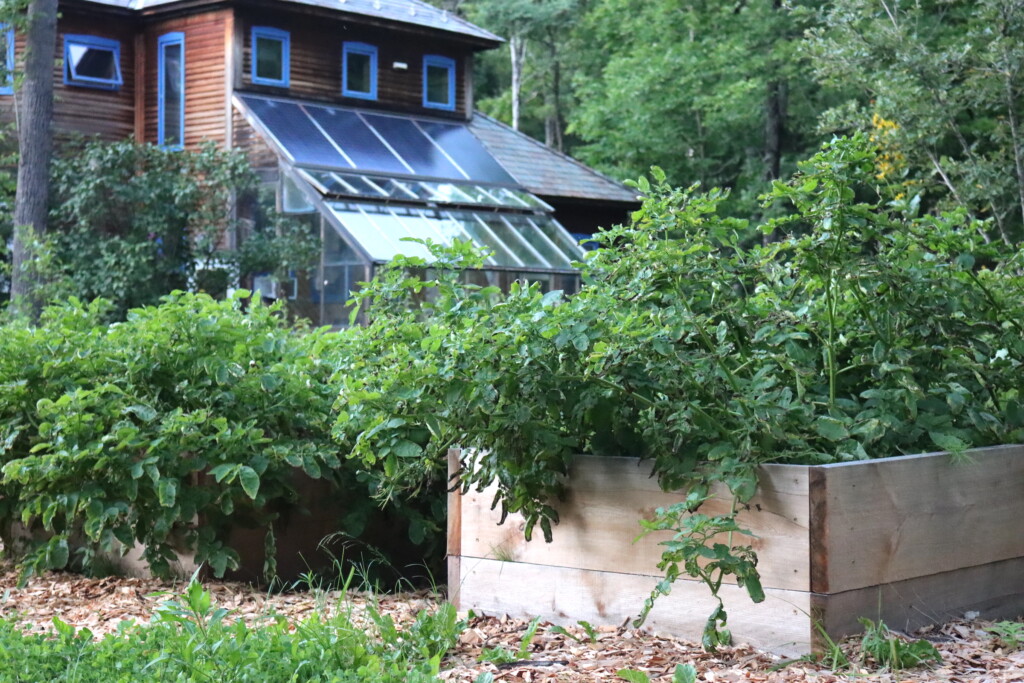
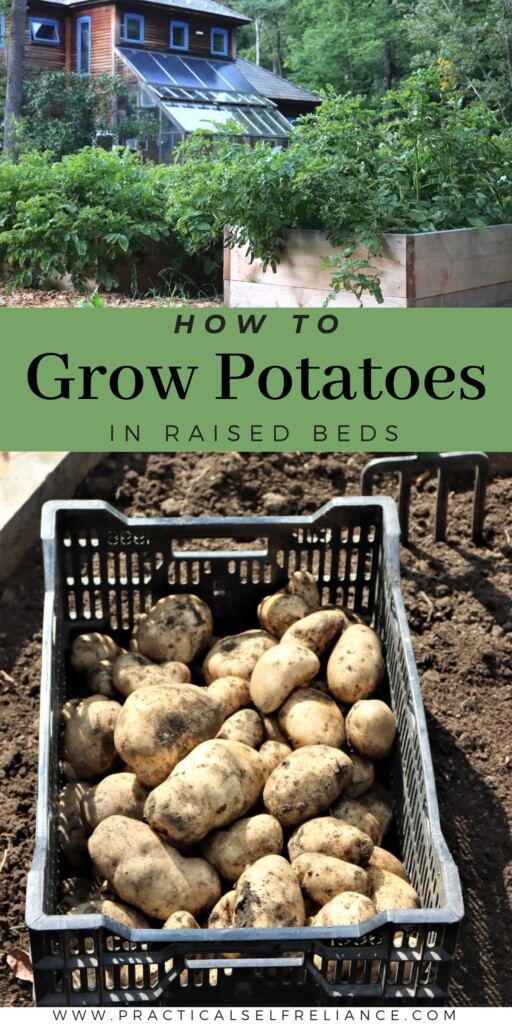
Growing potatoes in raised beds is one of the easiest and most productive ways to enjoy homegrown spuds with minimal effort. After a decade of experimenting with different methods in challenging clay soil, we finally found a setup that delivered huge yields — without the need for irrigation, fertilizer, or constant tending. Each of our 4×8 raised beds yielded 50 to 60 pounds of potatoes this season!
Why Grow Potatoes in Raised Beds?
We’ve been growing potatoes (or trying to) for the past decade in our heavy, wet clay soil. We tried conventional in-ground planting, heavily amended garden plots, hay bales, gardening in trash cans, and just about every other potato-growing method you can imagine.
While we were able to harvest some potatoes, the yields were pretty unimpressive until we switched to raised beds. Growing in raised beds has made all the difference — better drainage, deeper root growth, and healthier plants overall.
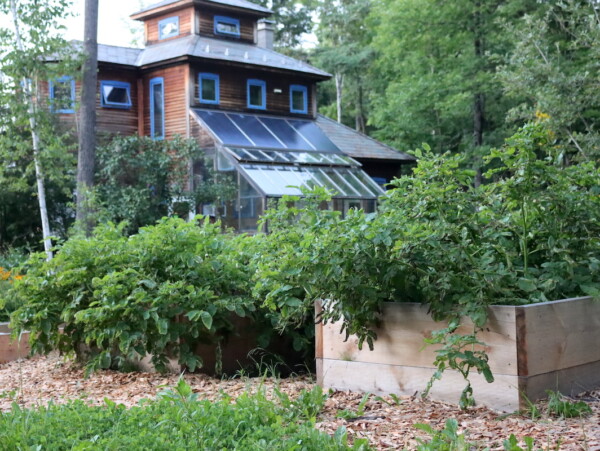
Raised Bed Setup for Potatoes
This year, we put in 24 raised beds around our property, each two feet deep to ensure good drainage and plenty of soil depth. Our native soil is heavy clay and only about 8 to 12 inches deep before hitting hardpan, so crops often struggle, especially in wet years.
While half of the beds are fenced against deer, the others are scattered around the house without protection. Fortunately, deer tend to ignore garlic, onions, and potatoes, so we could plant these crops safely outside the fence.
We planted four raised beds with potatoes, each one 4 x 8 feet in size.
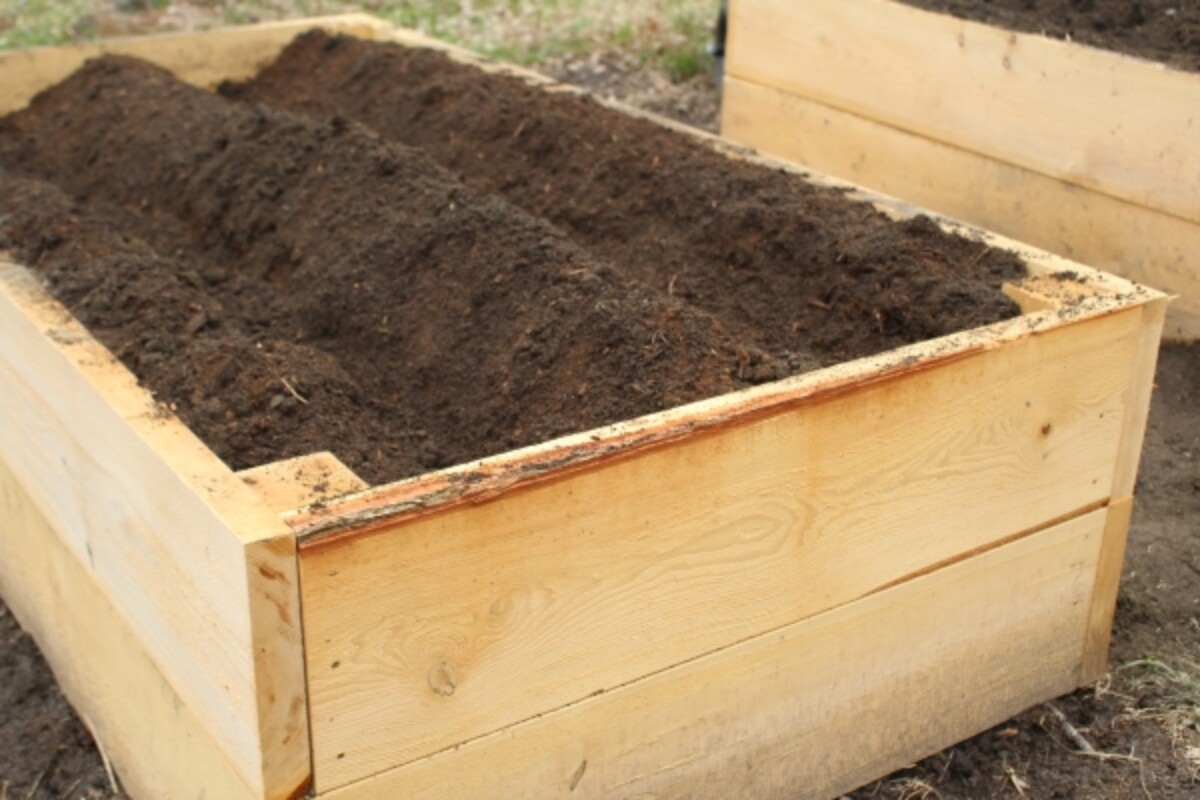
Soil Mix for Raised Bed Potatoes
We filled the beds with a blend of:
- 2 parts screened topsoil
- 1 part compost
- 1 part peat moss
The peat moss helps lighten the heavy soil, improves moisture retention, and slightly acidifies the soil — something potatoes prefer.
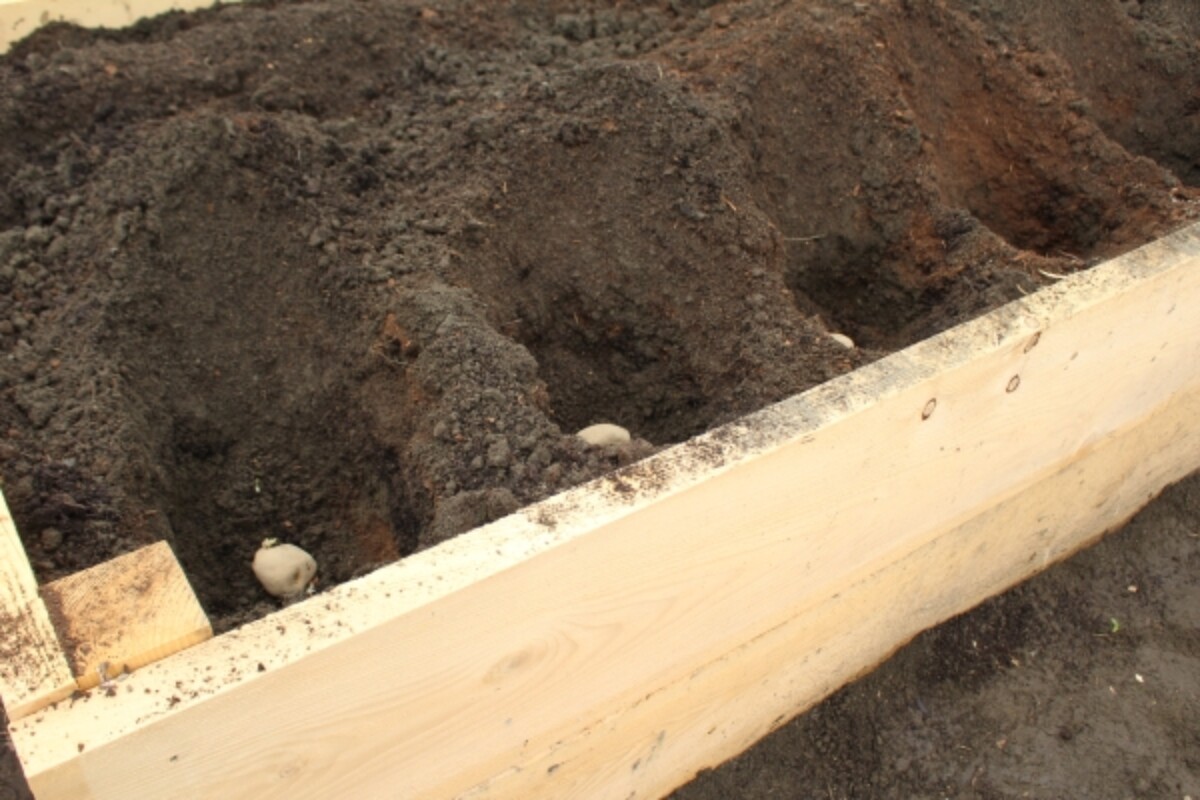
How to Plant Potatoes in Raised Beds
I dug two trenches about 10-12 inches deep down the length of each bed. We had four pounds of seed potatoes per variety (one variety per bed), but four pounds was a bit crowded.
Three pounds of seed potatoes (whole) or 1.5 to 2 pounds (cut) would be ideal per 4×8 bed for better spacing.
Each seed potato was planted deep, at about 12 inches, and initially covered with about 4 to 6 inches of soil. When the sprouts grew 6 inches tall, I pushed the remaining soil over to level out the bed, essentially “hilling” the plants without extra work later.
After that, we left the potatoes alone. No irrigation, no fertilizer, no weeding.
Growing Conditions: A Record Dry Year
This past summer was unusually dry in Vermont — no rain for over 60 days straight during the heart of the growing season.
Despite that, the potatoes thrived without any irrigation.
(For context: Vermont is humid, and our heavy clay soils stay moist even during dry spells. In other regions, irrigation might still be necessary.)
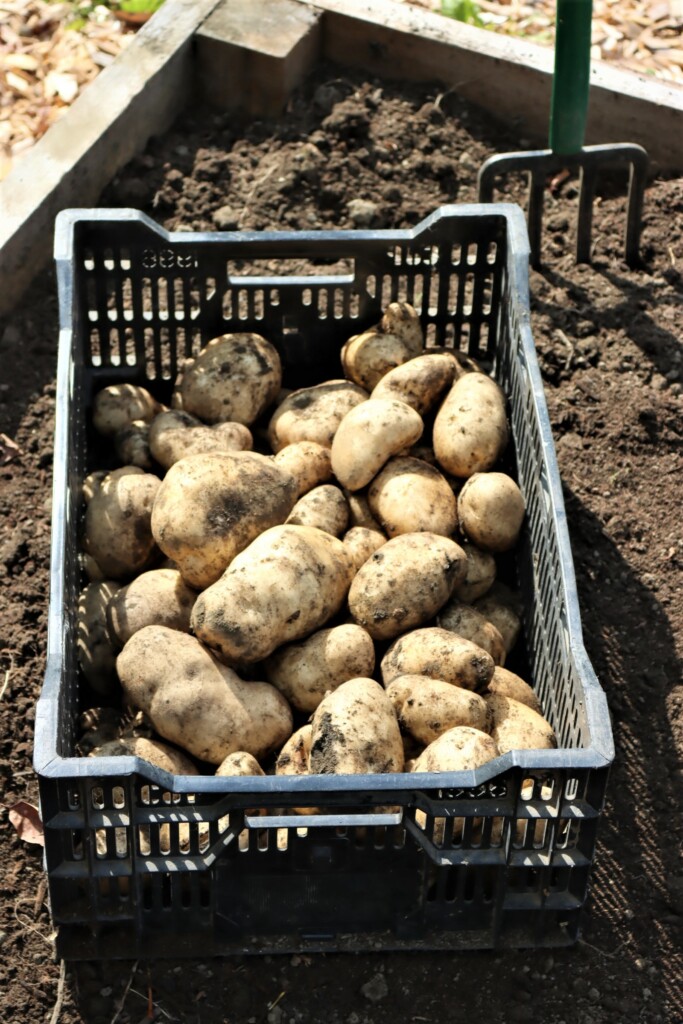
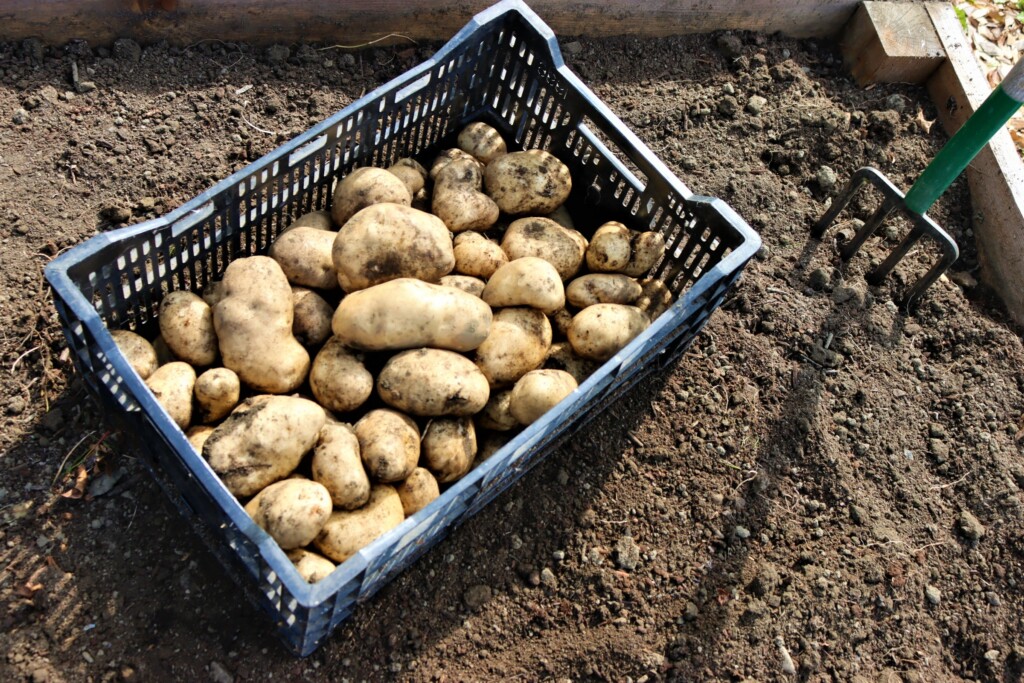
Harvesting Potatoes from Raised Beds
Harvesting was easier in some ways because I didn’t have to stoop down — but it did require climbing onto the bed rails to get leverage with a potato fork.
Most of the potatoes were 6 to 12 inches deep, just where we planted. We grew long-season storage varieties that were harvested about 100 days after planting, once the plants died back.
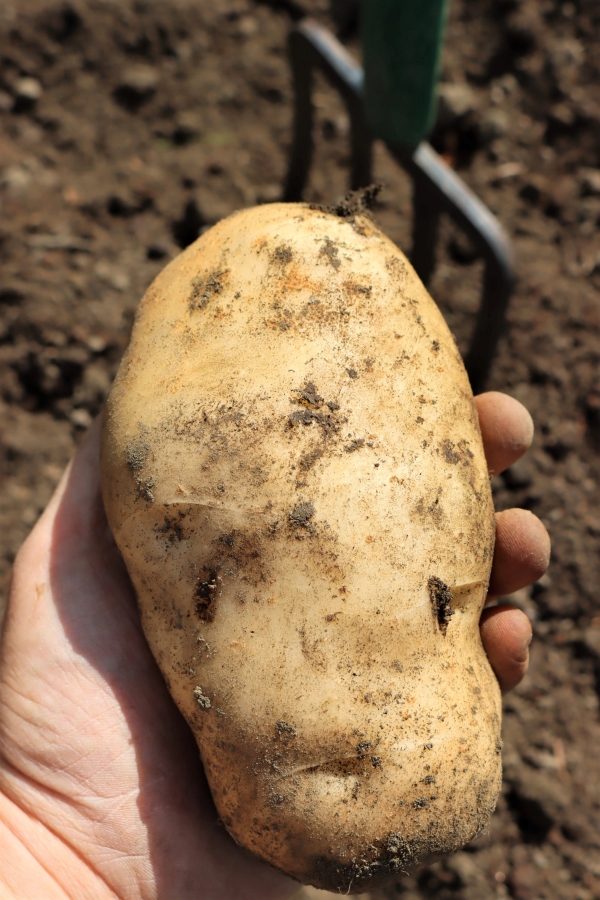
The result? Huge potatoes, some over 10 inches long and 6 inches wide — perfect for long-term storage.
Storing Homegrown Potatoes
We cured these potatoes and then stored them in our basement in stackable bins with easy front access. They’re down there alongside our storage apples, in a homemade apple storage rack, and countless other roots, tubers, cabbages, and ferments.
In total, we harvested 240 lbs of storage potatoes from 4 raised beds, and perhaps 30 pounds of fingerlings as young new potatoes during the summer months.
If properly cured and stored, potatoes will easily keep 6-8 months (assuming you get the right storage variety).
If you’re curious about potato storage conditions, this article covers the basics.
Final Thoughts
Overall, I’m really happy we’ve found a productive deer resistant crop for our unfenced garden beds. We’ve since put in more, and are hoping to do a rotational system with other deer-resistant crops.
At this point, those 4 original beds are busy growing garlic through the winter months. Other unfenced beds will be planted with ginger in the spring, which we’re able to grow outdoors as an annual even with our short growing season.
With a few floating row covers, I’m hoping to mix salad greens and hardy greens like kale into the rotation. We only have limited fenced garden space, but over the next few years, we have plans to put in around 20 beds scattered around the house without fencing.
Row covers, and grow tunnels will hopefully function as “mini fencing” and allow us to grow tender greens that the deer won’t steal. We’ll see…
At least 18 to 24 inches deep is ideal. Deep beds allow room for root development and prevent rot in heavy soils.
About 3 pounds of whole seed potatoes or 1.5 to 2 pounds if cut before planting is ideal for good spacing and healthy yields.
It depends on your climate. In humid areas with moisture-retentive soil, potatoes can sometimes thrive without extra watering. In drier regions, irrigation may still be necessary.
With a good soil mix that includes compost, potatoes usually don’t need additional fertilizer during the season.
Properly cured and stored potatoes can last 6 to 8 months or longer in a cool, dark, and humid environment.
Gardening Tutorials
If you’re working on filling out raised beds or looking for other low-maintenance crops to grow, be sure to check out these guides:
For another reliable staple crop, try Growing Green Beans, which thrive in raised beds and produce generous harvests with minimal care.
If you’re planning for next year’s harvest, Growing Garlic in raised beds is one of the easiest ways to produce big, flavorful bulbs.
Early spring crops like homegrown peas do well in raised beds too, especially when you can get them in the ground ahead of heavy spring rains.
For easy perennial herbs, homegrown chives are one of the most carefree plants you can grow — and they’re naturally deer-resistant.
If you have room to dedicate a bed long-term, Planting Asparagus will reward you with delicious harvests year after year.
And if you’re expanding your berry patch, raised beds work beautifully for Transplanting Strawberries and keeping the plants productive and tidy.


what kind o wood are you using for your raised beds?
Cedar, Cypress, Hemlock, Juniper, Redwood, Pine are common types of wood to use for raised beds. You can use whatever you want depending on what is most readily available to you and is affordable. Some wood is obviously more resistant to rot and decay but those woods tend to be more expensive as well.
With various pests including potato Beetles we have started putting row covers over plants that don’t need pollinators. That and crop rotation eliminates the beetles. Broccoli is wonderful to harvest and not worry about little green worms.. Keep Japanese beetles off the sweet potatoes too. As far as voles put hardware cloth with 1/2″ holes under your raised bed and the can’t tunnel under our new raised beds are metal so they can’t climb up them either. Strangest thing I found so far was digging sweet potatoes in our old wooden raised bed and found a possum underground who had eaten about half our sweet potatoes.
That’s crazy about the possum. I would have freaked out. LOL. Thanks for sharing.
I want to plant my potatoes in the fall in raised beds in Colorado at about 9300 feet. Any suggestions on how to keep them warm enough not to freeze? Alternatively, can you tell me how to save my fall crop so that I can use it to plant in the spring? Buying seed potatoes is crazy expensive. Thanks!
Depending on the variety you should be able to store them until spring. A root cellar situation is best but if you don’t have access to that, you can store them in the coolest, darkest part of your house.
I plant in a country setting with lots of wild life. I do not fence my garden. When plants start producing I just go around
and sprinkle cut up purple (sometimes called Sweet) onions and sometimes some cut up garlic under my plants. Varments can’t recognize the food and so leave every thing alone. i do this once a week.
Wow, that’s good to know! We have deer in our yard daily, so I’ll try it!
No experience in this; however, it would seem if you could design your raised bed so the one long side could be lifted out, then the harvest would be much easier. You could just rake them out with a hoe-fork.
Ashly,Impressive results! What kind of wood do you use for the beds and do you have any problems with mice getting into your produce in the basement?
There are several different options to use for wood in your raised beds. Cedar, cypress, and black locust are great because they are very resistant to rot and decay. Pine isn’t as resistant to rot and decay but it more affordable and available. You can also consider hardwoods such as oak or redwood however the availability is more limited and the price will be much higher.
Great article!
I’m a potato inspector from Canada…. One trick to beat the potato beetle situation is to plant late and break the potato beetle cycle. While most of my conventional growers plant the second week of May.. I have an organic producer who can’t use chemicals and plants his at the end of June into early July and as a result has very little bug pressure. The difference in yields are minimal.
That’s great! Thank you so much for sharing.
Curious as to when a harvest would be if planting at the end of June or into July? …..October?
It will depend on the variety. You just need to look at the specific variety to see how many days to maturity and then count from the time of planting to find out the general harvest time.
Hi Ashley, Love your blog, especially as I live in Vermont (Champlain Islands, but I also have thin, clay soil). I have a question about backfilling the growing sprouts: as they grow, how do you cover them with soil and avoid snapping off the growing sprout? I’ve never grown potatoes before – always been a flower grower, but you can’t eat too many flowers!
Thank you.
It’s really very easy and the potato sprouts are pretty hardy. You just want to gently push the soil up around the base of the plant leaving the top leaves exposed. You can use a rake, a hoe or even just your hands.
Got it, thanks! I thought I had to cover them up, so I was afraid the soil would break them. Duh. – Did I tell you that I have only mostly grown flowers and shrubs? 🙂
No worries. We all have to learn somehow. I’m sure you could teach some of us a few things about growing flowers.
Ashley,
Where did you find the crates that you use to transport your harvest in? They seem to be of the ideal size and handy for harvesting.
I’m not sure where these specific crate came from but you can definitely find similar ones on Amazon.
In North Florida, we grew taters under leaves in a trench. This will not work in clay but may work for some of you. Plant the tater eyes at the bottom of the trench and fill the trench with bagged leaves saved from autumn. Composted sawdust also works well but will not give you the cook’s dream of a clean white tater. Keep adding mulch as the plants grow. We used a variety identified at the feed-and-seed as a Hastings chip potato but 90% of the nation’s chip crop is grown in Hastings, FL. They bore a striking resemblance to a Yukon Gold but they were a white variety.
When you harvest, look out in case a critter is hiding in the mulch. I’ve only found one, but it was a huge snapping turtle!
Oh my, that was quite a surprise I bet. Thanks for sharing that tip with us.
We have grown potatoes both in & outside of raised beds. However our HUGE problem is voles. We lose a substantial number of potatoes to these vermin who can reach them both from above ground & under ground. We have used repellents with some success but not enough to make it worthwhile to grow potatoes anymore. Any suggestions?? We love our own homegrown potatoes!
I have not personally dealt with voles but I was able to find this article that may help. Just scroll down the page to the question “what’s digging tunnels in our yard?” https://www.oregonlive.com/hg/2018/02/how_to_fight_tunneling_voles_t.html
Hi,
I too grow vegetables in 4ftx10ft x2ft raised beds. In a climate so different from yours. I live in Zone 2B. in Prairie Canada. We get very little moisture so have to water regularly. One thing I do is top up the beds every year with compost and new topsoil.
I also have to look for Colorado potato beetles and it is very important to rotate your crops for 3 years too.
I really like your site and will check it out regularly.
A ll the very best.
Rut S.
We have a bit of trouble with potato beetles this year too. I put my 5-year-old on patrol with a bucket of soapy water and she went to work every day on her beetle scavenger hunt. The beds mean they’re right at the perfect height for my kids, so they did a great job of keeping them beetle-free.
Ashley, can you give us some storage varieties? Also, how do you keep the mice out of your stored vegetables and apples? One year I had to throw out all my apples because the mice ran all over them. ) :
I look forward to your reply. Thank you! ( :
You know…I get that question a lot. Believe it or not, we don’t really have problems with mice in our basement. It’s a solid concrete foundation with solid walls on all sides that don’t leak or have really any access holes. Occasionally we’ll have a mouse in the kitchen, but I keep traps behind the stove and in all the nooks and crannies, so they don’t last long.
We do, for whatever reason, have plenty of mice in our detached garage though! No food out there, but we can’t seem to keep them out. Go figure…
Oh, forgot to tell you what varieties!
This year I planted the “classic keeper’s mix” from Fedco seeds and it included:
-Lehigh
-Kennebec
-Caribou
-Katahdin
Which varieties did you plant? I’m partial to the taste of Green Mountains, and found that they did better in the grainsacks vs. in-ground trenches. So the raised bed approach is on my list for this year.
This year I planted the “classic keeper’s mix” from Fedco seeds and it included:
-Lehigh
-Kennebec
-Caribou
-Katahdin
In the past I’ve grown Green Mountains and Yukon Gold and a number of other varieties, but this year (2020) everything sold out quick except for this particular storage mixed pack. Luckily what I wanted was the keepers anyway, so it worked out!