Affiliate disclosure: This post may contain affiliate links. Please see our Privacy Policy.
Saving seeds at home can be tricky, but once you understand the basic principles, you’ll be able to produce your own high-quality heirloom garden seed year after year.
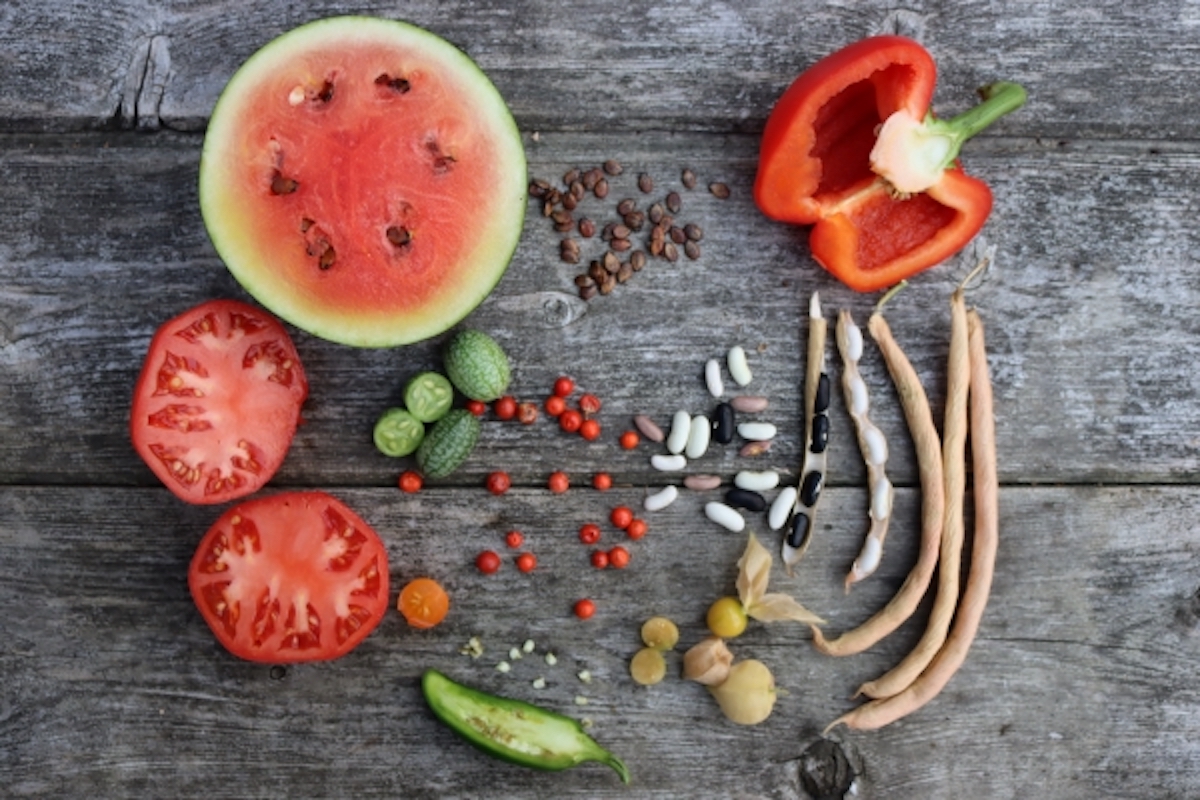
There are literally hundreds of seed companies these days, all competing for your business and attention. You could almost insulate your house with the barrage of free seed catalogs they send out every spring. Why in the world would you bother saving your own seed?
Plenty of reasons…but the spring of 2020 highlighted some of the most pressing. This spring, people woke up to the incredible importance of controlling at least part of your own food supply, and seed companies sold out within days.
If you hadn’t planned ahead, you’re out of luck.
Even in the best of times, with plenty of seed to go around, saving your own seed is still a good idea.
Seed companies, much like grocery stores, often promote the best-looking vegetables (rather than the best-tasting). Storage crops are hard to come by, and some of the truly spectacular heirloom varieties are all but lost.
Beyond that, the most important reason, in my opinion, is growing what grows well in your microclimate. Saving seed allows you to propagate the plants that thrive in your particular soil and climate. That’s something that a seed company halfway across the country can never supply.
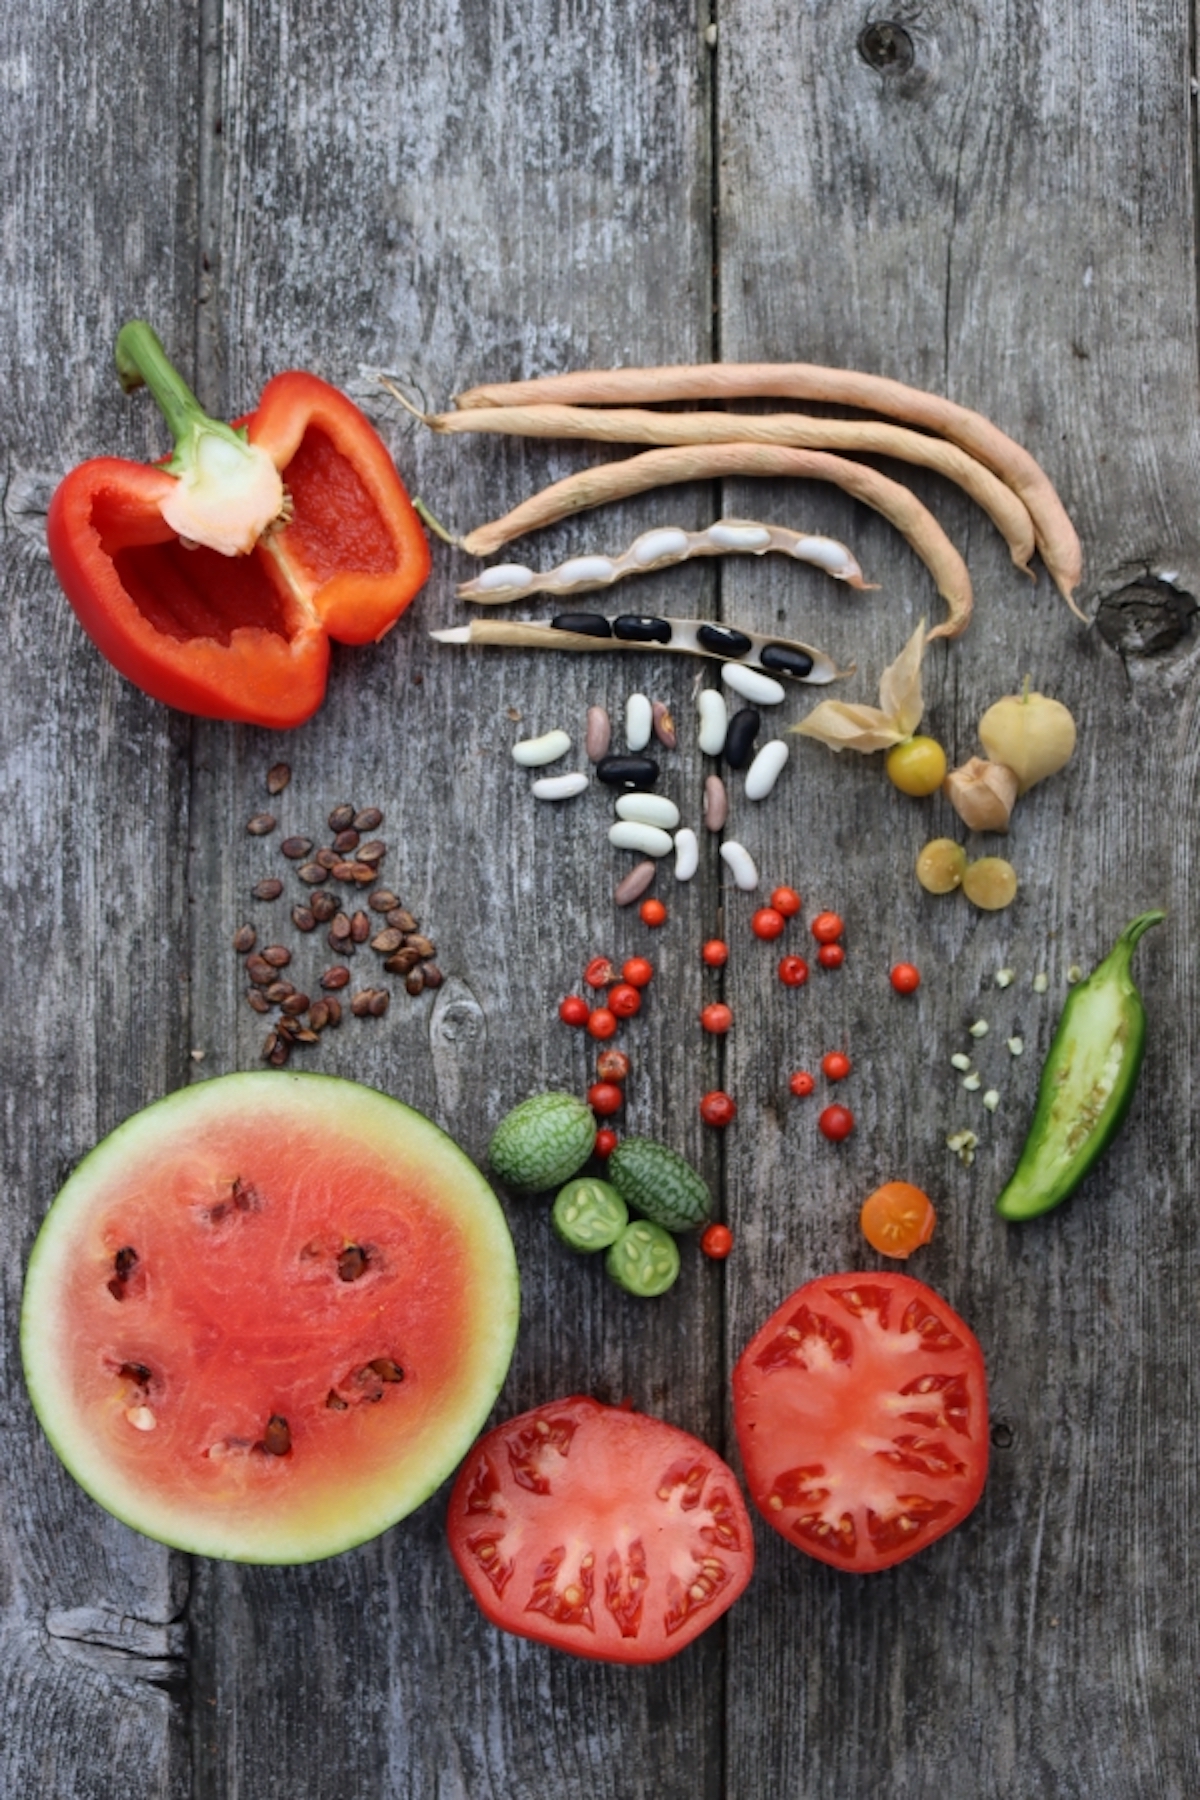
Seed Saving Reference Guides
Just about every plant variety is different when it comes to saving seed, and you’ll need to know the specific requirements for any plant seed you intend to raise.
Tomato seed, for example, should be fermented after harvest to remove natural growth inhibitors in the plant tissues that prevent it from sprouting in the fruit.
Onion seed needs two years to grow (it’s a biennial), and then the seed is only viable for 1-2 years after harvest.
Squash seed has specific pollination requirements and is best meticulously hand-pollinated for seed saving. Corn can’t be hand-pollinated but has specific isolation distances.
They’re all different, and until you’ve saved garden seed for a few years it’s going to seem tricky.
I’m going to take you through all the principles of seed saving, but I’d highly recommend picking out a seed saving reference book if you’re at all serious about raising your own vegetable seed.
I have three different ones on my shelf, and each one goes through every vegetable crop in detail.
- Seed to Seed ~ The most commonly recommended seed saving book, I actually don’t really like this one. Just about every chapter looks like it was cut and pasted from the previous one, with only minor details changed. In the process, it looks like they weren’t all that careful and I’ve noticed a number of errors.
- The Seed Garden ~ Put out by the Seed Savers Exchange, this is by far the most useful seed saving book I’ve ever found. Highly recommend.
- The Organic Seed Grower ~ This book is targeted at anyone who hopes to start a small home-based seed company, and it’s incredibly detailed. If you’re looking for a textbook on seed saving, this is it.
Beyond these, a book titled Gardening When it Counts, written by the founder of Territorial Seed Company has an incredible amount of seed saving information. If you’re looking for an all-purpose gardening book that’ll tell you how to bring in the harvest and save seed for next year, this is by far my favorite gardening book.
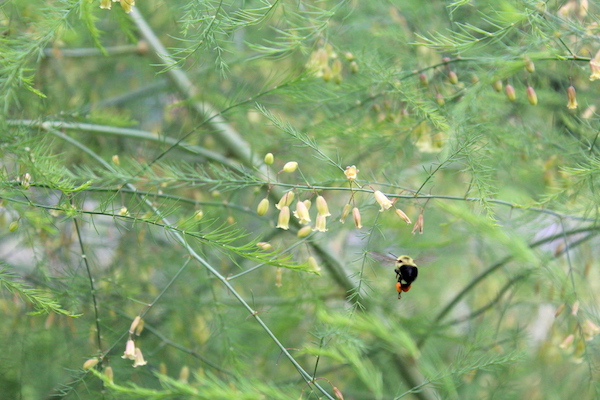
Principles of Seed Saving
Seed saving is about a lot more than scooping the seeds out of last year’s squash. Believe it or not, that actually most likely won’t grow anything like last year’s squash. To properly save seed, you’ll need to understand these basic seed saving principles:
- Understanding Plant Types – Heirloom, Open Pollinated and Hybrid
- Seed Bearing Growth Habit – Annual, biennial, perennial
- Pollination
- Isolation Distances
- Minimum Maintenance Population
- Vegetative Reproduction
- Raising Plants for Seed
- Culling off types (Roguing)
- Extracting & Cleaning Seed
- Drying & Storing Seed
- Seed Viability (shelf life)
- Germination Tests
- Planting Saved Seed
Heirloom, Open Pollinated, and Hybrid
For the most part, home gardeners save seed from “heirloom” and “open-pollinated” varieties. Those names indicate that these varieties are stable from generation to generation if properly raised with good isolation distances (more on that later).
A hybrid seed is a specifically bred seed, where the two parent plants were two different varieties. The characteristics of the seed is only “true” in the first generation after the cross. This type of seed has been around for a long time and has absolutely nothing to do with GMO crops.
There is absolutely nothing wrong with hybrid seed…unless you plan on saving seed at home. Some vegetable varieties are actually difficult to find in anything but hybrids these days (Brussels sprouts, Broccoli, and even corn).
Be sure to choose old-time varieties, mostly labeled either heirloom or open-pollinated. Or start with seed shared by a friend or neighbor, that’s already been saved at home for a few generations. Many public libraries also offer “seed libraries” where you can find free seeds from your community—the quality and origin of the seeds will be a mystery, but it’s a cheap way to start learning how to handle seeds from the varieties you want.
Annual, Biennial, or Perennial
Plants come in a number of different growth habits, usually annual, biennial, and perennial.
Annual Plants
Annual plants complete their whole life cycle in one season, usually spring to fall. They sprout, grow, and set seed all in a single season. Good examples are anything fruiting, like tomatoes and cucumbers, as well as some leafy crops like lettuce.
Biennial Plants
With a two year life cycle, these plants bulk up in their first year, storing up energy before going dormant for the winter. In the second year, they’ll use this energy to set seed, which means you’ll need to grow them for two whole seasons before harvesting seed. Examples include most root crops (carrots, beets, etc.) as well as some cold-weather vegetables like Brussels sprouts and cabbage.
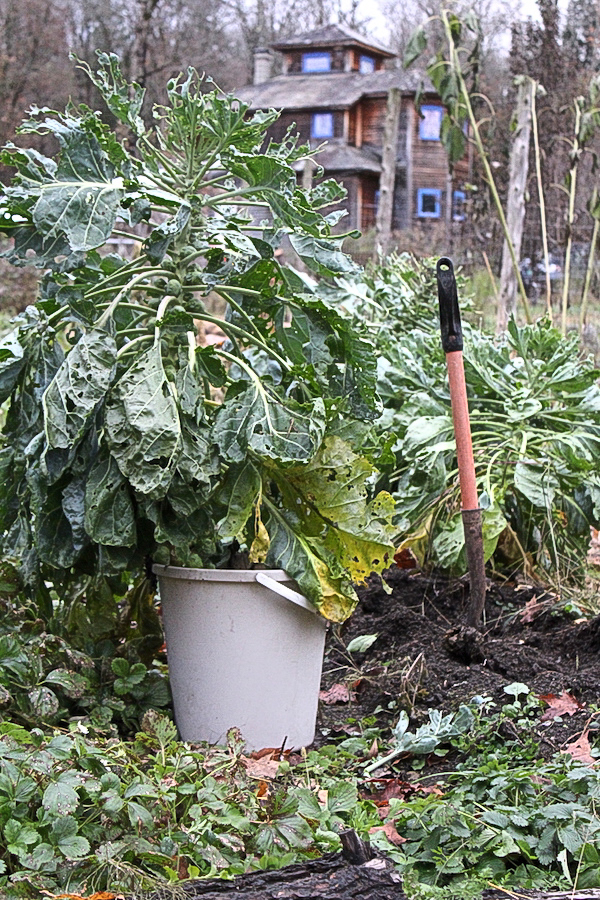
Biennials can be tricky for seed saving, since you’re committing a good bit of garden space for several seasons without a harvest. Others are problematic in other ways, since they may not be winter hardy. Brussel sprouts, for example, grow wonderfully in our short cool Vermont summers, but they don’t overwinter well this far north.
If you want to save brussels sprout seed, the best option is to actually dig up the whole plant and bring it indoors for the winter. (Even that’s not foolproof.) Ironically, warmer areas further south, where the vegetables get bitter in the summer sun are better for seed production. (Go figure…)
Perennials
There are a number of perennial vegetables that live on from year to year, and each of those will produce seed on its own timetable. Some fruiting perennials, like apple trees, can take 10 years to produce seed.
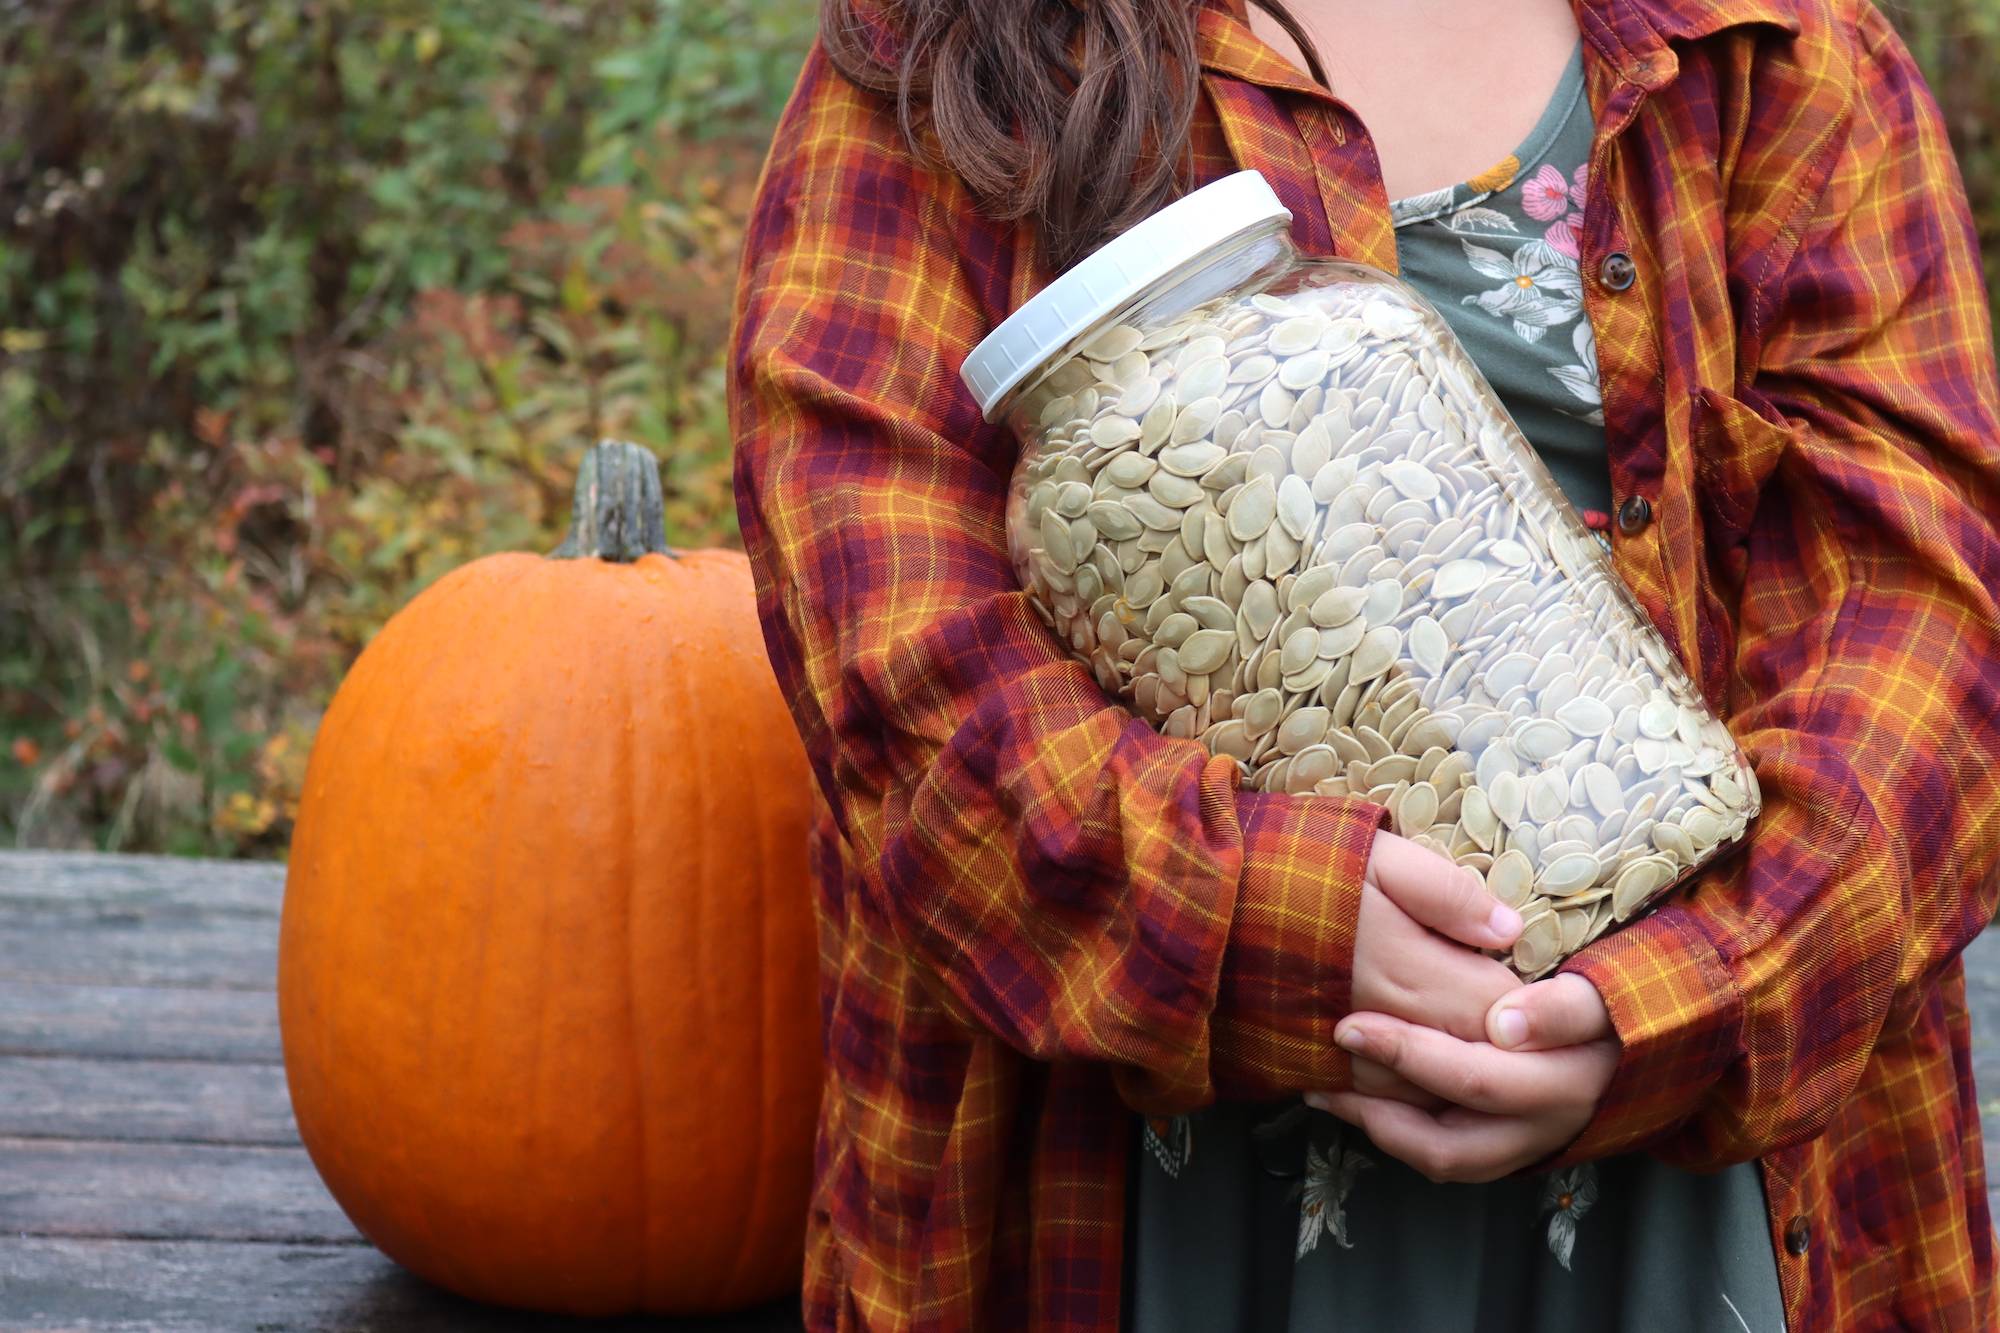
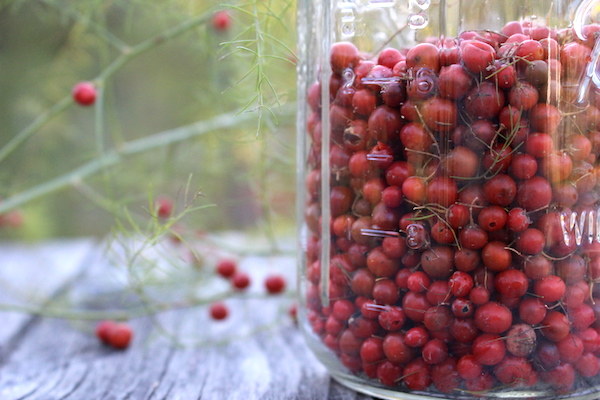
Other vegetable perennials, like asparagus, may produce seed in as little as 2-3 years.
Pollination
Pollination is, in simple terms, how plants reproduce. Pollen is moved from the female flower of a plant to the male. If the pollen is from the same species and is genetically acceptable, fruit will be formed.
For some plants, the male and female flowers occur together on one plant, while others produce them on separate plants. Still others form the male and female parts within the same flower.
Most pollination is done naturally by insects, the wind, or within the flower itself. Some plants you may need (or want) to pollinate by hand.
Insect Pollination
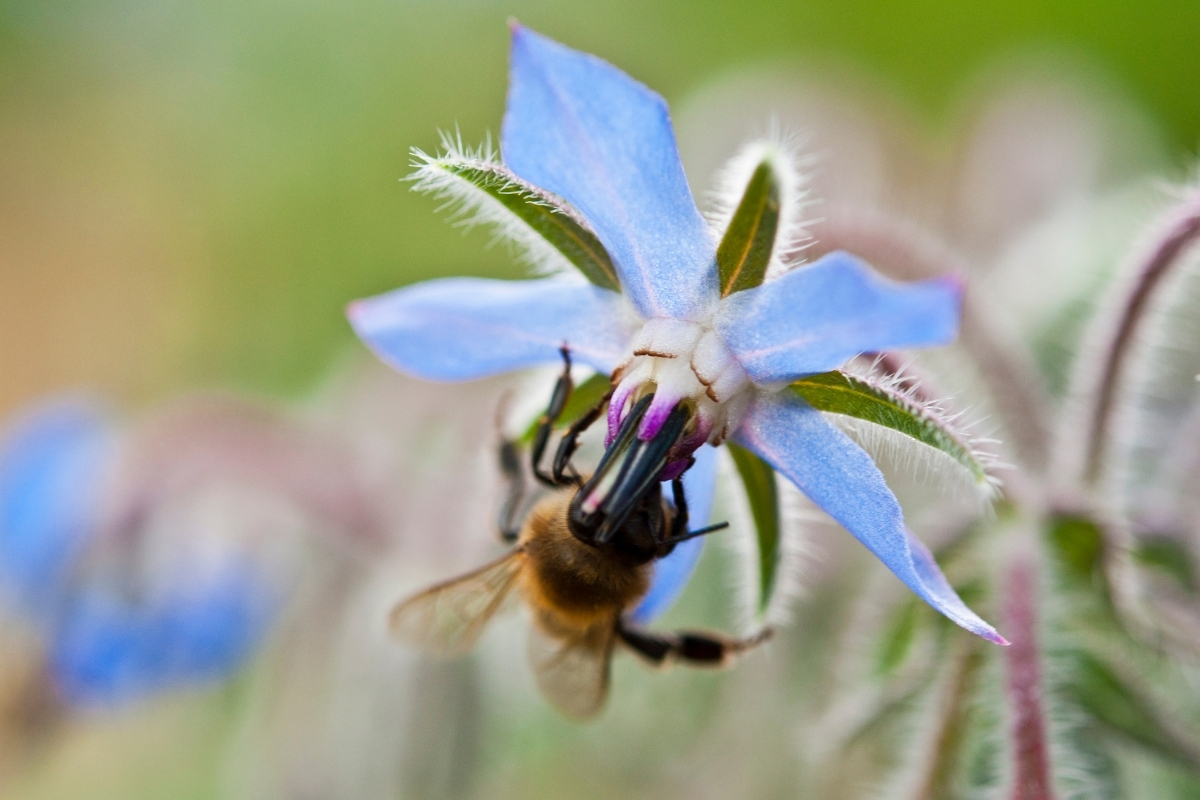
Pollination by insects is probably the method most of us think of when we hear the word “pollen.” Picture a fuzzy bumblebee covered in yellow crumbs of pollen, wiggling its way out of a flower, and you’ve got the idea. Insects will carry pollen from female flowers to male flowers on the same plant or a plant nearby. While famous, bees are not the only pollinators, so don’t shoo away those moths or even the wasps!
Wind Pollination
Plants without showy flowers likely pollinate via the wind. Corn is the easiest example of this: the tassels at the top of each stalk are male and shake pollen into the wind to be caught by the thready female silks.
Keep in mind the wind may also pollinate flowering plants—and their pollen will travel further than you think!
Self-Pollination
Some plants have what’s known as “perfect” flowers that contain male and female parts in the same bud. These plants will move pollen on their own (though some shaking from the wind or insects may help).
Tomatoes are one example.
Hand Pollination
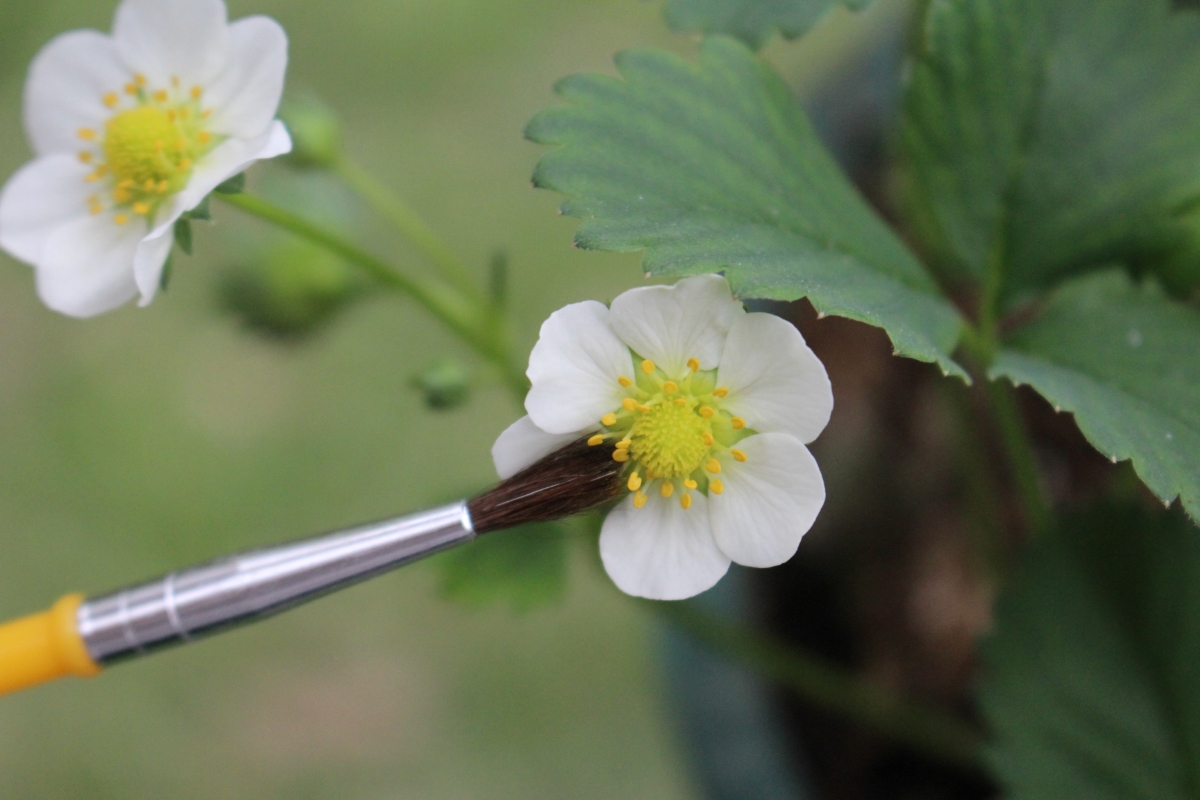
Pollinating by hand is exactly what it sounds like—you’ll act like the wind or a buzzing bee in this method. Every plant will require different tactics, so be sure to do your research!
Seeds harvested from hand-pollinated plants have a better chance of providing high-quality, true-to-type plants next year.
Isolation Distances
Pollination is a bit of a free-for-all. And all it may take is a gentle breeze to cross a too-close jalapeno with your sweet bell peppers, leaving you with no seed for the next year and more spicy peppers than you wanted!
Gardeners can use distance, containment, or timing to isolate their plants for seeds and prevent unwanted cross-pollination:
Distance Isolation
This is the most reliable isolation method, and the least feasible for home gardeners. Most distances listed for food plants were determined by and for large-scale farms. If you have the space, go for it!
Be aware, this may involve calling your neighbors and nearby farms to see what they’re growing—wind pollinated plants have isolation distances in the miles. Self-pollinating and insect-pollinated plants are more manageable, but shouldn’t be underestimated. Once you know what’s growing nearby, plant similar species as far away from each other as you can.
Containment Isolation
If you’ve seen a plant with little baggies all over it in the summer, its owner is likely trying to prevent outside pollen from reaching the flowers. Blossom bags are best for self-pollinating plants (like peppers) as they prevent pollinators from reaching the flower at all.
Large cages, covering one or more plants, can isolate insect pollinating plants while allowing space for an introduced bee or fly to reach the flowers. You can also “cage and release”—setting cages up on one crop while leaving a second free, then switching the cage over the next day.
Be aware that neither of these methods is guaranteed to prevent wind pollination from plants with very fine pollen.
Timing Isolation
This is not the method for procrastinators or anyone who dreads opening their calendar app. Timing isolation requires significant pre-planning and strict scheduling.
First, you’ll determine what plants of the same species you want in your garden. Then, look at how long it takes for each type to flower after it’s planted. Stagger your planting schedule so that none of the plants are flowering at the same time.
Even with careful planning, you may still end up with some flower overlap—plan on snipping off the flowers from the plants that blossomed first, or use another method.
Minimum Maintenance Population
Diversity in your plants DNA will help keep them strong, vigorous, and resistant to pests and diseases. A cross-pollinating plant that is self-crossed (or crossed with only 1 or 2 others) will result in sickly descendants and poor harvests if no new plants are introduced to the line.
Minimum maintenance populations are the number of plants you’ll need to harvest seeds and enjoy the benefits of genetic diversity. This number will be low in self-pollinating plants (exactly 1), higher in cross-pollinating plants, and at its highest if you intend to save seeds for the long term.
For people with small home gardens, reaching the minimum maintenance population may not be feasible. Your smaller crop size will still serve you well for a few generations, but problems can appear as early as the 4th generation. Plan on acquiring new seed—regular swapping with neighbors can help increase your diversity and theirs.
Vegetative Reproduction
Those of us with friends who grow pathos and succulents have likely been gifted many cuttings from those plants (or asked for them). Propagation, aka vegetative reproduction, is an alternative method for growing new plants from old ones using their stems, leaves, or roots.
The main benefit of choosing to propagate your plants is that you’re guaranteed to get the exact same plant all over again. Whatever DNA went into forming your sprouted potato will be maintained in the potatoes that spring from it.
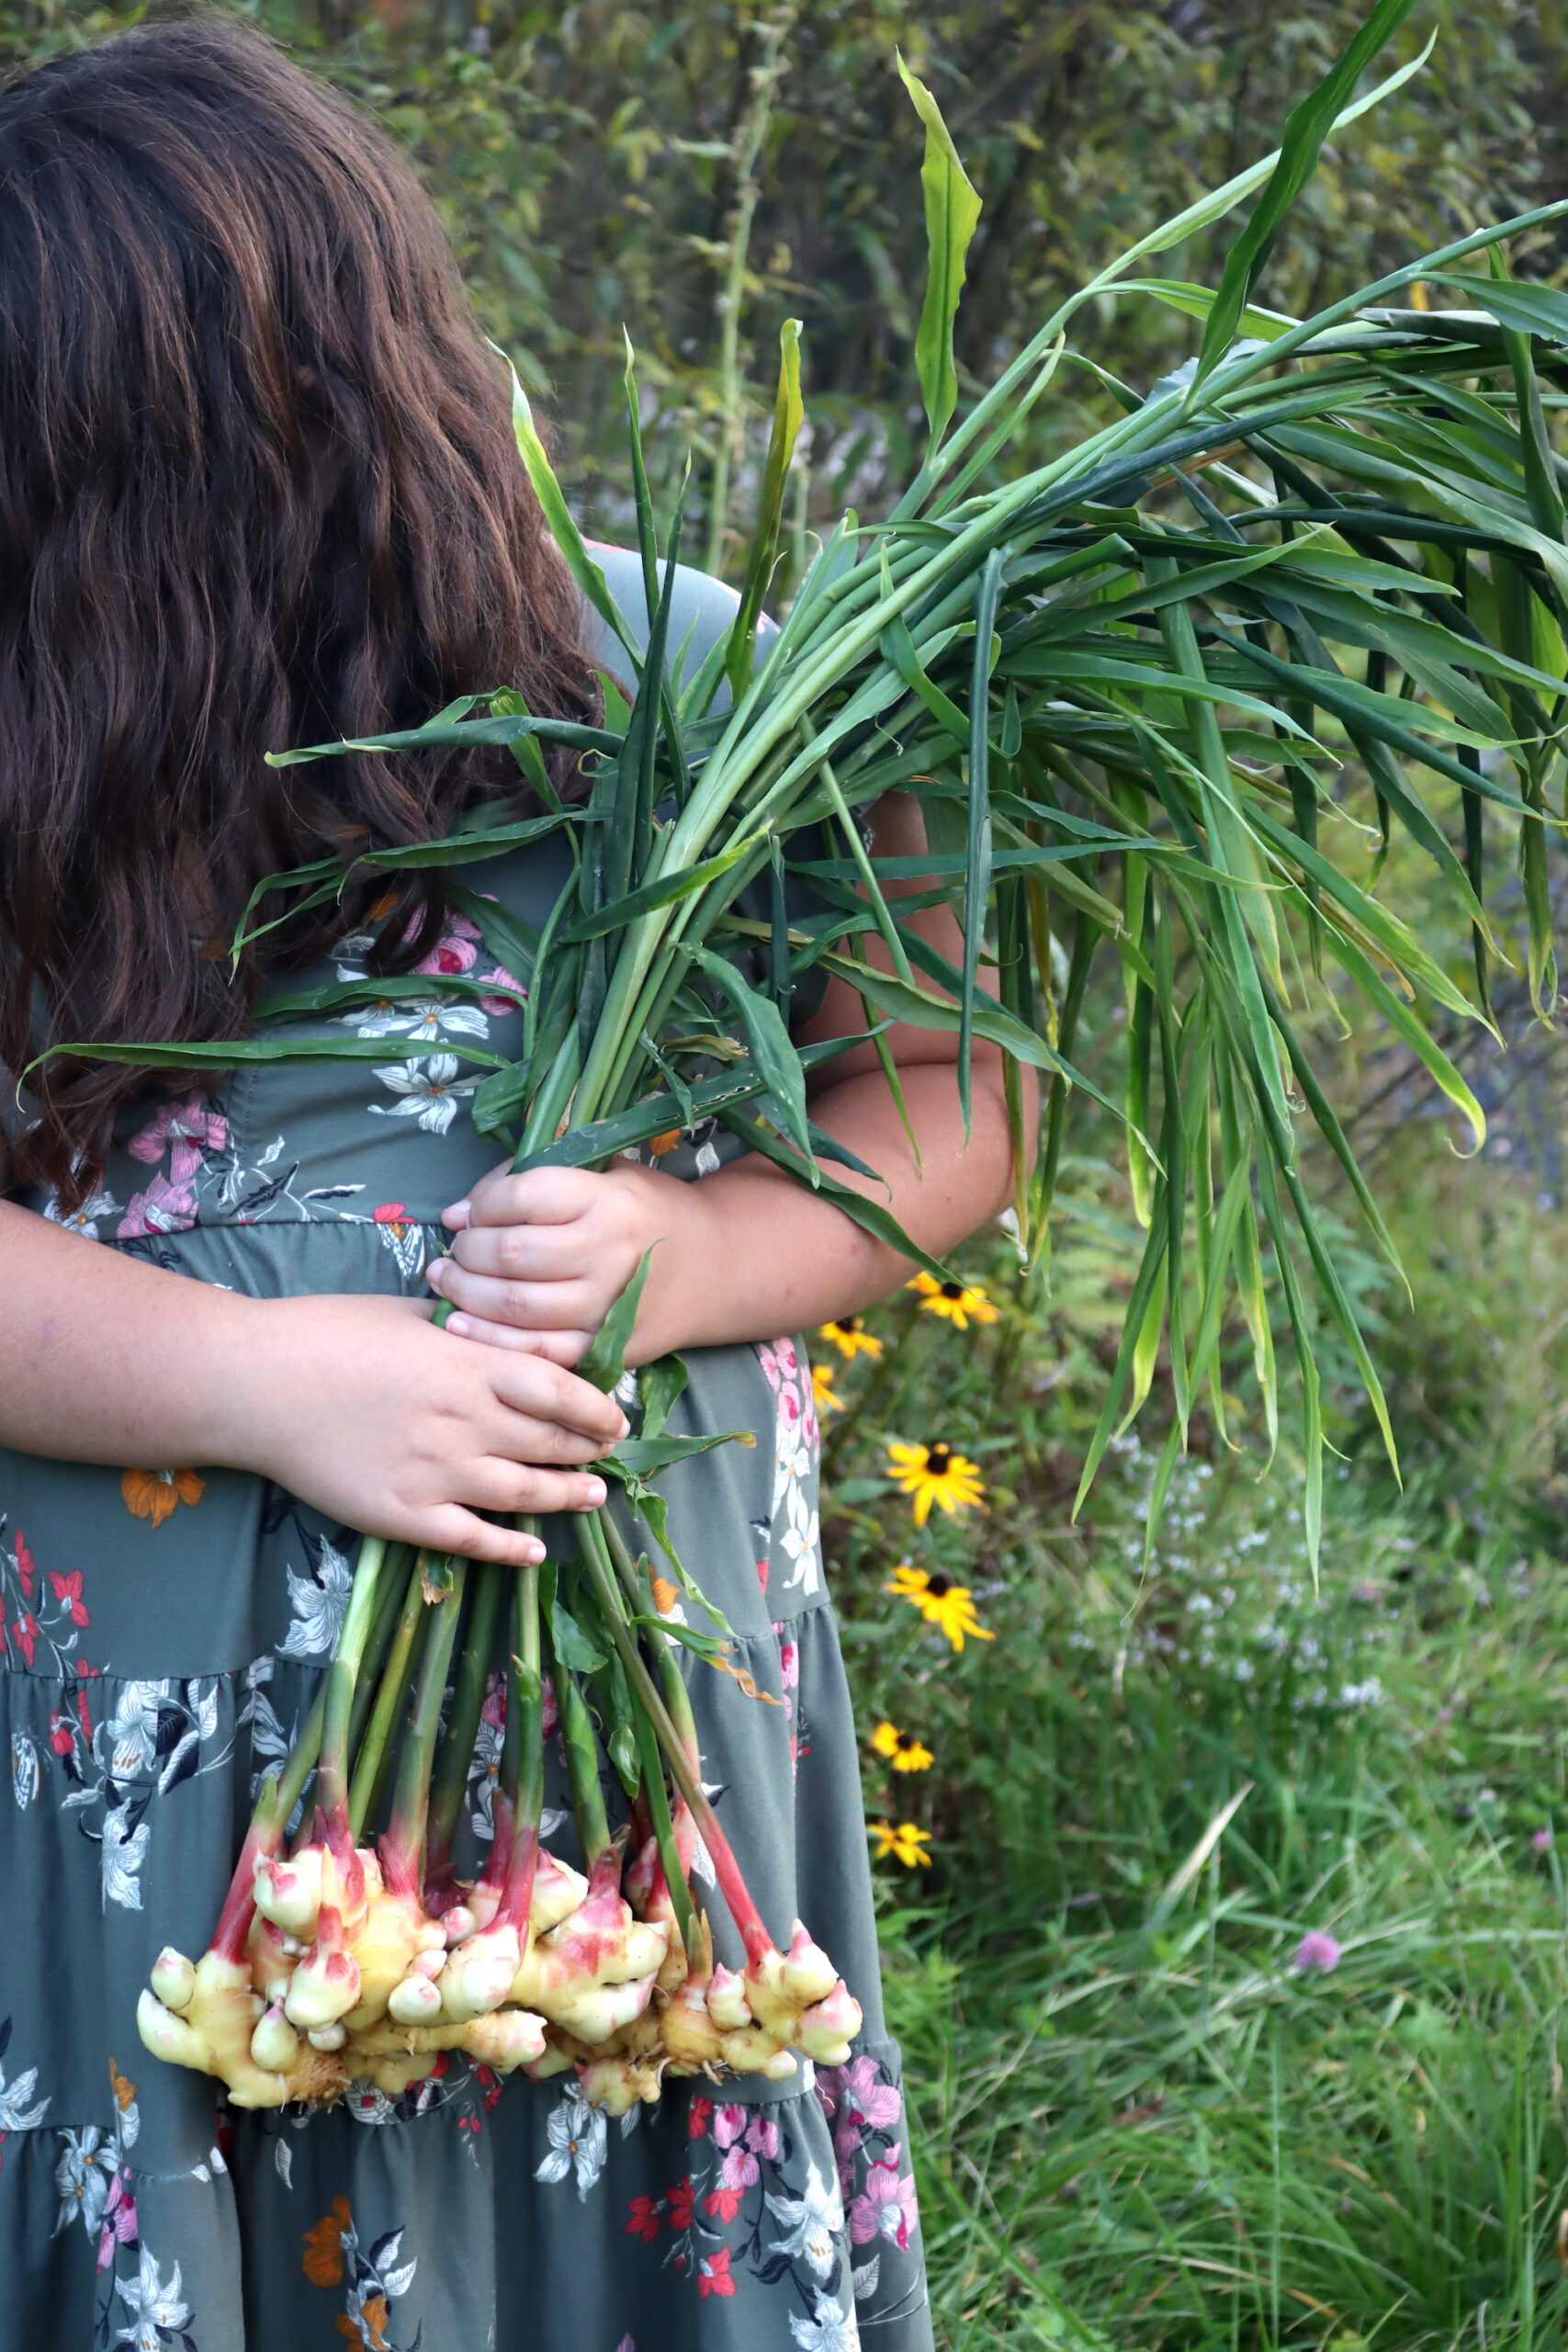
However, relatively few vegetable plants can be reproduced this way: tomatoes, green onions, and ginger are some of these. You’ll additionally need to set aside space for your starts to grow until they can be planted fully.
Raising Plants for Seed
After all the work you’ve done in procuring seeds, planting, and caring for your plants, you may expect to enjoy the full bounty of your work once the harvest comes around. Unfortunately, for seed savers, this often isn’t the case.
Take zucchini—once you’ve scooped out the seeds from its insides, surely you can just plant those and eat the rest? In reality, zucchini is regularly harvested before its seeds finish maturing. Leaving the fruit on the plant until the seeds mature leaves you with little (or nothing) desirable to cut into your salad.
For these reasons, while you’ll want to save seeds from your best plants, you don’t want to save too much. If your best cabbages are left to seed, you only get to eat and enjoy the smaller and less tasty variants. Space may be tight in your garden, but grow enough to maintain your population and your taste buds.
Culling Off Types (Roguing)
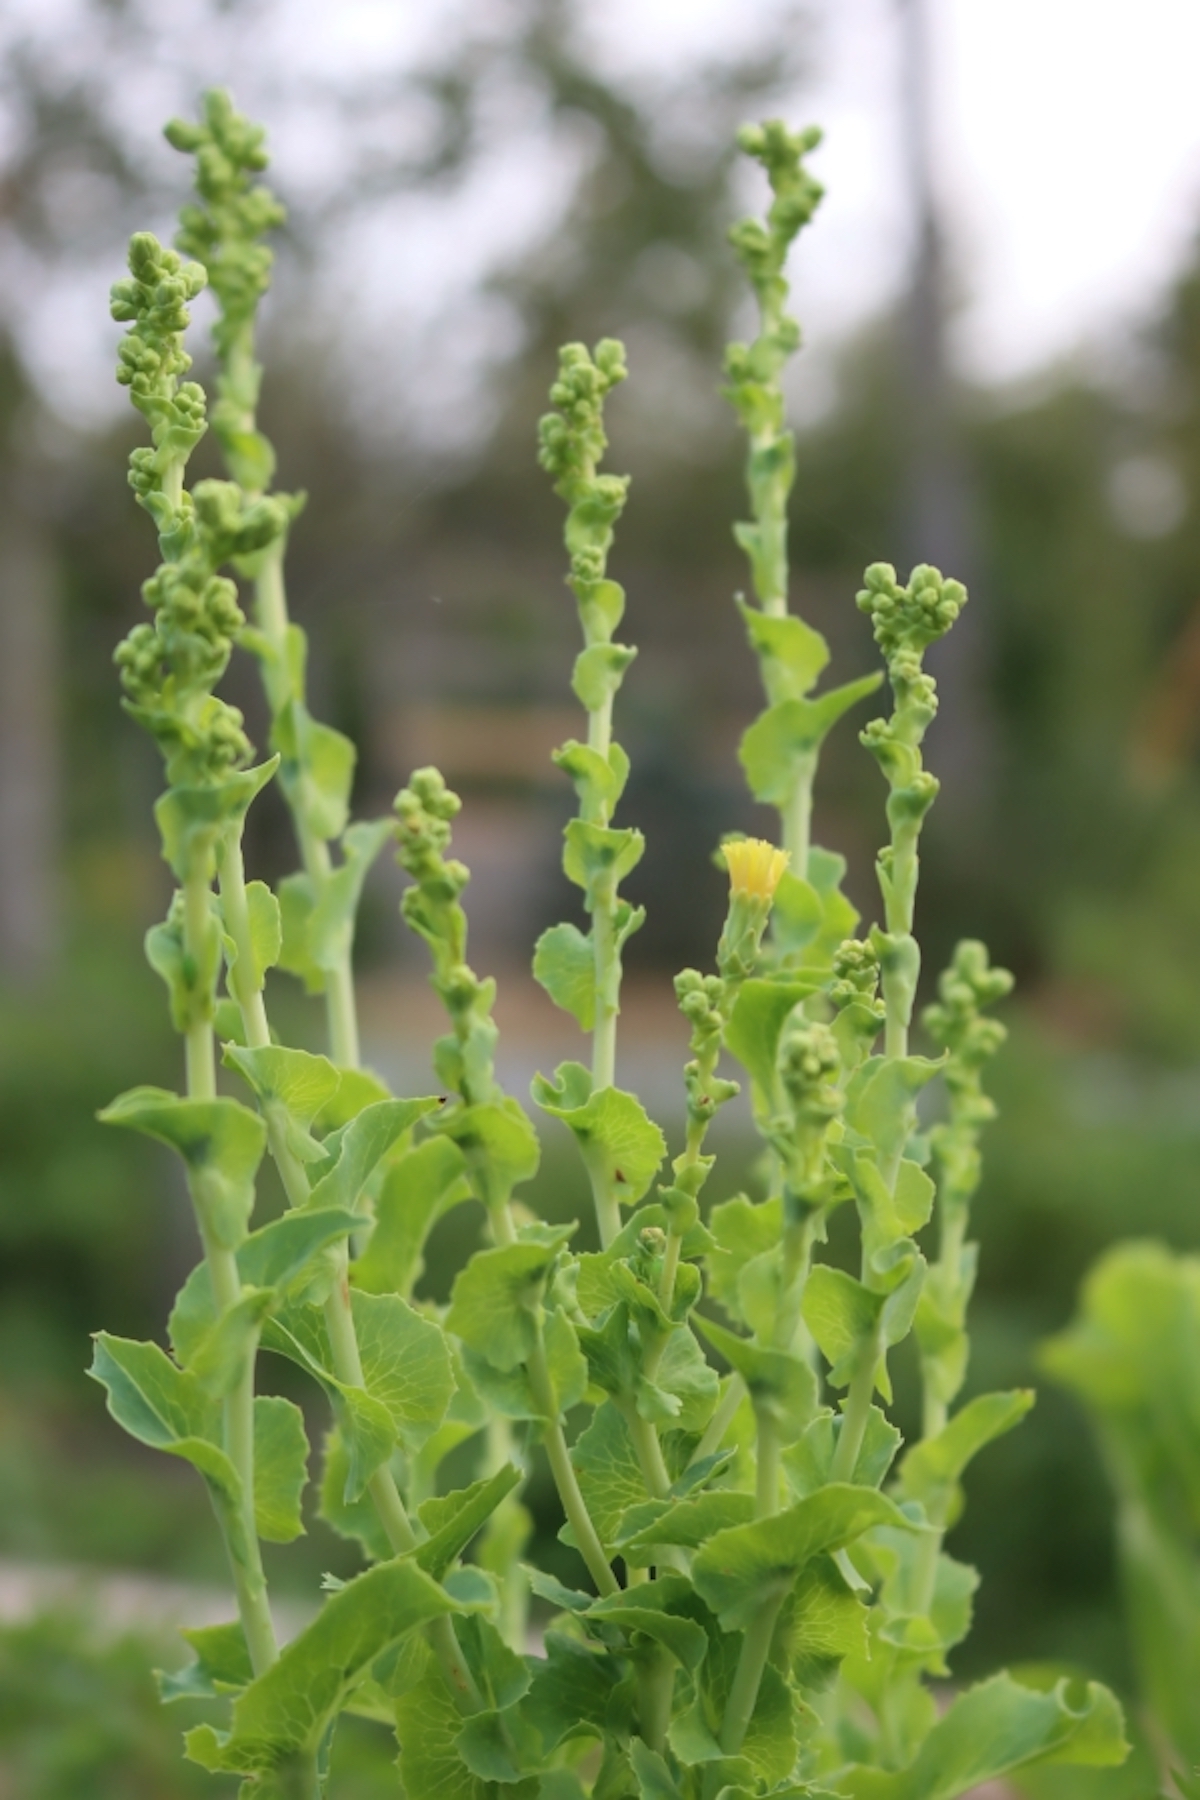
Don’t get too attached to your overflowing raised beds—for the good of your seed harvest, some will have to be culled. Also known as roguing, culling is the process where you’ll remove plants from your garden that aren’t healthy and don’t strongly display their species’ characteristics.
Ideally, you’ll want to cull plants before they flower. Once pollen is produced, the DNA from those undesirable plants is being mixed among your stronger specimens. Unfortunately, for some plants you may need to wait and see if their fruit is growing true-to-type to know if they should have been culled.
Hand pollinating can help a little when determining which plants can be culled. By keeping a careful record of which plants cross-pollinated, you can observe the fruit results and determine what will be saved as seed and what will not.
Extracting & Cleaning Seed
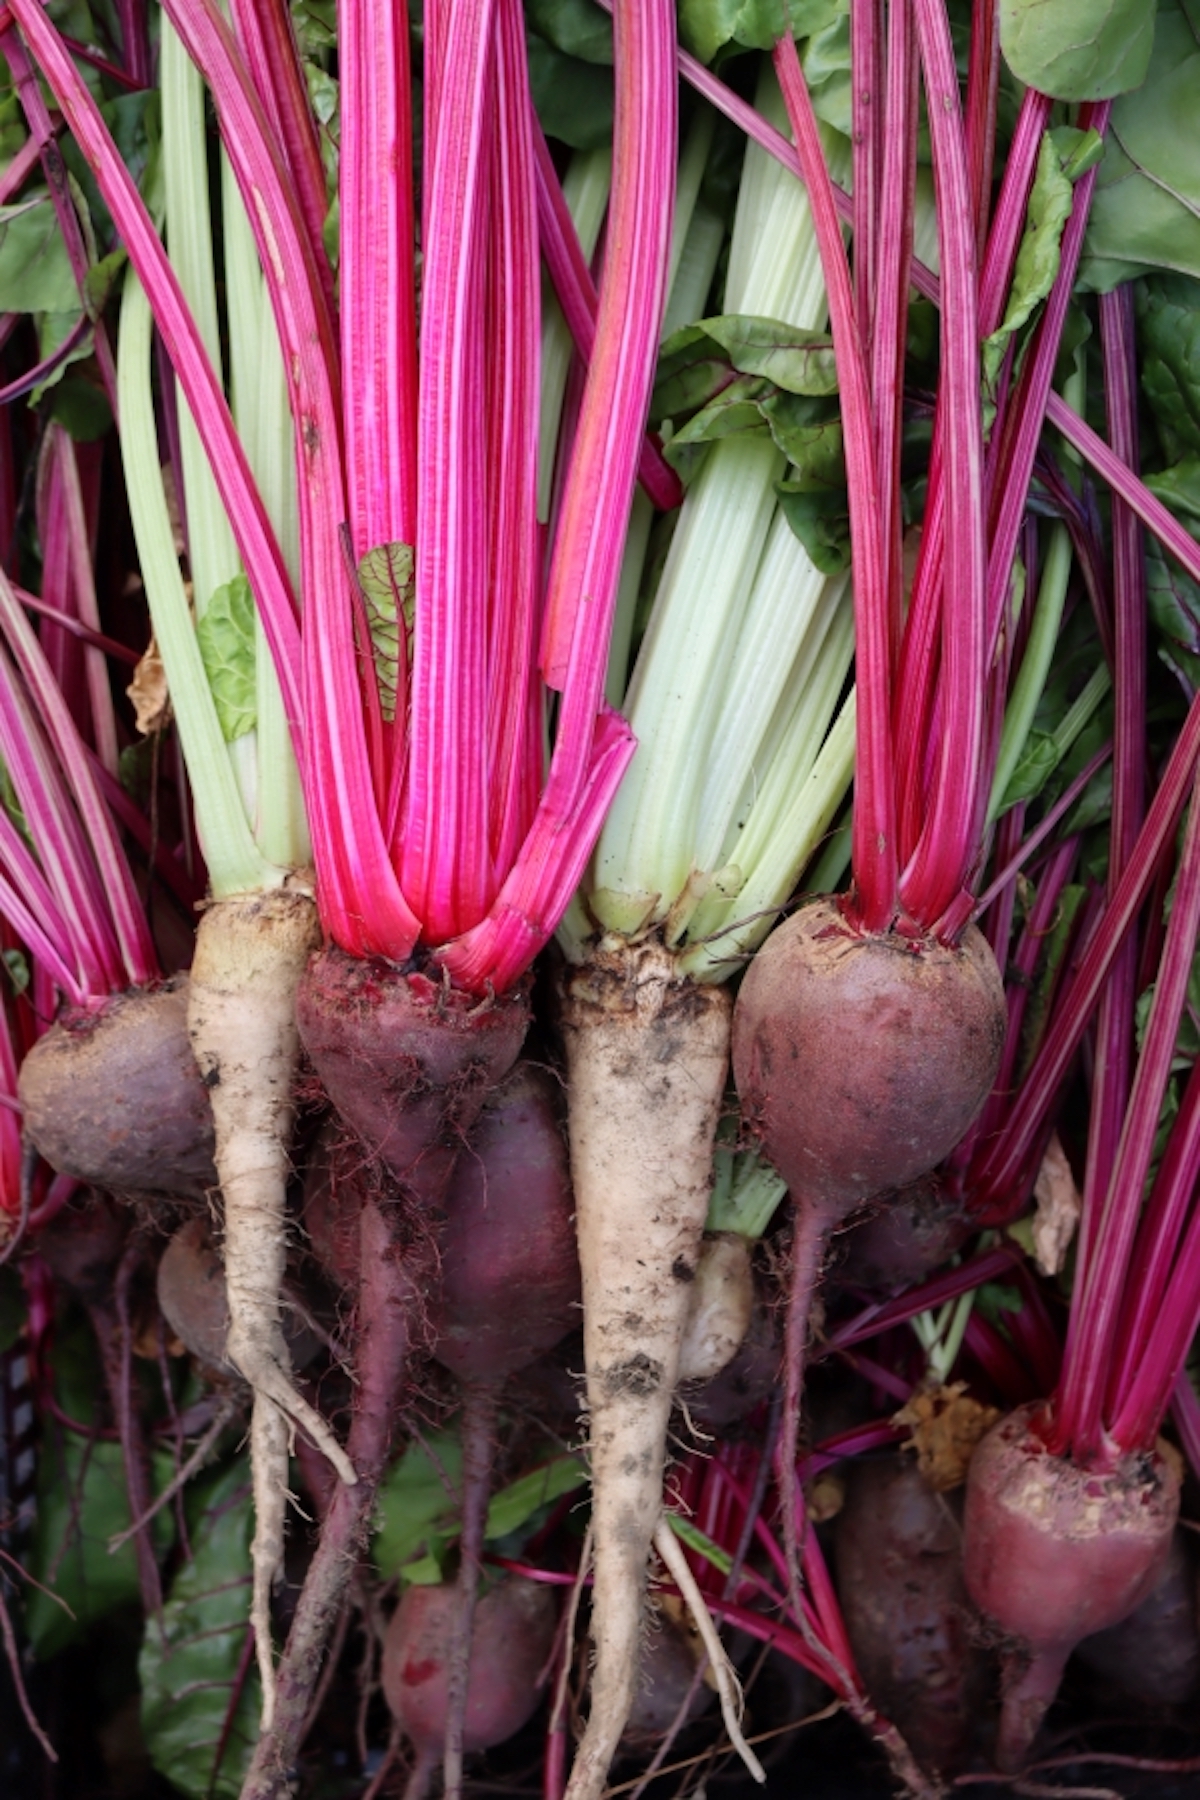
You’ll need to approach your seed harvest depending on whether the fruit is dry or fleshy (think peas versus tomatoes). In either case your goal should be to pull the seeds and avoid mixing them in with any debris.
Dry Harvesting Seed
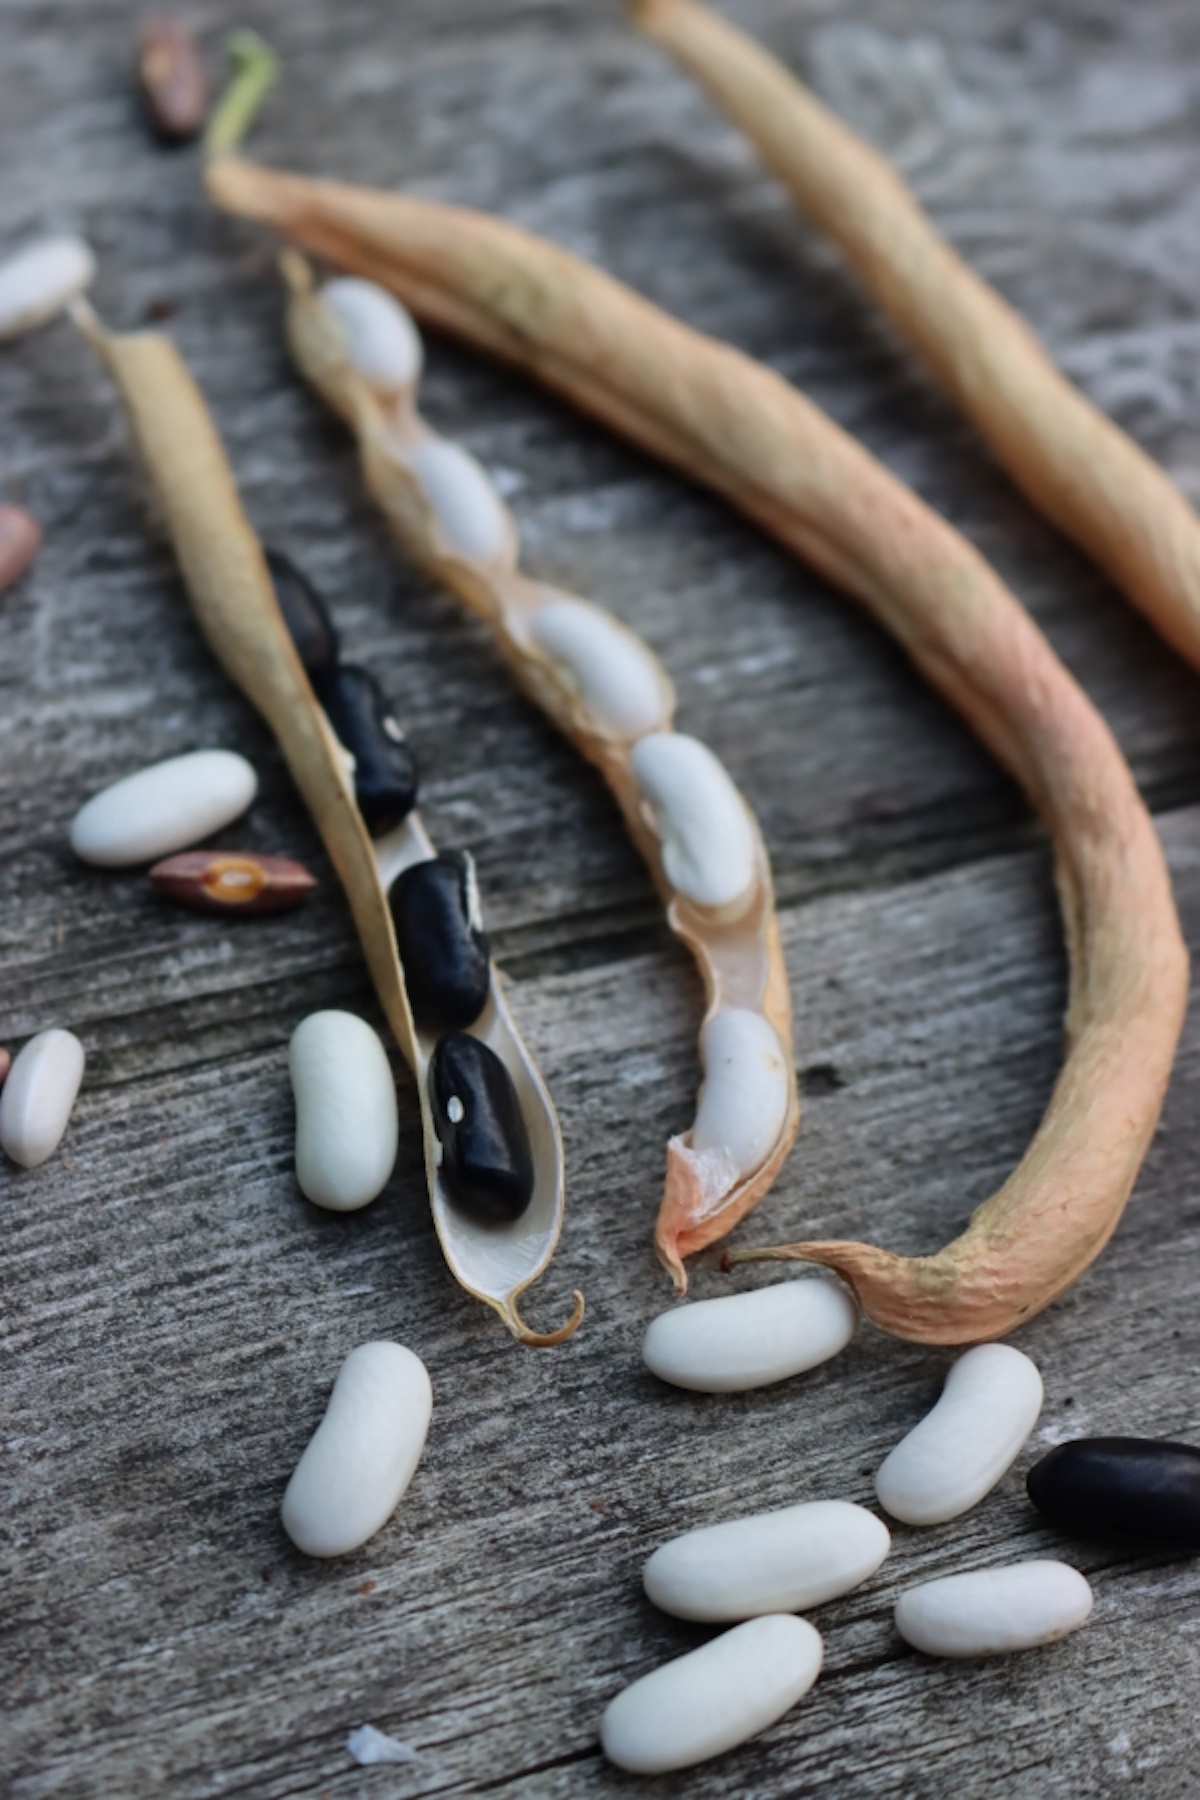
When you notice your seeds or their pods beginning to dry out, harden, change color or texture, and potentially split open, it’s time to harvest.
While you can dislodge seeds directly from many plants, others may need you to clip off pods and seed heads from their branches. You may find it easier to cut off a branch with plenty of seeds or pull up the entire plant for drying. Which method you choose should depend on the plant, and how likely it is for animals to disturb your seeds.
The more plant matter you harvest with your seeds, the earlier you can harvest them, but the longer they’ll need to dry and the more work you’ll have in cleaning them. Dry your harvest out of range of dew or rain to prevent molding. As space allows, spread your seeds out on a tarp or screen for 1 to 3 weeks with gentle airflow flowing around them.
After drying, thresh your seeds to break up the pods and heads that hold them. This process takes many forms, but usually requires you to put force and friction on your plant matter (think shelling or stepping on seed heads).
Finally, you’ll screen or winnow your plants to separate the seeds from the chaff (i.e. everything else).
- Screening requires a series of sifters to help sort the seeds– check on what size mesh works best for your plants.
- Winnowing involves tossing your threshed material into the air and letting the wind blow the chaff away. Your seeds will need to be heavy enough to fall back to their tarp and not fly away with the chaff.
Wet Seed Harvesting
Seed maturity on these plants might be hard to spot with flashy, ripe fruit in your face. Look for a drying stem, changes in fruit firmness, and fruits that easily detach from the plant.
Once you’ve harvested your seed fruits, remove the seeds as you would when cooking normally: cut open your bell peppers and scoop out their insides. For some—like eggplant—where the seeds are embedded in firm flesh, it may be easier to dump chunks into a food processor and pulse until the seeds come loose.
Next you’ll want to rinse, soak, ferment, and/or decant your seeds in variable order. For many, rinsing will be the first and final step. All it involves is a good colander and a kitchen sink. But some seeds may require a bit more work.
- Soaking the seeds of squashes softens the pulp and allows a good rinse to fully remove the flesh. Simply cover the pulp-covered seeds with water and place the container in a cool place for 4 to 12 hours.
- Fermenting helps break down more gelatinous pulp—think tomatoes and cucumbers. Set aside the seedy pulp in a container until the seeds are released. Then decant the mixture to separate out the seeds.
- Decanting is one way to separate out non-viable seeds and pulp from the seeds you want to save. Place your seeds (and pulp) into a large container and add 4 parts water to 1 part seeds. Stir and allow the mixture to rest for a few minutes until your viable seeds drop to the bottom of the container. Pour off the water and you’re done!
Drying & Storing Seed
Cool and dry: keep those two words in mind and you’re set to save seed. Particularly the dry piece. Seeds with too much moisture in them when stored won’t last as long, will use up their stored energy, and have the potential to attract fungus.
To dry your seeds for storage, spread them out in a thin layer in an area with good airflow (a dehumidifier should be set up in regions with high humidity). Make sure temperatures in this space don’t rise above 95⁰F as your seeds will respirate too quickly and become damaged. After about 2 weeks, you should be ready to move your seeds into containers.
It’s recommended that seeds dry to a point where 4 to 12 percent of the seeds’ overall weight is from moisture. You can measure the moisture content by placing your seeds in a jar with a hygrometer—once it’s reading a humidity level around 20 to 25 percent, you’re done! Alternatively, you can dry them until you’re satisfied and move on to storing (seeds are a bit forgiving in this way).
For some plants, including those in the squash family, you can follow a quicker route championed by Carol Deppe in her book “The Resilient Gardener.” After cleaning the seeds, set them in a dehydrator at 95⁰F for 8 hours to a full day for smaller seeds. Larger seeds will need to be removed after a few hours in the dehydrator to prevent cracking. Leave them out for a day and put them back in for a day. Your seeds will be incredibly dry and last a long time!
For long term storage (a year or more), you’ll want to place your seeds in a sealed container to help retain their last bit of moisture. Choose a place in your house that’s temperature controlled, dark, and low in moisture: a dry basement or a closet in a cooler area of the house will work well.
The refrigerator is also a viable option and will definitely lengthen seed viability. However, because of the consistent low temperatures, the humidity in your containers runs the risk of rising to germination levels. Similarly, a freezer can work but only for seeds with very low levels of moisture that aren’t likely to form ice crystals in the seeds. If you’ve followed the Carol Deppe method from earlier, you can freeze your seeds.
Seed Viability (Shelf Life)
How long you can keep seeds in storage varies a good bit from plant to plant. Other factors—how mature the seeds were when harvested, local humidity, and storage temperature—come into play and can be managed to extend your seed life. However, each seed has genetic factors that limit how long they can wait to be planted after drying.
Dried seeds should last for at least 1 year. Here’s a brief list of some common garden plants and the general number of years their seeds last in storage:
- Beans: 3 years
- Beets: 5 years
- Bok Choy: 4 years
- Broccoli: 5 years
- Brussel’s Sprouts: 5 years
- Cabbage: 5 years
- Carrots: 3 years
- Cauliflower: 5 years
- Celery: 5 years
- Cucumbers: 5 years
- Eggplant: 5 years
- Kale: 4 years
- Lettuce: 5 years
- Okra: 2 years
- Onions: 1 year
- Parsnips: 1 year
- Peas: 3 years
- Peppers: 2 to 4 years
- Pumpkins: 4 years
- Radishes: 5 years
- Spinach: 2 years
- Summer Squash: 4 years
- Swiss Chard: 4 years
- Tomatoes: 4 to 5 years
- Turnips: 3 years
- Zucchini: 5 years
Germination Tests
If you’re new to saving seed, or if you’d like to plant seed that’s been in storage for a long time, you may want to perform a germination test on your seeds. This will tell you if the seeds are viable and give you an idea of how many of your planted seeds should produce plants.
There are a few methods for germinating your seeds, so pick which seems best for your seeds and your patience. Some are as simple as putting the seeds in soil (which was the plan anyway). Others might require wrapping each seed in a moist paper towel.
Professional germination tests typically use 400 seeds, but a home test can use anywhere from 10 to 100. More seeds equal greater accuracy, but if you just want to know if your seeds are still alive, 10 is fine.
Once set up, check on your seeds every few days and track how many of them sprout. Divide the number of sprouted seeds by the total used and multiply by 100—this is the percentage of your planted seeds you can expect to grow. Don’t panic if it seems low! Commercially grown seeds can have germination rates as low as 55 percent and as a home grower you can easily top those rates.
Planting Saved Seed
So you’ve saved your seed and stored it, and you have one last hurdle to overcome: planting!
You may want to start some of your seeds early and indoors—many warm-weather plants (like peppers) have such a long growing season the ground won’t warm up quickly enough for them to start outside. The Farmer’s Almanac online provides a handy calendar based on your zip code that details when to start seeds indoors and outdoors.
During drying and storage your seeds may have become dormant. Dormant seeds require extra conditions to germinate than just light and water. Some might require cooling or warming temperatures to mimic the effects of seasons (stratification). Others might have tough outer casings that need to be broken (scarification).
Stratification
Stratification is a type of cold treatment that’s used to break seed dormancy. This can be performed naturally by planting your seeds outside during the fall or winter and allowing the cooling and warming weather to start them. However, that does take away space that could be used for other winter plants, and may not suit your needs.
Plants that prefer or require stratification include chives, artichokes, and chamomile. Wildflowers in general prefer to feel the seasons and would prefer to be planted in the fall.
When planning to start seeds that require stratification, follow these steps:
- Set your seeds in a closed container with a moistened base: paper towel, peat, sand, etc.
- Check if your seeds need to be warmed or cooled:
- Cold stratification: store the container at 33°F to 40°F
- Warm stratification: store the container at 68°F and 85°F
- Leave the seeds for 1 to 3 months and remove them when ready to plant
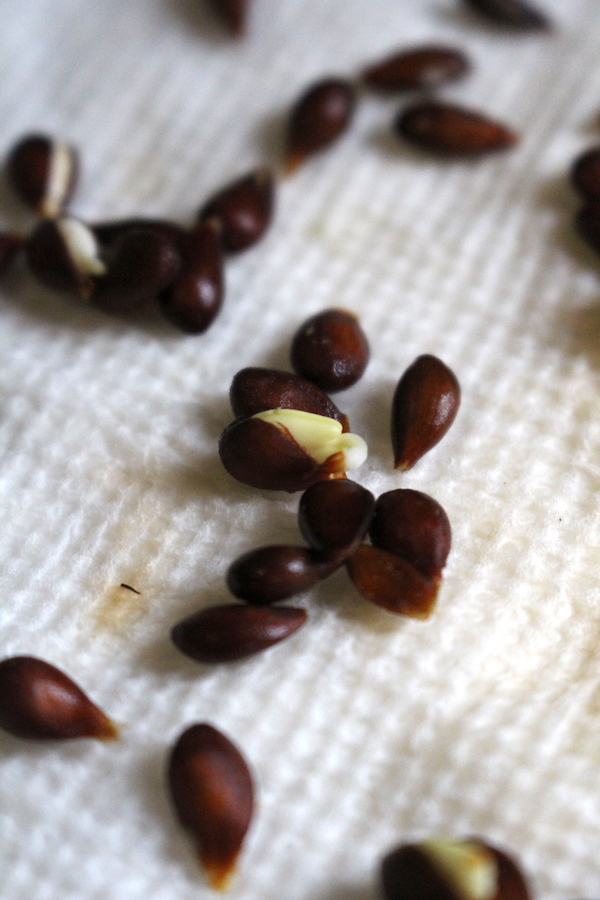
Scarification
In this process, you’re going to help break open the casing on your seeds. These tough coats are meant to prevent the seeds from germinating too early—but dry storage can throw off the cycle that naturally breaks these layers down.
Sweet peas, tomatoes, spinach and winter squashes all prefer some scarification before planting. Most vegetable plants should be soft enough to plant right away, though.
There are three methods of scarifying seeds: mechanical, thermal, and chemical.
- Mechanical scarification is the most common method and involves physically opening the seeds. You can use a hammer, a metal file, a sharp knife, or even sandpaper to gently create an opening in each seed.
- Thermal scarification introduces hot water to the seeds to penetrate their covers. Bring a pot of water to boil and turn off the heat. While the water is still boiling, add the seeds and let them soak until the water has returned to room temperature.
- Chemical scarification is meant to simulate the process of a seed being eaten by an animal. Soak your seeds in phosphoric acid, sodium hydroxide, or hydrogen peroxide before planting.
Planting your seeds means you’ve come back to where you started all those months ago. As overwhelming as it might have seemed that first year, with good planning and patience, you’ll find it gets easier every year. Enjoy your new plants!
Growing From Seed Guides
Looking for more information on gardening from seed?
- Growing Rhubarb from Seed
- Growing Apples from Seed
- Growing Asparagus from Seed
- Growing Strawberries from Seed
- Best Survival Seed Bank Kits
a very great article!! we have been saving some seed for years. black crowder cow peas and okra we just let dry in the stalks and then shell them. it has worked well for us for years. the cow peas we plant, well you just can’t buy them anymore for some reason
That’s another great reason to save seeds from plants that you love to be sure that you will have them for the future.