Affiliate disclosure: This post may contain affiliate links. Please see our disclosure policy.
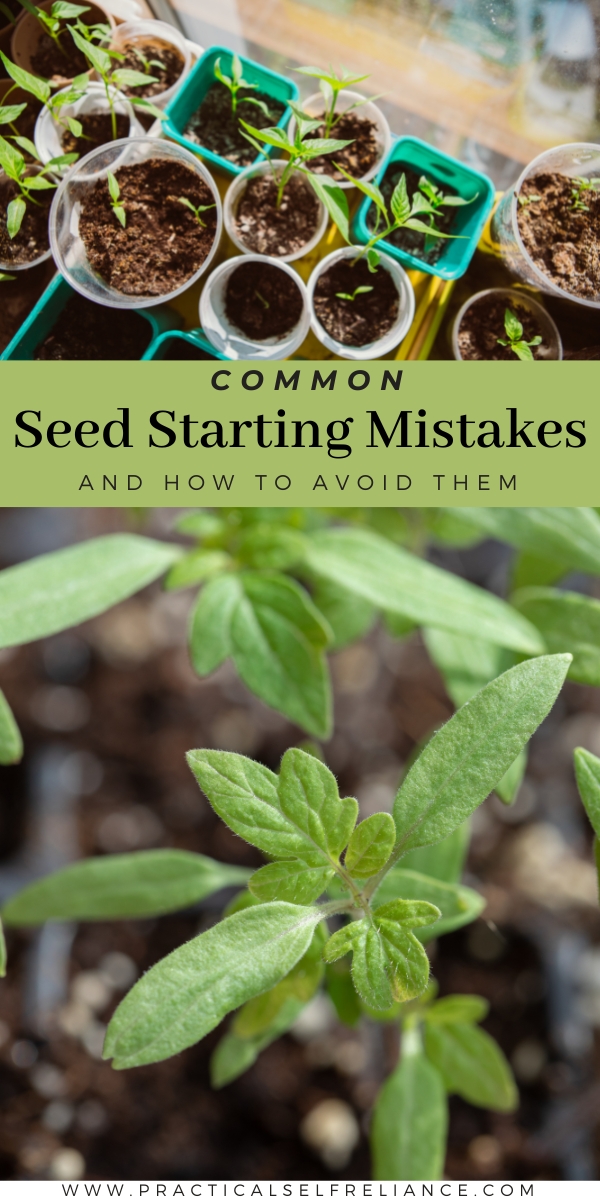
Beginning gardeners often make mistakes when starting seeds at home, but this troubleshooting guide will take you through the most common seed-starting mistakes (and how to avoid them).
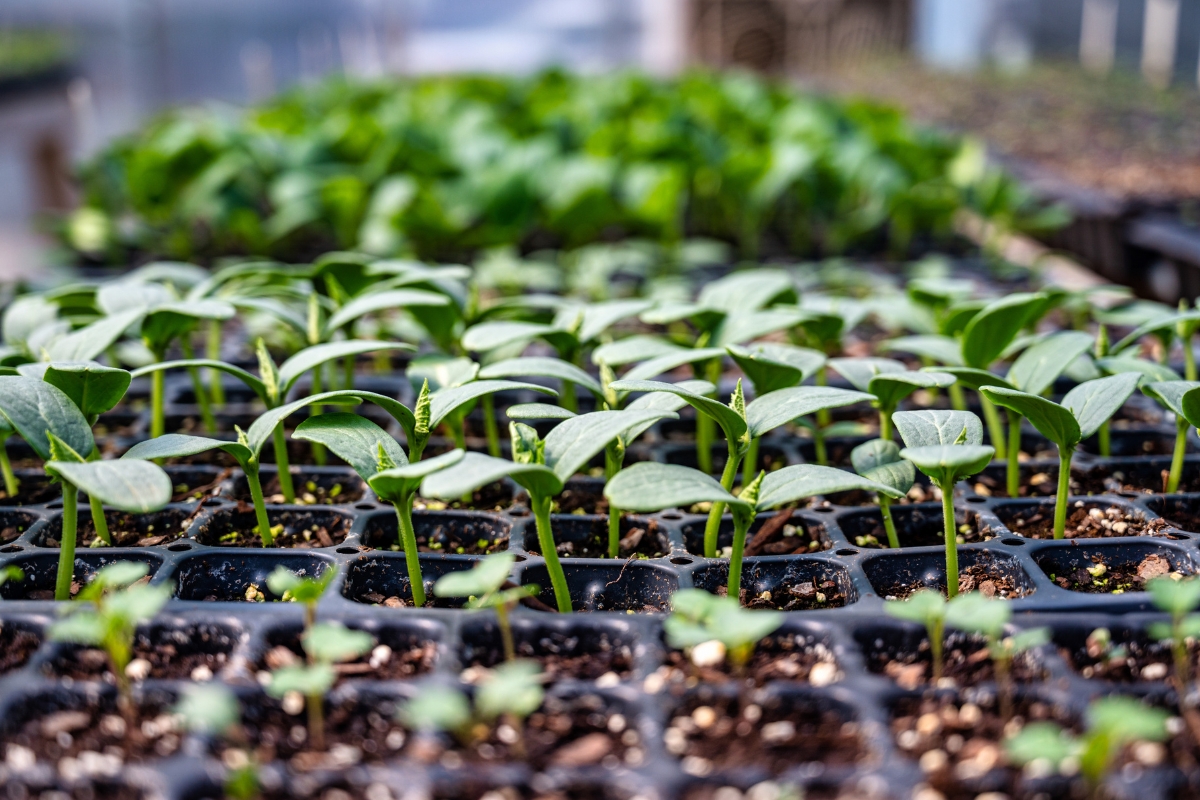
Starting your own seeds at home can be one of the most satisfying things about growing a garden. One of the benefits you’ll enjoy most is being able to choose the specific type of seed, including non-GMO or heirloom varieties or even rare seeds that aren’t easy to find in plant form. You’ll also save lots of money by starting seeds instead of buying plants, especially if you buy from a reputable company.
However, you may find specific issues pop up during this seed-starting adventure, leaving you to wonder, “What did I do wrong?” The good news is that there are some specific seed-starting mistakes, but they’re easy to overcome. Here are some of the most common mistakes and how to avoid them.
- Starting them at the wrong time
- Starting outdoor seeds inside
- Not following the germination directions
- Not using the proper medium (soil)
- Choosing the wrong environment or temperature
- Lack of sufficient light
- Wrong water amounts
- Improper fertilization or fertilizing methods
- Not hardening-off young plants
Starting Seeds at the Wrong Time
One mistake that is all too easy to make is starting your seeds at the wrong time.
For most of us, that means starting them too early because Spring Fever has hit, and we can’t wait any longer! Unfortunately, if we start them too soon, they can outgrow the starter trays and wind up rootbound. Even if we re-pot them or transfer them into bigger pots, they can still become so cramped they die out before we have a chance to plant them in the garden.
The best way to avoid this is by carefully following the planting schedule. For instance, if a seed packet instructs you to “start indoors, four weeks before the first spring front,” be sure to do that. There are several places to find spring and fall frost dates for your area, so find them, write them down, and schedule accordingly. For example, to find “four weeks before the first spring frost,” locate your spring frost date and count backward from that, four weeks. That will be the date to start this particular seed.
This guide covers when to start seeds indoors for most of the common garden seed varieties of vegetables and flowers.
Starting Outdoor Seeds Inside
Some seeds should only be started in the garden, where they’ll stay until the plant is harvested. So, don’t be tempted to do otherwise when a seed packet instructs you not to start them indoors. Often, there are excellent reasons for this, and most often, it’s because the plant does not transplant well. In addition, roots are very delicate or intolerant of disturbance.
In these cases, be sure to wait to plant these seeds outdoors at the appropriate time. You might think starting them indoors will give you a “leg up” on the growing season, but you might find you wind up with none instead.
Direct seed is best sometimes, and you should avoid starting the following seeds indoors:
- Melons
- Beans
- Corn
- Squash
- Turnips
- Beets
- Carrots
- Dill
- Poppies
- Zinnias
- Nasturtiums
Not Following the Directions for Proper Germination
Different seeds require different circumstances to germinate, and if we don’t follow the package directions, we may wind up with seeds that don’t grow at all. Proper germination requires a certain soil temperature, a specific planting depth, and a certain amount of light each day.
To ensure that all your seeds germinate and grow into healthy, productive plants, take the time to read the package directions carefully. Then follow them to ensure all the needs are met.
Most seeds are sensitive to planting temperature and soil moisture, and not much else. Sometimes though, seedlings need extra special preparation before planting. Here are some of the common preparations that specialty seeds require. (The packet will note if you need to do any of these things.)
- Cold Stratification – This method involves pre-treating seeds to overcome winter dormancy quickly. It’s not a proper treatment for all plants, but it works well for those with thick shells created for withstanding a harsh winter. One method is to allow nature to do the work for you, as many gardeners do with garlic and broad beans. The other method, you take the process into your own hands and follow these steps:
- Soak seeds overnight so the shells are softened.
- Place seeds in a plastic bag with a bit of compost, peat, or vermiculite, and moisten without soaking.
- At this point, you can add a fungicide to discourage mildew growth.
- Seal the bag and place it in the salad drawer in your refrigerator, replicating the cool, dark place they need for this stage.
- Check often for seed germination and to remove any mildew growth or rotting seeds.
- Scarification – This process uses nicking, softening, or breaking the seed’s coating, then soaking them in water to speed germination. The process allows tough seeds to soak up water, stimulating the plant embryo to grow. Some seeds benefit better than others with this process, including okra, beans, and nasturtium, which have extremely hard, waterproof shells. You can create the nick or scar with a nail clipper, knife, or nail file, but you can even use sandpaper. Once the seeds are nicked, soak them for at least four hours and as long as overnight.
- Light Exposure – All plants require light to grow, but not all seeds require it to germinate. However, some do, and it’s mandatory to ensure they get at least 18 hours of light for germination to happen. You may see some seed packets instruct you not to bury the seeds but instead apply a bit of peat moss or vermiculite to the top, allowing light to shine on the seeds. Lettuce seeds are one of the most common types to need light exposure to grow.
Not Using the Right Medium or Soil
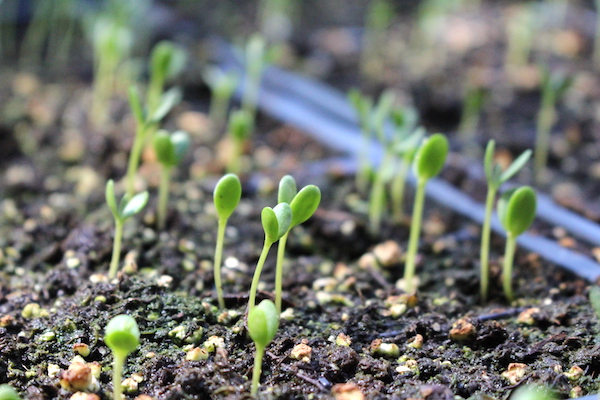
You may have started seeds in the past and found that they turned yellow and sickly looking while they were still in the trays. One reason for this could be that the soil used to start your seeds was of poor quality, and there wasn’t enough nutrition in it to feed the plant until it was time to transfer to the garden. But the soil might also be too loose, which means it won’t retain water, or too dense, which will cause root binding. Both can spell disaster for your poor seedlings.
The best way to avoid the trouble that comes from poor potting soil is to spend a bit more to ensure the best health for your seedlings. But it’s also important to remember that healthy seedlings are better able to fight disease, pests, and other garden threats that sometimes come in early.
Choosing the Wrong Environment, Including Temperature
Once you find the perfect, nutritional potting soil, it’s important to make sure it’s the right temperature. The best temperature range for seed sprouting is about 70 to 80 degrees Fahrenheit. When the soil is too cold, sprouting is often extremely slow or doesn’t happen at all. On the opposite end, planting in soil that’s too warm can kill a seedling. You may have heard about using heating mats underneath your starting trays, and that’s fine if you can control the temperature. But if it gets too hot, you’ll see the damage it can cause.
The best way to ensure the proper soil temperature is to keep your potting soil and seedling trays inside, where they can adjust to the appropriate levels. Avoid drafty areas once you’ve planted your seeds, especially in winter. Covering the seed tray can also help by holding in humidity and heat, as long as there’s enough light.
Not Providing Proper or Sufficient Lighting
That brings us to the next common mistake of not providing enough light or providing the wrong mixture of light and dark. Seedlings generally need about 12 to 18 hours of direct light and about eight hours of darkness. Honestly, this could have taken the top spot on this list because it’s often the most common mistake made when starting seeds. If you see that your sprouts quickly become “leggy,” which means they are incredibly tall and skinny, you probably have a lighting issue.
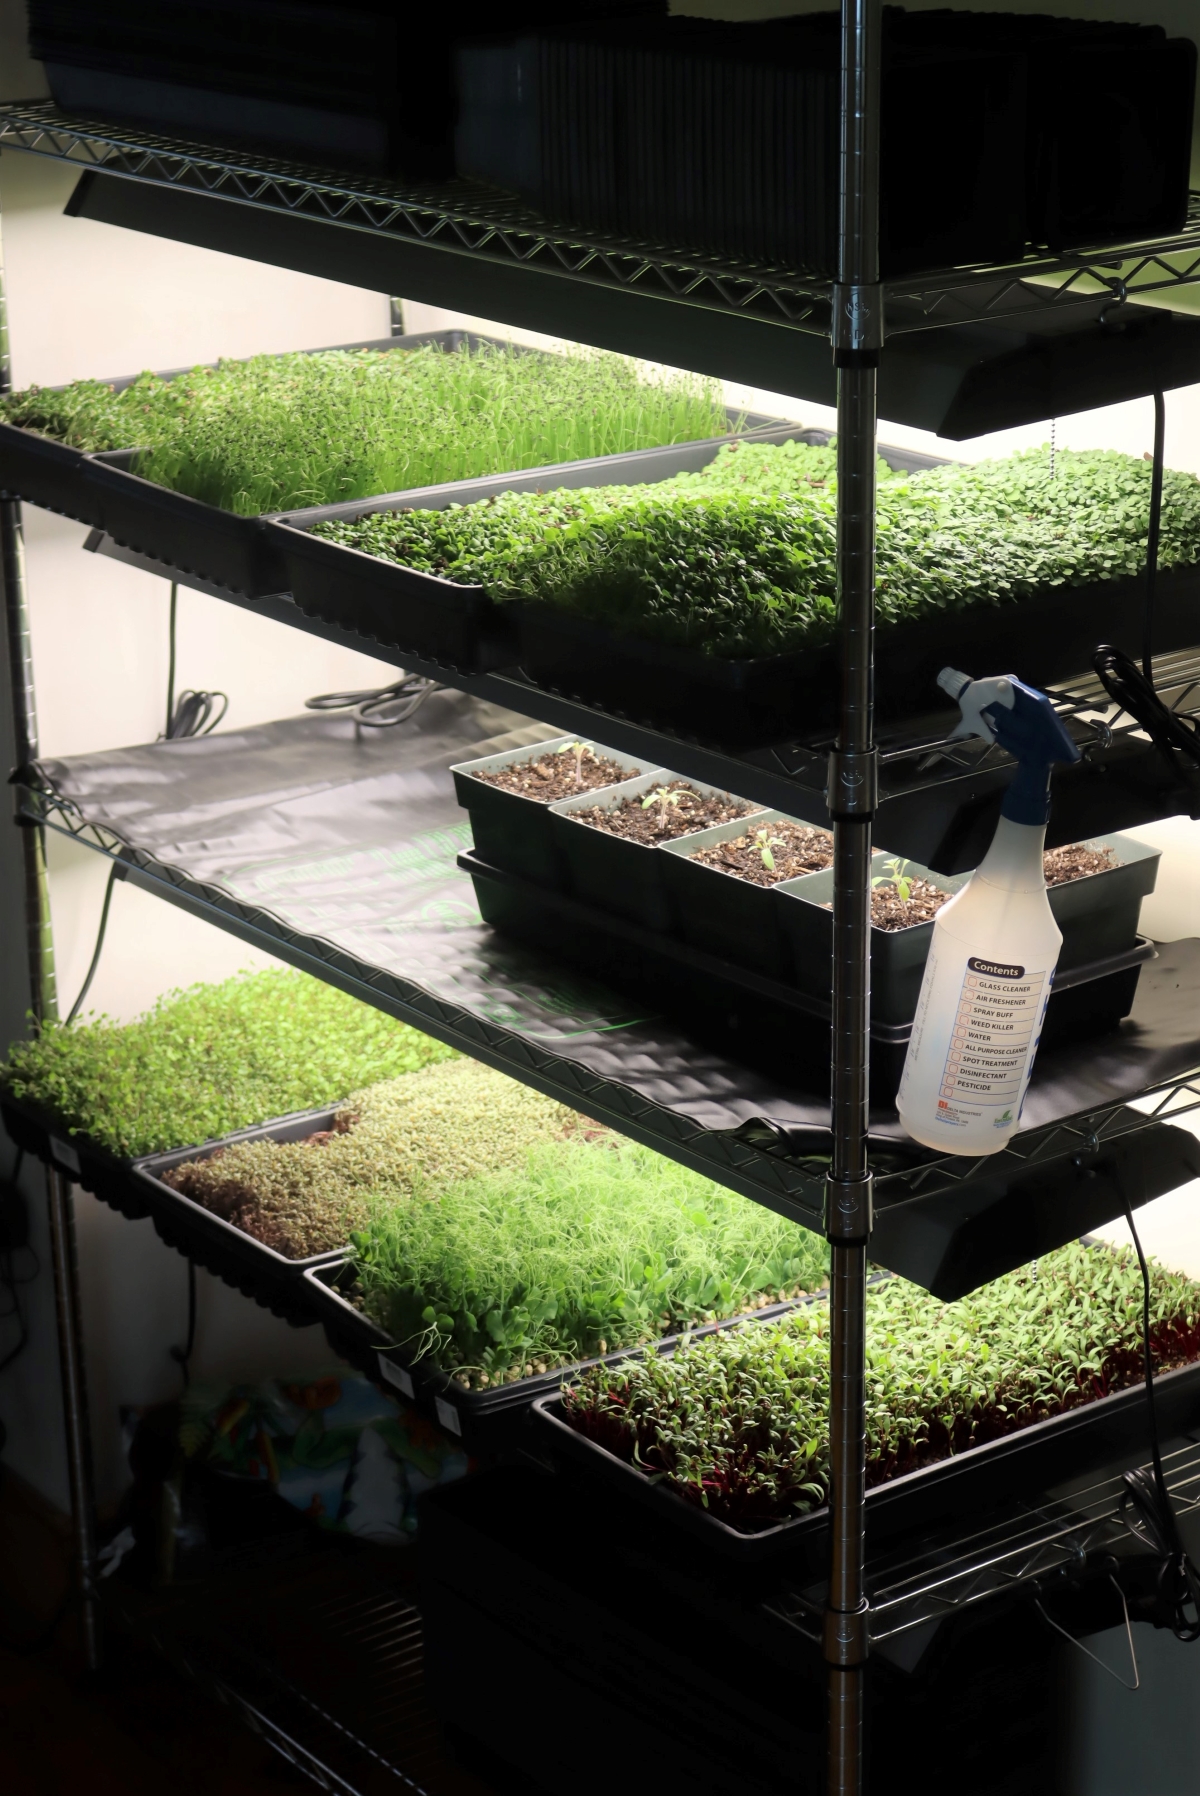
The best solution for lighting problems is to ensure ample overhead lighting. You’ll notice that plants in a greenhouse do well, but plants on a sunny windowsill may experience growth problems. Overhead light ensures that your seedlings stretch toward the light source instead of bending and conforming to attempt to gain side lighting. You’ll find plenty of grow light options with some LED products that often work very well. Once you’re using the overhead light system, be sure you rotate your seed trays so that each one gets a chance to soak up as much illumination as possible.
If you’re ready to go all in, here are instructions for building a DIY Seed Starting Lights setup.
Wrong Watering Amounts
Most seeds need consistent moisture but should never be soaking wet or flooded, especially during germination. Too much water causes fungal diseases and sudden death, which can be stressful. But at the same time, they should never entirely dry out, halting the germination process altogether. Even yo-yo watering can cause problems, stressing your seeds and hampering their ability to grow healthy and robust.
It can be tricky to ensure the optimum moisture level, but you can start by premoistening the soil before adding it to your trays. You’re looking for “evenly damp” instead of soaking. Another hack is to add a lid or top that prevents the drying out process, maintaining regular humidity that you can see as water condenses on the top and falls back to the soil.
Wrong Fertilization and Methods
When you start your seeds, they’ll need no fertilizer for several weeks after sprouting. This is because they contain plenty of nutrients that will keep them growing well during this time. However, if you wait too late to use the right fertilizer, they may grow spindly and weak and may not produce as well as a plant that received the right amount of fertilizer.
To make sure you fertilize at the right time, wait until you see the first two sets of “true leaves.” These are the leaves that come after the first spouting and start to resemble the plant’s grown leaves. Then, choose a fertilizer that’s rated for the plant you’re fertilizing, and if you have to mix it, be sure to follow the instructions properly.
Not Hardening Young Plants Off
Once your seedlings have progressed, and it’s time to start transplanting to the garden, hardening them off is one of the most critical steps between starter trays and garden soil. Skipping this step is a common mistake, as most gardeners take their seedlings directly from the house and out to the garden. The problem is that the elements, including direct sunlight, wind, and rain, are entirely foreign to your tiny plants. They need to be toughened up a little so they can take on these factors, and others, like pests or diseases.
The hardening-off process is a gradual, step-by-step introduction of the plants to the outside worth. Bring your plant trays out daily, starting with only a couple of hours in a shady spot, and increase the time and sun exposure for a week or so. You can even begin the process early by introducing an oscillating fan while they’re still in the house. Properly hardening your seedlings off will yield great results and an excellent start to a productive life.
