Affiliate disclosure: This post may contain affiliate links. Please see our Privacy Policy.
Watermelon wine is one of the tastiest ways to preserve watermelon, and a sip of this sweet summer wine will bring back the sunshine on even the darkest days of winter.
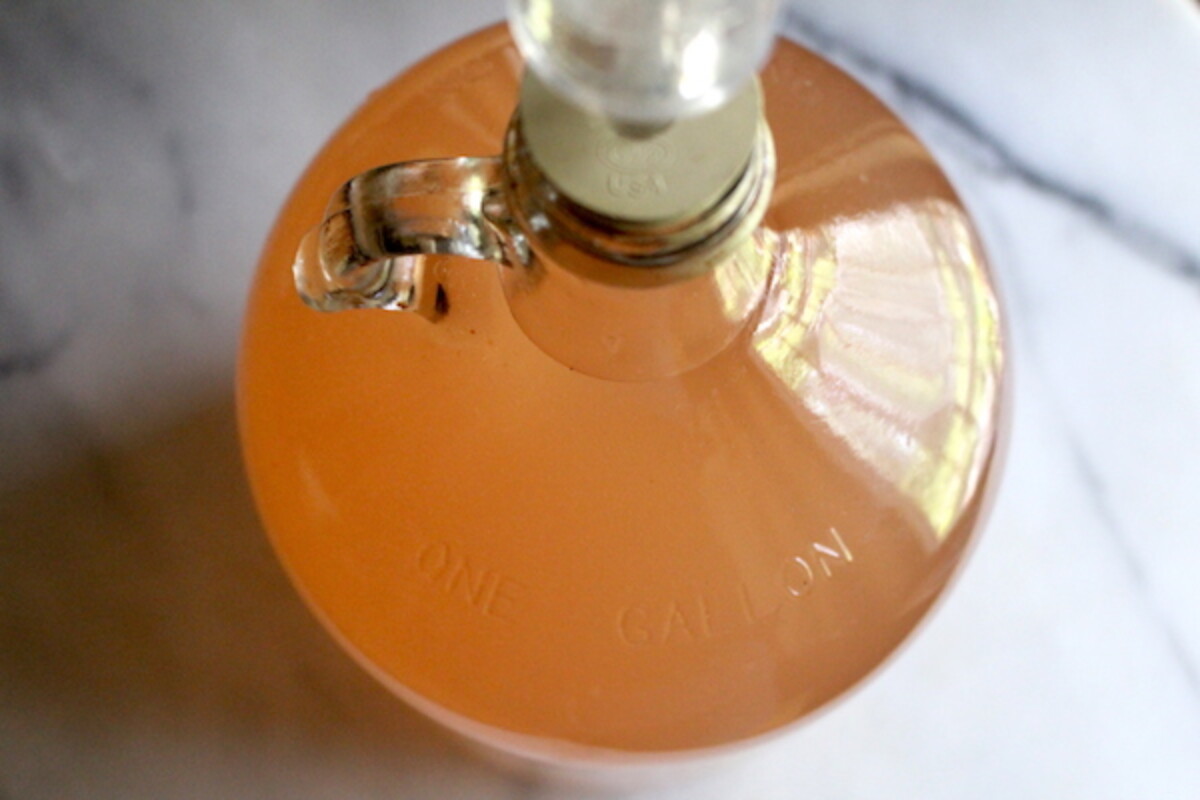
There’s an old country song about watermelon wine, and it even has its own line dance known as the “Watermelon Crawl.” My mom loved line dancing, and I learned the watermelon crawl a decade before I was old enough to drink.
When I started making small-batch wine, a homemade watermelon wine was near the top of my list. Somehow, year after year, watermelon season came and went without sweet pink watermelon juice bubbling in my carboy.
Watermelon season is just too darn short here in Vermont. They only barely ripen in our 100-day frost-free growing season, and by then I’m already buried in other food preservation projects as I try to pack our winter root cellar.
When I did finally try making watermelon wine, my first few batches were an absolute disaster. They all developed a “funk” that I’d never experienced with any other home winemaking recipe.
Generally, I don’t use Camden tablets to sterilize fruit juice for winemaking, but I learned the hard way that it just won’t work with watermelon wine. The native bacteria/yeast in watermelon just won’t cooperate, and you do really need to sterilize the juice before fermenting.
This past year though, I broke down bought Camden tablets for making watermelon wine, and it turned out absolutely fabulous. There are lots of watermelon wine recipes out there, and I’ve tried quite a few, but this one’s a real winner.
(You can also try sterilizing the juice by boiling, but that really negatively impacts the flavor. Cooked watermelon juice doesn’t taste nearly as good as fresh, and your finished wine will suffer for it.)
How to Make Watermelon Wine
The process for making watermelon wine is actually pretty straightforward, and if you’ve made fruit wine you’re already familiar with the basic steps. If you happen to have a fruit juicer, then the process is a lot cleaner. Watermelon has a lot of fibrous pulp that will clog up a fermenter, so it’ll need to be fermented in an open bucket for primary unless you juice the fruit first.
When I used our home juicer, things went a lot smoother, but I’ll give you instructions for using whole watermelon chunks too.
For the first time winemakers, here’s what’s going to happen:
- Prepare Ingredients – Pretty simple, chop the watermelon (for an open primary ferment) or juice the watermelon for a sealed primary (recommended). Assemble other ingredients including acid, tannin, yeast, etc.
- Place Ingredients In Fermentation Vessel ~ Chopped watermelon should go into a deep food grade bucket with a lot of headspace, but juiced watermelon can go directly into a narrow neck glass carboy.
- Sterilize with Camden Tablet ~ I don’t often use Camden tablets, but after contamination on multiple attempts, I do recommend sterilizing the juice when making watermelon wine in particular. My research also confirms that others have contamination issues unless the juice is sterilized, at least with watermelons. Add one crushed-up Camden tablet per gallon of juice, stir it in, and allow it to sit 24 hours before proceeding. (Don’t add the yeast or anything else yet, you need to wait 24 hours for the Camden tablet to work.)
- Add Other Wine Ingredients ~ After the Camden tablet has sterilized the juice, add the other ingredients (acid, tannin, sugar, etc), but don’t add the yeast quite yet. Stir to incorporate the ingredients.
- Proof and Add Yeast ~ Dissolve a packet of yeast in a bit of chlorine-free water and allow it to “bloom” for about 10 minutes, then add it into the wine.
- Primary Fermentation ~ If using watermelon chunks in a bucket, cover it with a towel and let it ferment for 7-10 days (stirring daily). Watch for overflows. If using juice, place it in a glass carboy sealed with a water lock and let it ferment for 7-10 days (still watching for overflows, and cleaning out the water lock as necessary).
- Secondary Fermentation ~ After primary fermentation, when things slow down a bit, use a brewing siphon to transfer the watermelon wine to a clean container (leaving sediment and pulp behind). Seal with a water lock at this point, even if you started with an open ferment.
- Bottling ~ Allow the watermelon wine to ferment in secondary for about 3 months, racking again if desired for further clarity. After that, it’s time for bottling.
- Bottle Conditioning/Aging ~ Bottle the wine, and allow it to bottle age at least a month before drinking.
- Enjoy!
Those are the basic steps, but I’ll break it down for you…
Juicing Watermelons for Wine
Watermelons are mostly water, so it should be really easy to extract enough juice wine. The trick is, the pulp floats and will create a big mess if you don’t remove it before fermentation.
I initially thought watermelons would be perfect for sugar osmosis juicing, which is the same process I used for making peach wine and rhubarb wine. I packed diced watermelon chunks into my wide-mouth carboy since it usually works perfectly for chunky ferments or wine with lots of floating debris (like dandelion wine).
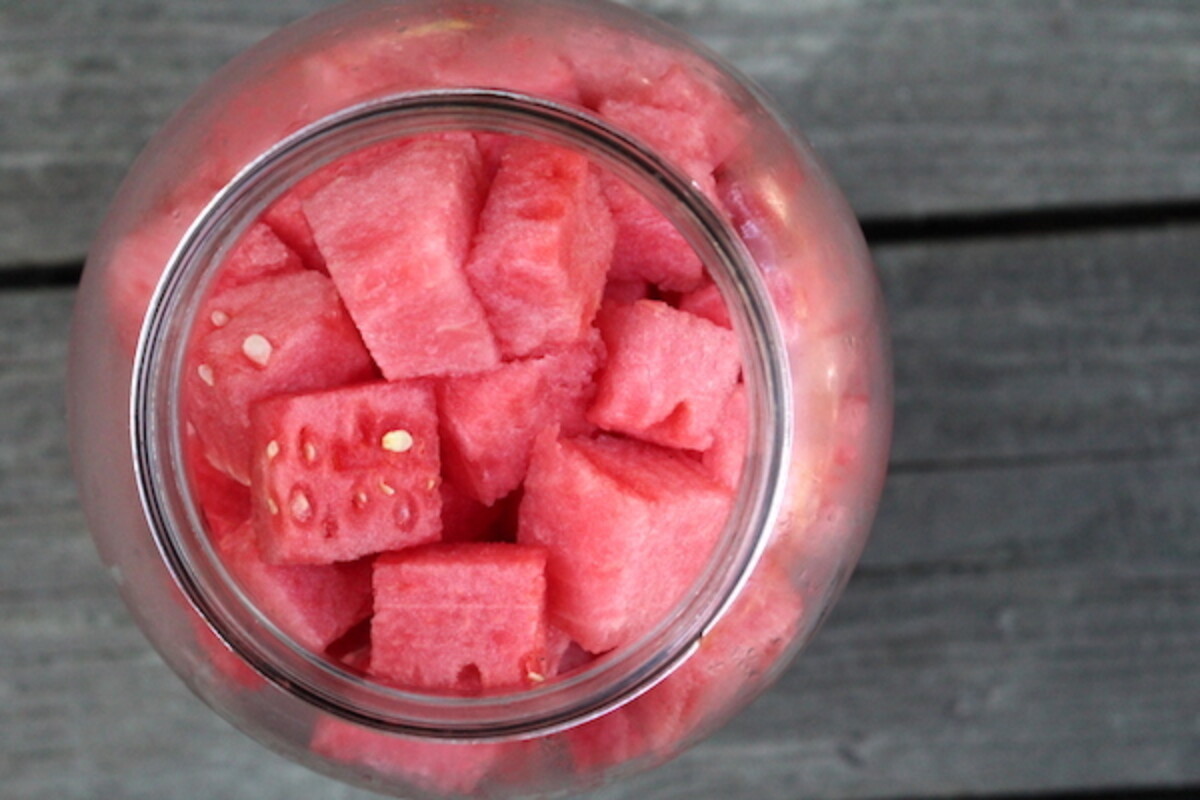
I added sugar and allowed the sugar to “juice” the watermelon over a few hours. It only took a short while and the fruit had pretty much fallen apart into pulp and juice without any extra effort.
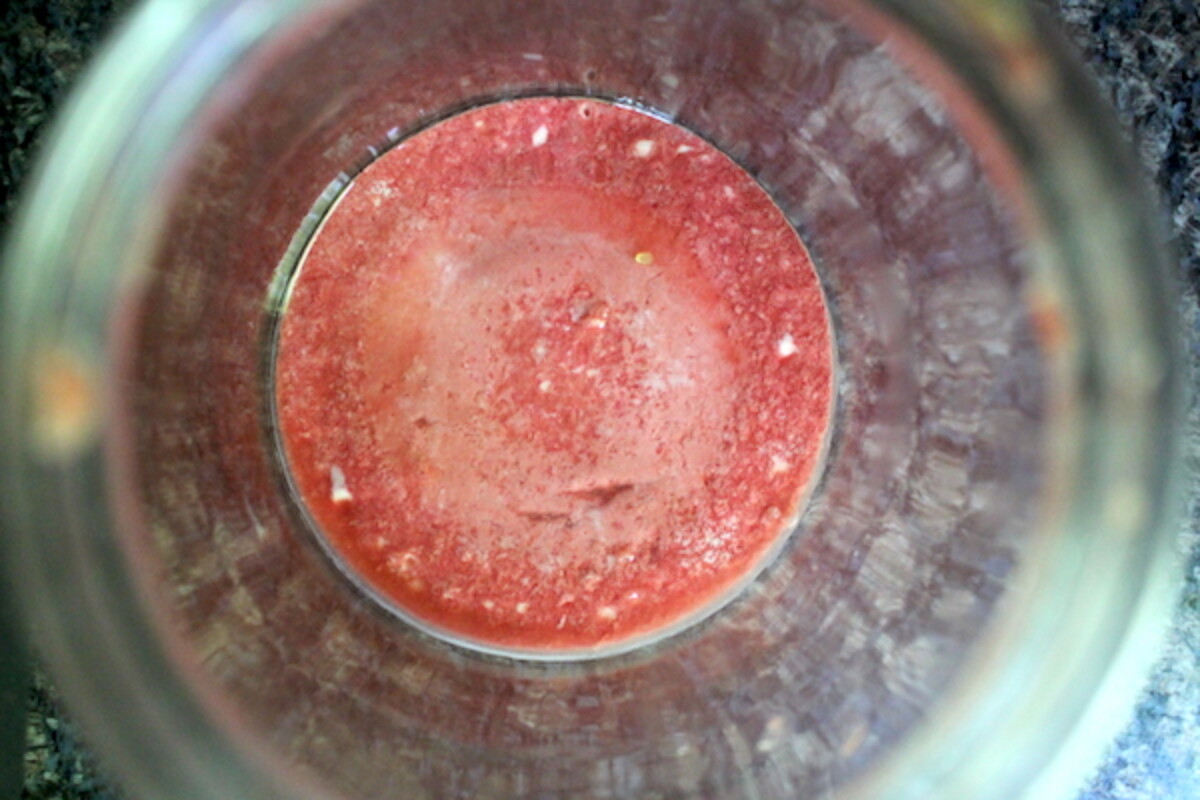
That pulp is tricky though, and it will float and mat together at the top of the carboy. I tried the lazy way, just fermenting the watermelon wine in the carboy without filtering it out….Big mistake!
It exploded everywhere (multiple times). I eventually left it open, covered with a towel with what I thought was plenty of headspace (2 inches) and even then it still overflowed the top of the container as the vigorous fermentation spewed watermelon pulp onto the counter.
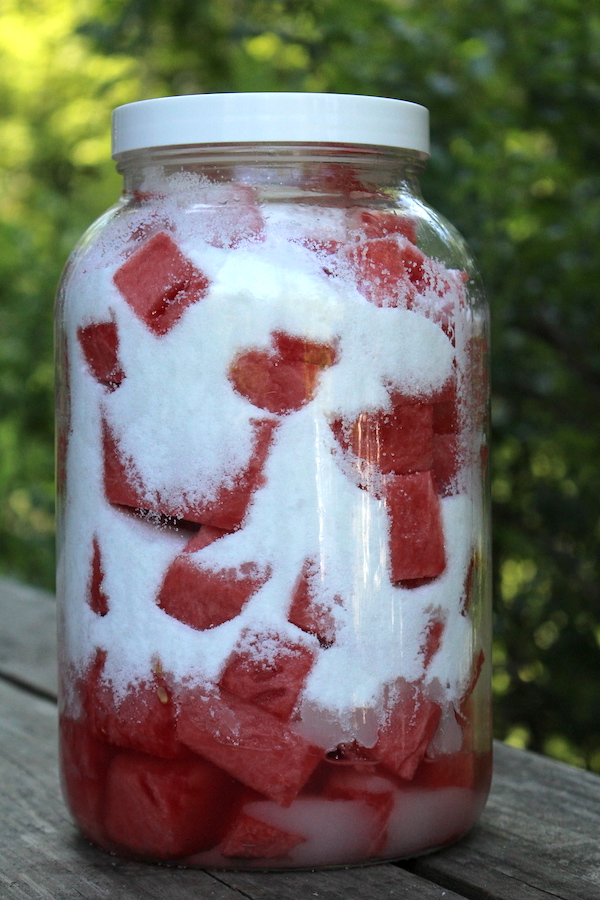
So lesson learned. Do not make watermelon wine with watermelon chunks. At least not in a gallon glass carboy. If you choose this method, make sure you put everything into a large bucket fermenter with about a foot of headspace and then cover it with a towel through the primary fermentation. After that, filter everything out and get it into a water-locked carboy for secondary.
If you’d like to do the whole fermentation sealed with a water lock (a better option, given that watermelon wine is for whatever reason really susceptible to contamination based on my research)….
Start by juicing the fruit, either in a simple countertop juicer or by blending the watermelon smooth and then filtering the mixture through fine cheesecloth (90 grade). You could also try putting watermelon chunks in a fine mesh brewing bag and then fermenting the wine in an open 5-gallon bucket.
Either way, make sure you filter out as much watermelon pulp as possible before adding the other ingredients and letting the yeast go to work.
Ingredients for Watermelon Wine
Start by choosing the most flavorful watermelon you can find. It’s the only flavoring that’s going into this wine, so the finished product is directly related to the quality of the fruit going in. Once you’ve got a spectacular watermelon, you’ll need a few more ingredients to make sure everything goes smoothly.
- Watermelon Juice ~ Fresh and flavorful, roughly 15-18lbs. Quantity will vary, but you’ll need about 3 quarts (3/4 gallon) of juice. It takes roughly 5 -6 lbs of watermelon to make a quart of juice, but some are juicier than others. If you end up with a bit extra, you can use that too (see notes).
- Sugar ~ Though watermelon tastes quite sweet, it’s not actually nearly as sweet as wine grapes. You’ll need to add a bit of extra sugar to feed the yeast, and to ensure there’s some residual sugar left after fermentation (otherwise you’ll have a very dry, sour wine). Plain white sugar and organic cane juice both work well. I’m using 2 lbs sugar (4 cups) for a one-gallon batch, but I’ve seen recipes that use as little as 1 1/2 or as much as 2 1/2 for a sweeter watermelon wine.
- Acid Blend ~ Since watermelons are a low acid fruit (pH 5.2), they need a good bit of added acidity for proper fermentation (and to bring out their flavor). I’m using 2 tsp. of Acid Blend Powder, which provides balanced acidity and a neutral flavor. You can also use lemon juice or lime juice which will add flavor. Lime works particularly well with watermelon. Since it’s less concentrated than the powder, use 2 Tablespoons (rather than teaspoons) lemon or lime juice in place of acid blend powder.
- Tannin Powder ~ Generally watermelon wine lacks body and it produces a thin wine. Adding a bit of tannin powder helps round out the mouthfeel and gives it a bit of “body,” like a grape wine. I’m using just 1/8 tsp, but it really makes a difference.
- Camden Tablet ~ Often I don’t use Camden tablets to sanitize juice for winemaking, but watermelon wine is an exception. It spoils easily and the other microbes present can take hold before the yeast can have a chance to work. It’s optional, but I’d strongly suggest crushing up a Camden tablet (sodium or potassium metabisulfite) into your watermelon juice and allowing it to sit for 24 hours to sterilize before proceeding with the recipe (and adding yeast).
- Yeast Nutrient ~ While grapes have all the right nutrients to ferment on their own, other fruits like watermelon need a bit of help to feed the yeast. Powdered yeast nutrient gives the little beasties all they need to work, and is added at a rate of 1 tsp per gallon. (Lacking this, try adding about 1/8 cup white raisins to nourish the yeast.)
- Yeast ~ Champagne yeast ferments dependably without adding much flavor, and it’s a good choice. A better choice is Lalvin K1-V1116 wine yeast, which also has a high alcohol tolerance (18%) but also adds floral/fruity notes that are delightful. Watermelon wine can be very light, and the added complexity of a good wine yeast choice is most welcome. You can also use any generic white wine yeast with a lower alcohol tolerance for a less alcoholic and slightly sweeter finish. In that case, try MA33 Country Wine Yeast or Red Star Cotes de Blanc, both of which have an alcohol tolerance of around 14% and will result in a sweet wine with a lot of residual sugar. (They’re less dependable fermenters though.) Most watermelon mead recipes suggest Lalvin D47, which has tropical fruit and citrus notes, and a 15% alcohol tolerance. Whatever you do, don’t use bread yeast, it’ll taste nasty, always choose wine yeast instead if you hope to make quality homemade wine.
- Water to Fill ~ Use chlorine-free drinking water to fill the carboy to within 2 inches of the top. You can also use more watermelon juice (also sterilized with Camden tablets, of course).
Fermenting Watermelon Wine
Once you’ve assembled your ingredients and juiced your watermelon, the process of making wine is actually pretty simple.
Preparing Watermelon for Wine
Start by peeling and chopping the watermelon. You’ll need roughly 15-18lbs of watermelon (weighed whole with peel) to yield 3/4 gallon juice for this recipe.
If using the watermelon chunk method, place the peeled/chopped watermelon in a mesh brewing bag inside a deep plastic bucket fermentation vessel (at least 2 gallons, preferably larger). Crush up the watermelon as much as you can by hand by pounding the outside of the mesh fermentation bag. Add about 1/4 to 1/2 gallon of water and a crushed Camden tablet, and then allow the mixture to sit for 24 hours before proceeding.
If using the watermelon juice method (recommended), juice the watermelon and measure 3/4 gallon to 1 whole gallon of juice. Crush up a Camden tablet and add it to the juice. Allow the juice to sit for 24 hours before proceeding.
Add the remaining winemaking ingredients, except yeast. This includes sugar, acid blend, yeast nutrient, and tannin powder.
Dissolve the yeast packed in 1/4 to 1/2 cup of filtered non-chlorinated water and allow it to bloom for 10 minutes. Then add the yeast mixture to the fruit juice.
Primary Fermentation
Once you’ve added the yeast, the watermelon wine has entered what’s known as primary fermentation. During this time, the yeast will begin working rapidly to convert sugars into alcohol. You should see active, vigorous fermentation within 24 to 48 hours after adding the yeast.
This vigorous fermentation will continue for about 7 to 10 days, sometimes up to 14 if you used a less vigorous yeast strain with low alcohol tolerance.
Once this vigorous fermentation is completed, it’s important to “rack” the wine into a clean container using a siphon. Primary fermentation produces a lot of sediment, known as “lees” which will accumulate at the bottom of the fermentation vessel.
Leaving a wine on the dead yeast and sediment can cause off-flavors, that’s why it’s moved into a clean container to continue fermenting.
Secondary Fermentation
At the end of primary fermentation, the yeast are still working hard to convert sugars to alcohol, but they’re working a bit slower. There’s some alcohol in there already, and that’s inhibiting them to some extent.
They’re not producing as many bubbles, and the sediment buildup should be pretty minimal compared to primary fermentation too.
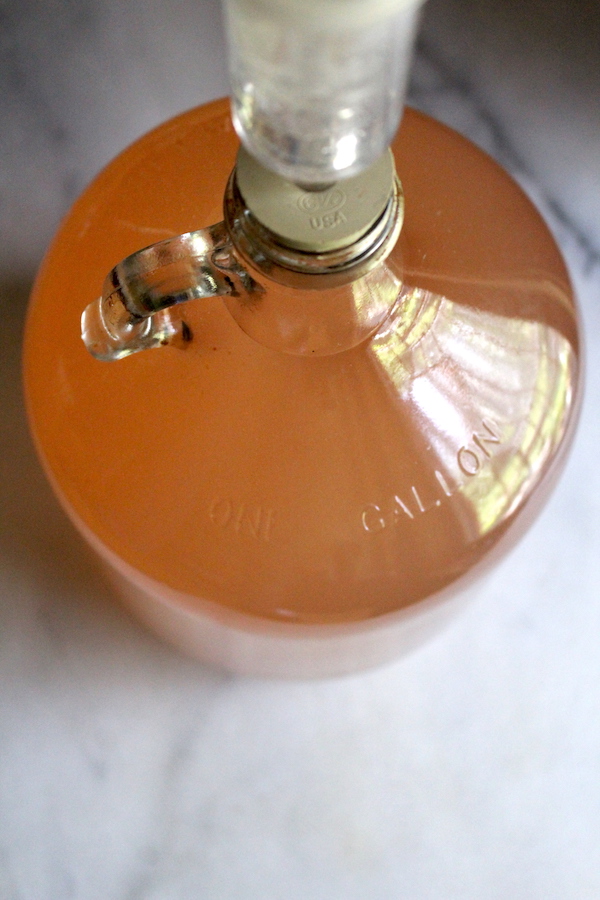
Leave the watermelon wine to ferment in secondary for about 3 months. This assumes cool-ish room temperature around 65 to 70 degrees.
If you have it in a cool basement, aim for more like 4-6 months. In a warm room, it’ll be done in 2-3 months.
Warmer faster fermentations are not better, in fact, they’ll cause a lot of the volatile flavor compounds to release into the air instead of staying in the finished wine. Try keeping the carboy in a cool back closet if you live in a really warm climate.
(For further clarity in the finished wine, you can rack the wine again part way through secondary, but that’s not at all required.)
Bottling Wine
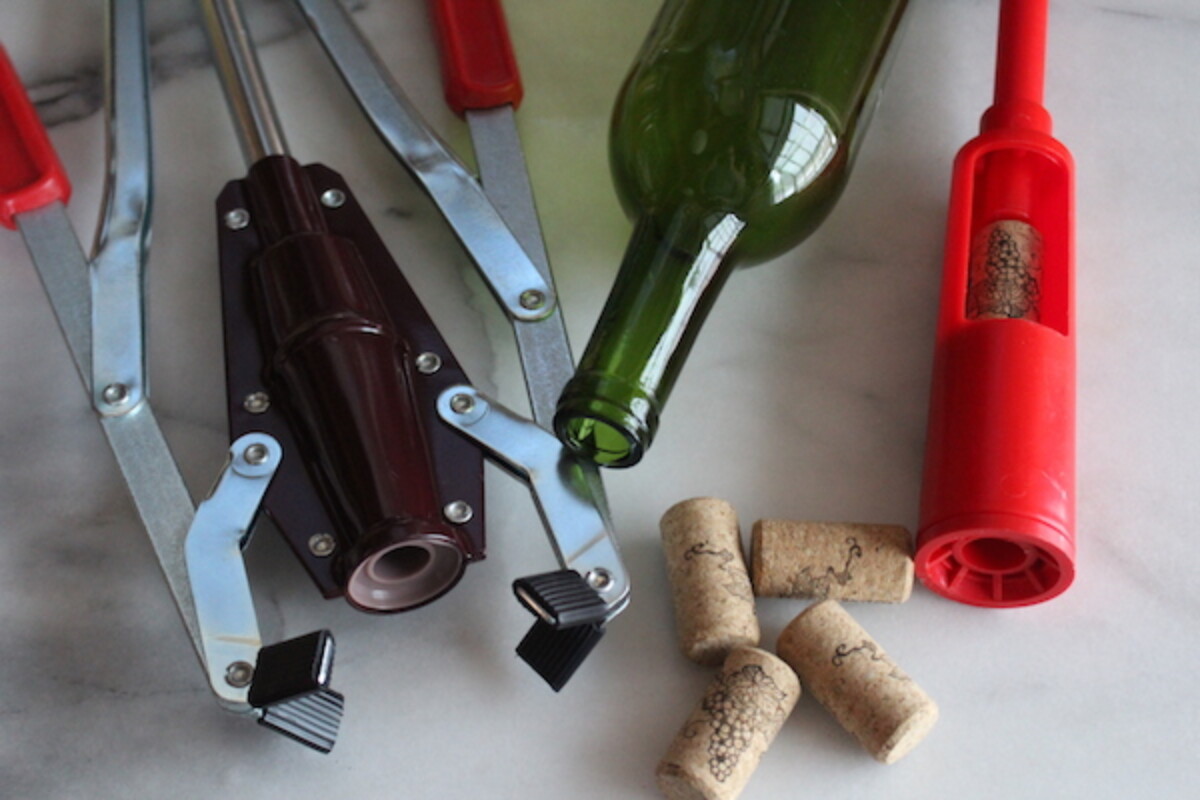
After secondary, it’s time to bottle your watermelon wine. You’ve put a lot of work into it up to this point, and I’d suggest doing it right by using wine bottles and corks. A simple wine corker is around $12-15 dollars, though I’d suggest splurging (around $20) for a double handle wine corker since they’re much easier to use.
Start by soaking the corks in hot water for a few hours to soften them up. (We bring a tea kettle to a boil, then pour it over them and leave 2-3 hours.)
Use your siphon to fill the bottles to the base of the wine bottleneck and then cork them with a corker.
(Lacking wine bottles and a corker, you can bottle in flip-top Grolsch bottles, the type commonly used for kombucha and water kefir. This isn’t good for long-term storage, but will work in a pinch.)
Bottle Conditioning
At bottling time, the wine will still taste pretty “rough” since it’s still young. Allow it to bottle condition for at least 2-3 months before drinking for best flavor. (Or, wait a year or more, for even more maturity.)
This wine should keep a long time, and it only gets better with age.
As with white wine or sweet dessert wine, I’d suggest drinking it chilled when you do serve it.
Watermelon Mead
Instead of watermelon wine with sugar, you can make watermelon mead with honey instead. In that case, I’d recommend using 2 1/4 lbs honey in place of the sugar.
You’ll also need to increase the time in secondary fermentation to 4 to 6 months, as honey is metabolized much slower by yeast (as compared to white sugar).
In choosing yeast for watermelon mead, lalvin D47 is a really great choice and works well with fruit meads.
If you’ve never made mead, I’d suggest reading this guide to how to make mead at home before getting started.
Watermelon Wine Variations
If you’d like to mix it up a little, you don’t have to make plain watermelon wine. It’s perfectly fine to combine other fruit (or herbs and edible flowers) into the recipe. Try any of these:
- Peach Watermelon Wine – Peaches are in season during watermelon season, and they add a really nice complementary flavor. Peach wine tends to be quite sweet, and intense in flavor, so only add a few peaches if you still want to be able to taste the watermelon. Add the juice of 1-2 chopped peaches at the beginning along with the watermelon. Be sure to add before you sterilize with the camden tablet.
- Watermelon Lime Wine – Use lime juice instead of the acid blend, and add the zest of 1-2 limes into primary fermentation.
- Watermelon Wine with Raspberry, Cherry or Strawberry – Cherry wine has incredible color, especially if you use bright red tart cherries. Raspberry wine, similarly, is bright red, and adding either will really enhance the color of the finished watermelon wine. I’d suggest adding no more than a cup of raspberries since they tend to have a strong flavor in wine. For tart cherry juice, you can add up to a pint (or much less if it’s tart cherry juice concentrate.) Strawberry wine has a less intense flavor, so it’s a good way to add vibrant color to a watermelon wine without overshadowing the flavor.
Be sure you add any fruit or fruit juice at the beginning, before sterilizing with a Camden tablet.
Ways to Preserve Watermelon
Looking for more ways to preserve watermelon?
- Dried Watermelon (watermelon cotton candy) is actually one of my favorite dehydrator recipes. It’s light, fluffy, and sweet, with a crazy texture like cotton candy and incredible watermelon flavor.
- Freezing Watermelon
- Pickled Watermelon Rind
Watermelon Wine
Equipment
Ingredients
- 3 quarts watermelon juice, from 15 to 18lbs watermelon
- 2 lbs sugar, 4 cups or 2 1/4 lbs honey for watermelon mead
- 2 tsp Acid Blend, or 2 Tbsp. Lemon or Lime Juice
- 1/8 tsp tannin powder
- 1 tsp. Yeast Nutrient
- 1 Camden Tablet, Strongly recommended
- 1 wine yeast, see notes
Instructions
- Juice the watermelon and place it in a fermentation bucket. Crush up a Camden tablet and add it to the watermelon juice, stirring to incorporate. Cover closely with a towel and wait 24 hours before proceeding.
- Dissolve the sugar (or honey for mead) in a quart of water and bring to a boil on the stove to dissolve. Allow it to cool before adding it to the watermelon juice. (You can also use raw honey, but it’s tricky to get it to dissolve. You’ll need to stir the mixture for some time to fully incorporate everything, and it helps if the ingredients are warm.)
- Add the remaining ingredients (except yeast) and stir to incorporate.
- Dissolve the packet of yeast in 1/4 to 1/2 cup of filtered unchlorinated water. Allow the yeast to "bloom" for 10 minutes before adding it to the watermelon mixture.
- Cover the fermenter loosely with a towel and allow the mixture to ferment for 10-14 days (7 to 10 days if in a warm room) until vigorous fermentation slows. (You can also use a water lock sealed fermenter here, which helps to further reduce the risk of contamination. If you do, be prepared to clean out the water lock daily.)
- After primary fermentation, use a siphon to move the watermelon wine to a clean narrow neck fermenter. Fill with additional water or sterilized fruit juice until the carboy is full to the base of the neck of the carboy. Seal with a water lock.
- Allow the mixture to ferment in secondary for 3 to 6 months. (Be sure to keep the water lock sealed, and add water if necessary as the water evaporates.)
- After secondary, bottle the wine in corked wine bottles.
- Allow the wine to bottle condition for at least 2 months (preferably longer) before drinking. Enjoy chilled.
Notes
see the full article where I go through variations. The Camden tablet is strongly recommended. I generally don’t sterilize juice for winemaking, but watermelon
wine is the exception. It’s incredibly susceptible to contamination and I have not successfully made watermelon wine without first sterilizing the juice. It always goes off in fermentation (I’ve tried at least a dozen recipes, I just
can’t get it to work without a Camden tablet). For wine yeast, I’d suggest: Lalvin D47 contributes tropical fruit and citrus notes, and will leave considerably more residual sugar than plain champagne yeast (15% alcohol tolerance). This is a good choice for watermelon mead and moderate to sweet watermelon wines. Red Star Cotes de Blanc adds floral/fruity notes and will finish with a good bit of residual sugar (14% alcohol tolerance). Champagne yeast for a neutral, dry watermelon wine. (18% alcohol tolerance) It leaves little residual sugar and you may need to back sweeten before bottling. Lalvin K1-V1116 wine yeast will contribute floral/fruity flavors tot the wine, and is a better choice than simple champagne yeast. It’ll also produce a very dry wine (18% alcohol tolerance), and may need back sweetening.
Increase the time in secondary fermentation to 4-6 months as yeast metabolize honey much slower than sugar.
Nutrition
Nutrition information is automatically calculated, so should only be used as an approximation.
Wine Recipes
Looking for more easy wine recipes?


Absolutely Delicious!
I started a 5 gallon batch of watermelon wine on Oct 14th. It had an active primary fermentation. When that slowed down I racked it into a 5 gallon carboy on Oct 30th. I’m kinda worried I left it on there too long because there’s been no activity that I can see in the secondary so far. Today is Nov 2nd. I was wondering if I need to add more yeast nutrient or anything like that. It’s in my kitchen which is stays between 50-60 during the day and probably colder at night. It’s getting down to 25 at night here. We have the heat on but the kitchen is poorly insulated. Wondering if temperature might be the issue. Or maybe this is expected and supposed to happen like this. Any help or advice would be greatly appreciated. Thank you.
I would say that the temperature definitely is an issue. You really want it to be around 70 for fermentation. Lower temperatures will considerably slow the fermentation.
I really like your page. I am starting a three gallon batch of watermelon wine today. I juiced my watermelon yesterday and added the camden tablets. I’m dissolving my sugar right now and going to add the other ingredients. I’m looking forward to the end results in a few months. I’ll update at that time.
Looking forward to hearing how it goes for you!
Hey there! So i have been researching making watermelon wine… i liked your recipe & instructions the best & im preparing to give this a shot… it will be my first time making wine EVER lol… i chose watermelon bc we grew over 500 different kinds this year, so i have plenty to play around with… my question is, as i buy the ingredients such as the yeast, yeast nutrient, acid, etc… will the packaging tell me how much of each per gallon of juice? Im most likely going to make 6 to 7 gallons since i have a lot of melons… if not how do i figure out how much of these ingredients i will need per gallon?
Thanks so much!
Kara Fouch
Most yeast packets will do up to 5 gallons of wine.
I followed this recipe and ended up with a specific gravity of 1.3 prior to primary fermentation, and had to dilute in water down to 1.05. Also needed 2 tablespoons of acid blend (not 2 teaspoons) to get pH down to 3.5.
Love your site! I am new to brewing, and started out with your peach wine recipe. It is in its second fermentation and turning out great. The first fermentation blew started blowing pulp into the water lock withing a couple of hours, so it was really active. Now I am trying the watermelon wine. It has been 24 hours and nothing … no bubbles, no activity. I strained my juice to limit pulp. What pulp remained has collected on top, and I have stirred it to allow more oxygen into the brew. Did my fermentation stall before it began; or have I not waited long enough? If so, should I add more yeast? After my peach wine went crazy, I expected as much or more with the watermelon.
Sometimes they can take a bit longer than 24 hours to get going, but 48 hours is really as long as I would wait before assuming it stalled or something else went wrong. The first thing to try is to re-pitch in another packet of yeast, as it’s possible you had a dud or there was still too much residual from the Camden tablet in there when the yeast went in.
Just needed more time, then it really took off.. Thanks so much!
Wonderful! So glad to hear it =)
Ashley – I made the mistake of canning apple pie filling with Certo Sure Get liquid not clear gel. Can I open the jars and reprocess with the clear gel? If so would I have to drain the liquid from the initial batch and start over? Or can I reserve the liquid mix, add the clear gel and reprocess?
That is a darn good question…
I think it you re-cooked everything it’d turn to applesauce, unfortunately. That’s a guess, I don’t know for sure, but I’d worry about that. At this point though, you basically have canned apple slices. Certo is approved for canning and won’t hurt your apples in there, though it likely didn’t gel at all because the sugar levels weren’t high enough. Certo needs absurd amounts of sugar to gel.
Anyhow, so I’d just treat them as canned apple slices and add clear gel powder when you open them. Just drain off the liquid into a pan, add clear gel while it’s cold, then bring the liquid up to a simmer until it sets. Then pour that back over the apples in the pie pan.
If it were me, that’s what I’d do anyway. Leave them canned as is and then just fix it when you go to use them. Best of luck!