Affiliate disclosure: This post may contain affiliate links. Please see our Privacy Policy.
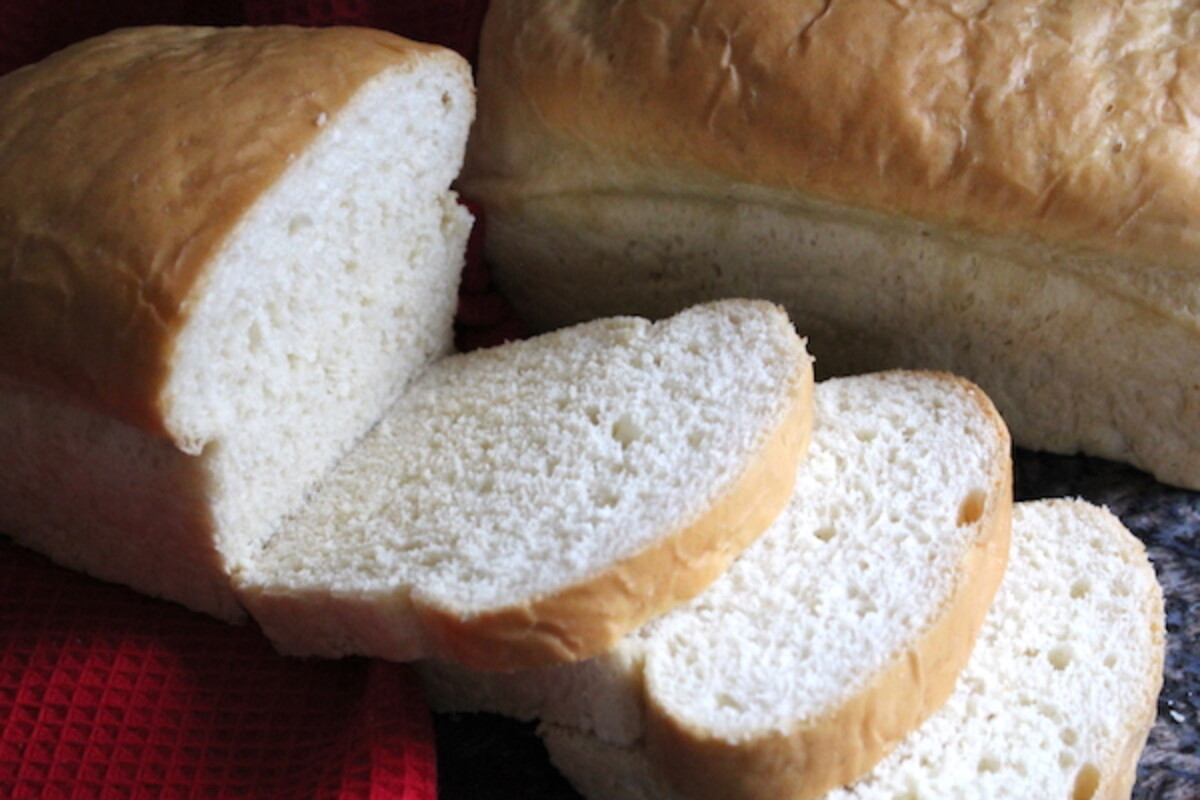
Amish white bread is a simple soft milk bread that’s perfect for sandwiches. A buttered crust stays moist and soft, meaning that this bread is deliciously chewy from the first bite to the last.
Nothing like January in Vermont to bring out the baking urge in anyone. I’m sitting here just as the start of the 24+ inches of snow forecast for this weekend is just beginning to fall.
As soon as the snow’s finished, temps are slated to drop well below zero and stay that way all week. What’s a mama of two energetic (but tiny) toddlers to do? Why bake bread of course!
This week is going to be a homemade bread extravaganza, as I try to keep my little ones occupied and engaged. They absolutely love kneading bread, and the look on their faces opening the oven when a fresh loaf is just about finished rivals Christmas morning excitement. Given that there’s going to be a lot of baking this week, I decided to start with something to really get their attention…a soft white child-friendly sandwich bread.
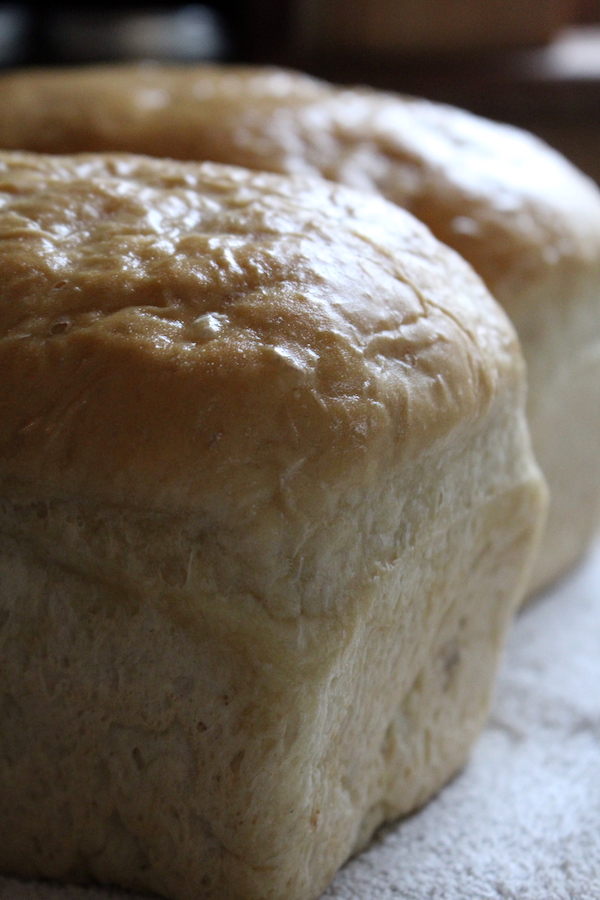
This Amish white bread is a wonderfully soft, enriched milk bread that’s finished with a brushing of butter right out of the oven. The butter helps keep the top crust moist and supple, meaning that every bite of this bread is rich, soft and perfect for tiny toddler appetites.
How to Make Amish White Bread
Since Amish white bread is an enriched bread, with both milk and butter in the dough, it’s a perfect bread for beginning bakers. My not quite 2-year-old and 3 1/2-year-old little ones had a huge hand in baking this batch.
Start by warming the milk, water, sugar, and butter until they’re around 90 to 95 degrees. It should feel just warm to your skin, but comfortable. Anything warmer than that and you’re liable to cook the yeast and that’s one sure way to ruin a batch. This bread has a full tablespoon of yeast added which gets the batch off to a quick start.
We do quite a bit of baking, so we buy yeast in one-pound bulk packages and store it in a quart mason jar in the fridge. Believe it or not, a full pound of yeast in a bulk pack actually costs considerably less than buying just a few little yeast packets with only 1/4 ounce in each. Individual yeast packets are about $1 each, meaning that a full pound of yeast costs about $64…or just $4 if you buy it in one-pound packages.
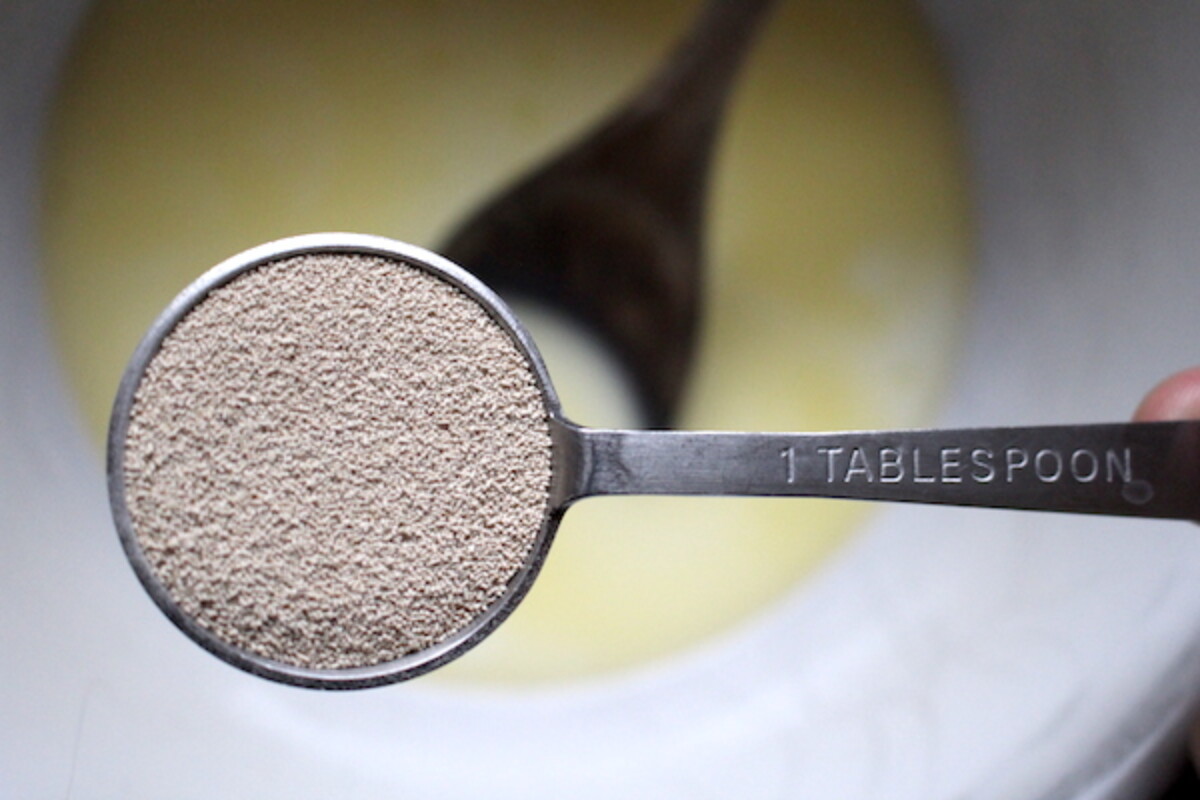
Nonetheless, if you are using packets a single yeast packet contains 2 1/4 tsp of yeast, which is a bit less than a tablespoon. Using one packet will work just fine in this recipe, but you may need to increase rise times ever so slightly.
Either way, after you add the yeast allow it to dissolve for about 5 minutes before you start adding flour. Give the yeast a little stir and then start adding flour a cup at a time.
As you add more flour the dough will thicken, and at about 4 cups of flour added it’ll be too thick to stir with a spoon. At that point, add the last of the flour and begin kneading by hand until all the flour is incorporated.
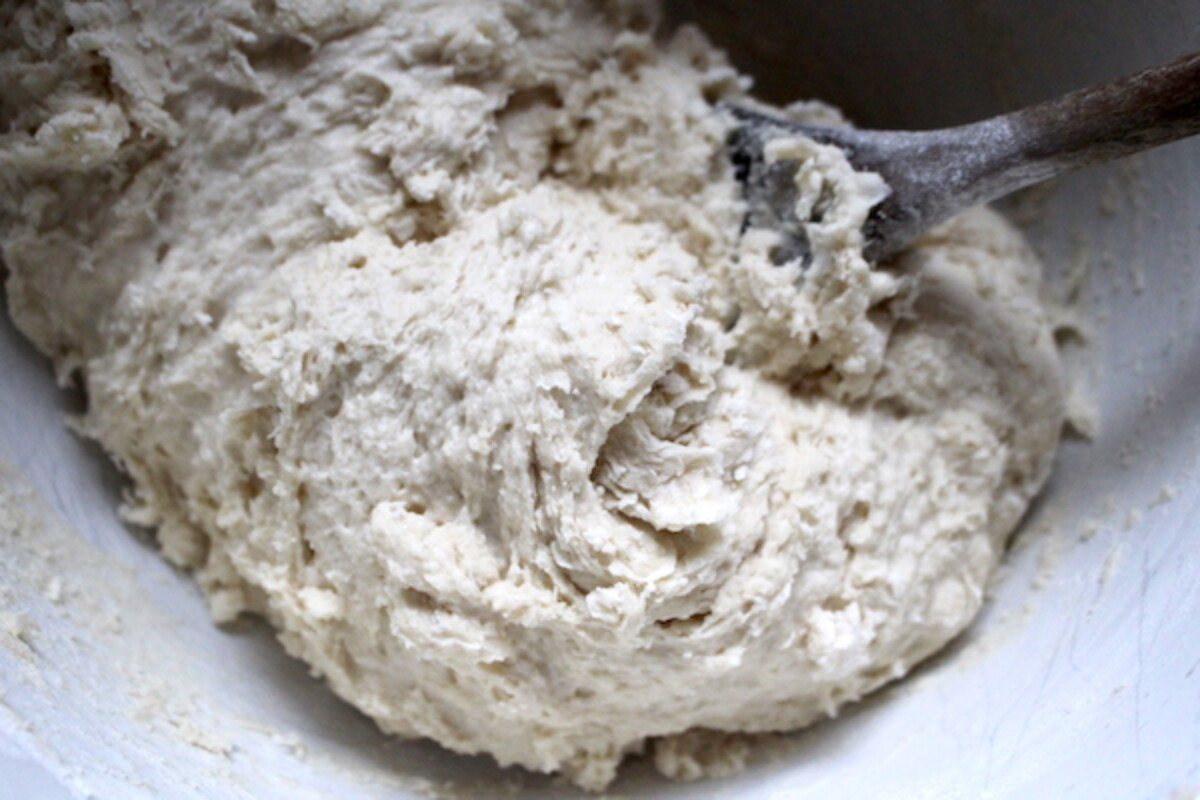
Once all the flour is incorporated, there’s still a lot of kneading to do. The more kneading you do, the lighter and fluffier the loaf will be. Kneading develops the gluten in the flour, which in turn allows the dough to trap air produced by the yeast.
If you don’t knead enough, the bread will be dense and hard like a baked lump of paste. That’s because really that’s all it is, mostly just flour, water, and salt. Kneading is what allows the work of the yeast to be captured, and results in fluffy bread.
In my case, this isn’t really an issue. Once the flour is incorporated, I turn it over to my tiny baby assistants. It’s kind of amazing how much kneading the tiny hands of a 3-year-old can do, especially when she’s trying to show off to her younger brother.
They passed the bowl back and forth for about half an hour, taking turns trying to outdo each other while I sipped a cup of coffee in peace…this is one of the magical things about bread.
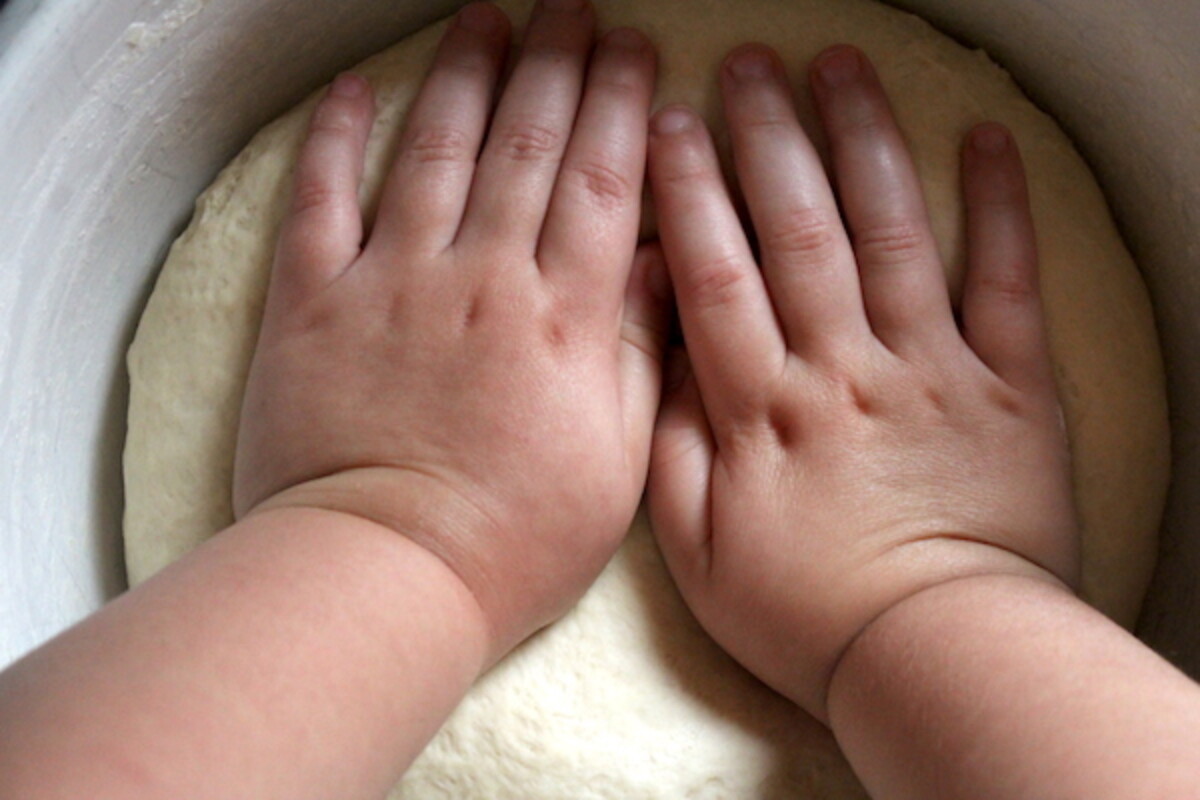
At a certain point, the bread dough is smooth and elastic and that’s when it’s time to stop kneading. With this bread, it takes about 5 minutes of kneading, followed by a 5 to 15-minute break to allow the bread to rest, and then another 3-5 minutes of further kneading.
Or, if you have little ones kneading, they’re mostly just mashing it around and that initial knead takes about 20-30 minutes. There really is a technique to kneading that stretches and hooks the gluten, but even baby kneading will get you there eventually.
Once the dough is smooth, place it into a clean bowl, covered by a damp towel. Put the bowl in a warm place, and allow it to rise for about an hour until doubled in bulk.
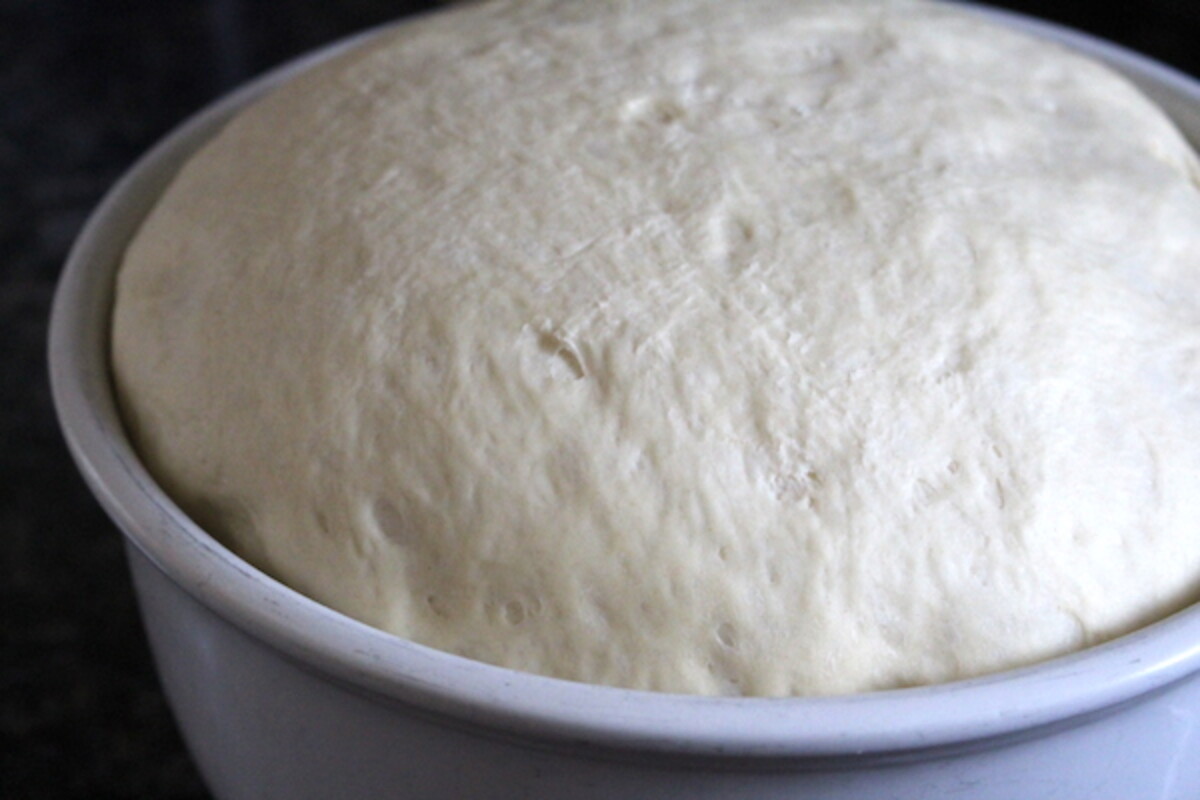
In my case, that first rise went a little long, and the bread was nearly tripped in bulk and coming out the top of the bowl. Be careful not to allow the rise to go too long without being punched down, or the yeast will suffocate. They’re creating CO2 bubbles, and if you don’t punch it down and work those out they’ll eventually die, and the bread will collapse into a sticky mess.
Be sure if you do need to wait longer before baking that you either punch the loaf down every hour or so, or you place the bread in the refrigerator to slow the yeast down. Either way, after the first rise, punch down the dough and knead it again for a few minutes to get it ready for a second rise in the pans.
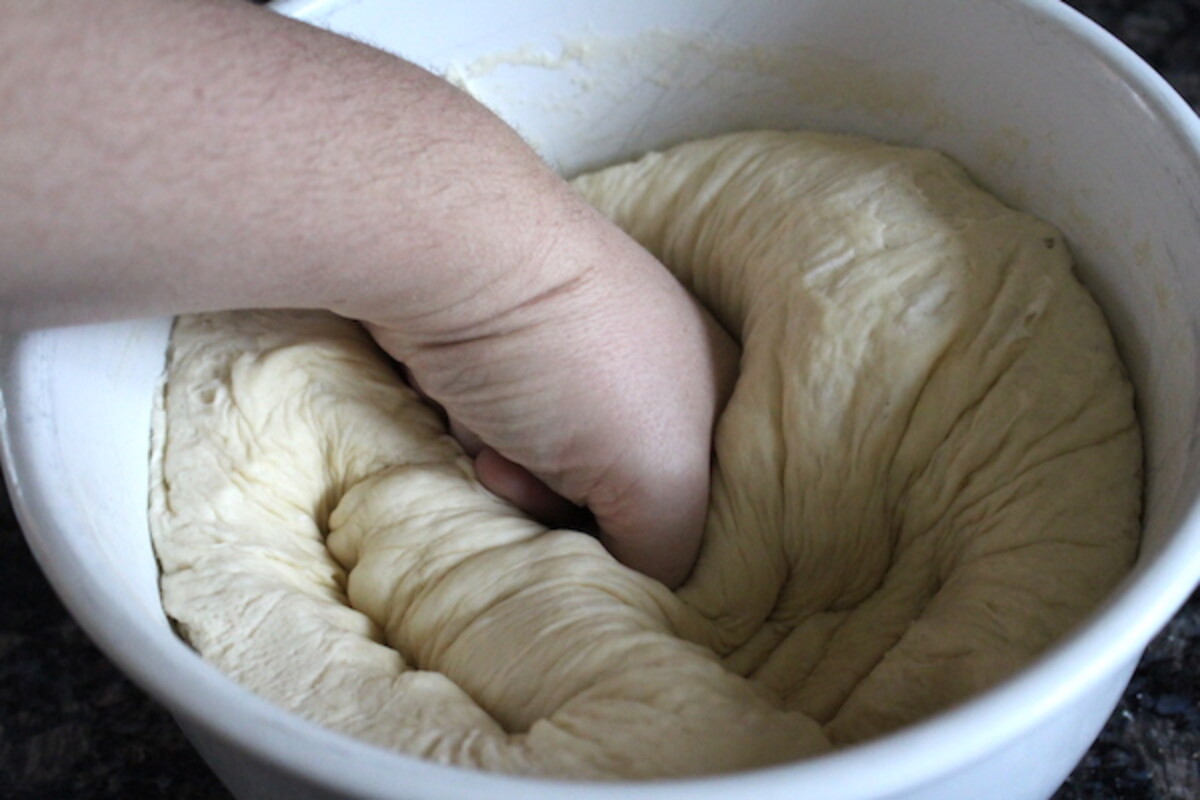
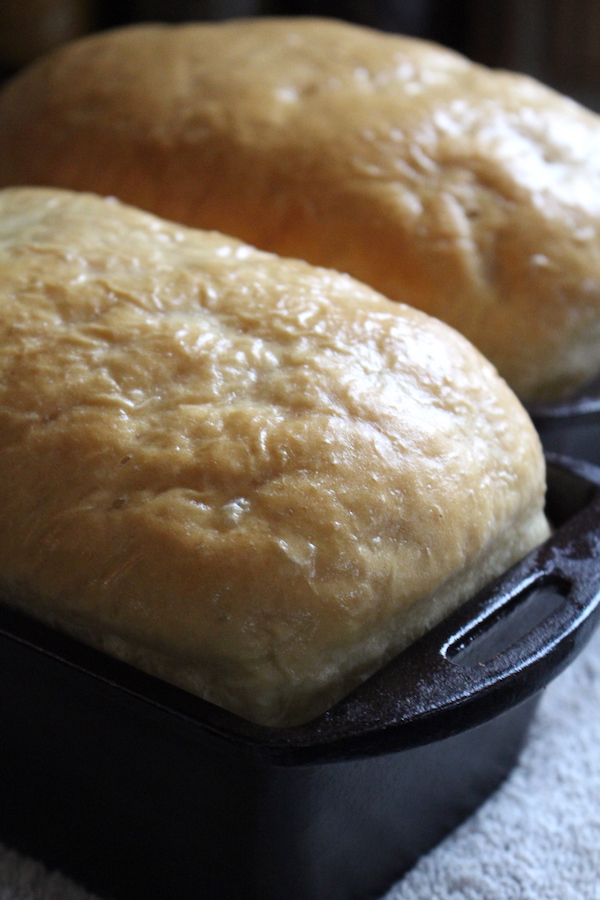
The second rise takes place in loaf pans for this bread. I really love using cast iron loaf pans because they heat very evenly, and if they’re properly seasoned the bread doesn’t stick at all. No need to butter or flour them before baking, just know a thing or two about keeping cast iron in good condition.
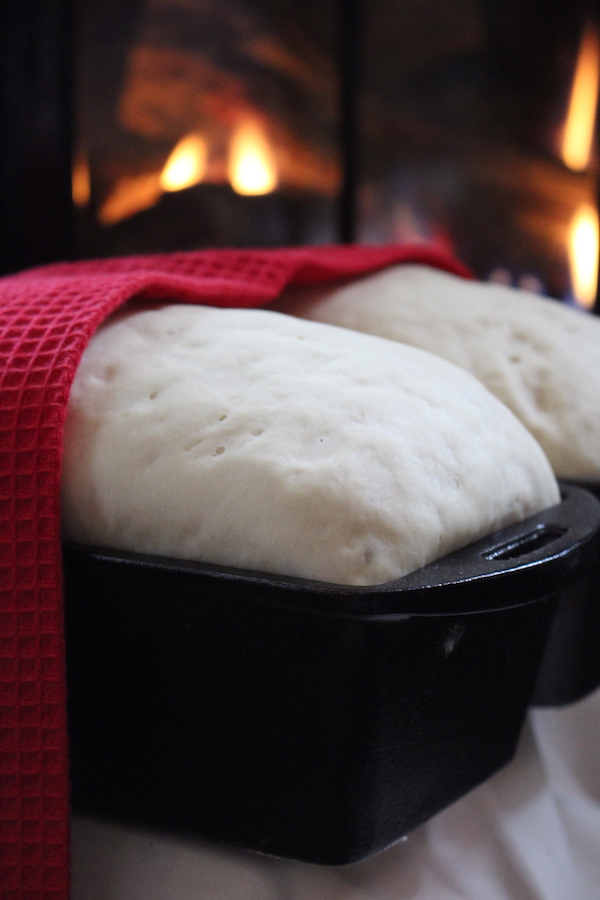
Cut the dough in half and knead it into two smooth loaves before placing it in the bread pans. Cover the pans with a towel and place them in a warm place for the second rise. Once the bread has popped up about an inch over the top of the pan, it’s time to bake.
Amish white bread bakes pretty quick, and it only takes about 25-30 minutes in a moderate oven (350 degrees F). While the bread is baking, you need to prepare for one more important step. If you just let the bread cool on the counter the top will form a hard crust, which is lovely on a french loaf, but less good on doughy sandwich bread.
To prevent a hard crust from forming, brush the hot bread with butter as soon as it comes out of the oven. The hot bread will still be soft and the heat will help it absorb the butter.
The resulting crust will be soft and tender, but not greasy because the butter will just absorb right in. I use a silicone pastry brush for this, but any kitchen brush will work or lacking that, you can use a paper towel dipped in butter to brush the bread.
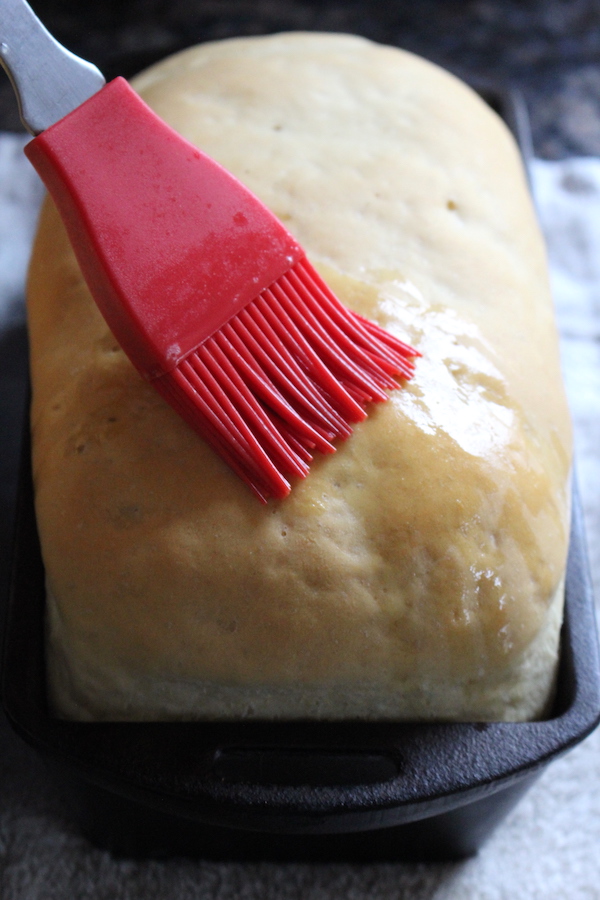
There you have it, perfectly soft doughy Amish white bread perfect for pleasing all manner of little ones. Every step in the process is pretty foolproof, and it’s easy for little ones, even toddlers to do much of the work.
The best part is that they’ll really enjoy the fruits of their labors. While they’re happy to help with other mama projects, and they love simple helpful toddler tasks like harvesting flowers for homemade dandelion wine, they don’t always get to appreciate the final result.
Amish white bread is one of those things that’s just made for kids, start to finish. That’s not to say my husband and I didn’t polish off the better part of a loaf too…
Amish White Bread
Ingredients
- 1 cup milk, warm
- 1 cups water, warm
- 1 Tbsp sugar
- 2 Tbsp butter
- 1 Tbsp active dry yeast
- 1 tsp salt
- 5 1/2 cups flour
- butter for brushing finished loaves
Instructions
- Gently warm milk, water, butter and sugar on the stove until they’re 90 to 100 degrees. Be careful not to over heat the pot, and if you do, make sure it cools to a comfortable skin temperature before proceeding.
- Add the yeast to the warm milk mixture, ensuring it’s no more than 100 degrees or you’ll kill the yeast. Allow the yeast to dissolve for 5-10 minutes.
- Stir in the salt and then begin adding the flour a few cups at a time. Once you’ve added about 4 cups remove the spoon and begin to knead the remaining flour into the dough.
- Knead the dough until it comes together, about 3-5 minutes. Allow the dough to rest for 5 to 10 minutes before kneading again until the bread dough forms a smooth dough, about 5-8 minutes.
- Allow the dough to rise in a warm place, covered by a damp towel until it’s doubled in bulk, about 1 hour.
- Punch down the dough and knead for 3-5 minutes to remove any air.
- Cut the dough in half and knead until it forms smooth loaves. Place the loaves into prepared loaf pans.
- Preheat the oven to 350 so it can begin heating while the bread is in its final rise.
- Allow the bread to rise in the loaf pans in a warm place (ie. by the wood stove or next to the preheating stove) for 30 to 40 minutes until the bread has risen about 1 inch above the top of the pan.
- Bake the amish white bread for about 30 minutes at 350 degrees until the tops are browned.
- While the bread bakes, melt about 1 tablespoon of butter and have it ready to brush the loaves immediately after they come out of the oven.
- Once the loaves are done, remove from the oven and brush with melted butter (this ensures a soft top crust, prefect for sandwiches).
- Allow the bread to cool completely before cutting.
Notes
Nutrition
Nutrition information is automatically calculated, so should only be used as an approximation.
More Old Time Recipes
- Pine Bark Bread ~ Traditional Scandinavian Recipe
- Traditional Bread and Butter Pickles
- Old Fashioned Grape Jam
- 20+ Squirrel Recipes for Small Game Hunters


How do you store the bread? How long does it keep on the counter in a ziplock? It’s amazing. This is the 3rd time making it. But the storing part I think I need help with!
Homemade bread will not last as long as store-bought bread due to the lack of preservatives. Most people use a linen bag for bread storage. You can also slice it, wrap it and put it in the freezer. If you do this then you can take out however much you need as you need it.
ASHLEY, Great recipe!!!
Thank you.
Easy to make. My sons can’t seem to get enough of it. Would love a gluten free recipe for my wife.
Wonderful, glad you enjoyed it! I’m no expert at gluten-free baking, especially yeasted breads…but you might try using King Arthur’s or Bob’s Red Mill’s cup for cup gluten-free flour in this recipe in place of the regular flour to see how that goes. I’ve heard people have good luck with those. Good luck!
I have a machine recipe that is somewhat like this bread, but prep is different. It stays soft and moist for days. It even looks like the same. I prefer it because it’s much less work. I’ve had my bread machine for 13 yrs, still going strong & spoiled me rotten lol! I can tell by the photo this is a good recipe too.
I alsohavea bread machine. Could you please send me your recipe? Surely would appreciate it. Thanks.
I too would like the bread machine recipe.
Did you ever find your recipe?? I’d love to have it! Thank you!!
Have you ever made this White Amish bread with the potato yeast? I’m having a hard time finding yeast here!
I haven’t, but I bet it’d be tasty!
If I would like to sub in some whole wheat flower can you advise how to do that? Traditionally not a bread baker but family likes a light/partial whole wheat bread. Thank you!
If you want a half whole wheat recipe, I’d highly reccomend this one. It’s delicious: https://adamantkitchen.com/honey-wheat-bread/
Any chance this could be sized for a Bread Machine?
I haven’t made this one in a bread machine, but I should! My 5-year-old daughter is really loving making her own bread all by herself in the bread machine, and this one would be a good one for her. We’ll try it later this week, but I’d guess it should be a half recipe for a bread machine. I’ll try it cut in half in our bread machine and let you know how it goes.
Could you please tell me where you bought the cast iron bread pans?
I currently use aluminum pans, which I love, because of the even heating, and they don’t “over brown” the loaves.”
Thanks
Suzanne
Yup. You can pick those up on Amazon and they’re made by camp chef. Affiliate link: https://amzn.to/3c7JMj3
I think other places, like Lehmans, also sell them.
Made this tonight, came out wonderful. Thank you!
Mine is still having difficulty getting the rise 1 inch above in the time suggested, any suggestions?
Give it up to double the final proofing time, just to account for temperature variations in your house or yeast strength. Beyond that, just bake it. I’ve found that sometimes it doesn’t quite rise that high in the pan, then it rises rapidly as soon as it hits the oven and still comes out great.
I love homemade bread and I’ve been meaning to take the dive into learning how to make some…you’ve just given me the perfect recipe to start!