Affiliate disclosure: This post may contain affiliate links. Please see our Privacy Policy.
Homemade apple cider vinegar was a staple for centuries, as it not only preserved the apple harvest, the finished cider vinegar was then put to work preserving the rest of the summer’s bounty. Raw cider vinegar with the mother good for more than just food preservation, and it’s also used as a powerful probiotic tonic in all manner of home remedies.
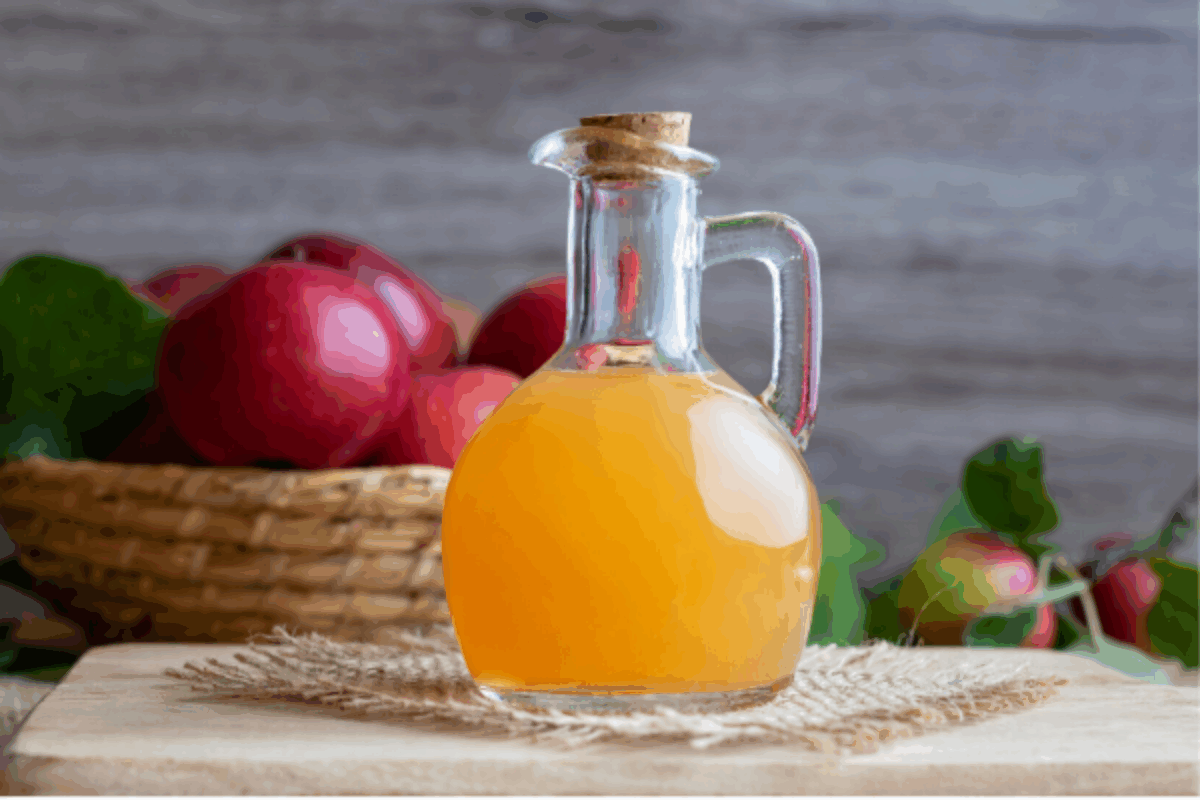
Search the internet for recipes for homemade apple cider vinegar and you’ll get all sorts of answers…few of them accurate. These days, most are shortcut methods that use pounds of white sugar with a few apple peelings for color and flavor.
That is NOT apple cider vinegar. That’s harsh white vinegar with a bit of brown coloring.
It mostly goes by the name Apple Scrap Vinegar, and I’ve made it myself. It’s a convenient way to re-use apple peels, but it’s a far cry from real apple cider vinegar.
Traditionally, apple cider vinegar is made with just one ingredient…fresh pressed raw apple cider.
The apple skins already have the necessary bacteria, and it only takes a bit of guidance to steer them in the right direction. Exposing them to air at the right time, keeping the crock at the right temperature, simple things like that will allow you to make apple cider vinegar at home with little more than fresh apples (or fresh-pressed cider).
Basics of Making Apple Cider Vinegar
Making cider vinegar, just like making other types of fruit vinegar, is a two-stage process.
The first step is alcoholic fermentation, and yeast convert the sugars within the cider to alcohol to make hard cider. Leave raw apple cider at room temperature for a few days and it’ll begin to ferment without any intervention. About 2 weeks later, it’ll be pretty potent.
Once you have hard cider, it’s actually a bit tricky to prevent it from turning to vinegar on its own. Cider makers actually use specialized valves (called water locks or airlocks) to prevent the hard cider from coming into contact with air where it might be exposed to vinegar producing bacteria.
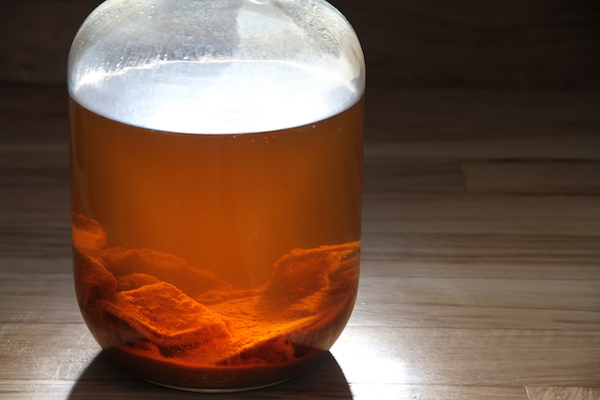
The second stage is acetic acid fermentation, where vinegar producing bacteria convert the alcohol into vinegar. These bacteria require oxygen to function, and the more surface area exposed to air the better. Simply expose the surface of the hard cider to air, and leave the container open but covered with a cloth to keep flies/dust out.
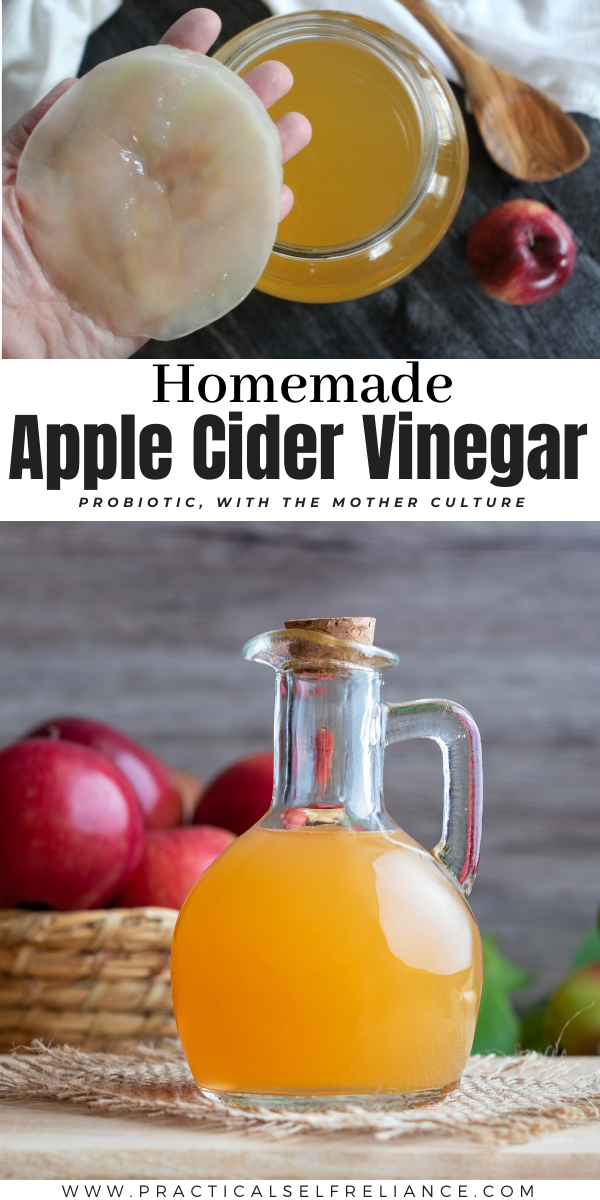
Vinegar producing bacteria work a lot slower than yeast, but 6 weeks to 6 months later you’ll have a thriving “vinegar mother” floating at the top of a batch of homemade apple cider vinegar.
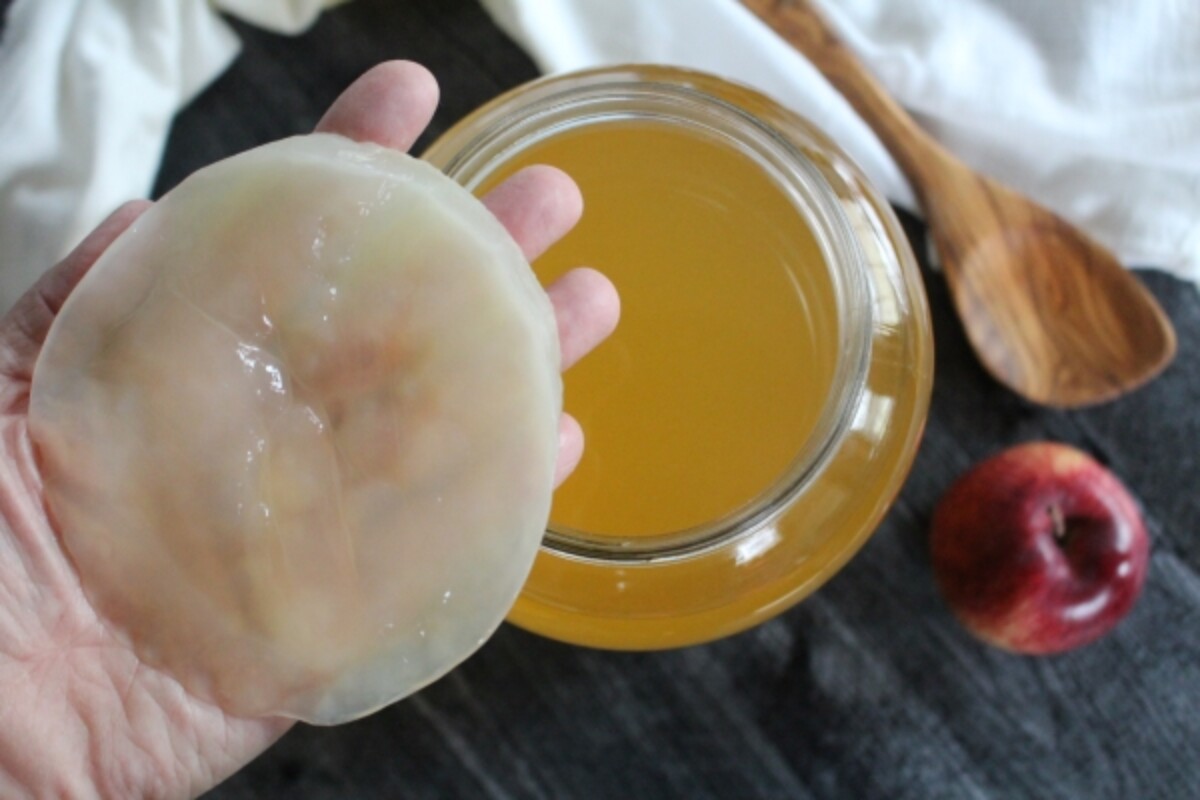
Pull out the mother culture (which is a jelly-like mass, similar to a kombucha mother) and use it to convert another jug of hard cider into vinegar. Once the mother is active, the process will go a bit faster and the hard cider will convert to vinegar a bit quicker.
How to Make Apple Cider Vinegar
The basic process of making apple cider vinegar is really simple, but there’s plenty of ways for things to go wrong. Wild yeasts and vinegar cultures aren’t always the most dependable or efficient at doing the bidding of humans.
Over the centuries, people have selected specific strains of yeast and acetic acid bacteria that work efficiently without producing off-flavors.
Want to make REALLY GOOD apple cider vinegar?
Then you’ll need to a bit more than leave apple cider out on the counter. Trust me though, the extra effort is well worth it and you’ll be rewarded with something truly special.
The Noma Guide to Fermentation has incredibly detailed instructions on how to make the perfect homemade vinegar from just about anything (from common starters like pears & elderberries to exotic things like butternut squash, whiskey, and black garlic).
They control every aspect of the fermentation, which results in a perfectly balanced finished vinegar that’s full of flavor. I’m going to take you through their process, and you can decide for yourself if you’re up for the challenge of making artisanal apple cider vinegar.
(If not, just leave some raw cider on the counter covered loosely with a towel…it’ll do the work on its own and make a simple no-fuss cider vinegar.)
Selecting Cider for Apple Cider Vinegar
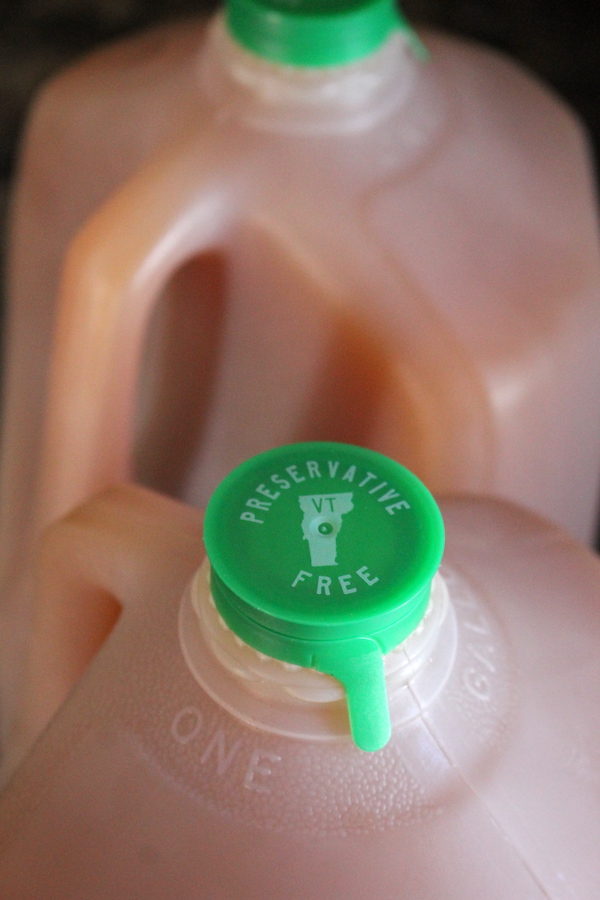
Just like anything, good homemade cider vinegar starts with the raw ingredients. Store-bought apple juice and “cider” often has chemical additives and artificial flavorings, and those are to be avoided. If it has preservatives, like potassium sorbate, it won’t actually ferment at all.
Start with a simple one ingredient apple cider, whether fresh pressed or store-bought. We use our double barrel cider press to extract juice from our homegrown apples, but any fresh cider will work (raw or pasteurized), provided pressed apples are the only ingredient.
Primary Fermentation (Alcoholic)
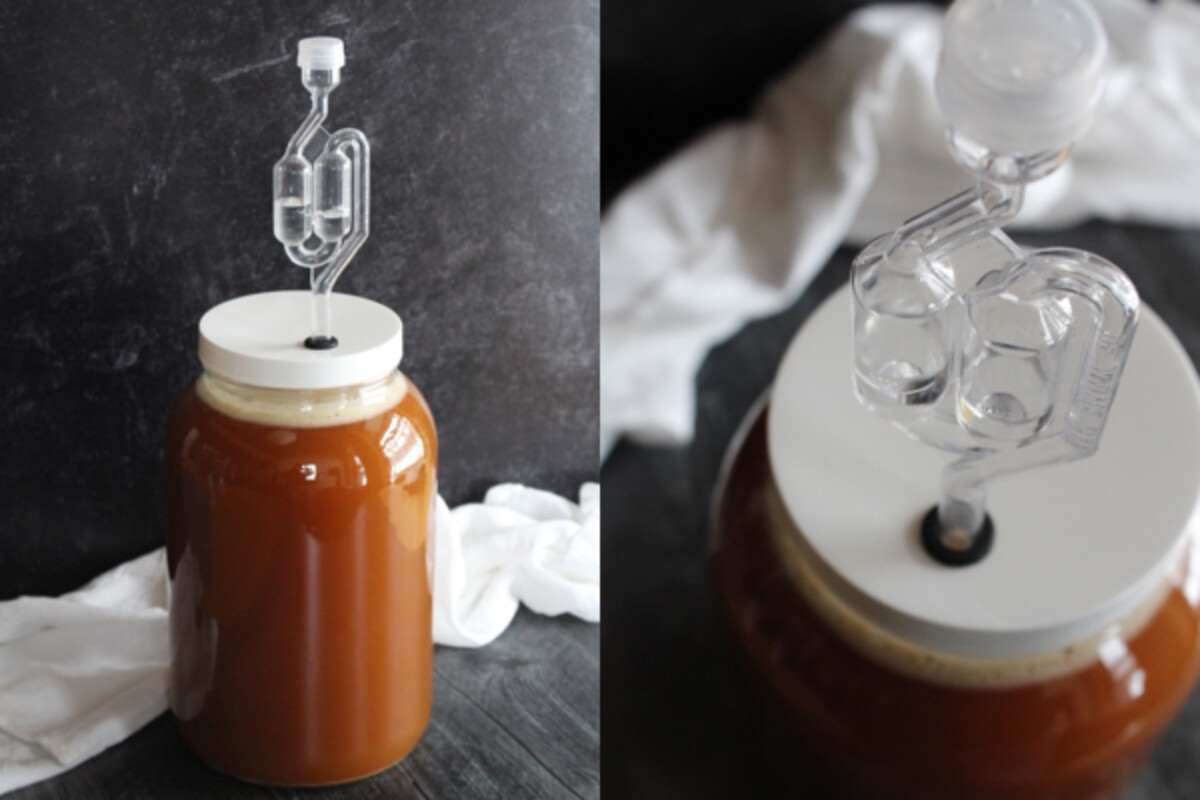
Start by pouring your apple cider into a fermentation vessel. I’m using a wide mouth carboy, but a mason jar with a silicone water lock works well too.
You can use a regular narrow neck carboy for the alcoholic fermentation portion of this, but you’ll need to move it into something with a wide mouth once you move onto converting the alcohol to vinegar.
Since you’re actually going to innoculate this “hard cider” with vinegar culture later, using a water lock is optional. It creates a one-way valve that allows CO2 to escape during fermentation but doesn’t allow contaminants inside. Mostly, it’s preventing vinegar contamination…which we’re going to intentionally do later.
Still, I’m using one because I’m trying to carefully control the alcoholic fermentation here, and vinegar’s not the only contaminant it prevents.
Innoculation’s not technically necessary if you’re using raw cider because the skin of the fruit contains plenty of wild yeast. (It is required for pasteurized cider.)
The thing is, the yeast actually imparts A LOT of flavor during fermentation. There are literally dozens of commercial wine and cider yeast strains, and each will dramatically alter the character of a hard cider.
If you’re lacking yeast, add a few raisins to the batch as they have yeast on their skins as well. Whenever you do, don’t add bread yeast, as it will make your cider vinegar taste like bread. (It’ll even smell like rising bread while it’s fermenting.) That might sound fine, but trust me, it’ll taste pretty bad.
I chose to innoculate with a simple champagne yeast (premier blanc), which is a neutral and dependable fermenter and I always have plenty on hand from my homemade wine. Noma suggests using Saison yeast because “it creates a great bouquet during fermentation, with no trace of bitterness.”
Add your choice of yeast, attach the lid/water lock, and set the fermentation vessel somewhere room temperature or slightly cooler. A slower fermentation will retain more flavor, and Noma suggests 18C or 64F.
In about 24 to 48 hours, you should see bubbles rising as your cider begins to convert to alcohol.
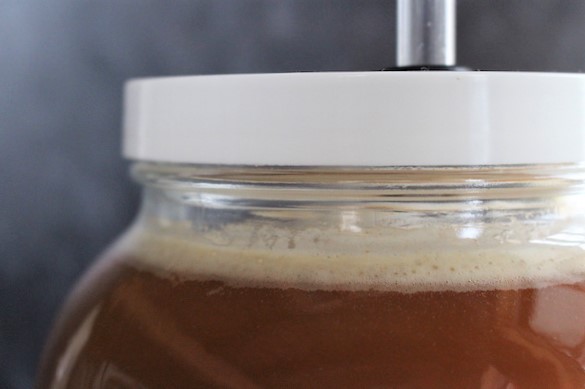
Ending Yeast Fermentation (With Pasteurization)
Allow the cider to undergo alcoholic fermentation for 7 to 10 days, depending on how much residual sweetness you want in the finished cider vinegar. The acetic acid bacteria can only convert alcohol to vinegar, but not sugar.
Stopping the fermentation early means that the residual sugars will remain in the cider vinegar and balance its flavor. Allowing the fermentation to complete (14 to 21 days) will mean that the all the sugar will turn into alcohol, and then eventually acetic acid after it’s inoculated with vinegar culture.
While that’s perfectly fine depending on your tastes, it creates a pretty abrasive cider vinegar that’s hard on the tongue (but great when diluted, or for cleaning).
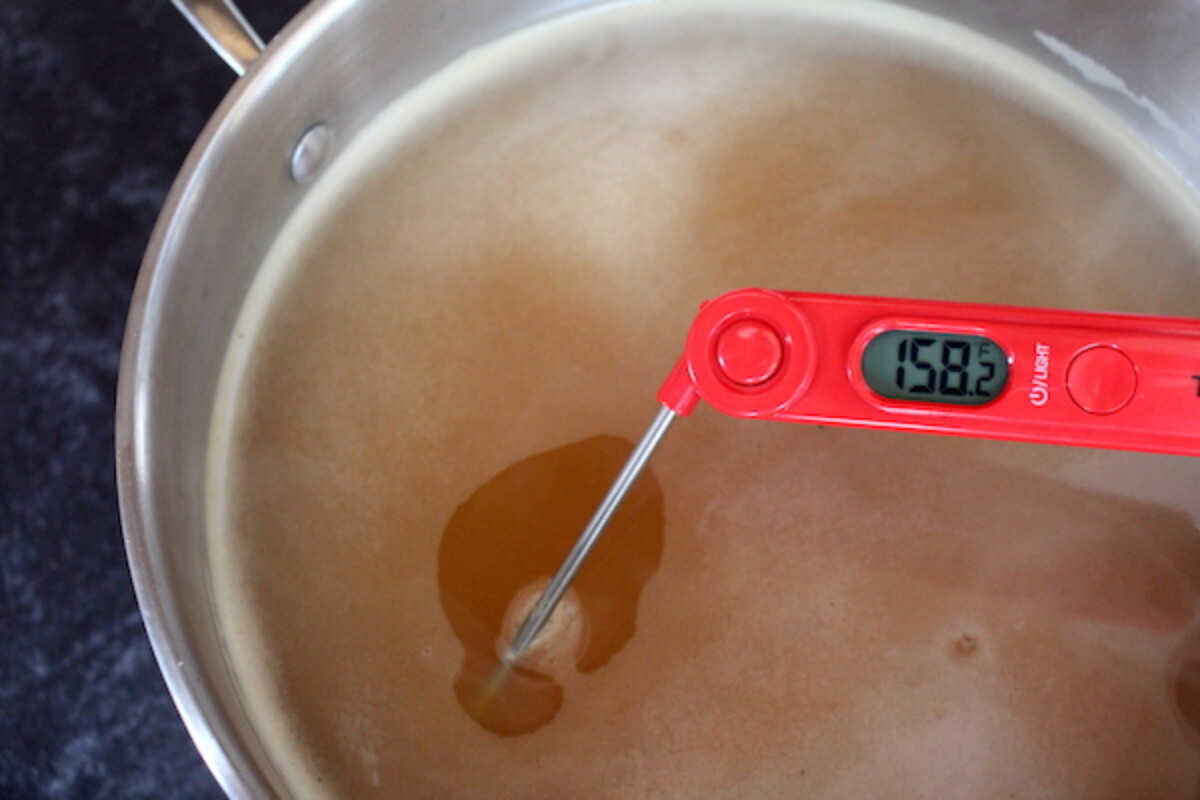
If the yeast is left alive, they’ll eventually consume all the sugar. To stop this from happening, pasteurize the hard cider at a low temperature (70C or 158F) on the stovetop.
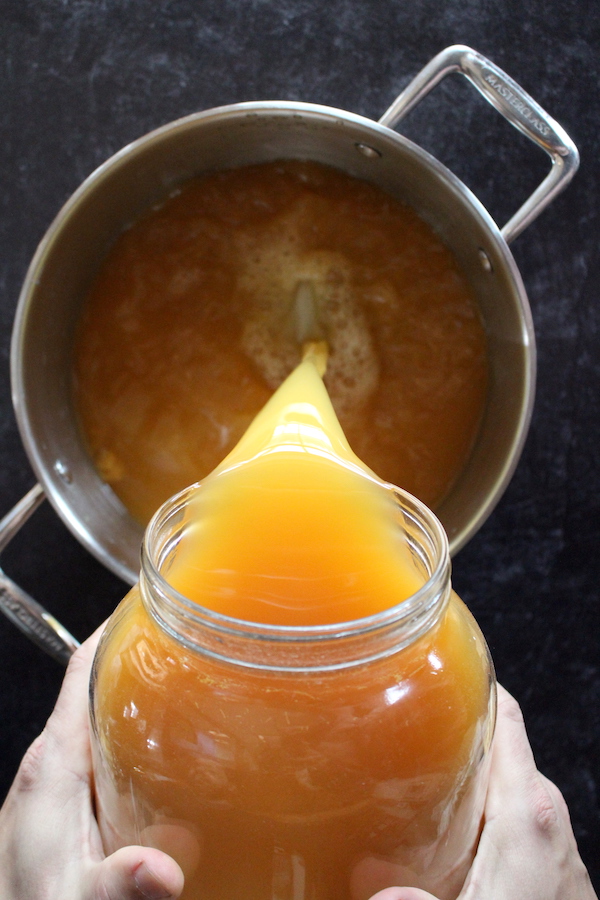
Pour the hard cider into a pot with a lid and slowly bring it up to temp. It should be steaming, but well below a simmer.
Allowing it to come to a full simmer (or boil) will drive off some of the volatile aromatic compounds that will create good flavor in the finished vinegar. It’ll also cook off the alcohol that’s needed to feed the vinegar culture.
Hold the temperature at 70 C of 158 F for 15 minutes, stirring occasionally.
Once pasteurization is complete, allow the hard cider to come to room temperature before proceeding. (This is important, as inoculating now with vinegar culture will kill the vinegar mother too.)
Adding Vinegar Mother (Vinegar Culture)
At this point, you have a finished hard cider that should taste pretty darn good. It’s got a bit of residual sweetness, and you should be able to taste the alcohol as it’s roughly 4-6 % ABV.
If you’ve pasteurized the mixture, it’s stable and ready for inoculation with vinegar culture.
Just like yeast, the vinegar culture will impart a certain amount of flavor to the finished cider vinegar, but to a much less noticeable extent. For completeness, I tested a bunch of different local raw vinegars. They all tasted different out of the bottle but assuming everything else was held constant they all made similar finished cider vinegar.
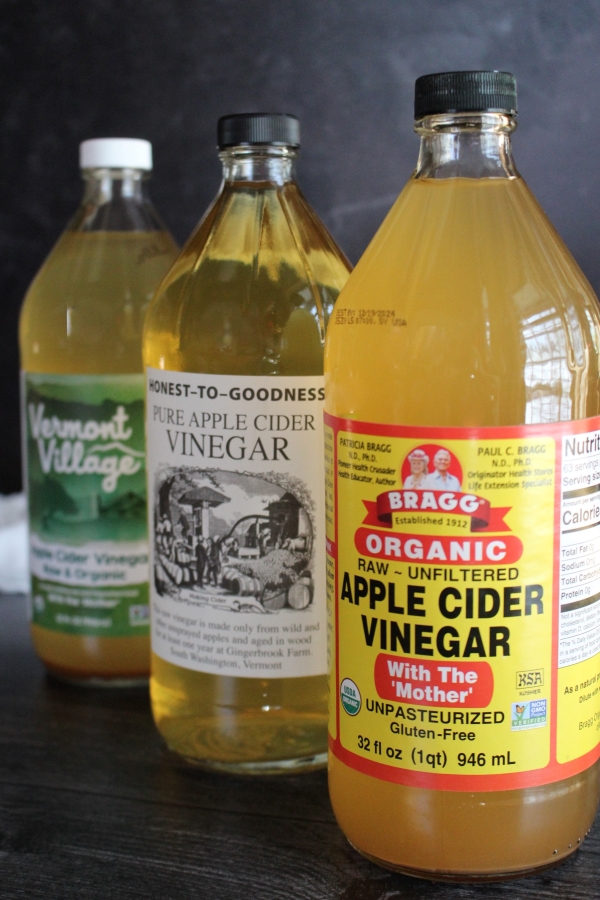
Focus on finding good quality apples and using quality yeast, and then just find any raw vinegar containing monther culture.
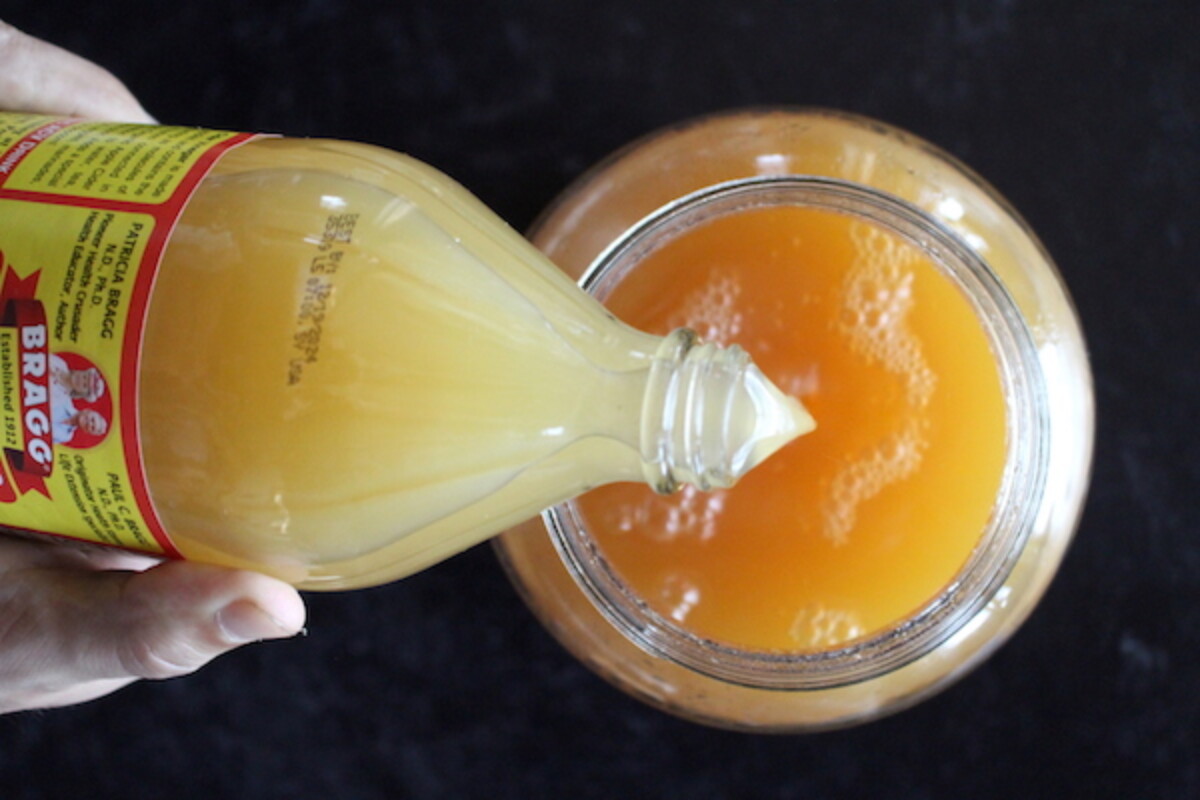
A good, widely available option is Braggs Raw Apple Cider Vinegar with the Mother. (You can also use vinegar from a previous batch.)
Vinegar “mother” culture actually floats in the air as well, so if you leave a wide mouth container full of hard cider open (just loosely covered with a towel), it’ll eventually turn to vinegar as well. It takes longer, and I’ve heard some people have trouble with this method even after many months of waiting.
There’s just less “good bugs” in the air these days, with less home cooking and more sterilization in general.
I’d suggest adding about 1/2 cup of raw vinegar per gallon, whether it’s carried over from the previous batch or a commercial raw vinegar. Noma suggests starting with 20% cultured cider from a previous batch, which is more like 3 1/2 cups for a one-gallon batch.
Secondary Acetic Acid Fermentation
Unlike the initial alcoholic fermentation, that takes place sealed with a water lock, acetic acid bacteria need as much airflow as possible. That’s one reason I use wide mouth one-gallon jars, which allow for a good bit of surface area exposed to the air at the top.
The problem is, fruit flies absolutely love vinegar. It’s pretty tricky to keep the little beasties out of there, and historically, is wasn’t really possible. Fruit flies actually carry vinegar culture on their feet, so lacking vinegar culture people would just allow them to land on the hard cider. (Gross by modern standards, but historical food sanitation standards were a bit different.)
Still, I generally prefer to keep extra bug-based “protein” out of my vinegar, so I use a fine weave linen cloth over the top. They can be tied on, to ensure a tight seal, but I’ve found that my hair elastics are actually the perfect size to stretch over the wide mouth opening. That gives me a good bug tight seal, but still allows for plenty of airflow.
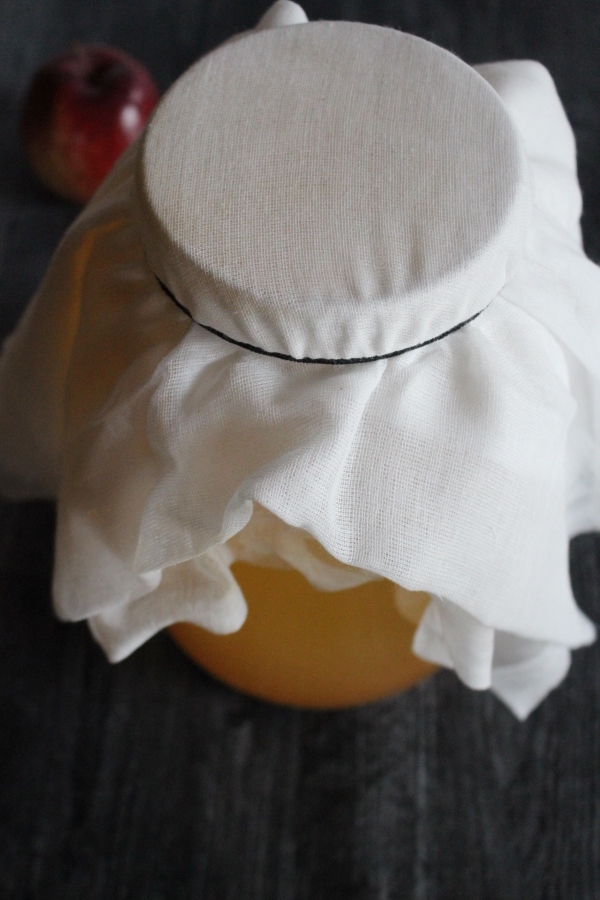
Left to its own devices, this secondary fermentation process is much slower than the first phase. It takes 3-4 months for the alcohol to completely convert to vinegar at room temperature, and 6 months or longer in basements, root cellars, or cool rooms.
For me, that’s totally fine. I start batches in the fall with the apple harvest and store them in my basement. The fresh vinegar is ready by preserving season in the spring and summer.
If you’re hoping for quicker results, Noma actually uses a modern process that finishes the vinegar in just 14 days (plus the original 10 days of alcoholic fermentation). They use an air stone and air pump to add oxygen to the developing vinegar, and mechanical airflow causes the acetic acid bacteria to work overtime. (This is actually the process used to make vinegar on a commercial scale.)
Airstones are usually used in home aquariums, but you can get a clean new one for less than $10 for use in homemade vinegar.
According to Noma, “With constant aeration, you’ll be able to turn vinegar around in 10 to 14 days. Start tasting the vinegar daily after a few days. If the taste of the alcohol is still noticeable, the vinegar needs to ferment further. You could use a pH meter or pH strips to test how acidic your vinegar is–a pH range of 3.5 to 4 is usually right–but in all honesty, we find the taste to be a better guide. Sugar, viscosity, and the flavor of your vinegar can all affect the perception of acidity on your tongue.”
The choice is yours, but personally, I’m not making homemade apple cider vinegar for speed. I’m happy to let the probiotics take their time, and I love watching a healthy vinegar mother slowly develop over the course of several months of natural fermentation.
Bottling Apple Cider Vinegar
Once the vinegar is finished, it should be completely shelf-stable for extended periods. It’s acidic and still has live probiotics, and if capped up and protected from extremes of cold or heat, should keep nearly indefinitely.
Generally, most people strain the finished vinegar and store in something like a flip-top Grolsch bottle. Mason jars work well to, though I’ve found that the vinegar corrodes the lids (unless they’re sealed in a water bath canner, which would kill the vinegar, so it’s not a great option). I use BPA free plastic mason jar lids for my raw cider vinegar when I need to store it in mason jars.
(Grolsch bottles are the best option in my opinion though.)
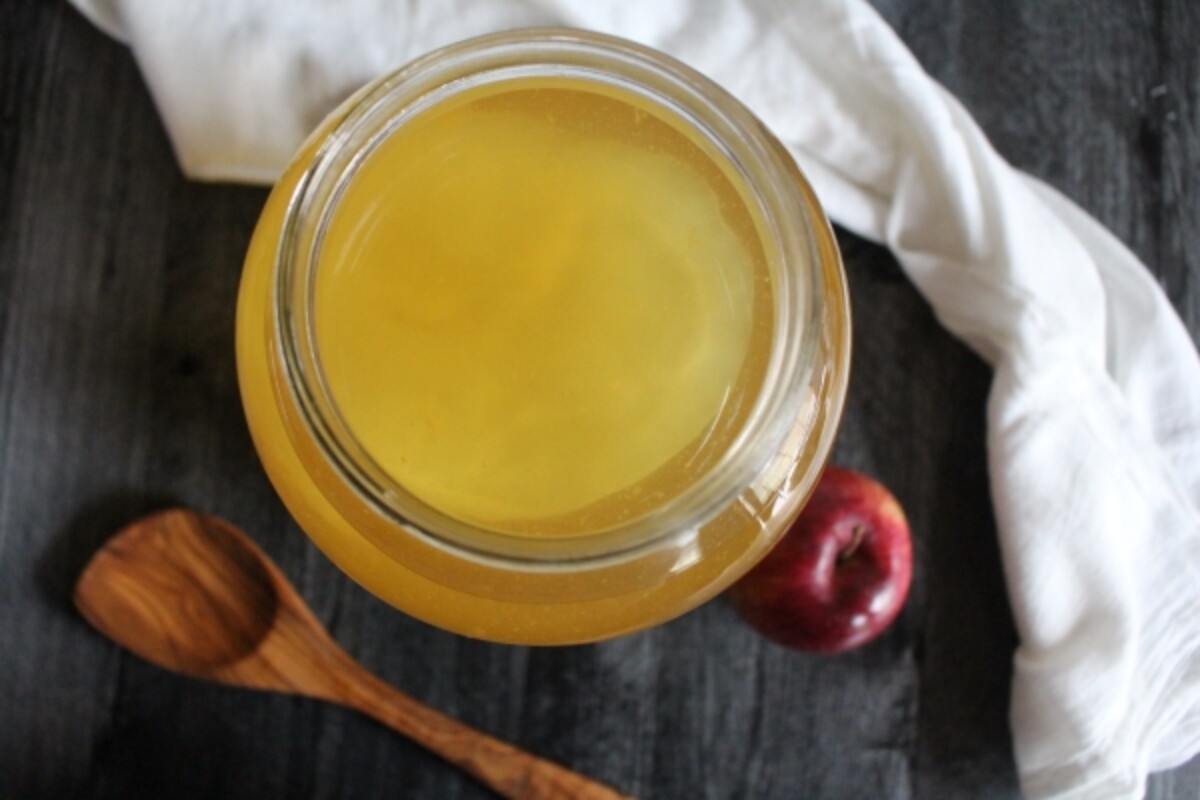
Really though, there’s no particular need to “bottle” the vinegar. You can just leave it in the fermentation vessel until you need it. The mother will sink to the bottom eventually, but it’s perfectly fine left exposed to the air if you’re going to use it in a reasonable amount of time.
(Over extended periods, it will evaporate and some of the volatile compounds that give the vinegar rounded flavor will dissipate. If you’re not using it within 3-4 months of finishing, I’d go ahead and bottle. Noma actually suggests straining the vinegar, tightly capping, and then storing in the refrigerator to maintain as much flavor as possible.)
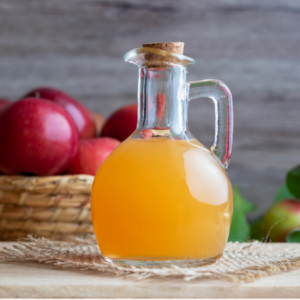
How to Make Apple Cider Vinegar
Ingredients
- 1 Gallon Apple Cider, Raw or Pasteurized, but Without Preservatives
- wine yeast
- Raw Apple Cider Vinegar, Store-bought, or from a previous batch
Instructions
- Pour the cider into a clean fermentation vessel, and allow it to come to room temperature if it was chilled. Be sure the cider doesn't contain preservatives or other ingredients. (I'm using a wide mouth carboy with an airlock, but any clean, non-reactive container will work.)
- Dissolve a packet of wine yeast or cider yeast in a small amount of water. Allow it to rehydrate for 10 minutes before adding it to the cider. (Do not use bread yeast!)
- If fermenting in a carboy (recommended), then cap the container with a water lock and allow it to ferment for 7-10 days at a cool room temperature (Roughly 18 C or 64 F). A water lock is optional, and you can just cover your fermentation vessel with a towel (but don't cap it as CO2 needs to escape during the fermentation process).
- (Optional) To stabilize the hard cider, pasteurize it at 158 degrees for 15 minutes. This is optional but will ensure that the yeast doesn't consume all the sugar so that a bit of residual sweetness will remain for flavor. (Pasteurizing here only removes yeast, your finished cider will still contain the vinegar mother, which is added next.)
- Add raw cider vinegar with the mother from a previous batch or from a store-bought container. There's no exact amount, but at least 1/2 cup per gallon, and as much as 4 cups per gallon of hard cider.
- Secondary acetic acid fermentation needs a container that maximizes airflow, so choose something with a wide mouth. Use a non-reactive material, such as glass or ceramic, and avoid metal. (A mason jar, fermentation crock, wide-mouth gallon jar, or even a large ceramic bowl work well).
- Secure a cloth over the top of the fermentation vessel to keep dust and fruit flies out.
- Place the container in a room temperature (60-70 degrees) room, out of direct sunlight, and allow the mixture to culture for 3-4 months.
- Once the vinegar has finished, it should have a cellulose mass at the top. This is the vinegar mother, and is completely normal. Strain and bottle the vinegar, reserving the mother to start another batch later.
- Fully fermented apple cider vinegar should keep in a sealed container at room temperature for extended periods (years). I'd recommend flip-top Grolsch bottles for storage.
Ways to Preserve Apples
Want a few more ways to preserve a bumper crop of apples?
- Homemade Apple Butter
- How to Make Apple Sauce
- Apple Cider Syrup (Boiled Cider)
- Apple Jam
- Apple Wine
- Hard Cider
Easy Probiotic Ferments
Looking for more ways to keep your crock bubbling?
- How to Make Sauerkraut
- Making Sauerkraut in a Crock
- All Rye Grain Sourdough Starter
- How to Make Mead



How does a commercial producer like Bragg’s keep the vinegar unpasteurized but not allow for the vinegar to fully ferment? I would like to avoid pasteurization but also want a tasty vinegar.
Yes, it smells like vinegar, now I am trying to figure out how to keep it, would milk jugs work, or gallon glass carboys?
You can use either. Half gallon mason jars work really well, and that’s often what I use.
When I pressed cider , I set aside 2 to 3 gallons in a 5 gal plastic bucket, I don’t remember if I added any yeast, stirred it at first when it was active, then just let it sit, covered with a linen. It has been since October. It has a huge mother, first one that I ever saw. Now I don’t know what to do, how will I know when it’s done? Can I just leave it and forget about it?
If it has a huge mother, there is a good chance that it is ready. I would taste it and see. Does it smell like vinegar?