Affiliate disclosure: This post may contain affiliate links. Please see our Privacy Policy.
Cheesemaking at home is incredibly rewarding, and there’s nothing like stocking a cheese platter with your homemade delights. Learn the basics of homemade cheese, from simple cheeses like mascarpone and paneer, all the way up to bloomy rind brie and aged cheddar.
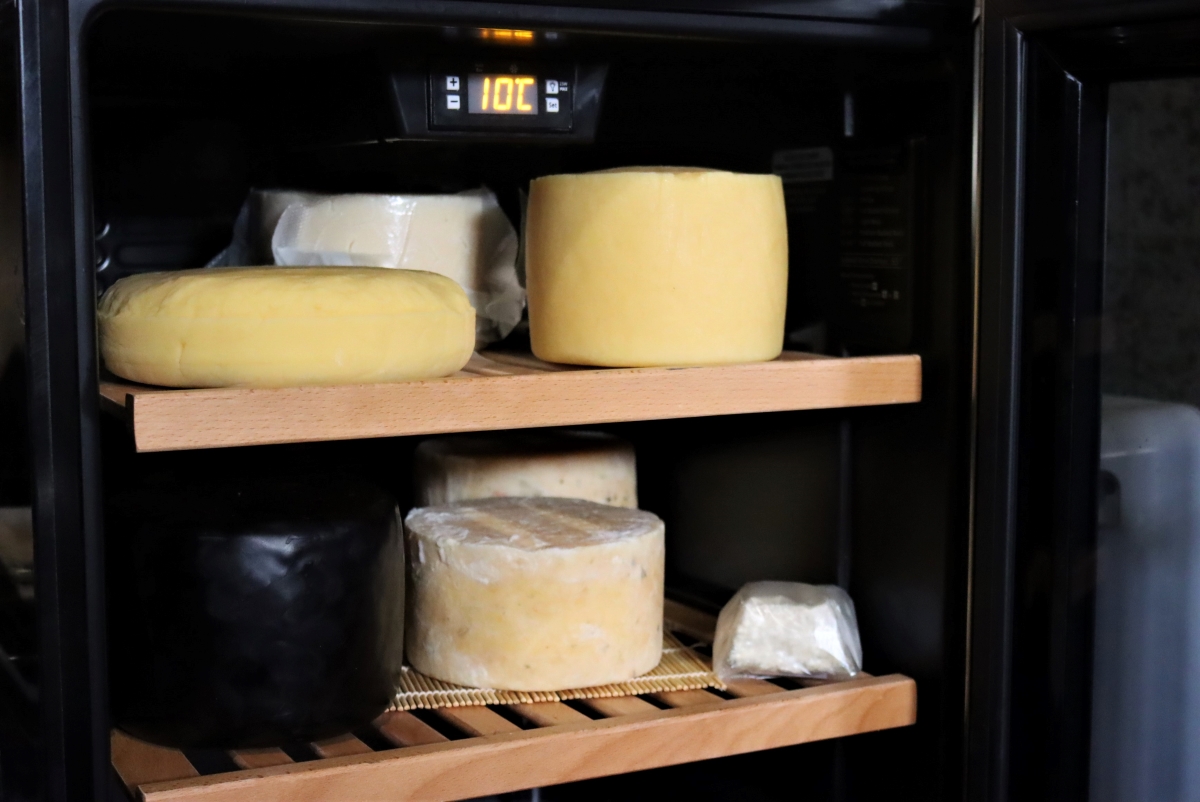
Table of Contents
- Basic Process for Cheesemaking
- Cheesemaking Cultures & Molds
- Beginner Cheesemaking Recipes
- Simple One Hour Cheesemaking Recipes (Not Cultured)
- Beginner Cultured Cheeses (& Other Cultured Dairy)
- Minimal Equipment Cheeses
- Soft Bloomy Rind Cheeses
- Beginner Hard Cheeses
- Whey Cheeses
- Cheesemaking Books
- Food Preservation Tutorials
Cheesemaking used to be a daily task on homesteads across the country, and before refrigeration, it was the only way to keep milk from spoiling before the day was out. Fresh raw milk only keeps a matter of hours at room temperature, and even pasteurized milk doesn’t fare much better unless it’s kept cold.
More than anything, cheesemaking requires patience. It takes about 8 hours to make a wheel of cheddar (plus months of aging), but most of that isn’t hands-on time. Stir for a few minutes, then wait an hour. Add a culture or enzyme, then wait an hour.
It’s a process that farm families incorporated into the normal rhythm of the day, squeezed in around all the other chores. While you’re likely not hand washing clothes or hauling water from the well, it’s just as simple to work cheesemaking into your day in between walking the dog, catching up on the news, and playing with the kids.
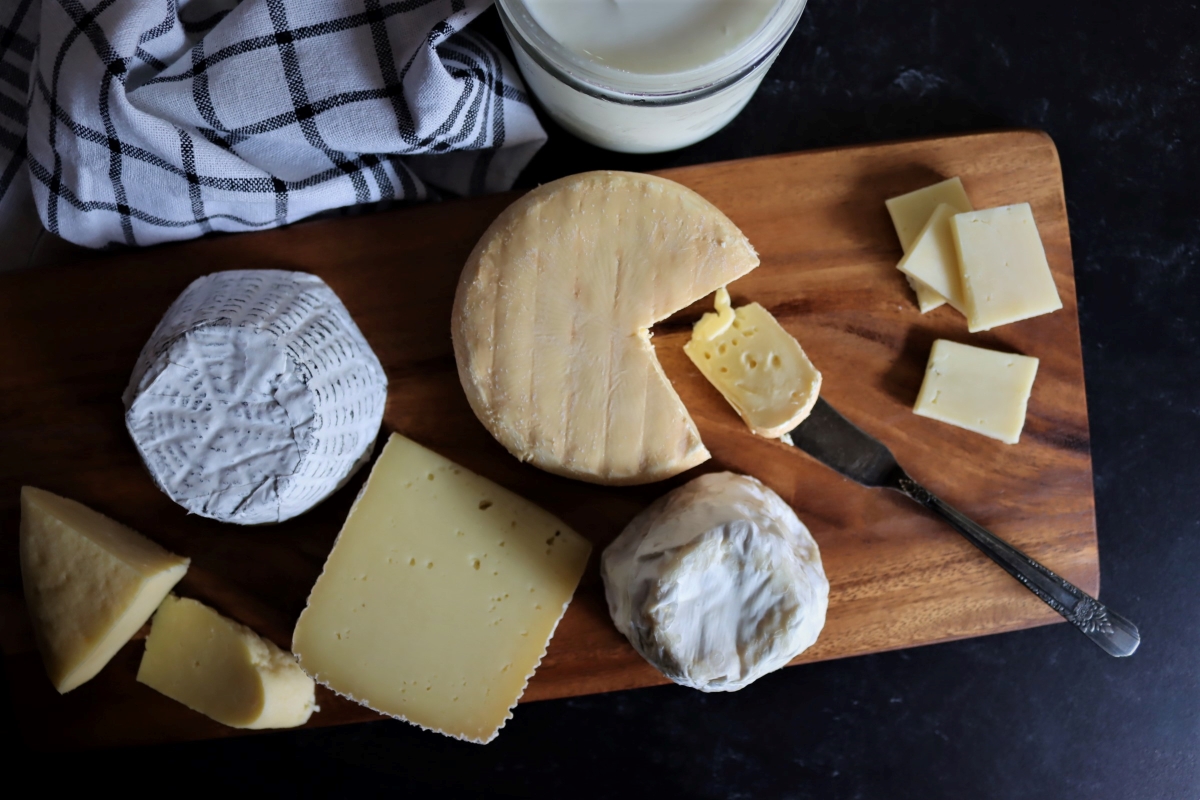
In the end, you’ll be rewarded with something money just can’t buy…a delicious homemade cheese that turns heads on the charcuterie plate.
If you’re an absolute beginner and just testing the waters of home cheesemaking, I’d highly recommend starting with a cheesemaking kit. They contain everything you’ll need (except the milk), along with detailed instructions from start to finish.
A mozzarella and ricotta cheese-making kit is where most people start, and it’ll get you hands-on experience working with curds in your kitchen. If you happen to have access to goat’s milk, a goat cheese kit is a good beginner option too.
Basic Process for Cheesemaking
The first thing to know is that cheesemaking is more of a process than any specific set of ingredients.
Raw milk contains just about all of the natural cultures needed to make cheese. The microbes to make everything from parmesan to brie are in that same cup of fresh milk, and the type of cheese is determined by the treatment of the curds through the cheesemaking process.
These days, raw milk is less common, and processes are standardized, so cheesemakers mostly add powdered starter cultures to innoculate pasteurized milk. Still, the same cultures are used to make both mozzarella and parmesan. The treatment of the curds and the way they’re processed is the only difference.
The process for turning milk into cheese, regardless of the variety, usually has similar steps:
- The milk is warmed to a culturing temperature, usually somewhere between 76 and 102, depending on the type of cheese.
- Cultures are added, and the milk is allowed to ripen. Usually for around an hour, but sometimes as long as 24 hours.
- Rennet, a natural enzyme, is added to the milk to help it form curds. Some fresh cheeses don’t use rennet and rely on acid produced by the cultures to set the milk. These are exceptions, and most cheesemaking recipes will add rennet to separate the curds (milk solids) from the whey (lactose-filled liquid portions of the milk).
- Once the curds have set, they’re cut with a long knife. (How the curds are cut determines their surface area, and how much liquid they will release. This will affect the final moisture and texture of the cheese.)
- Sometimes, the curds are warmed at this point, usually slowly to help the cultures acidify the milk and to cause textural changes in the structure of the curds. Others don’t warm the curds and move right on to draining.
- The curds are then drained through cheesecloth (thus the name), and the whey can be saved for making whey cheeses (like ricotta).
- Drained curds are then processed further. For cheddar, they’re salted and pressed. For traditional mozzarella, they’re cultured for another 4-6 hours before being stretched. For Valencay, they’re drained in baskets before being sprinkled with ash and mold spores. This final step can really vary considerably.
- Finally, the cheese is aged (unless it’s a fresh cheese). Most are aged at around 50 to 55 degrees F and 85% humidity, but there are some that are aged cooler or warmer, and at varying humidity levels. Usually, cheesemakers convert old dorm refrigerators or a spot in a back closet or a basement to create the right conditions.
- When the cheese is ready, it’s wrapped and moved to the refrigerator and it’s ready to eat.
The important thing to note is that when a cheesemaking recipe says something specific, they really mean it. Instructions like “slowly heat the milk, no more than 2 degrees every 5 minutes, over the course of at least an hour until it’s 102 degrees F” are important. Heating the curds faster will cause them to toughen, and prevent whey from being released, meaning the difference between a high-moisture cheese like Monterey Jack and a low-moisture grating cheese.
This was hard for me to grasp at the beginning, as I assumed that if I wanted to make Cheddar Cheese I’d add “cheddar culture” and let it work. There’s, unfortunately, no such thing, and the type of cheese you make depends almost entirely on the steps you take as a cheesemaker processing the curds.
Cheesemaking Equipment
The equipment required for making cheese really depends on what you hope to make. Simple cheese like Monterey Jack, Paneer, and Cottage cheese require little more than a stockpot and cheesecloth. In a pinch, you can use a linen napkin or cut up pieces of sheet or t-shirt in place of cheesecloth. That means it’s likely that you already have everything you need to make at least a dozen types of cheese already hanging around your kitchen.
Still, a few extra pieces of equipment can really expand the range of cheesemaking options.
- Stainless Steel Stock Pot ~ The pot is mostly used for heating milk to temperatures between 70 and 140 degrees (without boiling or foaming up), so it only needs to be as big as the largest batch you hope to make. I have three pots (in 1, 5, and 8-gallon sizes) that are also perfect for making bone broth and homemade beer. Be sure it’s stainless steel which is non-reactive, instead of aluminum.
- Cheesecloth (90 grade) ~ Used for straining the curds from the whey, you need a very fine cheesecloth for actual cheesemaking. Most grocery store cheesecloth is low quality (50 grade) with large holes. You’ll need a fine weave cheesecloth (90 grade), or a repurposed linen napkin or piece of t-shirt or cotton sheet.
- Curd Knife ~ The cheese curds need to be cut from the top to bottom of the pot, so you’ll need a knife long enough to reach the bottom of your pot. They make a special curd knife for this, but a long filet knife or chefs knife works just fine too.
- Cheese Forms (or Molds) ~ The shape and size depends on the type of cheese you choose to make. This is used for shaping the curds as they drain, and for holding the curds in pressed cheeses.
- Cheese Press ~ Used to press the moisture out of the curds, this can be an expensive piece of equipment. There are a few inexpensive options that get the job done, like this one which is pretty easy to make at home. An step up from that is this small stainless steel press, and then this one’s the Cadillac of home cheese presses.
- Cheese Cave (or Aging Space) ~ Most cheesemakers re-purpose an old dorm fridge and use a temperature override switch. Refrigerators usually run between 32 and 40 degrees, but cheese usually ages at 50 to 55 F. I’m using a wine refrigerator which is designed to run at the optimum temperatures and has nicely spaced wooden shelves perfect for aging cheese.
The two most difficult pieces of equipment here are the cheese press (because they can be expensive) and the aging space.
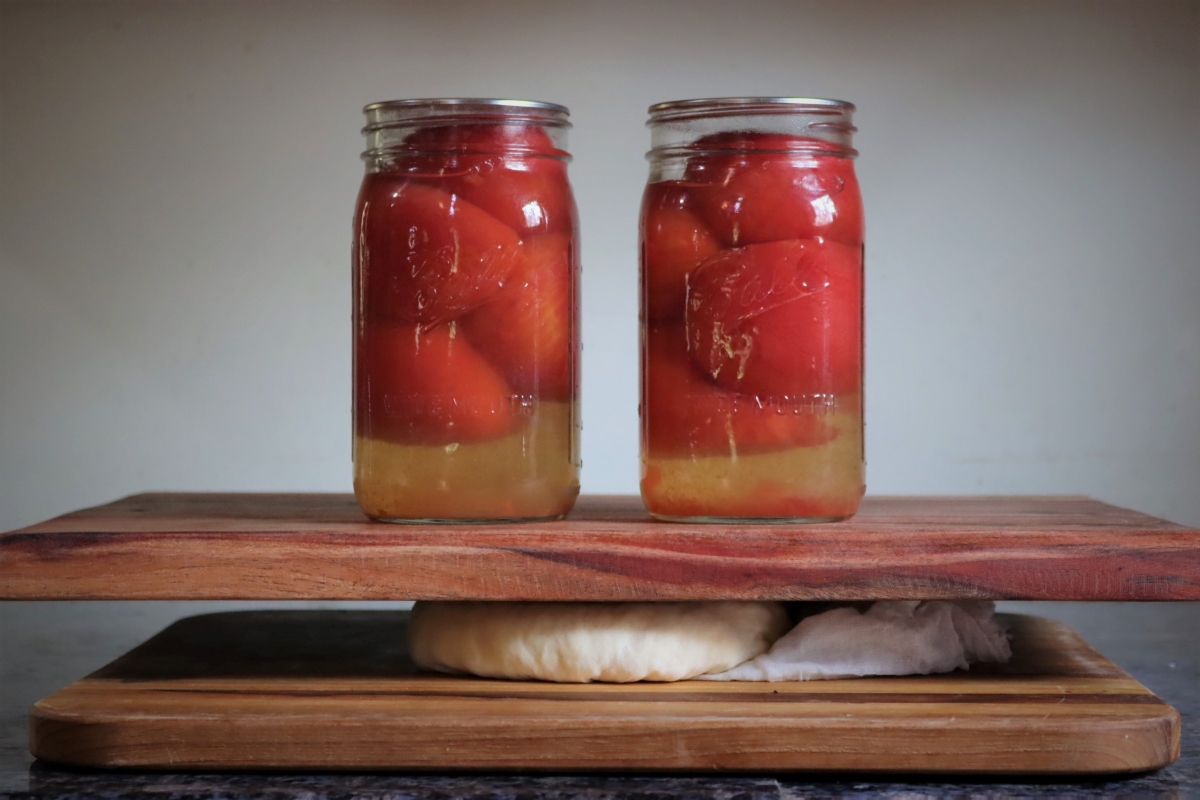
Know that there are literally hundreds of types of cheese you can make without a cheese press, and even still, there are plenty of options for rigging up a cheese press that can apply moderate amounts of pressure with simple household things.
A few cutting boards and milk jugs filled with water (or canned goods) for weight are perfect for pressing weights up to about 20 lbs.
Setting up a dedicated aging space means you’re really getting serious about your cheesemaking hobby, but until then, there are plenty of ways to age cheeses in an old ice chest, back closet, or even the crisper drawer of your existing refrigerator. Beyond that, there are many cheeses that can be eaten fresh and don’t require any aging.
Where there’s a will, there’s a way, and really it’s possible to get started making homemade cheese with little more than patience and fresh milk.
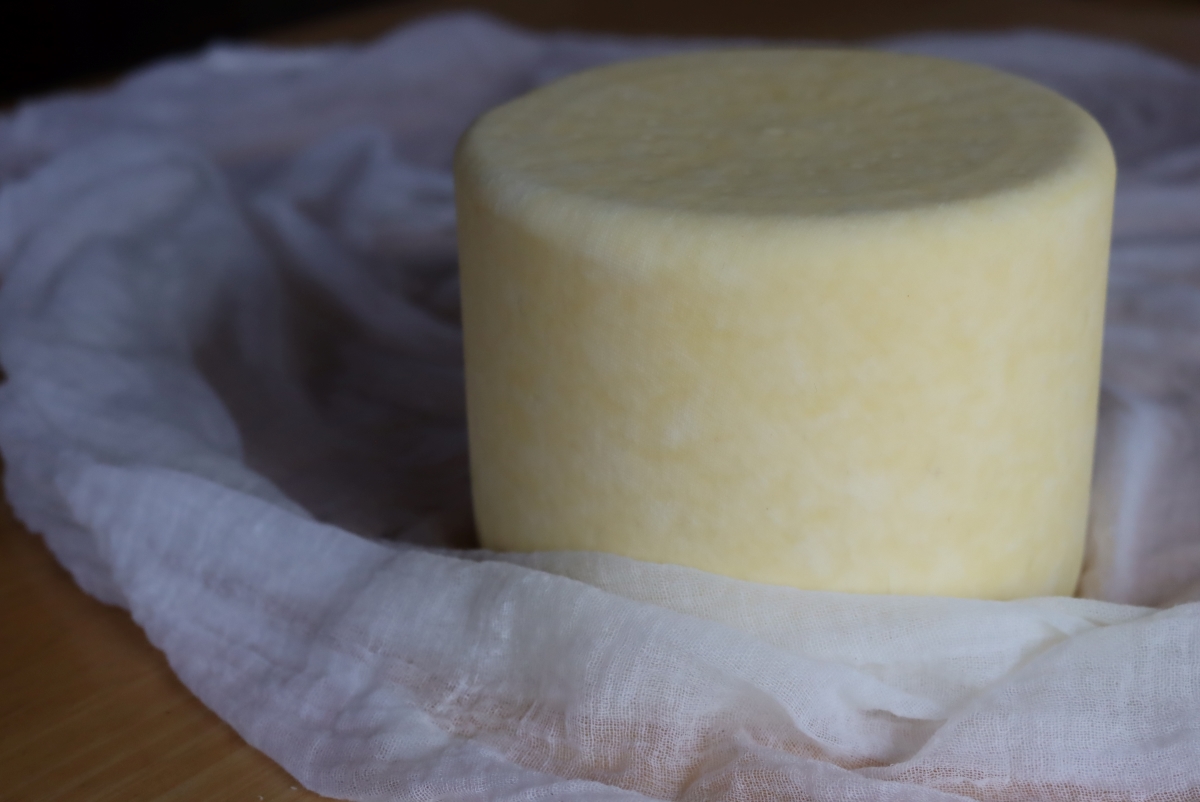
Choosing Milk for Cheesemaking
As with anything, the quality of the ingredients will impact the finished product. Choosing raw vs. pasteurized milk or goat vs cow’s milk will affect the color, taste, and texture of the finished cheese.
Goat vs. Cow Milk
Homemade cheese can be made from the milk of any mammal (including breastmilk). There are specialized dairies in the Nordics that make moose milk cheese, and water buffalo milk is the most prized for making traditional mozzarella.
Practically speaking, as a home cheesemaker you’re most likely to have access to either cow or goat’s milk, so I’ll focus on those.
Cow’s Milk contains beta carotene (vitamin A), especially when it comes from pastured cows. This gives it a yellow color when made with fresh milk, and modern cheesemakers often add annatto to color cheeses so that they have the rich yellow color of pasture-raised dairy. (Bright yellow cheddar is the extension of this, as they just kept adding more until it was fluorescent.)
The milk fat naturally separates from the milk, floating to the top as a cream layer. This allows a cheesemaker to control the cream level of the finished cheese, as with triple cream brie, but also means that you have to take extra care to keep the cream incorporated into the milk during the cheesemaking process.
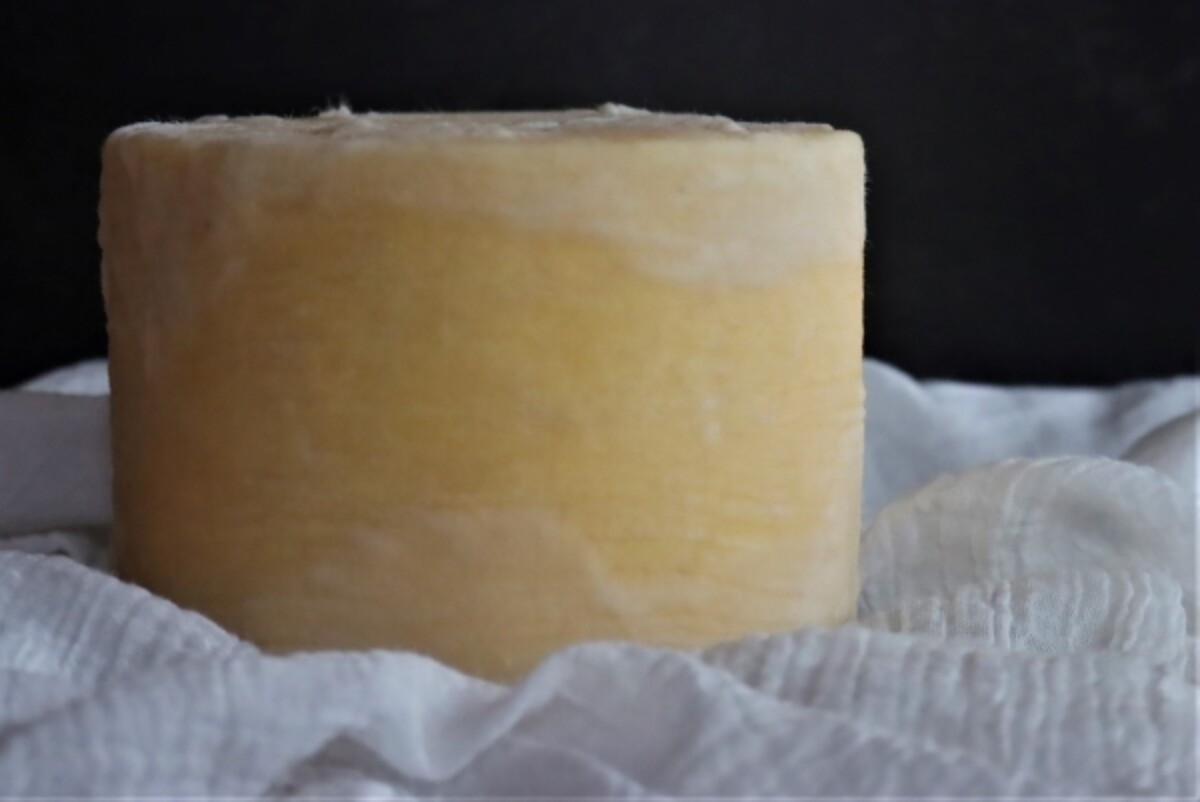
Goat’s Milk lacks beta carotene, so it’s usually snow-white in color and results in cheeses with a bright white hue. It’s naturally homogenized, so the cream doesn’t separate easily either. The flavor is often distinctive, some people call it “goaty,” but that depends on how the goats are raised.
The goat breed, their diet, and whether there’s a full-time buck on the premises will all contribute to the flavor of the milk…and often goat milk is just as mild as cows milk.
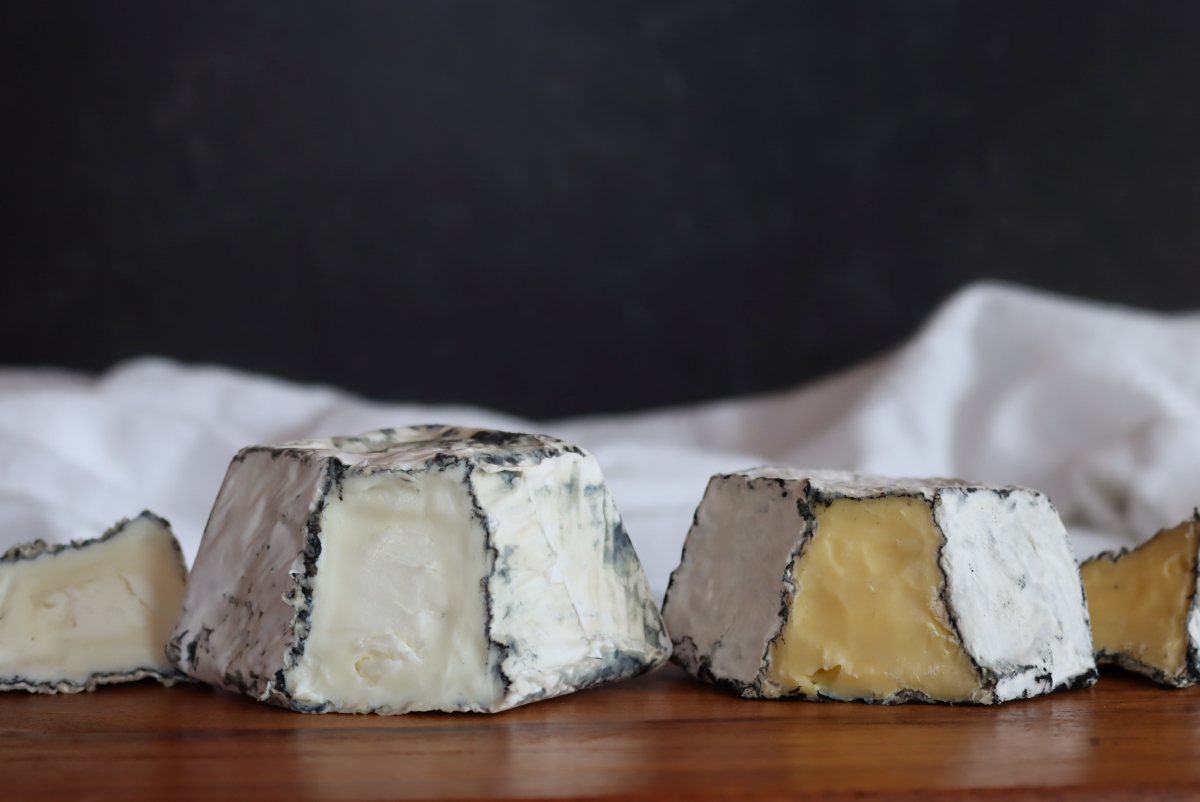
Still, that distinctive “goaty” flavor makes for exceptional cheeses and trying to make a traditional goat cheese with cow’s milk often results in disappointment. I tried making Valencay, a traditional French Bloomy Rind Ashed Goat Cheese with cow’s milk and It was sad in comparison to the goat cheese version.
The difference is really obvious visually, with the bright yellow pastured Jersey cow milk.
Raw vs. Pasteurized Milk
I don’t raise dairy animals, but I’m lucky enough to have a raw milk jersey dairy just around the corner. The owner literally lets me show up with a 5-gallon bucket and draw raw milk right out of the bulk tank. It’s just a few hours old, from healthy pastured jersey cows that I can scratch on the head on my way back to the car.
Before I found this arrangement, I bought jugs of pasteurized milk at the store just like everyone else.
The choice of raw milk vs. pasteurized milk really depends on the type of cheese and your comfort level working with unpasteurized dairy. It’s hard to get the distinctive flavor of a raw milk cheddar using pasteurized milk, but then there are some types of cheese best made with pasteurized milk.
That said, for the most part, you can make just about any cheese working with either raw or pasteurized, so use what you have available. Whenever possible, choose the freshest milk available, even if that just means reaching to the back of the case to pull milk with the longest out date.
Either way, avoid ultra-pasteurized (UHT) milk. It’s heated to temperatures that change the protein structure of the milk, and it won’t work in most cheesemaking recipes.
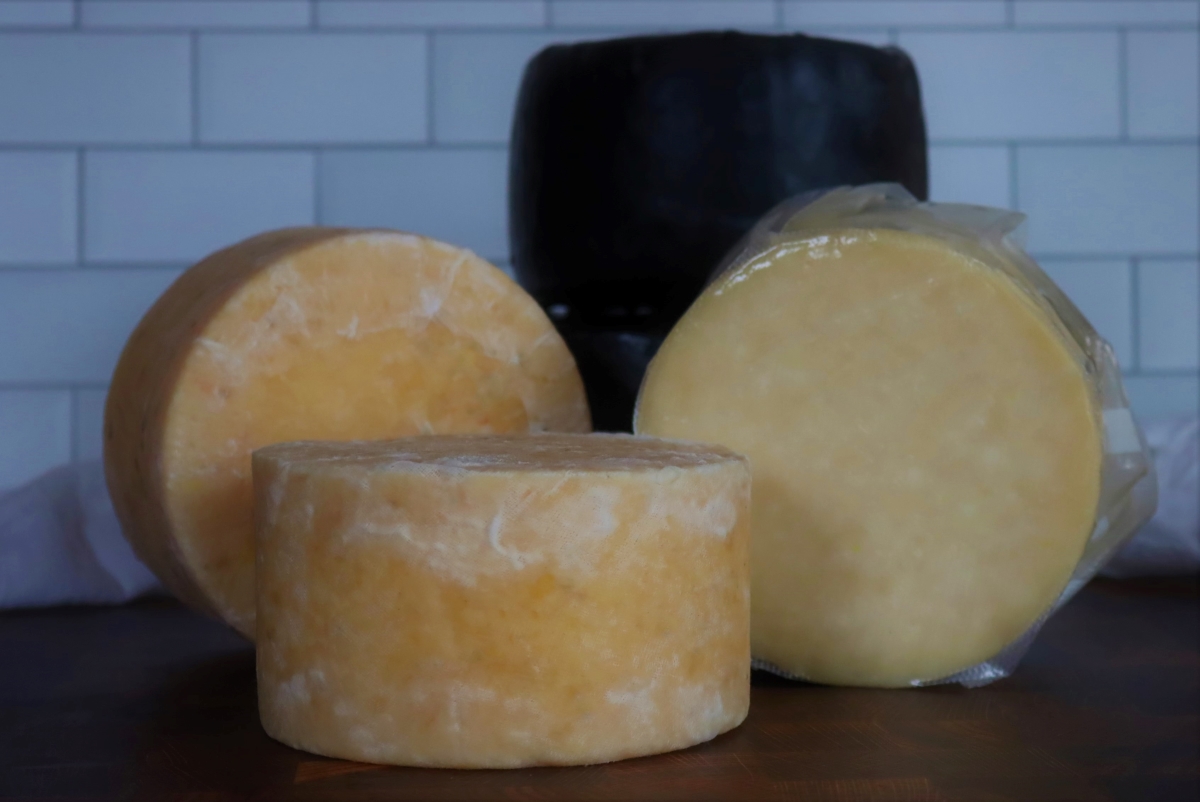
Cheesemaking Cultures & Molds
Most cheeses can be made with just a few basic cultures. There are of course dozens of strains available commercially, for advanced cheesemakers or professional operations. Most only result in a slight variation in the flavor of the finished cheese, so don’t get caught up in the confusion as a beginner. Just stick with basic cultures, and branch out later if it suits your fancy.
The vast majority of cheese can be made with just basic mesophilic or thermophilic culture packets, and starting with those will give you plenty of options. Beyond that, even specialty cheeses start with one of those two as a base culture (ie. blue cheese and swiss add in specialty cultures, but they rely on generic mesophilic and thermophilic cultures to ripen the milk first).
Cheese Cultures
- Mesophilic Culture ~ An acidifying cheese culture that ripens at moderate temperatures (around 86 F), thus the name “meso” -philic name. Used to make a variety of cheeses including cheddar, colby, jack, brie, havarti, queso fresco, blue cheese, and many more.
- Thermophilic Culture ~ An acidifying cheese culture that ripens at higher temperatures (over 100 F). Used for making cultured mozzarella, Parmesan, Asiago, butterkase, and many others.
- Propionic Shermanii (Swiss) ~ Used to produce the eye (and distinctive flavor) in alpine style cheese like swiss, this culture doesn’t produce acid on its own and must be used with either a thermophilic or mesophilic starter culture.
Cheese Molds
- Geotrichum Candidum & Penicillium Candidum ~ Used for mold-ripened cheeses like brie. Creates a white surface mold and mushroom aroma/flavor. Both strains are often used together in a single recipe, but some specialty cheeses have just one or the other.
- Brevibacterium Linens (Red Mold) ~ Used for making surface-ripened cheeses like Limburger. Contributes that distinctive “stinky cheese” flavor.
- Penicillium Roqueforti ~ Used for making blue cheese.
Beyond these basic cultures, you’ll often see cultures labeled “sour cream culture” or “buttermilk culture,” both of which are just mesophilic cultures specifically selected for the purpose. You can actually use generic mesophilic powder in place of those.
In the other direction, in a pinch, you can use kefir culture (mesophilic) or yogurt culture (usually thermophilic) to make cheese, and some fancy alpine cheeses are actually traditionally made with a generic Bulgarian yogurt starter culture (but could be made with a packet of thermophilic culture instead).
If you’re curious, you can look at the specific strains listed on each packet, which will give you an idea of possible substitutions. The main thing to be aware of is most cheeses are made with either thermophilic or mesophilic culture, sometimes with an adjunct culture or mold added to create a specific effect.
Still, if you have just packets of generic mesophilic and thermophilic culture on hand, you’ll be all set to make probably 70-80% of the types of cheese in the world.
(If you’re interested in making cheese the old school way, as it was done before freeze-dried packets of cheese cultures became available, I’d suggest reading The Art of Natural Cheesemaking by David Asher. He uses raw milk and makes cheese without purchasing cultures of any sort, simply lets the process (temperature/salt/etc) select for the type of dominant culture in the cheese. This is how it was done for millennia, all the way back to the dawn of agriculture.)
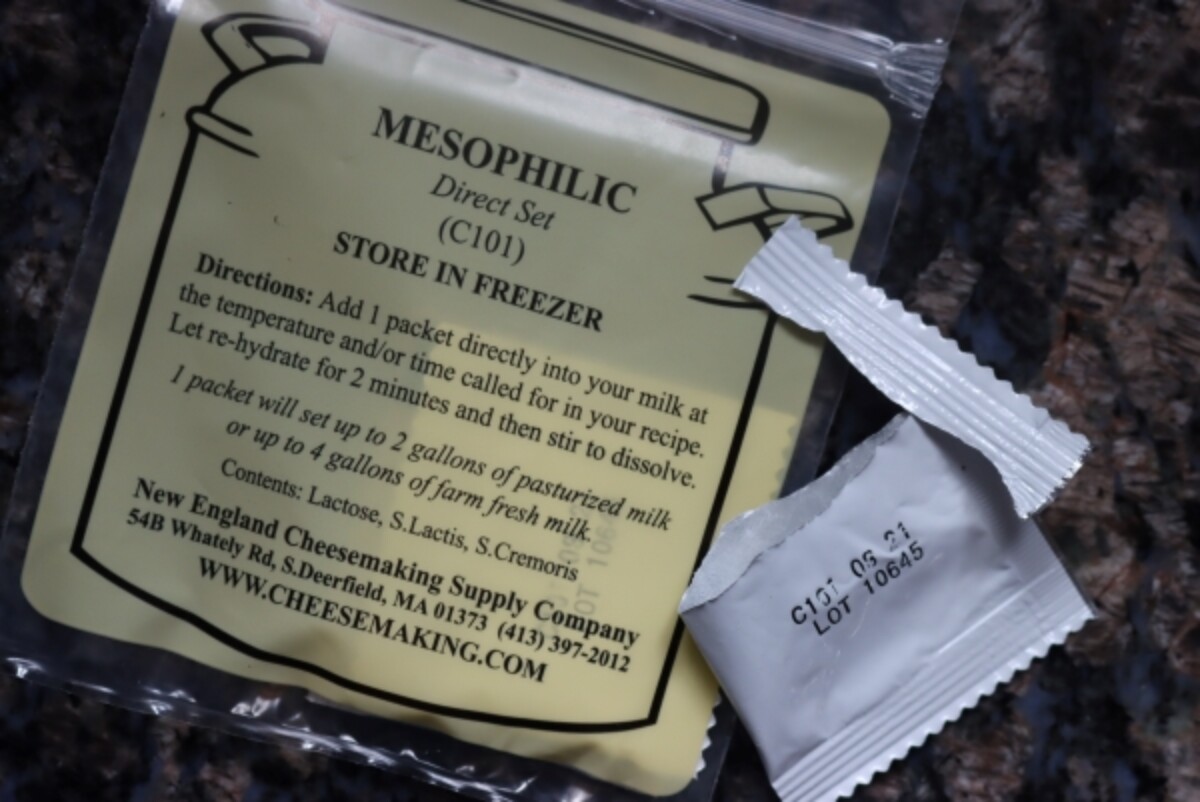
Other Cheesemaking Ingredients
Besides milk and cultures, there are a few other ingredients included in the cheesemaking process. Some are only used for specific cheeses, but others, like rennet, are common in most types of cheese.
- Rennet ~ A natural enzyme extracted from the stomach of a young calf that causes curds to form, separating them from the liquid whey. “Vegetable” rennet is available these days as well, but it’s made by culturing a GMO bacteria specifically bred to produce the enzyme. There are a few options for entirely plant-based rennets made from things like thistle and fig sap, but they only set weak curds for soft cheeses.
- Lipase Powder ~ An enzyme that gives a sharp or “piquant” flavor to some cheese (like parmesan). Traditionally, a piece of calf’s stomach was added as a rennet source rather than a standardized rennet extract. It contained all manner of flavoring enzymes, including lipase. This is sometimes added to give that complexity back to cheeses in the way they would have tasted 200 years ago.
- Calcium Chloride ~ A natural mineral found in raw milk, it’s denatured a bit by the pasteurization process. Adding calcium chloride is optional, but it helps set firm curds when working with pasteurized milk.
- Citric Acid ~ Used as an acid source to set uncultured cheeses like paneer. It’s also used to create a shortcut 60-minute mozzarella, rather than the slow traditional cultured version which cultures all day to acidify the curds. You can use either vinegar or lemon juice instead, but those options will also flavor the cheese as they acidify the milk.
- Cheese Salt ~ This is just a simple, additive-free salt. Modern iodized salt can react with the cheese, and most types of grocery store salt contain anti-caking agents and aren’t just pure salt. Other options include kosher salt (without additives, check labels as some do have additives) or pickling/canning salt, both of which can be readily found in most supermarkets.
- Annatto ~ A plant-based food dye used to give a yellow color to cheese. It’s added entirely for aesthetics and is entirely optional. (I’ve never used it.) Annato does not contribute flavor to the cheese.
- Ash ~ Many specialty cheeses use ash in the process, either to coat the outside of the cheese or to add a line of ash within the cheese. This is either regular wood ash or ash made from burning the grapevines prunings in wine-growing regions. In ash-coated cheeses, the ash is used to raise the pH which promotes the growth of white surface molds.
That covers the bulk of possible ingredients, but of course, there are always incredibly specialty things. For example, some cheeses are wrapped in grape leaves or spruce cambium (inner bark) to shape and flavor them.
Of course, if you want to complicate things there are also probably a dozen different types of animal rennet too, but stick with either basic animal or vegetable rennet for now.
Beginner Cheesemaking Recipes
Now that you understand the basics, I’d encourage you to get some hands-on experience with a beginner cheesemaking recipe. I’ve picked a few recipes that are good for beginning cheesemakers, starting with simple one-hour cheeses all the way up to intermediate and advanced recipes.
I’ve made every single one of these, and they’re all delicious…
Simple One Hour Cheesemaking Recipes (Not Cultured)
These cheeses are acid-ripened cheeses, where the curd is separated from the whey with vinegar, lemon juice, or citric acid. They’re not “cultured” cheeses, and the processes at work here are chemical and enzymatic (rather than biological).
- 60 Minute Mozzarella ~ A shortcut mozzarella cheese that’s absolutely delicious and easy to make.
- Paneer ~ A traditional Indian cheese with a firm curd that doesn’t melt. Generally fried or used in curries.
- Marscapone ~ This smooth creamy cheese is sweet and rich, often used in desserts. Traditionally made with tartaric acid (a byproduct of winemaking), it can also be made with citric acid or lemon juice.
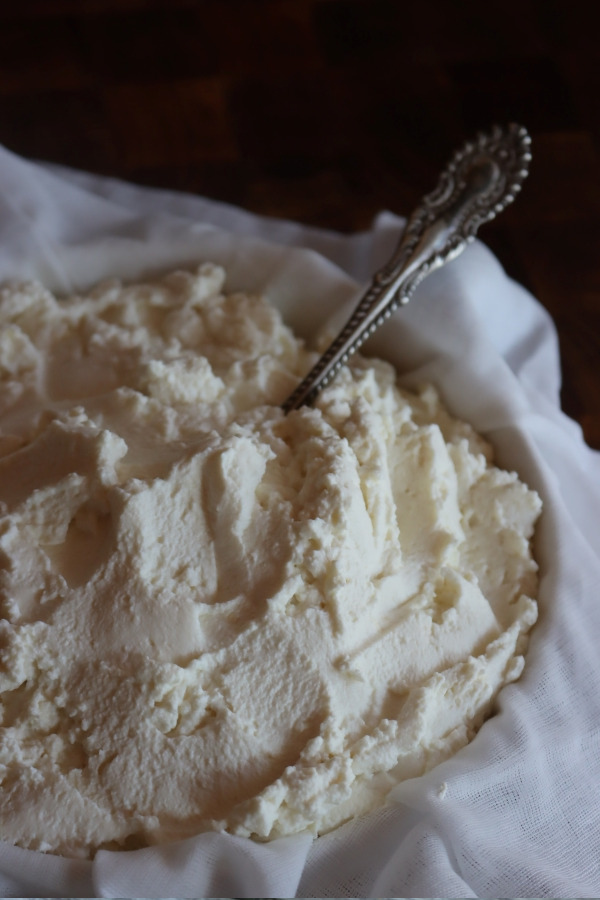
- Whole Milk Ricotta ~ Traditional ricotta is made with the whey left over after making another type of cheese, but it can also be made with whole milk.
Beginner Cultured Cheeses (& Other Cultured Dairy)
Once you’re ready to start making cultured cheeses, these simple cultured cheeses are perfect for beginners. They’re ready from start to finish in 12 to 48 hours, and the cultures do all the work while you watch.
- Icelandic Skyr ~ Often sold as yogurt these days, it’s actually a traditional soft cheese made with culture and rennet. This one’s the perfect way to get your first experience working with rennet.
- Chevre ~ This soft goat cheese cultures quickly and is ready in just 24 to 48 hours.
- Raw Goat’s Milk Cheese ~ Another soft cheese that works with the natural cultures in raw goats milk. This one only works if you’re milking your own goats, or have a neighbor who gives you very fresh raw milk.
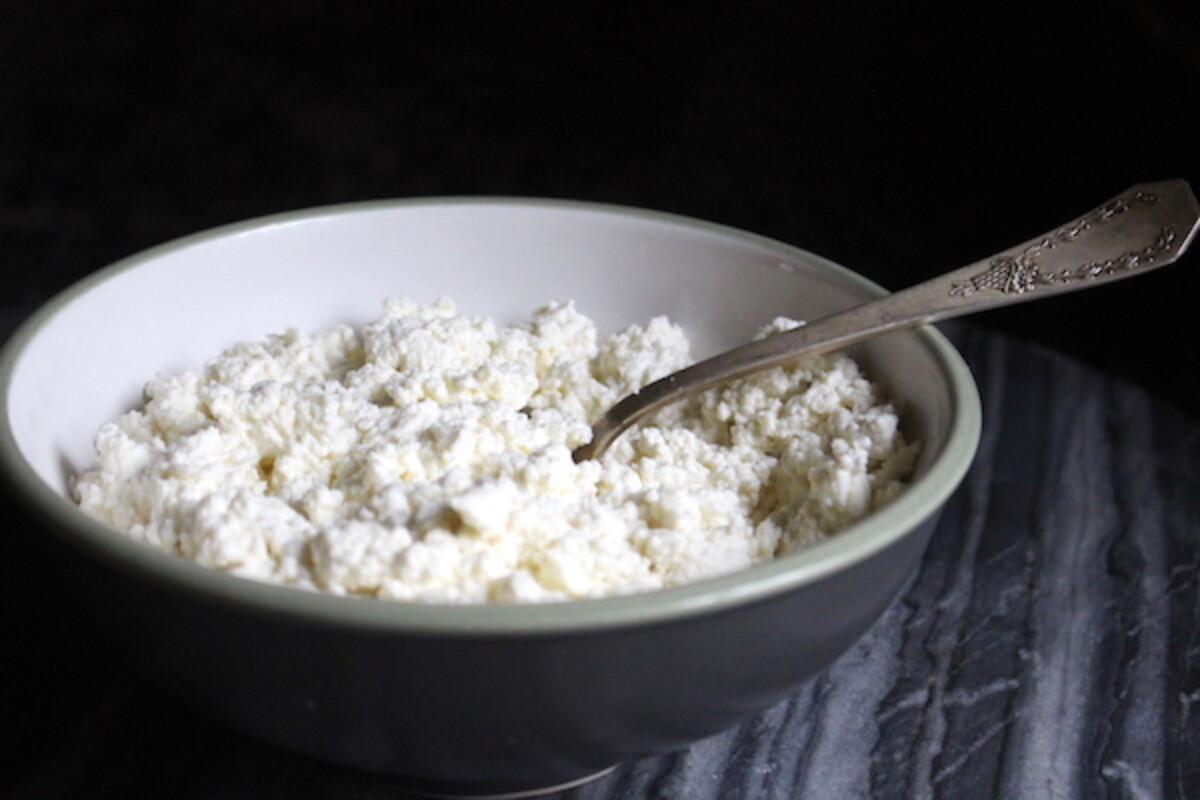
- Farmer’s Cheese ~ A simple curd cheese, similar to ricotta or cottage cheese.
Minimal Equipment Cheeses
These cultured cheeses are a bit more time-consuming than the basic soft cultured cheeses above. A few of these even involve short aging periods, if you’re ready to dip your toe into affinage (the fancy word for aging cheese).
- Jack cheese ~ A great first-pressed cheese, as it presses with minimal weight and can be pressed under a cutting board with a gallon jug as a weight.
- Feta Cheese ~ This simple cheese gives you a salty, briny firm cheese that’s perfect for salads.
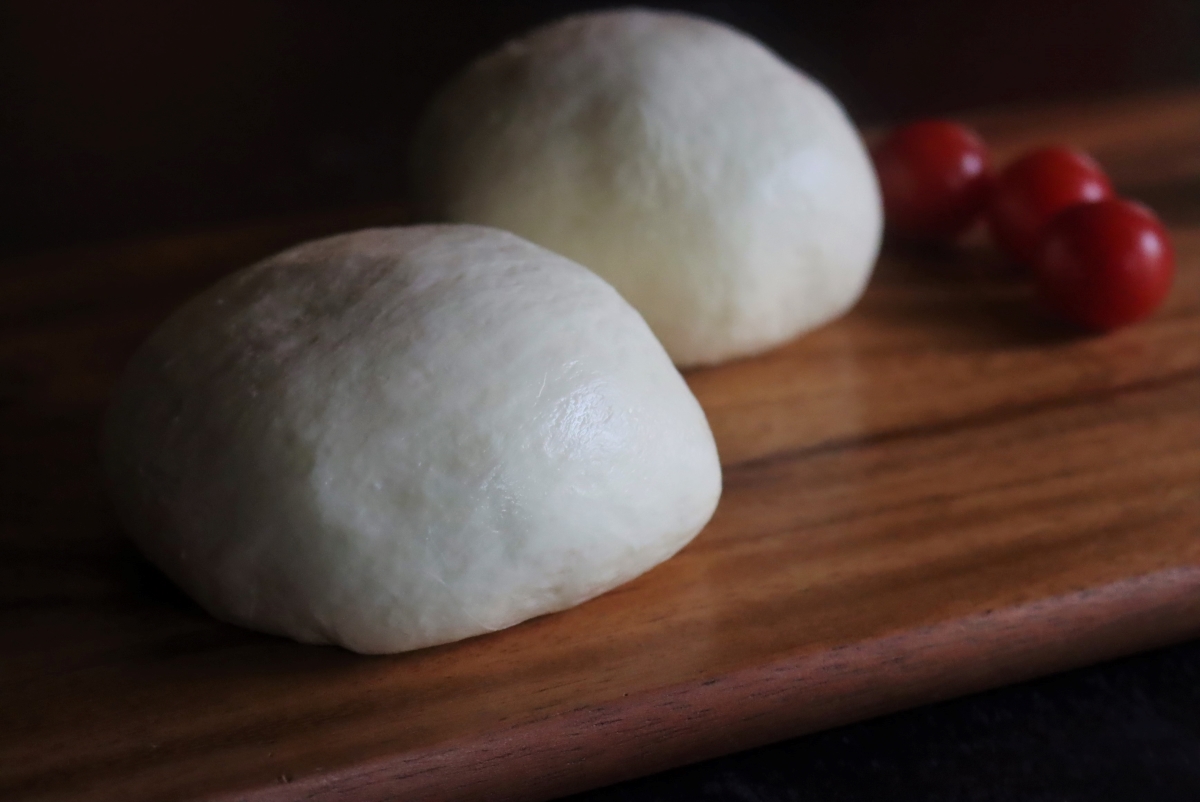
- Cultured mozzarella~ This cheese takes all day to make, though it’s mostly hands-off time waiting (sometimes hours) between steps. It has much more depth of flavor than the quick uncultured 60-minute version.
Soft Bloomy Rind Cheeses
These cheeses require mold powders besides the basic cheese cultures, and that creates a bloom on these surface-ripened soft cheeses. You’ll need a cool and very humid aging space, which might be hard to achieve without creating a home cheese cave.
- Crottin ~ A small bloomy rind goat cheese.
- Pouligny St Pierre ~ A pyramid-shaped wrinkly skinned goat cheese.
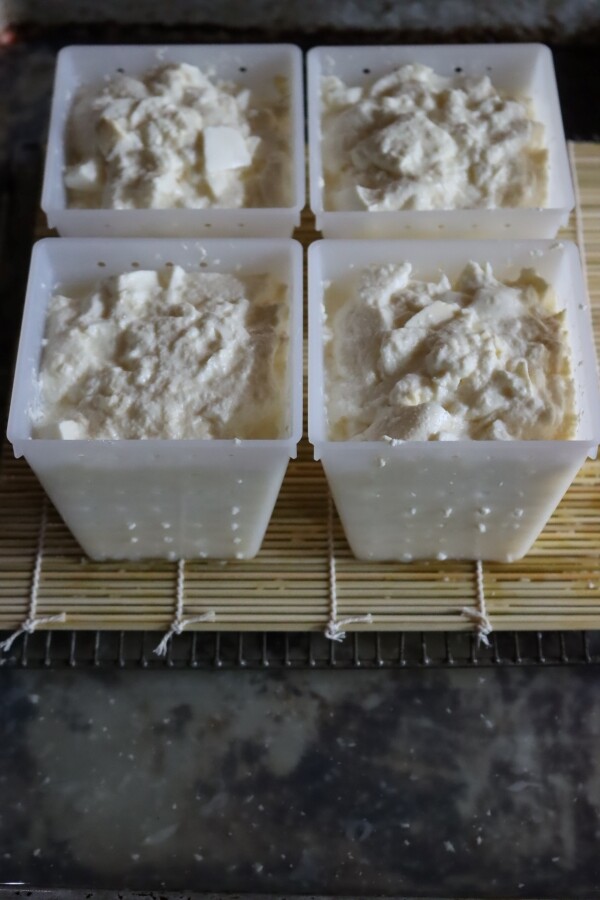
- Valencay ~ An ash-covered goat cheese with a bloomy rind.
Beginner Hard Cheeses
These cheeses require pressing with substantial weight, and you’ll need a cheese press of some sort.
- Colby Cheese ~ A cheddar-like cheese with higher moisture content.
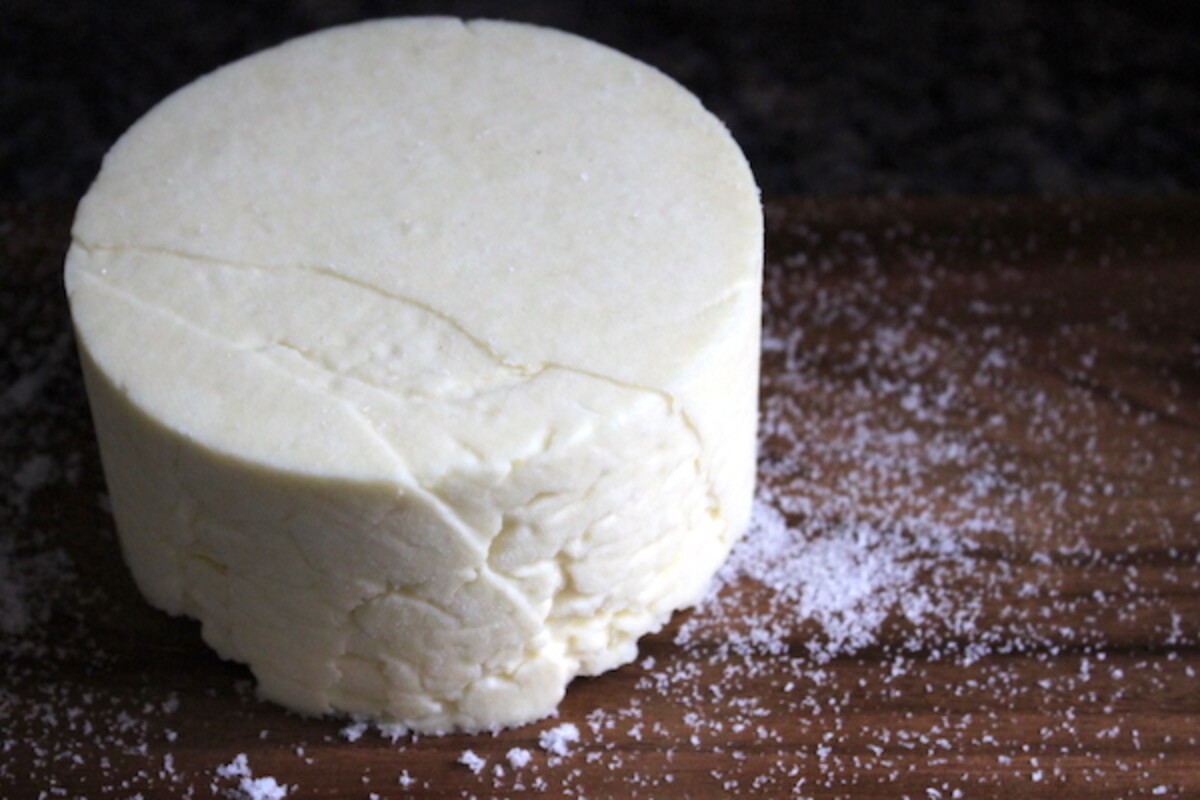
- 18th Century Farmhouse Cheddar ~ This simple farmhouse cheese is made with raw milk and no cultures. It can also be made with pasteurized milk using cultured buttermilk as a starter culture.
Whey Cheeses
Once you start making homemade cheese, you’ll notice that you have a lot of extra whey. As a general rule of thumb, each gallon of milk will make about 1 pound of cheese, plus about 1/2 pound of whey cheese. If you toss the whey, you’re throwing away about 1/3 of the cheese!
- Whey Ricotta ~ Simply re-cooked whey will yield delicious ricotta.
- Mysost ~ A Norwegian whey cheese, it’s made by boiling the whey down until it carmelizes into a sweet fudge-like delicacy.
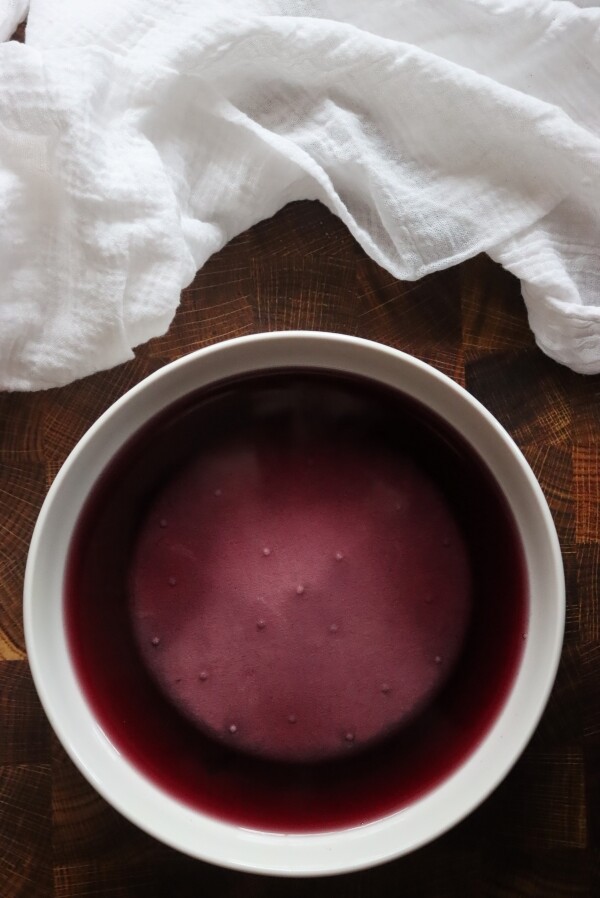
- Ziergerkase ~ A German whey cheese that’s basically ricotta pressed into a block and then soaked in wine before aging.
Cheesemaking Books
If this has whetted your appetite for homemade cheese and you’d like to learn more, there are a number of excellent cheesemaking books available that I’d recommend.
- Home Cheesemaking ~ This is one of the first guides made for home cheesemakers, and still one of the best beginner cheesemaking books available.
- Artisan Cheesemaking At Home ~ Focusing on more intermediate recipes, this is a good choice for someone hoping to try more complex methods.
- Mastering Artisan Cheesemaking: The Ultimate Guide for Home-Scale and Market Producers ~ The title says it all, this book is really comprehensive and covers everything you need to know from start to finish. It’s not targeted at beginners, and it gets quite technical…perfect for this cheese nerd.
- The Art of Natural Cheesemaking ~ This covers old school cheesemaking practices, using farm-fresh raw milk and without using store-bought cultures. An excellent guide for both beginners and more advanced cheesemakers, but only if you’re able to obtain fresh raw milk.
Food Preservation Tutorials
Looking for more home food preservation tutorials?
- Preserving Cheese in Wood Ash
- How to Preserve A Whole Pig Without Refrigeration
- Storing Fresh Eggs in Limewater (Keeps 12+ Months)
- How to Make Sauerkraut
- How to Make Apple Cider Vinegar



Hi, and thank you again for your informative articles. I’ve been brewing (beer, mead) , gardening, foraging and canning and your articles help a lot. I would like to try cheese making. I am curious about sizing a cheese press for simple 1 gallon +/- recipes. How big should the press receiving container be? Would a 1 qt container be big enough for a 1 gal start? Is there a ratio of curd to whey for a 1 gal start? Thank You again.
It often depends on the type of cheese you’re making, and most of the hard cheeses picture on my site are done using 2-4 gallons of milk simply because so much of the milk goes out as whey for hard cheeses. Yields are much higher for fresh or soft cheeses, as much of the moisture stays in the cheese. As a rule of thumb, you’re going to get about 1 lb of hard cheese from 1 gallon of whole milk, roughly. Take a look at the size of a 1 lb block of cheddar at the store, it’s small. Your cheese press should also be small in diameter so that you’re not making a very thin disk of cheese. For a 1 gallon batch, you’ll be looking at something like this roots and harvest cheese press: https://pleasanthillgrain.com/roots-harvest-cheese-press
It can hold at most 2 gallons worth of curds, but that’s pushing it. It’s designed for 1 to 1 1/2 gallons.
Hope this helps!
Thank You so much!
I love cheese from my head down to my knees.
I ordered cultures and rennet from NECM, it came in without anything keeping it all cold. I tried making sour cream and asiago. Neither solidified. My question is did the sitting in mailbox all day without cold pack cause the problem and kill the cultures. I got fresh milk from my neighbor, so am sure the milk was fine.
It’s entirely possible that the cultures were killed, especially if you’re in a hot climate and they really cooked in the mailbox. Keep in mind that other things can impact set, like heating the milk to the right temperature, but provided you followed the recipes, I’d say it was a problem with your cultures and/or rennet. You can test it by putting a few drops of rennet in a room temperature cup of milk. It should solidify in an hour or two.
I am unable to consume animal milk, and unfortunately the selection of dairy-free cheeses around here are limited. I was wondering if you have heard of anyone experimenting with oatmilk to make cheese?
Thanks so much!
I believe it’s possible but I don’t have any specific experience with that. I would just suggest doing some additional research and experimenting. We would love to hear your results if you decide to give it a try.
Please let me know the wine refrigerator you got….I tried the link in your post to Amazon, but it did not show me the exact one you purchased.
I’m not sure of the exact model but any wine refrigerator should work just fine.
What an incredible guide! I honestly wasn’t expecting much info and was blow away over the information you shared here. This must have taken a lot of time! Thank you for sharing!
You’re very welcome. We’re so glad you enjoyed it.
Thank you for this very informative and interesting article. I will definitely be using a lot of your recommendations and recipes. What I do find a little bit of a problem, is that you still quote all your data in Imperial (US) units. Although I can do the conversions, it is time consuming. I have also saved your sauerkraut blog and will be using that information soon.
I am very allergic to Penicillin. Should I avoid the Penicillium additives?
I would assume that you should avoid all Penicillium types, and who knows, possibly some other cheesemaking cultures too…but honestly, I have no idea? This is something you’d have to ask your doctor.
Do you have somewhere I can download the artticls? I am 70 And have cataracts so i need to be able to download them and read them later
Thank you for your help
I’m working on a solution to that, hopefully sometime later this year.
Great article. As per usual, I can’t print it or save it. Thanks.
Wow! This was very interesting and educational! While I will probably stick with just eating all the different types of cheeses,it was a treat to read. Thanks for passing along all of your great experience!
Thank you for this amazing article. It gaves me the urge to try it myself ! Possibilities seems endless. 🙂
Incredible informative and detailed post! Thank you!