Affiliate disclosure: This post may contain affiliate links. Please see our Privacy Policy.
The ultimate reference guide to making four different types of candles at home, including tips for choosing candle wax, wicks, add-ins, and troubleshooting common issues.
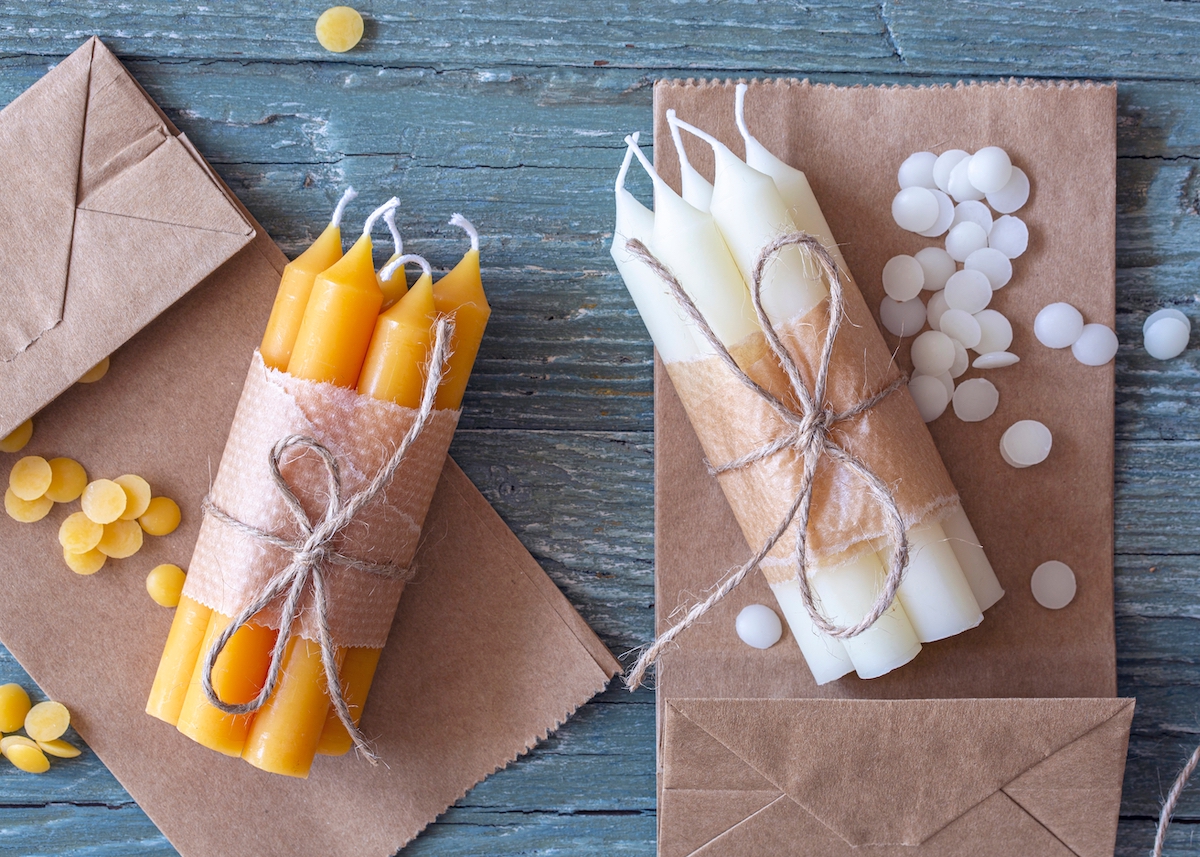
Some of my fondest memories with my family involve sitting around the table at night with nothing but candlelight to illuminate the room. The sweet smell of beeswax is one of my favorite scents, the faint hint of honey hanging in the air makes any space feel instantly cozy and warm. Is it any wonder I love the idea of making candles, beeswax or otherwise, at home?
Candles have always played an important part throughout history, both in terms of practical usage and religious ritual. In many cases the two uses would intersect, the Catholic Church, which still uses beeswax devotional candles to this day, used to accept beeswax as a tithe.
Up until fairly recently, the skills involved with candle making were an important trade. With the invention of electricity, there was less of a demand for candles. At least in North America, making candles by hand (out of necessity) is largely a forgotten skill.
However, over the past couple of decades there’s been a surge of newly interested candle makers (and easy-to-use supplies), who have turned the process into an art form. Unlike the candles of yesteryear and thanks to improvements in wax and wick quality, modern candles don’t need the same attention to maintenance required by earlier prototypes.
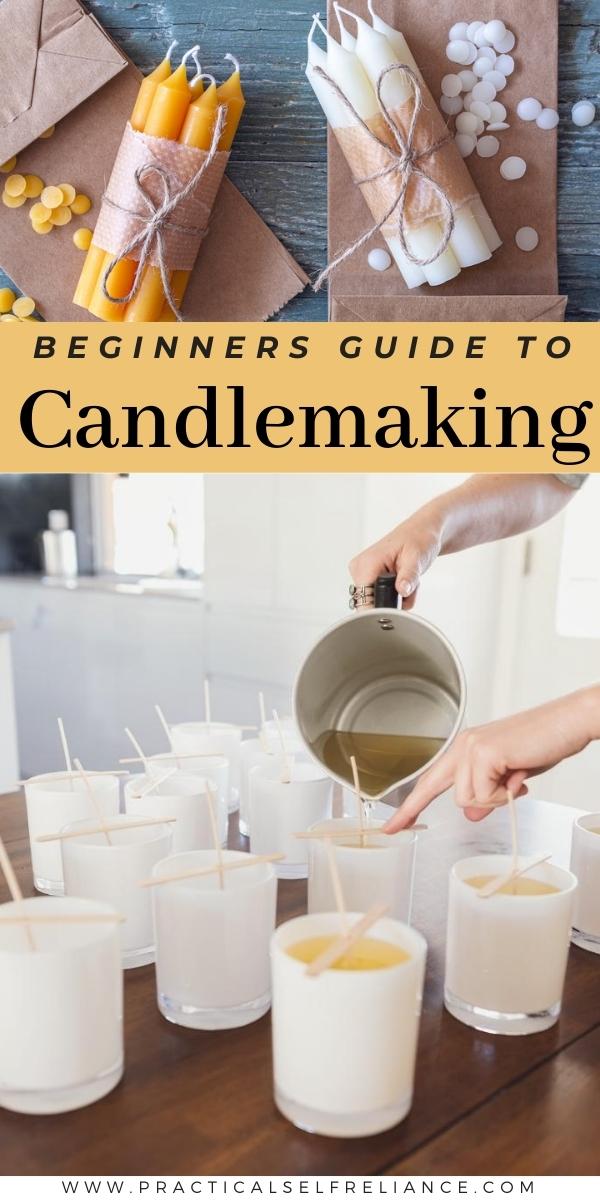
I’m going to guide you through the process of creating four different types of candles: rolled candles, container candles, molded candles, and tapered candles. With these options, you can choose how much of an investment (time- and equipment-wise) you want to make before beginning the project.
Any one of these candles are suitable for making with children, some with more supervision than others, and they all make excellent gifts (or, of course, you can rightfully keep them for yourself!).
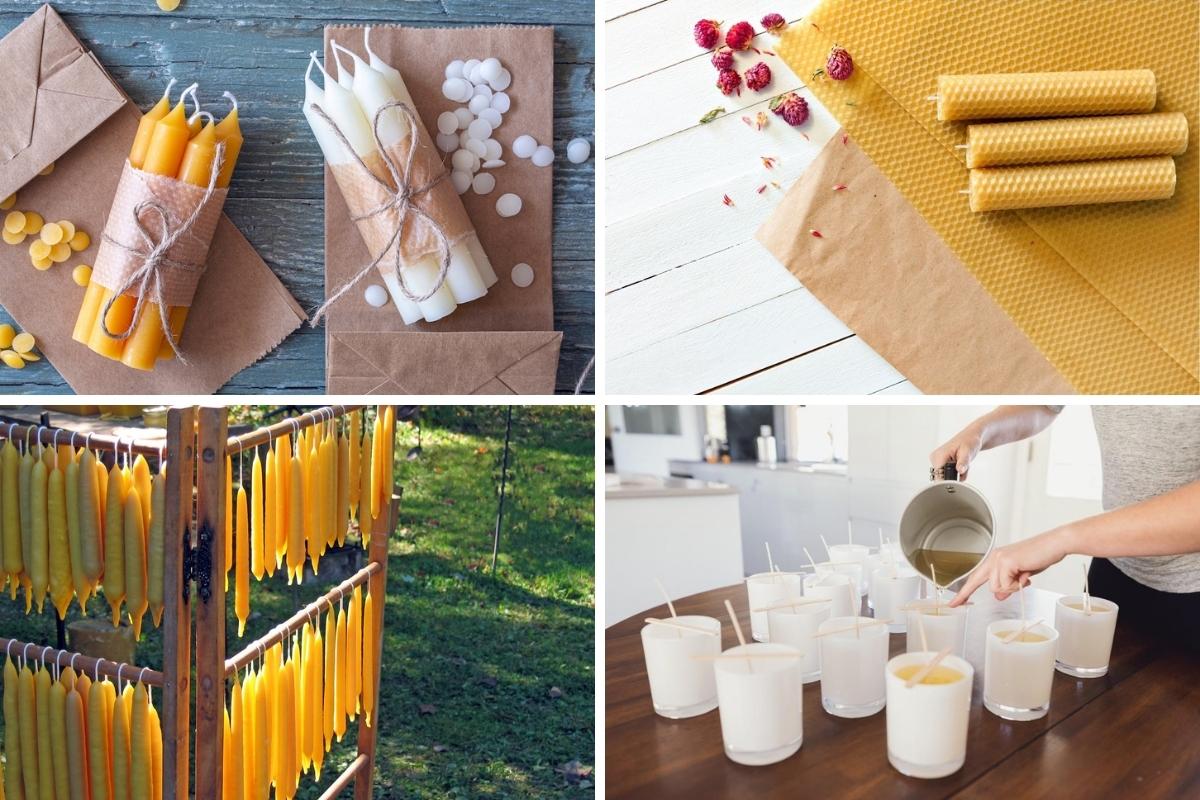
Types of Homemade Candles
There are quite a few different types of homemade candles, and each is made a little bit differently.
Rolled Candles
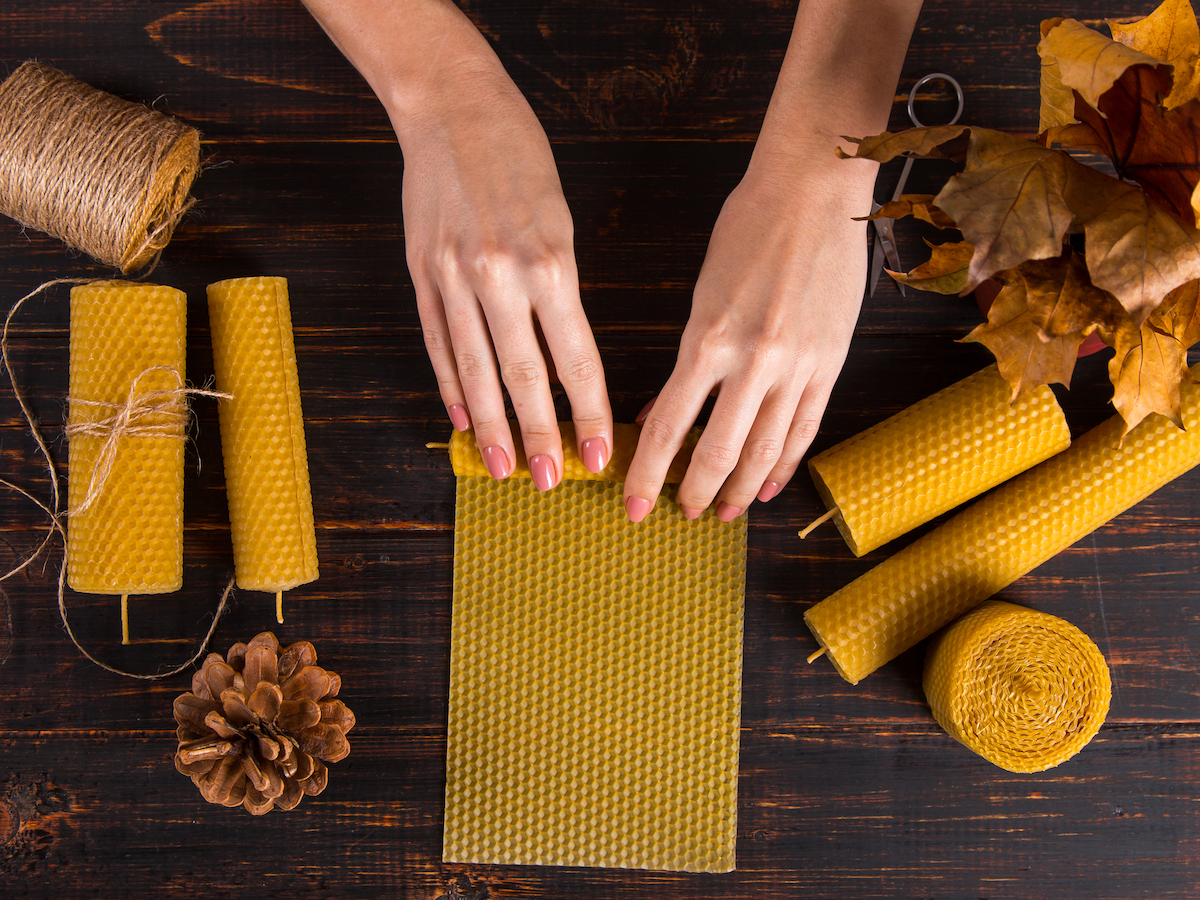
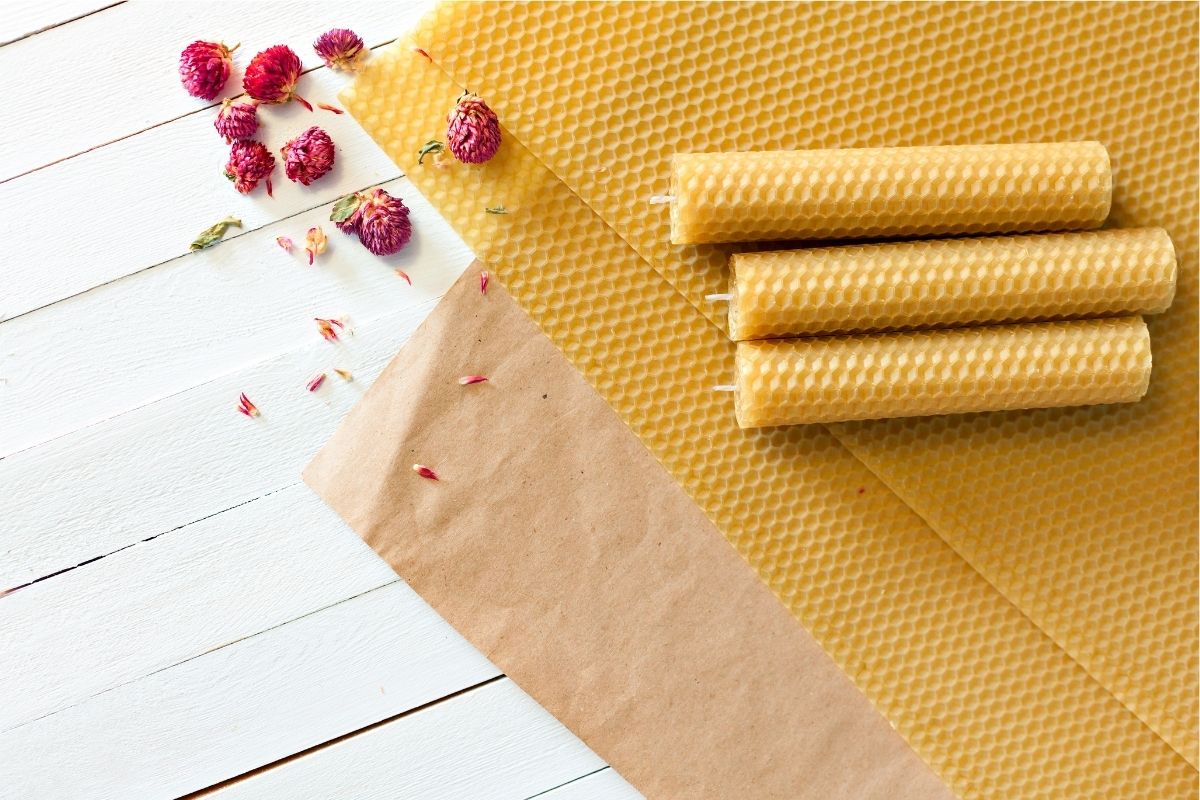
Rolled candles are made from sheets of beeswax that are soft enough to be rolled up without cracking.
Rolled candles are the easiest type of candle to make at home, and they come together quickly without any need for special equipment or the need for handling hot wax.
Making rolled candles is a fun craft for kids, and the finished candles are perfect for decorating with ribbons, flowers, dried herbs and other plant life, pine cones, and small shells.
Container Candles
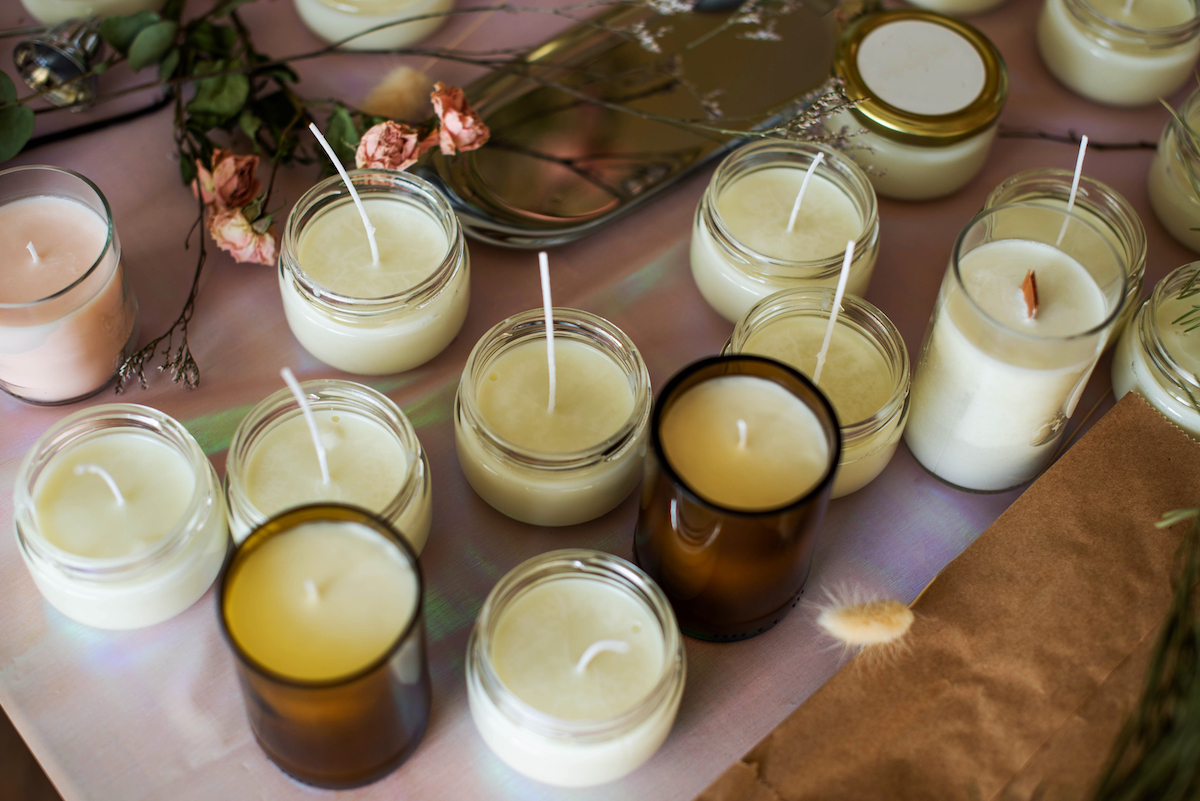
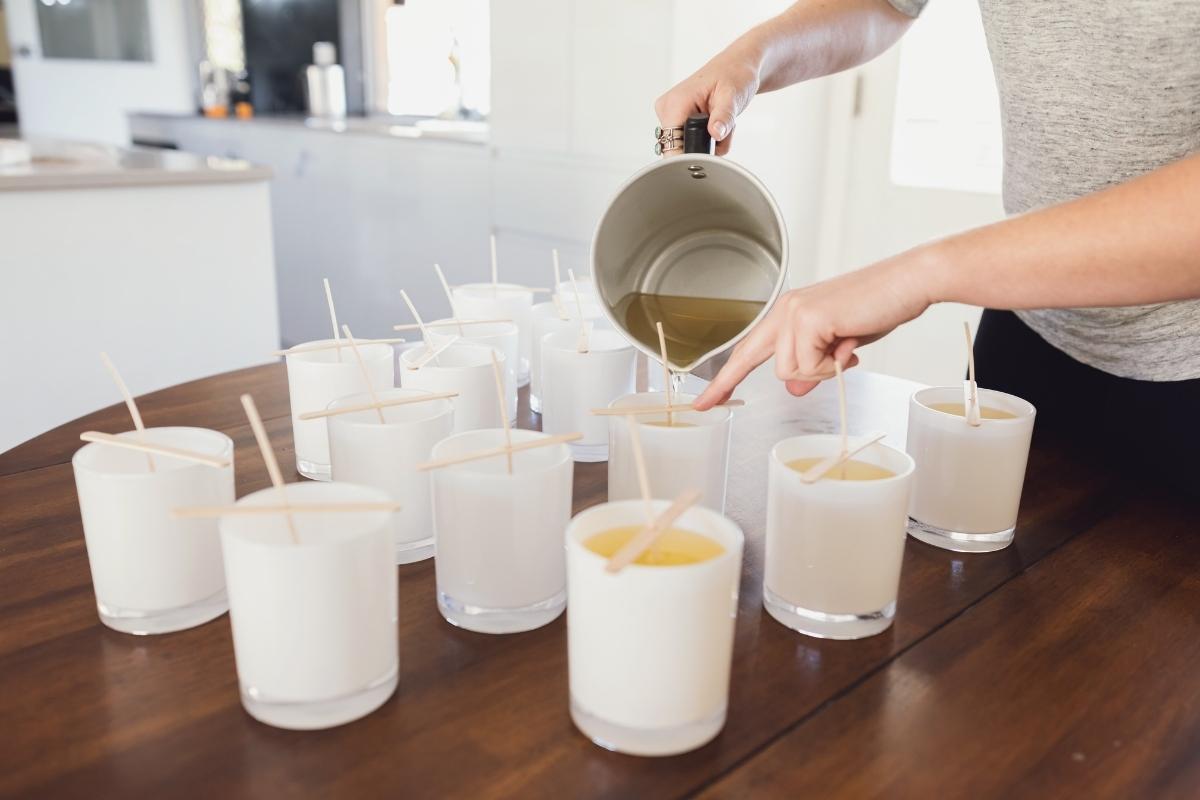
A great craft project for all ages and skill levels, container candles are made with wax that has been poured into the container of your choosing.
There are a few factors to consider when choosing a container: it needs to be heat resistant, it can’t leak, and it can’t break or crack. Some of my favorite vessels include:
- Mason jars or ramekins (or other heat resistant glass containers)
- Sea shells
- Coffee or tea cups
- Candle tins
- Ceramic containers
Any kind of opaque container is especially good for beginners, as it covers up errors and inconsistencies in the wax.
Despite frequent appearances on Pinterest and craft listicles, wine glasses, coconut halves, walnut shells, plastic glasses, terracotta pots, and fish bowls are NOT safe for making container candles.
Some porous materials, like terracotta, can be sprayed with sealant before the wax is added, but with so many already-safe-choices, why not pick a container that’s ready to go as-is?
Once the wick has burned down all the way, it’s fairly easy to remove the wax and recycle the container for another use (this technique is a fantastic way to reuse those still-waxy candle containers that tend to gather dust and sit for long periods of time without being used).
Molded Candles
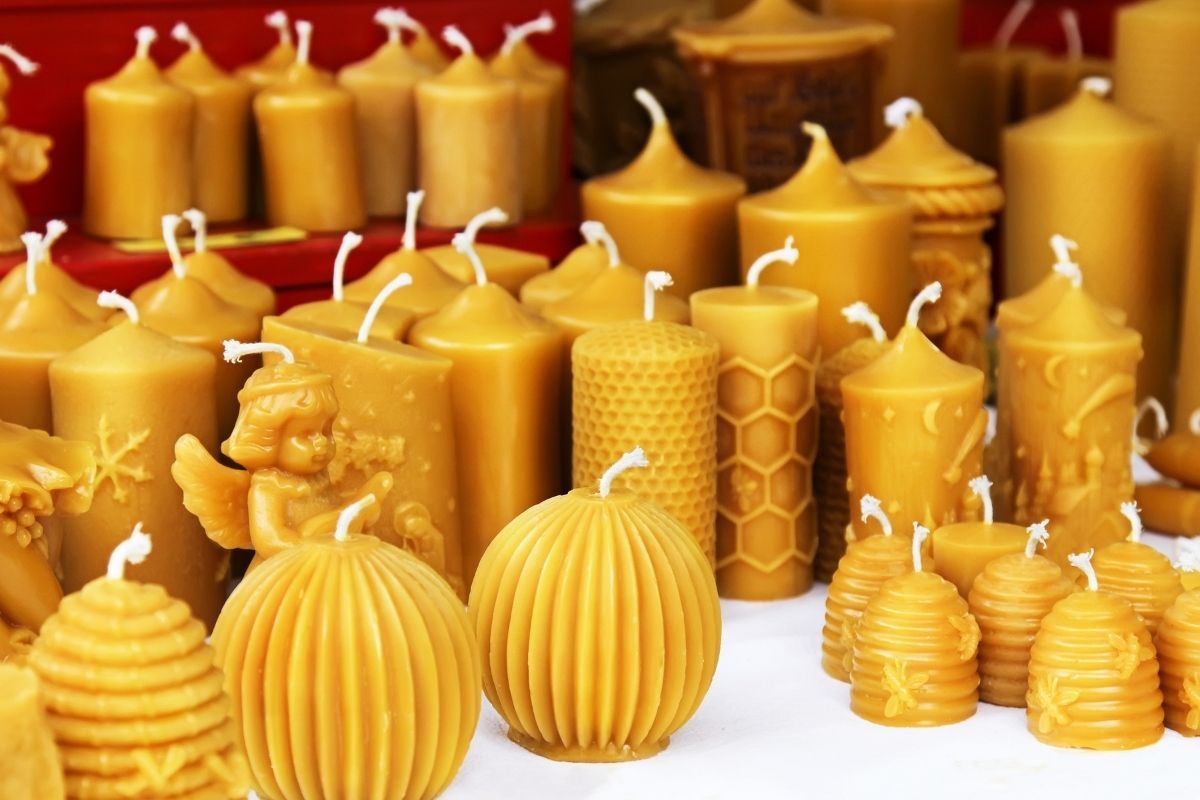
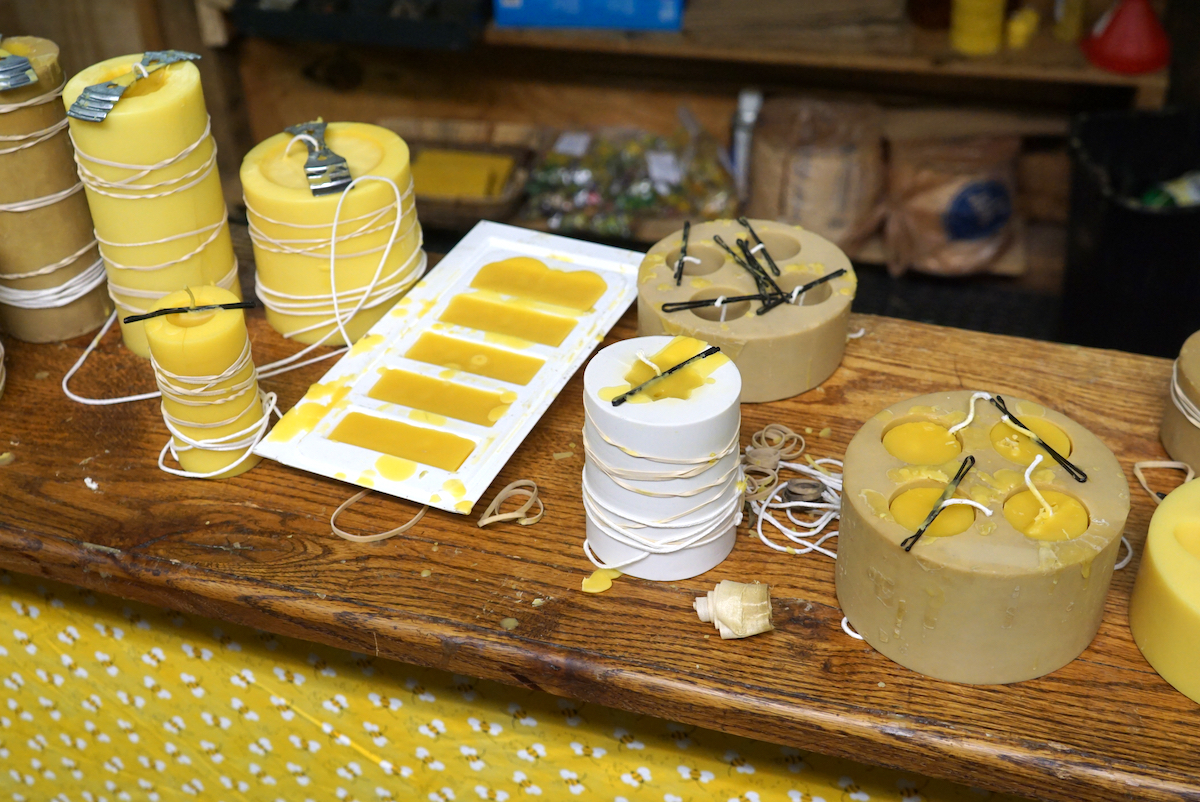
Molded candles are made by pouring wax into any one of several kinds of candle molds and then allowing it to harden before removing it from the mold. There are several types of molds you can use to make these candles, including aluminum molds, pillar molds, and silicon molds.
Depending on the material the mold is made of, you may need to lubricate the mold with a small amount of vegetable oil before pouring in the wax to help with easy removal (silicon molds are an exception and they’re naturally non-stick).
Although there’s a bit of a learning curve with molded candles, once you get the hang of it you can make candles in a huge variety of shapes and sizes.
Dipped Taper Candles
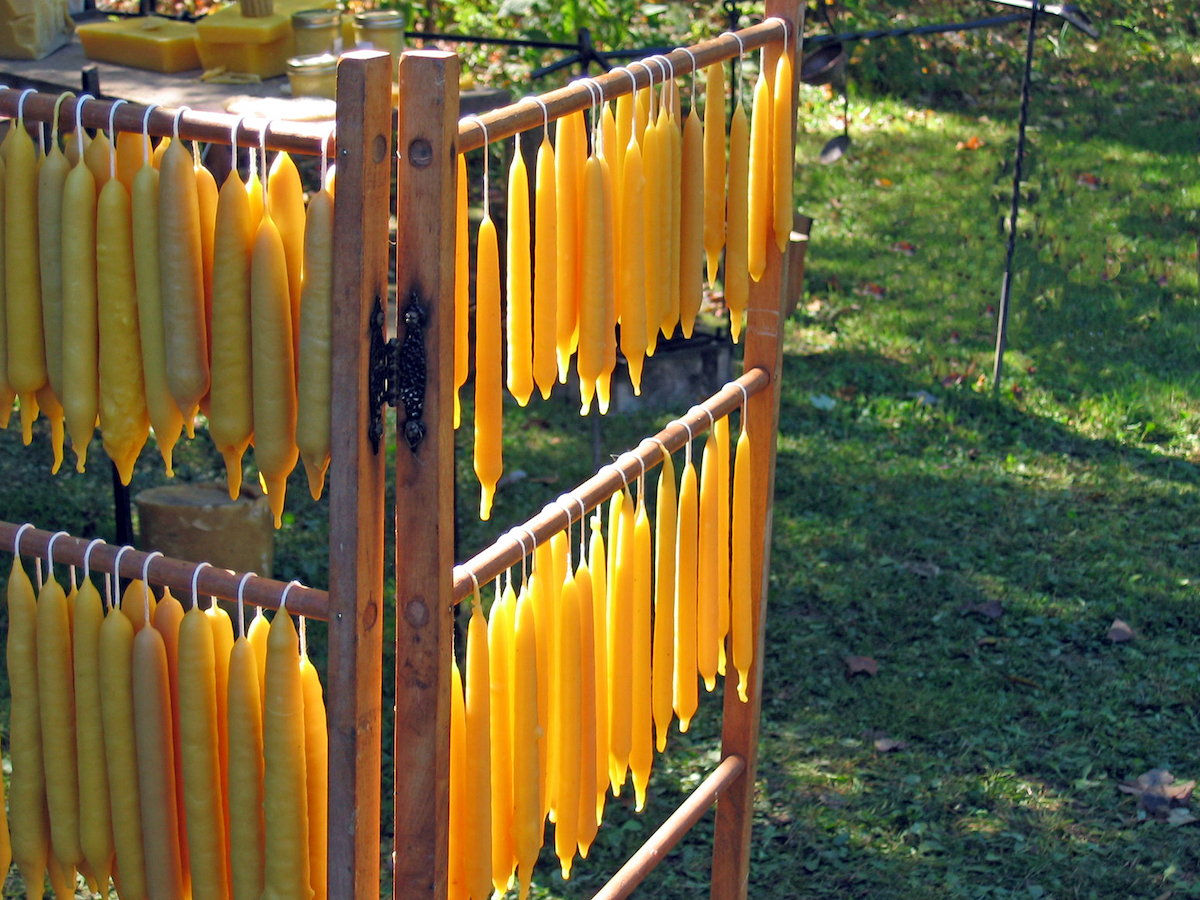
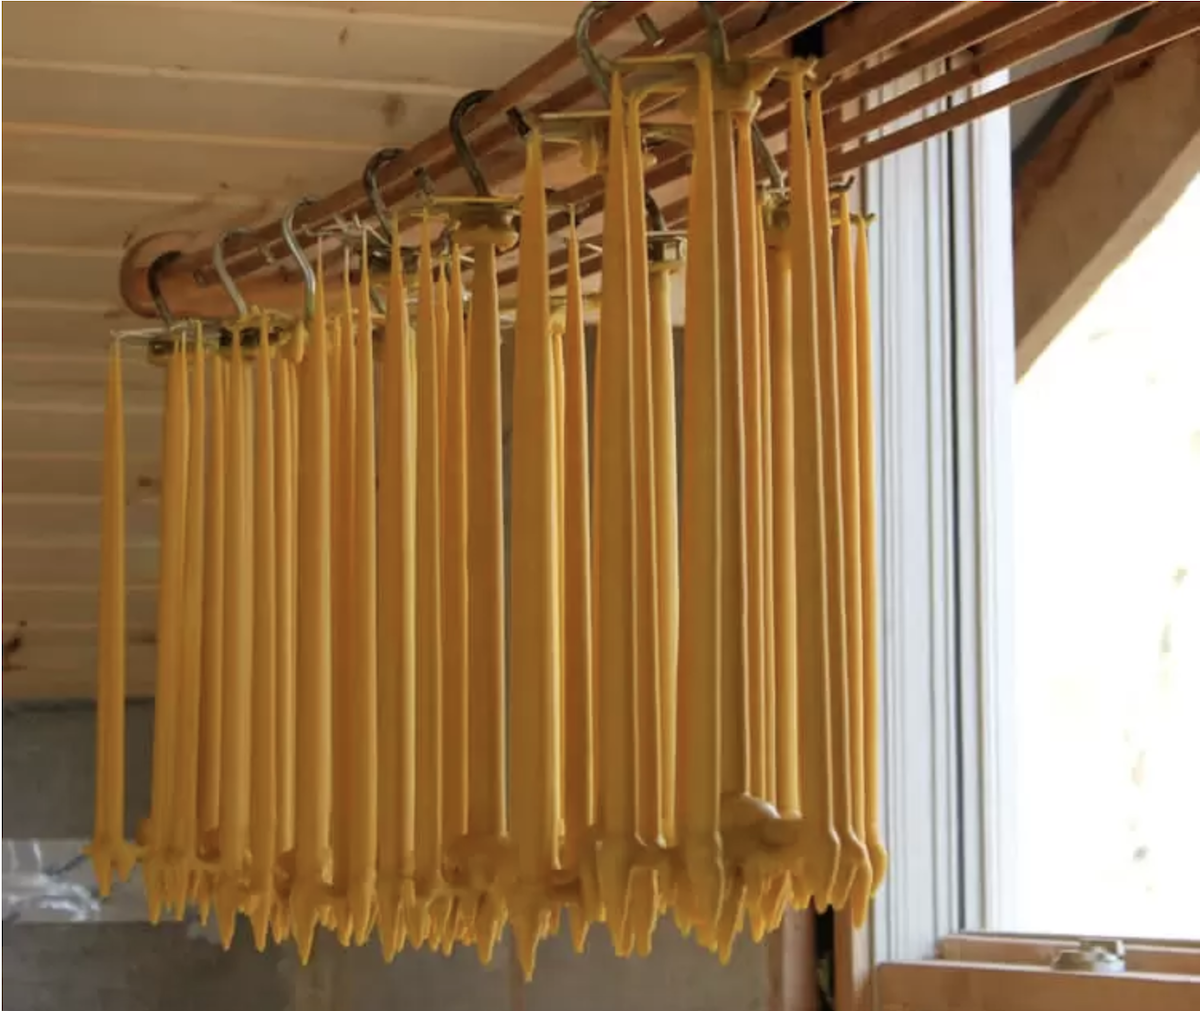
Dipped taper candles are made by repeatedly dipping weighted wicks into hot wax (usually beeswax), working with one or up to several wicks at a time. As I’ve discovered through my own candle-making adventures, it makes sense to loop the wick so that you can dip two candles at a time.
Dipping racks let you make several candles at once; these can sometimes be spotted at estate sales and thrift shops and are a great find if you’re interested in making a larger quantity of dipped candles.
This is the most time-consuming method, but the slow process of making these candles in your own home is wonderful, especially if you have younger family members around to help.
Types of Wax for Candlemaking
Most people are familiar with beeswax candles, and they’re my favorite. These days, there are actually quite a few varieties of wax for making candles at home.
Beeswax
Beeswax is sourced from honeycombs, which gives this wax its faintly sweet signature scent (fun fact: the scent can vary depending on the plants and flowers that feed the bees in any given area).
Beeswax is one of the more expensive waxes, but definitely one of the most beloved by candle makers thanks to its clean burn and soft texture.
- Pros: non-hazardous and non-carcinogenic; smells good; free of solvents; has the high melting point and therefore a bright, clean flame; lasts longer than other types of candles; drip-free.
- Cons: can be expensive; often blended with cheaper waxes; isn’t ideal for adding additional scents.
Soy Wax
The most popular and easily-sourced wax for making candles, soy wax was created in the mid-90s from hydrogenated soy beans as an alternative to paraffin wax.
Soy wax is a good option for beginner candle makers, thanks to its low price point and versatility when it comes to adding color or fragrance.
- Pros: inexpensive; good for adding fragrance; produces a clean, soot-free flame; can be used to make a wide variety of candles; spilled wax is easily cleaned up with soap and hot water.
- Cons: softer wax so is typically only used for container candles; melts easily when the ambient temperature rises; prone to turning rancid without preservatives.
Paraffin Wax
Parrafin wax has been used to make candles since the 1850s, and it still popular today thanks to its availability and low cost.
Because paraffin wax is a byproduct of the crude oil industry, some people choose to avoid using paraffin wax for candle making.
- Pros: least expensive wax; good for adding color or fragrance; widely available; many different kinds are available (with different melting points).
- Cons: byproduct of petroleum; burns quickly; produces smoke and soot as it burns; spilled wax is difficult to clean up.
Tallow
Unlike the other options in this section, tallow isn’t a form of wax, but is actually the rendered hard fat from beef or mutton (or deer!). Making tallow candles is now more of a novelty than anything else, as the candles won’t be ideal for burning regularly, but if you’re looking for instructions you can find them here.
They were, of course, important historically as a source of light on the frontier and in low income houses throughout the middle ages, but these days there are plenty of more pleasant options. (And tallow is no longer as cheap or readily available as it once was…)
- Pros: burns slowly.
- Cons: can have an unpleasant smell; burning candle can produce smoke and soot.
Coconut Wax
Made from hydrogenated coconuts, this relative newcomer to the candle-making scene is a soft wax with a lower melt point and is ideal for making container candles and scented candles.
- Pros: eco-friendly; great for adding fragrance; slow-burning; has a clean, soot-free burn; easy to clean up spilled wax.
- Cons: most expensive wax; can be hard to find.
Safety Precautions When Handling Candle Wax
- Always use a double boiler when melting candle wax, heating the wax over low heat and stirring regularly as it melts. The surrounding water in a double boiler ensures the wax will melt slowly and evenly. Some waxes, such as paraffin wax, are more likely to ignite if placed directly over a dry heat source.
- Wear protective clothing when handling hot wax. Long pants, shoes, and an apron — anything to protect your skin from molten wax.
- Never use wax that isn’t specifically for making candles; this includes crayons!
- Don’t melt candle wax in the microwave, as you won’t be able to gauge the temperature as easily as if it was being melted in a double boiler.
- Preheat containers before pouring in hot wax. This prevents thermal shock and keeps the wax from shrinking away from the container as it cools.
- Have a clean space set aside for letting candles cool down to room temperature.
- If heated too quickly, candle wax can ignite! Know the flash point of your particular wax. Most wax melts at a relatively low temperature, and you’d have to actually forget it on the stove to reach the flash point, but it’s still a good idea to know ahead of time. Bees wax, for example, melts at 145 degrees F (63 C), but it doesn’t reach it’s flash point until 400 degrees F (204 C).
Selecting Candle Wicks
Believe it or not, the hardest part about making candles these days is choosing the right wick.
Throughout history, wicks were handmade, but candles required continuous tending to burn correctly. Nothing like flipping on a switch and just having light as we take for granted today.
These days, we also expect our candles to just tend themselves, and that relies on modern wicks.
They’re woven slightly tighter on one side so they curl as they burn, making it so they’re self-trimming. They also are specifically sized to the candle size and type of wax, so that candles burn evenly, rather than blowing out on one side, burning a chamber down the center or totally melting and leaking everywhere.
The choice of wick type ensures that a candle will just burn neatly, without needing tending and not making a mess.
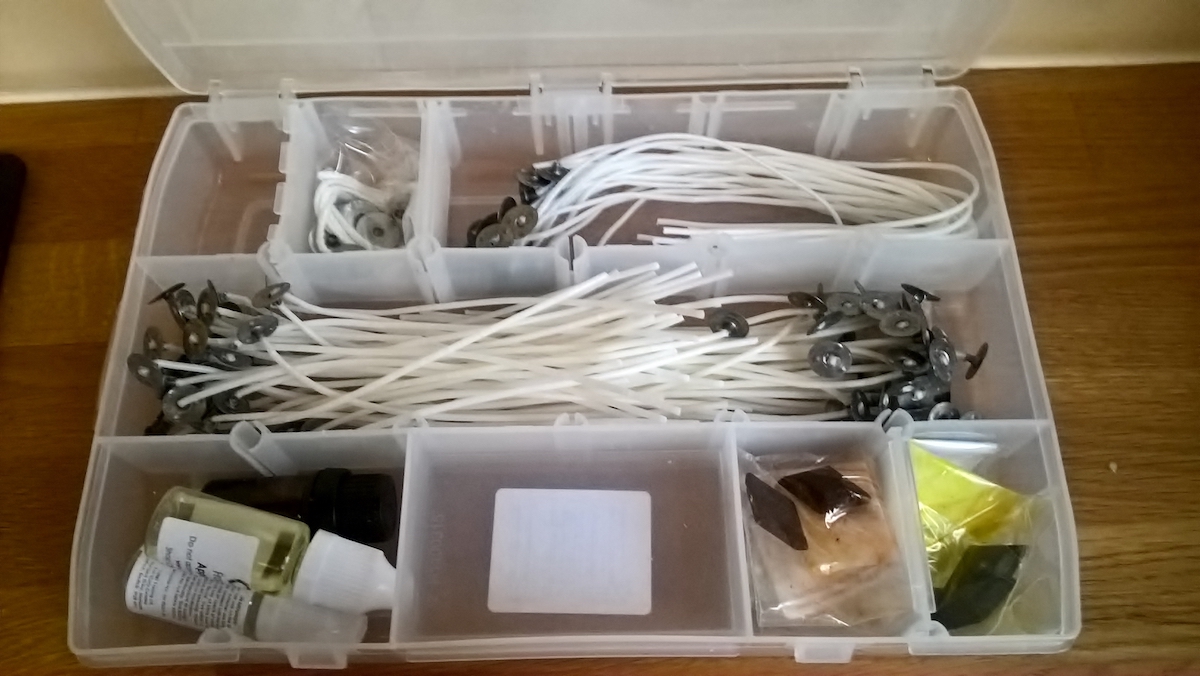
There are a three basic traits to research when choosing a wick for making candles at home: the fiber used to make the wick (wicks are made from cotton, wood, fiberglass, or blends), the braid design (how the wick woven), and the wax coating on the wick (whether or not the wick has been pre-waxed or if it needs to be primed in wax before using).
Once you’ve chosen the wax you’d like to work with, you can hone in on the type of wick you’d like to use. From there, you’ll need to determine the diameter of your candle. If you’re planning on making a larger container or molded candle, it’s a good idea to plan for multiple wicks if the diameter is greater than 3 inches.
While there are all kinds of charts for choosing the most suitable wick for your candle, it inevitably comes down to trial and error.
Conducting a burn test is always a good idea when making handmade candles, and will give you guidance for the next batch of candles.
For an extensive look at all the different types of wicks available and how to use them, my guide to choosing candle wicks breaks the somewhat overwhelming amount of information available into manageable chunks.
Scents, Colors, and Add-ins for Homemade Candles
I like to make natural beeswax candles, and I love the beautiful simplicity in that. The simple warm, comforting smell of natural beeswax burning makes any space instantly cozy.
For some people though, I know the real artistry in making homemade candles comes from making them unique. Crafting beautiful candles that have personalized scents, colors, and even herbal add-ins that make one-of-a-kind works of art.
Adding Fragrance to Candles
There are two ways to add scent to homemade candles: fragrance oils and essential oils.
Fragrance oils are synthetic oils, unlike essential oils, which by definition must be derived from actual plant matter. The chemical compounds in fragrance oils are ultra-lightweight by design, which makes them easier to smell.
When combined with heat, some essential oils, especially citrus oils, will produce an unpleasant chemical smell. I love using essential oils, but when it comes to getting a noticeable scent from a candle, fragrance oils are the way to go.
If you still want to go ahead and use essential oils to add scent to a candle, keep in mind you’ll need to use larger quantities to achieve the same result you would get using fragrance oils.
As an FYI, when you’re making scented candles the term used to describe the strength of the fragrance is called a “scent throw.” The term can refer to how a candle smells while solid, a “cold throw”, or after the candle has been lit, which is called a “hot throw.”
When you’re choosing containers for scented candles, think about where in the house you’ll be lighting them (or where a candle giftee might put them). The scent from a candle in a tin or small jar will fill small space, but for larger spaces (such as kitchens and living rooms) the candle should be poured into a container with a wide rim.
For more in-depth information about adding fragrance to handmade candles (including tips for using both fragrance and essential oils), this post gives tons of background information and step-by-step instructions for building a fragrance profile and making scented candles.
Adding Color to Candles
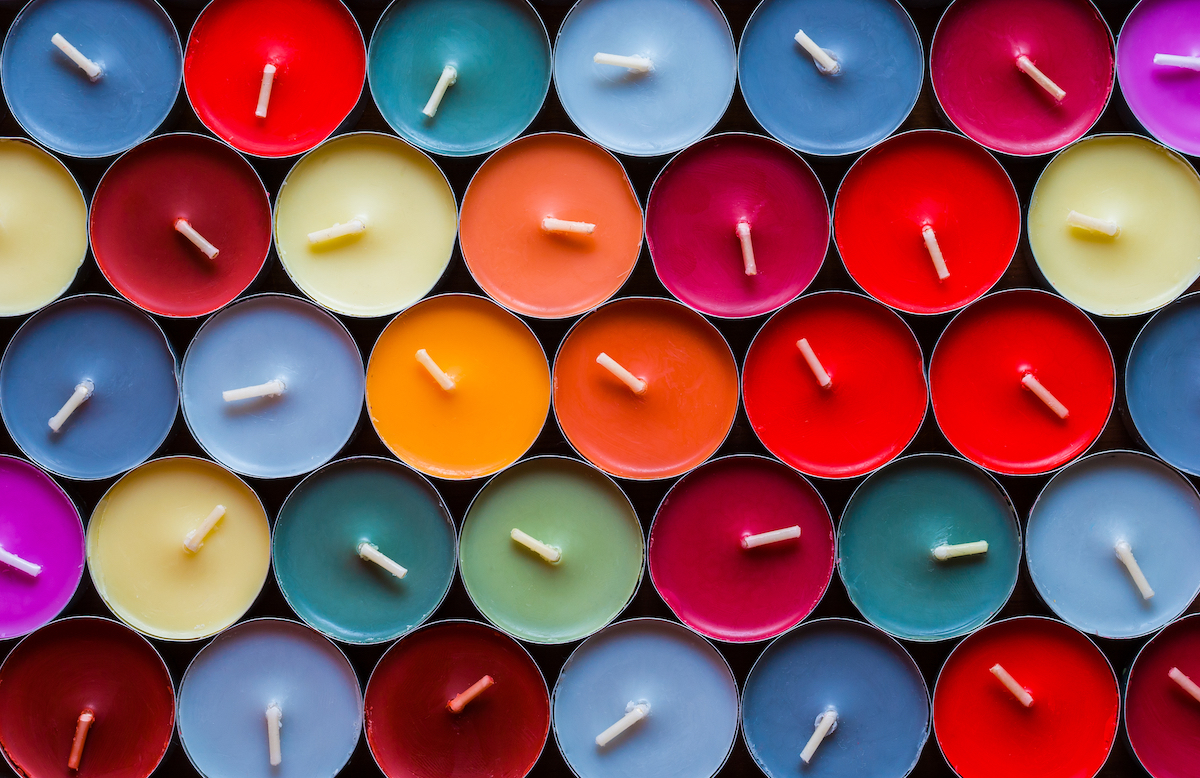
Depending on the color intensity you’re looking for, you can use synthetic or natural dyes to add color to a handmade candle. Synthetic candle dyes, which you can buy as either liquid dye or wax chips, are the way to go if you want big, vivid color.
If you want the color of the candles to be less intense and on the pastel side, herbs and other plant-life can be infused in warm, melted candle wax for 24 to 48 hours.
If you’re interested in making natural candle dyes, this incredibly thorough article lists all sorts of options for creating dyes using spices, herbs, plants, flowers, as well as fruits, nuts, and vegetables.
I would caution against using wax crayons as a way to color candles, as I’ve seen them advertised as a fun add-in. While this seems like something that would work, there are a few reasons why it’s not a great idea.
Like paint, a crayon gets its color from pigment, which give unlit candles plenty of color but will almost immediately clog the wick once the candle has been lit. As the wick burns, it will let off chemical-smelling odors and the smoke will be dark and sooty.
Candle Add-Ins
Beyond fragrance and color, there are all sorts of ways to personalize homemade candles. These tutorials for candles with add-ins are just a handful of examples you can find for creating beautiful candles using materials you probably already have at home:
How to Make Candles
After you’ve chosen your wax type and wick, the process for making candles depends on the type of candle you’re making.
How to Make Rolled Candles
Making candles from rolled sheets of beeswax is the easiest way to make homemade candles; children as young as 5 will have no problems assembling these pretty candles. To make rolled candles you’ll need a rolled candle making kit*, which typically includes:
- Sheets of natural beeswax
- Candle wicks (square braid wicks work best for this activity)
- Scissors
- Optional kit add-ins such as cookie cutters (for creating cut-out wax stamps to decorate), string, or ribbon.
*While you can assemble these items separately, a kit makes it simple when it comes to choosing the correct wick for the size of the candle.
- Warm the beeswax sheets to room temperature using either a hair dryer placed on its lowest setting or by leaving them near a sunny window. The sheets don’t have to be hot, but this step prevents the wax from cracking as it’s rolled.
- Prepare the sheets so that they correspond to the candle size you’d like. You can cut the sheets in half for smaller candles or leave them whole for larger candles.
- Cut the wicks so there’s half an inch of overhang over the side of the prepared wax sheet. To secure the wick, press it into the edge of the wax sheet you want to begin rolling from, and fold the wax over the wick into a tight tube.
- Roll the sheet of wax up into a candle and trim the wick so that it’s 1/4-inch long.
- Decorate the candle (if you’d like).
- A rolled candle is ready to be used immediately, there’s no need to let it harden or cure first.
Making Container Candles
After you’ve tried making rolled beeswax candles, you can then move on to making container candles.
As I discussed above, container candles can be made using any kind of wax in a variety of containers. Again, when choosing a container, the vessel should be heat resistant, leak-proof, and not prone to cracking.
Opaque containers are the most forgiving for beginners, as any flaws in the poured wax are covered.
To make container candles you’ll need the following supplies:*
- Container (or multiple containers) of your choosing
- Wax (almost any kind can be used, including paraffin, soy, or beeswax)
- Wick
- Double boiler (with pouring spout if possible)
- Thermometer
- Baking sheet
- Chopsticks and rubber bands (for centering the wick) or wick bars
- Dye and/or fragrance oils (optional)
- Prepare a clean, flat surface to work on. If using glass containers, warm them in a low oven to prevent thermal shock and to help prevent the wax from seizing and pulling away as it hardens and cools.
- Weigh out wax** and place in a double boiler. Heat the water (and therefore wax) over medium heat, stirring every minute or so until the wax reaches the correct temperature for pouring.***
- Add dyes and/or fragrance oils according to manufacturer’s instructions if desired (this can vary depending on the type of wax being used, but is typically added right before pouring).
- Wick the containers by placing the measured and cut wick between two wooden chopsticks and securing them with elastic bands (this will help center the wick and keep it upright when the wax is poured in). Secure the wick to the bottom of the container using a small amount of hot wax (let dry for 5 minutes), glue dots, or a glue gun.
- With the chopsticks still holding the wick straight, carefully and slowly pour the hot wax into your chosen containers, working over a clean baking sheet to catch drips or spills.
- Let the candle cool completely at room temperature. If a crater forms around the wick, you can top the candle off with more hot wax after the original pour has solidified.
- Trim the wick so that it measures a 1/4-inch in length (don’t trim it any shorter, as this will have an effect on how cleanly the candle will burn).
- If possible, give your candles time to cure before using them or gifting them. This table will give you a better idea of how long to cure a candle based on the type of wax being used.
*Or, if making container candles is completely new to you, a kit that includes the equipment as well as the wax (and any add-ins you might want) can be a practical and cost-effective option.
**The basic formula is as follows: (number of candles you want to make) x (volume of the containers being used) ÷ (20) = how much wax you’ll need in pounds. This comprehensive guide takes a deep dive into the hows and whys of calculating the amount of wax you’ll need to weigh out when making homemade candles.
***Pouring temperatures:
- Paraffin wax pour at: 180° F to 200° F
- Soy wax pour at: 110° F to 155° F
- Beeswax pour at: 180° F
- Wax blends pour at: see manufacturer’s instructions.
Making Molded Candles
Molded candles, which are made by pouring hot wax into a metal or silicon mold, come in a huge variety of shapes and sizes.
Starting with simple pillars is a beginner-friendly way to learn about making this type of candle, and when that becomes familiar you can begin to experiment with more ornate molds (and with those, the sky’s the limit!).
The equipment and method for making molded candles is very similar to making container candles, with a few notable exceptions:
- Choose a firm wax such as soy, coconut, beeswax (or a blend); paraffin wax is quite soft and therefore not suitable for making molded candles.
- If using silicon candle molds, look for one-piece molds that have a slit down the side for easy removal.
- Let the candle cool completely before removing it from the mold; to speed up the process the candle can be refrigerated for an hour once the wax has set. To help with candle removal, lubricate the mold with a wax release spray or a few drops of vegetable oil.
Making Tapered Candles
The oldest method for making candles, this is a wonderful project for cozy weekends or as a home school project. Making tapered candles is time-consuming, but ultimately all about the experience (it’s also a great mindfulness activity as it forces you to slow down and enjoy the process).
To make tapered candles you’ll need:
- Beeswax
- Prepared wicks for taper candles
- Dipping vat (this will be placed in a large pot of simmering water to melt the wax — like a makeshift double boiler)
- Dipping rack (if you want to make more than two candles at a time)
- Scissors
The basic method is simple: dip the waxed wick into the melted beeswax repeatedly, letting the wax harden between each dip, until a tapered candle forms (test to see if it will fit into a standard candle holder).
Hang the candle to dry, but first plunge it into cold water to seal the wax and give the candle a smooth finish.
Making tapered candles is an art, and I’d recommend reading these two tutorials for more in-depth information:
- Making Hand Dipped Beeswax Taper Candles (from Homestead Honey)
- The Secret to Perfect Beeswax Tapers (from Joybilee Farm)
Troubleshooting Homemade Candles
Here are some common problems that can pop up when making candles (and what you can do about it).
Candle Smokes When Burned
Could be caused by: too much fragrance (try reducing the amount of fragrance oil being used, avoid using essential oils); wick size too large for candle (try a different size or type of wick)
Candle Flame is Small or Burns Out
Could be caused by: wick is too small (try a different size or type of wick); hard wax (use a softer wax next time)
Candle Flame is Too Big or is “Mushrooming”
Could be caused by: wick is too big (try a different size or type of wick); wick needs to be trimmed (keep wicks trimmed to 1/4-inch)
Candle Flame is Sputtering
Could be caused by: water accidentally getting into the candle (remove water); air pockets might have formed as the wax hardened (gently tap the sides of the container or mold to release air bubbles while the wax is still hot)
Candle Cracked While Cooling
Could be caused by: the candle cooled too quickly (let candle cool at room temperature, not in the fridge or freezer)
Candle Tunnels as it Burns
Could be caused by: too small wick (try using a larger wick combined with a softer wax)
DIY Homestead Crafts
Looking for more DIY Homestead Craft Ideas?
- Homemade Herbal Shampoo
- How to Extract Clay from Soil for Pottery
- How to Make Jam
- Handspinning for Beginners



Now THIS was the type of tutorial I was looking for. Trying my hand at homemade candles as Christmas presents this year and I sifted through so many useless candle making posts. Yours had the exact information I needed. You did an excellent job breaking down the different temperatures I needed for the waxes I bought and clearly explained details and characteristics of them. Bless you for taking the time to be so thorough and out this out in the world!!! Thank you!
You’re very welcome. We’re so glad it was helpful for you.
The article was so informative, just loved it.
So glad you enjoyed the post.
I loved your article and will definitely follow your advice since I am planning to make homemade candles. I have discovered a fantastic candle making kit for beginners, so with this article in mind and by following the kit instructions, I believe it will be an easy process. If anyone is curious, I purchased the candle making kit from here:
https://www.eroma.com.au/candle-making-supplies/kits.html
I just loved the candle making it was very informative for a beginners and I can’t wait to try your ideas out.Thank you
You’re very welcome. So glad you liked it.