
Affiliate disclosure: This post may contain affiliate links. Please see our Privacy Policy.
Canning yams (or sweet potatoes) is a simple way to preserve them for year-round use. Grab a jar off the shelf and you’ve got a killer side dish or the beginnings of an unbelievable homemade pie.
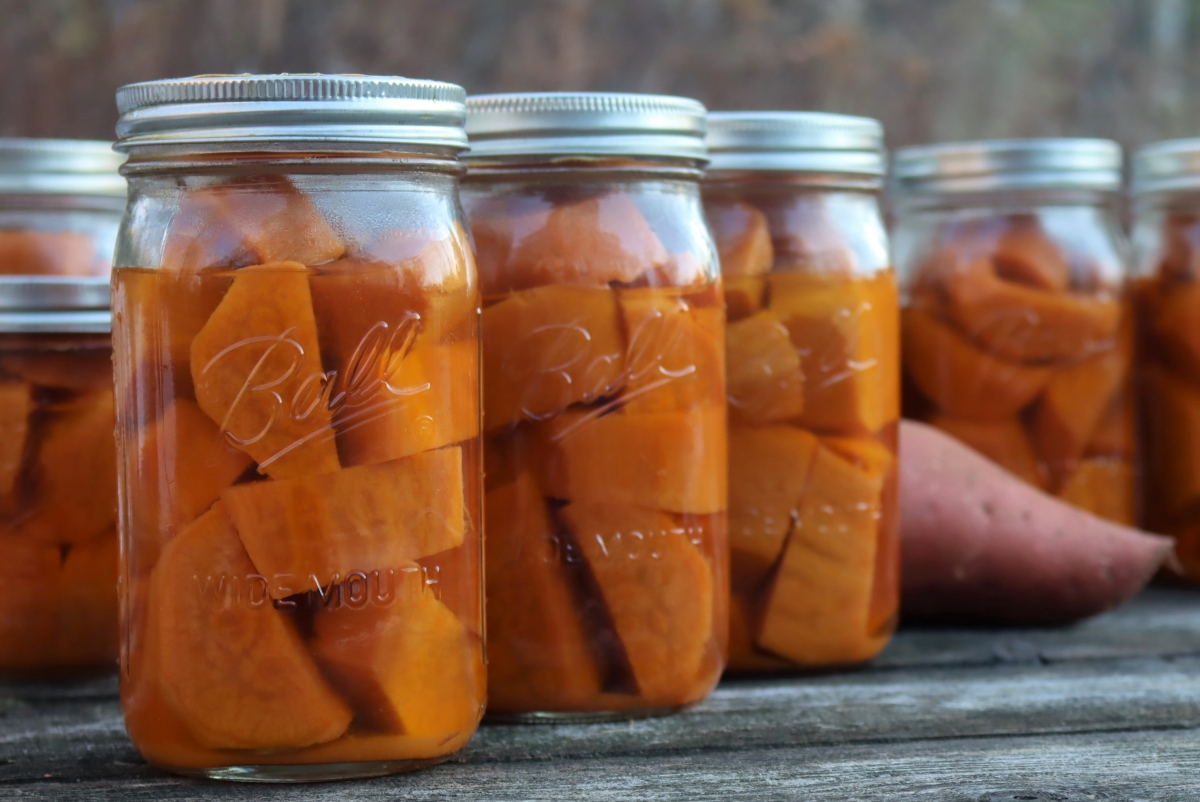
Sweet potatoes are a staple in my household, and one of my family’s favorite healthy treats. Rich in minerals and low on the glycemic index, they’re a delicious addition to any dinner plate.
The thing is…they’re expensive!
Most of the year, sweet potatoes sell for $2.50 to $3 a pound here in the north country. Prices drop quickly in November and December, and you can pick them up for as little as 69 cents a pound.
Stocking up on sweet potatoes is one of the ways my family saves money on our grocery bill, planning ahead in December for the rest of the winter’s eating.
Canning sweet potatoes mean I have cooked and ready to eat food on my pantry shelf, and I don’t have to worry about spoilage.
Even better? My kids know how to pop open a jar and heat them on the stove. A little preparation on my part means they’ll make their own dinner, which is a lifesaver on busy weeknights.
Yields for Canning Sweet Potatoes
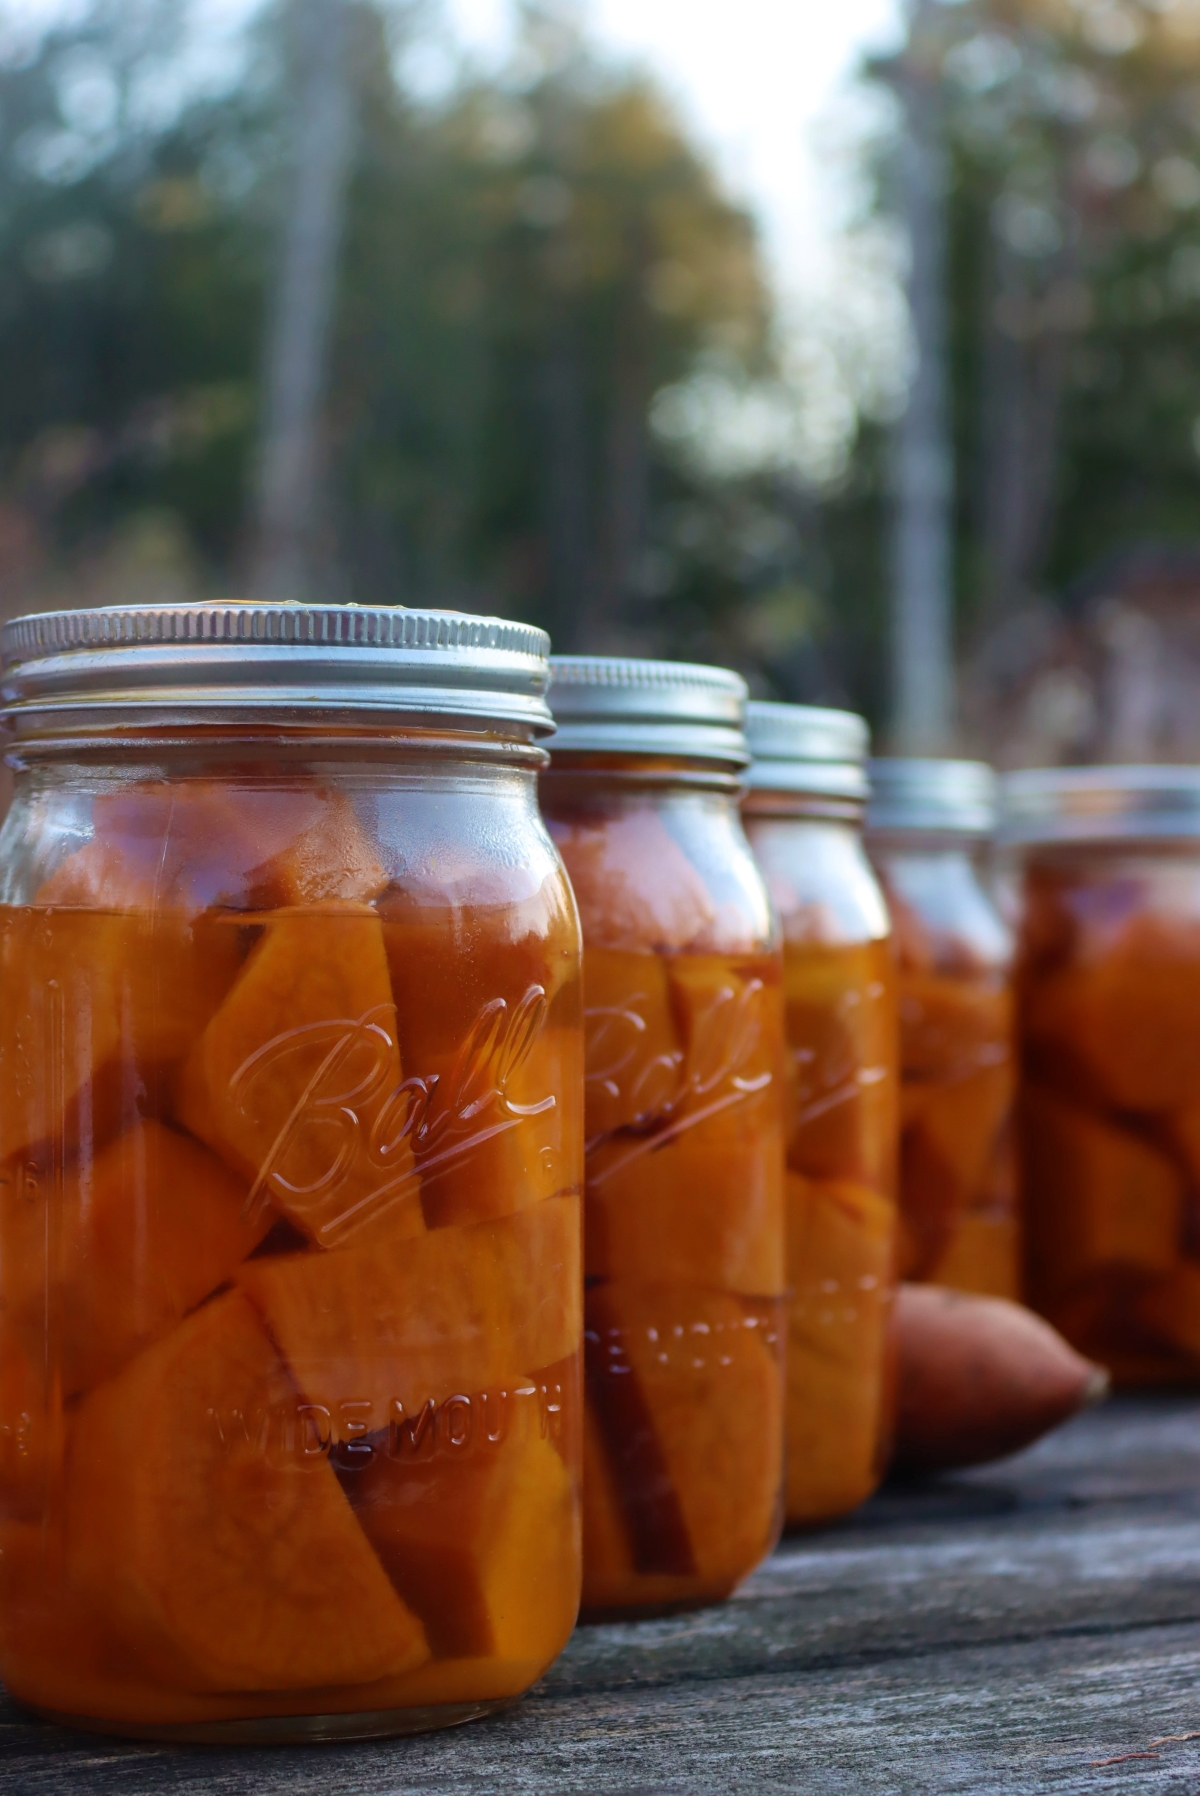
The National Center for Food Preservation says that you’ll need 2 1/2 pounds per quart or 17 1/2 pounds per canner load of 7 quarts (weighed before processing). I’ve always found their estimates high, and always end up with a good bit of food leftover once the canner is packed.
I found it was more like 2 pounds or 14 pounds per canner load of 7 quarts.
Once processed, that 2 pounds of fresh sweet potatoes ended up being about 1 1/4 pounds of cooked, peeled, and chopped sweet potato per quart jar.
For pint jars, I needed a smidge over a pound of fresh sweet potatoes per jar. Once processed, I was able to pack about 2/3rds of a pound of sweet potato chunks into each pint.
The total amount needed is obviously going to depend on how efficient you are at peeling the sweet potatoes, and how much trimming needs to be done to remove any imperfections within the yams.
I’d suggest having roughly 14 to 16 pounds of raw sweet potatoes on hand for a 7-quart batch, and 9 to 10 pounds for a 9-pint canner batch.
(I use a 30 quart All American Canner, which is an extra-large double-decker canner. I do batches of 14 quarts at a time, thus I’m making a double batch with about 30 pounds of sweet potatoes.)
Liquid for Canning Sweet Potatoes
Sweet potatoes can be canned either plain water or syrup.
Obviously, the healthier option is to use plain water, but unfortunately, it’s not the tastiest. Sweet potatoes will leach a lot of flavor into the water, and lose some of their sweetness.
If you plan on canning sweet potatoes in water, you’ll likely be a bit disappointed at how bland they taste.
Personally, I like to can sweet potatoes in an extra light syrup, which mimics their natural sweetness. It’s not going to make them sweeter, it’s mostly just going to prevent their natural sweetness from being lost in the canning liquid.
To make the extra light syrup:
- For a 7 Quart Canner batch ~ Mix 10 1/2 cups water and 1 1/4 cup sugar.
- For a 9 Pint Canner Batch ~ Mix 6 1/2 cups water and 3/4 cups sugar.
Of course, you can also choose to candy the yams and use anywhere from light all the way up to heavy syrup. You can find the measurements for each syrup level here.
For a more natural canning liquid, feel free to use either honey or maple syrup, which will add flavors that compliment the sweet potatoes. Personally, I love canning with our own homemade maple syrup.
When canning with honey or maple, use only about 3/4 as much as you would sugar, as they taste much sweeter in the finished canned goods.
Preparing Sweet Potatoes for Canning
Before canning, sweet potatoes need to be cooked. This helps drive off the air within their tissues and prevent it from expanding and breaking them apart in the canner.
Believe it or not, pre-cooking the sweet potatoes (and most foods when canning) will actually result in finished canned goods that hold together better and are of better quality.
For sweet potatoes, that means boiling or steaming them whole for 15 to 20 minutes before peeling and slicing.
I put a steamer basket at the bottom of my large 5-gallon stockpot and packed it nearly full with 14-15 pounds of sweet potatoes. That was just about right for a 7-quart canner batch.
If you don’t have a pot that big, you’ll need to work in batches.
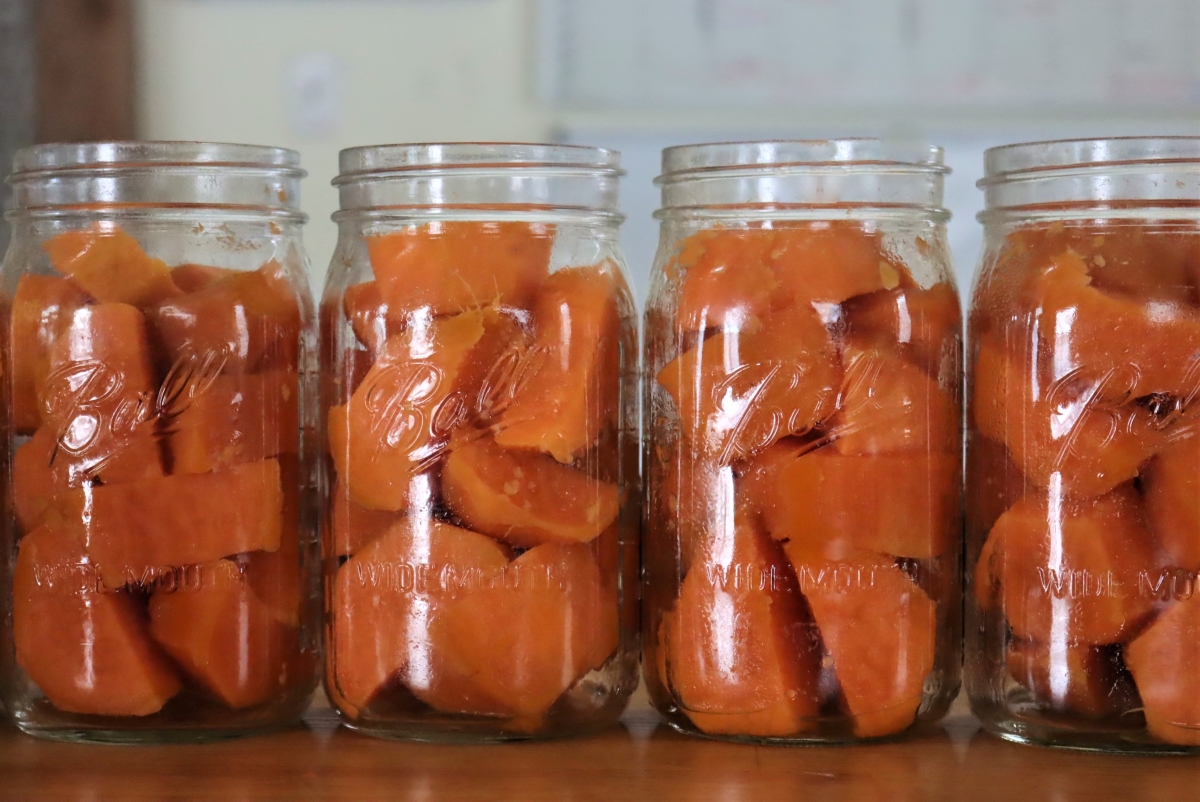
Once the sweet potatoes are steamed, allow them to cool just enough to handle and then peel away their skins. Chop them as necessary so they fit neatly into the canning jars.
(Small ones can even be left whole, but all of mine were much too large, so I went with 1-2” pieces.)
Pack the prepared pieces into canning jars, leaving one-inch headspace.
How to Can Sweet Potatoes
Once you’ve prepared the sweet potatoes and packed them into jars, it’s time to get the canner pre-heated and prepare the syrup.
Add 2-3 inches of water to the bottom of your pressure canner, along with the bottom trivet, and bring the water to a low simmer. (Or follow the instructions on your canner, as they can differ slightly.)
In a separate saucepan, mix the sugar (if using) into water and bring it to a boil.
Pour the boiling water or syrup over the sweet potato pieces, maintaining a 1-inch headspace. Be sure to remove any air bubbles trapped within the jars, then adjust the headspace to maintain 1 inch.
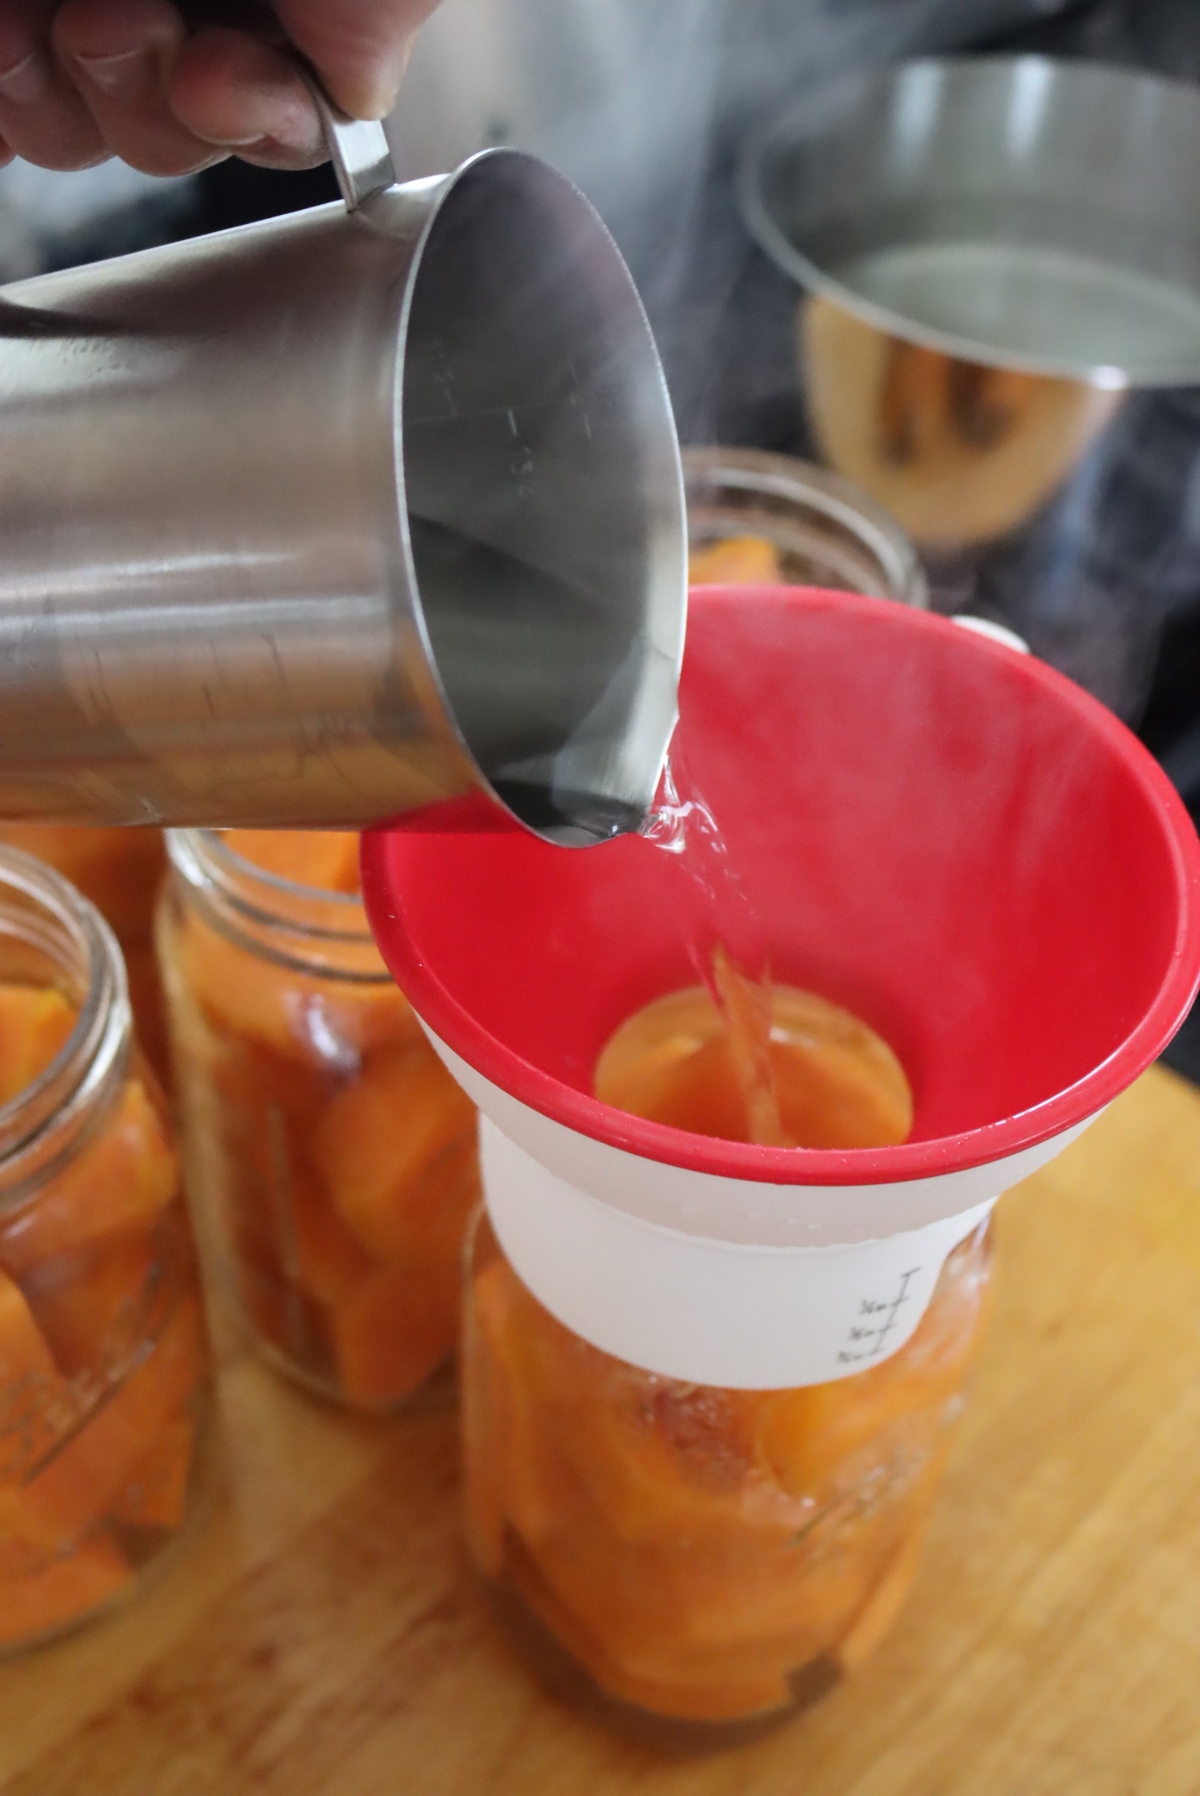
Seal the jars with 2 part canning lids, and then load them into the pre-heated pressure canner.
Place the lid on the canner and tighten the lid shut, but don’t put on the canning weight just yet. The canner needs to “steam off” for 10 minutes with the stove on high heat to completely fill the chamber with steam.
After 10 minutes have passed, place the canning weight on the canner and bring it up to pressure. Once at pressure, process the jars for 90 minutes for quarts and 65 minutes for pints.
The total pressure will depend on altitude and whether you’re using a weighted or dial gauge pressure canner. I’m using an All American Pressure canner, which is a weighted gauge, and I’m just below 1000 feet, so I can sweet potatoes at 10 pounds pressure.
See the chart below for altitude adjustments for canning sweet potatoes:
Altitude Adjustments
With pressure canning, the canning time is always 65 minutes for pints and 90 minutes for quarts, at any altitude. Only the pressure changes as you go up.
For dial gauge pressure canners:
- 0 to 2,000 feet: 11 lbs pressure
- 2,001 to 4,000 feet: 12 lbs pressure
- 4,001 to 6,000 feet: 13 lbs pressure
- 6,001 to 8,000 feet: 14 lbs pressure
For weighted gauge pressure canners:
- 0 to 1,000 feet: 10 lbs pressure
- Above 1,000 feet: 15 lbs pressure
Are Yams the same as Sweet Potatoes?
A quick note…in the US, we often use the term “sweet potatoes” and “yams” interchangeably. Sometimes, “yams” just refers to that well known holiday dessert where sweet potatoes are candied and topped with marshmallows for an over the top sugar bomb treat.
Technically though, yams are an entirely different vegetable.
Yams are a starchy vegetable that’s more like yucca root, and they’re not sweet at all. You’d be hard-pressed to find any true “yams” in an American grocery store.
That said, there’s plenty of interesting veggies available in grocery stores these days, especially in the cities. Be sure you’ve got “sweet potatoes” rather than yams.
They should be sweet fleshed, though they come in many different colors. Most commonly, you’ll find orange-fleshed sweet potatoes, either Jewel or Garnet varieties.
Sweet potatoes also come in white, like Japanese sweet potatoes. Occasionally you can even find purple sweet potatoes from heirloom growers, though that’s rare outside of farmer’s markets around here.
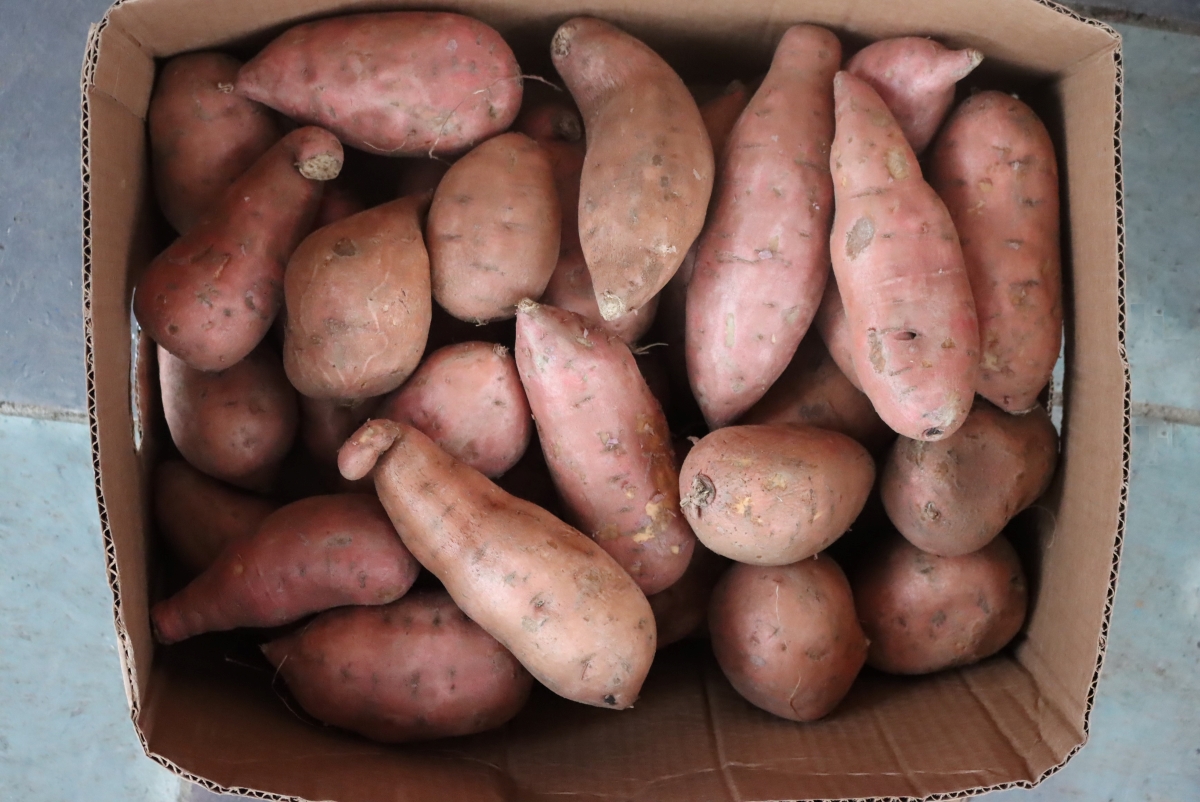
All of the ones pictured below are sweet potatoes, though two of them were sold as yams in the store.
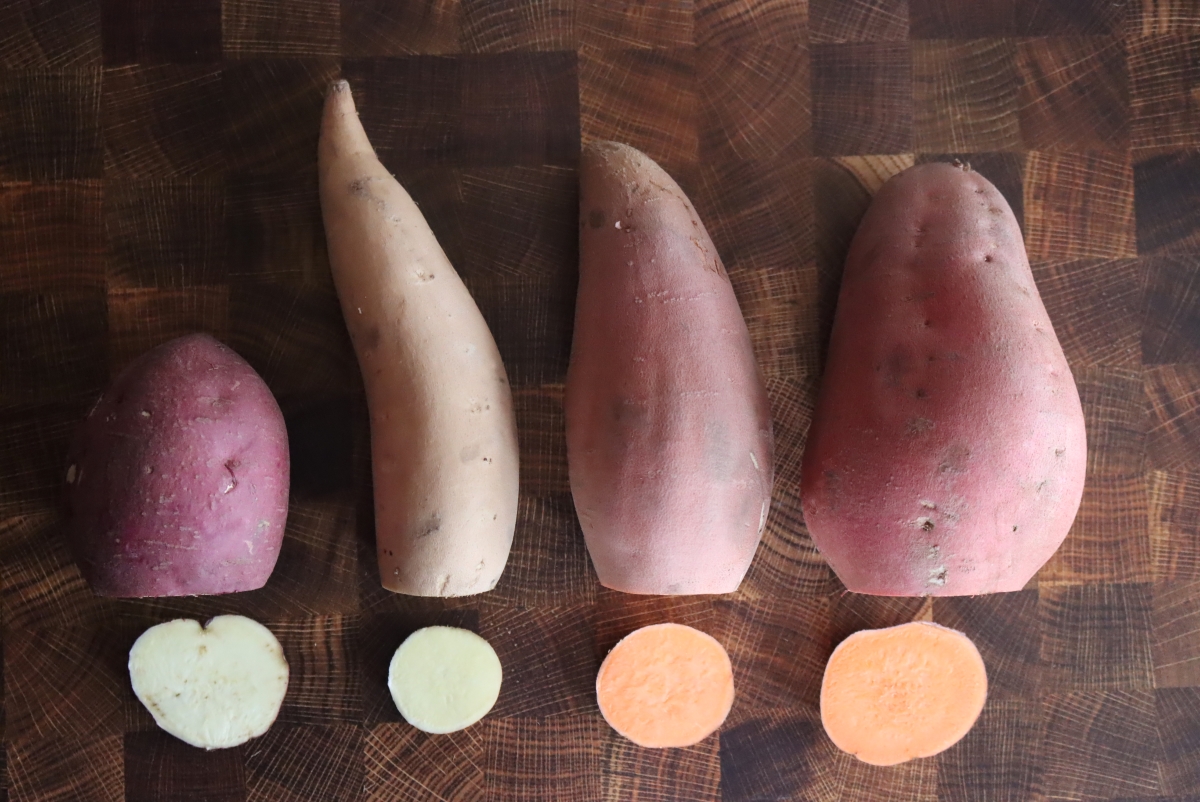
The difference at this point is pretty technical, and they’ve been called yams in the US for ages. If you want to say, “Hold on mom, I’m canning yams” when she calls right in the middle of your processing day, she’ll definitely know what you mean.
(Important Note ~Though this method works for both orange and white sweet potatoes, there is a different method for “regular” or “Irish” potatoes. Here’s where you can find instructions for canning potatoes, which have a much shorter process time in the pressure canner and different pre-canning preparation steps.)

Canning Sweet Potatoes
Equipment
- Pressure Canner
- Canning Jars, Lids, and Rings
Ingredients
- 14 to 16 lbs sweet potatoes, as purchased, see notes
- 10 1/2 cups water, for extra light syrup, or plain boiling water
- 1 1/4 cups sugar, optional, for extra light syrup
Instructions
- Wash the sweet potatoes, then steam or boil them whole for 15 to 20 minutes, until partly soft.
- Take them out of the pot and let them cool until you can handle them.
- While they cool, prepare a pressure canner: add a few inches of water and the trivet, and bring it to a low simmer.
- Bring the syrup, or plain water, to a boil in a separate pot (see notes).
- Peel the sweet potatoes. The skins should slip off with your fingers, or use a knife. Cut them into pieces of even size, or leave very small ones whole.
- Pack the sweet potatoes into jars, leaving 1 inch headspace, and cover them with the boiling syrup or water, keeping the 1 inch headspace.
- Remove air bubbles, adjust the headspace, wipe the rims, and cap with 2 part lids to finger tight.
- Load the jars into the canner, lock the lid, and vent steam for 10 minutes before adding the weight.
- Process pints for 65 minutes and quarts for 90 minutes at 10 lbs in a weighted gauge canner or 11 lbs in a dial gauge canner, adjusting for altitude (see notes).
- Turn off the heat and let the canner return to zero pressure on its own. Wait 5 minutes, take off the lid, and leave the jars in the canner 10 minutes before lifting them out.
- Cool the jars on a towel, not touching, for 12 to 24 hours, then check the seals. Refrigerate any jar that didn’t seal. Sealed jars keep 12 to 18 months on the pantry shelf.
Notes
- 0 to 2,000 feet: 11 lbs
- 2,001 to 4,000 feet: 12 lbs
- 4,001 to 6,000 feet: 13 lbs
- 6,001 to 8,000 feet: 14 lbs
- 0 to 1,000 feet: 10 lbs
- Above 1,000 feet: 15 lbs
Nutrition
Nutrition information is automatically calculated, so should only be used as an approximation.
Pressure Canning Recipes
Want to keep that pressure canner running? Here are a few more autumn-inspired pressure canning recipes:
Fall Preserving Recipes
Looking for more tasty ways to preserve the harvest this fall?










Hi Ashley, I’m exploring pressure canning vs dehydration. For foods such as sweet or regular potatoes, what’s your preference and why? Then, hot or raw? And, we enjoy the fiber of the skins. Peel anyway? Thanks for providing the honey/maple alternative
We love just plain baked spuds. And we don’t have a root cellar to delay the inevitable end of the harvest. Thoughts?
Last: any good local markets to visit this fall for bulk purchases?
Just found you and signed up your postings. Can’t wait!
Many thanks from Karen across the (CT) river!
Hi Karen,
Personally, I’m not all that into dehydrated food, as I much prefer canned, but everyones tastes are different. Even if you eat the peel normally, you do need to peel them for canning, it’s a safety thing from the NCHFP. So to answer your question, my favorite way to put them up is peeled then canned. Enjoy!
What is the texture of the sweet potatoes after following your canning method? Are they still firm enough to fry or are they soft?
I tried a different method (which I do feel contributed to my end result) and ended up with sweet potatoes that are only good for mashing. Which is ok, but I had wanted them to turn out a bit firmer, more like store bought canned sweet potatoes.
I want to try your method, but I only need so many soft canned sweet potatoes, so I thought I would ask you first!
Thank you for all the wonderful recipes and inspiration that you share!
The finished texture is really going to depend on the variety of sweet potato, as some are much less firm than others when canned. Beyond that, sweet potatoes grown with a lot of fertilizer (ie. excess nitrogen) get mushier when cooked too. In the past, I’ve used garnet sweet potatoes with great success when grown organically. Still though, I find they tend to come out a bit softer than those store-bought canned ones. I do make sweet potato casseroles with them and they stay as chunks (not mashed) but I haven’t tried frying them.
Can I water bath my jars? I don’t have a pressure canner?
Sweet potatoes are a low acid food and therefore must be pressure canned to be preserved safely.
I canned my sweet potatoes according to your recipe and they turned out beautifully. Question, the next day the liquid was a little cloudy. Do you have any suggestions as to what I did wrong? Thank you
I’m so glad you enjoyed the recipe. It’s most likely just extra starch from the potatoes. As long as they were processed properly, they should be fine.