
Affiliate disclosure: This post may contain affiliate links. Please see our Privacy Policy.
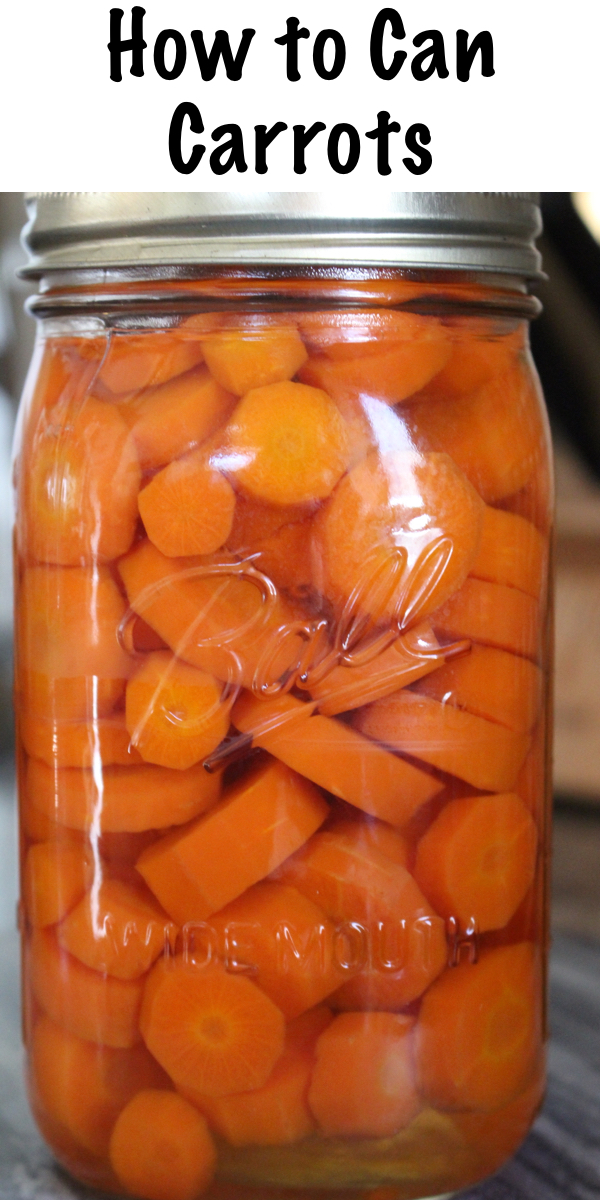
Canning carrots at home is a simple way to turn fresh garden carrots into a shelf-stable pantry staple that’s ready for quick weeknight meals all year long. Whether you grow your own or buy them by the bushel at the farmer’s market, pressure canned carrots are one of those jars I actually reach for regularly, and they make getting dinner on the table so much easier when life gets busy.
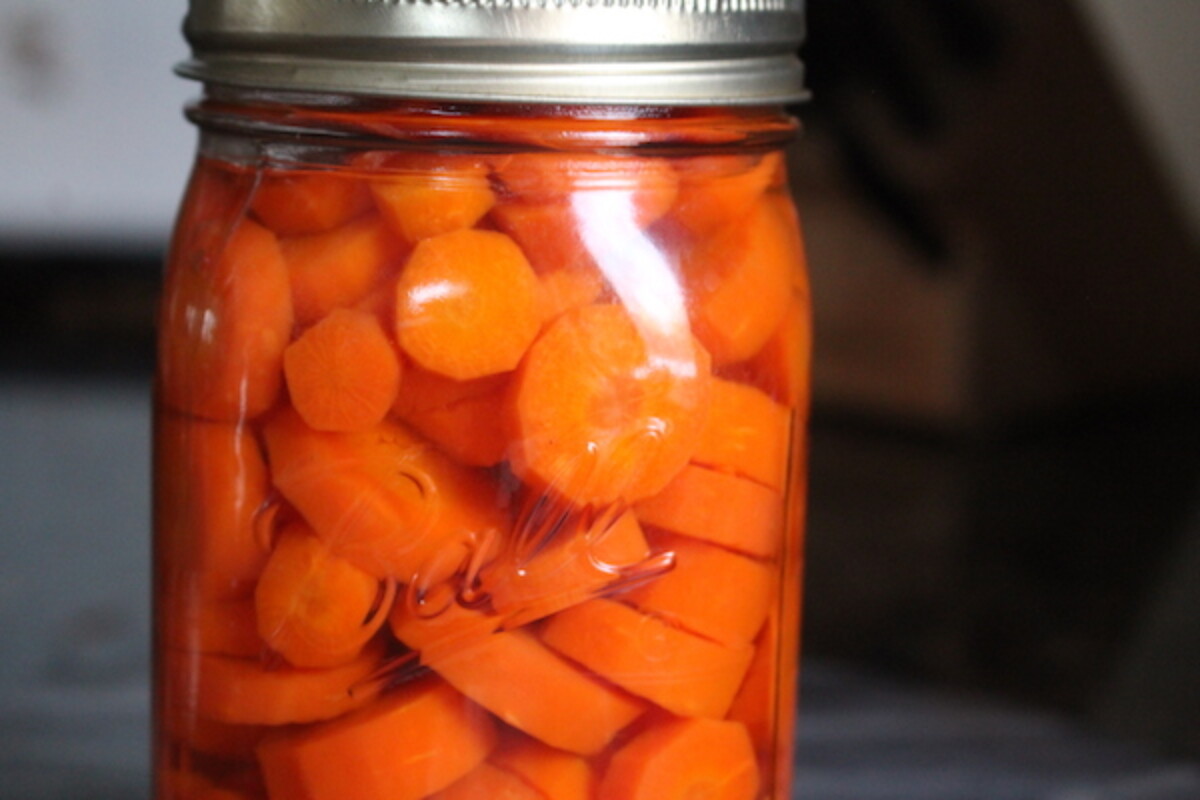
My kids are total carrot fiends, and they’re known to demolish several pounds of raw carrots in a single sitting without so much as a dip for dunking. At dinner time, they’d happily fill their bowls with nothing but cooked carrot slices, and often enough that’s exactly what they do.
But children are fickle creatures, and while this week they might eat ten pounds of carrots without blinking an eye, next week they’ll forget to eat altogether as they spend long days playing in the summer sandbox or building snow forts in the winter.
It can be really hard to plan ahead, especially when carrots are bulky and take up a lot of precious space in the fridge. Canning carrots ensures that I always have enough in the pantry to satisfy my tiny carrot-eating gnomes, even at a moment’s notice.
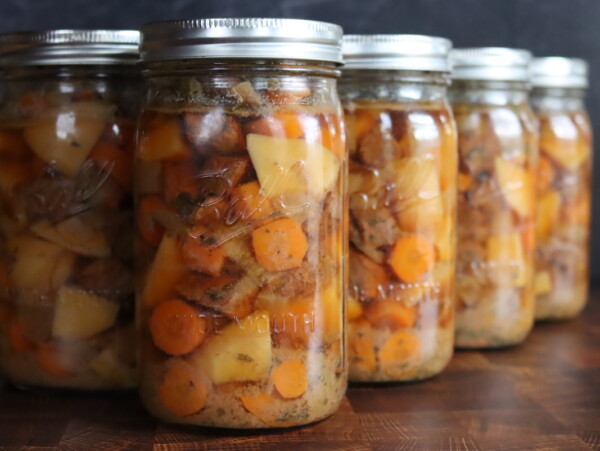
Home canned carrots heat up for a quick side dish, and they also work wonderfully added to soups and stews. I love using them in a quick weeknight beef stew along with my home canned potatoes, and a whole quart pureed up is perfect for carrot ginger soup too.
Notes from My Kitchen

We always have trouble storing carrots in our root cellar here in Vermont because it’s just not humid enough, and they always spoil quickly. Potatoes, onions, and garlic do great there since they like drier storage, but you just can’t have it all. I do overwinter carrots in the garden under heavy mulch, and that’s wonderful for fresh carrots in the early spring. The problem is they’re no good mid-winter when they’re buried under four feet of snow and I’m in a hurry to cook dinner on a busy weeknight.
The biggest lesson I’ve learned with canning carrots is that variety matters more than almost anything else. Those tender, sweet summer carrots you find at the farmer’s market in July are delicious raw, but they turn to mush in the canner. You want hearty storage carrot varieties, the kind bred to last all winter in a root cellar. Those stay firm even after pressure canning, and they taste wonderful. If you’re buying carrots specifically for canning, look for large bulk bags of storage carrots rather than the tender bunches with tops still attached.
Ingredients for Canning Carrots
Canning carrots is about as simple as pressure canning gets. You really only need two things: carrots and boiling water. Salt is entirely optional and added only for flavor, not for preservation.
- Fresh Carrots: Choose firm, fresh carrots without cracks or soft spots. Storage varieties hold up much better than tender summer carrots. You’ll need 16 to 18 pounds for 7 quarts or 10 to 12 pounds for 9 pints.
- Boiling Water: Used as the canning liquid to cover the carrots in the jars.
- Canning Salt (optional): Added for flavor only, not preservation. Use 1 teaspoon per quart or 1/2 teaspoon per pint if desired. Always use canning salt or sea salt rather than table salt, which contains anti-caking agents that can cloud the jars.
If you truly can’t stomach the thought of spending all that time peeling carrots, you can buy pre-peeled sacks of baby carrots and just pour those into the canning jars. I often see that variation in canning groups when people find cases of baby carrots on deep discount and can them up in marathon batches. They’re already pretty small, so you don’t even have to slice them if you don’t want to.
I just finished a batch of 10 pints of carrots. They turned out beautifully! I peeled, cut up, and boiled for about 5 minutes before putting into hot jars. They look so pretty! I can’t wait to open a jar and eat them. Thank you for all your canning advice and for helping us newbies can safely.
How to Can Carrots
I normally begin pressure canning tutorials with the line “Prepare a pressure canner by filling it with a few inches of water and get it warming,” but when you’re canning carrots you’ll likely need to start prepping the carrots long before it’s time to warm the canner. Peeling and slicing carrots is by far the most time consuming part of the operation, and I don’t bother getting out the pressure canner until I’ve worked my way through all the carrots I intend to can.
Peeling and Slicing
Wash your carrots thoroughly, then peel them using a sharp vegetable peeler. While slicing is optional, peeling is not. All root vegetables need to be peeled before canning, and that’s true when canning beets or canning potatoes too.
Peels contain higher bacterial loads, and canning times have only been developed for washed and peeled root vegetables. Besides, the peels often taste bitter or like dirt, so it’s important both for quality and canning safety.
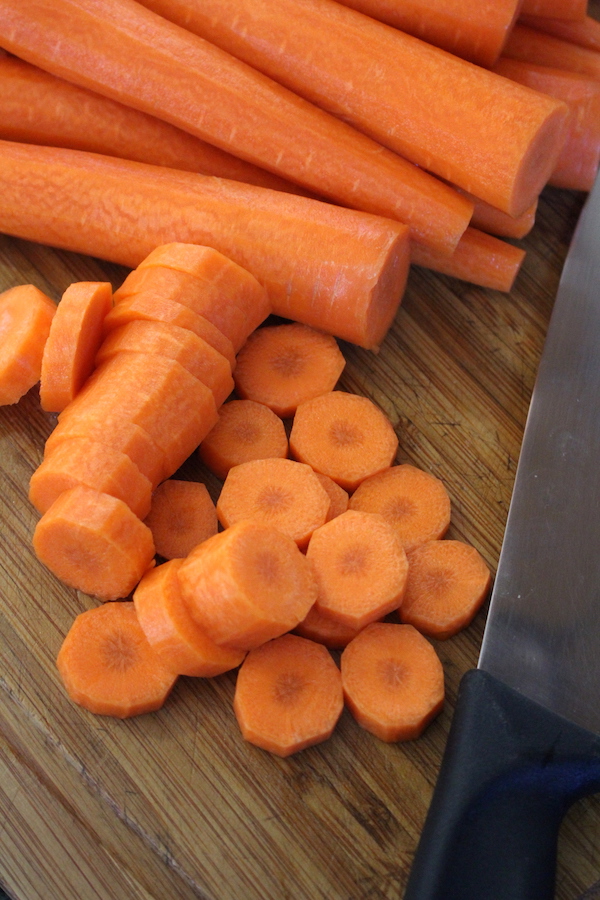
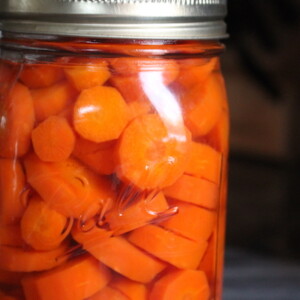
Once peeled, slice or dice the carrots to whatever size works for your future meals. Rounds, sticks, or cubes all work fine. I usually slice mine into coins about half an inch thick since that’s the most versatile for adding to soups and serving as a side dish.
Prepare the Canner and Jars
Add 2 to 3 inches of water to your pressure canner along with the bottom trivet. Begin warming the canner, but remember: for raw pack, keep it well below a simmer (around 140°F), and for hot pack, bring it to a simmer (around 180°F).
Bring a separate large pot of water to a boil on another burner. This will be used as your canning liquid and for blanching if you’re doing hot pack.
Pack the Jars (Raw or Hot Pack)
Carrots can be processed as either a raw pack or hot pack, and both methods use the same processing times.
- Raw pack: Pack raw carrots into jars, leaving 1 inch headspace. Top with boiling water. Keep the canner around 140°F when loading to prevent thermal shock.
- Hot pack: Blanch carrots in boiling water for 5 minutes, then pack hot into hot jars with 1 inch headspace. Top with boiling cooking water. The canner can be at a simmer (180°F) or higher.
I’ve found that the quality of home canned carrots is about the same with either method, so take your pick based on your workflow. The main caution with raw pack is avoiding thermal shock.
If your canner is at a full rolling boil when you load cold jars, you’ll end up with broken glass and wasted food. I learned this one the hard way. Make sure your canner is only “warm” not simmering when you load raw pack carrots.
Add Salt & Cap
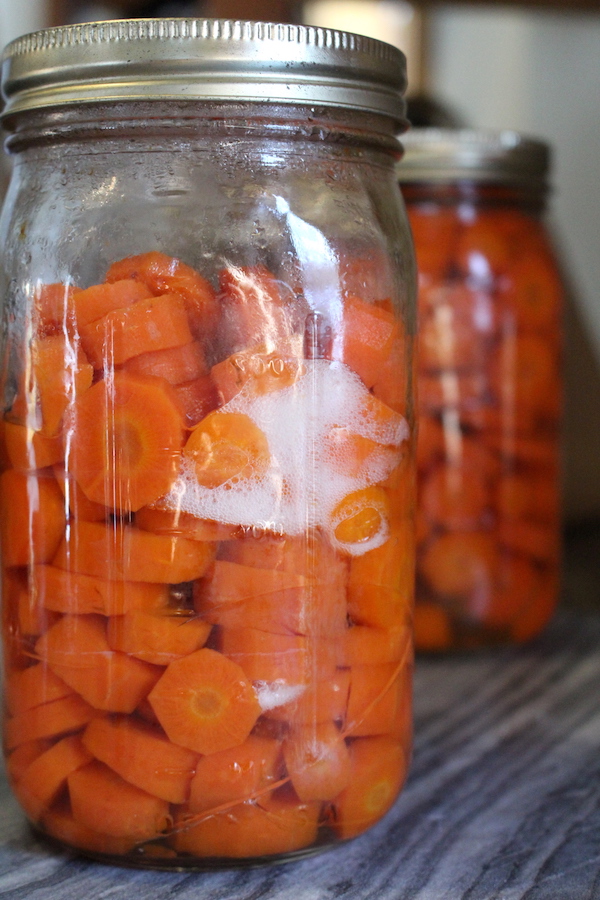
Add salt if using, at a rate of 1 teaspoon per quart or 1/2 teaspoon per pint. Remove air bubbles by running a bubble remover or clean chopstick around the inside of the jar.
Wipe the rims clean with a damp cloth, then seal with two-part canning lids, tightening the bands to finger tight.
Pressure Canning Carrots
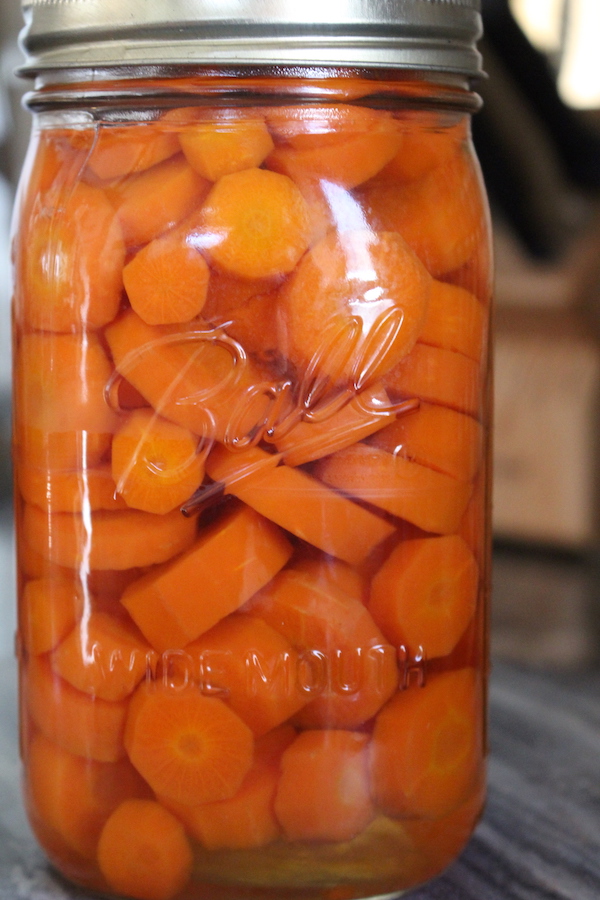
Because carrots are a low-acid vegetable, they must be processed in a pressure canner, not a water bath canner. There is no safe way to water bath can plain carrots. If you want to preserve carrots in a water bath canner, you’ll need to make pickled carrots instead, which uses vinegar to add the necessary acidity.
Load the filled jars into the warm pressure canner. Place the lid on the canner but do not add the canning weight yet. Turn the heat up to high and wait for the canner to begin venting steam. Once you see a steady stream of steam coming out the vent, set your timer for 10 minutes. Allow the steam to vent for a full 10 minutes before adding the canning weight and bringing the vessel up to pressure.
This steam venting step is important with pressure canning because it ensures that the whole canning chamber is full of steam. Without this step, there may be cooler pockets within the canner that don’t quite come up to the proper temperature, which can result in under-processed canned goods.
After the steam venting step, add the canning weight and bring the canner up to pressure (see altitude adjustments below). Process the jars at pressure for 25 minutes for pints or 30 minutes for quarts.
Altitude Adjustments
With pressure canning, processing times stay the same at higher altitudes, but the pressures change. Use the pressure that matches your canner type and elevation.
For dial gauge pressure canners:
- 0 to 2,000 feet – 11 lbs pressure
- 2,001 to 4,000 feet – 12 lbs pressure
- 4,001 to 6,000 feet – 13 lbs pressure
- 6,001 to 8,000 feet – 14 lbs pressure
For weighted gauge pressure canners:
- 0 to 1,000 feet – 10 lbs pressure
- Above 1,000 feet – 15 lbs pressure
Once the processing time is complete, turn off the heat and allow the canner to cool to room temperature before opening. Do not try to rapid cool the canner or manually release the pressure, as this can cause jars to break or lose liquid. Just let it sit undisturbed until the pressure gauge reads zero, then wait an additional 10 minutes before removing the lid.
Remove the jars to a towel-lined counter and let them cool undisturbed for 12 to 24 hours. Check the seals by pressing the center of each lid. If it doesn’t flex, the jar is sealed. Store any unsealed jars in the refrigerator for immediate use.
Canning Carrots Tips
- Use storage carrot varieties for the firmest texture. Tender summer carrots and those sold with the greens still attached tend to get mushy during canning. Look for large bulk bags of storage carrots, which are bred to hold up over time.
- Always peel carrots before canning. Peeling improves texture, reduces earthy flavors, and lowers the bacterial load going into the jars. Canning times are only tested for peeled root vegetables.
- Match temperatures to prevent broken jars. For raw pack, keep the canner water around 140°F. For hot pack, the canner can be at a simmer (180°F) or higher.
- Use canning salt or sea salt rather than table salt if you choose to add salt. Table salt contains anti-caking agents that can cloud your jars.
- Don’t skip the 10-minute steam venting step before adding the canning weight. This ensures the entire chamber is filled with steam and reaches the proper temperature throughout.
- Remove canning rings before storing sealed jars. The vacuum inside should hold the lid closed. Leaving rings on can mask a failed seal and cause rust.
Yield Notes
The number of fresh carrots needed for a canner batch varies slightly based on the size of the carrots, how much you trim off the ends, and how small you chop them before loading them into the jars. As a general guideline:
- 16 to 18 pounds of carrots for a canner batch of 7 quarts
- 10 to 12 pounds of carrots for a canner batch of 9 pints
- My 30 quart All American Canner holds 14 quarts, which requires roughly 30 to 36 pounds of carrots
Serving Ideas for Canned Carrots
Home canned carrots are incredibly versatile and ready to use straight from the jar. Here are some of my favorite ways to use them:
- Heat them up with butter and a little black pepper for a simple side dish in minutes
- Add them to homemade beef stew along with canned potatoes for a quick weeknight dinner
- Puree a whole quart with some bone broth for a silky carrot soup
- Toss them into vegetable soup or chicken soup
- Mash them with a little maple syrup for a naturally sweet side that kids love
- Add to pot pies, casseroles, or shepherd’s pie without any additional prep
Canning Carrots FAQs
No. Carrots are a low-acid vegetable, so they must be pressure canned for safe shelf storage. Water bath canning does not reach high enough temperatures to destroy botulism spores in low-acid foods. If you want to preserve carrots in a water bath canner, you need to make pickled carrots using a vinegar-based brine.
Mushy canned carrots are usually the result of using the wrong variety. Tender summer carrots and those sold with greens attached are bred for fresh eating, not long-term storage. Use hearty storage carrot varieties, which are firmer and hold their texture through the canning process. These are typically sold in large bulk bags without the tops attached.
Yes. All root vegetables must be peeled before canning. Peels contain higher bacterial loads, and canning times have only been developed for washed and peeled root vegetables. Besides improving safety, peeling also improves flavor by removing the bitter, earthy taste that peels can impart to the whole jar.
Not if they were properly pressure canned following current USDA guidelines. Older canning books recommended boiling all low-acid vegetables for 10 minutes before serving, but that was to compensate for the less reliable canning methods of the past. Properly pressure canned carrots are safe to eat cold right out of the jar, though most people prefer to heat them.
Properly sealed jars of pressure canned carrots will maintain their quality on the pantry shelf for 12 to 18 months. They remain safe to eat beyond that time as long as the seal is intact, but the quality (texture, flavor, and color) may decline. Always refrigerate jars after opening.
Pressure Canning Recipes
If you tried this recipe for canning carrots, or any other recipe on Practical Self Reliance, leave a ⭐ star rating and let me know what you think in the 📝 comments below!
And make sure you stay in touch with me by following on social media!
Canning Carrots
Equipment
- Pressure Canner
Ingredients
- 16 to 18 lbs Carrots, see note
- Salt, optional
Instructions
- Prepare the carrots: Wash, peel, and slice or dice the carrots. Peeling is required for all root vegetables.
- Prepare the canner: Add 2-3 inches of water to your pressure canner with the bottom trivet. Warm to 140°F for raw pack or 180°F for hot pack.
- Heat the canning liquid: Bring a separate pot of water to a boil.
- Pack the jars: For hot pack, blanch 5 minutes then pack hot. For raw pack, pack raw carrots directly. Both methods use 1-inch headspace.
- Add liquid and seal: Pour boiling water over carrots, maintaining 1-inch headspace. Add salt if using. Remove air bubbles, wipe rims, seal to finger tight.
- Vent the canner: Seal lid, heat to high. When steam vents steadily, allow 10 minutes venting before adding weight.
- Process: Bring the canner up to pressure (see altitude adjustments below) and process pints 25 minutes, quarts 30 minutes.
- Cool and store: Let canner depressurize naturally. Cool jars 12-24 hours, check seals, remove rings, label and store.
Notes
- 16 to 18 pounds of carrots yields approximately 7 quarts
- 10 to 12 pounds of carrots yields approximately 9 pints
- A double-decker canner holding 14 quarts requires roughly 30 to 35 pounds
- 0 to 2,000 feet: 11 lbs pressure
- 2,001 to 4,000 feet: 12 lbs pressure
- 4,001 to 6,000 feet: 13 lbs pressure
- 6,001 to 8,000 feet: 14 lbs pressure
- 0 to 1,000 feet: 10 lbs pressure
- Above 1,000 feet: 15 lbs pressure
Nutrition
Nutrition information is automatically calculated, so should only be used as an approximation.
Canning Recipes
Find the perfect recipe
Searching for something else? Enter keywords to find the perfect recipe!










I’ve pressure canned carrots (hot pack)a couple times but they are always quite soft. What am I doing wrong?
Carrots do soften some in the pressure canner, but the biggest factor is the carrot itself. Sweet summer carrots, and the bunches sold with greens attached, go soft no matter what, while hearty storage carrots (the kind sold in big 5 or 10 pound bags in the fall) hold their texture. Chunky pieces at least 1/2 inch thick help too, and so does keeping the hot pack blanch to 5 minutes. Hope this helps!
Great help! I needed to know about how many pounds of carrots for 7 quarts. The mystery is solved! Thank you very much!