Affiliate disclosure: This post may contain affiliate links. Please see our Privacy Policy.
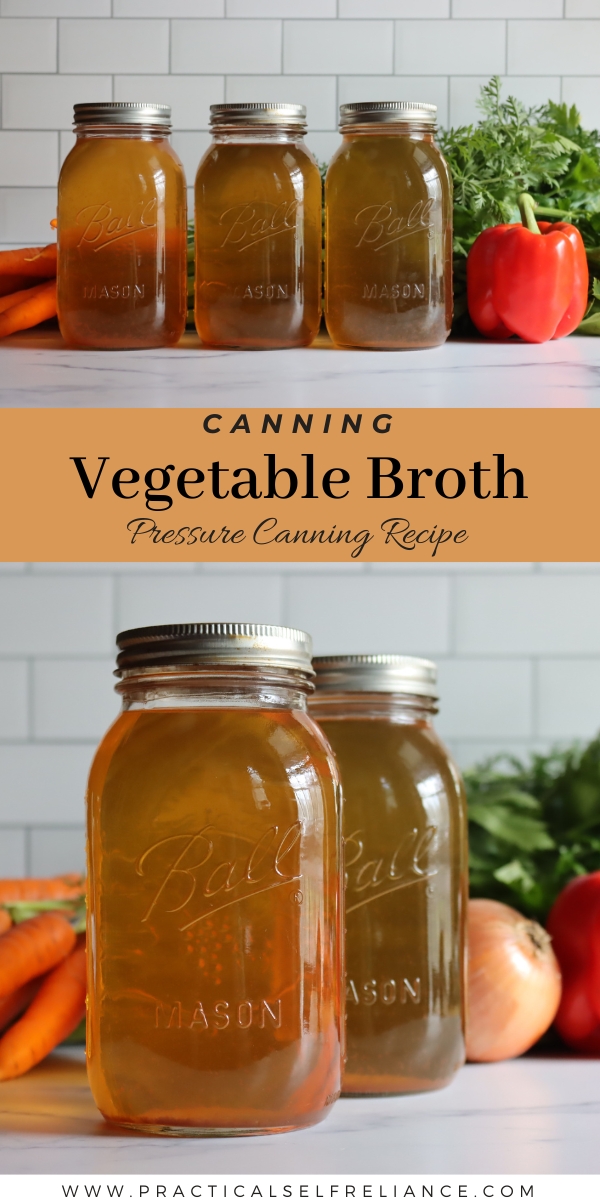
Canning your own vegetable broth is one of the simplest yet most rewarding ways to stock your pantry with a homemade, nutritious base for soups, stews, and just about anything else.
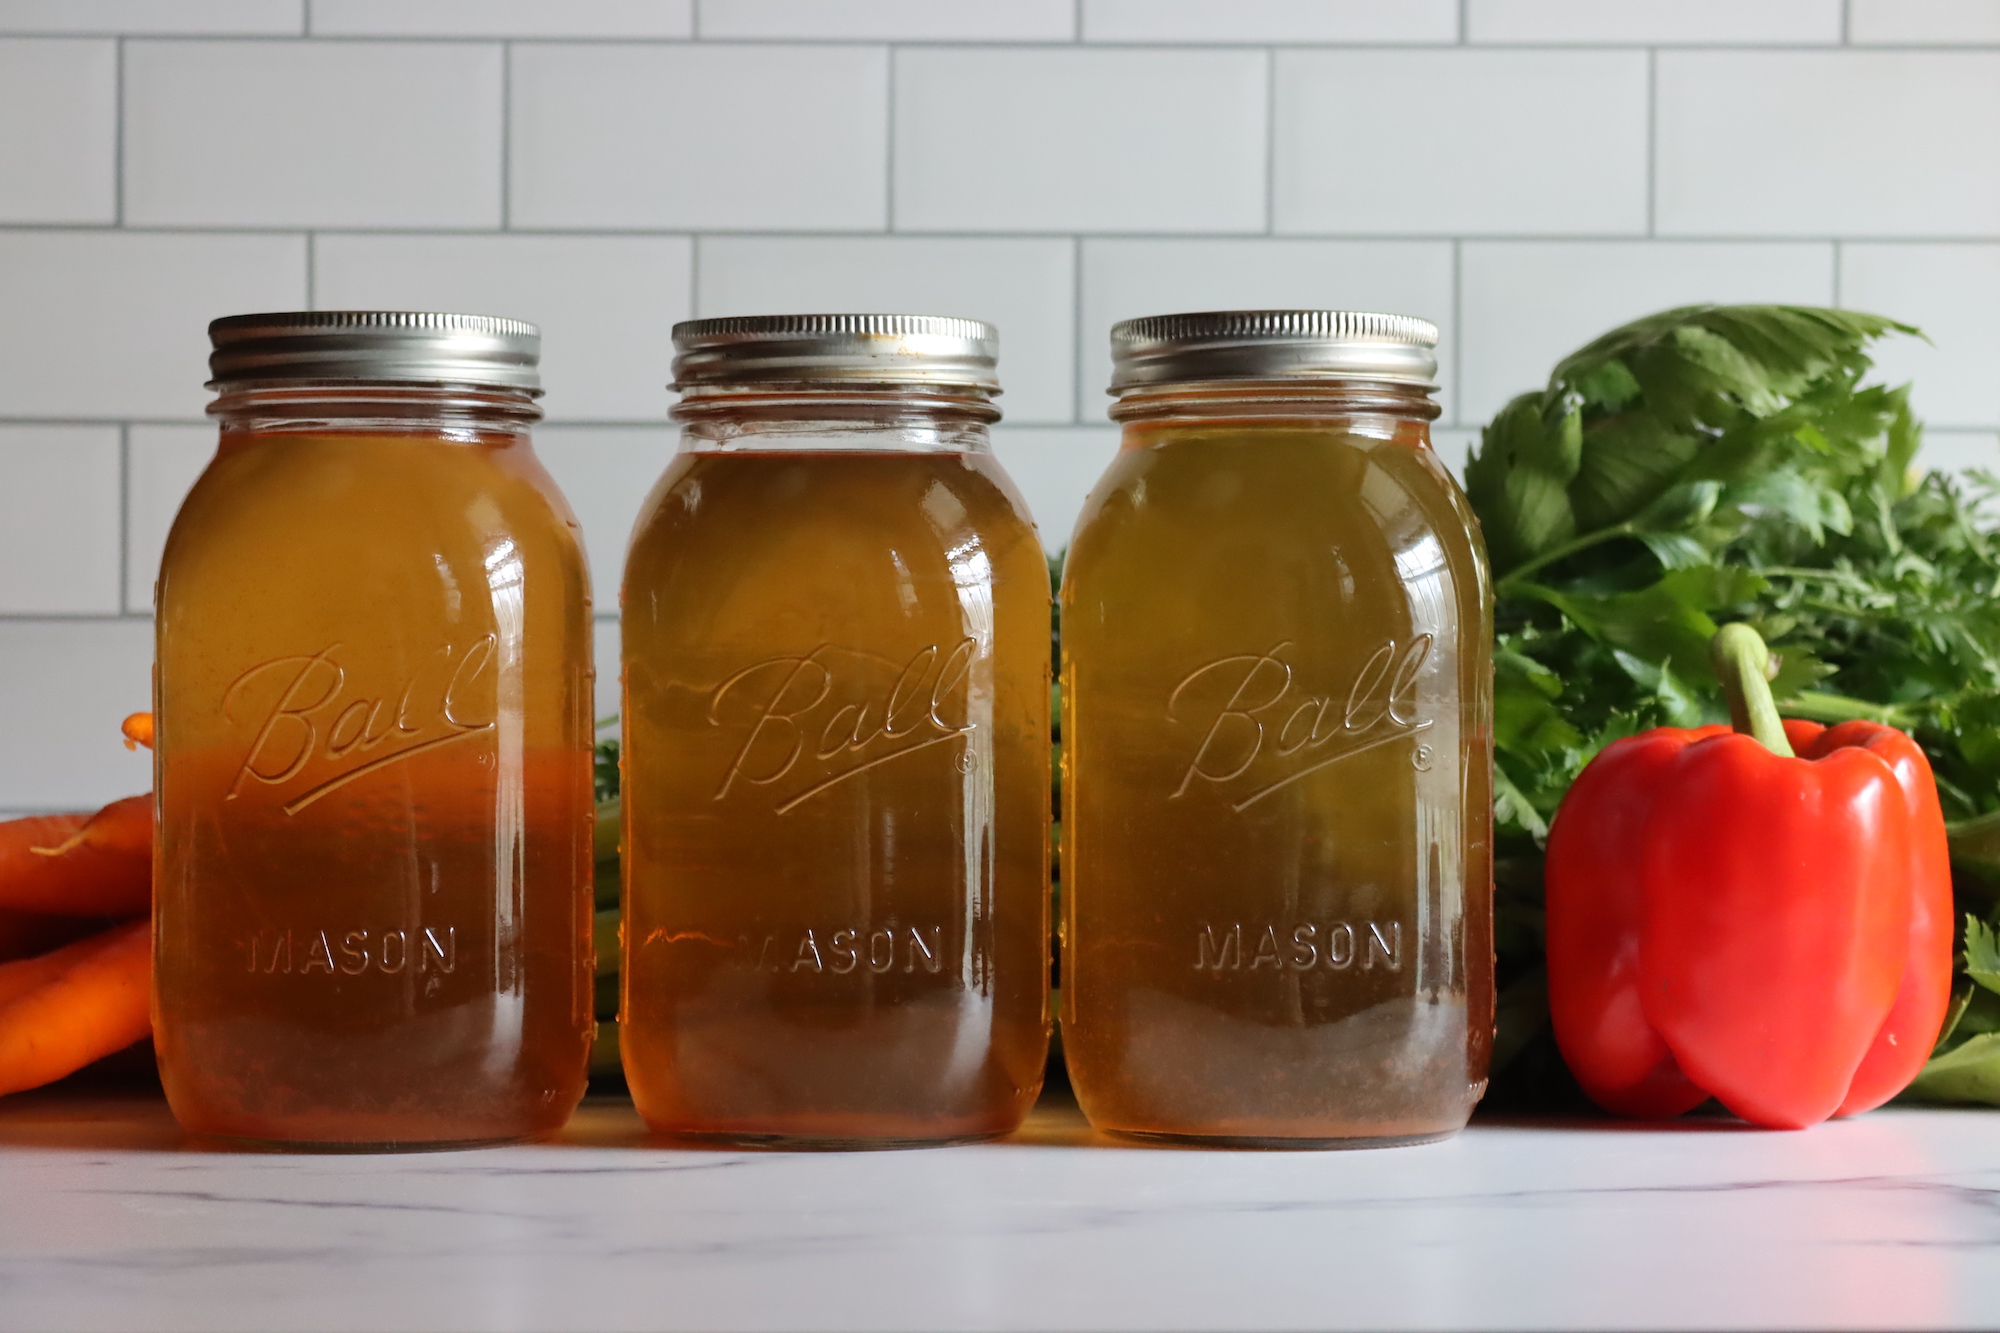
Unlike store-bought versions, homemade vegetable broth is free from preservatives, additives, and excess sodium, giving you full control over the flavor and quality.
Plus, it’s a great way to make use of leftover vegetable scraps and garden produce.
I like to make vegetable broth at the end of the garden season, when there’s way more produce than I can possibly use. Often it’s the misshapen veggies that make it into the pot, because broth really doesn’t care about pristine produce.
Still, while shape might not matter, flavor and quality do. Don’t use underripe, overripe, or spoiled veggies in a broth. You’re literally concentrating the flavor here, so the flavors that go in will be amplified in your finished broth.
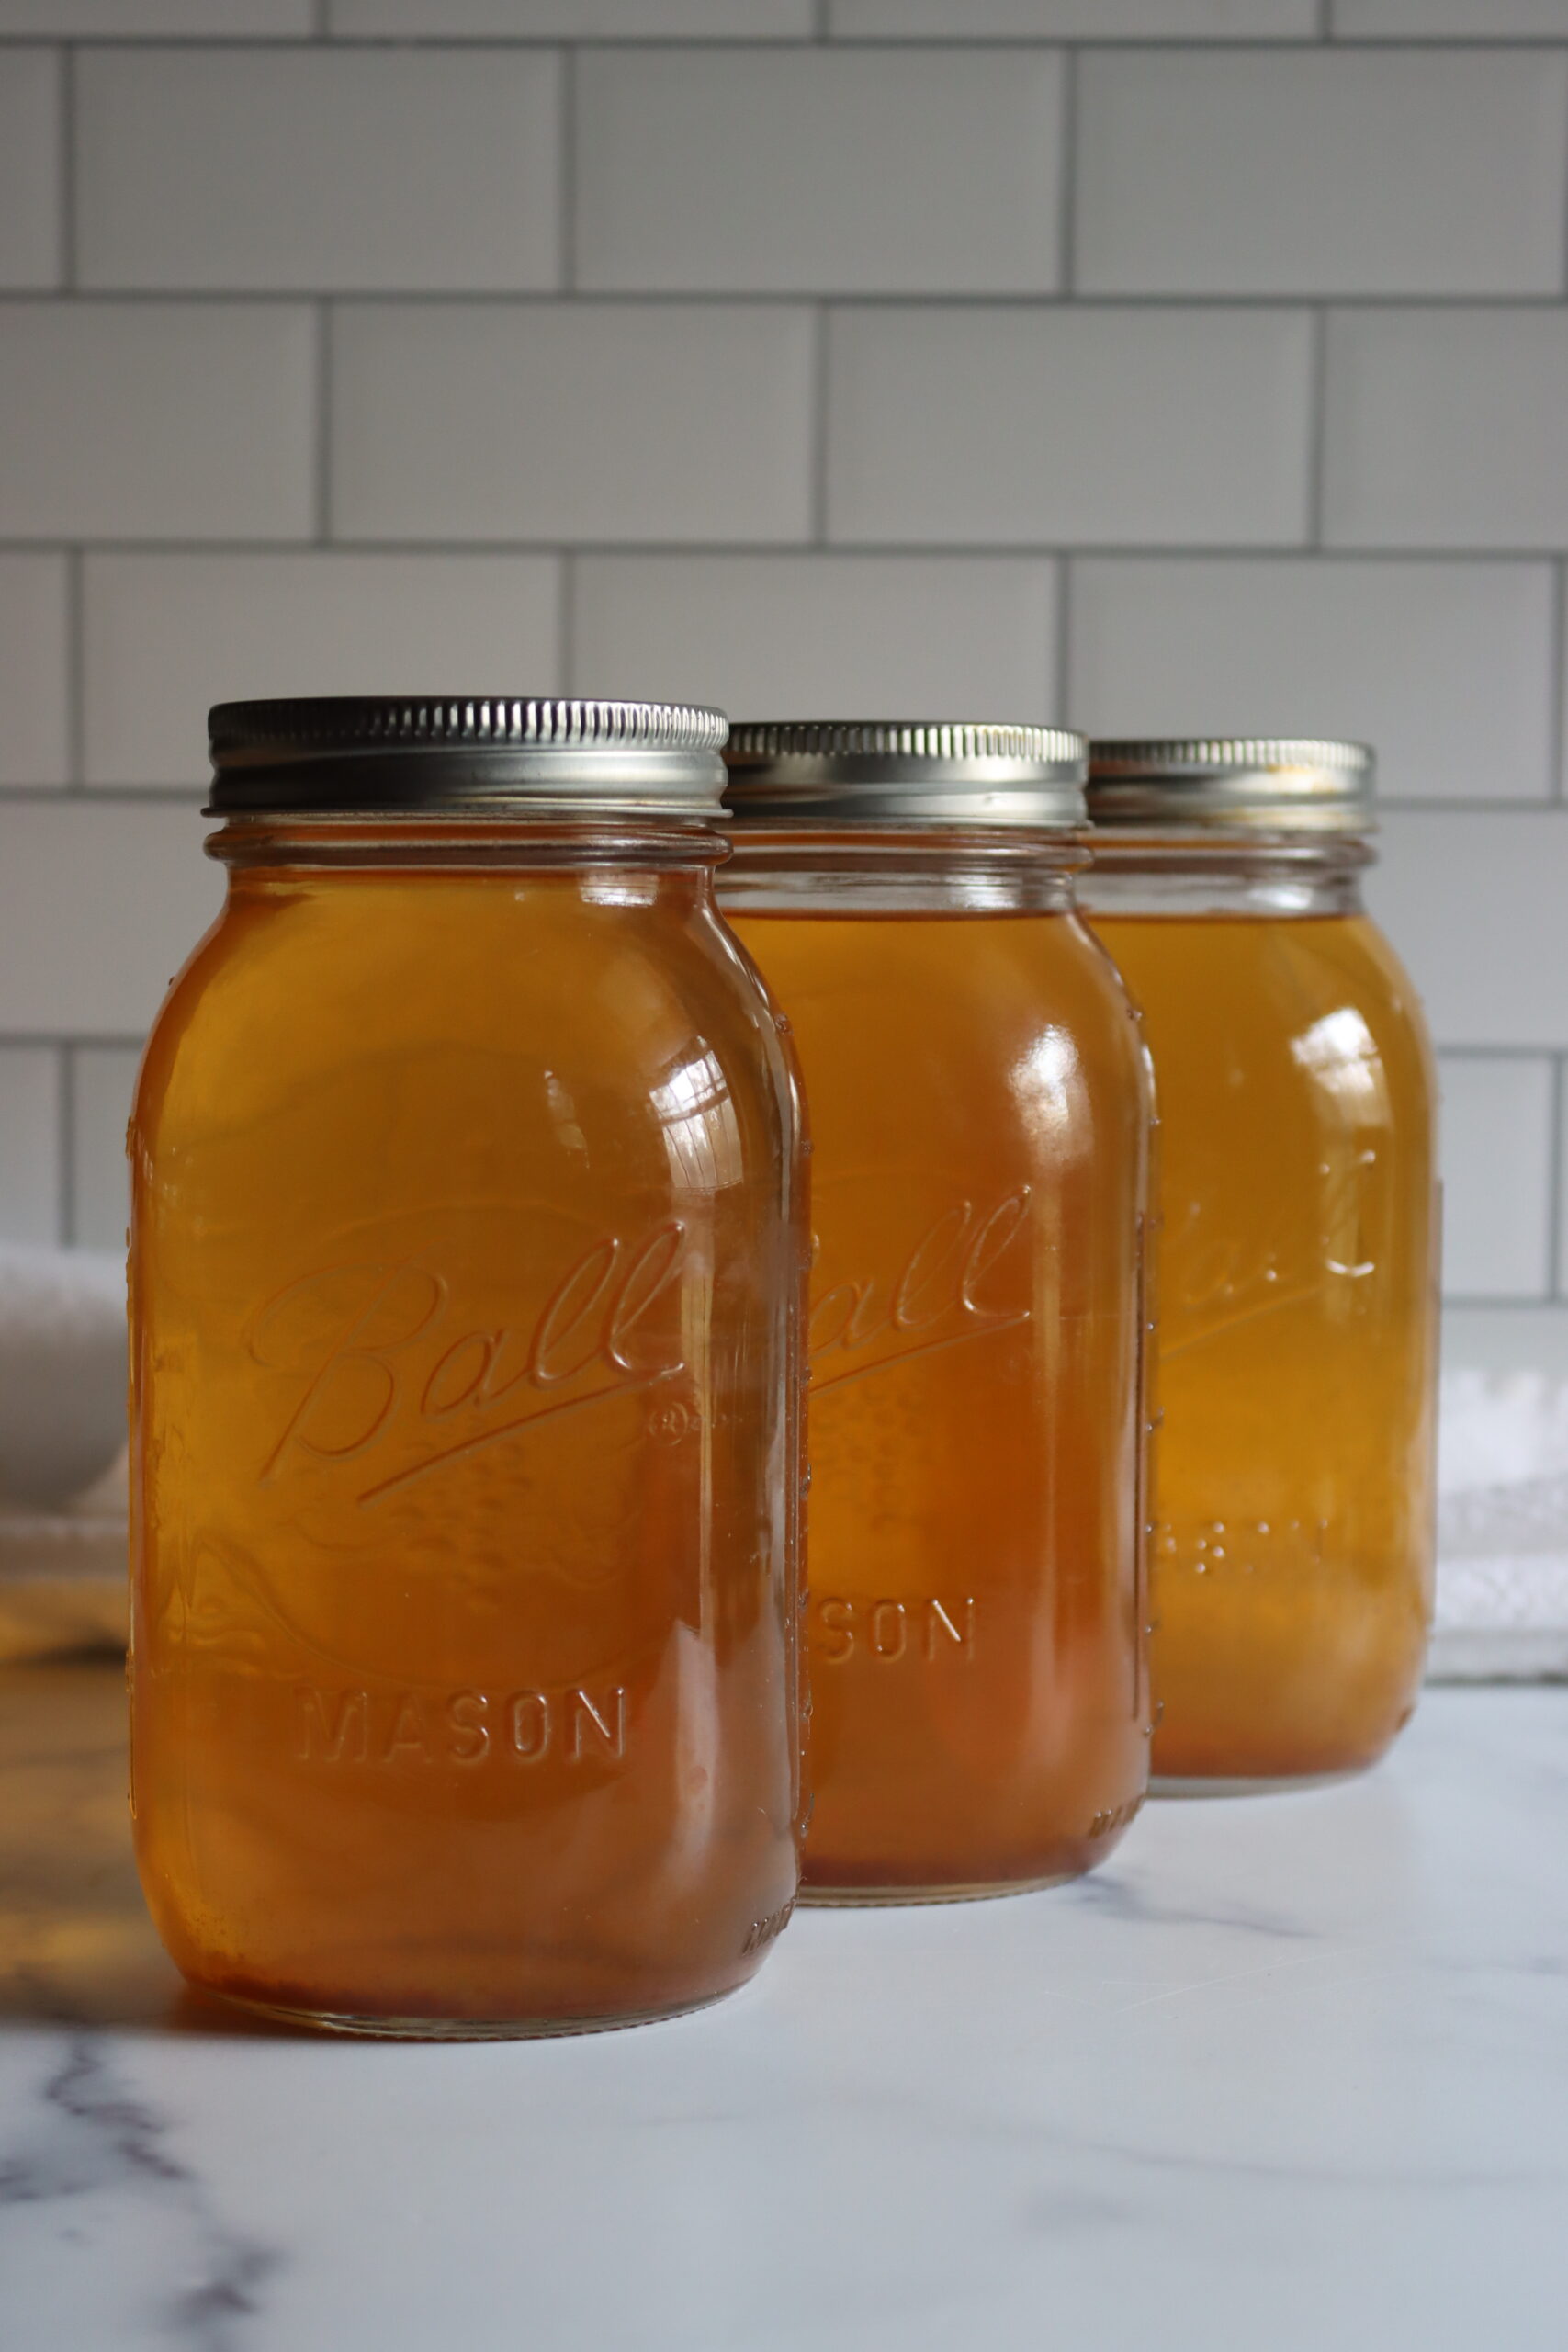
Ingredients for Canning Vegetable Broth
The best part about making vegetable broth is that you can customize it to your taste. The ingredients are simple and can be swapped based on what you have on hand. The key is to simmer the vegetables long enough for their flavors to fully infuse the broth.
This particular recipe, adapted from The Ball Blue Book Guide to Preserving, yields a robust, flavorful vegetarian broth.
Here’s what you’ll need to make about 14 pints or 7 quarts of broth:
- 3 cups (384 grams) sliced carrots
- 2 lbs (907 grams) quartered onions
- 3 cups (303 grams) chopped celery
- 2 bell peppers, chopped
- 2 large tomatoes, chopped and seeded
- 3 bay leaves
- 3 cloves garlic, crushed
- 1 tsp dried thyme (or 2-3 fresh sprigs)
- 1 tsp dried rosemary (or 1-2 fresh sprigs)
- 1 tsp dried parsley (or a small bunch of fresh parsley)
- 10 whole black peppercorns
- 2 gallons (7.6 L) water
This recipe is a perfect base, but feel free to experiment with adding other herbs or vegetables. Just be sure to avoid starchy vegetables like potatoes or parsnips, as they can cause cloudiness and potentially interfere with the canning process.
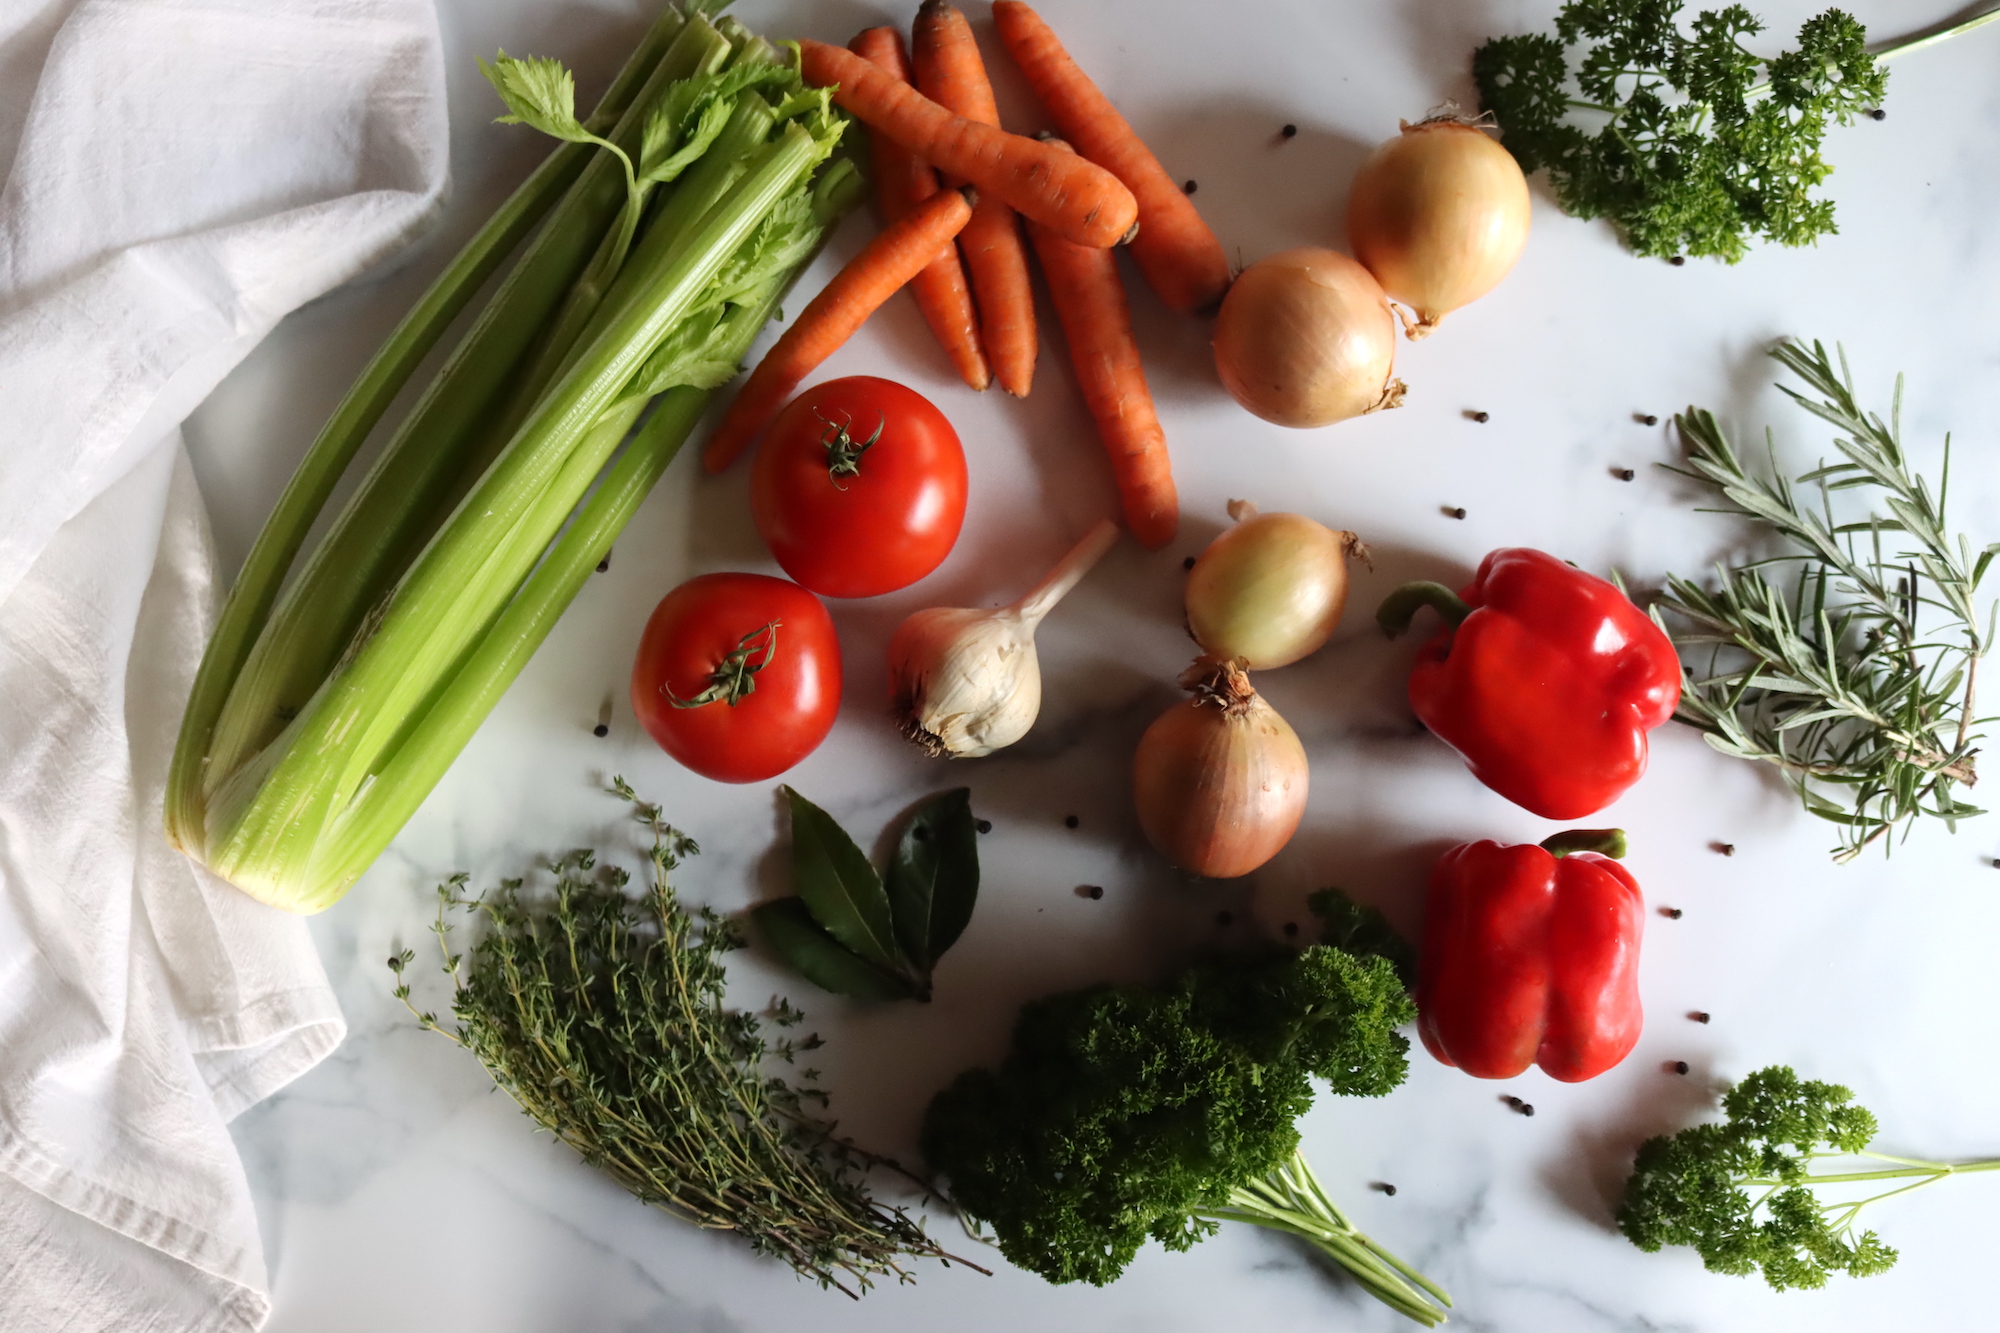
Personally, I think the red bell peppers are key to the flavor of this broth, and though I’d never put them in my veggie broth before making Ball’s recipe, they’re always in there now.
Mushrooms are questionable in home-canned broth, and they haven’t been fully tested. Avoid adding mushrooms out of an abundance of caution.
You’ll notice that this recipe doesn’t include any salt, and that’s a matter of taste. Everyone likes a different amount of salt in their veggie broth, and it can be hard to please everyone. I like to can it without salt, and add salt when I use it.
That said, if you want to add salt to the jars, ¼ tsp per quart or 1/8th tsp per pint is a good place to start.
Making Veggie Broth for Canning
Start by thoroughly washing and rinsing all the vegetables and herbs. There’s no need to peel them, as they will be strained out later. Simply chop them into pieces that will easily fit into your stockpot.
Combine all of the chopped vegetables, herbs, garlic, and peppercorns in a large stockpot. Add 2 gallons (7.6 L) of water and bring the mixture to a boil over medium-high heat. Once boiling, reduce the heat to low and let it simmer uncovered for about 2 hours, stirring occasionally. The goal is to extract all the flavor from the vegetables.
While the broth simmers, start preparing your pressure canner. Wash the canner and its rack thoroughly, then place the bottom rack inside the canner. Add a few inches of water (refer to your canner’s manual for specific recommendations based on your model). Place the canner on the stove over low heat to warm it up.
Next, wash your canning jars in hot, soapy water. Inspect them for any cracks or chips, and then keep them hot by placing them in the canner with the water (without turning on the heat yet). Wash the lids and set them aside to dry.
After two hours, it’s time to strain the broth. Carefully remove the stockpot from the heat. Set up a colander over a second stockpot or large bowl and line it with cheesecloth. Pour the broth through the colander and let it drain naturally—don’t press or mash the vegetables, as this can cloud the broth. Discard the solids.
(I usually feed the strained solids to our chickens, once they’ve cooled. It’s a great way to get one more use out of them, and the poultry love the extra treat. You can also just compost them.)
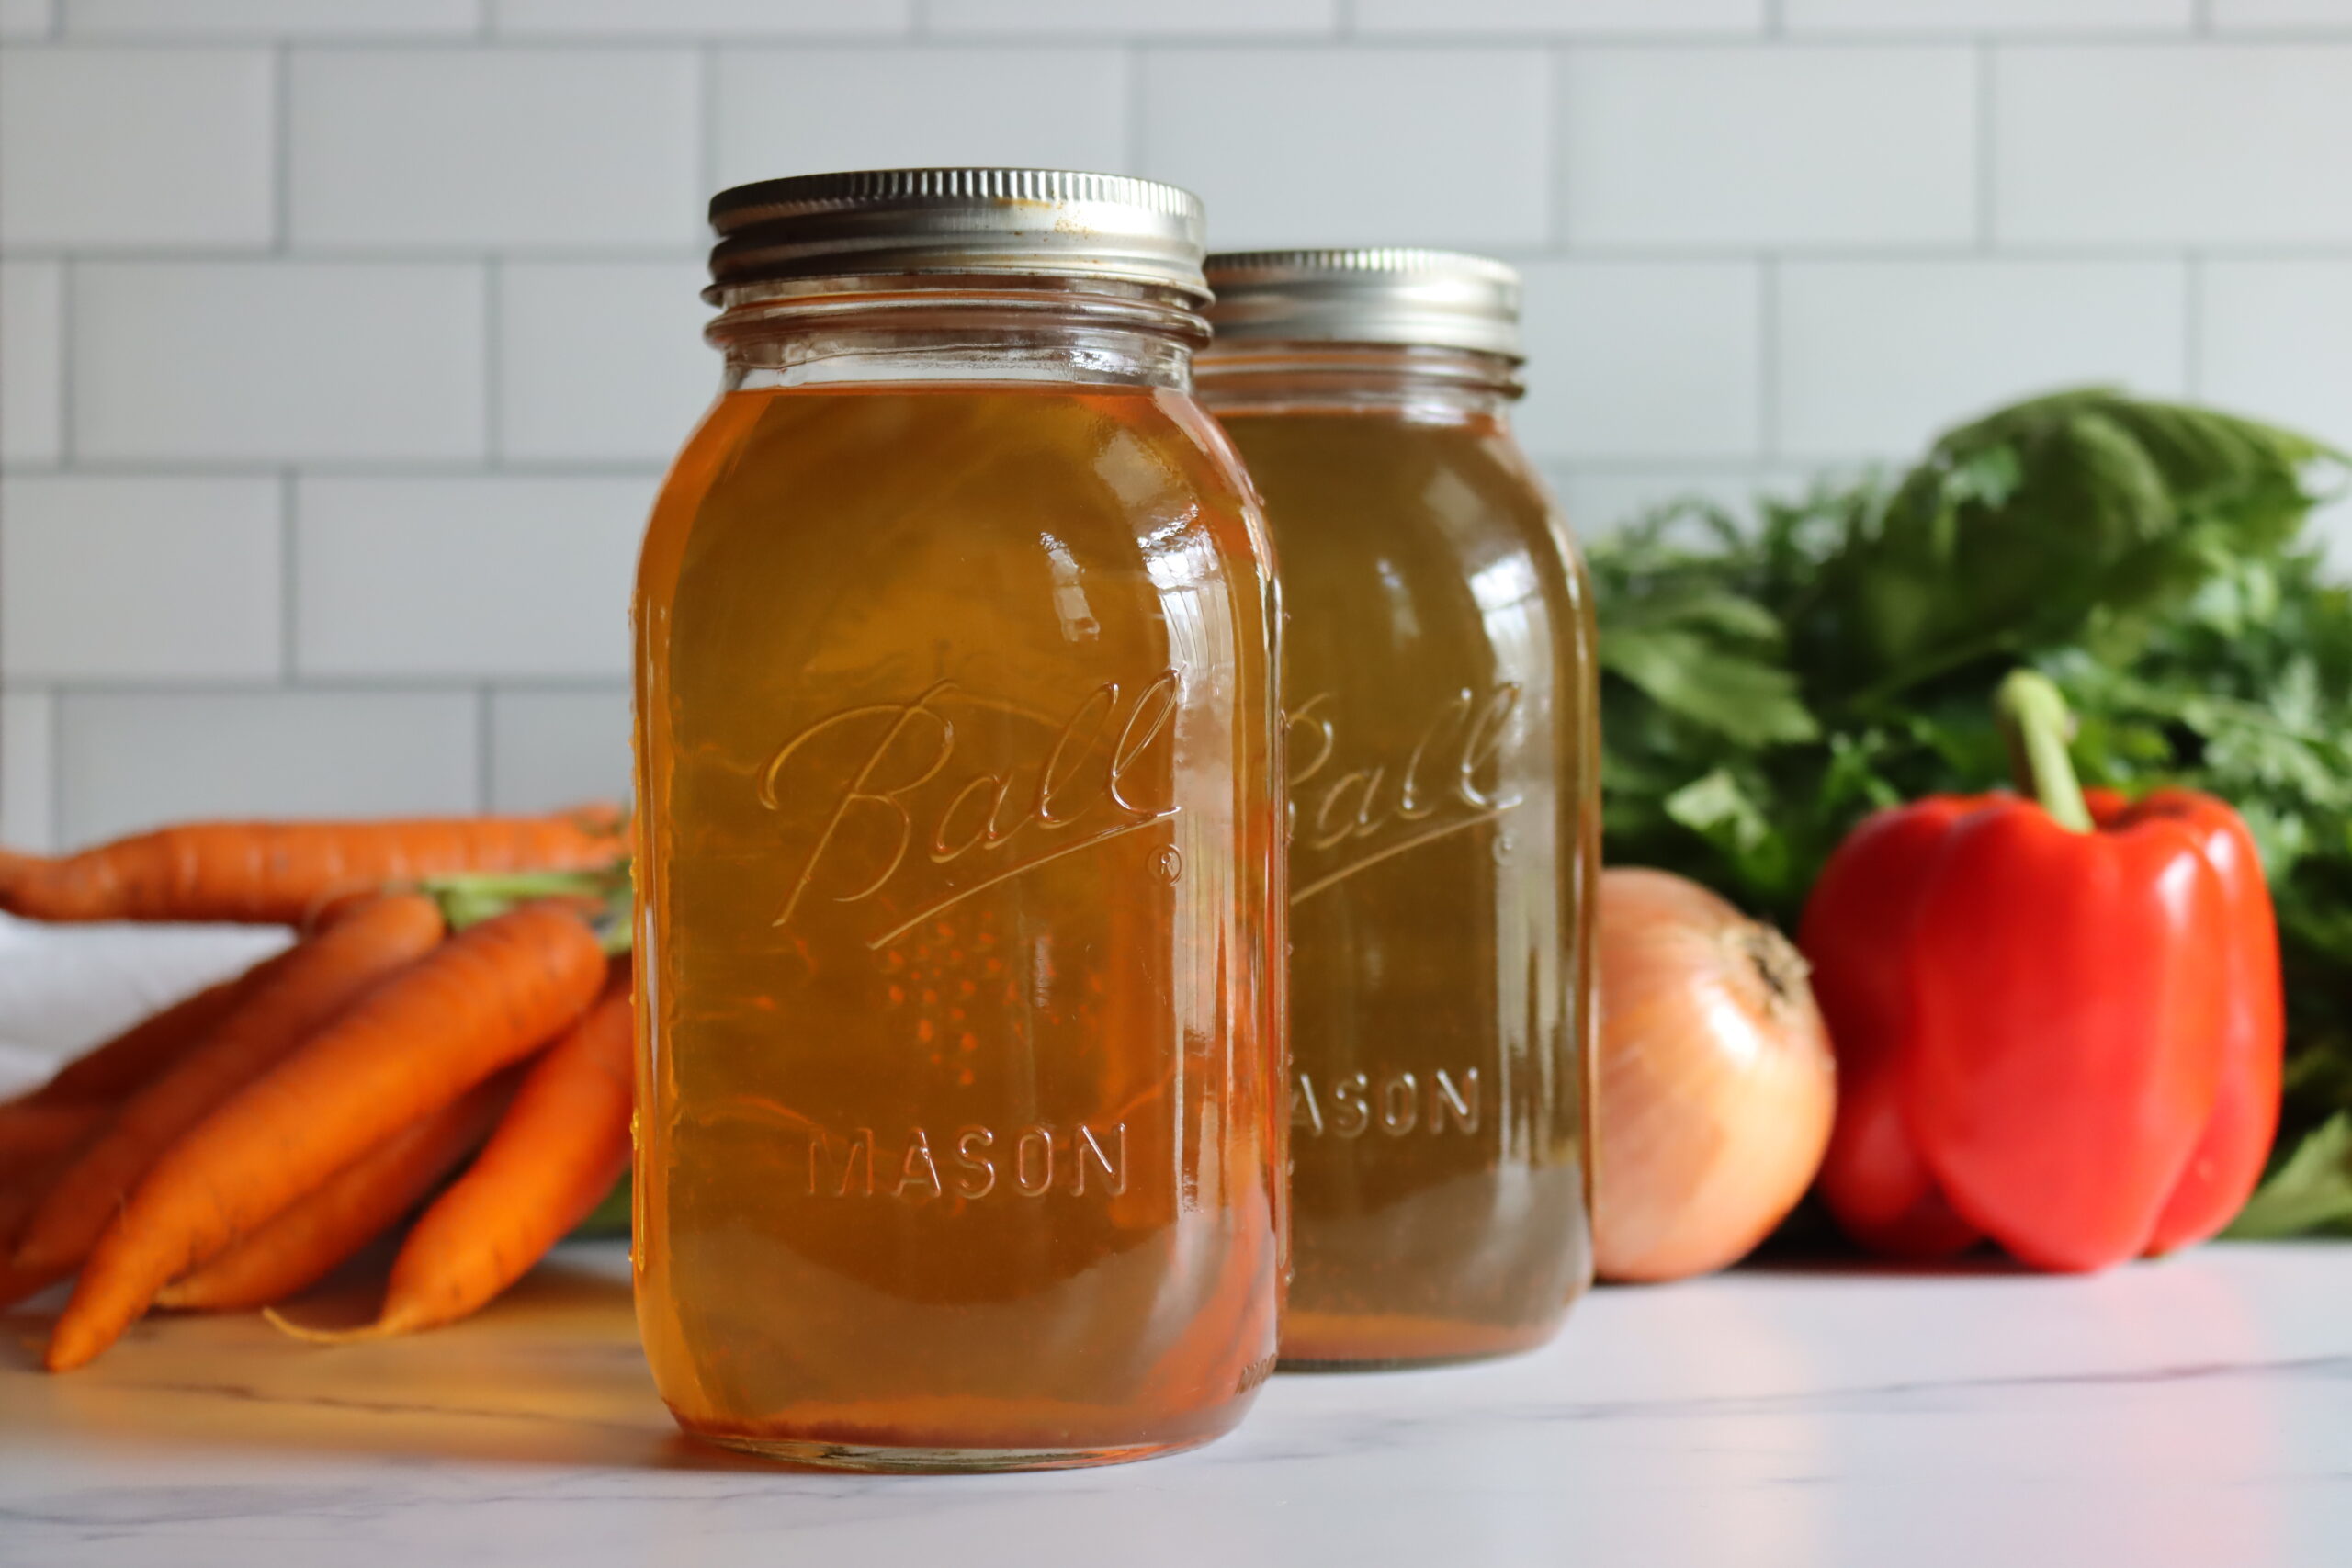
Canning Vegetable Broth
Now it’s time to fill your jars for canning!
Reheat the strained broth to a boil, and then remove it from the heat.
Using a ladle, pour the hot broth into the prepared jars, leaving about 1 inch (2.5 cm) of headspace. Wipe the rims of the jars with a clean, damp cloth to remove any residue. Place the lids on the jars and screw the bands on until they are fingertip-tight.
Place the jars in your pressure canner, ensuring they are covered with water. Process the jars at 10 lbs pressure for 30 minutes for pints and 35 minutes for quarts. If you live at a higher altitude, be sure to adjust the pressure (see the section below for altitude adjustments).
Once the processing time is complete, turn off the heat and allow the canner to depressurize naturally. Wait at least 5 minutes before removing the jars.
After removing the jars from the canner, set them on a clean towel or cooling rack. Allow the jars to cool completely for at least 12 hours. Check the seals to ensure they are tight, and store your canned vegetable broth in a cool, dark place. Label the jars with the date, and they should be good for up to a year.
Altitude Adjustments for Canning Vegetable Broth
If you live above 1,000 feet in elevation, you’ll need to adjust the pressure used during the canning process. Here are the altitude adjustments for pressure canning veggie broth:
For Dial Gauge Canners:
- 0 to 2,000 feet – 11 lbs pressure
- 2,001 to 4,000 feet – 12 lbs pressure
- 4,001 to 6,000 feet – 13 lbs pressure
- 6,001 to 8,000 feet – 14 lbs pressure
For Weighted Gauge Canners:
- 0 to 1,000 feet – 10 lbs pressure
- Above 1,000 feet – 15 lbs pressure
Serving Your Homemade Vegetable Broth
Canned vegetable broth is incredibly versatile. Heat it up and sip it as a comforting beverage, or use it to enhance the flavor of soups, stews, risottos, and sauces. It’s also perfect for cooking grains like rice or quinoa, as it infuses them with extra flavor.
Before adding any additional seasoning, be sure to taste the broth, as the canning process can sometimes intensify flavors. If needed, you can always adjust the seasoning with a little extra salt or pepper to suit your preferences.
Canning Vegetable Broth
Equipment
- Pressure Canner
Ingredients
- 3 cups carrots, sliced
- 2 lbs onions, quartered
- 3 cups celery, chopped
- 2 large bell peppers, chopped
- 2 large tomatoes, chopped and seeded
- 3 bay leaves
- 3 cloves garlic, crushed
- 1 tsp dried thyme, or 2-3 fresh sprigs
- 1 tsp dried rosemary, or 1-2 fresh sprigs
- 1 tsp dried parsley, or a small bunch of fresh parsley
- 10 whole black peppercorns
- 2 gallons water
Instructions
- Wash and chop all vegetables and herbs.
- Combine all ingredients in a large stockpot. Bring to a boil over medium-high heat. Once boiling, reduce heat and simmer uncovered for 2 hours.
- Wash and sterilize your jars. Set the pressure canner on low heat with water, ensuring the temperature reaches 180°F (82°C).
- Once the broth has simmered, strain it through a cheesecloth-lined colander into another pot. Discard the solids.
- Reheat the broth to a boil. Ladle hot broth into prepared jars, leaving 1 inch (2.5 cm) of headspace. Wipe the rims of the jars with a clean cloth, then place lids and screw on bands until fingertip-tight.
- Process jars at 10 lbs pressure for 30 minutes (pints) or 35 minutes (quarts). Adjust for altitude as necessary (see notes).
- Let jars cool for 12 hours. Check seals, label, and store in a cool, dark place for up to 1 year.
Notes
Altitude Adjustments for Canning Vegetable Broth
If you live above 1,000 feet in elevation, you'll need to adjust the pressure used during the canning process. Here are the altitude adjustments for pressure canning vegetable broth: For Dial Gauge Canners:- 0 to 2,000 feet – 11 lbs pressure
- 2,001 to 4,000 feet – 12 lbs pressure
- 4,001 to 6,000 feet – 13 lbs pressure
- 6,001 to 8,000 feet – 14 lbs pressure
- 0 to 1,000 feet – 10 lbs pressure
- Above 1,000 feet – 15 lbs pressure
Nutrition
Nutrition information is automatically calculated, so should only be used as an approximation.
Pressure Canning Recipes
Keep that pressure canning running with these pressure canning recipes:
I was wondering if there’s any reason I couldn’t make the vegetable broth in the instant pot (besides not being able to make as much at once). I’ve gotten into the habit of making my broths and stocks in it these days and I couldn’t think of a reason that broth wouldn’t be safe for canning….but I thought I’d check with an expert!
Yes, you can make the broth in the instant pot, that’s perfectly fine. Instant pot, crock pot, or simple stovetop, all are equivalent. It doesn’t matter how you make the broth, so long as you filter it well to remove all solids and then can it in a pressure canner (not canning in the instant pot, it doesn’t get hot enough for canning). Enjoy!