
Affiliate disclosure: This post may contain affiliate links. Please see our Privacy Policy.
Capers are a staple of our home cooking, and we eat them enough that I decided to learn how to grow them myself. I was disappointed to learn that they need a long growing season and lots of heat to thrive, so no luck in Vermont.
Traditional capers are the pickled flower buds of a heat-loving Mediterranean shrub, but there are a number of other pickled flower buds that taste remarkably similar.
Dandelions produce a small, caper-sized flower bud early in spring before the stem shoots skyward and opens into a flower. If picked small enough, dandelion buds can be made into convincing dandelion capers. That’s a homemade caper that just about anyone can grow!

The first step is to find very tiny dandelion buds. I’m not talking about just plucking off closed flowers from the top of a dandelion stem. Those buds have already developed into a fully formed flower inside, and they’ll pickle into a squishy ball full of fluffy petals.
Capers have a bit of crunch to them, and to get that texture you need very young buds. Look at the ground for a telltale dandelion rosette. At the very center of a young plant, there will be a small dandelion bud very close to the ground. The stem hasn’t grown up yet, and the bud is still forming into a flower.
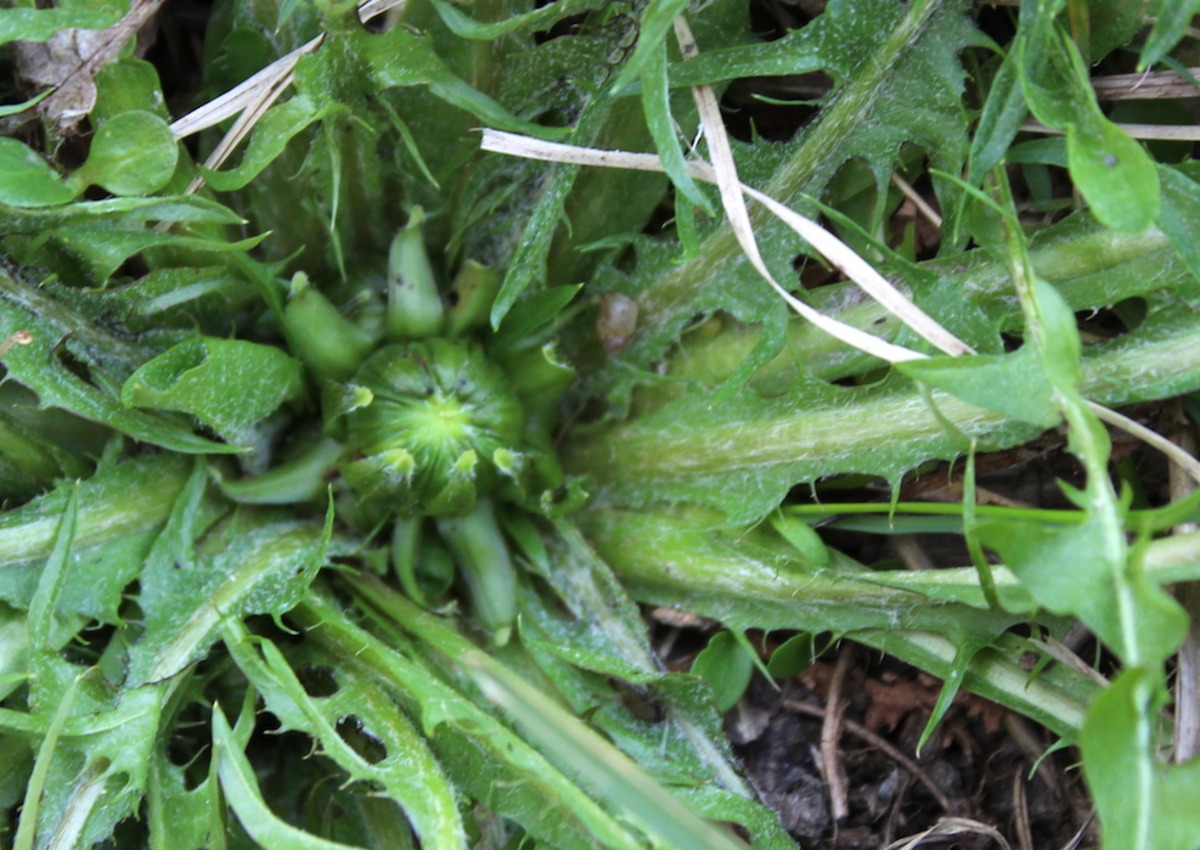
The dandelion bud above is just starting to split off its outer leaves. This is the very largest bud you’d use to make capers. If you want the good stuff though, go deeper.
Once you pluck off that primary bud, underneath there will be a number of pea-sized secondary buds that are even younger.

Dandelions don’t just produce one flower. Each plant produces many flowers over the course of the season, and even if you take all of these secondary buds, no worries, they’ll keep coming back.
Use your finger to pry these little buds out from the inside of the rosette. The primary bud came off easily, but these are deep down in there and take a bit more work.
Once you have them out, all you need is roughly 100 more dandelions and you’ve got a batch of capers. Well, maybe not quite that many, but you get the idea.
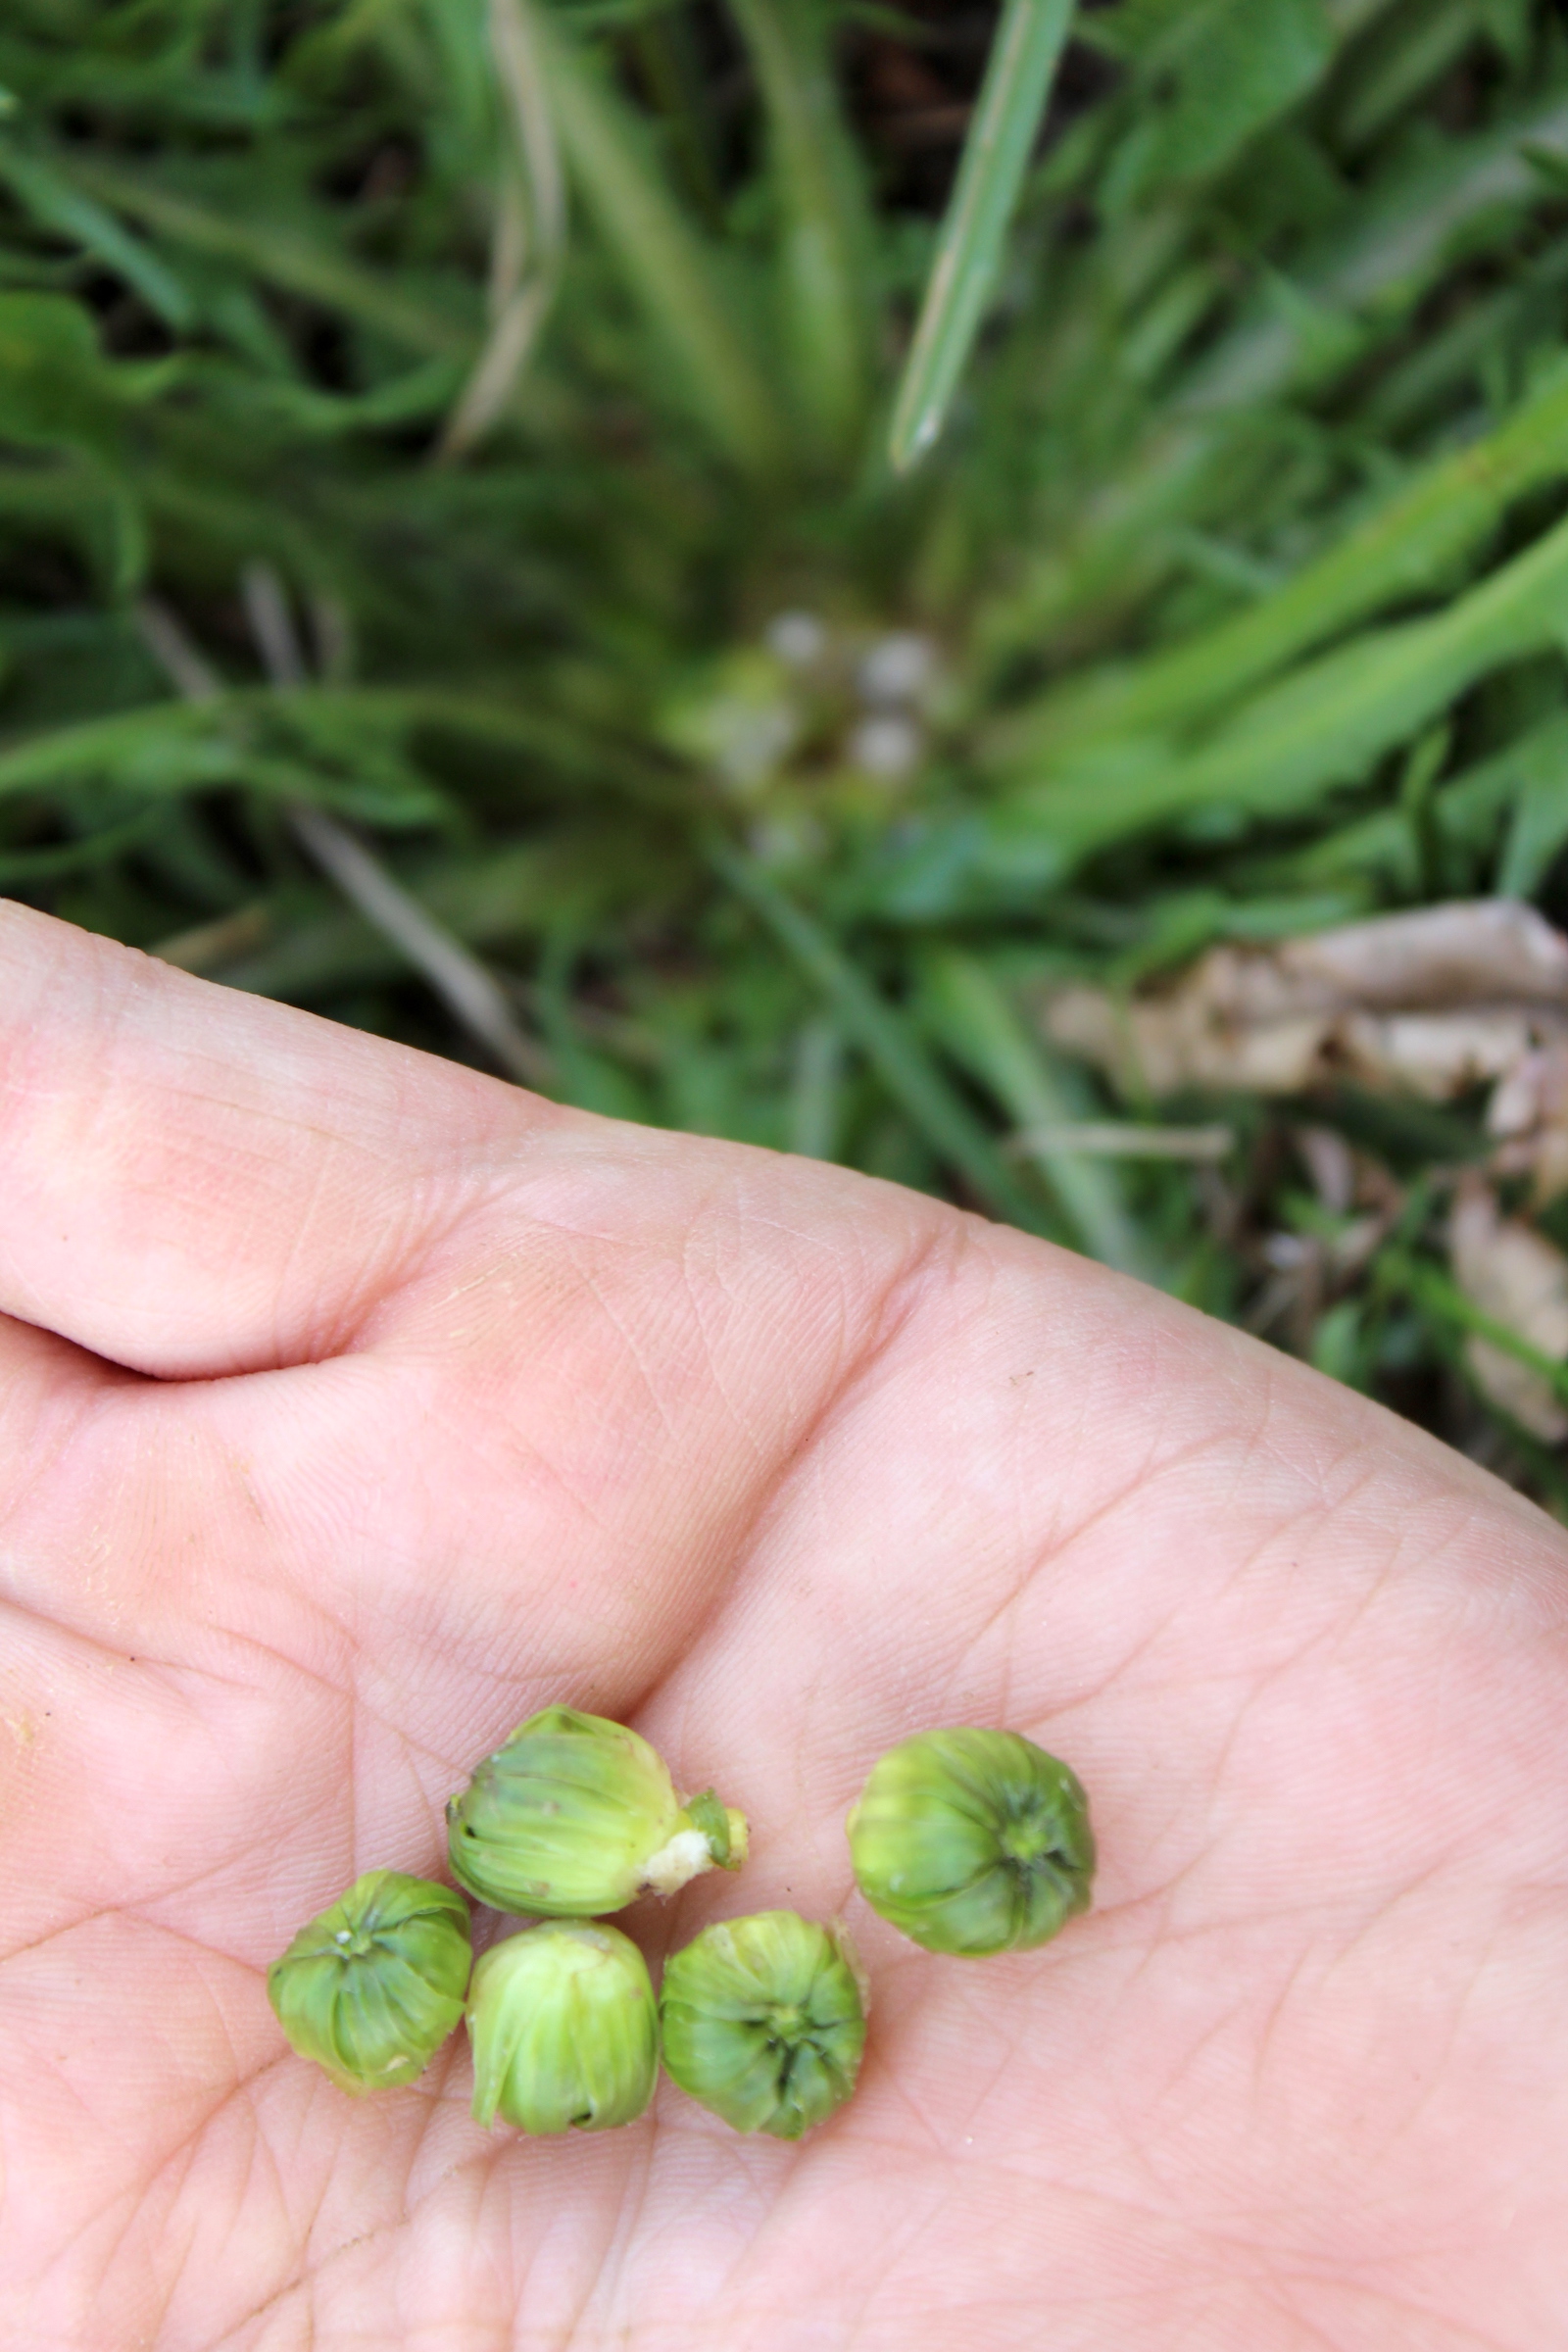
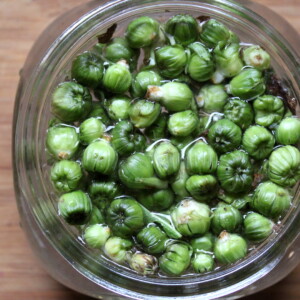
Once I showed this handful of “secret dandelion buds” to my daughter, she went to work. It’s like a scavenger hunt for a tiny kid, and my baby girl filled the jar in no time flat.
Now that you have the buds, it’s time to pickle them. Dandelion capers can be made two different ways.
Dandelion capers can be made just like homemade pickles, using a vinegar and salt brine. Using this method, they can be water bath canned for long-term preservation or just popped into the refrigerator for more immediate use.
There’s no tested recipe for pickled dandelion buds, so this one follows the National Center for Home Food Preservation’s brine for pickled hot peppers. That’s 5 parts vinegar to 1 part water, with a little canning salt. Use vinegar labeled 5% acidity.
Pack the buds into half pint or pint jars and pour the boiling brine over them, leaving 1/2 inch of headspace. Since the buds go in raw, load the jars into canner water that’s hot but not simmering, about 140°F.
Process the jars in a water bath canner for 10 minutes, adjusting for altitude with the chart below. When the time is up, turn off the heat, take the lid off the canner, and let the jars sit in the water for 5 minutes before lifting them out. That rest cuts down on siphoning.
Altitude Adjustments
These processing times are for water bath canning, and they go up at higher elevations.
- 0 to 1,000 feet: 10 minutes for half pints and pints
- 1,001 to 6,000 feet: 15 minutes for half pints and pints
- Above 6,000 feet: 20 minutes for half pints and pints

Pickled Dandelion Capers
Ingredients
- 2 cups dandelion buds, tightly closed, see notes
- 1 1/4 cups vinegar, 5% acidity
- 1/4 cup water
- 1 tsp canning salt, or fine Redmond’s Real Salt
Instructions
- Rinse the dandelion buds well and drain them.
- Bring the vinegar, water, and salt to a boil, stirring to dissolve the salt.
- Pack the buds into clean half pint or pint jars and pour the boiling brine over them, leaving 1/2 inch of headspace. Remove air bubbles, wipe the rims, and put on the lids and rings.
- Load the jars into a water bath canner with the water at about 140°F. Bring it to a full boil and process half pints and pints for 10 minutes, adjusting for altitude (see notes).
- Turn off the heat, take the lid off the canner, and let the jars sit in the water for 5 minutes. Lift them out and let them cool undisturbed for 12 to 24 hours.
Notes
- 0 to 1,000 feet: 10 minutes for half pints and pints
- 1,001 to 6,000 feet: 15 minutes for half pints and pints
- Above 6,000 feet: 20 minutes for half pints and pints
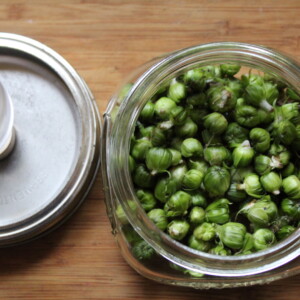
The traditional way of pickling, before canning and all that, involved just salt and water. The vegetables were lacto-fermented in this brine, in the same way that sauerkraut still is today. Instead of adding vinegar, the lactic acid bacteria produced their own acid to preserve the food.
To make fermented dandelion bud capers, all you need is a mason jar fermentation kit and a salt brine. Use 1 1/2 tablespoons of canning salt per quart of water, boiled and cooled, which is the National Center for Home Food Preservation’s brine for topping off sauerkraut.
I use Redmond’s Real Salt because it gives great flavor, and fine Redmond’s measures about the same as canning salt by the spoonful. Kosher salt is much lighter, so weigh other salts instead, about 27 grams per quart of water.

Lacto-fermented Dandelion Capers
Ingredients
- 2 cups dandelion buds, tightly closed, see notes
- 2 cups water
- 2 1/4 tsp canning salt, or fine Redmond’s Real Salt
Instructions
- Bring the water to a boil, stir in the salt until it dissolves, and let the brine cool to room temperature.
- Rinse the buds, pack them into a wide mouth pint jar, and pour in enough cooled brine to cover them. Keep the extra brine in the fridge for topping off.
- Put on a fermentation lid and ferment at room temperature for 7 to 10 days, keeping the buds under the brine. Taste them, and ferment a few days longer if you’d like them more sour.
- Once they taste right, swap the fermentation lid for a regular lid and refrigerate.
Notes
More Ways to Use Dandelions
Looking for more fun ways to use dandelions? Try any of these:
- 60+ Dandelion Recipes from Blossom to Root
- Dandelion Wine
- Dandelion & Honey Ice Cream
- Dandelion Root Coffee
- How to Cook Dandelion Roots
- Dandelion Tincture
- Dandelion & Burdock Herbal Bitters
- Dandelion Jelly
- Dandelion Salve












Are the leaves ready for tea when I pick buds for capers ?
Yes, you can pick leaves at that time also.
I’m So Excited to try this !!! And it’s the perfect time of year to get foraging here in NE Ohio !
Thank You ! I’m going to try the Pickling process as I would like to use them in my salads and cook with them !
You’re very welcome. Let us know how they turn out.
These turned out really good, I was nervous because this is my first time foraging but it honestly has a really nice flavor. I doubled the liquid ingredients and salt because it didn’t really fill up the jar much
If you’re like me and have trouble with certain ferments, you can try “pickling” them with kombucha (especially homemade, if you have it). You get the probiotics but with less risk of the ferment not turning out. Just use a weight to keep them under the booch, and add salt and/or other herbs, as you wish. I have a tiny batch going now. I’ll let you know!
This sounds like a very interesting approach. Thanks for sharing. Definitely keep us posted.
Can you reuse dill pickle brine, heat it and pour it over the buds, seal and make capers that way?
If you are planning to keep them in the fridge, that’s totally fine but I wouldn’t do that if you’re wanting to can them.