Affiliate disclosure: This post may contain affiliate links. Please see our Privacy Policy.
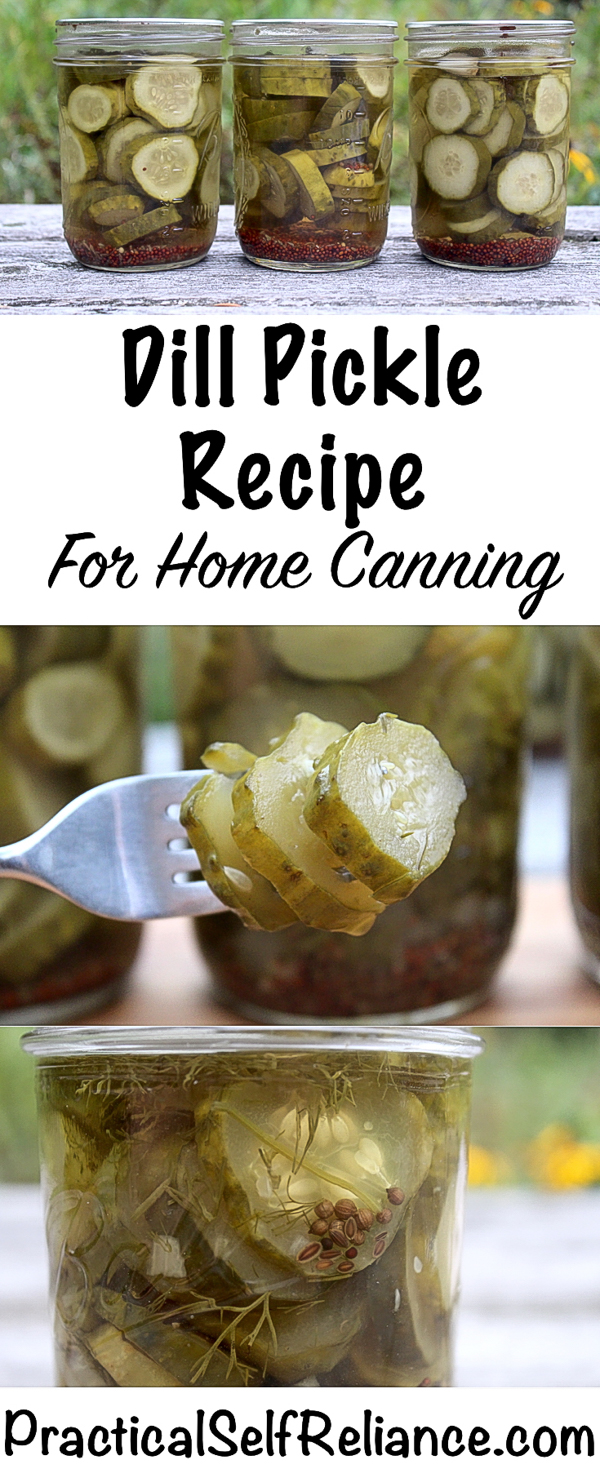
Some days I just want a pickle, and nothing compares to a perfectly crisp home-canned pickle. They top my burgers and hot dogs all summer long, but more importantly, in the wintertime, they remind me that summer will come again.
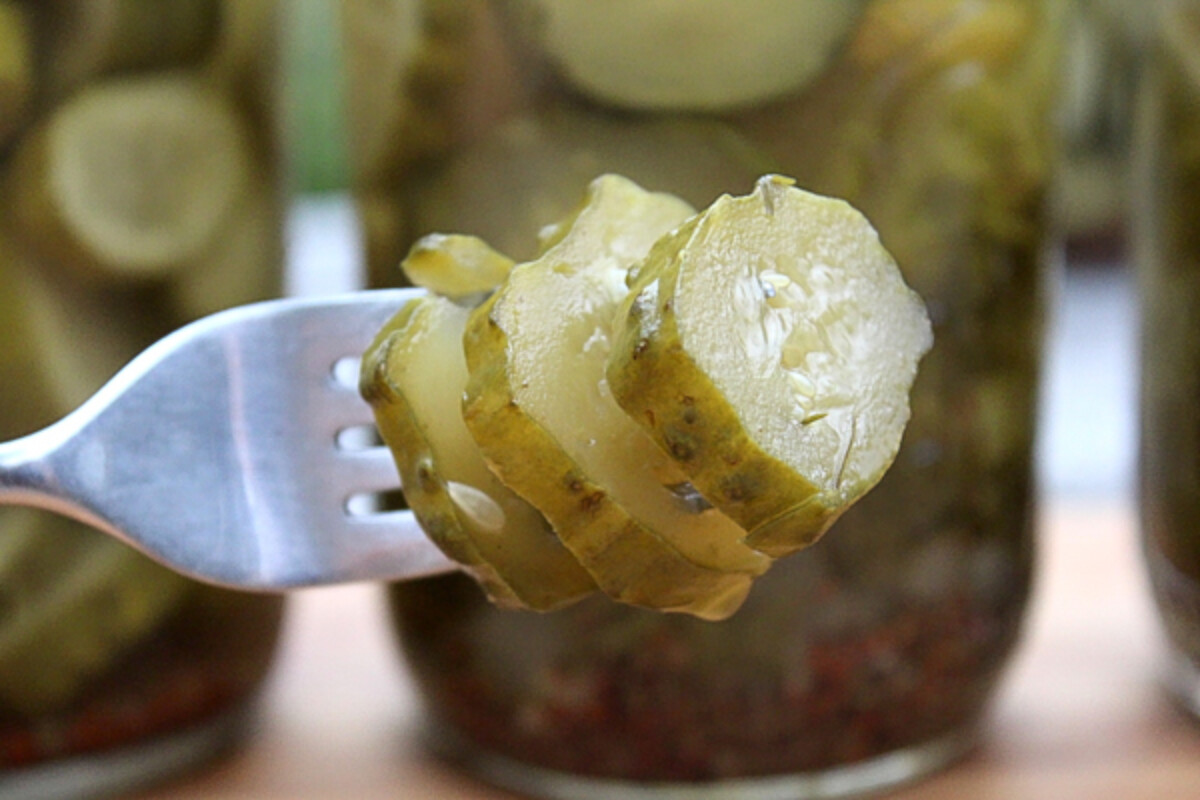
The very best pickles cant be bought in a grocery store. If you want a good pickle, you’ll have to ask grandma for a jar or learn how to make them yourself. I kick myself every time I don’t can quite enough for a full year. In those years, I find myself scanning the supermarket shelves, hoping for anything that might qualify as a real pickle.
I’m always disappointed. How can they get away with charging $8 for a jar of wilted, slimy excuses for pickles? On top of that, they’re loaded with preservatives that have no business in pickles. Every time I reach this point I vow that next summer there will be more pickles.
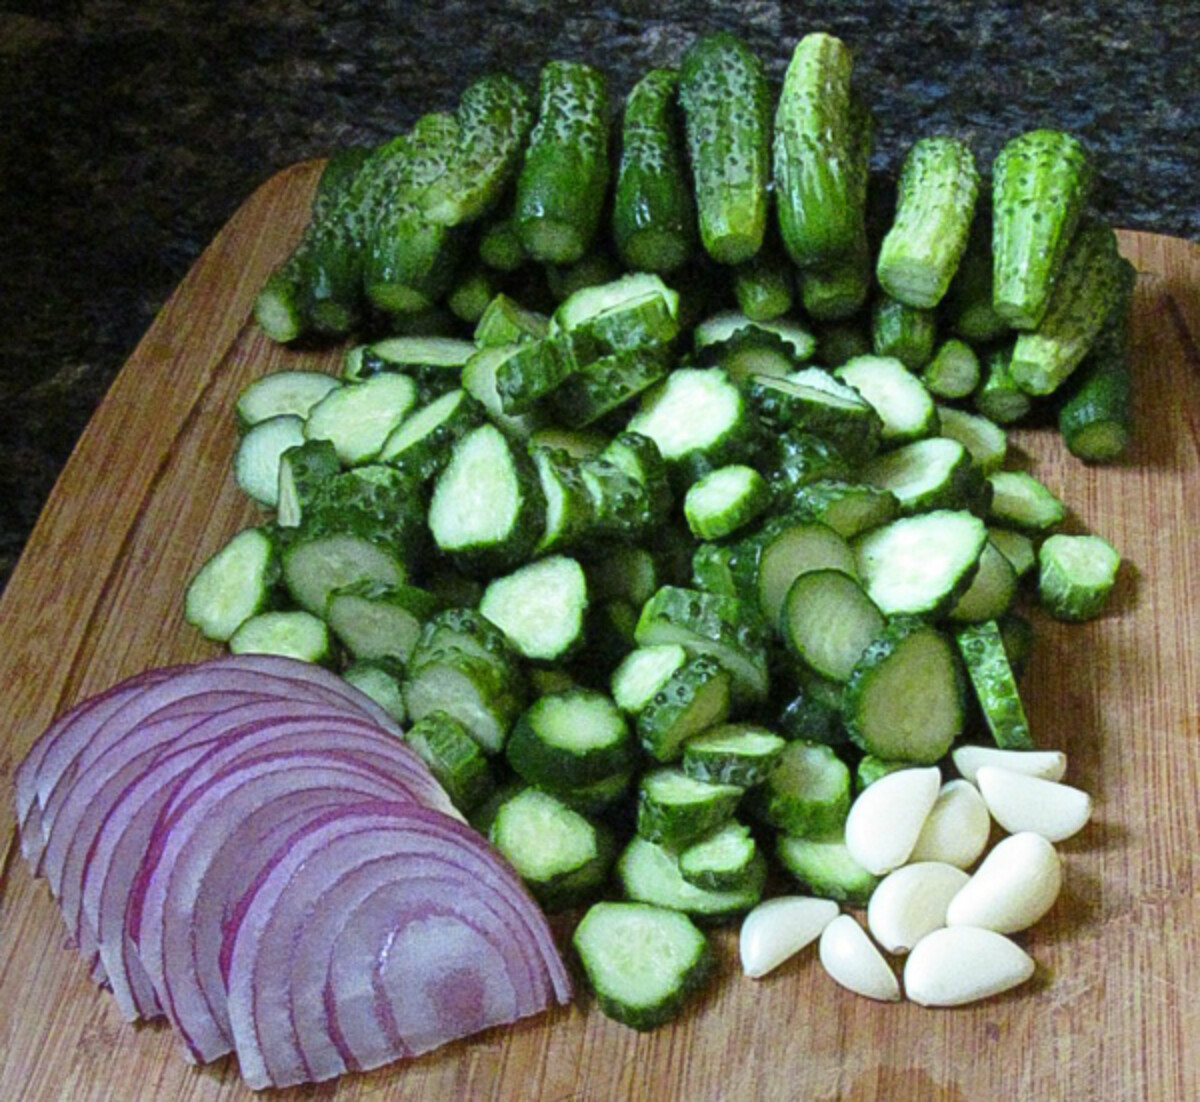
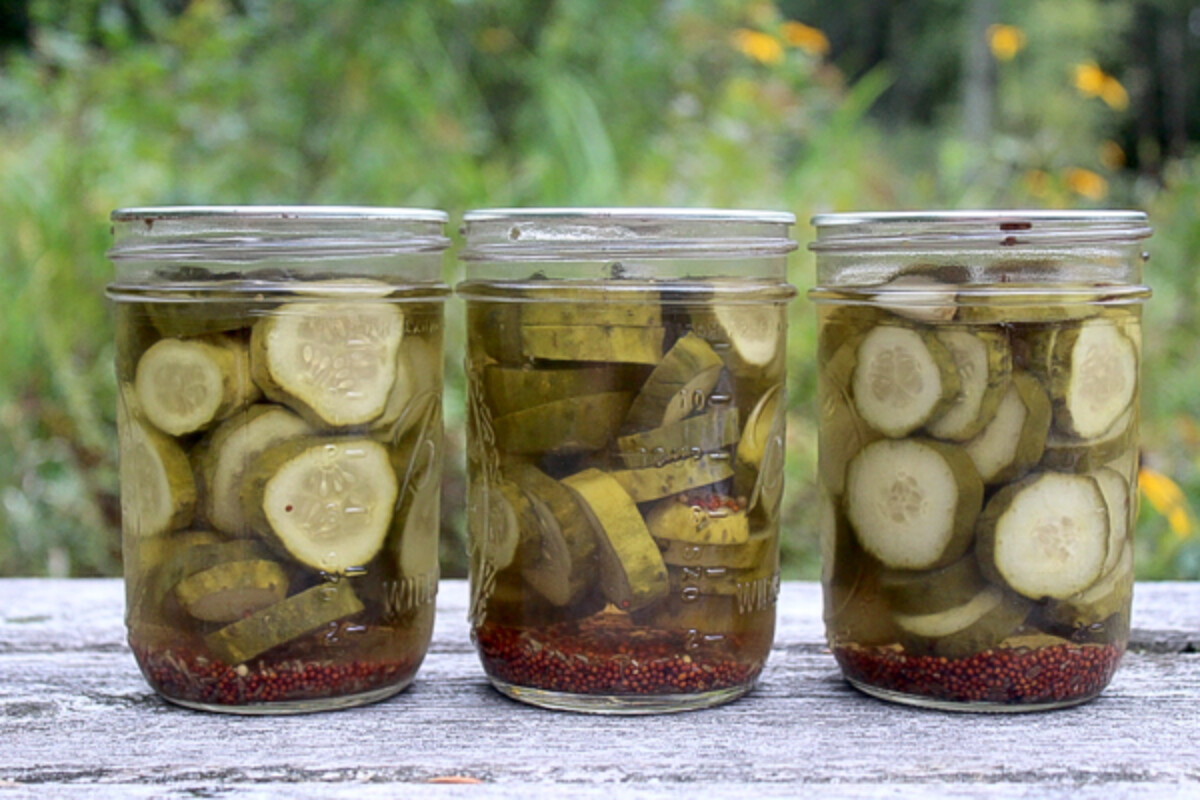
My secret to the perfect pickle is to select small cucumbers, about the size of your pinky finger. Whether you’re making slices of whole dills, the size of the cucumber is key. Anything bigger is best suited to pickle relish or hog feed. (If you have really super tiny baby cucumbers, try making miniature gherkins (cornichons), which are made with a very different recipe.
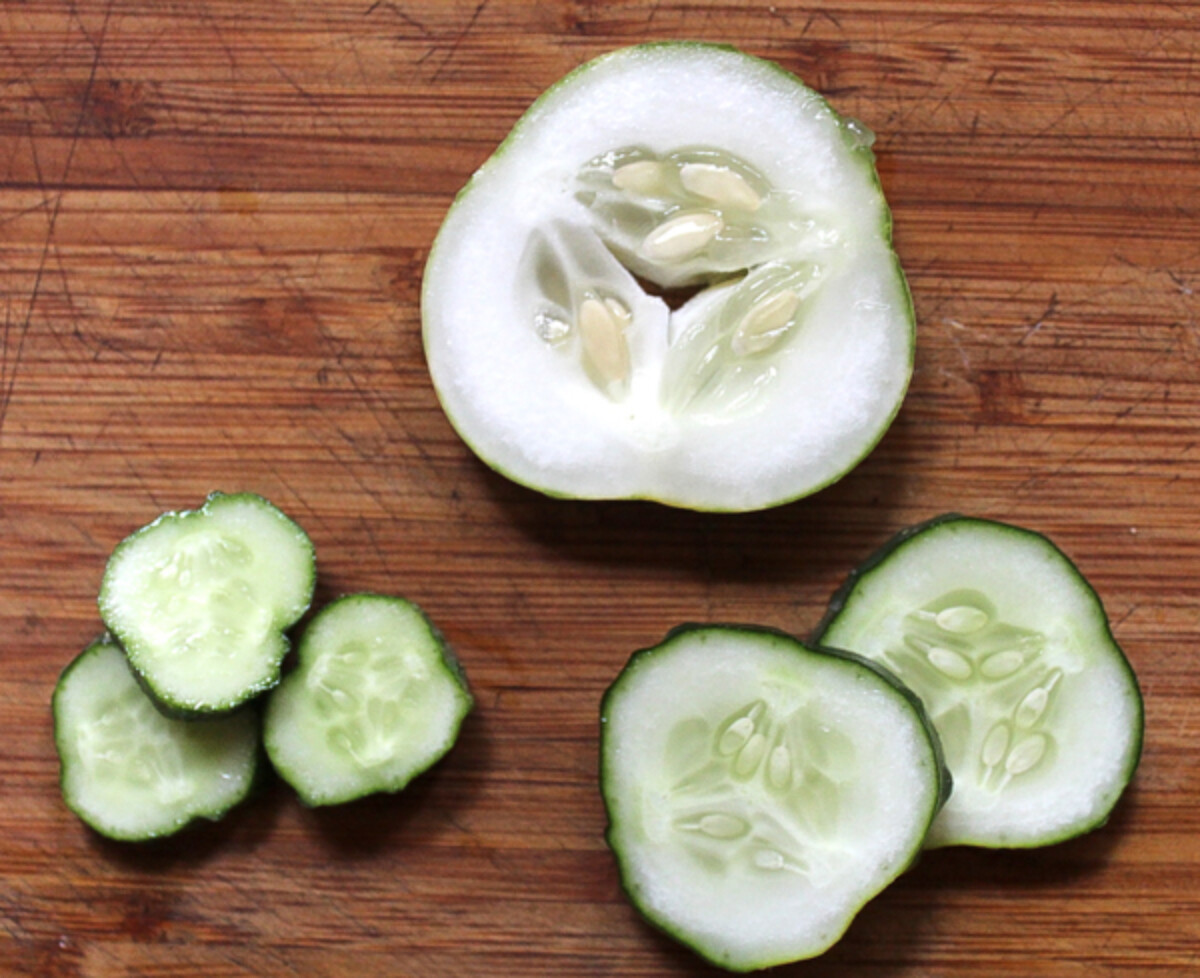
When you select cucumbers for canning pickles, the seeds should be barely visible. The picture below has a cross-section of 3 different cucumbers. The top one has fully formed seeds, and they’re already beginning to fall out a bit. If you can this cucumber, the center would fall out and the outside would never be crisp. If all you have is giant cucumbers, try making refrigerator dill pickles.
The bottom two cucumbers are both acceptable for canning but choose the smaller slices on the left for best results.
If you have very large cucumbers and your heart is set on canning, you can also try making either dill pickle relish or bread and butter pickles. Both of those recipes are designed to accommodate large overripe cucumbers. The cucumbers are layered with salt for about 2 hours before canning, which draws out extra moisture and removes bitterness from the overripe cucumbers. Added sugar in both recipes also helps mask any residual bitterness, and a bit of turmeric makes up for the fading color as the cucumbers are past prime.
Jar size also makes a big difference for home canned pickles. You can have the best pickle recipe in the world and the freshest tiny cucumbers, but if you can in quart jars they’ll be overcooked. Always can in pints rather than quarts. Quarts require longer processing times and are liable to produce mushy pickles.
There’s an old-school practice of soaking pickles in pickling lime before canning, and this helps keep them crisp during the canning process. It’s a complicated process, and involves a lot of time and mess, soaking and rinsing. Not to mention a lot of lime.
These days, most canners substitute something called pickle crisp. It doesn’t have anything funny in it, just calcium chloride. The calcium helps to reinforce the cell walls in the cucumbers, and that keeps them from popping during the canning process. The end result is firmer pickles without a lot of extra work.
It doesn’t take a lot of calcium chloride to get the job done. Roughly 1/8th tsp per pint or 1/4 teaspoon per quart. Just spoon it into the bottom of the jars along with the spices. Pickle crisp is optional, but it will help ensure crisp home-canned pickles.

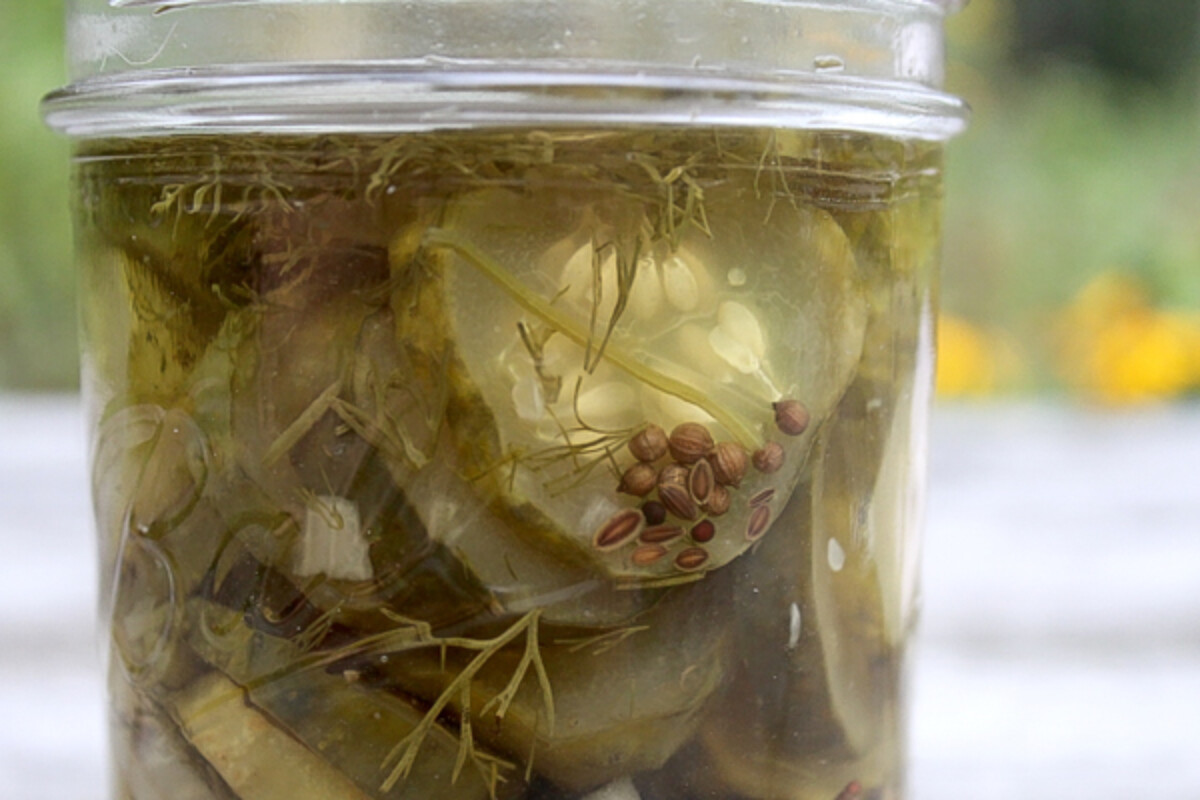
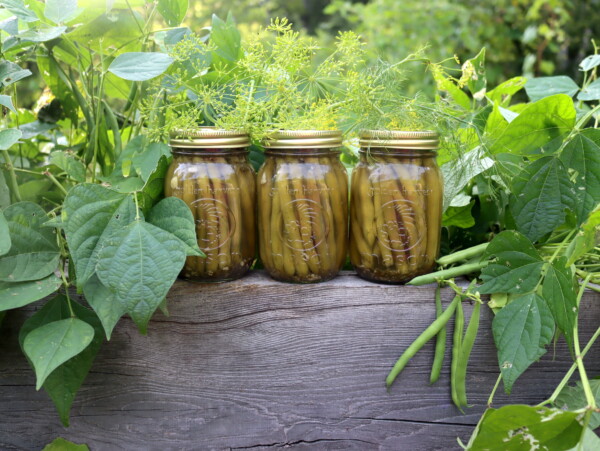
Making pickles at home is simple, assuming you have the right ingredients. I include fresh dill, mustard seeds, dill seeds, coriander seeds and black peppercorns. If for some reason I can’t find fresh dill, extra dill seed will work. Fresh dill tends to come in large bundles from the grocery store or farmers market, and if you have extra, try making dill pickled green beans, known as dilly beans here in Vermont.
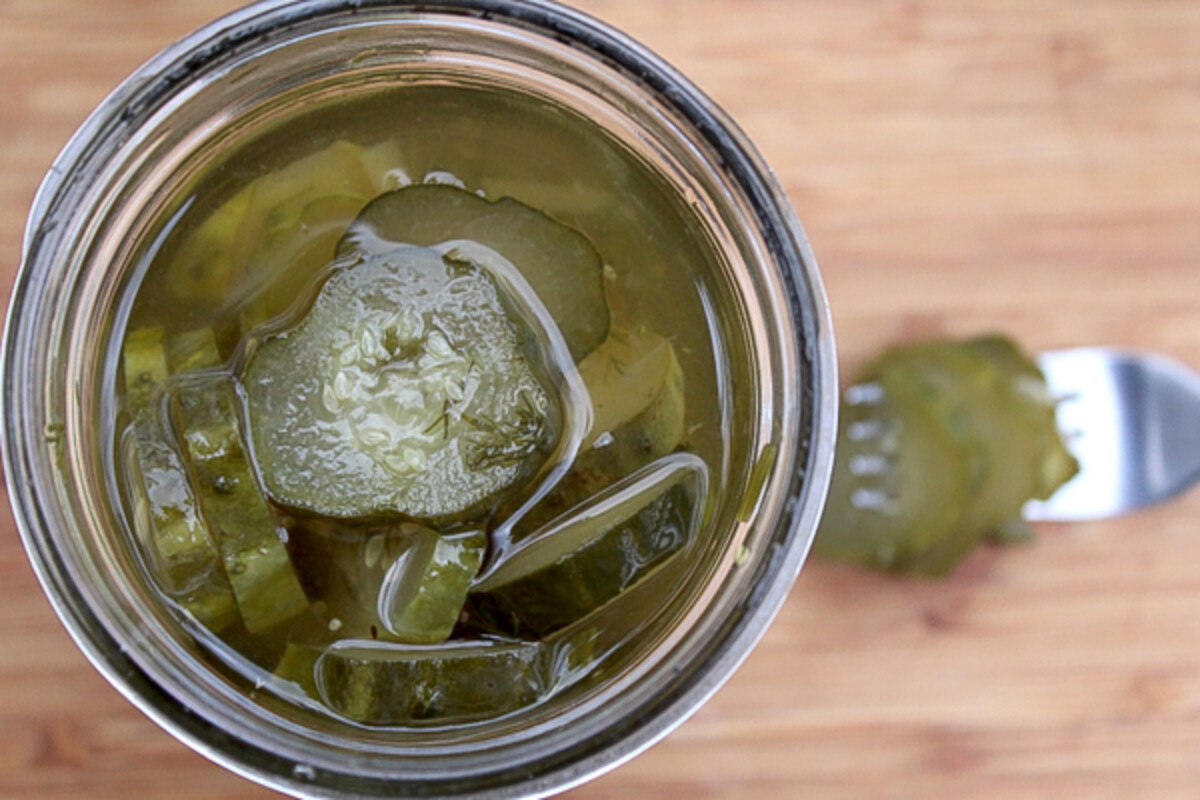
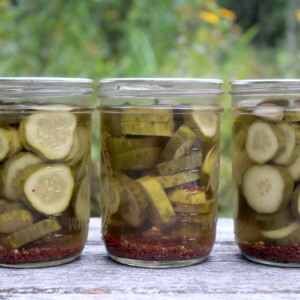
Start by packing spices, cucumbers, onions and garlic tightly into jars, leaving 1 inch of headspace. Cover with hot brine, and water bath can. Wait at least 2 weeks for flavors to infuse, and ENJOY!
If you’re giving them out as gifts, consider some cute labels. Chalkboard labels are all the rage these days, but I stick to ball canning’s dissolvable labels because they’re easy to remove so that you can reuse the jar once it’s empty.
If you really want to save money on pickling, buy your canning supplies in bulk. While rings and jars can be reused, lids should be new each time to ensure a good seal. We buy our canning lids in bulk online and bring our canning unit costs down considerably. If you’re looking for a quick fix, you can also try a pre-made dill pickle spice mix, just make sure your cucumbers are fresh and tiny.
Pickle Canning Recipes
Looking for more ways to preserve cucumbers in a jar?
Dill Pickle Recipe for Canning
Ingredients
- 4-5 lbs Cucumbers, Small ones only
- 4 Cups Water
- 4 Cups Cider Vinegar or white vinegar, 5% acidity
- 1/2 Cup Pickling & Canning Salt
- 1 Large Onion , Thinly Sliced
- 10-15 cloves Garlic
- 5 large Dill Heads or fresh dill sprigs
- 5 tsp Mustard Seeds
- 5 tsp Dill Seeds
- 5 tsp Coriander Seeds
- 5 tsp Black Peppercorns
- 5/8 tsp pickle crisp optional – 1/8 tsp per pint
Instructions
- Start your water bath canner in a pot big enough to hold 5 one pint mason jars. The water (and the pot!) should be deep enough once the jars are added there is at least 1 inch of water above the top of the jars. Bring the pot to a boil.
- Prepare a brine by bringing 4 cups water, 4 cups vinegar and 1/2c salt to a boil.
- While the brine and canner are coming up to a boil, gently wash cucumbers to remove any dirt and nip off both ends. Either leave the cucumbers whole or slice into 1/2 inch slices.
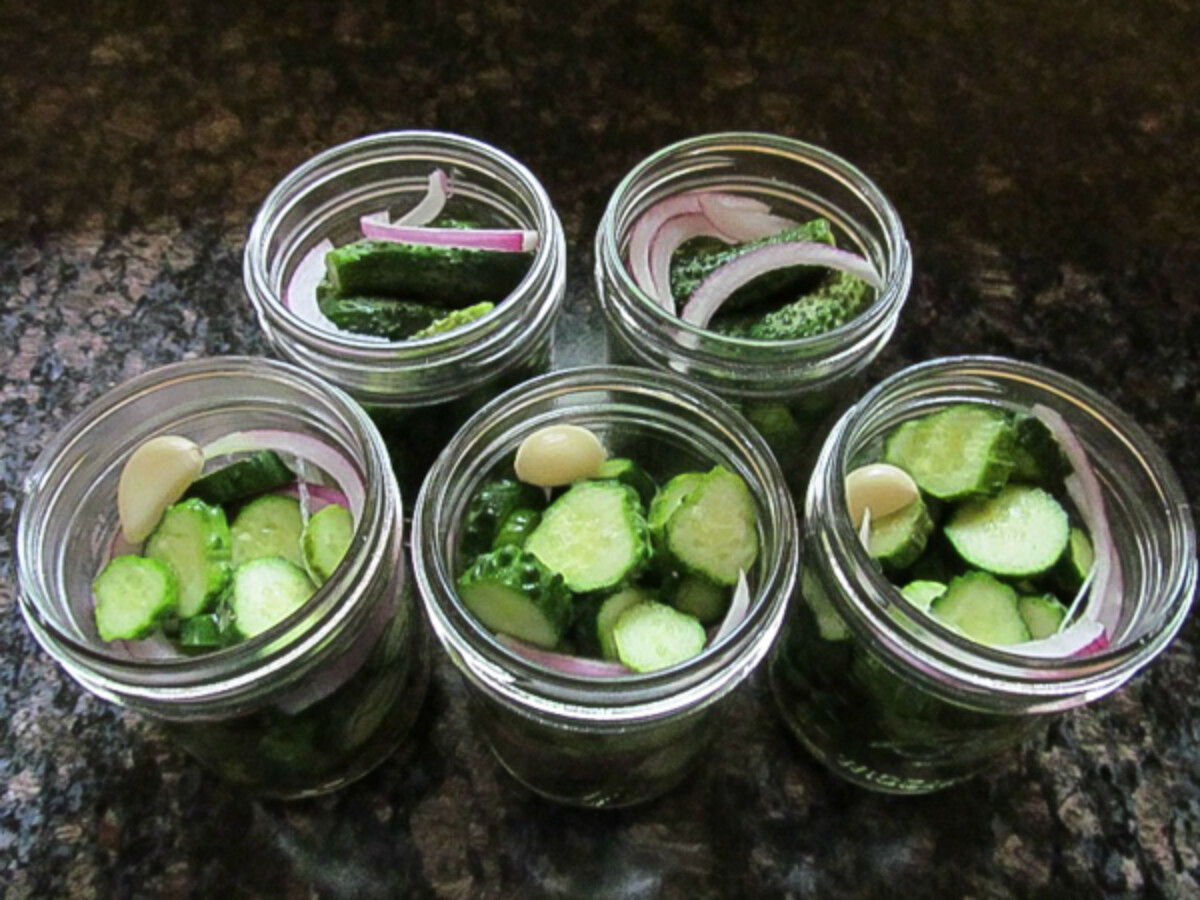
- At the bottom of each wide mouth pint mason jar, add 1 teaspoon of mustard seeds, dill seeds, coriander seeds, black peppercorns and the dill heads or fresh herb sprigs.
- Pack tightly with pickles and a few slices of onion. Top 2 with 2-3 garlic cloves. Be sure to leave 1 inch of headspace above the pickles.
- Cover with brine to just submerge the vegetables, being sure to leave 1/2 inch of headspace above the top level of the brine.
- Cap and band mason jars to just finger tight and place into boiling water in your water bath canner. Process for 10 minutes for pints (or 15 min for quarts) below 1000 feet of elevation. (15 minutes for pints at 1,000-6,000 feet)
Notes
- This recipe makes slightly more brine than you need to can 5 pints of pickles, to make sure you have enough to properly fill all the jars. Store any extra in a mason jar at room temperature for later use.
- The spices can also be adjusted without affecting canning safety, based on your preferences.
- The salt is not necessary for preservation in this recipe, and can be adjusted to your tastes. Salt levels in pickles are a very personal thing, and I’ve seen recipes that use A LOT more salt, and just a few that use less. Around 1/2 cup is a good middle ground, but if you like them REALLY salty add 3/4 cup (alternatively, use 1/4 cup for lower salt pickles).
- DO NOT use table salt, it has additives that don’t work well for canning. Lacking pure canning salt, use kosher salt.
- DO NOT adjust the vinegar/water ratio to lower the amount of vinegar. The acidity in the vinegar is what preserves the pickles and makes them suitable for water bath canning. For a more sour pickle, you can increase the amount of vinegar (but never reduce it).
Nutrition
Nutrition information is automatically calculated, so should only be used as an approximation.


Would I be able to add a bit of sugar to the brine without affecting safe acidity for canning? If so, how much do you think? Thank you!
You can add any amount of sugar to the brine, that’s perfectly fine for canning safety. People’s pickle tastes vary widely, and as little as a tablespoon could be good for your family (but some like really high amounts in cups). If you like classic no sugar dill pickles and are looking for something that just adds a hint of balance to the acidity, start with a tablespoon.
I just made a batch following your recipe. One question is when you place the jars in the boiling water bath – do you start the 10 min. clock when it comes back to a boil or when you place the jars in boiling bath?
Thanks
Looking forward to pickles.
You start the timer once it’s boiling. Enjoy!
Can you use the same amount of Alum in place of pickle crisp? I do love and want my pickles to be crisp like a good Valesic
I tried my grandpa’s recipe it was too salty and not crisp more like floppy
Alum isn’t recommended anymore because it contains aluminum, and there are long term health consequences to ingesting aluminum in foods. These days, people use something called pickle crisp instead, which is just a calcium salt and completely food safe. Works like a charm, and you need about 1/8 teaspoon per pint.
I am planning to use an old receipt for making chow-chow that my mother made. she left the receipt but not which canning method she used as she probably did that from memory. I think I can use your instructions to use the water bath method to complete the process and later to make pickles. thank you for posting these instructions.
I have multiple chow chow canning recipes on my dedicated canning site, and those will give you a better idea on canning times. Chow chow means very different things depending on the part of the country you’re in, so look for the one most similar to your mother’s. The main thing is that it really needs to have a lot of vinegar in there, not water. The ingredients should be veggies, salt/sugar/seasoning, and vinegar. That’s it. Best of luck!
Here’s where you can find my relish recipes: https://creativecanning.com/category/water-bath-canning/relish-canning-recipes/
Thank you for the reply on Alumin vs pickle crisp. Now to find a good vinegar based recipe that will be a keeper.
Thanks for sharing this valuable information! I always appreciate content that provides clear insights and helpful tips. Looking forward to reading more of your posts and learning something new every time. By the way, I’m currently researching about tractors, and this was a refreshing break!
You’re very welcome. So glad you enjoyed the post.
I couldn’t agree more! There’s nothing like the taste of a home-canned pickle – the crispness, the flavor, and the satisfaction of knowing you made it yourself. Store-bought pickles just don’t compare. I love how you mention that they’re a little reminder of summer during the colder months – it’s so true!
I really liked the part with reading. I just love your blog. You have shared your strategy to make creative content and be productive throughout the content.
We’re so glad you enjoyed it.
Loved this article! More, please!
So glad you enjoyed the post.
I thoroughly enjoyed reading this post! The content was engaging and informative
We’re so glad you enjoyed the post.
Keep sharing information.!
I appreciated the informative and practical nature of this article.