Affiliate disclosure: This post may contain affiliate links. Please see our Privacy Policy.
Drying herbs at home is a simple way to preserve herb leaves, roots, and flowers for medicinal or culinary uses.
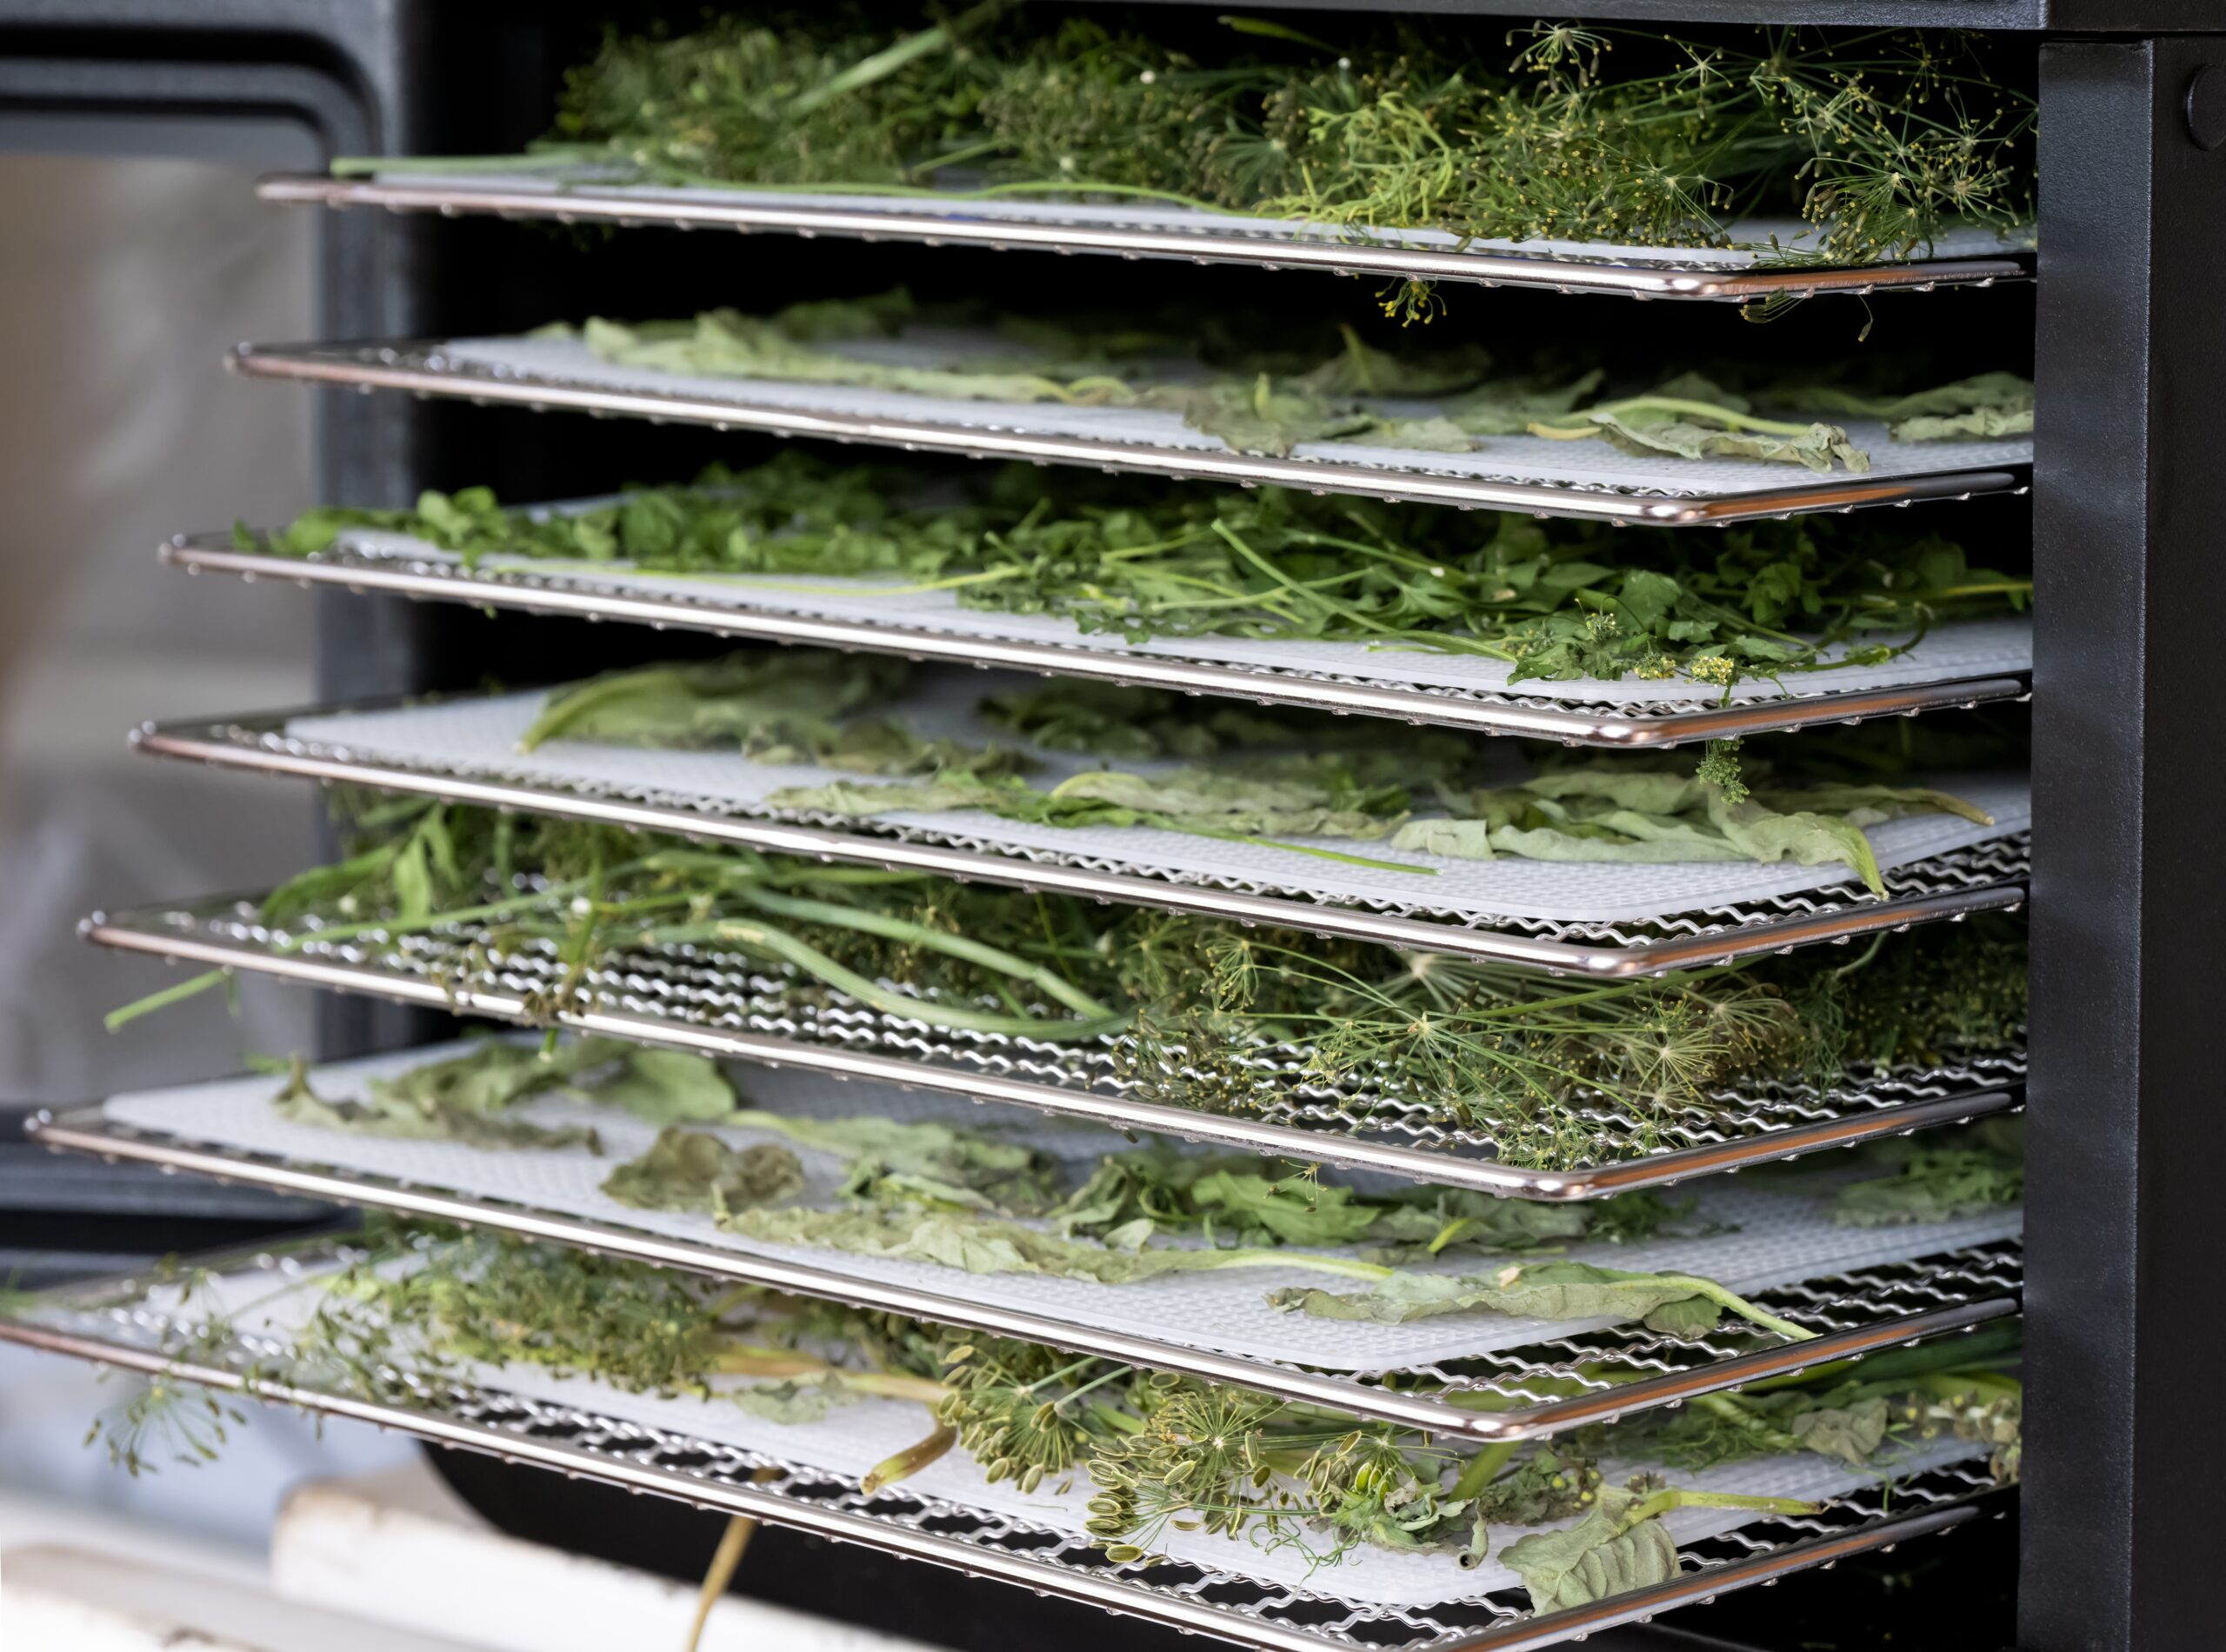
Fresh herbs are fun to grow at home, but they don’t last long. Drying herbs allows you to enjoy those fresh flavors year-round, and the flavor is always better with home-dried herbs than their commercially dried counterparts. You know your herbs are fresh and picked at the peak of flavor!
Best Herbs for Drying
Try to harvest herbs in the mid-morning, after the dew has evaporated but before the heat of the day is upon you. Use scissors when harvesting herbs — pulling or tearing by hand can damage the plant. Be sure to gather your herbs from a clean, safe area, free of roadside runoff or other pollutants.
The time of year at which you harvest your herbs will depend on the particular plant you’re drying, as well as the part of the plant you plan on using.
If the flowers are what you’re after, remove the buds when they are half open but not yet in full bloom. When harvesting leaves, pick them when they are tender and young. New leaves at the tip of the plant will have the most flavor.
For seeds, select them when their color changes from green to either brown or gray yet before the pods burst and scatter. After the root? Dig it up in the fall once the plant is fully grown.
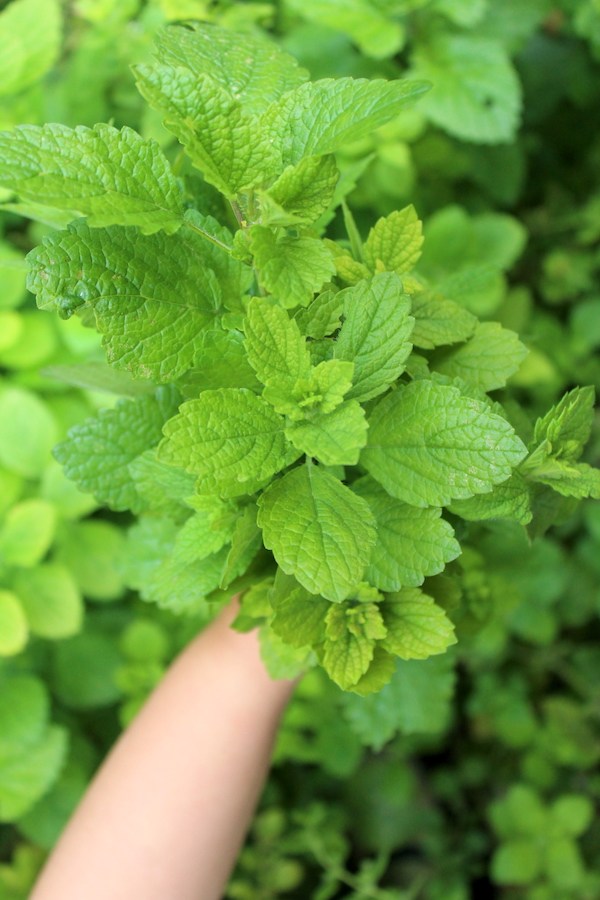
There are many excellent herbs for dehydrating. Some long-favored ones for drying are Angelica, Anise, Basil, Bay Leaf, Borage, Caraway, Chervil, Chives, Comfrey, Coriander, Cumin, Dill, Fennel, Garlic, Ginger, Horehound, Horseradish, Hyssop, Lemongrass, Lemon Balm, Lemon Verbena, Lovage, Marjoram, Mint, Mustard, Oregano, Parsley, Pennyroyal, Pepper, Rosemary, Sage, Savory, Sorrel, Tansy, Tarragon, Thyme, and Woodruff.
Preparing Herbs for Drying
For most herbs, the preparation before dehydration is quite simple.
Begin by trimming the plant to remove any dead, discolored, or damaged portions. With most herbs, you’ll then want to wash the leaves and stem of the plant. (Some don’t recommend washing marjoram, rosemary, thyme, and sage as they believe this can impact the drying process and increase the chances of molding, but I’d recommend doing so anyway).
Swishing in a bowl of cool water or using a sink spray attachment with a gentle spray are good methods for washing herbs. Shake the herbs gently after rinsing to dry.
If using the flower heads, those should also be gently rinsed before the petals are removed or the heads are dried whole for tea. For seeds, wash first, then remove the outer covering by rubbing it between your hands or fingers. Dry the seeds thoroughly before dehydrating.
Seeds should also be frozen before dehydration to eliminate any chance of insect contamination. Freeze seeds for 48 hours before dehydration to ensure no insect infestations invade your stock of herbs!
For roots like sassafras, horseradish, and ginger, you’ll likely wish to chop, grate, or grind the root before dehydrating.
Temperature for Drying Herbs
The ideal temperature for drying herbs is 95°F to 105°F (35°C to 41°C). Temperatures much higher than this will destroy many of the delicate flavors that you’re trying to retain when preserving herbs.
Using a dehydrator is preferable for this for several reasons. Dehydrators provide controlled temperatures, good air circulation, and moisture control which air drying definitely can’t provide.
Most of the nicer home dehydrators on the market today allow you to tailor your temperature to what you’re dehydrating which is essential for dehydrating herbs. Herbs and spices require the lowest drying temperatures of all the dehydrated foods.
While fruits, vegetables, and mushrooms are dried at more moderate temperatures between 115°F and 135°F (46°C to 57°C), herbs require lower temps to preserve their delicate aromas and oils. Most ovens cannot be set low enough to dry herbs without affecting their quality, as most ovens are not able to be set any lower than 170°F for food safety reasons.
If you’re planning on dehydrating a good number of herbs and plants (and a good number of medicinal plants there are!), you should look into a dehydrator with adjustable temperature settings.
Excalibur is an excellent brand I’d recommend, having been around for half a century (since 1973 to be precise). Excalibur dehydrators are reputable appliances with adjustable temperature and timer settings, suitable for dehydrating all sorts of items.
Cosori dehydrators also have this feature. They’re also favored for their nearly soundless operation and sleek stainless steel appearance.
Sadly, many economy dehydrators like this stacking Nesco dehydrator don’t have adjustable temperature settings. They operate at a fixed temperature of around 160°F — a temperature intended for jerky making, as jerky requires the highest temp of all dehydrated foods.
These temperatures really are much too high for drying herbs without affecting their quality, and as such, using a dehydrator with adjustable temperature settings is highly preferable.
How Long to Dehydrate Herbs?
Most herbs will dehydrate in 2 to 4 hours in a dehydrator set to 95°F to 105°F. Time can vary based on the type of herb you are dehydrating, its moisture content, the part of the plant, and the humidity in your own home.
Plants with more moisture will take longer to dry than less tender ones. Roots will take longer to dry than leaves, stems, and flowers.
Humidity can extend drying time quite a bit for some food items. It’s just harder to remove moisture from food when a lot of it is lingering in the air already. This being so, you may find drying times to be longer during certain times of the year or in different parts of the country. Your sister in Arizona may be able to dry basil in 2 hours, while it takes you twice as long in Florida!
Herbs should be dried until they are crisp and crumbly.
Be sure to remove herbs as soon as they have reached this stage. If you dry past this point, you may lose many of the oils and minerals in your herbs by over-drying.
How to Dehydrate Herbs in a Dehydrator
Preheat your dehydrator to a temperature between 95°F to 105°F.
Arrange the prepared herbs on the dehydrator trays in a single layer. If drying large clusters, you may wish to remove the alternating trays so the tops of your plants do not touch the trays above.
If your dehydrator trays have large holes or gaps in them, you may need to line them with parchment paper or food-safe mesh liners to stop them from falling through the gaps.
Dehydrate for 2 to 4 hours, removing herbs as soon as they are dry and crumbly.
Do note, herbs should always be dried on their own, separate from other foods like fruit and veggies. The higher temps needed for these items along with the increased humidity (due to the moisture they release when drying) can compromise the quality of your dried herbs.
How to Dehydrate Herbs in the Oven
Oven drying isn’t often recommended for herbs as the higher temperatures will compromise the oils and flavors of your herbs, but it can be done if your oven can be set low enough. According to Michigan State University Extension, the temperature should not be warmer than 140°F, otherwise, you will cook the herbs rather than dry them.
As outlined by Penn State Extension Service, you can oven-dry herbs by setting your oven to the lowest temperature and drying the herbs for 3 to 4 hours with the oven door open.
You can prop the door of your oven open with the handle of a wooden spoon — this will allow excess heat to escape along with moisture. Running your hood vent fan as well will help with airflow.
It has also been noted that the oven lights in some ovens may provide enough heat to dry herbs. I’ve not tried this myself, but it’s worth a shot if your oven cannot be set low enough.
Additionally, be sure to turn on your convection fan if you have one to help circulate the air in addition to using wire racks over baking sheets to maximize airflow around your herbs. These stainless steel racks and sheets are wonderful for dehydrating everything from garlic to jerky and are listed as oven-safe.
Fresh to Dried Yield
The fact is, you can only grow so many herbs on one kitchen windowsill. Dehydrating herbs is a lovely way to store these pleasant and holistic plants for use throughout the year (and without cluttering up your kitchen).
Generally, 8 ounces of fresh herbs will yield 1 ounce once dried. The flavor and essences will also be intensified as their moisture content is reduced. This reduction in weight, size, and space that the herbs take up makes storage quite a bit easier!
Ways to Use Dried Herbs
Dried herbs have a vast number of uses ranging from the medicinal to the culinary.
Consider using dried herbs to craft herbal wines, herbal vinegar, tinctures, oxymels, and more.
Try making an herbal tincture with herbs like thyme or lavender. If you’re looking to make an alcohol-free version, try making herbal glycerites.
Use dried herbs in an herbal salve for healing and other ailments. Keep the essence of dried herbs on hand with herbal-infused oils. Dried herbs can even be used to make a homemade herbal shampoo!
Herbal teas are another versatile option to whip up in the midst of winter colds and flu season. And for you — try your hand at herbal gin.
In the culinary realm, herbs are spectacular when added to a variety of dishes from main courses and appetizers to desserts and baked goods! Just remember that dried herbs are often 3 to 4 times more potent than fresh herbs. If you are substituting dried herbs in a recipe that calls for fresh herbs, you should use just ⅓ to ¼ the amount called for in the recipe.
Oftentimes, oregano is an herb preferred dried rather than fresh. Oregano works well with tomatoes and cheese, pairing well with Italian and Spanish dishes.
Implement dried thyme in casseroles, chicken entrees, and soups. Dried rosemary is extraordinary in lamb dishes like leg of lamb, along with braises and stews. Dried sage accentuates pork quite well as in these delectable sage-rubbed grilled pork chops.
Add dried dill in place of fresh dill to fish and potatoes as in this Finnish salmon soup. A few dried bay leaves will lend a pleasing flavor to stews, soups, and stocks as well. For more brothy goodness, add dried herbs to instant pot lentil soup or herb-loaded chicken noodle soup.
Sprinkle some dried herbs in your next bread machine recipe — garlic, parsley, rosemary, and thyme will elevate your focaccia bread to new heights. And for snaking, add dill, coriander seeds, and other herbs to refrigerator pickles!
The opportunities extend to desserts as well. Utilize herbs like dried mint and rosemary to churn sensational treats like this honey lavender ice cream.
For more dessert-oriented ideas, add dried lavender to cookies and ground spices to gingerbread. Herbs can be added to cakes, puddings, and pies as well. To taste the proof, test out lemon thyme cake and cardamom cake for a comforting baked delight, or try lavender pudding and rosemary apple pie.
Drying Herbs
Ingredients
- 8 oz fresh herbs
Instructions
- Cut away any portions of the plant which are discolored or damaged.
- Rinse the herbs in cool water and shake dry.
- Prepare herbs for dehydrating: Leaves can be dried on the stem for ease; flower petals can be removed from the head after washing; roots can be chopped, grated, or ground.
- Arrange herbs on dehydrator trays in a single layer. If the tops of your herbs touch the trays above, you can remove them.
- (Dehydrator) Set your dehydrator to a temperature between 95°F to 105°F and dehydrate for 2 to 4 hours. Remove herbs immediately when dry. Herbs are done when they are crisp and crumble easily.
- (Oven) Set your oven as low as it will allow (ideally below 140°F) and prop the door open to allow heat and moisture to escape. Dehydrate herbs for 3 to 4 hours until they are dry and crumbly.
Notes
Yield
You can expect 8 ounces of fresh herbs to yield 1 ounce dried, give or take.Storage
Herbs are best stored as whole leaves and crushed right before use. Store herbs out of direct sunlight as this will degrade their quality, and move to a cool, dark, and dry location. Keep them away from moisture and heat (this includes sinks, dishwashers, and even ovens). Herbs will keep at peak quality for 6 months to a year.Ways to Preserve Herbs
Drying isn’t the only way to preserve herbs. For the kitchen, make herbal wines, jellies, vinegar, or infused honey. For the home, try oxymels, tinctures, and salves.
- How to Make Herbal Wine (& Mead)
- How to Make Herbal Infused Honey
- How to Make Herbal Jelly (Savory or Sweet)
- How to Make Herbal Vinegar
- How to Make a Herbal Oxymel
- How to Make a Herbal Tincture
- How to Make a Herbal Healing Salve
- 20+ Herbal Tincture Recipes (for Homemade Herbal Medicine)
- 20+ Herbal Salve Recipes
Dehydrator Recipes
Looking for more dehydrator recipes?
1
1
@@WhPYt
1′”
1’||DBMS_PIPE.RECEIVE_MESSAGE(CHR(98)||CHR(98)||CHR(98),15)||’
1*DBMS_PIPE.RECEIVE_MESSAGE(CHR(99)||CHR(99)||CHR(99),6)
1XxcXIem2′)) OR 778=(SELECT 778 FROM PG_SLEEP(15))–
1SC2860gG’) OR 289=(SELECT 289 FROM PG_SLEEP(6))–
1Jq1boYtG’ OR 256=(SELECT 256 FROM PG_SLEEP(15))–
1-1)) OR 631=(SELECT 631 FROM PG_SLEEP(15))–
1-1) OR 191=(SELECT 191 FROM PG_SLEEP(15))–