Affiliate disclosure: This post may contain affiliate links. Please see our Privacy Policy.
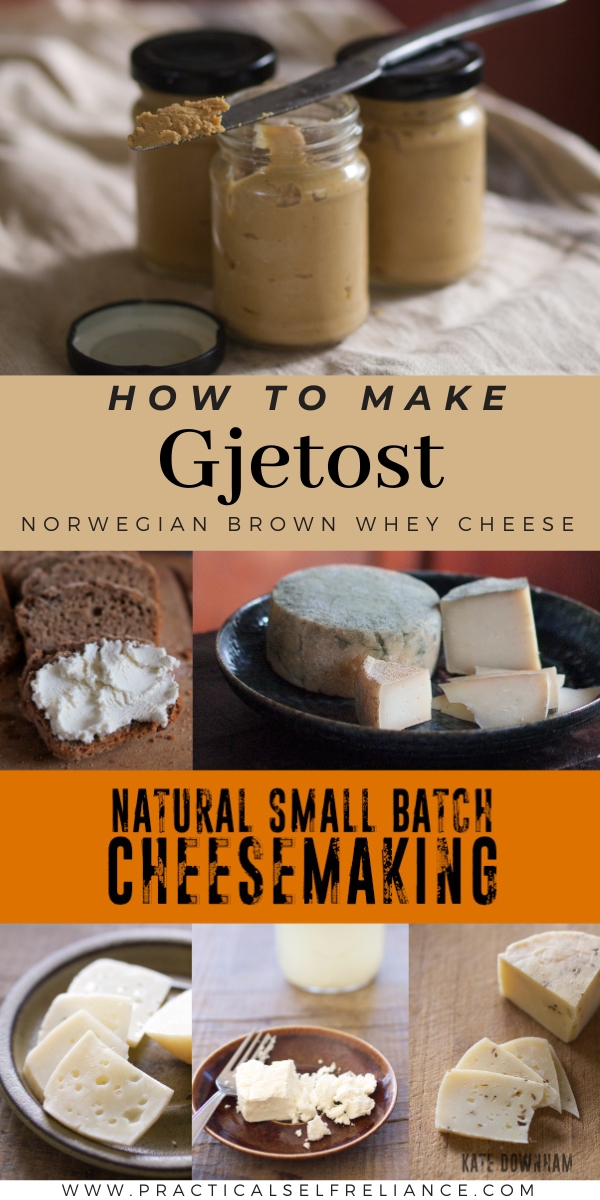
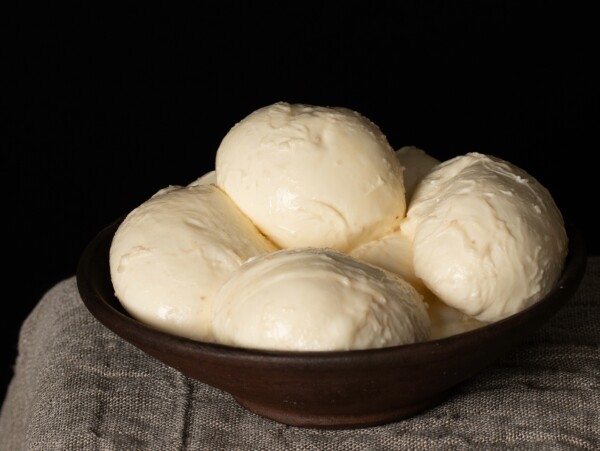
Gjetost is a Norwegian Brown Cheese made with whey, and it’s the perfect way to use whey leftover after cheesemaking.
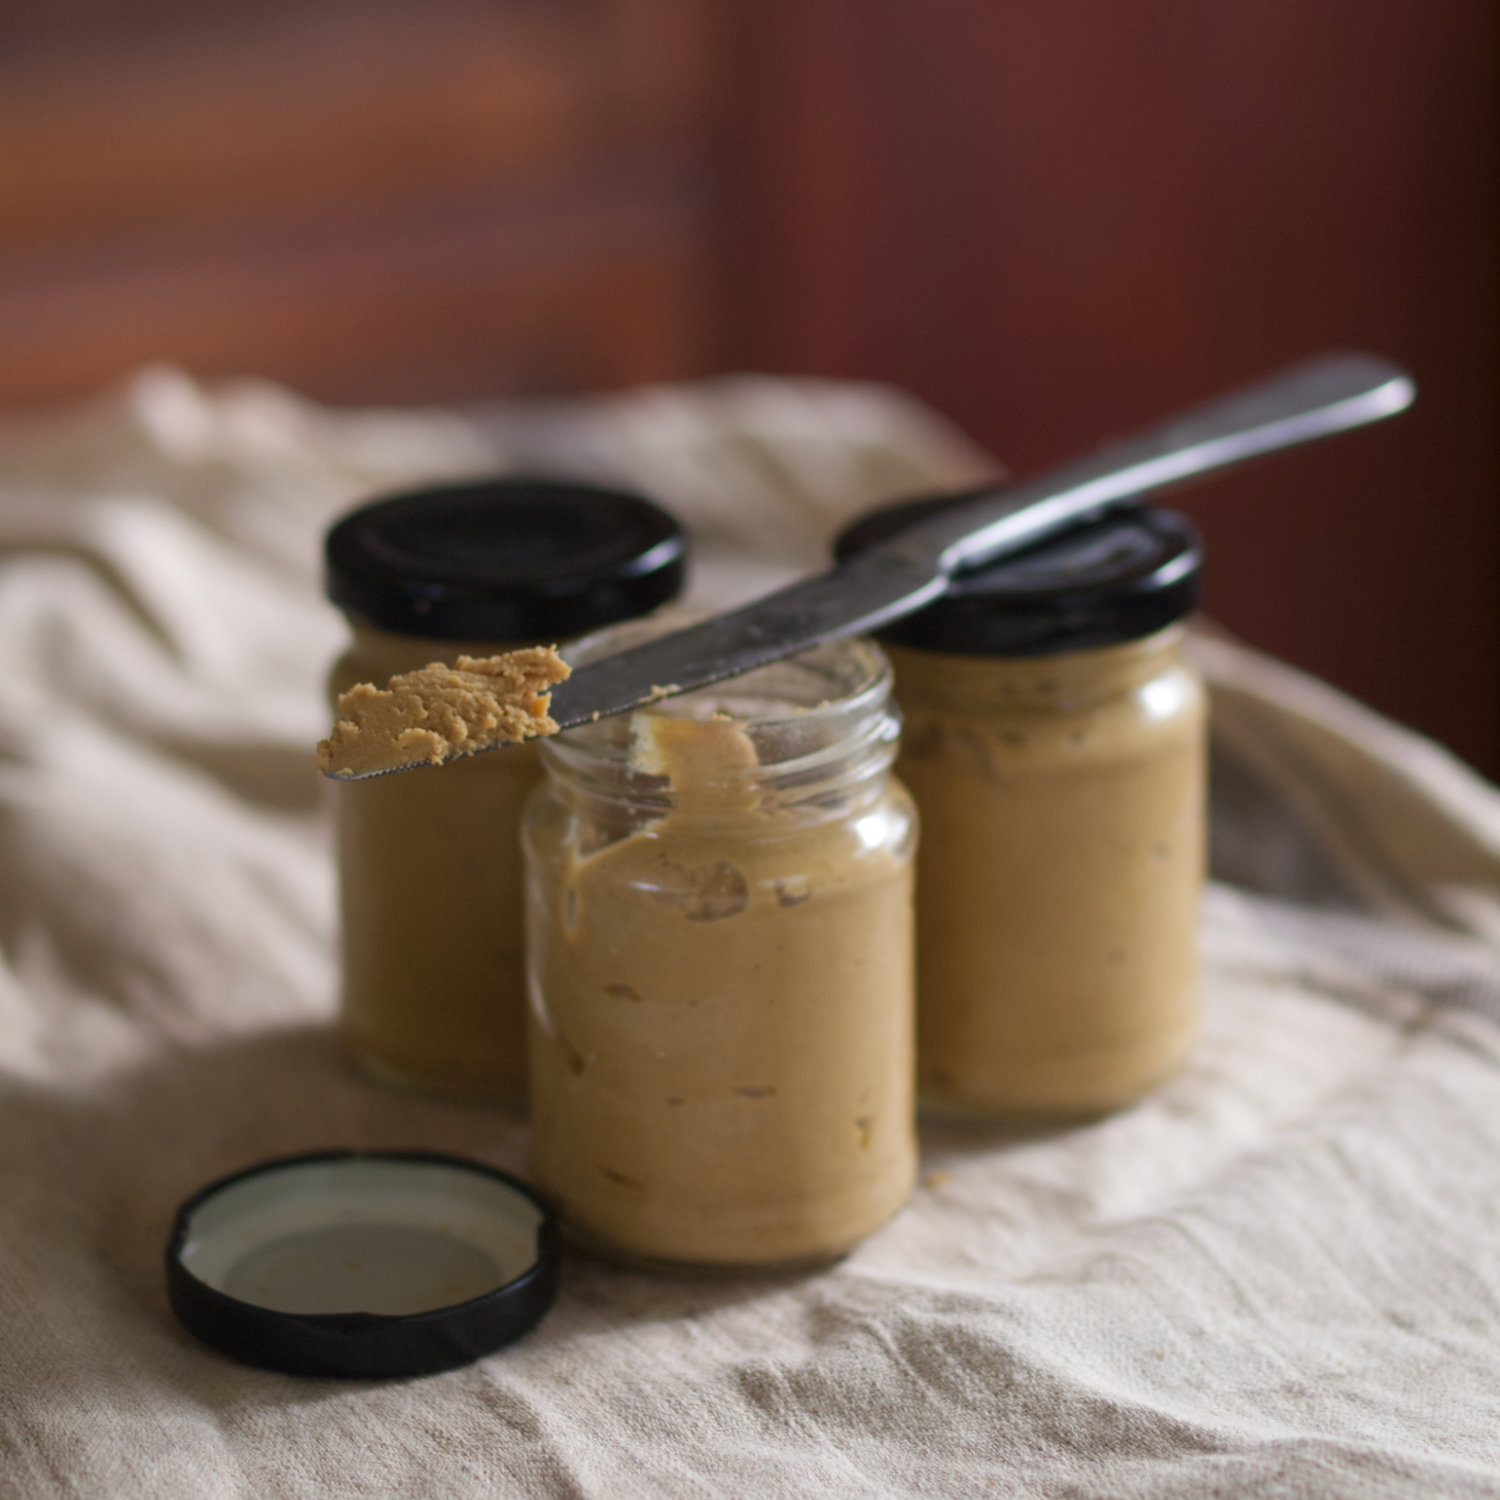
If you’re at all familiar with cheesemaking, you know that uses for leftover whey are always helpful. Sure, whey can be used to make traditional whey ricotta, but if you’re making cheese on a regular basis with gallons of milk at a time (as I sometimes am), you know that there’s only so much ricotta you can eat.
I filled my fridge with ricotta, and then half my freezer with homemade lasagna, stuffed shells and even ricotta cheesecake. I had ricotta coming out my ears before I started looking into other whey cheese recipes. When I found a traditional Norwegian Brown Whey Cheese recipe, I was particularly excited because it has a completely different (and unique) flavor profile.
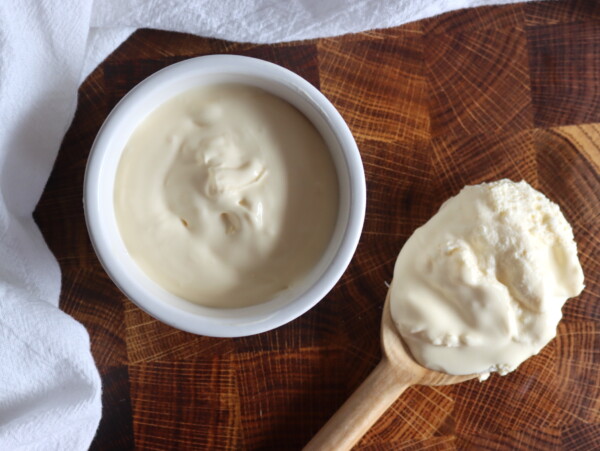
The whey is slow-cooked until it concentrates into a rich, creamy, sweet spread that’s perfect on toast or in desserts. The yield is low, but if you have whey by the bucketful, that’s perfect!
I’ve made Norwegian whey cheese a number of times, and I usually make it after I put up a big batch of cloth-bound cheddar, but I hadn’t gotten around to writing up the process. Thankfully, Kate Downham, the Author of the new book Natural Small Batch Cheesemaking, came to my rescue and offered to contribute this tutorial!
Kate is making Gjetost, which is the name for a brown whey cheese made from goat’s milk whey. If you’re using cow’s milk whey, it’s called Mysost. I tend to work with cows milk for cheesemaking, but Kate has goats, so her recipe is for Gjetost.
Her recipe and process are designed for a small amount of whey, making Gjetost accessible to even casual cheesemakers who are just making an occasional small batch of cheese. If you’re working with cows milk whey, or even sheeps whey, it still works the same way using this recipe.
This is precisely the cheesemaking book I wish had existed when I started my cheesemaking journey years ago. Most books just give you a quick list of steps, with no real instruction, and it always leaves you wondering, why? Kate starts with the “whys” of cheesemaking, explaining each step and its purpose right from the start, giving you a solid cheesemaking foundation before diving into recipes. This is the absolute perfect cheesemaking book for beginners!
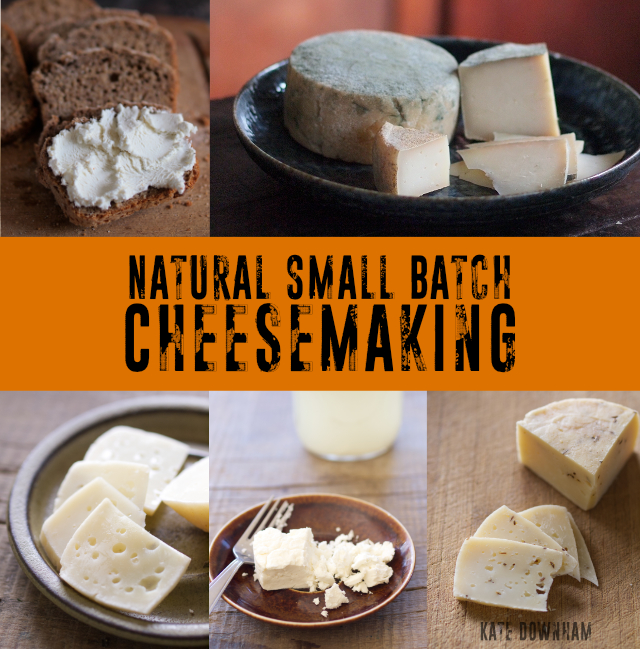
The following is a guest post by Kate Downham, the author of Natural Small Batch Cheesemaking. Kate and her family live Off the Grid on a Permaculture Homestead in Australia. She writes about her life managing a homestead and cooking just about everything from scratch (including cheese and charcuterie) at The Nourishing Hearthfire.
She’s also the author of several other books I’ve enjoyed, including A Year in an Off-Grid Kitchen: Homestead Kitchen Skills and Real Food Recipes for Resilient Health, which also includes natural cheesemaking recipes, along with other homestead classics. I also particularly enjoyed Backyard Dairy Goats: A Natural Approach to Keeping Goats in Any Yard, where she discusses natural goat raising as an Off-Grid Homesteader. Raising Dairy Goats off Grid Without Refrigeration has its own unique challenges, but Kate manages it with skill and grace.
After many years of making hard cheeses, for a long time I was still put off from making Gjetost after reading the recipes for it. Many recipes insist it’s not worth it unless you have a huge amount of whey, or that you need to be there constantly stirring it and doing nothing else for several hours. I had never tasted it, and we have chickens to feed the whey to, so there wasn’t much motivation to try.
Then one day, I saw a tiny packet of Norwegian whey cheese in a grocery shop. I was intrigued enough to try it, and it was delicious and unique. It’s more like a caramel than a cheese. We enjoyed it so much spread on hot homemade sourdough toast that I thought it would be a nice thing to make at home, if I could figure out a way to make it without standing there for hours on end stirring.
After many experiments, it turns out that it is definitely worthwhile to make it, even if you have a small amount of whey. There are also several ways to go about making it that doesn’t involve constant stirring.
How to make Gjetost
Whey cheese begins with using whey leftover from any hard cheese recipe such as cheddar, tomme, alpine, and so on. Whey from acid-curdled cheeses such as ricotta and paneer will not work, and the slowly-cultured cheeses such as chévre, quark, and yoghurt cheese will be too acidic for gjetost.
The fresher your whey is when you begin, the better your whey cheese will be, so for best results, start making whey cheese as soon as you’ve got your cheese pressing.
Any of the below methods can be stopped and started over the course of a few days. I just put mine on the stove when there is space, and remove it when I need the cooking plate for other tasks. It’s a slow process, but it’s hands-off, so easy to manage for anyone that stays at home a lot. With a solar cooker, this happens naturally (although try to time it for when there’s not much cloud).
Slow cooker method
Leigh Tate makes her Gjetost in a slow cooker. This seems like a great way to make it with low electricity use and a way to make it as hands-off as possible.
Solar cooker method
After reading Leigh’s blog about the slow cooker method, I thought I’d give it a go in the solar cooker. I half-filled my pans with whey and just left it to evaporate in the solar cooker. It ended up needing stirring every now and then towards the end, as the edges would caramelize more quickly and crystallize on the pan. My children loved this crunchy stuff, but I wasn’t very keen on it, and it went from crunchy to burnt very quickly.
The small size of my solar cooker pans made it more difficult to manage, as it would overcook quickly towards the end and I wasn’t around much to check on it, but if you have a larger solar cooker than mine you could put it in the biggest pot that will fit and have more success that way.
Wood stove method
First, start off boiling off the whey in your cheese pot. Bring it to a boil, then skim the white solids that collect on the top and set them aside until later.
These solids are ricotta, and you can either use them separately or add them back into the gjetost later. More solids will rise during the process, but ignore those ones, as long as you get these first ones, you’ll be right, and sometimes in tiny batches I don’t even get these ones, and it still turns out fine.
Just keep simmering the pot with the lid off, observing plenty of steam coming off it. Gradually, it will reduce in volume.
This stage can take a long time, but is pretty hands-off. It can be done on a woodstove, a slow cooker set on high, or very slowly in a solar cooker.
Once the whey has reduced by half or more and is starting to thicken, for best results, transfer the whey to a heavy pot such as an enameled cast iron one, add back in the reserved ricotta if you like, and allow it to simmer gently with the lid off while it develops color and becomes thicker.
During this final process, you can also add in some milk or cream if you wish. Cream is what is traditionally used, but if you only have milk on hand, then that can be used instead. The purpose of adding this is to give a higher yield, a creamier taste and texture, and a firmer consistency to the gjetost, but it is not essential.
For every liter (quart) of whey that you started with before the great boiling-off, add up to 1/3 of a cup (80ml) cream or milk, for example, if you started with 1 gallon (four litres) of whey, add up to 1 1/3 cups (320ml) milk or cream.
As the whey thickens into whey cheese, keep an eye on it, reduce the temperature a little, and stir it every now and then to prevent it from burning on the bottom.
I usually do this stage on a cooler part of the woodstove, as doing this stage on high heat needs a lot more stirring and watching.
For solar cooking, the edges of the pot can start to get overcooked while the insides are still very liquid during this stage, so make sure you are nearby to stir it every now and then as you would for a woodstove or slow cooker gjetost.
Do the ‘spoon test’ as you would for chutney, picking up a wooden spoonful of whey cheese, running your finger horizontally through it, and seeing whether any of the gjetost drips onto that line.
You can also do the ‘plate test’ as you would for jam – place a small amount of your gjetost on a cold plate and wait until it’s completely cooled – you will now have a better idea of its finished texture, whether it is too runny and not ready at all, a spread that is thick enough to be spread with a knife, or a solid, sliceable cheese.
The longer you reduce and stir it for, the thicker it will be. The color will change from light tan for a spreadable goat’s whey gjetost and become darker the more it is reduced. Mysost from cows whey will start off a darker color than gjetost, and can become quite dark when it is solid.
For best results, do the plate test above rather than relying on color alone to determine when your gjetost is ready.
Once your whey cheese has reduced enough, either spoon it into jars, or for very thick whey cheese, you can place it in traditional Norwegian wooden molds with removable sides, or in silicone muffin cups or other silicone molds.
Whey cheese can be kept at room temperature for a week or two, or for much longer in the fridge or larder. It can also be frozen for several months.
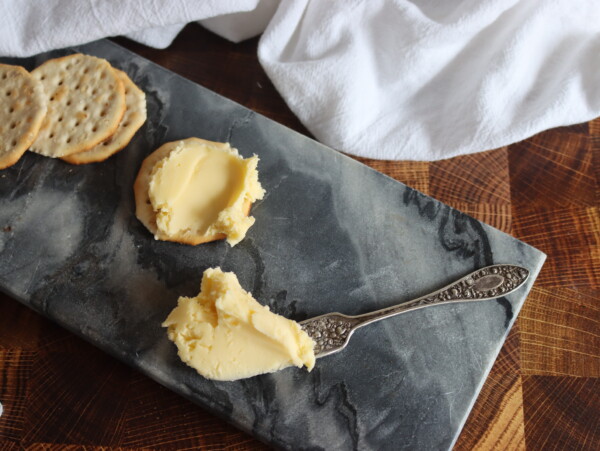
I serve gjetost on bread or toast, either on its own, with salted butter, or with some jam or fruit syrup on top.
Cheesemaking Recipes
Looking for more cheesemaking inspiration?
- 50+ Cheesemaking Recipes (For Beginners and Beyond)
- Beginner’s Guide to Cheesemaking
- Cheddar Cheese Recipe
- Colby Cheese Recipe
- Paneer Recipe
- Fromage Blanc Recipe
- Farmer’s Cheese Recipe
- 18th Century Farmhouse Cheddar
- Yogurt Cheese Recipe


Thank you so much for the receipe! My family is Swedish American and I grew up eating this cheese.
Wonderful, hope you enjoy it!
First of all, I love your account and share the same interest. It was really cool to see your post about Norwegian brown cheese.
As a Norwegian (former chef and food crazy homesteader) I just have to mention a couple of things. I have never seen anyone call this cheese by the name gjetost. (Is might be a very old way of writing) The most common name is brunost (brown cheese) or geitost (goats cheese).
You write about myseost; Myse means whey, ost is cheese, so myseost litteraly translates to whey cheese. All the brown cheeses are myseost, that name just refers to the raw materials in the cheese and not what kind of animal milk is used. Myseost does not mean it’s made from cowmilk, just that it’s made from whey.
In common tounge brunost is the most used name, and sort of a collective term for all the different kinds of brown cheese. Geitost is the name when it’s made from goatsmilk.
Brunost is a hard cheese that should be sliceable. When the cheese is spreadable by knife it is called prim. Prim contains over 30% water, that makes it spredable. Prim is basically the same as brunost, it is just not as much reduced/caramelised, and normally added a bit extra sugar. The main difference is that bunost is firm and prim spreadable and that prim is a bit sweeter.
The most common brunost in Norway is called Gudbrandsdalsost (just called G35). The name is the place of origin and the number 35 refers to 35% fat content. G35 contains a mixture of goatsmilk and cowsmilk. The recipe for G35 is dated back to 1846. The making of brown cheese is dated back to the 1400-hundreds.
A funfact is that according to the WHO and the FAO brunost is not tecnically a cheese, since its is made from whey, which will be the leftovers from the cheeseproduction.
In Norwegian farmshops in the mountains you normally can buy what is called “ekte geitost” – “real goatscheese” that is really strong and dark and made from just goatsmilk. It is amazing! Most people prefer the more mild G35 that is the most sold version in the regular shops.
One of mye favorite ways to eat brunost is just on warm toast with butter. But, I would recommend trying making icecream with brown cheese, it’s amazing! (I have a recipe on our webpage (https://www.reinmat.no/2023/01/24/brunostis/ ) Or, the next time you make a hardy autumn/ winterstew with rootvegetabels and game or other read meats, ad a couple slices of brown cheese to the sauce. It makes it creamy and gives a great depth. 😃
I really hope you don’t find this offensive. 😊 My technical facts are from the Norwegian Encyclopedia.
Not at all. Thanks for sharing.
Thank you Ashley and Kate for bringing this all together. I’ve been practicing and practicing with making gjetost with my leftover whey while learning the art of cheesemaking. Pulled gjetost recipes from every source I could find. I’m getting close to being comfortable with it but haven’t quite got it smooth (as in not grainy) or firm enough to release from a mold (into which I want to carve my herd logo – herd of two Nigerian Dwarf does). Thought I’d share my most recent success. Made a gouda on Sunday, from the whey before the final wash I made gjetost (crockpot method – 48 hours in the pot), from the whey after the final wash I made ricotta (pretty small yield but still worth the effort) and from the leftover whey of the ricotta I made a whey spray to help keep powdery mildew in check on my plants. Yahooo! Love it when every bit can be used. Also wanted to mention that the very best gjetost I have made was from when I made a cambozola. That recipe used 2 quarts cream to 1 gallon of milk. That gjetost turned out like FUDGE! Dark and creamy dreamy.
Anxiously awaiting the release of the book Kate!
That sounds amazingly delicious!
So the canning method is not required correct? Just screw on a lid and leave in on shelf to ferment?
Once it’s finished you can leave it at room temperature for a week or two. After that you need to refrigerate it or put it in the freezer.