Affiliate disclosure: This post may contain affiliate links. Please see our Privacy Policy.
Growing calendula at home is an easy way to add color to your garden and stock your herbal medicine cabinet at the same time.
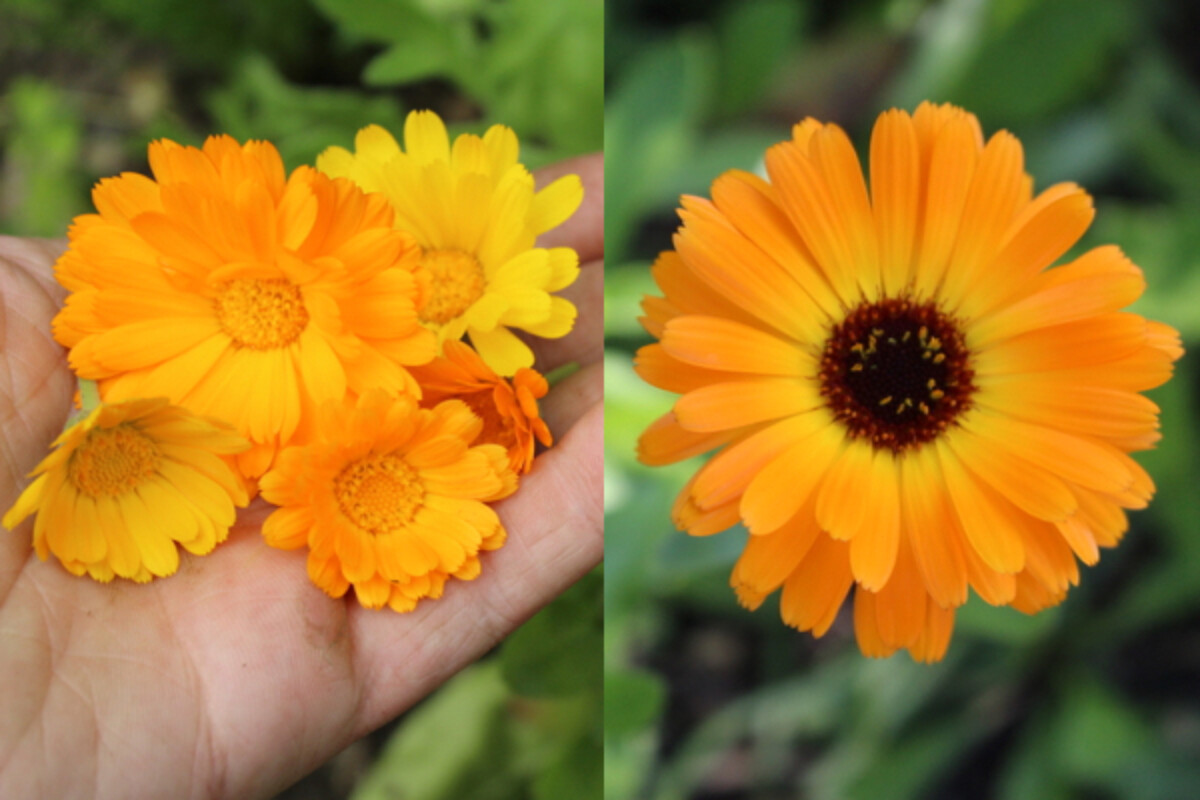
Over the years, I’ve started to add more medicinal herbs to my garden, and each year I try out new herbal remedies and herbal preparations. Calendula was one of the first herbs I decided in my very first medicinal herb garden, well over a decade ago. It’s earned a place in my garden every year since.
Not only is calendula easy to grow, it’s a potent medicinal that finds its way into half a dozen different homemade remedies in my medicine cabinet.
It’s incredibly helpful for dry skin, as it’s soothing properties help repair skin damage. Since it’s naturally anti-microbial, calendula is ideal for minor cuts as well. We make calendula oil for use on burns, and I keep a vial of it in my kitchen at all times. (You can also make it into a herbal salve for topical use, and that’s easier for most people to apply without a mess.)
Calendula is also used internally, since it’s also an edible flower. Though these days people usually just add it to salads or use it as a garnish, historically it was made into calendula tea and herbal broths to boost the immune system. It’s one of more than a dozen immune boosting herbs we grow in our garden.
What is Calendula?
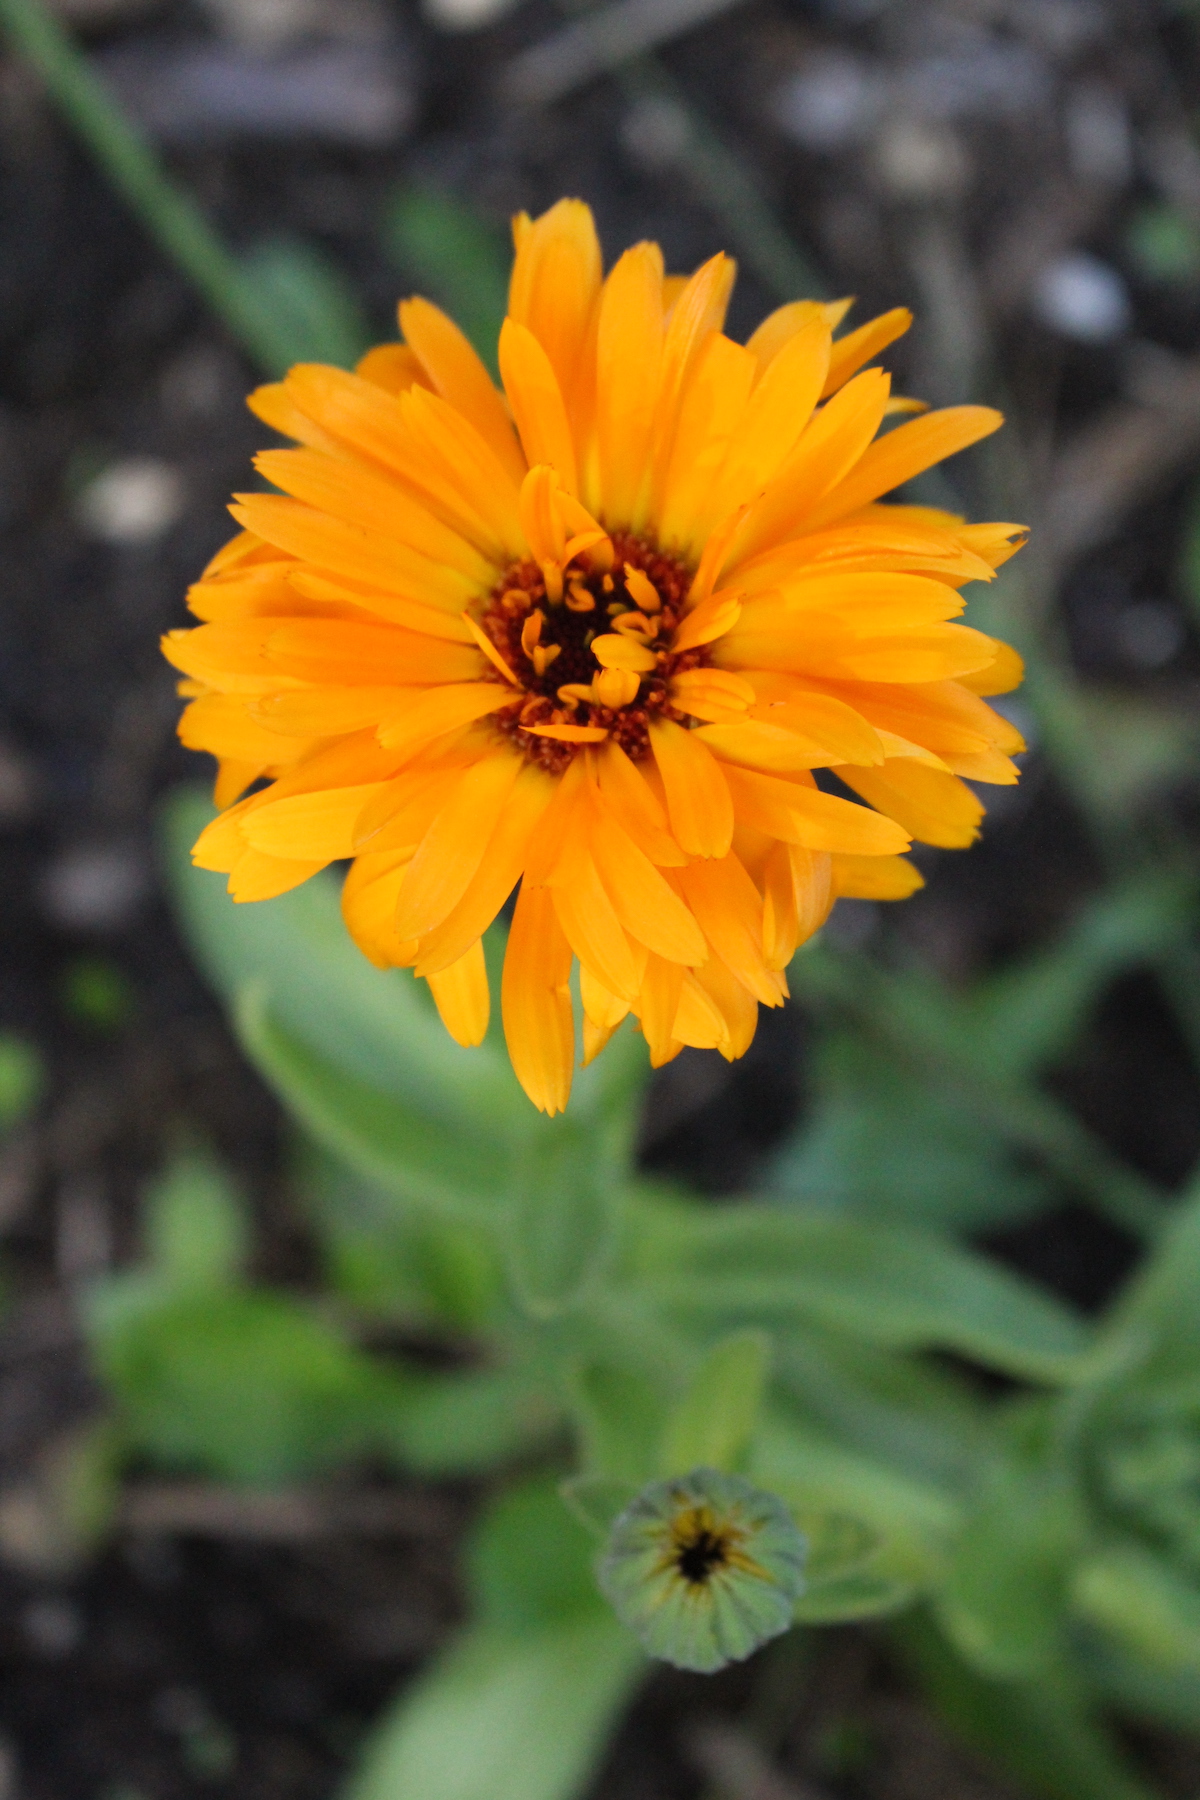
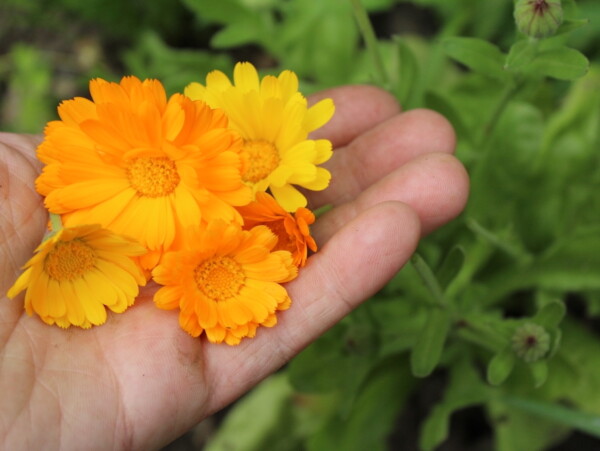
Calendula officinalis is often referred to as pot marigold, but these aren’t quite the same as common garden marigolds (Tagetes sp.). They’re a staple flower long grown in cottage gardens; the petals were used in cooking, like any other edible flower. Since the petals have a spicy taste, they were used in stews, broths, and salads.
As an annual flowering herb, Calendula readily reseeds in the right conditions, but if you happen to live in zones 9-11, it survives as a perennial. In most areas, gardeners plant calendula in the spring after the last frost, growing quickly. You can expect flowers to appear six to eight weeks after seeding, so you don’t have to wait too long to harvest and collect the flowers.
Calendula Growing Requirements
If you’re just looking for a quick list of calendula’s soil requirements, here’s what you need to know:
- Days to Germination: 10 to 15
- Optimal Germination Temperature: 60 to 65 degrees (cooler than tomatoes,etc)
- When to Plant Indoors: 3 to 4 weeks before last spring frost
- When to Plant Outdoors: After last spring frost
- Days to Maturity: 45 to 65
- Sunlight Requirements: Full sun to part shade
- Soil Type: Fertile, well drained soil
- pH Requirements: 6.0 to 7.0
- Moisture Requirements: About 1 inch per week (but don’t let soil dry out)
Calendula Varieties
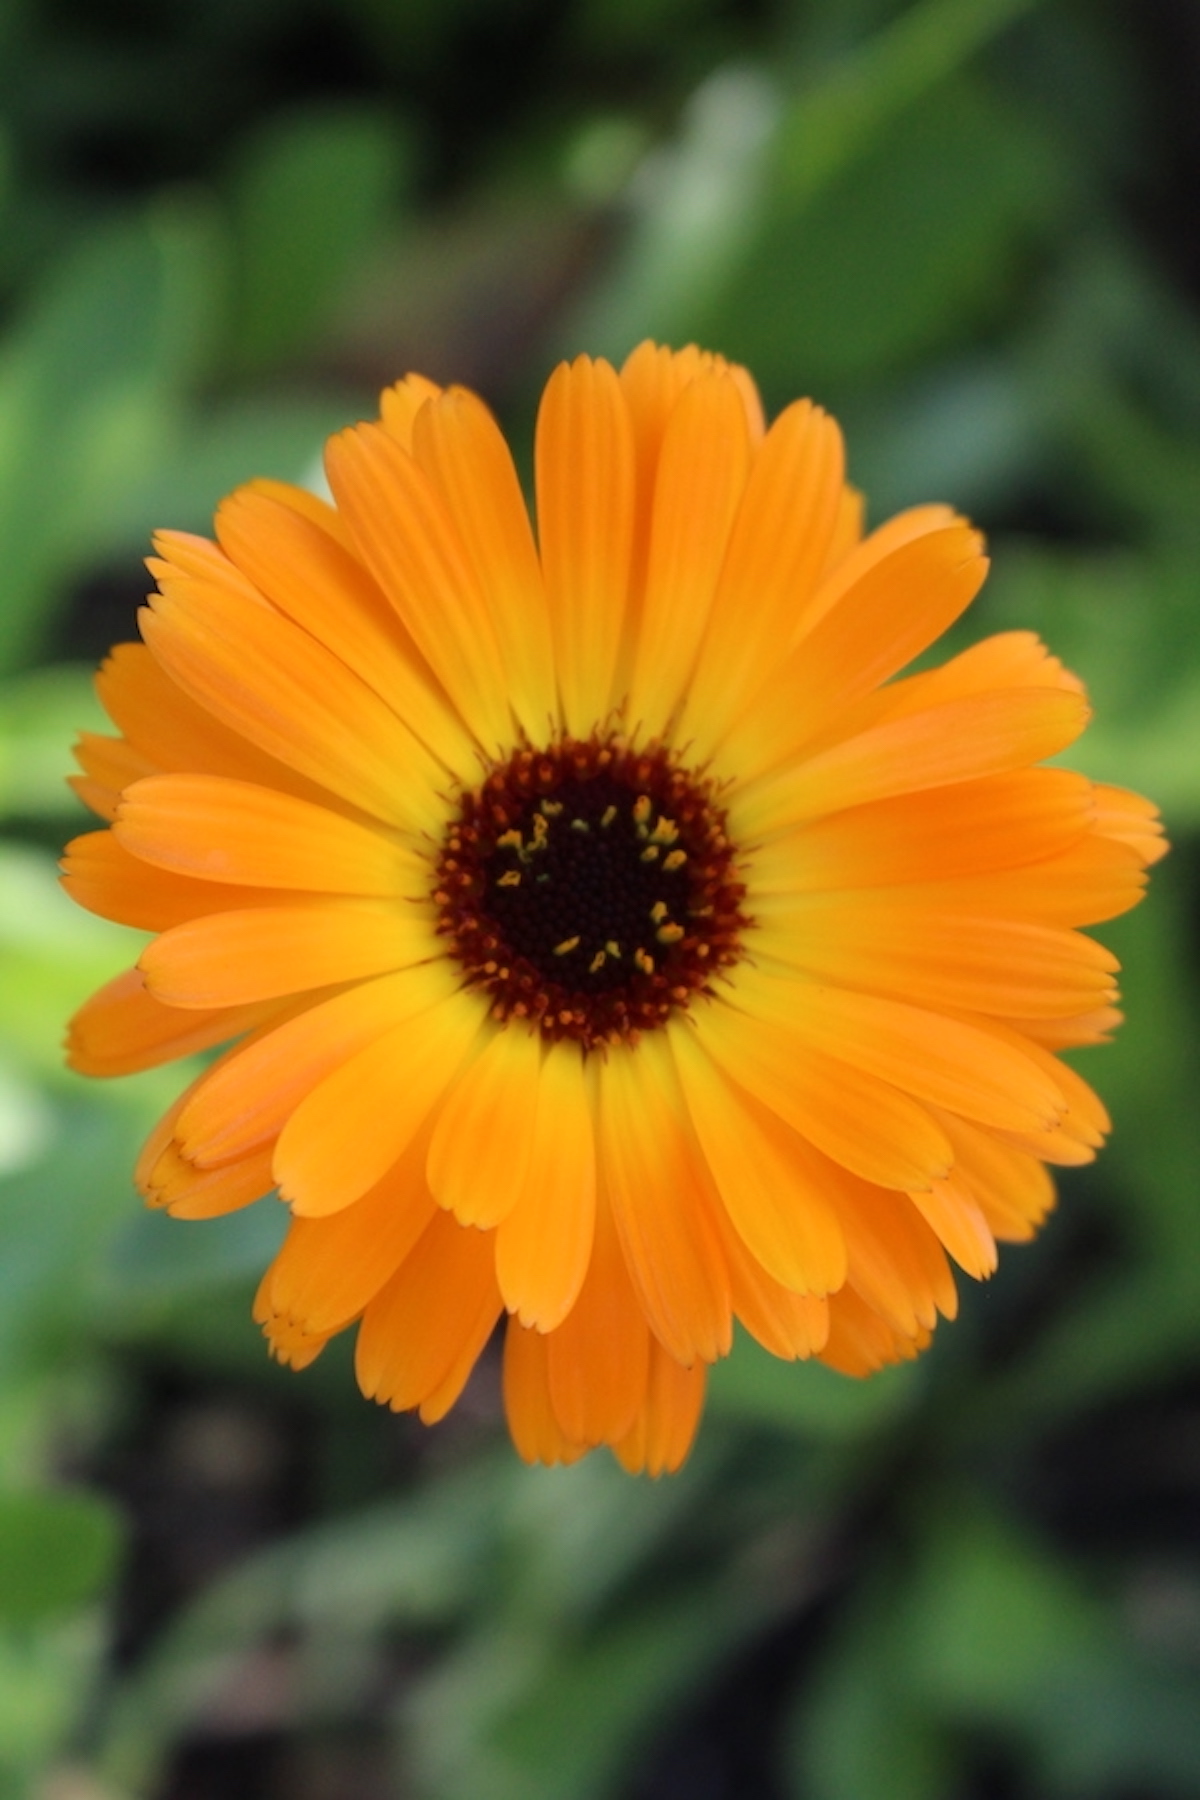
There are a surpising number of varieties of Calendula, and all of them are both edible and medicinal. Most of the variation is in the color of the flowers, which you can choose based on your own preferences. Most of them are in the yellow/orange range, but some varieties have more exotic colors.
If you’re specifically growing calendula for use in medicines, I’d suggest growing Resina Calendula. It has the highest natural concentration of medicinal resins in its blossoms, so much so that you’ll get orange stains on your hands when you handle them. The others are also medicinal, but they aren’t quite as concentrated.
- Resina Calendula ~ The best variety to grow for medicinal uses. Bright orange and yellow blossoms.
- Pacific Beauty Calendula ~ This variety has a lot of variation in blossom color and size, and includes both double and single blossoms. A great choice if you’re looking for a diverse range of flowers from a single packet.
- Strawberry Blonde Calendula ~ Striking pink blossoms with double petals. These are unique and highly ornamental.
The growing instructions for calendula are the same, regardless of the variety.
Growing Calendula in Your Garden
Before you plant your seeds, it’s a good idea to get to know calendula and the conditions the plant needs to grow and thrive. The plants reach up to two feet tall and wide at full maturity, widening as you harvest the flowers. You need to plant this herb in full sunlight to partial shade, but the plant produces more flowers when grown in full sunlight.
Calendula likes to grow in average, well-draining soil that is rich in organic matter. It grows best in neutral soil with a pH range between 6.0 and 7.0.
The plants will tolerate poor soil and growing conditions, but you won’t get as many blooms. I suggest amending the soil with compost before planting for best results. The flowers typically bloom from May to early fall, and you have to remember to deadhead, so the plant continues to re-bloom.
When growing calendula, you have two choices: growing from seeds directly sown into the garden or started indoors and transplanted as seedlings. If you want to start your seeds indoors, plant them in containers three to four weeks before the last frost date in your area. Then, as soon as the final frost date comes and goes, plant them outside. You also can plant them in your garden in the early spring as seeds.
Planting Calendula
Once you prepare your garden beds, it’s time to start planting. If you sow the seeds outside after the last frost, expect the seeds to germinate in 5-15 days, depending on the conditions. Calendula plants should be placed 24-36 inches apart because they broaden quickly if you harvest the flowers frequently.
If you’re transplanting your calendula seedling, dig a hole that is twice as wide as your seedling and place it into the hole, gently loosening the roots. Then, hold the seedling in place, fill the hole with the rest of the dirt, and press down firmly to keep the seedling in place. Make sure to water deeply to encourage root establishment.
Calendula Companion Planting
You should also consider companion plants when growing calendula in your garden. Calendula makes a fantastic companion plant to cucumbers, tomatoes, peas, carrots, asparagus, and salad vegetables.
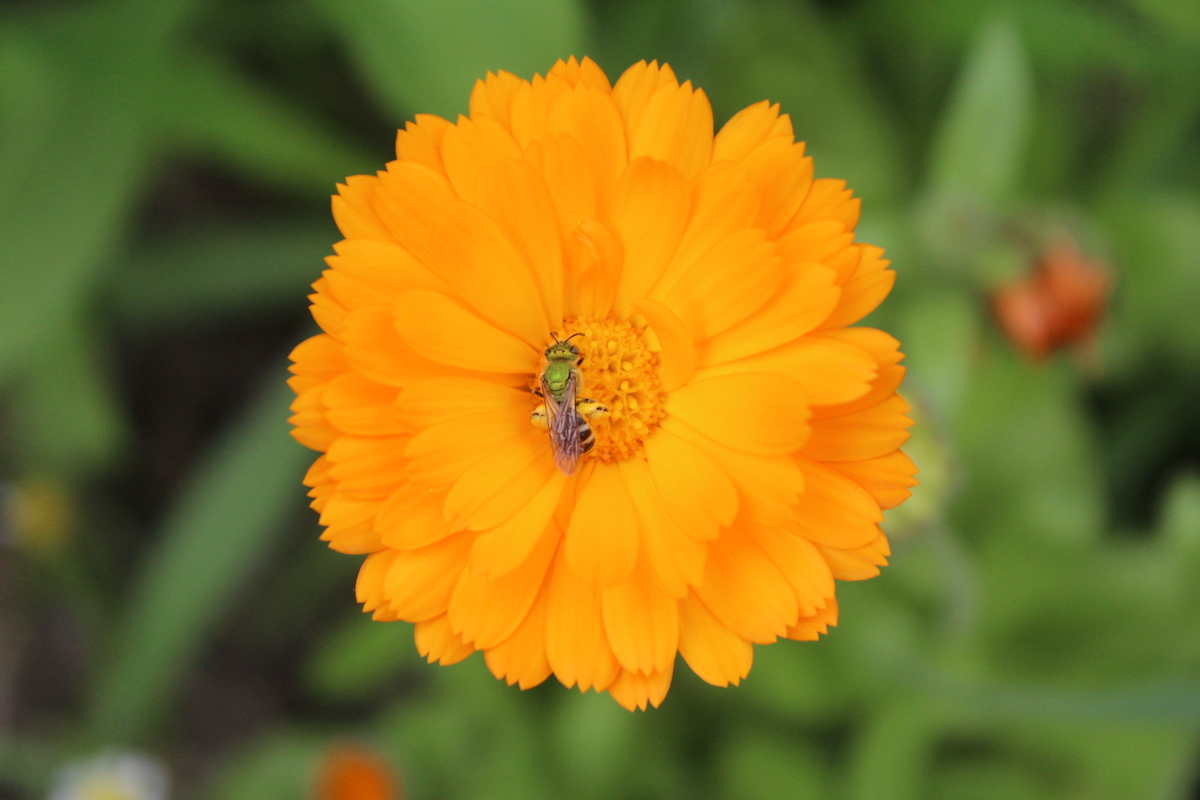
Not only do they attract beneficial pollinators, especially native bees, but they deter pests that want to take a bite out of your plants.
Caring for Calendula
Calendula needs to be kept well-watered throughout the growing season. The plants need to be kept moist, but they will grow in dry conditions. Expect fewer flowers because dry conditions lead to more stress on the plants. Spreading mulch around your calendula plants is an excellent idea because it helps conserve moisture, and the more water your plants have, the better they bloom.
To encourage the plants to produce larger blossoms, gardeners can apply a liquid bloom fertilizer or liquid seaweed fertilizer several times throughout the gardening season. This is optional, so long as you added compost to the garden before sowing the plants. You don’t want to over fertilize calendula because it’ll lead to more leaves and fewer flowers.
Another essential part of caring for calendula is pinching off any dead flowers regularly. Doing this helps extend the blooming period, but if you’re like me, you’ll be regularly harvesting the heads for drying and preserving. Pruning isn’t necessary, and you’ll notice that these plants have fewer leaves than other flowering plants.
Since calendula isn’t a perennial, it’s not easily divided. However, these plants will self-seed in place, germinating in the following season, so make sure you grow calendula right where you want it because it’ll continue to grow there year after year.
Saving Calendula Seeds
Once calendula flowers are pollinated, they quickly brown and die back. At this point, you’d usually snip off the blooms in a process known as deadheading. Deadheading means the plant isn’t putting energy into making seeds, so you’ll get more flowers.
If you want to save calendula seed, however, you’ll need to allow the spent blooms to remain on the plant.
It’s kind of amazing how quickly they go from flowers to seed heads. The petals will fall out, and there will be a compact seed head full of curly calendula seeds. They look a bit like octopus tentacles honestly, and they’re one of the funnest seed shapes out there. (My kids get a real kick out of them.)
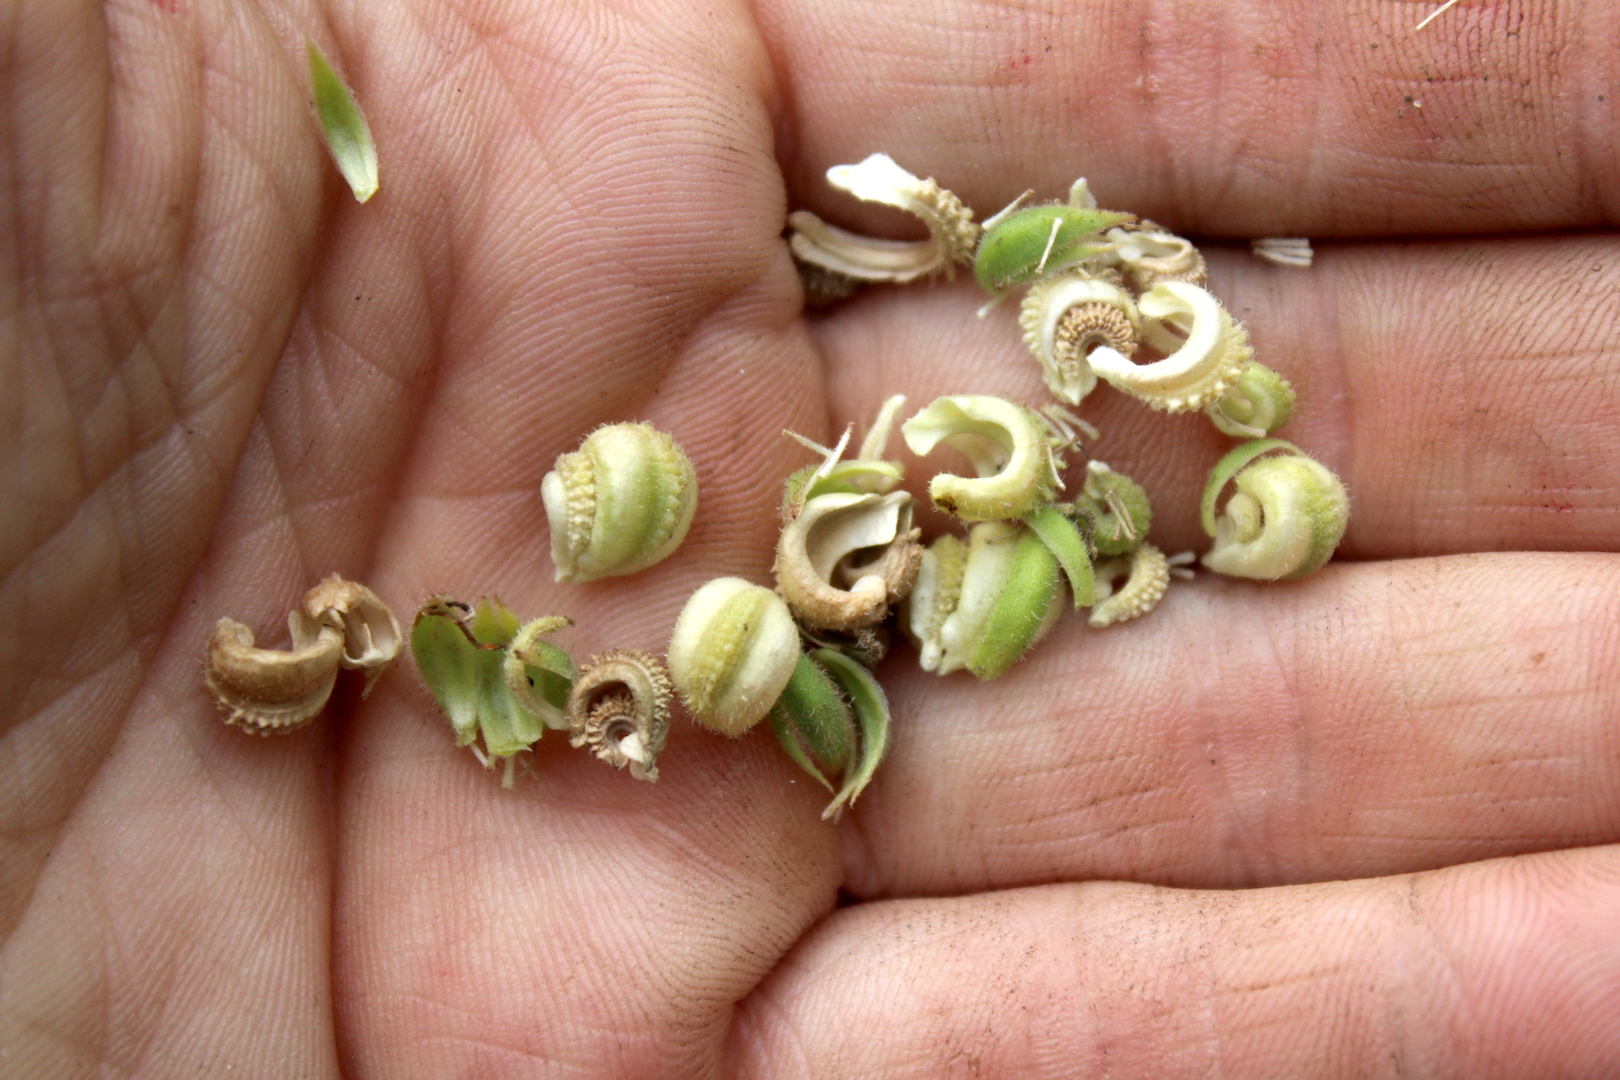
To save calendula seeds, simply leave the blossoms attached to the stems after they’ve been pollinated. Within a week, they’ll have developed into seed capsules full of calendula seeds.
You can break one open to check on their progress, but the seed will keep better if you wait until the flowering heads start to dry and die back a bit.
Snip off the seed heads and allow the seeds to dry before storage. They’ll be a light tan brown when dried.
Harvesting Calendula
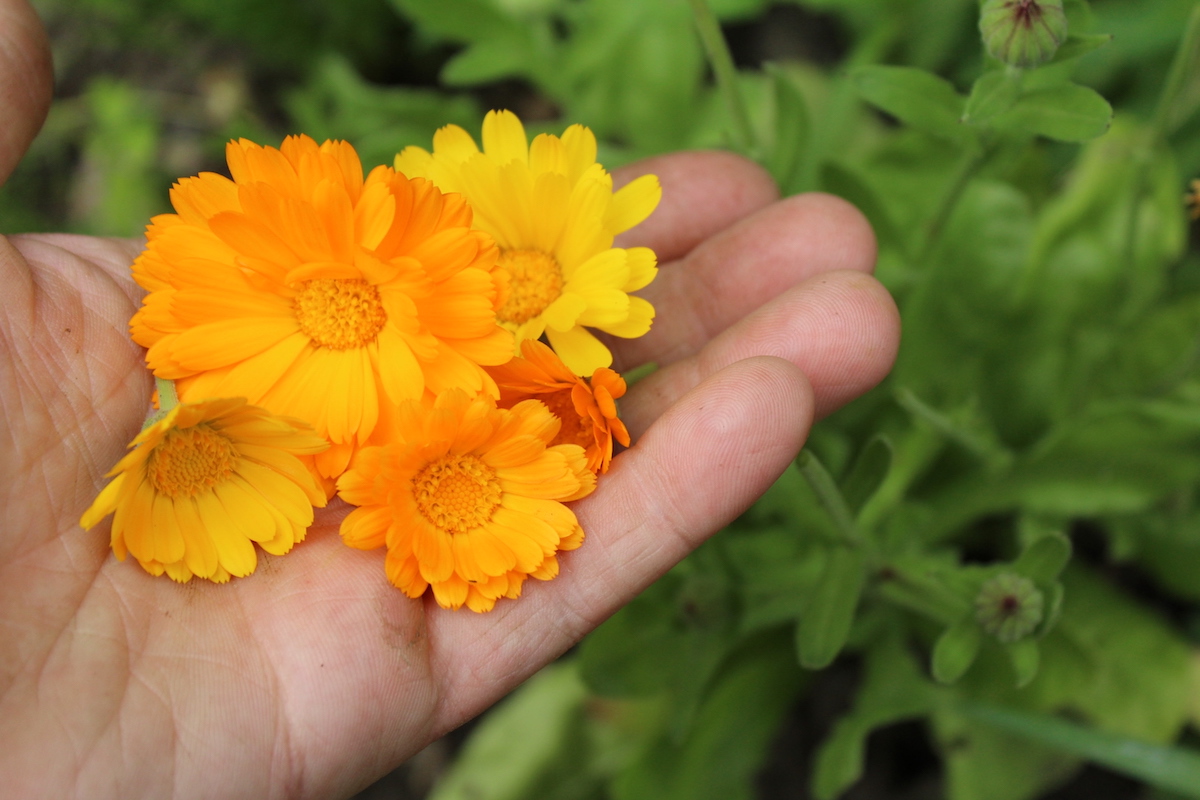
It’s best to cut the flowers as soon as they fully open; make sure you check your plants regularly. Calendula prefers to be harvested in the late morning, but you have to dry them off quickly to remove any dew. They do partially close at night, so they’re a cut flower, but it’s important to keep this in mind.
Take a clean pair of scissors and snip off the flower head at the top of the stalk. You can also pinch the stem; both methods will allow continuous harvesting from your calendula plants throughout the growing season. It’s often a good idea to trim back the stem to avoid any rotting.
Don’t feel bad about harvesting blooms regularly. With this plant, the more you harvest, the better it is for the plant. Letting blossoms stay on the plant causes them to go to seed. Also, you can pull the entire plant out of the ground at the end of the growing season because the leaves also have medicinal properties.
Storing Calendula
Once you harvest your calendula, you have to figure out how to store it properly. Most people dry them; the entire flower has medicinal properties. There are several ways to dry herbal flowers to use in future medicinal uses, but you have to make sure the flowers have air circulation and protection from too much sunlight if kept outside.
Don’t wash the flower heads before drying. Instead, Simply spread them out on a ventilated surface like a screen or mesh and let them dry. Stringing them up with twine and hanging them to dry is another option, or you can use a dehydrator set on 90-95℉. However, you don’t want too much heat because these flowers are delicate, so using your oven is a no-go.
After drying, store your dried calendula in an airtight container or sealed plastic bags.
How to Use Calendula
Calendula adds a bright yellow/orange color to foods, similar to the color of saffron. They were also used to give butter and cheese a rich yellow hue back before modern synthetic food dyes.
Nowadays, calendula isn’t typically eaten, but it’s used as a popular medicinal herb. It’s believed to stimulate the immune system, but it’s most known for its skin-healing abilities. As a result, Calendula is a popular ingredient in cosmetics, lotions, and skin-care products; some companies even add calendula to their diaper rash creams!
You also can make infused calendula oil, calendula lotion bars, calendula tea, calendula tincture, and all kinds of other calendula recipes.


love calendulas, of late, I can seem to find a ny seedlings,with all the rain ,all my herb garden is totally washed out.
but my marigolds are flourishing!
thank you for your website and your work.
You’re welcome. So glad you’re enjoying it. I’m sorry about all the rain.
Man… Just when I thought I was done ordering seeds for the season…. I think a bed of these with some Purple Cone Flower would be nice.
I can definitely understand your pain. You should have known better. They work nicely among the veggies plants in the garden as well.