Affiliate disclosure: This post may contain affiliate links. Please see our Privacy Policy.
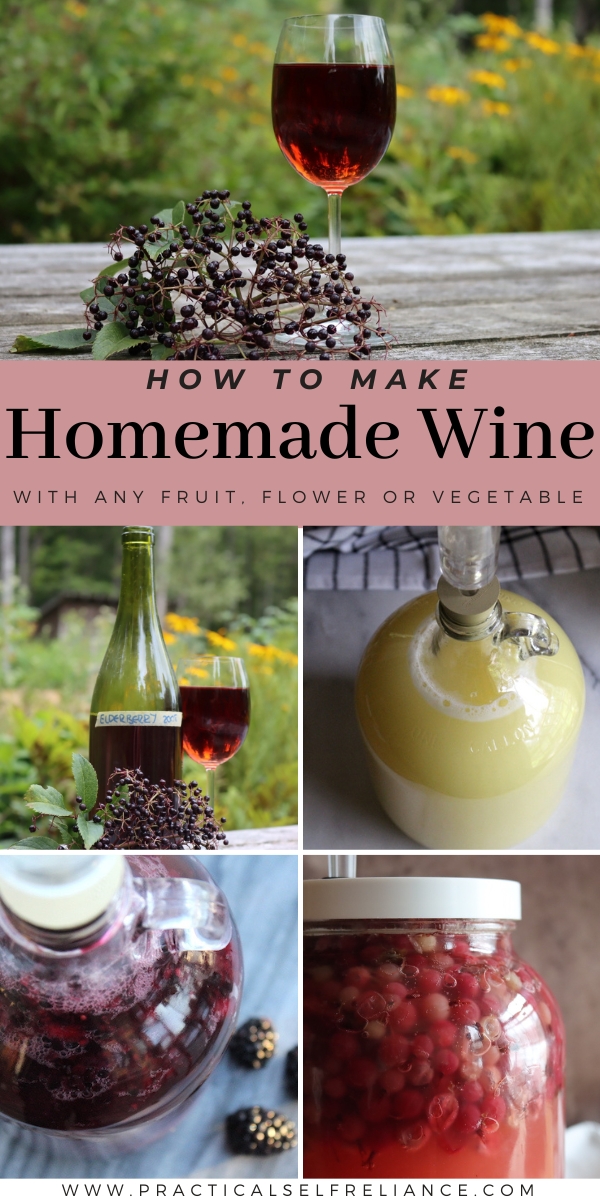
Making fruit wine is surprisingly simple, and while the winemaking recipes may change slightly depending on the type of fruit you choose, the general process is pretty much always the same. These simple fruit wines are known as “country wines” and have been made in the countryside for generations (no fancy winery required).
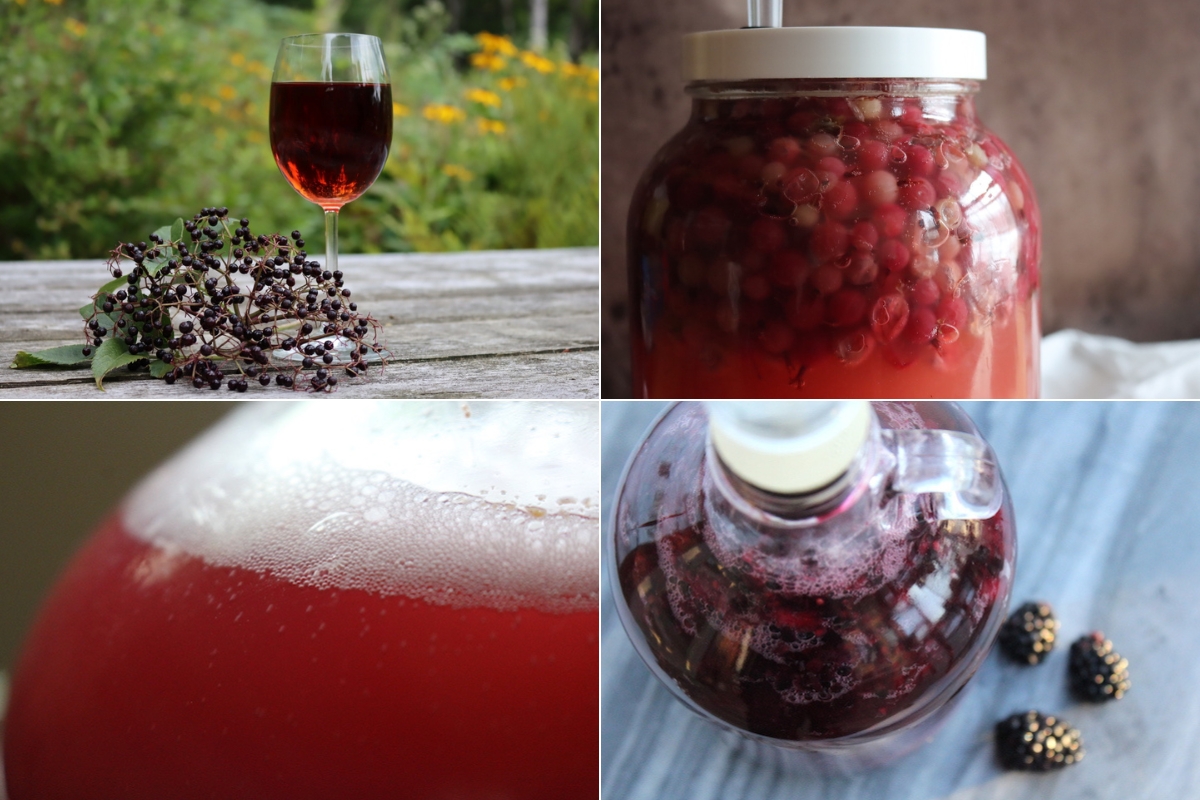
Table of Contents
- Steps in Winemaking
- Equipment for Winemaking
- Ingredients for Winemaking
- How to Make Fruit Wine
- Prepare the Fruit
- Sterilize the Juice (optional)
- Primary Fermentation
- Racking
- Secondary Fermentation
- Tasting and Adjusting
- Tertiary Fermentation (optional)
- Bottling
- Bottle Conditioning
- Winemaking Tutorials
- Fruit Winemaking Recipes
- Flower and Vegetable Wines
- Mead Recipes
Making country wine is as simple as following a recipe, and if you can do that, then you’re already almost there.
Grape wine is complicated, but believe it or not, fruit wine is not. Grape wine relies on the grapes being absolutely perfect, balanced, and complete to make it work, and it’s more an agricultural phenomenon than fermentation alchemy.
Fruit wines don’t have that pretense, and they allow you a lot more flexibility as the winemaker to craft beautiful homemade wines (even if you’re not growing the fruit).
Other fruits (besides grapes) don’t have the right balance of sugar, acid, tannin, and nutrients all on their own, so there’s no expectation that the fruit would do all the work. Instead, the winemaker adds things to balance the wine and ensure successful fermentation.
In the end, the fruit adds amazing flavor and color, but the “recipe” determines the success of the wine (rather than how the fruit was grown). That’s not to say you shouldn’t use the absolute best quality fruit possible; it just means the process is much more forgiving and repeatable at home since you’re adding ingredients besides just juice.
Steps in Winemaking
I’ll cover all of this in more detail shortly, but as a starting point, these are the basic steps in winemaking:
- Prepare the Fruit
- Sterilize the Juice (Optional)
- Add Yeast
- Primary Fermentation (7 to 14 days)
- Racking (Move to a Clean container)
- Secondary Fermentation (4 weeks to 6 months)
- Tasting and Adjusting
- Tertiary Fermentation (optional)
- Bottling
- Bottle Conditioning (2 weeks to several years)
Equipment for Winemaking
If you’re an experienced winemaker, you already have all this equipment on hand. If this is your first batch of homemade wine, you’ll need the following equipment:
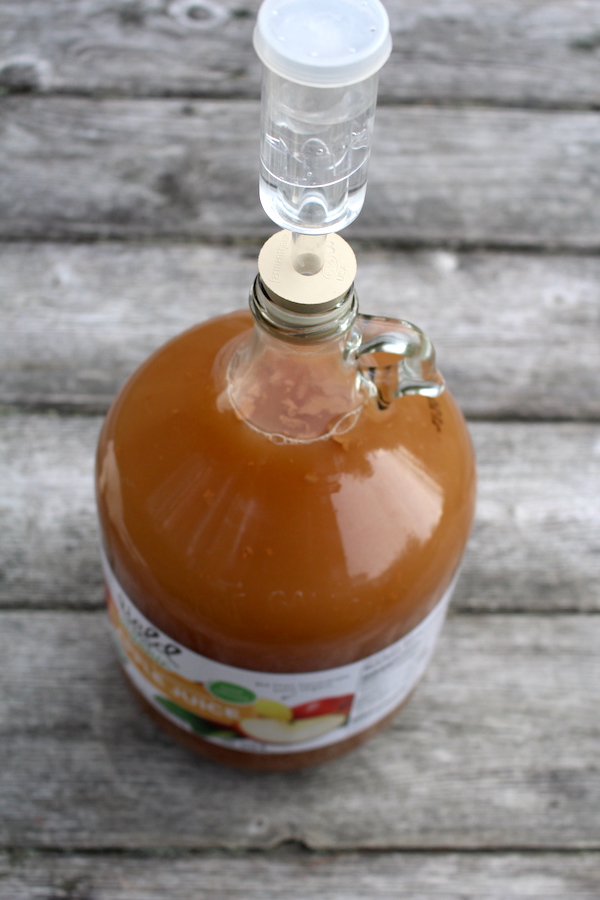
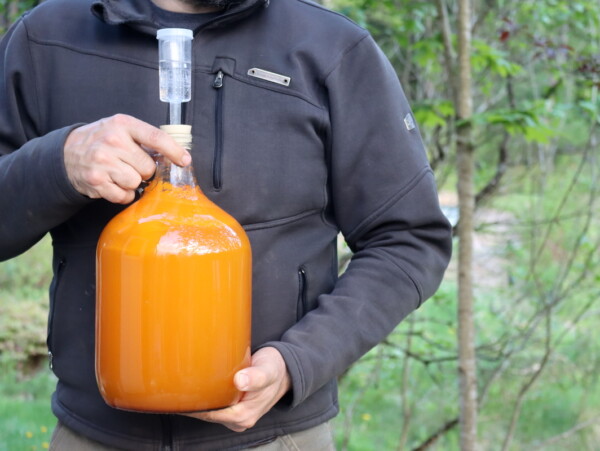
- One Gallon Glass Carboy (x2) ~ A narrow neck fermentation vessel, also called a carboy, will hold the fruit wine while it ferments. You’ll need two since the wine needs to be moved to a clean container (leaving the sediment behind) after 7-10 days of active primary fermentation. They often come in a kit with a rubber stopper and water lock together.
- Rubber Stopper and Water Lock ~ Basically a one-way valve that allows CO2 to escape, but prevents contaminants from entering the fermentation vessel. A water lock is essential because, without it, the brew is at a high risk of turning into vinegar during secondary. Not the end of the world because then you have wine vinegar, but disappointing when you were hoping for wine.
- Brewing Siphon ~ Used to move the fruit wine from one container to another, and for bottling. Using a siphon allows you to move the ferment without disturbing the sediment on the bottom by simply pouring it from one container to another. Pouring carefully, you can technically get away without one, but it’s a lot easier to use a siphon, and it’ll result in a finished fruit wine with more clarity.
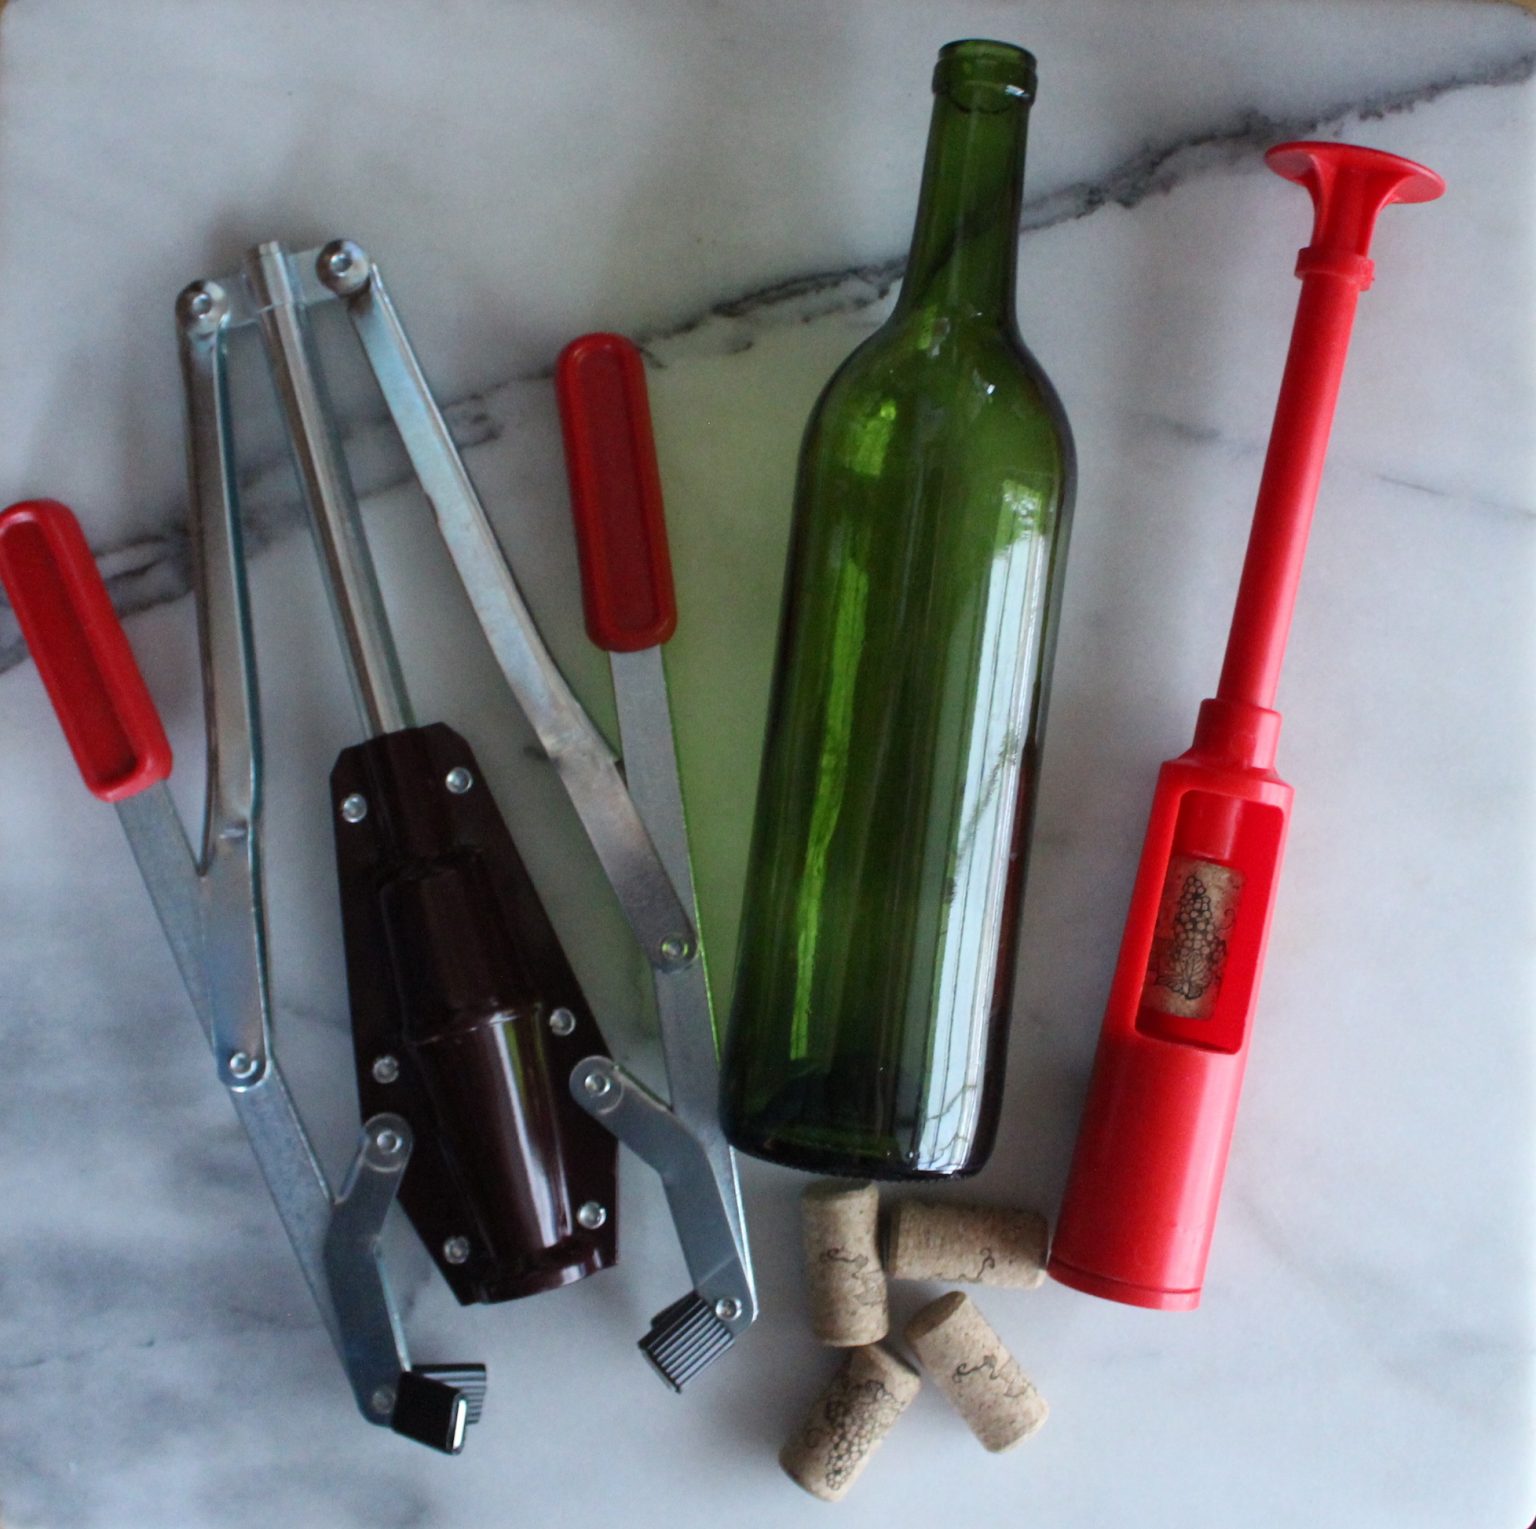
- Wine bottles ~ The best option for bottling, wine bottles will allow the wine to be stored for longer periods. Corks naturally breathe, and wine in a wine bottle will improve over time with bottle aging. Beer bottles are also an option, but better for short-term storage. Flip-top Grolsch bottles work as well, and they’re really convenient because they’re reusable and come with the cap attached for quick bottling without additional equipment. Wine bottles can be reused, provided you wash them and clean them with brewing sanitizer between uses.
- Bottle Corker ~ If you’re using wine bottles, you’ll need a corker as well. Be sure to use clean, new corks for bottling the wine. (If using Grolsch bottles, corks and a corker are unnecessary.)
- Brewing Sanitizer ~ A one-step no-rinse brewing sanitizer cleans and sanitizes all equipment before use, preventing contamination and resulting in a more predictable winemaking experience. Without it, there’s a greater chance of infection by acetic acid bacteria (that will turn the wine into vinegar).
If you’d like to find substitutions so you don’t have to buy equipment, there are likely things already on had at your home that can work in a pinch. I’d suggest reading my guide to winemaking equipment to understand what each piece is for, and what you can use instead.
Ingredients for Winemaking
The quantity of each ingredient will vary based on the type of fruit and your recipe, but just about every recipe has the same basic ingredients. That’s because all country winemaking recipes are trying to create a balanced fruit wine with enough residual sweetness to be tasty, enough acidity to add a bright flavor, and enough tannin to give a good body and mouthfeel.
The fruit brings some of these things, and the actual amount of each ingredient depends on the type of fruit. Pineapples (in pineapple wine) and lemons (in lemon wine) are obviously a lot more acidic than other fruits, so the acid added in the recipe will be adjusted accordingly.
Some fruits, like blackcurrants, already have natural tannins, so you don’t have to add any. It’s all about balancing what’s already in the fruits to create a high-quality fruit wine.
Here are the basic ingredients for country wine:
- Fruit (or Fruit Juice) ~ The base of your winemaking recipe.
- Sugar ~ Most fruit (besides wine grapes) isn’t sweet enough to make wine on its own without added sugar.
- Yeast Nutrient ~ Feeds the yeast to help encourage fermentation, as many fruits don’t have perfectly balanced nutrients.
- Acid Blend ~ Yeast need an acidic environment to ferment, but this also improves flavor as well.
- Pectic Enzyme ~ Breaks down pectin to help clarify the wine. (Optional)
- Tannin Powder ~ Adds natural tannins to improve flavor and mouthfeel. (Optional, but recommended)
- Wine Yeast ~ Makes the alcohol and imparts quite a bit of flavor to the finished wine.
- Camden Tablets ~ Used to sterilize juice before fermentation. I don’t use these. (Optional)
If you’d like to understand what each ingredient is for, and how you can substitute common household things for the harder-to-find ingredients, I’d suggest reading my guide to winemaking ingredients.
How to Make Fruit Wine
I covered the basic steps at the very beginning, but now I’ll explain each step. Be sure to carefully read your winemaking recipe, as the instructions can vary depending on your recipe.
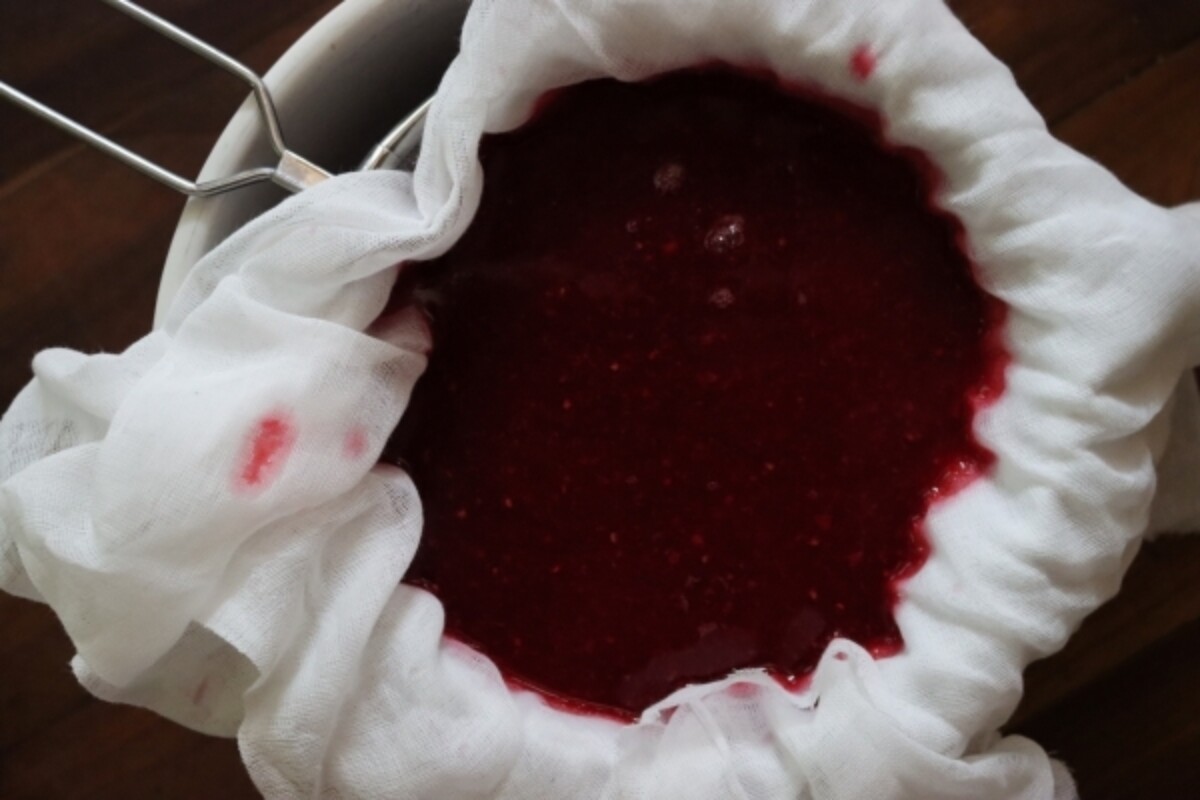
Prepare the Fruit
This can mean a variety of things, depending on the type of fruit.
Some are mashed, others frozen to break up their cells, and still, others peeled and pureed. Some are just washed added whole without much fuss.
Either way, the goal is to get their juice and flavors to come out into the wine, without extracting too much in the way of pectin, and usually, without cooking them at all (as that drives off some of their volatile flavor compounds).
Sterilize the Juice (optional)
These days, most people opt to chemically sterilize the fruit with Camden tablets. This kills off any yeast on the fruit, and means you’re only fermenting with added yeast from a packet.
It’s a more dependable method, since package yeast is more dependable and consistent than wild yeast.
That said, packaged yeast is also a lot more vigorous and tolerant of high alcohol levels than wild yeast.
We don’t sterilize our juice because the cultivated yeast quickly outcompetes the wild yeast on the fruit in a matter of days, and then any that are left die out completely as alcohol levels rise.
If you do sterilize the juice, you’ll have to wait 24 hours for the sulfites to evaporate before adding yeast so that you don’t kill your own yeast too.
Add Yeast
Yeast is added right before fermentation, and it’s rehydrated in a bit of plain water first.
Dried yeast can “shock” if it goes directly into your sugary wine mixture. Be sure that the wine mixture is at room temperature before adding the yeast, and that you’ve waited the appropriate amount of time after adding camden tablets (if using).
The mixture should start vigorously bubbling within 24 to 72 hours.
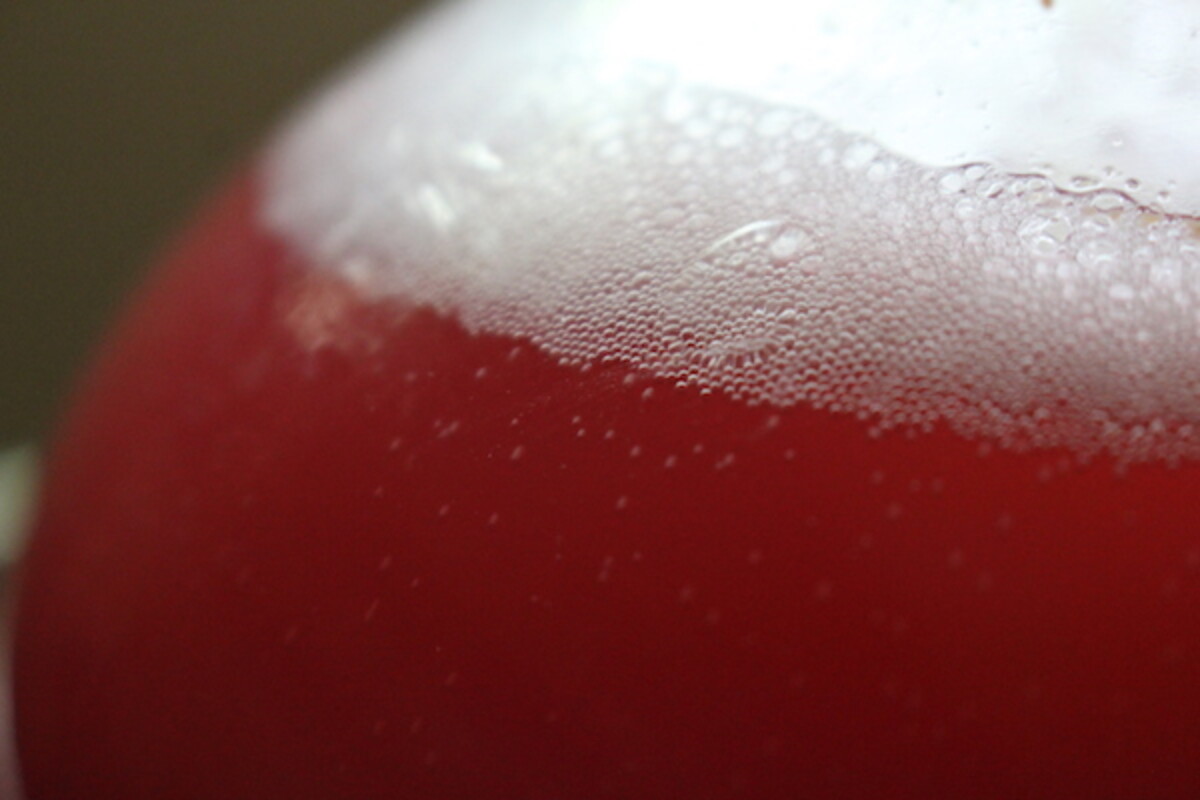
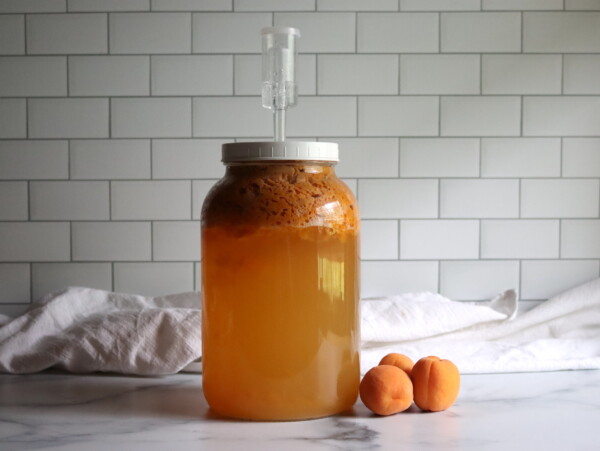
Primary Fermentation
For the first 7 to 14 days, the wine is in what’s known as primary fermentation.
The yeast are working fast and rapidly multiplying, it’s often vigorous and creates a lot of sediment at the bottom of the fermenter.
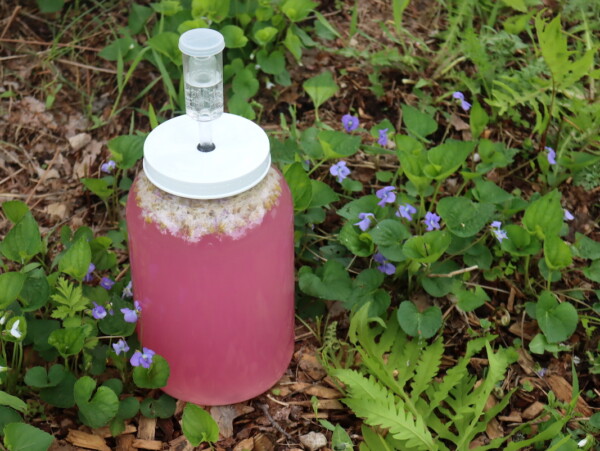
There’s little alcohol at this point, so primary fermentation is often done in an open bucket that’s just covered with a towel. An airlock isn’t strictly required at this point.
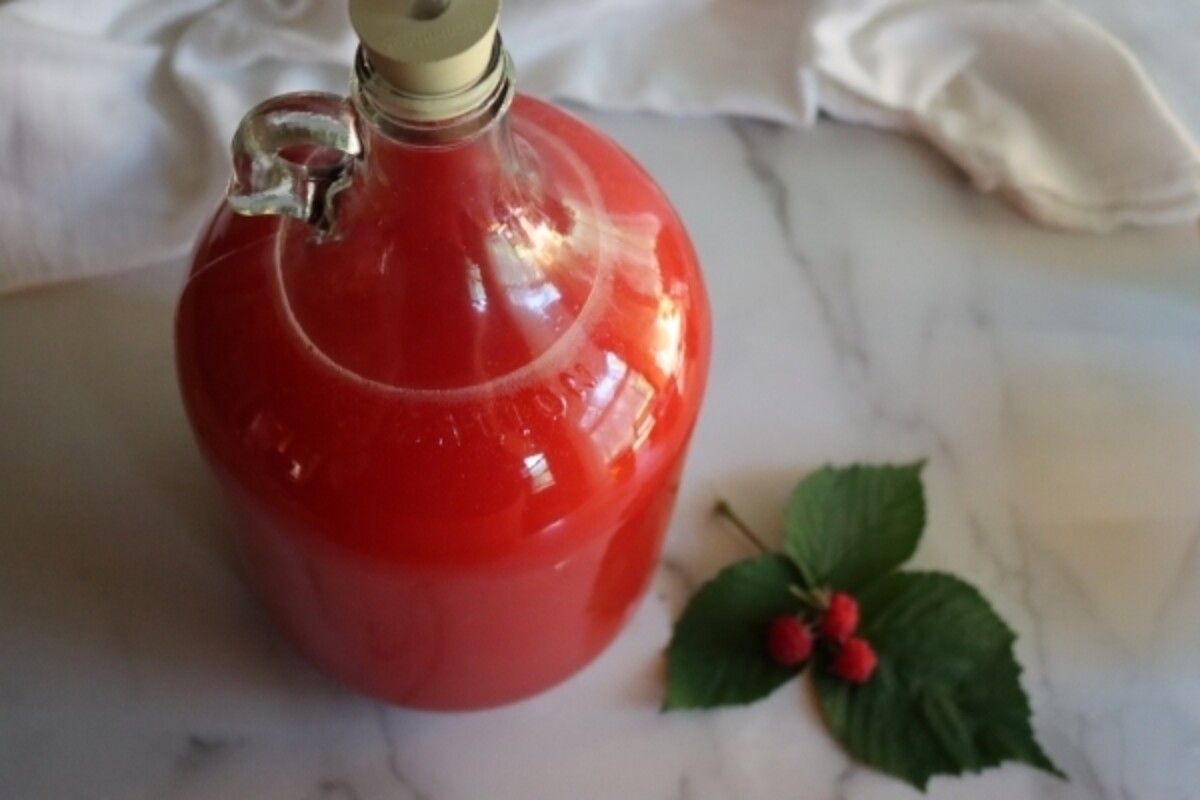
Racking
After the initial vigorous fermentation is complete in “primary,” the wine is “racked” into a clean container.
This is done with a siphon to avoid stirring up the sediment or “lees” at the bottom of the primary fermenter. If wine is left on the lees, it can develop off flavors.
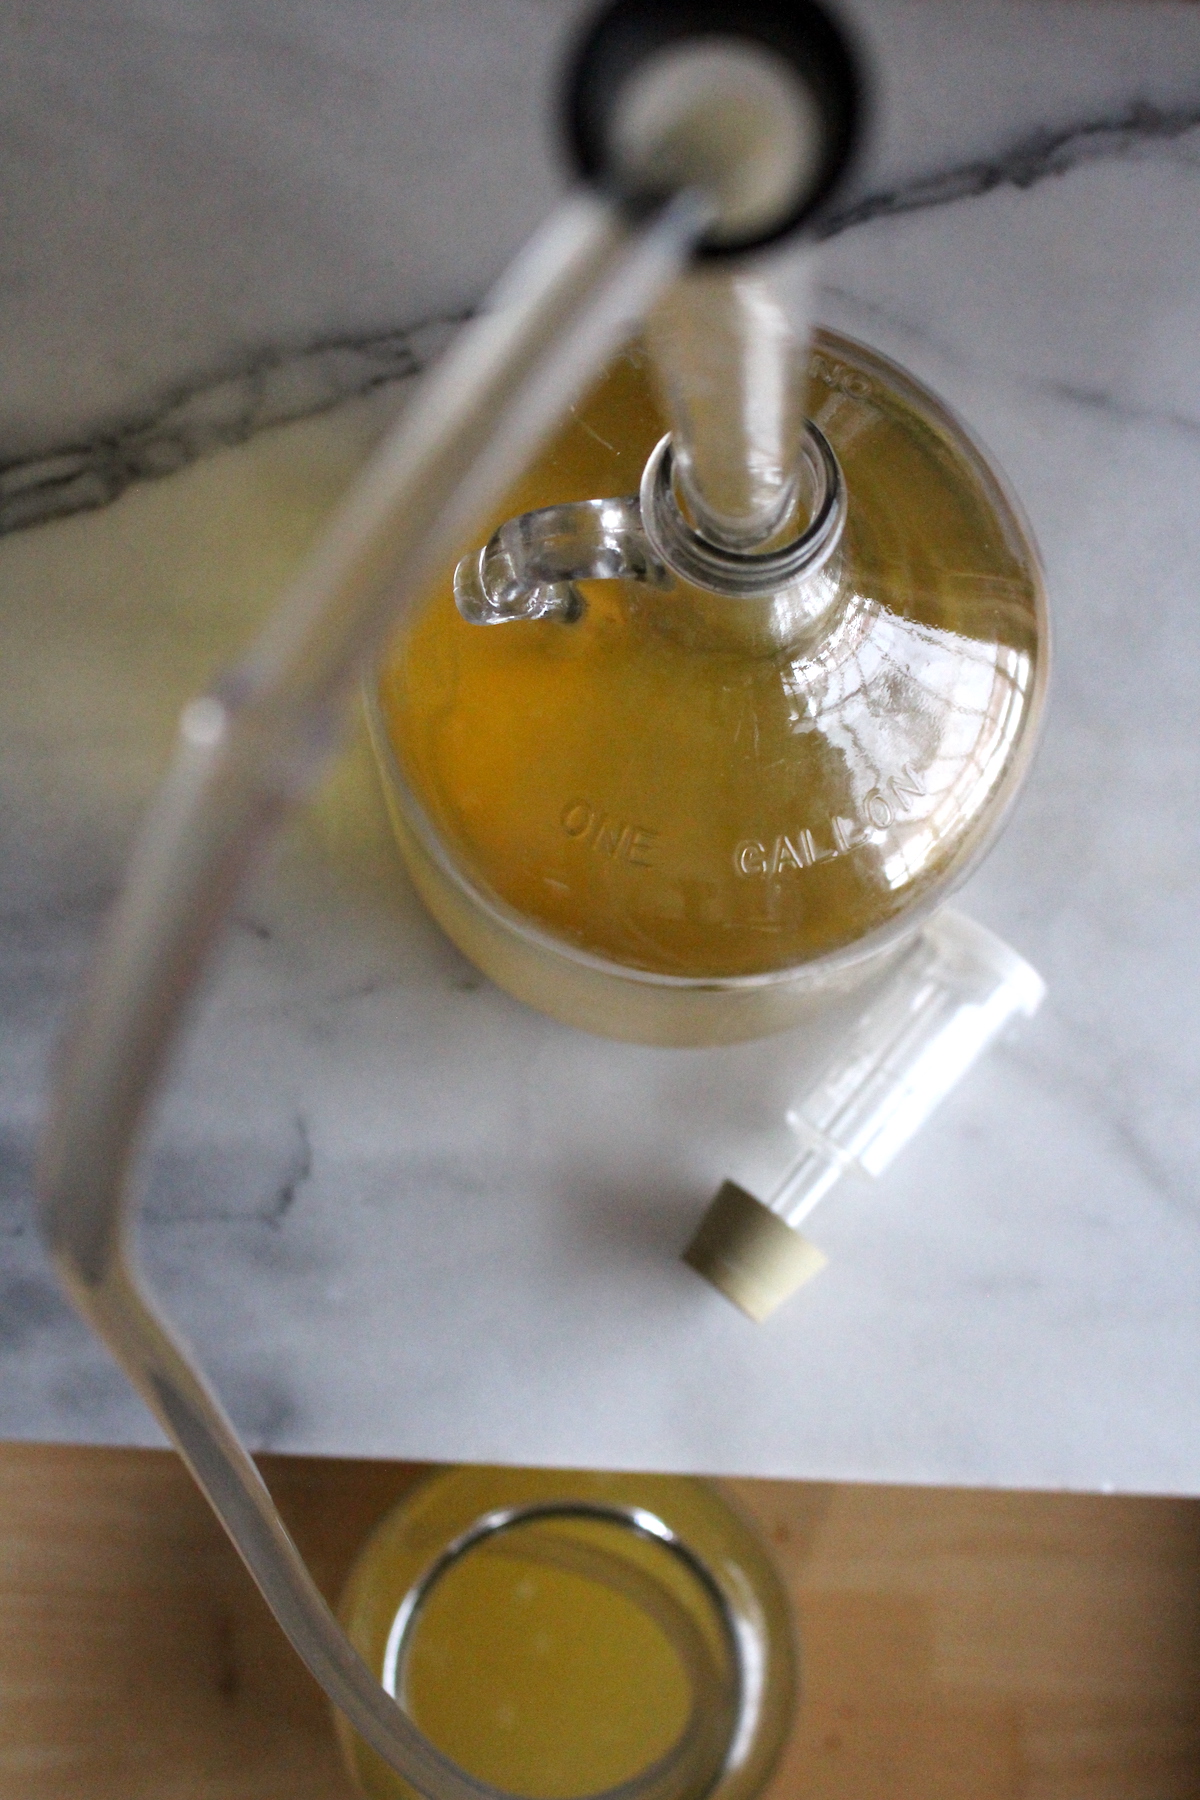
Secondary Fermentation
Once the wine is racked into secondary, it’s sealed with an airlock. That’s a one-way valve that prevents oxygen from getting in, but allows the CO2 produced during fermentation to escape.
This prevents the alcohol that’s produced from turning into vinegar.
Secondary usually lasts about a month, but can last much longer depending on the recipe.
The wine should be kept at a cool room temperature, and in a dark place without direct sunlight. Ideally, a basement or back closet that’s about 65 to 68 F (18 to 20 C).
Tasting and Adjusting
After secondary, it’s time to taste the wine and adjust as needed.
At this point, it’ll taste very “rough” as it hasn’t bottle aged at all, but it should give you a rough idea of the final flavors to expect.
If it’s very dry, this is where you’d add some sugar or honey, or if it’s too sweet, you can consider adding some acidity to balance (or pitching in a more vigorous yeast strain to eat up more of the sugars).
You can add more tannin or really anything that might be needed.
Or, if it’s good, just go right to bottling.
Tertiary Fermentation (optional)
If you have made adjustments, you’ll need to rack the wine into another fermenter for another couple of weeks to allow things to settle out before bottling.
Bottling
To bottle, use a brewing siphon to move the wine into wine bottles and seal them with corks.
Some people opt to sterilize their wines with potassium sorbate at bottling, which prevents additional fermentation in the bottle.
I do not sterilize, I just make sure the secondary is long enough that the yeast has died off, and I’ll rack into tertiary if necessary to get any last activity out of the yeast.
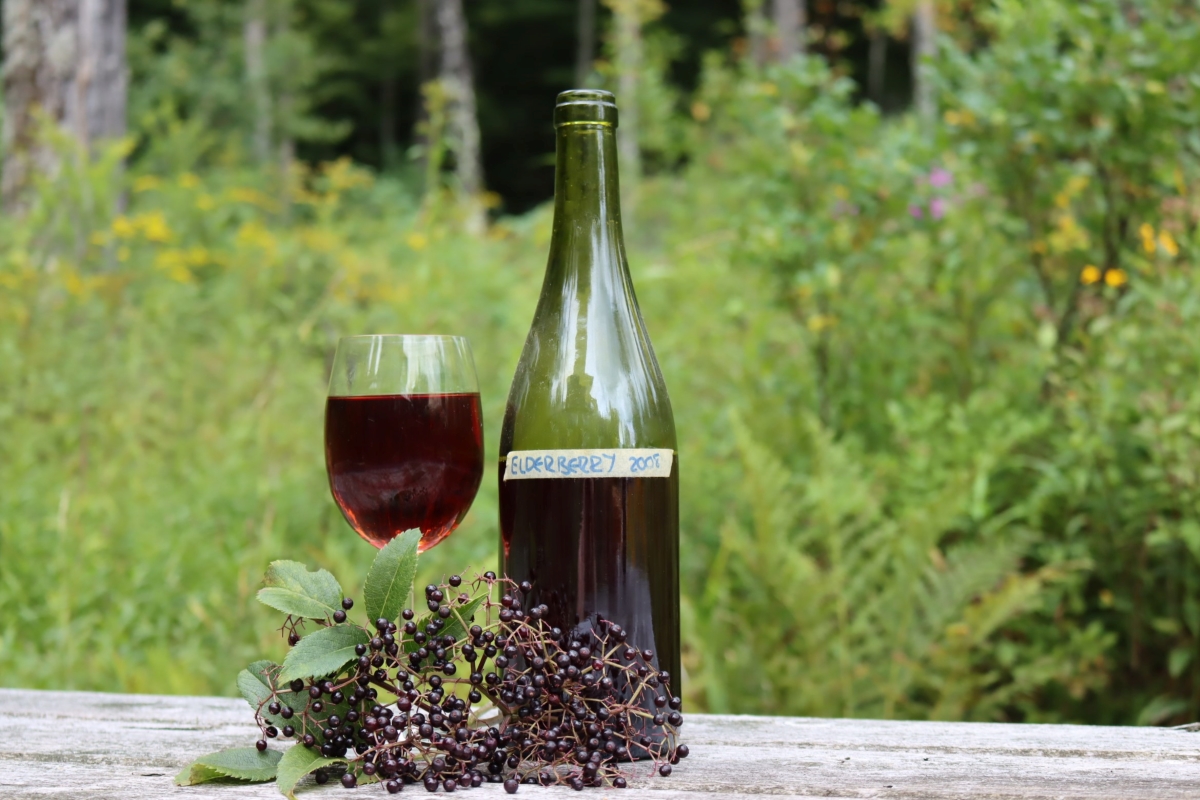
Bottle Conditioning
Once in the bottle, the wine will need to “bottle condition” for a minimum of 2 weeks before drinking (ideally, much longer, more like 2 months, or upwards of a year for some varieties).
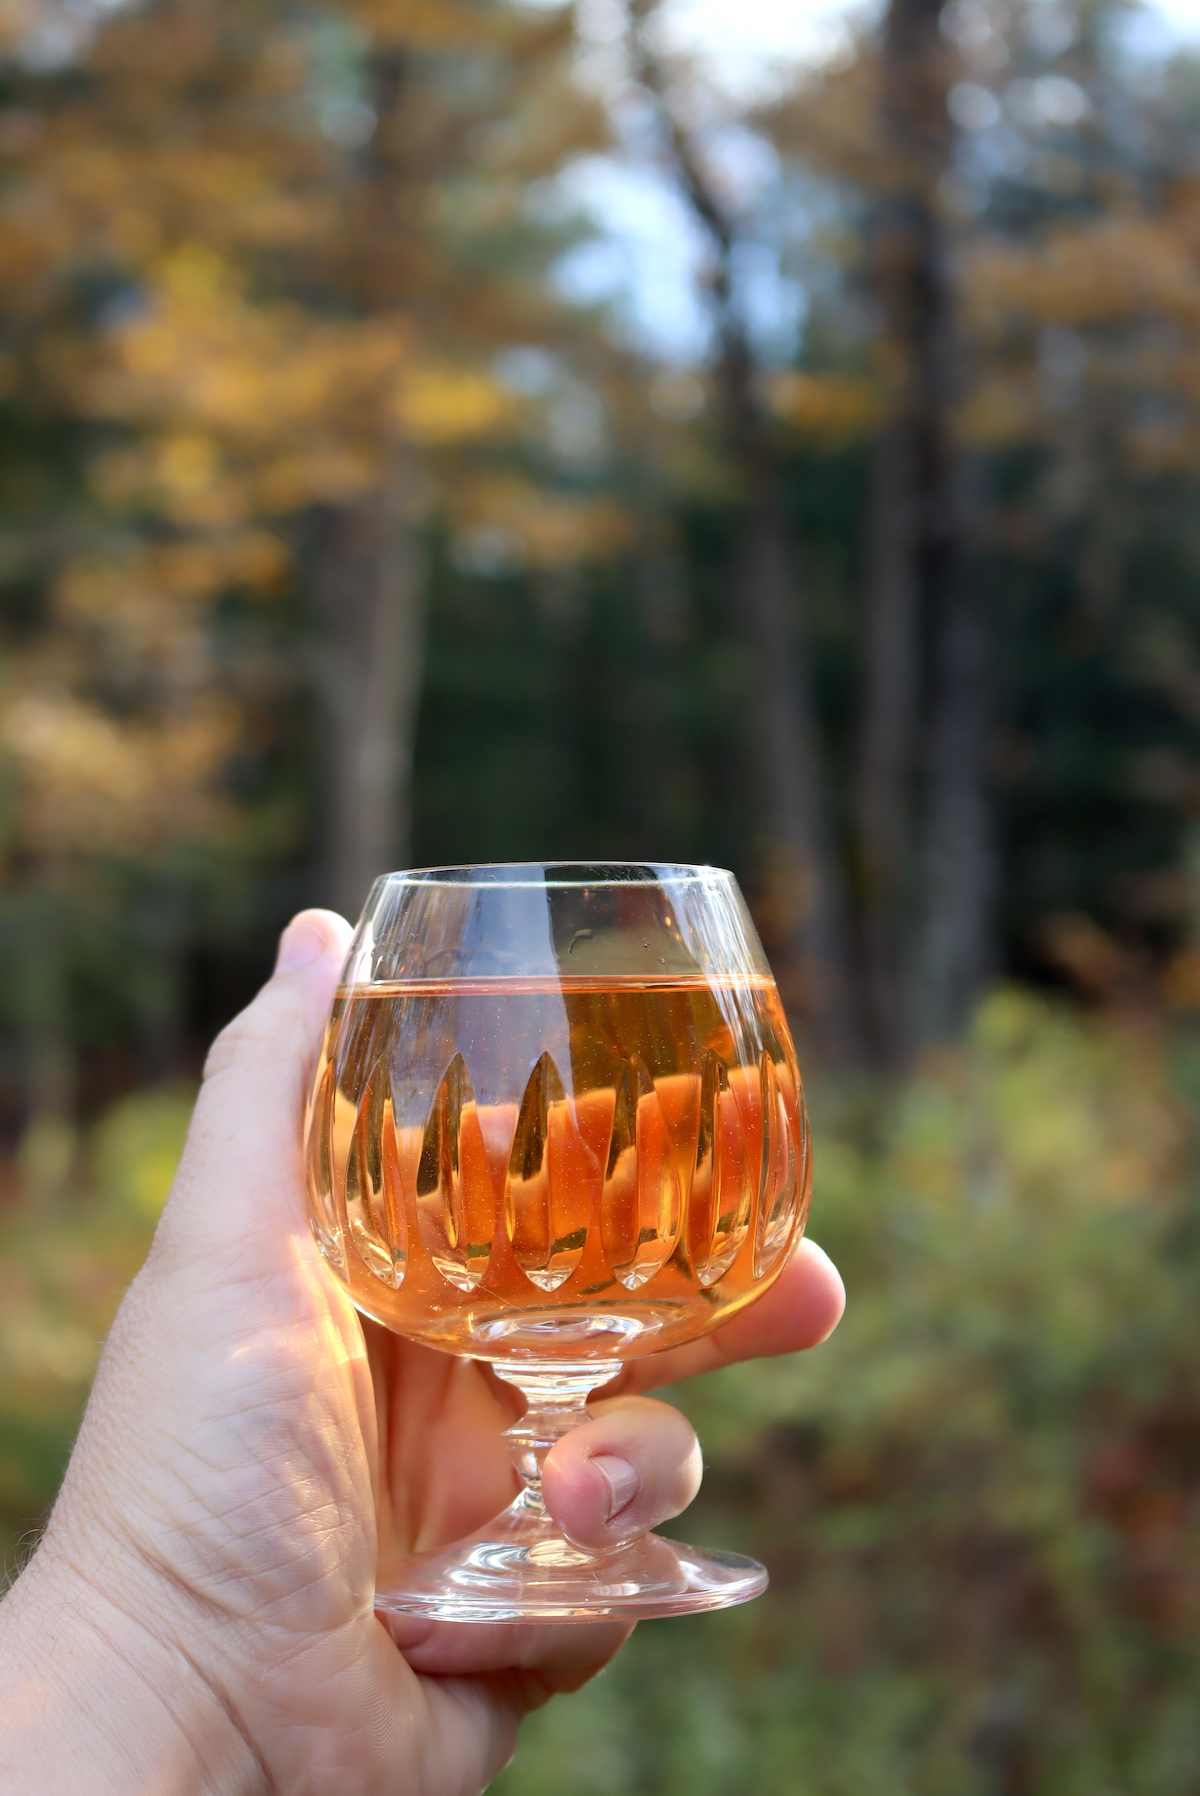
After that, it’s time to enjoy your wine!
Winemaking Tutorials
This was a basic overview of how to make fruit wine at home. If you’d like to take a look at any of the parts in greater depth, I’d suggest you read the other articles in this series.
- Small Batch Winemaking can be done for micro-batches, making as little as 1 bottle of wine at a time, and the process and equipment are a bit different with super tiny batches.
- How to Make Mead (Honey Wine) is mostly the same, but there are some particularities when working with honey.
- Equipment for Winemaking, which covers all the durable equipment you’ll need to make your first batch (besides your ingredients).
- Ingredients for Winemaking, which covers all the other things you’ll need (besides yeast).
- Yeast for Winemaking can get complicated quickly, and there are dozens of common strains (and hundreds of obscure ones). Picking the right one is actually pretty important, but I’ve broken them all down for you.
- How to Make Wine from Grapes, though not necessarily for beginners, but everyone always asks about this one first!
- Winemaking Recipes can be hard to find, but I’ve put together a list of more than 50 to get you started.
- Meadmaking Recipes are even more obscure, but I’ve got you covered there too.
I also have instructions for making hard cider, pear cider (perry), and homemade beer, if you’re into other types of homemade drinks.
Fruit Winemaking Recipes
Here are a few fruit wine recipes to get you started. All of them follow this same basic process, and the only real difference is the choice of fruit and yeast, as well as the amount of acid, sugar, etc in the recipe. It’s quantities that differ, not steps.
- Blackberry Wine
- Blueberry Wine
- Raspberry Wine
- Strawberry Wine
- Lemon wine
- Banana Wine
- Pineapple Wine
- Cranberry Wine
- Elderberry Wine
- Persimmon Wine
- Pomegranate Wine
- Rhubarb Wine
- Watermelon Wine
Flower and Vegetable Wines
While fruit wines are certainly more common, the process is also the same for flower and vegetable wines. Here are a few more recipes to keep your carboy bubbling:
Flower Wines
Vegetable Wines
Mead Recipes
These are also technically “wines,” but they’re called mead when made with honey. The process is nearly the same, but honey takes longer for the yeast to consume so you’ll need to be patient during these ferments. Otherwise, the process is pretty much the same.


Do you have a recipe for Pindo Jelly wine. The palm tree in my yard is a pindo palm and produces wonderful pindo jelly fruit. It is high in pectin and most people make jelly out of it. The fruit taskes like a mix of pineapple and strawberries it is yellow colored mostly and when fully ripe has pink and Red on it. It has a large pit and is very fibrous but I take the pit out and only use the fruit in any of the recipes I use as the Pit when cooked with the fruit changes the flavor.
Hi Marcella,
I did find a recipe on Eat The Weeds: https://www.eattheweeds.com/pindo-palm-jelly-wine-and-good-eats-2/
I’m not specifically familiar with that type of wine, but ooking at the ingredients it seems like it would be about right to me. Best of luck!
Do you have a recipe for mulberry wine pleace.
Jack Keller actually put out a recipe for mulberry wine, on page 121-122 of his collected recipes (https://swguildpa.com/wp-content/uploads/2020/11/Jack-Keller-Complete-Requested-Recipes-Collection.pdf):
“Mulberries by themselves make a poor wine unless you go all out and use 100% juice with no water. I
haven’t done that yet so cannot tell you how many pounds of mulberries you’ll need. Recipes like the ones
below require raisins or grape juice to give the wine body. The flavor is also somewhat fleeting, and for
this reason I like to top up with pure, strained mulberry juice. This tends to drag out the fermentation
process and usually requires an additional racking, but the added flavor is worth it. I would not substitute
a batch of thin-bodied mulberry wine for water (except for topping up) because the resulting alcohol
content would be too high and you would need to use a yeast with very high alcohol tolerance to get it to
ferment out at all. As for the previous batch of thin-bodied mulberry, I’d use it to top up and then blend any
leftover with a full-bodied grape wine.
Mulberry Wine
• 6 lb. ripe mulberries
• 1-3/4 lb. granulated sugar
• 1 lb. chopped or minced raisins
• ž tsp. pectic enzyme
• ˝ tsp. acid blend
• 6 pts. water
• Bordeaux wine yeast and nutrient
Bring water to boil and dissolve sugar in it, stirring until completely clear. Meanwhile, wash the
mulberries after removing the stems and pour into primary fermentation vessel. Add raisins, chopped or
minced. Pour boiling sugar-water over fruit and allow to cool to 75-80 degrees F. Add pectic enzyme, acid
blend, and yeast nutrient. Stir well, cover and set aside 12 hours. Add yeast, stir, recover, and allow to
ferment four days on the pulp, stirring twice daily after punching down the cap. Strain through nylon sieve,
pressing lightly to extract juice and then pour into dark secondary fermentation vessel or clear one
wrapped with brown paper, topping up if necessary, and fit fermentation trap. Rack after two months and
again two months later. Stabilize and set aside 2-3 weeks. Bottle, store in a dark place and taste after six
months to a year. A full-bodied wine, it tastes better after two years.”
Thank you for all of your wonderfully helpful insight. Ive been trying to research as much as I can about homemade wine, and fermentation in general…. I had read that some people freeze their firmer fruits (apples ect.) before fermenting. Supposedly it helps to break down cell walls, therefore, help to release/extract more juice into the wine? Do you think that’s necessary, or even a good idea at all??? Sorry to be such a bother, one of these days I’m going to stop hesitating and just TRY IT!!! Thank you again for everything.
Freezing fruits for a week lowers pectin by 50%, which is really helpful for super high pectin fruits like gooseberries, crabapples and currants. It’d also be a good idea for regular apples if you don’t have a juicer. Having less pectin means a less cloudy wine, but also as you say, it breaks down the cell walls so the juice can come out. I talk a bit about that in my gooseberry wine recipe, where it’s pretty essential to pre-freeze.
Hello again. I have questions pertaining to the pear wine recipe. I’m going to order yeast nutrient, wine tannin and pectin enzyme. There is also an acid blend with citric, malic, and tartaric acid. I wonder if that would be better than adding lemon juice, if it would do the same thing for the wine with more consistent results? About how much should I use if that’s acceptable for the recipe? Also, I was curious as to why there is brown sugar in the recipe? That wont make strange flavors? I’m going to attempt an apple wine based on the pear recipe, will the brown sugar affect the color or flavor?
Brown sugar gives an apple-y flavor when fermented, and it works really well in apple and pear wines. You can use white sugar in place of it and that works just fine. Yes, you can use acid blend in winemaking recipes in place of lemon juice. Usually, people use 1 tsp of acid blend per gallon of wine. Best of luck!
Thank you for your feedback… I was also wondering if, after the first ferment, is it necessary to siphon the wine into narrow-necked bottles? Is it for less air exposure on the wine? If I filled 1 gallon wide-mouth fermentation vessels, with airlocks, to almost the top, would that work?
Yes, that should work just fine.
I was wondering the proportions of ingredients if using a 5 gallon carboy? Or do you suggest small batch (1 gallon) only? I was hoping to attempt making an apple wine with fresh fruit, rather than juice. I was thinking I could possibly follow the pear wine recipe, replacing the pears for apples. Is that a bad idea? Thank you.
You can definitely do a 5 gallon batch. You would just multiply everything by 5 except for the yeast. One packet of yeast should be good for up to 5 gallons. I think replacing the pears with the apples is a great idea.
can pectic enzyme be added after second fermentation?
It is usually more effective when added before the fermentation but you should still be able to add it after.
Hello
Thank you for all your wonderful posts!
I have read lots on your wine making and have made the strawberry wine with great success. My question is what about currants and what about frozen fruit? Nobody seems to post on currants and I searched your site, I only see cassis black currants and mead.
I have large amounts of frozen white and blush currants from a bumper crop this summer. I want to make wine from them but not sure how to go about doing it from a frozen fruit at the start. Also what fruit wine recipe do I follow for currant wine? Is camden needed for this too?
Thank you ~ any info would be appreciated.
Frozen currants actually work better than fresh, believe it or not, as freezing fruit for 1 week destroys about half the pectin content. Not great for jam making, but ideal for wine when you don’t want pectin in there to cloud things up.
To make blackcurrant wine, us the same instructions you would for blackcurrant mead, but use white sugar instead of honey. Wine ferments faster than mead, so about 7 days in primary, 3-4 weeks in secondary, and then at least 2 weeks in the bottle.
For white currants and red currants, they have a much more delicate flavor, and I’d suggest using my recipe for cherry wine instead and substituting the currants in place of the cherries. Best of luck!
Thank you so much Ashley! This is very helpful 😉
This article mentions that primary fermentation lasts “between 7 and 14 days”. How do I know when primary fermentation is complete and I should rack the must into the secondary fermenter? Other than this one question, the article is great.
Yes, racking is step number 5 in the post. You will notice that the bubbling activity has decreased significantly.
it was an amazing article and want to know more depth and detail
Did you have a specific question? There are lots of recipes and tutorials on the blog for making all kinds of wine. Do you have a specific fruit or flower that you’re wanting to use?