Affiliate disclosure: This post may contain affiliate links. Please see our Privacy Policy.
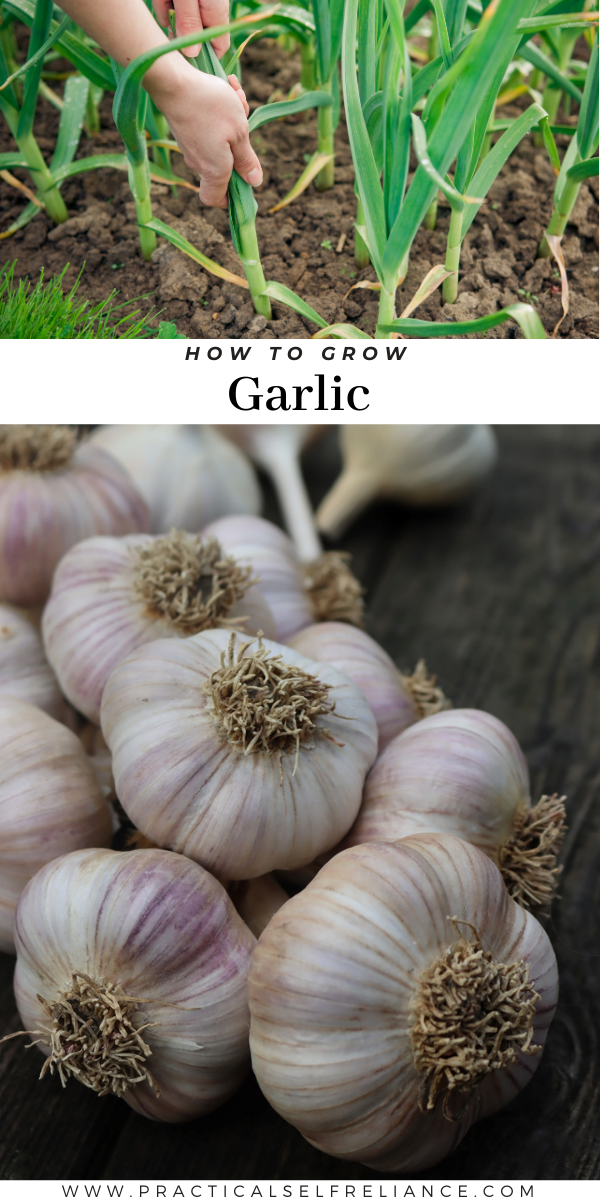
Learning how to grow garlic is easier than you might think, and the process is cyclical — which means you can continue to grow garlic at home using bulbs from your own harvest. Plant garlic once, and you’ll be able to keep growing garlic it for a lifetime.
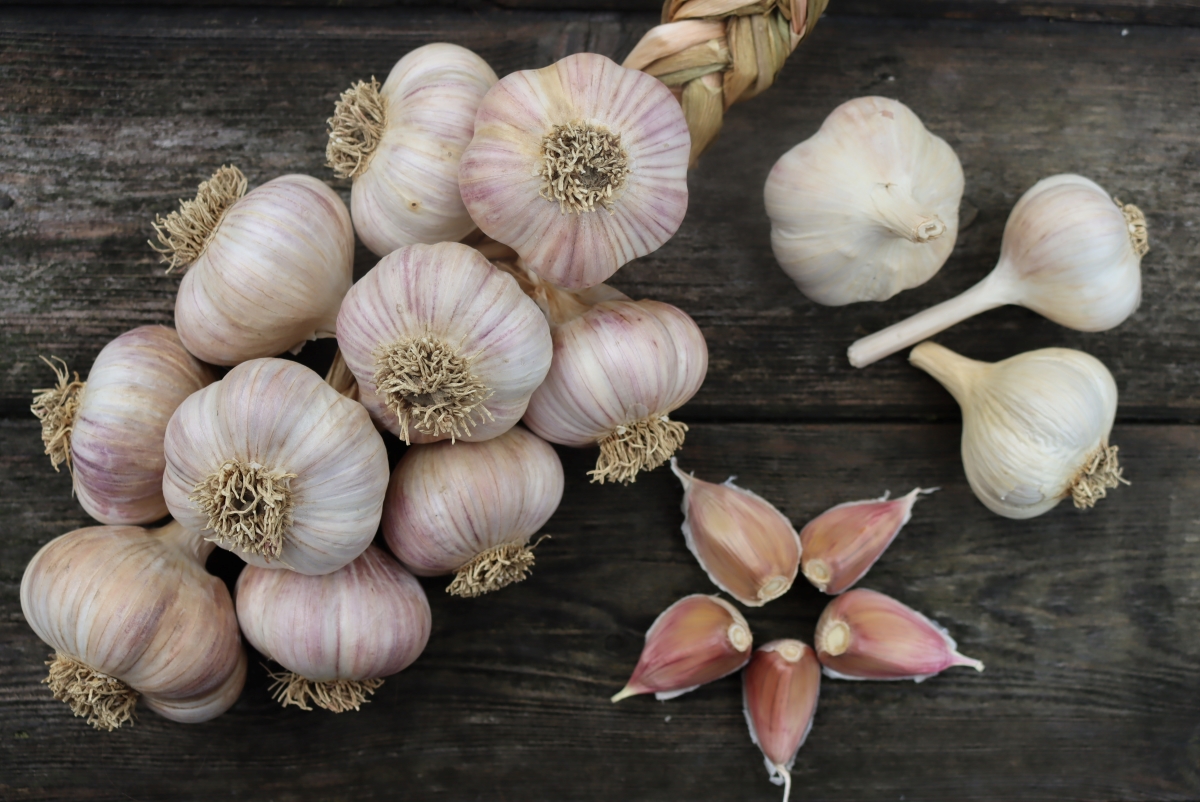
Types of garlic
True garlic can be broken down into two different subspecies, softneck garlic and hardneck garlic. Softneck garlic (Allium satvum var. sativum) should be planted in warmer climates while hardneck garlic (Allium sativum var. ophioscorodon) is better suited for harsh winters and low temperatures.
What’s the Difference Between Hardneck and Softneck Garlic?
What does the “neck” in the name refer to? In the case of garlic, the “neck” is the stem growing from the garlic bulb.
Softneck stems are made from leaves, which means the neck stays yielding and flexible as it matures (this is the type of garlic to grow if you want to make garlic braids). Because it travels better and is milder than hardneck garlic, the garlic found in supermarkets is usually of the softneck variety.
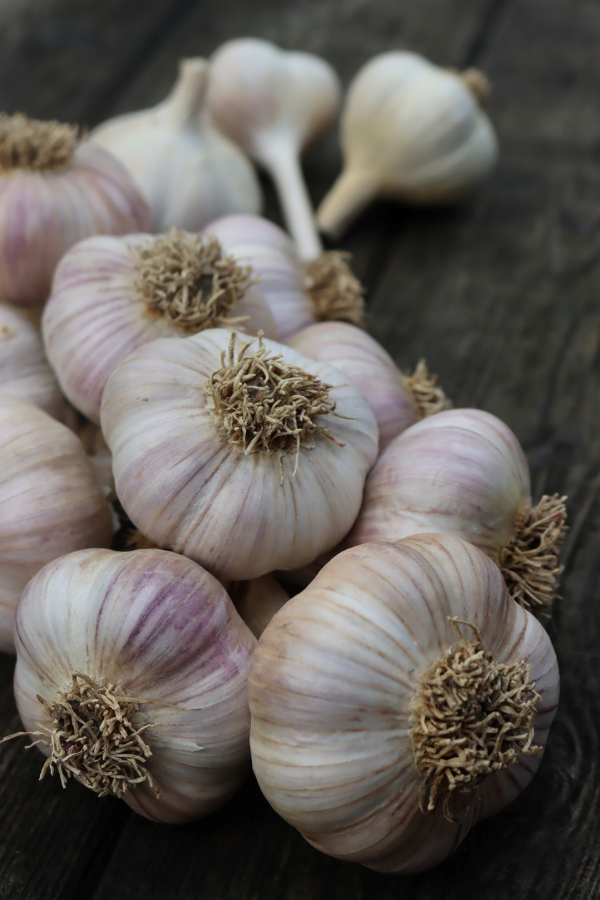
As the name suggests, hardneck garlic has a rigid stem composed of a single stalk. Hardneck garlic tends to have a more distinguishable terroir, making it a favorite choice for culinary usage. Hardneck garlic will typically have fewer (larger) cloves per bulb, and it has a superior flavor. The larger cloves are also much easier to peel, saving a lot of time in the kitchen.
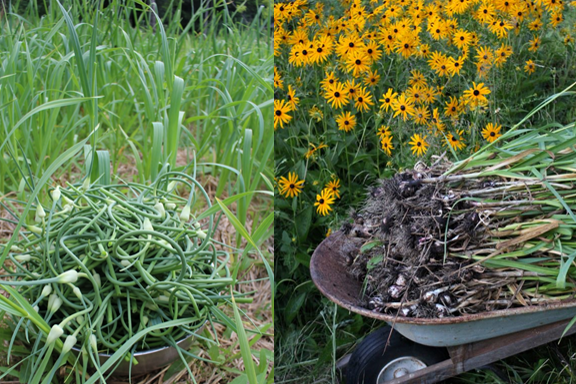
Growing hardneck garlic means you’ll have to trim off the garlic scapes (or flower stalks) in May or June, but don’t toss those delicious scapes! They fetch high prices at farmer’s markets, and they have a flavor that’s a bit like a garlic and greens mixed together. They’re perfect for dicing up into omlets, stirfries or pasta.
If you love garlic scapes as much as I do, you’ll want to try and grow hardneck garlic (and then you can make these pickled garlic scapes once they’re in season!).
Garlic Varieties
Within these two garlic subspecies, there are two softneck subtypes and eight hardneck subtypes — and from those subtypes, over 300 named garlic varieties!
The two subtypes of softneck garlic are:
- Artichoke type softneck garlic
- Silverskin type softneck garlic
The eight subtypes of hardneck garlic are:
- Porcelain hardneck garlic
- Rocambole hardneck garlic
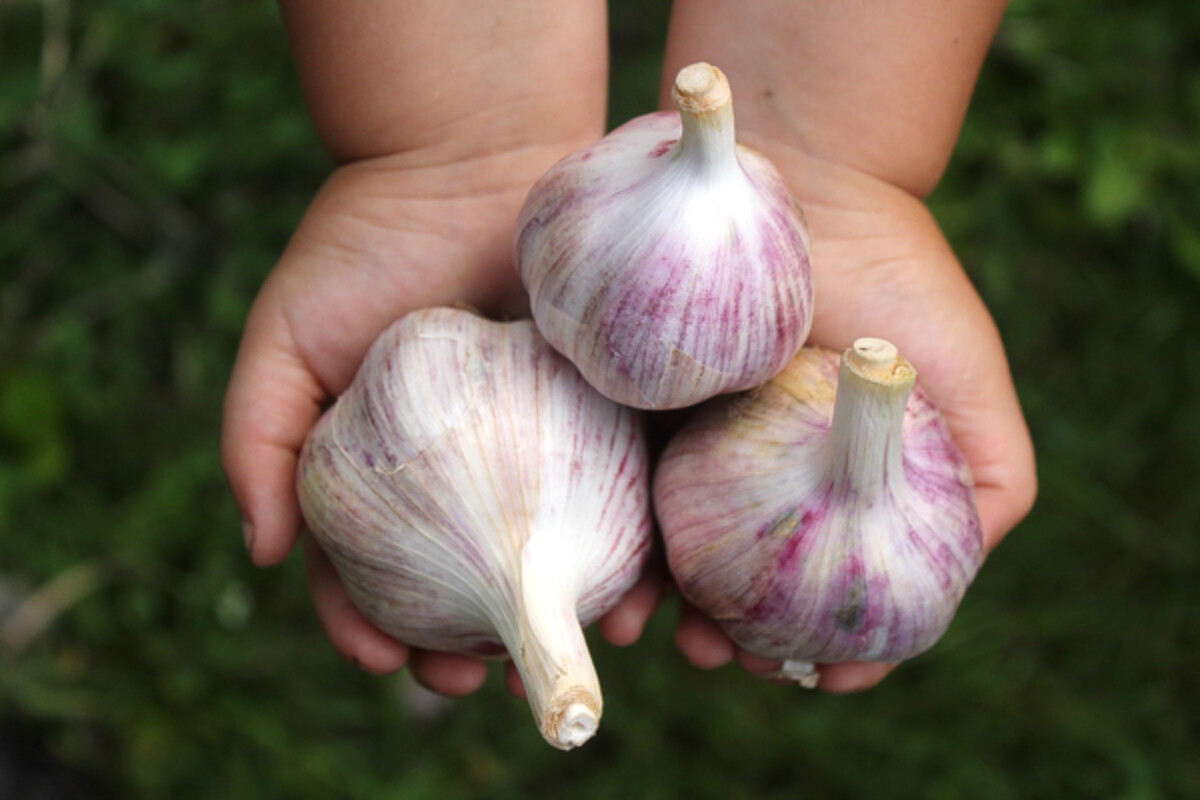
- Purple stripe hardneck garlic
- Marbled purple stripe hardneck garlic
- Glazed purple stripe hardneck garlic
- Creole garlic*
- Asiatic garlic*
- Turban garlic*
*Note: These intermediate garlic varieties were only recently classified as belonging to the hardneck garlic family. As the name suggests, these types of garlic are hardier and can be grown in colder climates.
To learn more about choosing the right garlic for your garden, my post outlining different types of garlic is full of detailed information about softneck, hardneck, and intermediate varietals.
Garlic hardiness zones
Garlic can be grown across hardiness zones 2 through 10, with hardneck varieties thriving in zone 6 or colder areas. If you live in a warmer zone, you’ll want to choose a varietal of softneck garlic for planting.
When to Plant Garlic
The best time to plant garlic is 4 to 6 weeks before the soil begins to freeze, but the exact timing will vary depending on where you’re located and which zone you live in.
I live in Vermont (zone 4), a state that gets its first frost fairly early, so I plant my garlic in mid-October as the soil typically freezes by Thanksgiving.
In areas further up north, such as zone 3 areas of the United States and up into Canada, you should plant your garlic a few weeks earlier — I recommend no later than early October.
Likewise, in warmer climates to the south, you should wait to plant your garlic until as late as mid-November. This article is a good introductory resource if you’d like some further reading on planting garlic in zones 7 through 9.
Based on these guidelines, you might get the idea that planting garlic is an inflexible endeavor. While the above suggestions are correct, there have been numerous years where I’ve had to plant garlic at different times to accommodate a busy fall schedule.
Occasionally, I’ve just barely gotten it planted the day before our first major snowstorms in Early to Mid-November, and the garlic has always come, without exception, the following year).
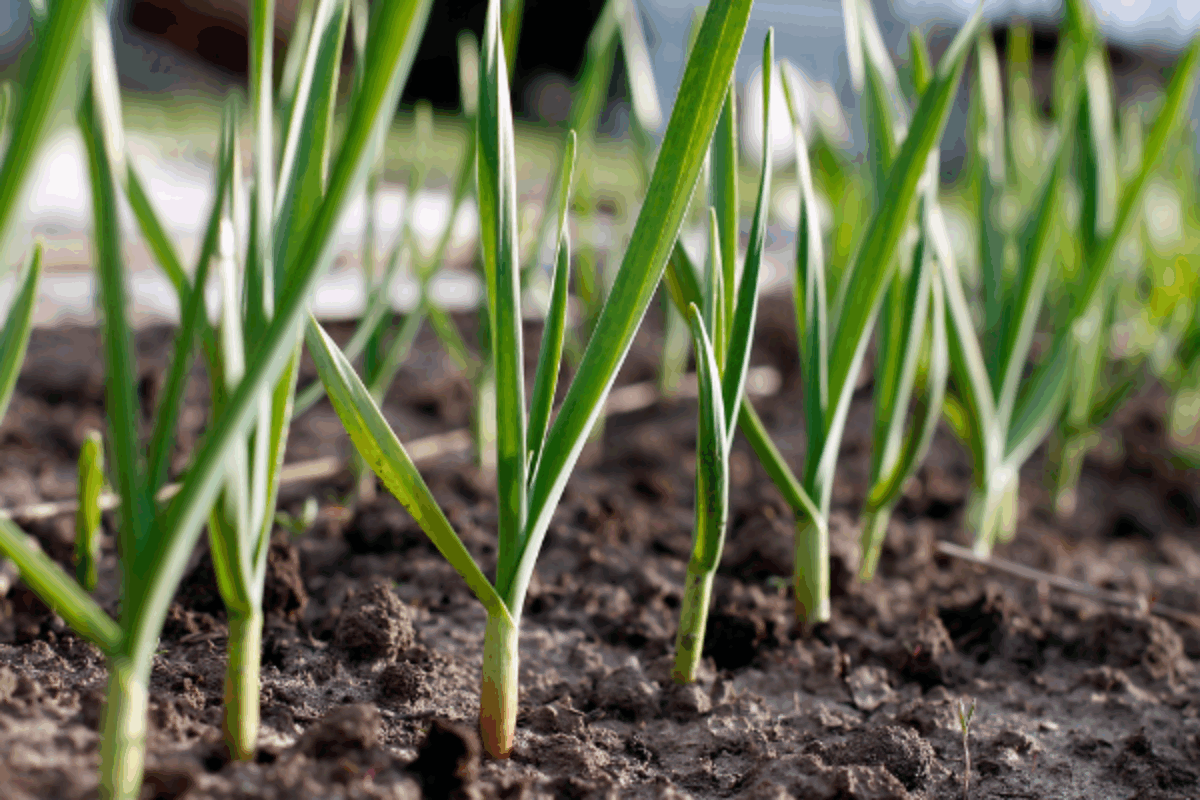
How to Grow Garlic
Garlic flourishes when planted in rich, well-drained soil that is mostly free from rocks and stones. When preparing the bed for garlic, take care to remove any stick or roots that could deform the garlic as it grows. I also like to add in a generous amount of screened compost before planting the garlic (you can make a simple DIY compost sifter using the instructions here).
Garlic is a heavy feeder, like corn and tomatoes, so be sure you amend the soil well before planting.
These are ideal garlic-growing conditions, but I’ve also planted it all over our yard and throughout the orchard with great success (the one caveat being that these cloves are just slightly smaller than those grown in the conditions listed above).
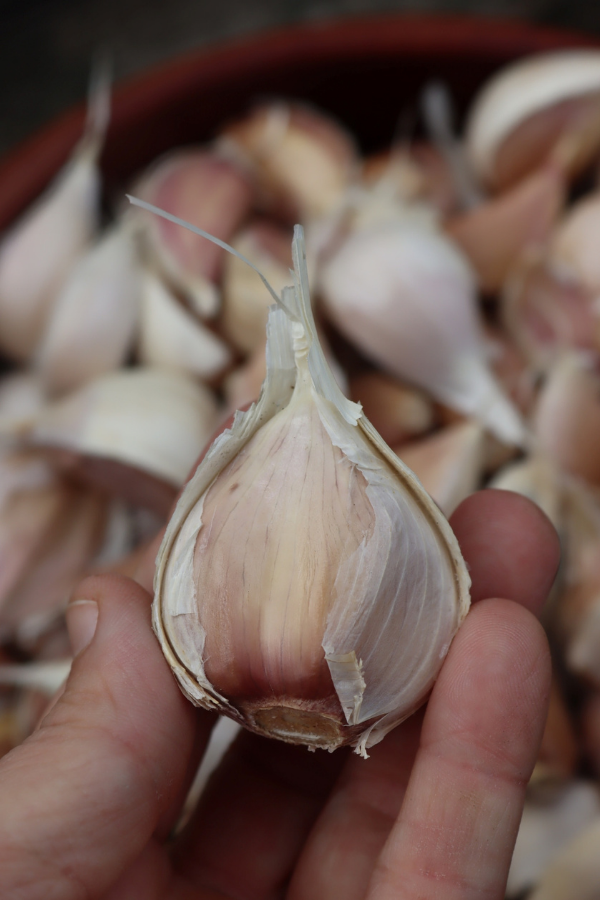
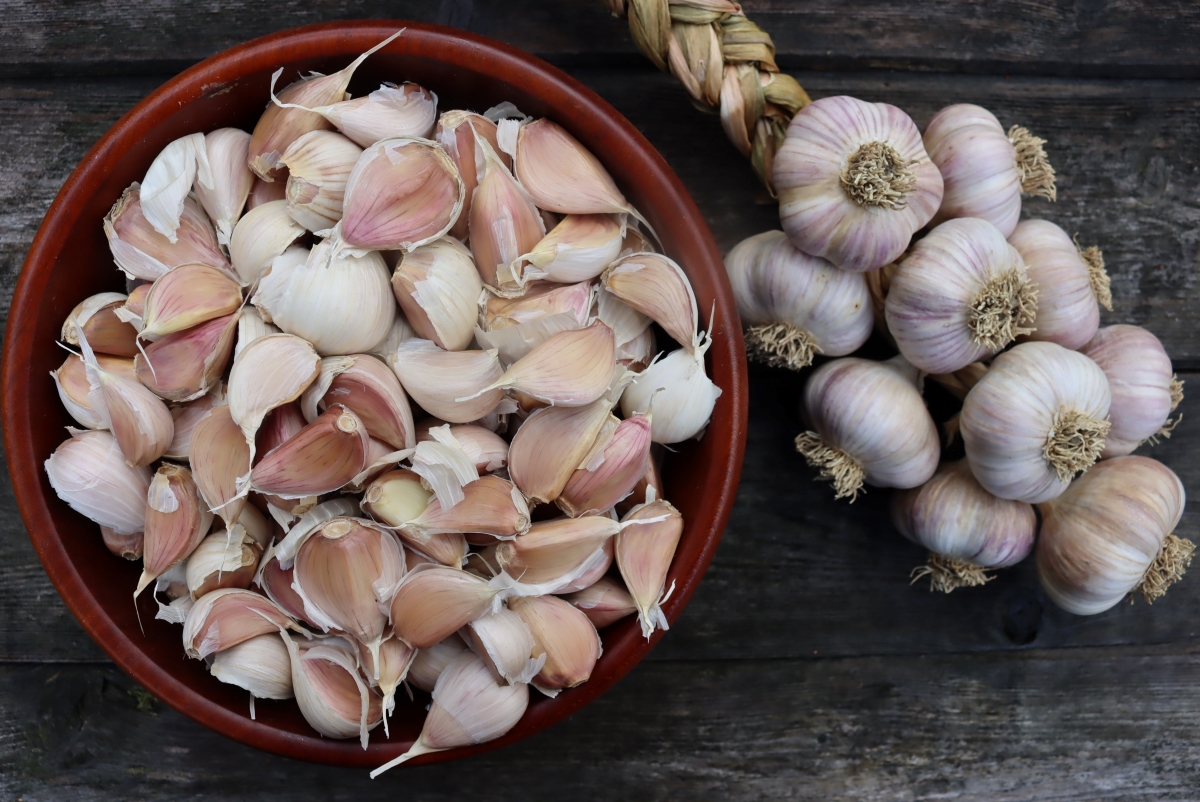
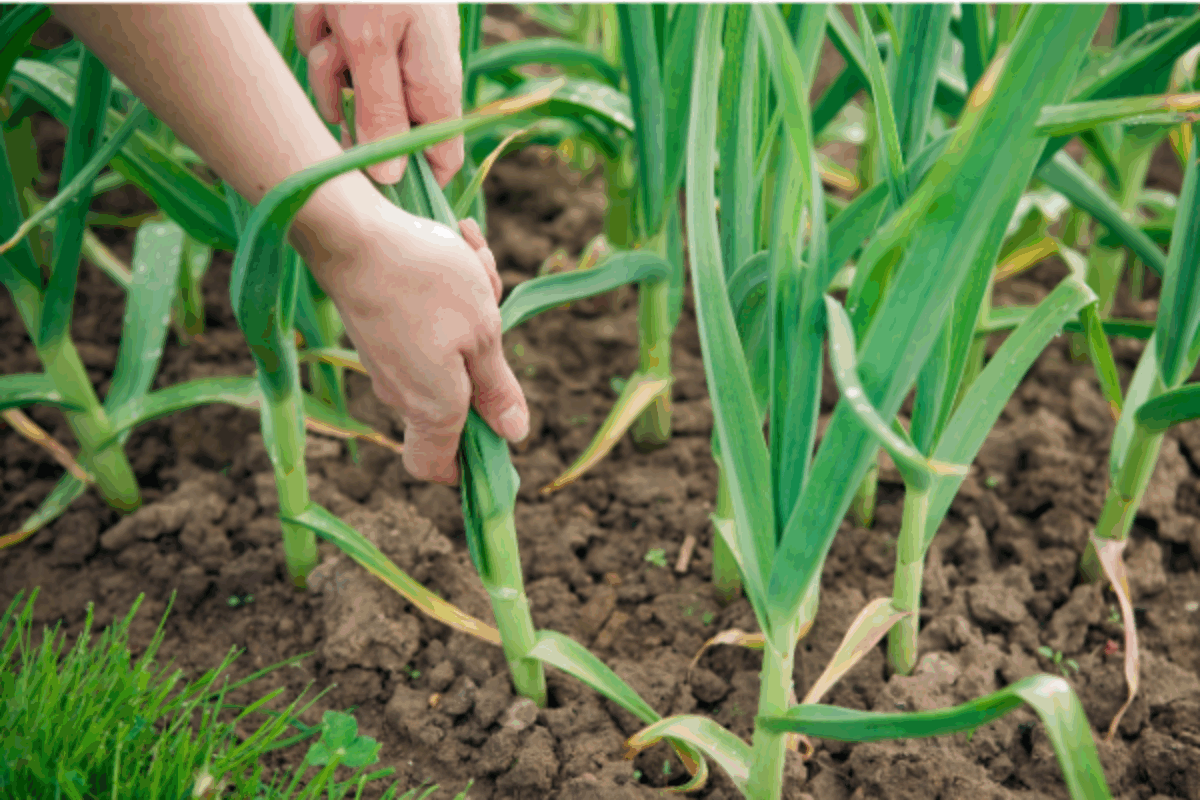
Start by separating the garlic bulbs into individual cloves. Each clove will grow into a whole new bulb of garlic.
When I plant garlic in my garden (where the soil is rich and moist) the bulbs are in rows 4 inches apart and each row is spaced 8 inches apart. If you’re planting in poor, dry soil, be sure to give the garlic more space.
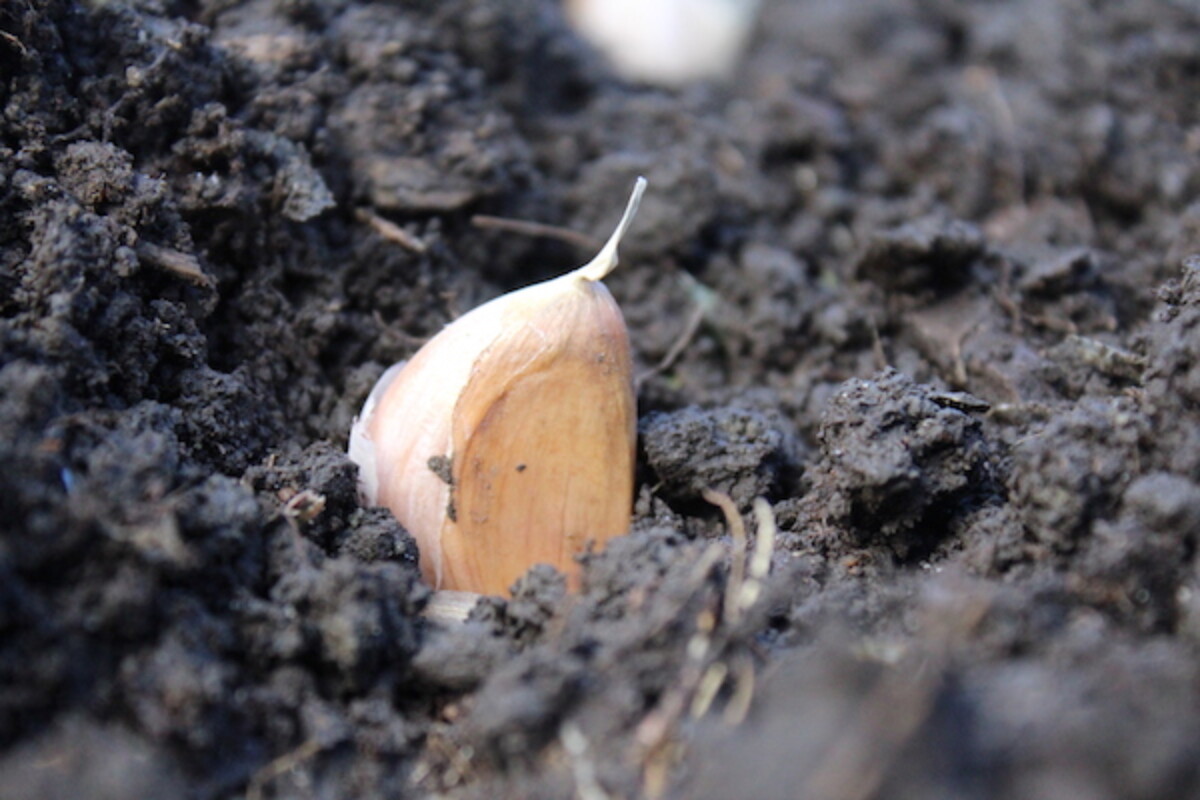
Most importantly, make sure the garlic is planted root side down and stem side up. Garlic that is planted upside down will either be deformed or won’t grow at all.
For more details, read this article on preparing garlic bulbs for planting in the fall.
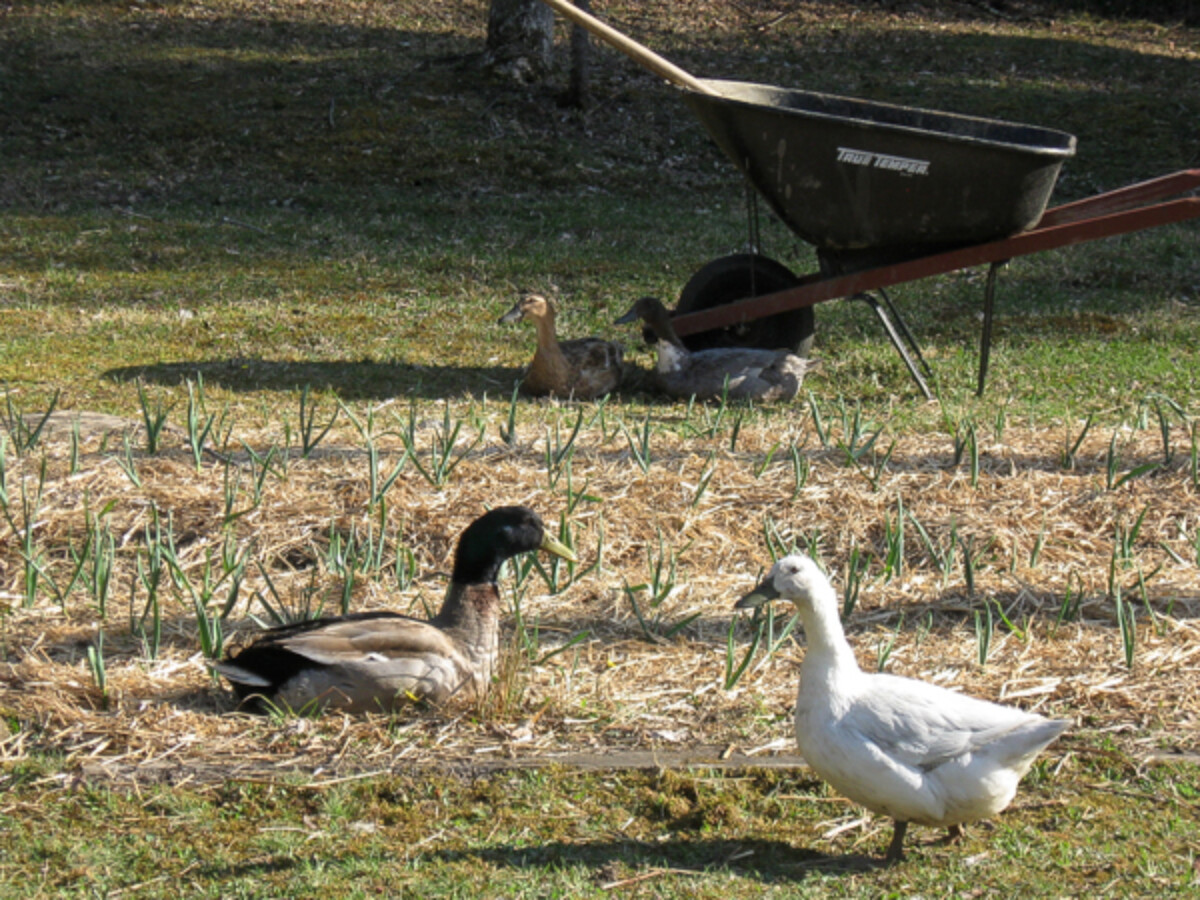
Once the garlic has been planted, carefully cover the cloves with 1 to 2 inches of soil (or deeper, if you live in a particularly cold climate). Finally, spread a generous layer of straw or dry leaves over the entire garden bed, this will help preserve moisture in the soil throughout the winter.
(I use about half a bale of straw for each 4×8 bed, you really don’t want to skimp on the mulch!)
Best fertilizer for growing garlic
Garlic is a heavy feeder, which means it requires a large amount of minerals and other nutrients from the soil to grow. When garlic grows in nutrient-rich soil, it produces healthy plants with large bulbs.
If you’re unsure about the fertility of your soil, you can always take a soil sample and mail it to a lab to be tested. This will prove helpful for all kinds of gardening projects, not just for growing garlic.
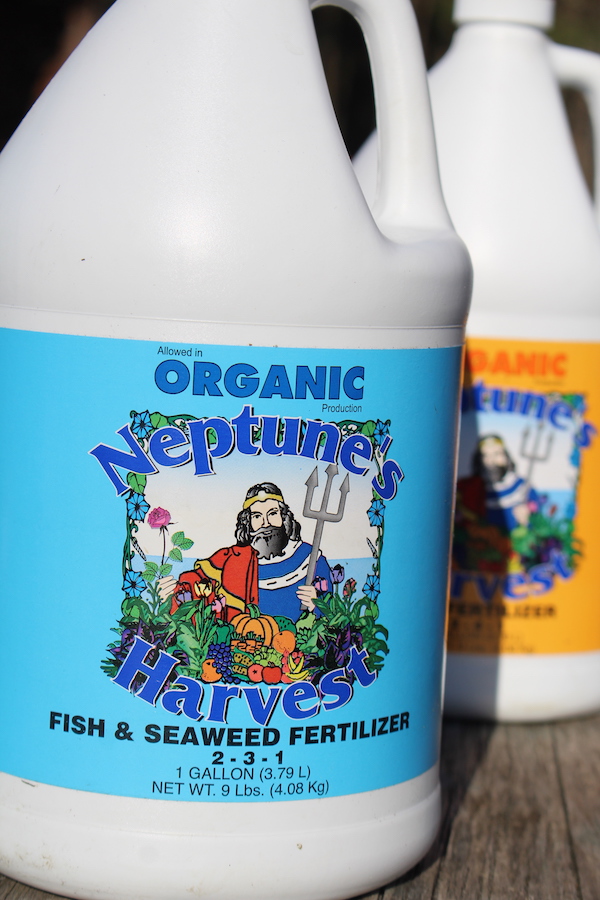
Whenever possible, I recommend using organic fertilizers for your garden — especially when you’re growing plants that will be consumed in some way. Fertilizer should ideally be incorporated into the soil in late summer or early fall, before the garlic is planted, so that it has time to integrate into the soil.
Nitrogen-rich organic fertilizers, such as compost and manure, are what we like to use in our soil. Other fertilizers to try include fish fertilizer in liquid or pellet form or pelletized manure.
Common garlic pests
Garlic isn’t difficult to grow, but it is susceptible to certain garden pests and fungal growths.
Onion thrips (Thrips tabaci) are a common garlic pest, they operate by damaging leaves and then sucking up the residual fluid that seeps from the plant. Over time, this damage will cause the garlic plant to die. To prevent or treat a thrip infestation, keep the plants and surrounding soil on the dry side, building up straw mulch around the plants to control moisture levels.
Nematodes (Ditylenchus dipaci) are another microscopic pest with a proclivity for garlic. Nematodes are worm-like pests that live inside the actual garlic plant, as it reproduces it consumes the plant from the inside out. The effects of a nematode infestation might not be immediately apparent, but over time they can do enough damage to destroy an entire garlic crop. You can take preventative measures by making sure you’re working with disease-free garlic (inspect frequently for signs of infestation) and promptly removing plants with visible signs of disease.
White rot fungus (Sclerotium cepivorum) is the most devastating disease for a crop of garlic, and it can infect any member of the Allium family. The leaves of a plant infected by white-rot fungus are identifiable by yellow leaves and plants that wilt and partially dieback. White rot fungus typically makes its first appearance around the middle of the garlic-growing season until it’s harvested. When selecting bulbs to plant, carefully inspect the garlic to make sure it’s free from this fungus.
When and How to Harvest Garlic
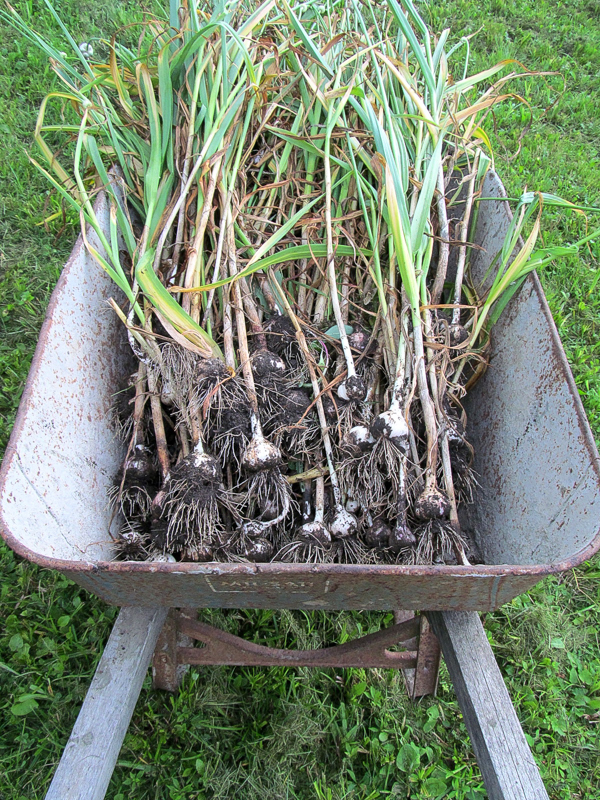
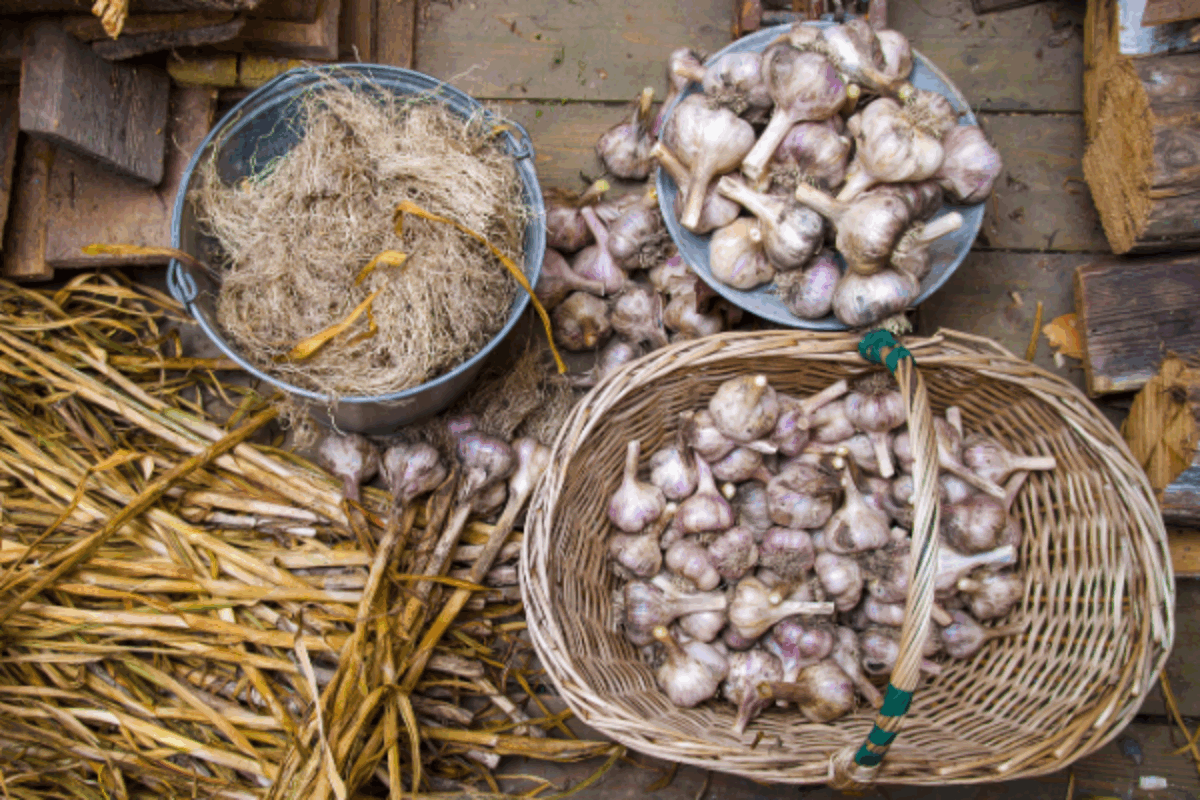
Garlic is harvested in July (and garlic scapes are typically harvested in June). When harvesting garlic, look for leaves that have started to brown and dieback. Pull the garlic out of the soil, it should release fairly easily and carefully shake or dust the excess soil from the bulb.
Treat the bulbs with care and resist the urge to wash them — you don’t want to introduce extra moisture to the garlic before preparing it for long-term storage.
At this point, your home harvested garlic is going to be pretty dirty, but just leave it as it is. The dirt will dust off easily once it’s dried and the bulbs are cured.
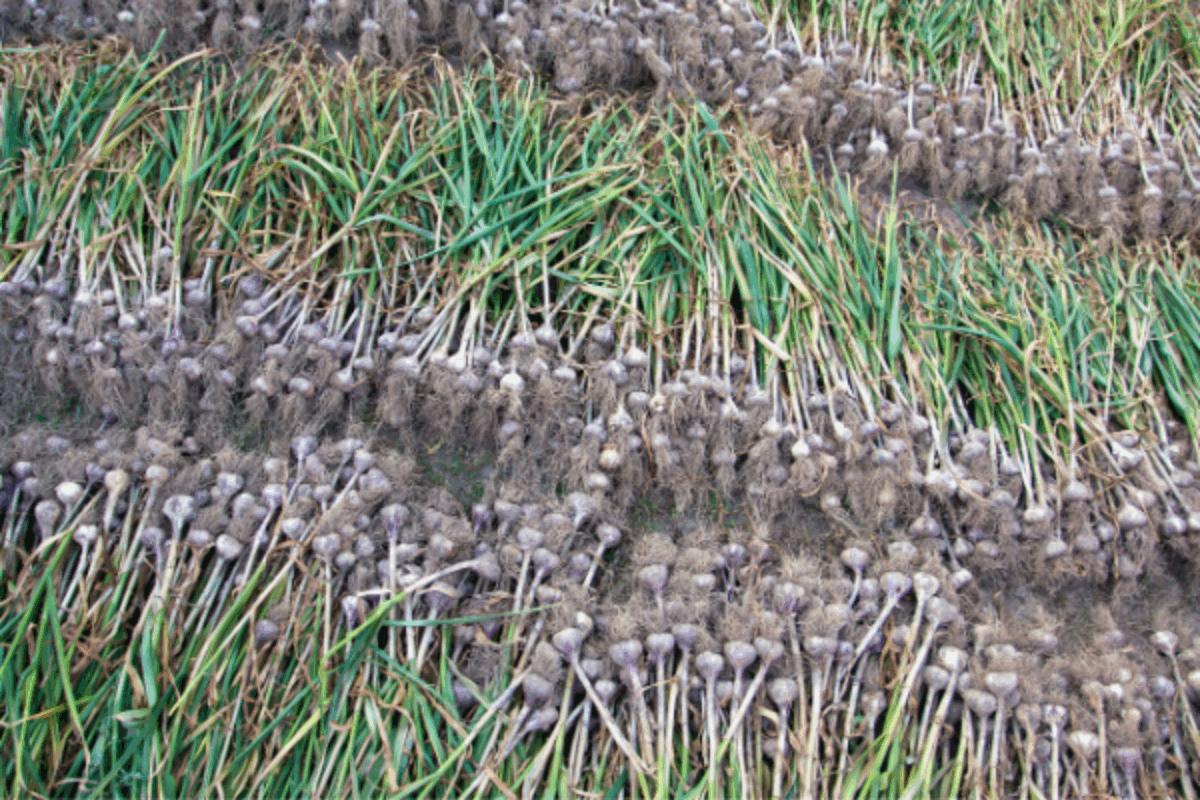
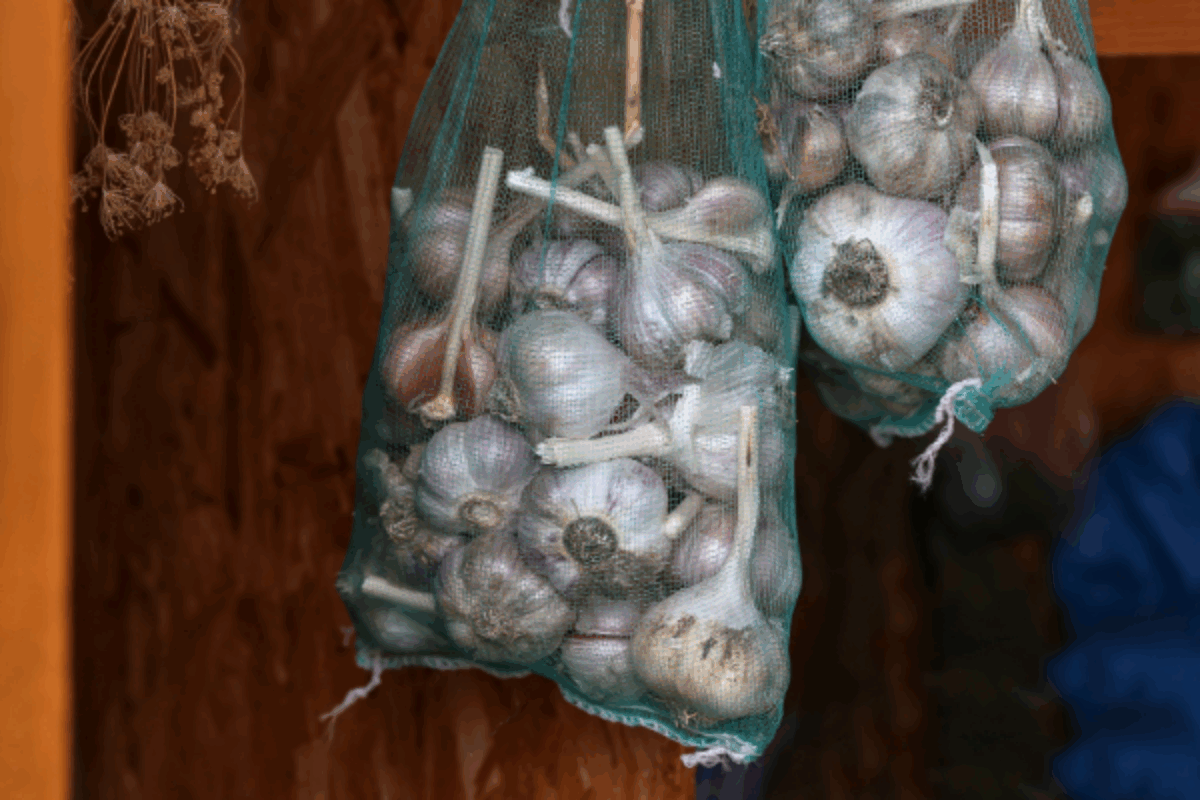
Curing and Storing
Other Ways to Preserve Garlic

How To Grow Guides
Looking for more practical gardening guides?
- How to Grow Brussels Sprouts
- How to Grow Potatoes
- How to Grow Green Beans
- How to Grow Chives
- How to Grow Microgreens


Hi thanks for sharing!
Where can we find garlic storage bags?
You’re welcome. You should be able to find them on Amazon.
I just planted a large garlic bed and mulched 4 inches per the instructions that came with my bulbs (keene). I’m worried that they may not come up through the mulch though. I’m new to gardening, this is my 2nd year, should I pull the mulch back some in the spring?
There is no need to pull the mulch back in the spring. Your garlic bulbs should have no problem coming through.
Hi, Leah here and I am from the Philippines. I am a reader of your blog and it really helps me a lot. Our church has always taught us to be self reliant and that is my ultimate dream too. I want to forge foods and become self sustainable. However, I have to take first step yet and that is the most difficult thing to do, to begin. I really want to plant garlic but I am wondering when can I buy one, the organic without chemicals and all. In our area here in Mindanano, I cant find any seedlings or seeda or whatever. I tried online, shoppee but the reviews seems not great. Do yoy have any idea where can I buy some bulb to plant? Thank you!
I recently ordered bulbs from filareefarm.com They had a great selection. This is my first time using them but they seem to be very knowledgeable about garlic.
I’ve tried growing garlic many times, but it always turns out so small. Is it possible this is because I grow garlic from the grocery store? Or is it likely because my soil isn’t rich enough?
It could be a combination of both.
Two things about scapes I found aside from they are delicious.
One if you let them grow until the garlic seeds are fully developed you can plant them and get garlic chives the first year and I understand they will become garlic bulbs the second year. I’ll let you know next fall if I succeed in getting garlic from them. Meanwhile useful for my permaculture guild around my fruit trees.
Two any unused over developed scapes can be ground up in a blender YOU will never use for anything else (hint) and mixed with some soapy water is an awesome bug spray. Sort of like companion planting inside a big bunch of garlic level bug repellant.
Well done Ashley! And thank you for sharing. Luv your pics too. 😍