Affiliate disclosure: This post may contain affiliate links. Please see our Privacy Policy.
Seed starting can be daunting, but it doesn’t have to be. Starting your own seeds at home instead of buying nursery transplants will save you a lot of money, and it’ll allow you to grow whatever variety your heart desires.
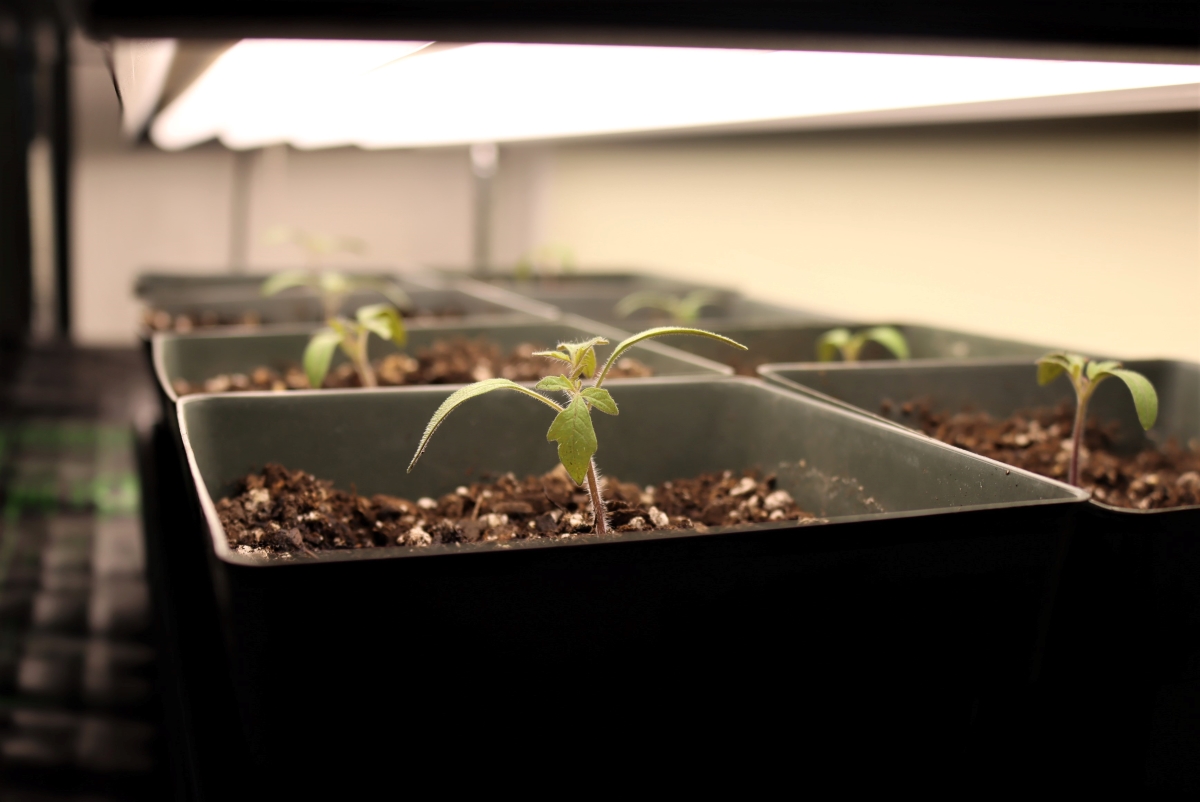
January is a time for garden dreaming, and every year I spend countless hours pouring over seed catalogs by the fire.
There are seemingly infinite varieties, and the tomatoes and lettuce come in every color of the rainbow, far more types than you can find at the grocery store or farmers market.
Still, if you look at your local nursery come spring, all you’ll see is one or two well-known varieties. The “red delicious” of the tomato world, bland but dependable.
When you’re going through all the trouble of planting a garden, it seems a shame to just grow those same varieties that you can get at any corner market. Why not grow something truly spectacular, that really gives you something special at harvest time?
Those varieties are the ones you’ll find in seed catalogs…but rarely as starts in garden centers.
If you want those special types, you’ll need to learn how to start seeds at home and become your own nursery.
It may seem daunting, but it’s actually pretty simple. If you really want to dive deep into the topic, there’s a really great book called The All New Seed Starter’s Handbook by Nancy and Mike Bubel. They’re the same people that wrote Root Cellaring, the best book you can buy on storing your produce.
Their seed starting book covers everything you could ever possibly want to know, with hundreds of pages of information. I’m going to cover just the essentials, and that’s plenty to get you off to a good start growing your own seedlings this year.
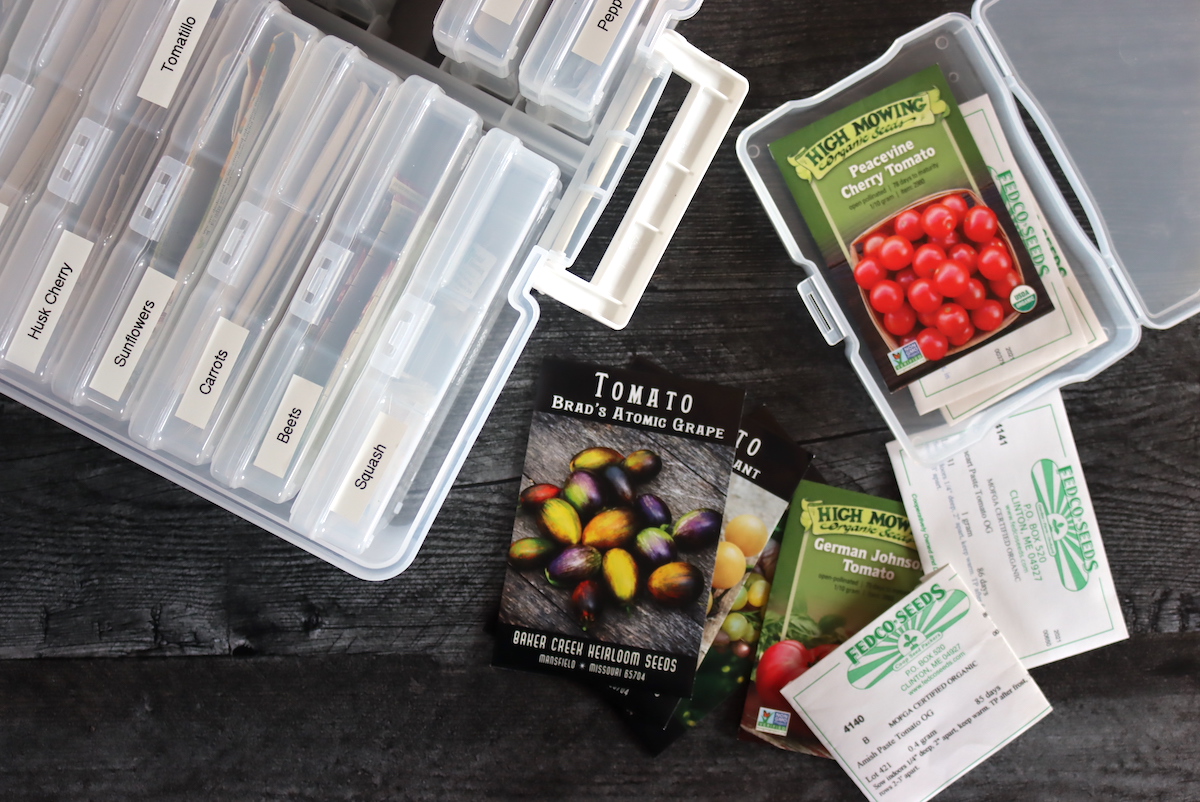
The picture above is my seed starting organizer, where I keep all my seeds nice and neat. If you’re starting many different varieties, you’ll need some way to stay organized.
What Seeds Should Be Started Indoors?
One of the best ways to get a head start on your spring garden is to start seeds indoors. But did you know that not all seeds can be started inside? Some seeds perform well when started inside and transplanted into the garden later.
But other varieties need to be sown directly outdoors from the beginning. Here are a few seeds that are perfect for an indoor start.
- Tomatoes
- Peppers
- Okra
- Onions
- Lettuce
- Kale
- Eggplant
- Cauliflower
- Cabbage
- Brussel Sprouts
- Broccoli
- Basil
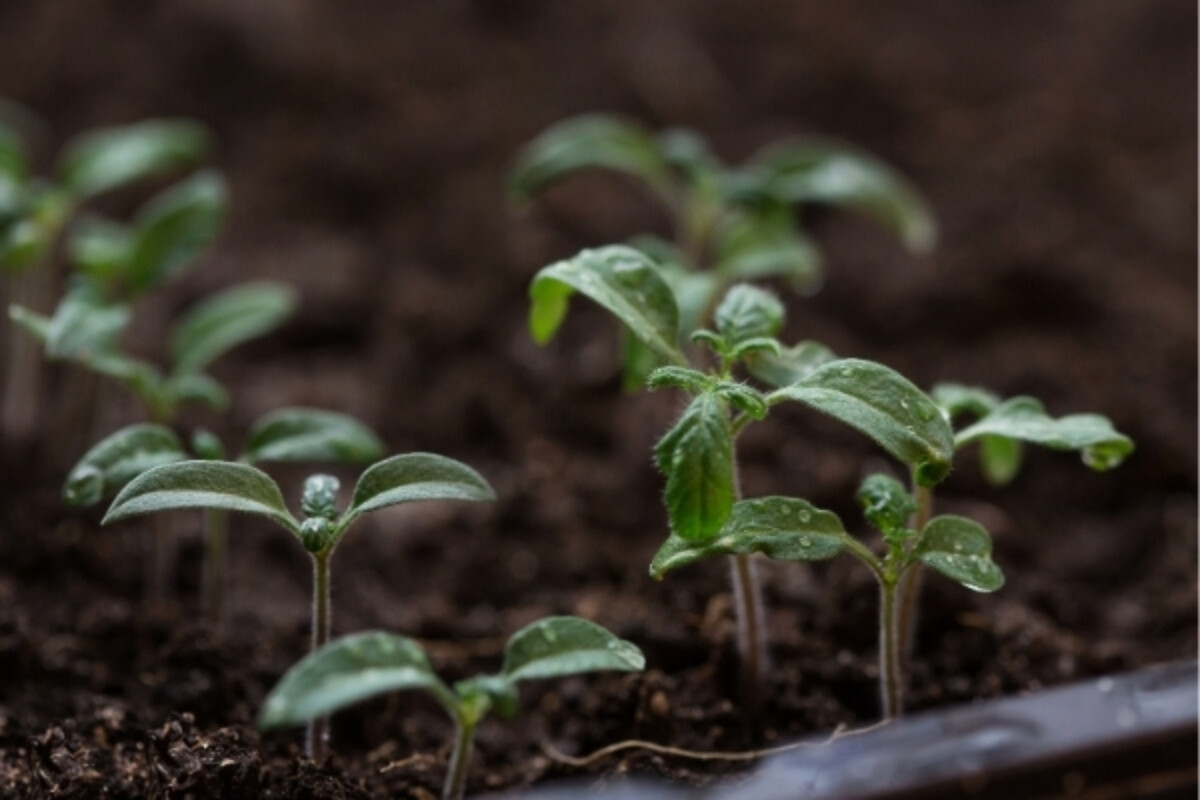
What Seeds Should I Direct Seed Outdoors?
As previously mentioned, some seeds need to be started outdoors rather than indoors. Their roots are very sensitive, and if disturbed by the transplanting process, it can ruin the plant’s growth.
Here are seeds to plant only outdoors after the last spring frost.
- Melons
- Beans
- Corn
- Squash
- Turnips
- Beets
- Carrots
- Dill
- Poppies
- Zinnias
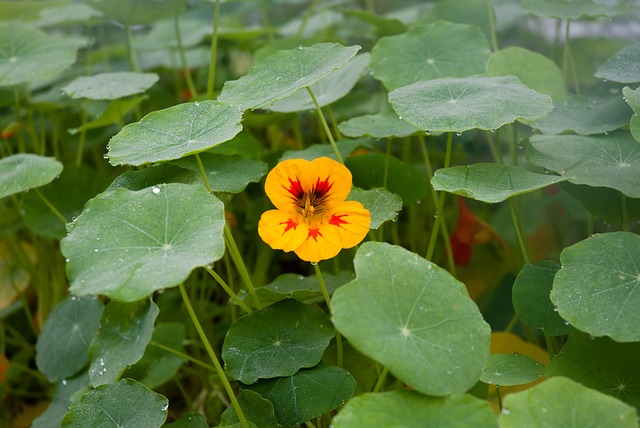
- Nasturtiums
Special Seed Starting Treatments
Some seeds seem to have absolutely no problem bursting into germination with seemingly no encouragement at all. Maybe your parents or grandparents threw scraps into the yard, and tomato or melon plants popped up in the scrap pile. Some gardeners have seen tomato plants grow beneath a rabbit hutch, as undigested seeds grew after passing through to the ground below.
Unfortunately, not all seeds germinate this way. Some need specific help, depending on the seed, the seed age, and the natural cycle of nature. And you may have to accept that certain seeds just won’t work in your growing zone. Still, there are some options for nudging seeds toward germination when they might not do so naturally.
- Cold Stratification – This method involves pre-treating seeds to overcome winter dormancy quickly. It’s not a proper treatment for all plants, but it works well for those with thick shells created for withstanding a harsh winter. One method is to allow nature to do the work for you, as many gardeners do with garlic and broad beans. The other method, you take the process into your own hands and follow these steps:
- Soak seeds overnight so the shells are softened.
- Place seeds in a plastic bag with a bit of compost, peat, or vermiculite, and moisten without soaking.
- At this point, you can add a fungicide to discourage mildew growth.
- Seal the bag and place it in the salad drawer in your refrigerator, replicating the cool, dark place they need for this stage.
- Check often for seed germination and to remove any mildew growth or rotting seeds.
- Scarification – This process uses nicking, softening, or breaking the seed’s coating, then soaking them in water to speed germination. The process allows tough seeds to soak up water, stimulating the plant embryo to grow. Some seeds benefit better than others with this process, including okra, beans, and nasturtium, which have extremely hard, waterproof shells. You can create the nick or scar with a nail clipper, knife, or nail file, but you can even use sandpaper. Once the seeds are nicked, soak them for at least four hours and as long as overnight.
- Light Exposure – All plants require light to grow, but not all seeds require it to germinate. However, some do, and it’s mandatory to ensure they get at least 18 hours of light for germination to happen. You may see some seed packets instruct you not to bury the seeds but instead apply a bit of peat moss or vermiculite to the top, allowing light to shine on the seeds. Lettuce seeds are one of the most common types to need light exposure to grow.
Best Soil for Seed Starting
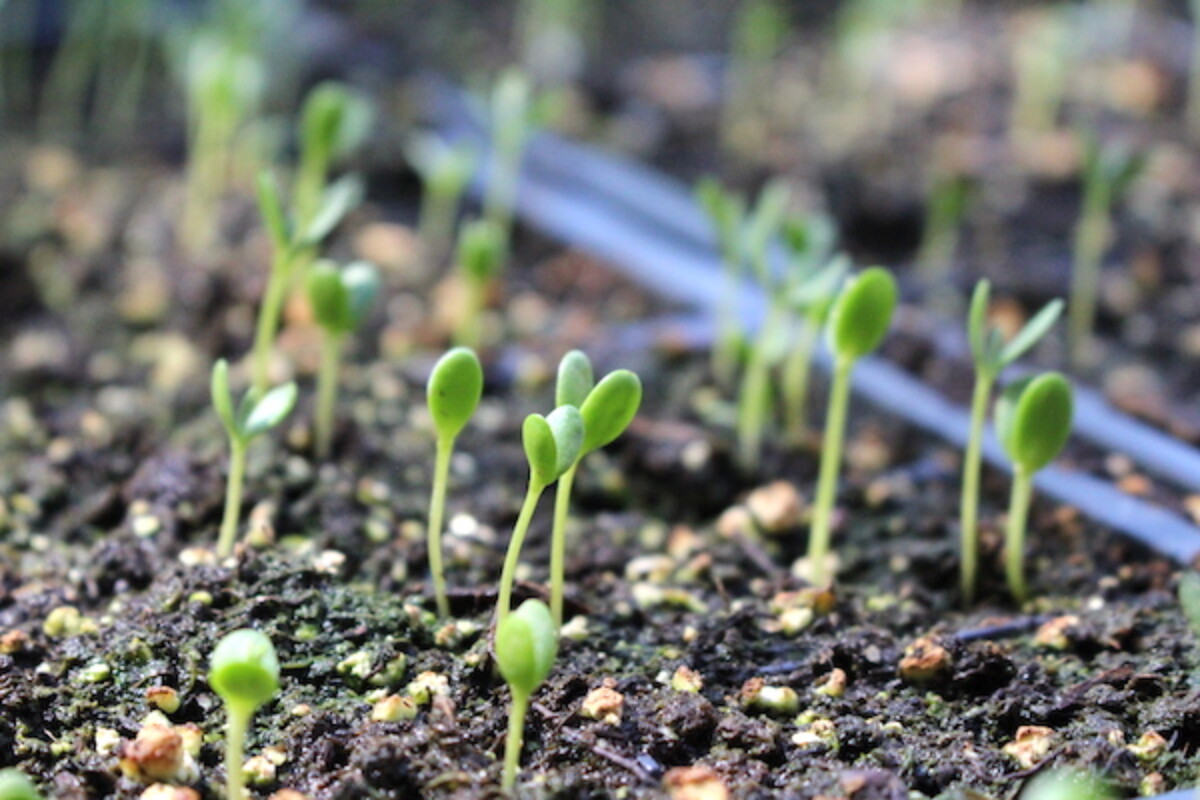
Soil is one of the most critical parts of your seed-starting process and one of the most common mistakes made. A seed-starting mix blends particular components designed to create the best environment for your seeds and seedlings. These blends help retain moisture and provide nourishment to start robust seedlings for transplanting.
It’s vital to avoid garden soil as a seed-starting medium because it contains pathogens and weed seeds and doesn’t offer the proper nourishment a germinating seed needs.
Garden soil also tends to compact in seed starting containers, and it can choke out the roots of your young seeds. That’s why seed starting mixes contain peat, since it stays fluffy and light, even after weeks of watering in containers.
Here are some of the best mixes:
- Miracle-Gro Seed Starting Potting Mix – This lightweight blend is perfect for helping plants to take root quickly. It contains perlite, sphagnum peat moss, and fertilizer. The fertilizer isn’t organic, so skip this one if you want to go all organic.
- Espoma Seed Starter Potting Mix (Organic) – Though this mix is on the pricier side of the scale, it’s a fantastic organic seed starter with 80 to 90% sphagnum peat moss, with yucca extract, limestone, and perlite added in. It retains moisture and promotes healthy roots, so it’s perfect for starting seeds or root cuttings.
- Coconut Coir Concentrated Seed Starting Mix – If you’re low on space, this dehydrated brick is a great choice, producing up to 16 quarts of the mix once hydrated. It’s organic and made from coconut coir for the perfect moisture and air circulation. It won’t pack down, which makes it an excellent choice for many different seed times. Some people also like to avoid using peat for sustainability reasons, and coconut coir is a good alternative.
- Promix Organic Pro Seed Starting Mix – This blend contains sphagnum peat moss, perlite, coir (coconut fiber), limestone, and organic fertilizer. It also includes mycorrhizae, which helps prevent disease and break down fertilizers, making them more valuable to the plant. This mix is perfect for maintaining moisture and strengthening roots, and it feeds your plants for up to three months. It’s certified organic (OMRI-listed).
Best Containers for Seed Starting
Gardeners who are just getting started are often fond of disposable cups, toilet paper rolls, or eggshells, depending on where you get your ideas. But it’s often easier to invest in seed trays, which will change your seed-starting game. It’s easier to move more seeds and seedlings for water, light and transplanting. You can find these trays in plastic or biodegradable materials like coconut fiber. Size can also be important, depending on what type of plants you plan to start. Some trays can hold as many as 70 seedlings to a tray, while others only have six.
Tray options can also be important and can include base trays to water from the bottom, watering mats, and a dome to maintain humidity. But, again, it may take trial and error to determine which options fit your needs best. In the meantime, here are some choices that might work well for your seed starting.
- Bonivee Seed Starter Tray Starter Kit – Includes trays, bases, and humidity domes with thick plastic for added durability. The domes are vented so that you can adjust the retained moisture level.
- Burpee XL Self-Watering Growing System Indoor Seed Starting Kit – Includes a self-watering tray, lid, tags, and coconut fiber pellets, with 32 large, 2 ½- inch cells.
- Peat Pots & Seedling Trays – Since the seed trays are biodegradable, they’re a bit pricier, and you have to replace the peat pots yearly. This set comes with two seed trays made of 1020 plastic you can use for several years. Peat pots absorb extra moisture, and you can plant them directly into the garden instead of transplanting them.
- Jiffy Seed Starting Greenhouse – Includes two greenhouses consisting of a tray, peat pellets, a dome, and two packs of plant markers. Each tray holds 72 peat pellets, which must be transferred to larger seed pots after the first few days.
Seed Starting Equipment
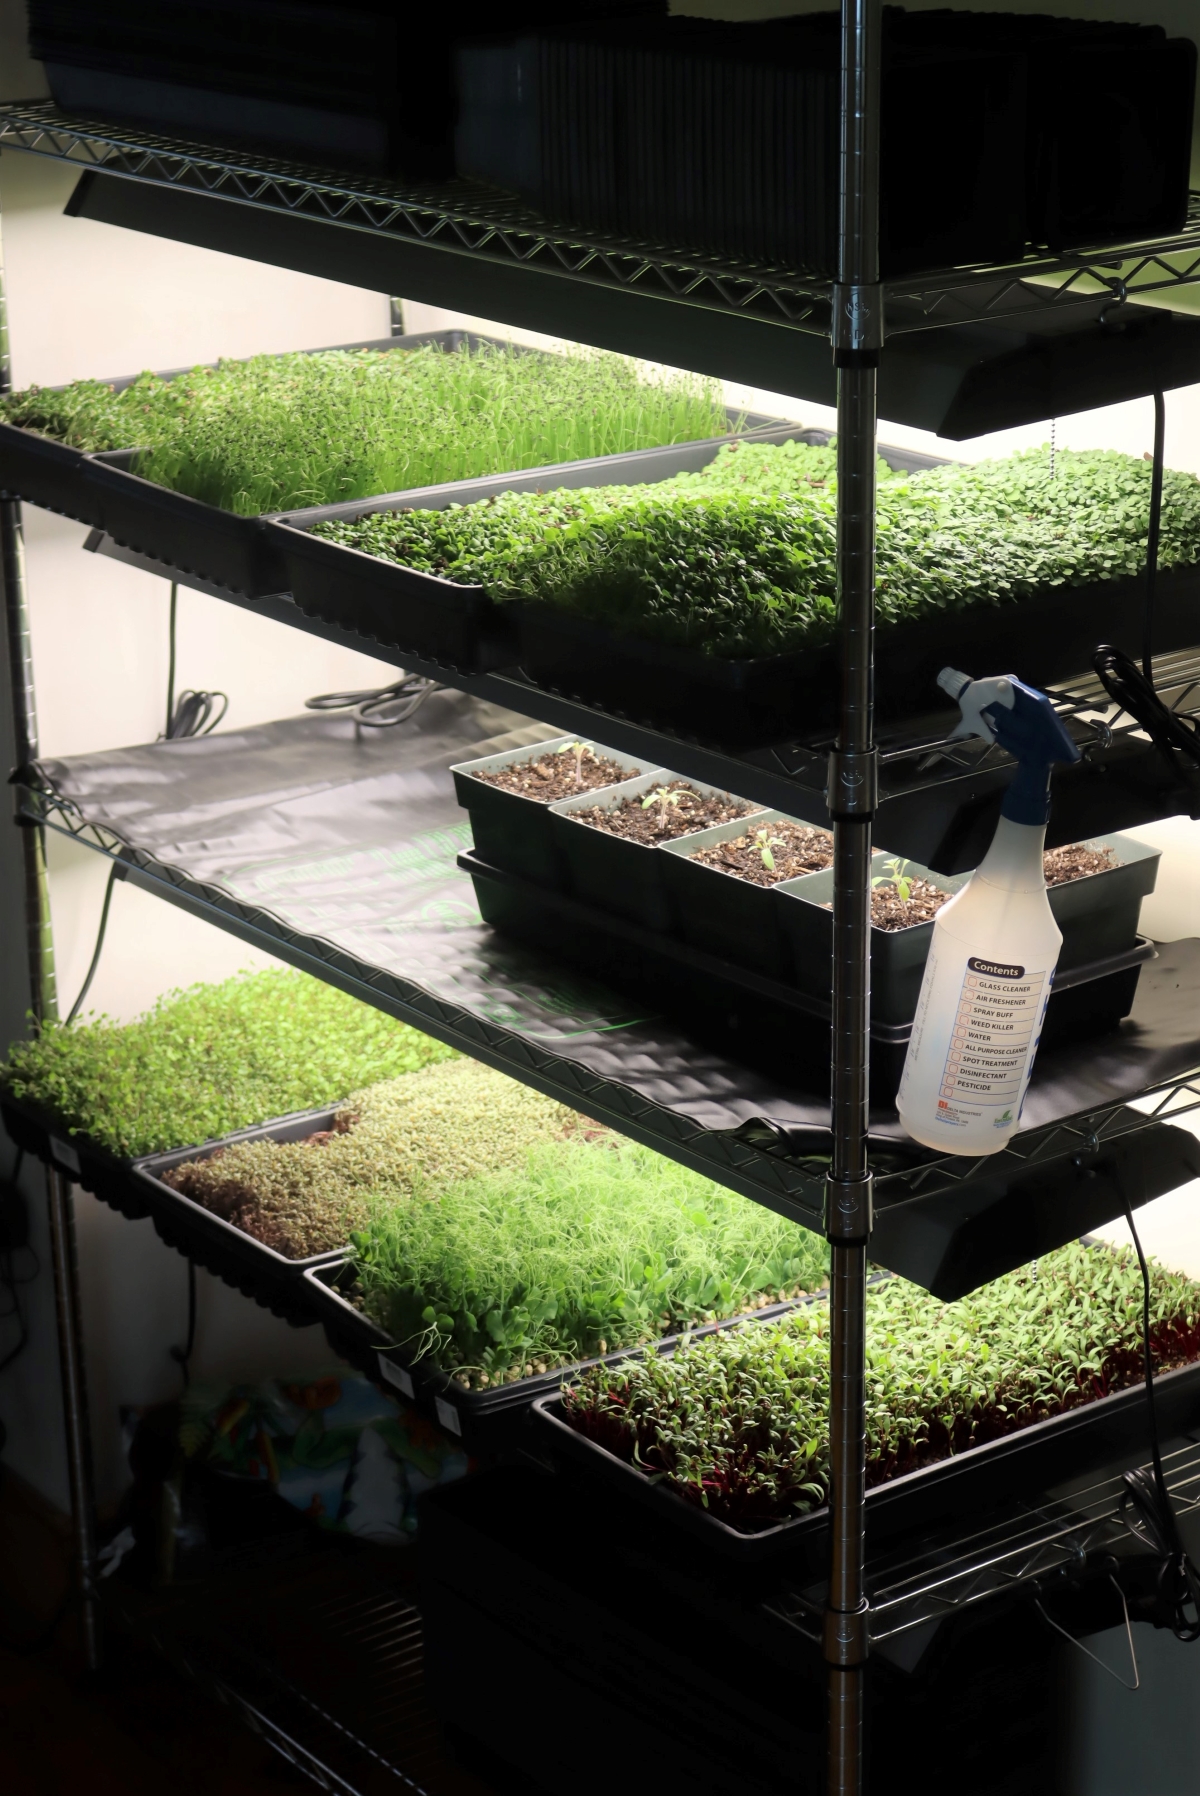
Beyond soil, water, and sunshine, there are a few other pieces of equipment that can help you have a successful seed-starting year. While they’re not necessary to start seeds, they can help in various ways, so it’s worth your time to learn more about them. Here are some favorites that could earn a place in your seed-starting space each year.
- Heat mats – These mats can help ensure the proper soil temperature for optimum germination opportunities.
- Lights – You’ll find many different lighting options, including those that are specifically rated for growing.
- Greenhouse domes – These pieces top your trays to ensure humidity doesn’t escape too quickly.
- Wooden plant markers – There’s nothing worse than having dozens of plants sprout only to realize you don’t remember what you planted! Using markers is the perfect way to keep up with each cell for complete peace of mind.
If you’re ready to go all in, here are instructions for building a DIY Seed Starting Lights setup.
How to Start Seeds Indoors
Starting seeds is easy once you get started. Once you have all the right supplies, it’s a quick and easy process that is oh-so-fulfilling. Here are some simple instructions to ensure your success.
- Fill trays, cells, or peat pots with damp (not soaking) seed starting mix.
- Sow seeds by following the instructions for each time, usually included on the packaging, for depth, time of year, and light requirements (full sun, partial sun, shade, etc.).
- Mist with a spray bottle if your mix isn’t damp already, but don’t overwater.
- Keep an eye on the cells for signs of mold, mildew, or other problems that could arise.
When to Move Seedlings Outdoors
You can introduce your seedlings to outside conditions as early as possible, as long as the temperatures aren’t too cold. However, it’s best to do this only after seedlings have their first set of true leaves and only in a shaded spot for a couple of hours.
Too much outside time can shock the seedlings, stunt their growth, or even kill them if left for too long.
Hardening Off Seedlings for Transplant
The hardening-off process is crucial but one of the most overlooked among new gardeners. When you buy seedlings from the store, they’re already hardened off, which only applies to your own starts. This process involves gradually exposing your young plants to various elements by placing them outside. Start with a shady space, adding direct sunlight in increments as the hardening process develops. Then, of course, they need to experience natural wind so they won’t break once planted in the garden.
Start the hardening process about one week before transplanting them into the garden. You can also add an oscillating fan where your seeds are inside and turn the heat mats down or off a week or two before starting to harden them off.
Transplanting Seedlings to the Garden
It’s important to transplant on a warm, overcast day, if possible, in the early morning hours, so plants are overwhelmed by intense sunlight. It shouldn’t be too dry or too wet to dig, but the soil should have some dampness. Bone-dry dirt tends to leach from the plant’s roots, which can damage them and make them look wilted right away.
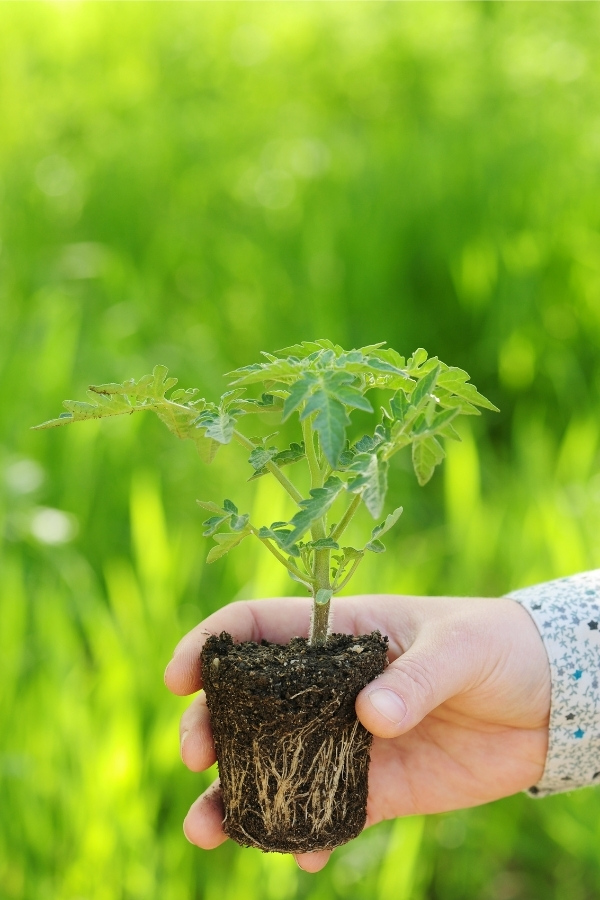
Dig a hole larger than the cell you remove from your trays, or larger than the peat pot you’ll be planting so the seedling’s roots aren’t cramped. If removing plants from a cell, turn it upside down in your hand, making sure you don’t damage the plant in the process.
Place the young plant in the hole at about the same depth as the pot it was growing in, and cover it with soil. Gently compress the soil, so it makes contact with the roots and starter mix. Once they’re secure in the ground, soak the area around them right away to settle roots, get rid of air pockets, and decrease the potential of transplant shock.
After a few days, add a cup of starter fertilizer to each plant for added phosphorus, which helps create strong roots. If you live in an area where it’s uncommonly dry, add mulch at this time to retain moisture from watering. Most importantly, keep an eye on the weather, watching for late spring frosts and inclement weather so that you can protect your plants as necessary.
Troubleshooting Common Seed Starting Mistakes
Seed-starting mistakes are common, and they don’t mean you should abandon the hobby altogether. Here’s a quick troubleshooting guide to address some of the most common mistakes and what you can do about them.
- My seeds won’t germinate – This can happen for various reasons, including the wrong temperature, old seeds, incorrect moisture levels, planting depth, or lighting.
- There’s mold growing in my seed trays – Mold usually accompanies overwatered, overcrowded seedlings that don’t get enough air circulation. An oscillating fan can often rectify the problem, as can a dome and thinning out the seedlings once they’ve outgrown their tray.
- My seedlings die after they sprout – This sudden death that happens after successful germination is called “dampening off” and can often be rectified by providing the proper amount of water, giving each plant the right amount of space, and using clean starting soil.
- The seedlings have faded or turned colors – These are signs that the plants are sunburnt, fertilizer burnt, overwatered, or in the wrong soil type. Sometimes, they won’t recover, but you can have some success by repotting in different soil and switching to an organic fertilizer rather than a chemical-based option.
- My seedlings germinated and didn’t die, but they won’t grow – Stunted growth is often caused by the wrong temperature, deficient nutrients, and overwatering.
- Little bugs are flying around my seedlings – Fungus gnats, or soil gnats, lay eggs in the soil and stick around. Watering from the bottom is a great way to keep the top of the potting soil dry, but you can also use commercial yellow sticky traps to catch them.
- The seedlings are tall and skinny – “Leggy” seedlings are most often produced when they try to stretch to reach the right amount of light. Rectify this situation by raising your seed trays or lowering your light source, using a grow light, thinning your seedlings, or taking advantage of sunny days.
Sometimes though, seedling success comes down to knowing when to start seeds indoors.
When to Start Seeds Indoors
The biggest seed-starting mistake by far is starting seeds at the wrong time. Too early, and your seedlings will be leggy and stunted before you can get them into the garden. Too late, and they may not grow big enough to produce before the end of the season.
Once you decide to start your seeds indoors, you’ll want to know when to start them. Starting seeds at the wrong time can cause you to lose the plant altogether and is one of the most common seed-starting mistakes, especially for new gardeners. Here are some guidelines that will help you start at the right time, depending on the plants you choose for your growing zone.
This guide covers when to start seeds indoors for most of the common garden seed varieties of vegetables and flowers.
12 Weeks Before Last Spring Frost
- Brussel Sprouts
- Cardoon
- Celeriac
- Celery
- Parsley
- Roselles
- Stevia
11 Weeks Before Last Spring Frost
- Leeks
- Early Greens
- Artichokes
- Cauliflower
10 Weeks Before Last Spring Frost
- Onions
- Parsley
- Greek Oregano
- Early Broccoli
- Eggplant
- Jicama
- Lavender
- Lemongrass
9 Weeks Before Last Spring Frost
- Peppers
- Eggplant
- Shallot
- Cherry Tomatoes
- Broccoli
- Cabbage
- Kohlrabi
8 Weeks Before Last Spring Frost
- Amaranth
- Anise
- Hyssop
- Catnip
- Chives
- Lovage
- Paprika
- Parsley
- Sage
- Sweet Peppers
- Thyme
- Tomatoes
6 to 7 Weeks Before Last Spring Frost
- Lettuce
- Radicchio
- Asparagus
- Basil
- Chickpeas
- Fennel
- Peanuts
- Shallots
4 to 5 Weeks Before Last Spring Frost
- Cucumber
- Phlox
- Morning Glory
- Nasturtium
Seed Growing Guides
If you’re looking for specific guides for growing various plants from seed, I’ve got you covered:
- Growing Lemon Trees from Seed
- Growing Apple Trees from Seed
- Growing Strawberries from Seed
- Growing Rhubarb from Seed
- Growing Asparagus from Seed
- Growing Tomatoes from Seed


This offers some fantastic info!
I do like pro-mix’s organic potting materials infused with mycorrhizae for its performance, only potential downside is the ecological cost of peat mining.
Another thing that might be worth adding is the benefits of seed soaking to inoculate the seeds with a spectrum of beneficial microbes prior to planting. I like to do a brief compost tea and/or diluted EM1 seed soak and then toss the seeds into a powdered bio-char mixture to coat them prior to planting. This sets up a grid of beneficial organisms to protect and augment the vigor of the young roots as they spread out.
In nature seeds that fall on the soil are constantly in contact with other organisms that begin to forge a relationship with the seed even while it is still dormant. I think this is an important part of developing a healthy ecosystem in their rhizosphere just like how when humans are born their microbiome is influenced by the microbiome of their mother when they are born naturally.
I have read that various indigenous peoples from Turtle Island used to take a living plant out of the ground, soak it’s roots in water and then dip the seeds for next year’s crop in that water before planting. They may have done this using words like spirit to describe what they were honoring and infusing into the seeds, but what they really were doing was intuitively inoculating those seeds with a range of beneficial symbiotic fungal spores/mycelium and bacteria species.
Have you ever tried using actively aerated compost tea or EM1 to soak seeds prior to planting?
No I haven’t.