Affiliate disclosure: This post may contain affiliate links. Please see our Privacy Policy.
Blackcurrant mead (honey wine) is a delicious way to use blackcurrants in the summertime. The tart fruit is balanced by the addition of honey, and the natural astringency of the blackcurrants is perfect in mead.

Honey wine or mead is one of the oldest forms of alcohol, and with archeological evidence of early meads going back to 7000 bc. If our ancestors could brew it without running water, modern sanitation, or equipment, I’m pretty sure you can manage it in your kitchen.
Mead is especially simple when compared to homebrewing beer, which can have a lot of complex ingredients and cook times that affect the final brew. Mead on the other hand has honey and yeast, plus a little bit of time.
Fruit flavored meads, technically called “melomel,” add in fruit juice or crushed fruit to flavor the final brew.
The fruit has the added benefit of adding extra nutrients for the yeast to consume, meaning that they’ll work more efficiently than on a honey only diet.
For plain mead, some people choose to add yeast nutrient to help the yeast along. Honey is tasty, but it lacks a lot of the nutrients that yeast need to ferment efficiently.
You can get around this by adding a few raisins and a bit of acid, such as citrus juice, into a plain honey mead. Fruit-based melomel solves that problem for you, by adding the nutrients in the fruit, and most fruits are naturally acidic.
If you’re a first time mead maker, I’d suggest reading this primer on how to make mead at home before getting started, but I’ll guide you through the basics in this post either way.
Equipment for Brewing Mead
Homebrewing equipment can get complicated, and if you choose to really get into it go ahead and nerd out on fancy equipment. In reality, it’s not really necessary.
All you need is a fermentation vesicle that can handle an airlock (more on that later), basic kitchen pots and spoons, and some way to bottle your brew.
Here’s what you need for a 1-gallon batch of Blackcurrant Mead:
- One Gallon Carboy (Glass Jug) – A narrow neck helps because it minimizes the surface area in contact with air, lowering the risk of contamination. For smaller batches of specialized brews (half a gallon or even quart), I’ve used basic mason jar fermentation kits that allow you to use an airlock on a mason jar. One gallon carboys are a lot cheaper if you buy a few at a time, like this four-pack that’s half the price.
- Airlock & Rubber Stopper – If left exposed to the open air, your brew would turn to vinegar. To keep it as alcohol, the container needs to be sealed with an airlock, which allows gasses to escape but won’t let anything in.
- A large non-reactive pot – If you’re planning on 5-gallon batches anytime soon, I use this brew pot. For one gallon batches, a large saucepan works great.
- Large Brewing Funnel – It’s surprisingly hard to get your brew into the narrow neck of your glass jug. An oversized funnel will save you a lot of frustration (and mess).
- Stainless Steel Fine Mesh Sieve – For straining out the currants. Cheesecloth also works, but I find a metal sieve is less messy and just as efficient.
- Rubber Spatula – Working with honey is sticky, but most kitchens already have a good spatula.
- Stirring spoon
- Thermometer (optional) – You’ll need to make sure your brew isn’t too hot when you add in the yeast. You can use a thermometer to know when it’s between 90 and 100 degrees, or you can test it with your hand. It should be right around body temperature or a bit cooler.
- Sanitizer (optional) – Most brewing books will tell you sanitizer is not optional, and if you want a 100% predictable brew then yes, you should sanitize everything. Humans were brewing for thousands of years with wild yeast and cultures, and I personally think a little wild culture in there occasionally adds spice to your brews. If you do choose to sanitize your equipment, One Step sanitizer is the standard. It’s a non-toxic oxy-clean type sanitizer.
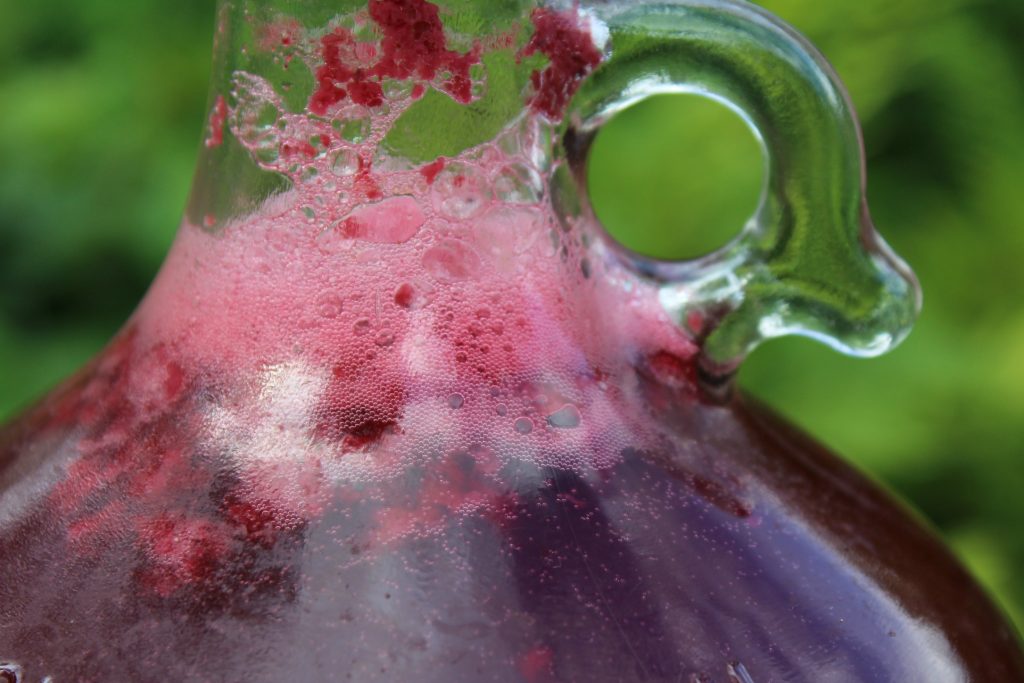
Blackcurrant Mead Recipe
Blackcurrant bushes are prolific, and fruit well even in shade.
They’re one of the few fruits that actually prefer shady conditions, and the leaves tend to burn in full sun. A mature bush will produce 3-4 quarts of berries, more than enough for mead, and still leaving plenty for homemade cassis or blackcurrant jam.
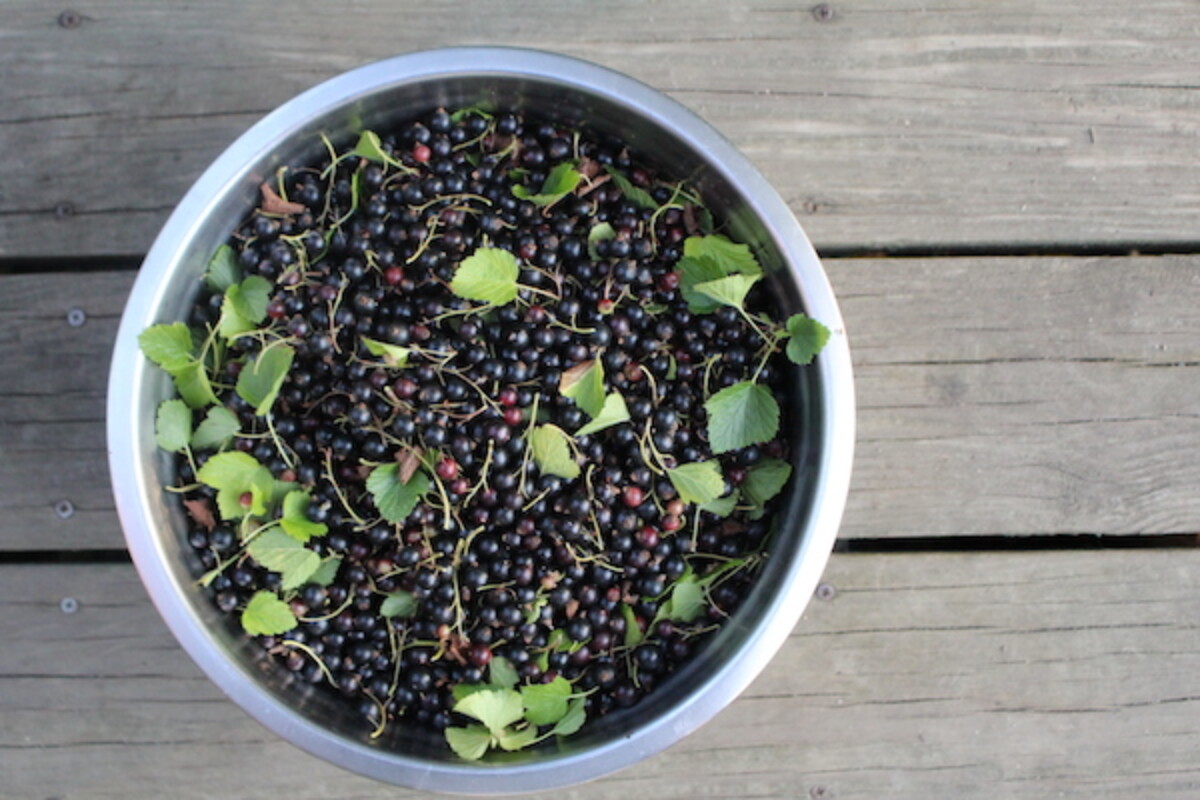
If you’re purchasing them at a farmer’s market, a few small pint containers will work just as well.
Currants are naturally high in pectin, and trying to juice them raw doesn’t work well. They need to be cooked to successfully extract the juice without just making a blackcurrant slurry.
Steam juice extractors work great if you’re making a large batch or 5 gallons of currant wine, but simmering them in a saucepan with a small amount of water and then washing more water over them works quite well.
Wine yeast will yield a mead with a fruity taste, allowing your currants to be the dominant flavor.
Champagne yeast will get to a much higher alcohol percentage, as much as 20%, but the fruit flavor will be masked by the strong carbonation and alcohol.
Blackcurrant Mead
Equipment
- Air Lock & Stopper
Ingredients
- 1 quart honey, 3 lbs
- 4 cups blackcurrants
- 1 packet wine yeast
- 2-3 quarts filtered water, un-chlorinated
Instructions
- If you’re choosing to sanitize to have a more dependable brew, start by sanitizing everything that will come in contact with your mead. This includes the glass jug, funnel, spoons, spatula, rubber stopper and water lock.
- Pour the yeast packet into a cup of water to allow the yeast to rehydrate and wake up for at least 10 minutes. Yeast don’t function as well if they’re just dumped from a dormant state into a glut of sugar. You have to ease them into it.
- Place your blackcurrants in a saucepan and just cover with water. Bring the water to a boil and then turn off the pot. Allow them to sit for 5-10 minutes in the just boiled water so that the juice can extract. Pour the currants through a sieve, extracting the water and juice.
- Wash the remaining currant pulp in more water to pull out the rest of the juice.
- Place all your extracted currant juice into a saucepan and add 1 quart of honey. Warm the liquid until the honey just dissolves, but do not boil. Allow it to cool a bit so you can safely handle it, and then pour it into your glass jug.
- Once the honey/juice/water mixture is between 90 and 100 degrees, add in your hydrated yeast. If necessary, add more water to bring the brew to within 2 inches of the top of the jug.
- Put on the rubber stopper and the water lock, making sure you add water to the water lock.
- Within 24 hours you should see bubbles and active fermentation.
- Allow the brew to ferment until active fermentation has stopped, roughly 4 to 8 weeks depending on temperature.
- At that point, you're ready to bottle your mead. You can get a wine bottling setup, or use the simpler method and pour it into reusable grolsch bottles. Mead tastes best if allowed to bottle condition for at least 2 weeks, but preferably 2 months or more. I'm still enjoying bottles from 8 years ago, and each one is better than the last.
Nutrition
Nutrition information is automatically calculated, so should only be used as an approximation.
Blackcurrant Recipes
Looking for a few more ways to use blackcurrants?
Mead & Wine Recipes
Hoping to keep that carboy full this year?


Hi! I’m using frozen black currants. Do I still need to go through the process of cooking them down in a saucepan to extract the juice, or would it be okay to put them into the jar whole and frozen?
Also, would you use more or less sugar (or the same amount) when trying this recipe with red currants?
I’d use the same amount of sugar for red currants.
For the juice, the main concern with putting them directly into the carboy is they tend to mat together and will clog a narrow neck carboy. You can do that, but you need to use either a bucket with a brewing bag or a wide mouth carboy.
There’s a picture of the brew bag bucket method in my post on plum mead here: https://practicalselfreliance.com/plum-wine-mead/
And a picture of a wide mouth carboy in my post on rosehip mead here: https://practicalselfreliance.com/rosehip-wine-mead/
If we are using whole fruit, at what point would you strain it? Or do you strain it at all?
It’s really better to juice the blackcurrants because since they need to be cooked in order to successfully extract the juice.
We have followed this recipe and there is a lot of foam buildup happening to the point of it coming up through the airlock. This is only a couple hours after getting it into the jug. Any reasons for this? Thank you.
It sounds like you just have a really active fermentation going on. How is it doing now?
Just a side note, most homebrewing yeasts have a temperature tolerance range. For a lot of them, it’s somewhere between 60 and 80 degrees, so be cautious about pouring your yeast into 90-100 degree mixture.