Affiliate disclosure: This post may contain affiliate links. Please see our Privacy Policy.
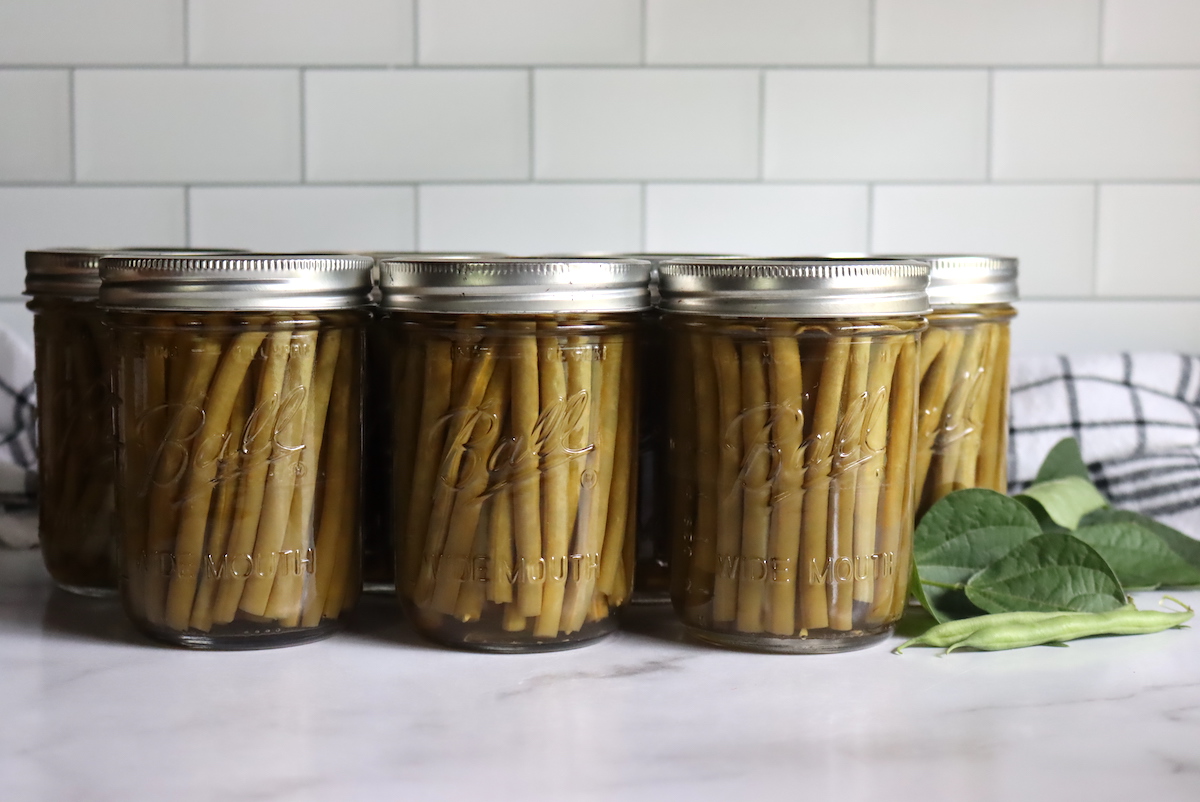
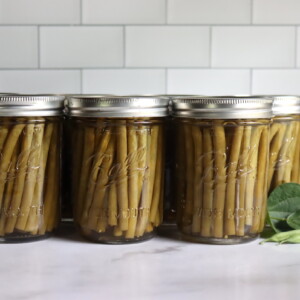
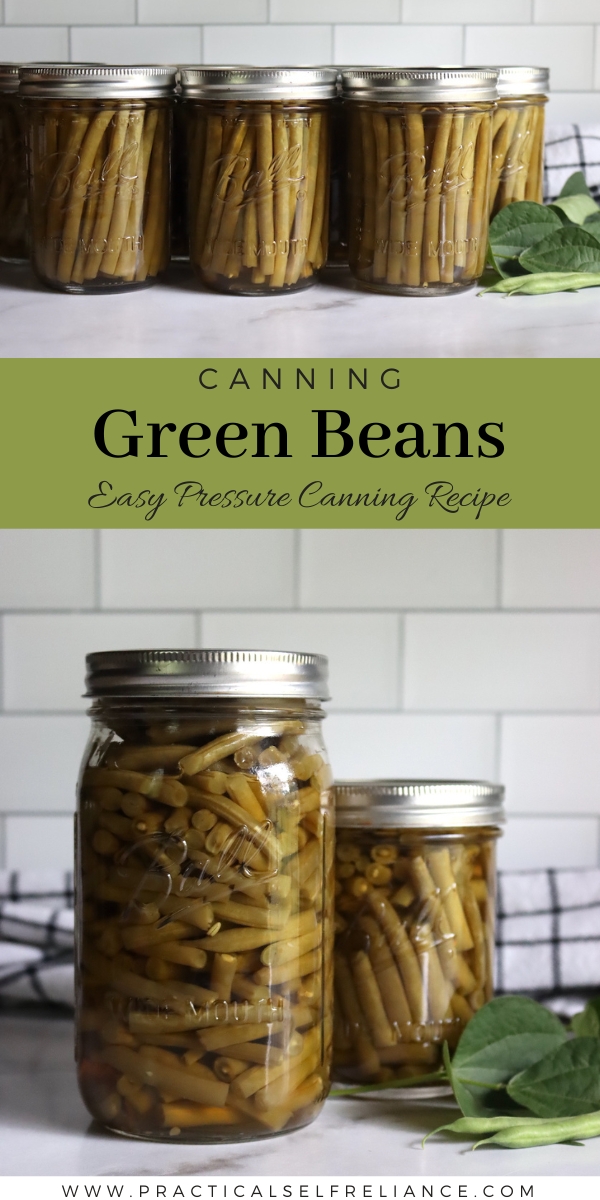
Canning green beans is one of the best ways to preserve them at home, and they’re ready at a moment’s notice right from your pantry shelf.
Pressure canning is my absolute favorite food preservation method. It’s a really easy, and almost foolproof way to make food shelf stable for years. Living off the grid, freezer space is at a premium, and while freezing green beans is a great way to preserve them, a single power outage will completely wipe out your stores.
For some reason, pressure canning raises eyebrows and causes fear in novice canners. Everyone I talk to seems terrified that the thing is going to blow up. At the same time, the instant pot has snuck into just about every suburban kitchen and is all the rage for cooking quick weeknight meals. News flash: it’s a pressure cooker. See, not scary at all.
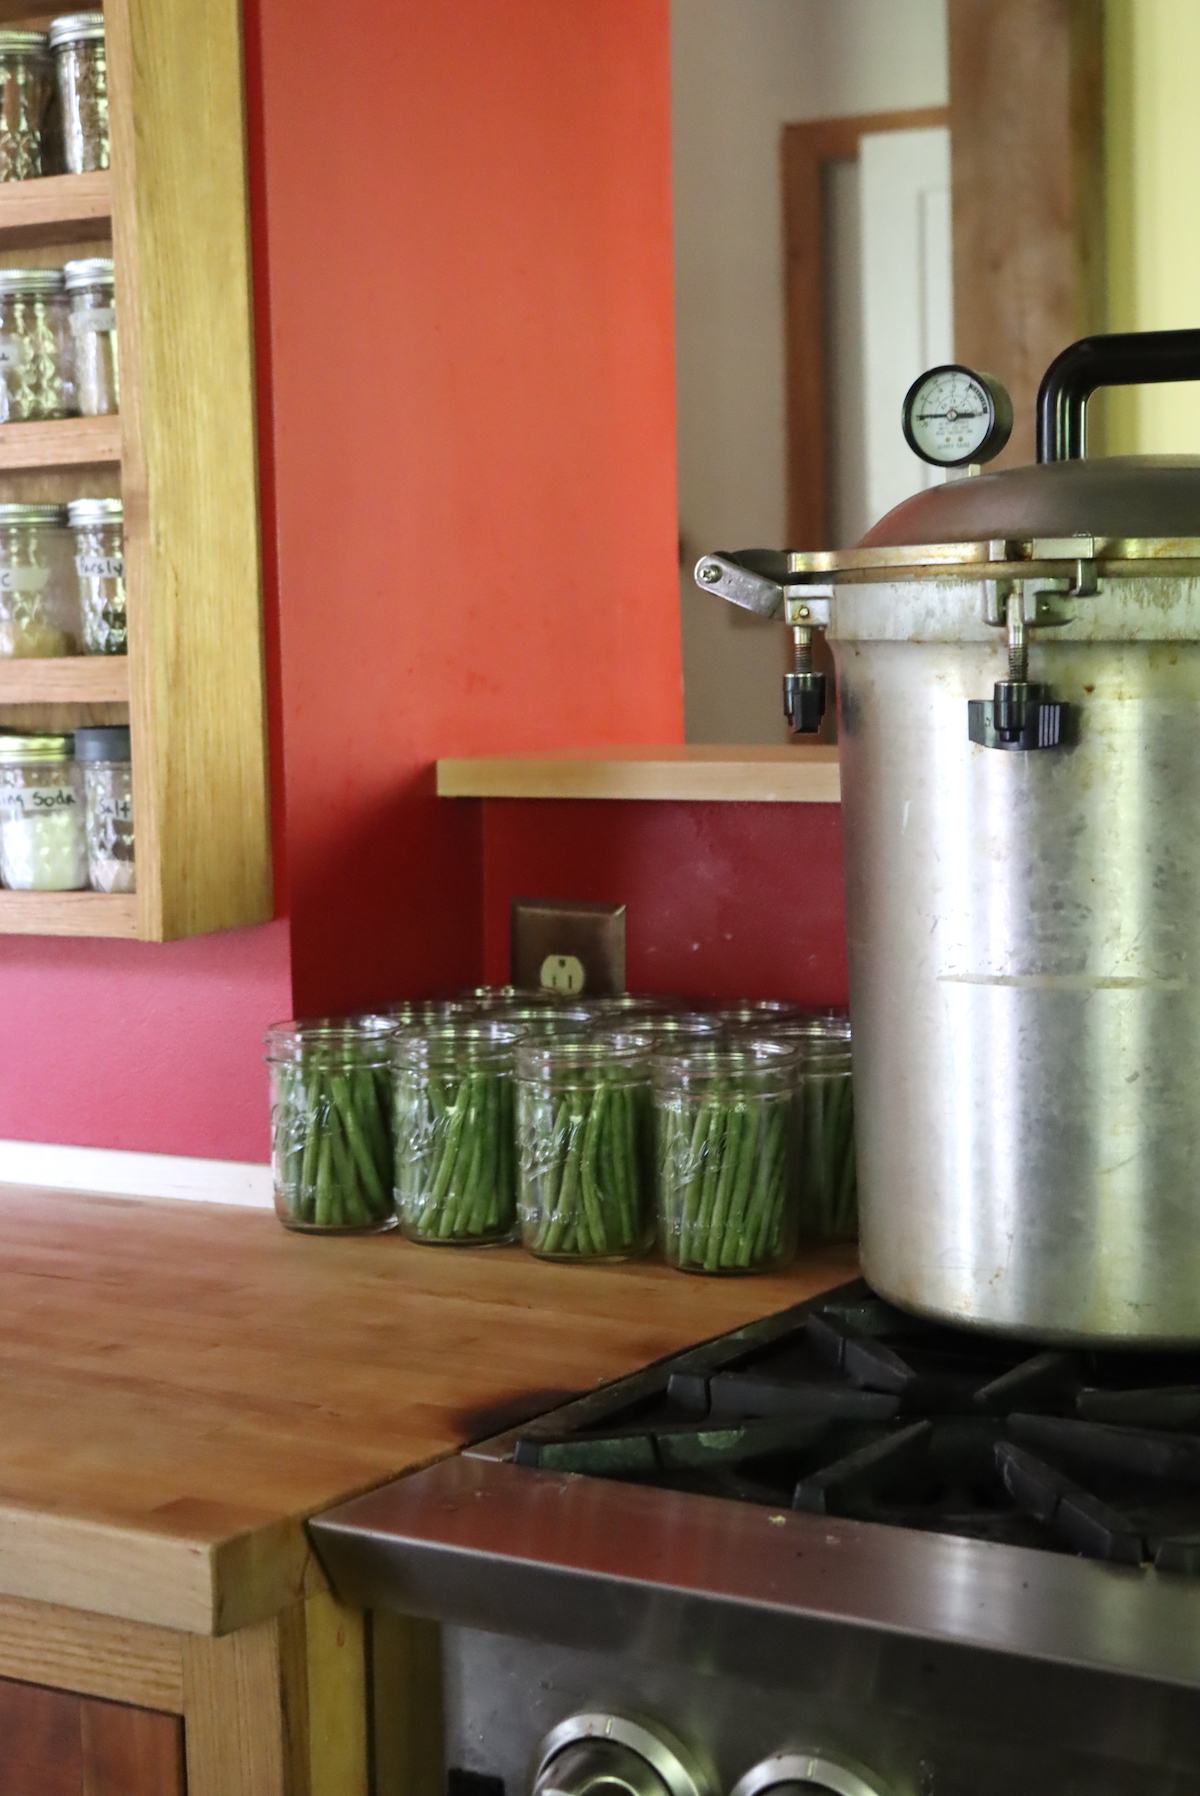
For pressure canning, you’ll need something a bit more industrial than an instant pot. I use a 30 quart All American Pressure Canner because it’s simple to use, has no disposable parts and has a high capacity. In hindsight, I wish I’d splurged and bought the 41.5-quart model because we do a lot of canning, and that added capacity would save so much time. (Update: We finally did splurge, and now we have both, and run them all the time.)
Those extra large canner models are perfect for canning green beans, as they tend to come in by the bushel from the garden each summer.
Green Bean Canning Yield
It can be tricky to figure out how many green beans are required for a canner batch. To some extent, it depends on how you trim them and pack them, but there are still some general guidelines.
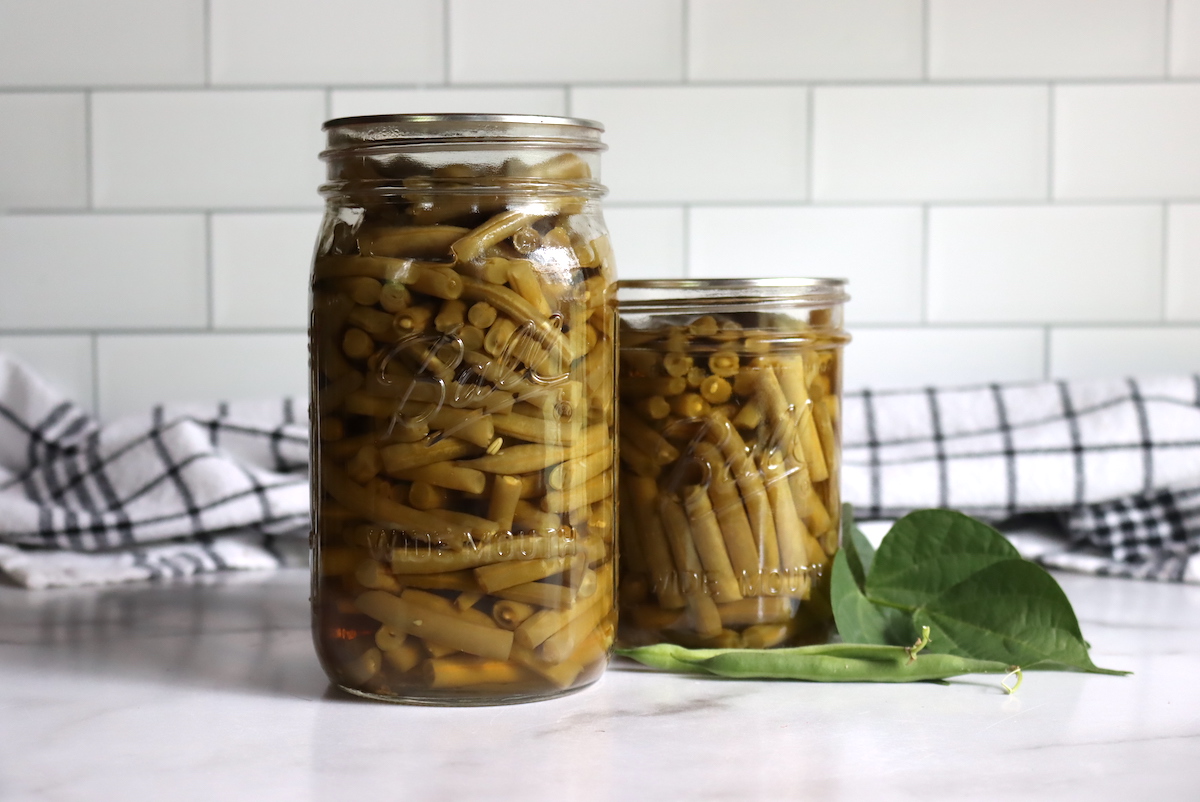
On average, you’ll need about a pound of green beans (unprepared) per pint, or 2 pounds per quart.
Preparing Green Beans for Canning
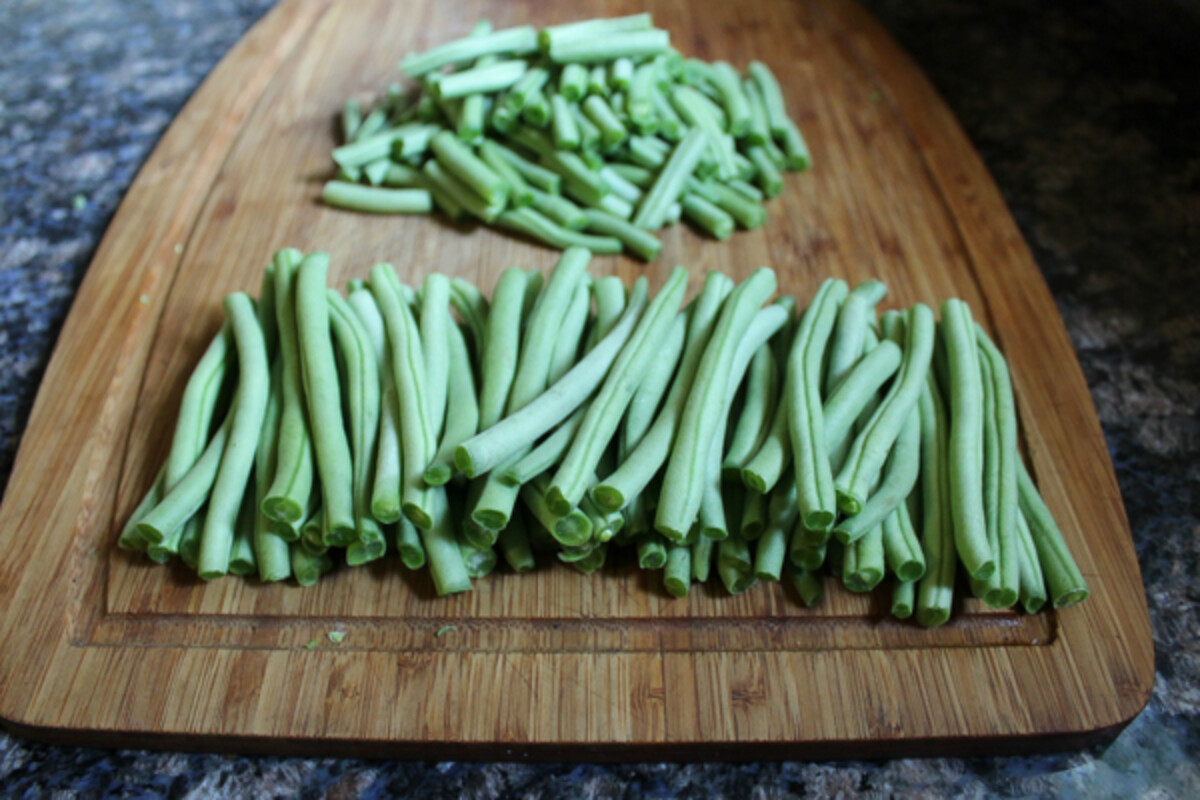
Start by preparing your green beans.
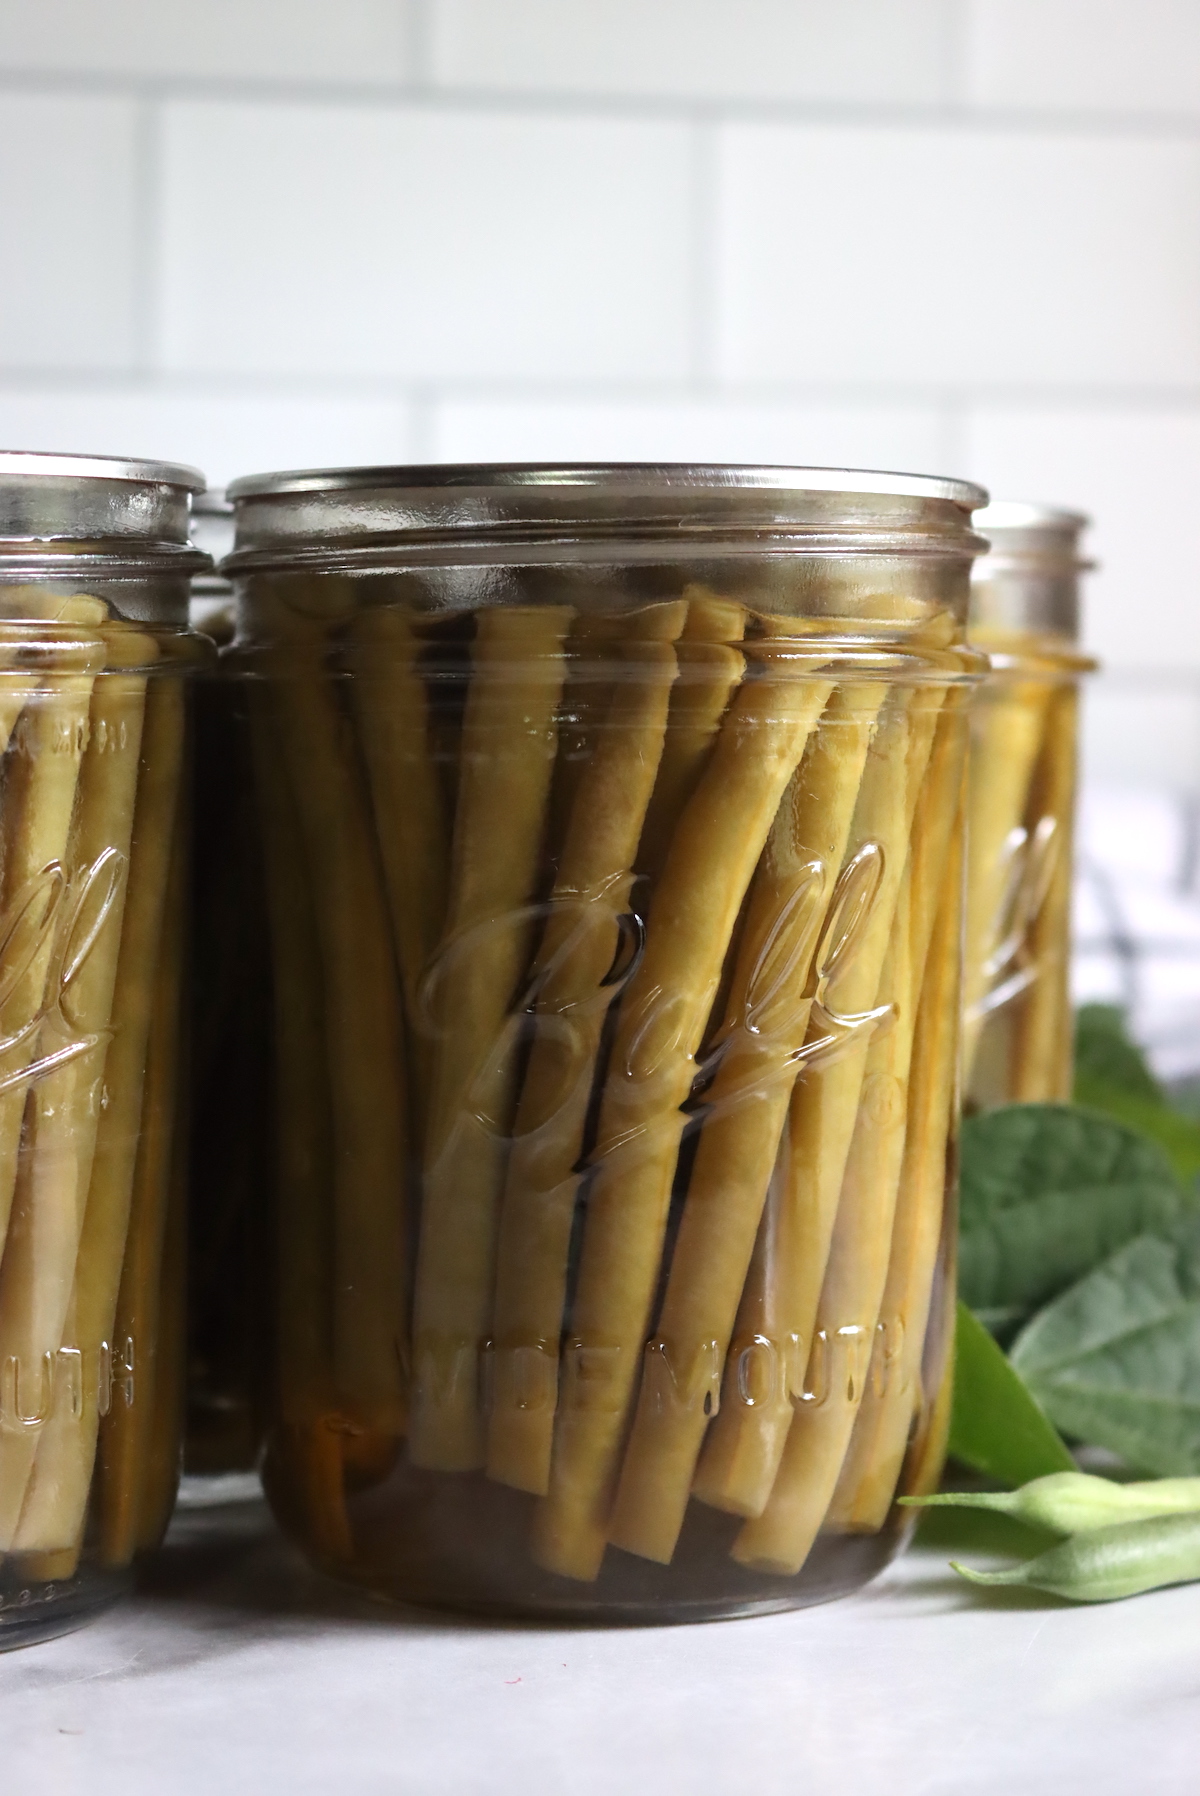
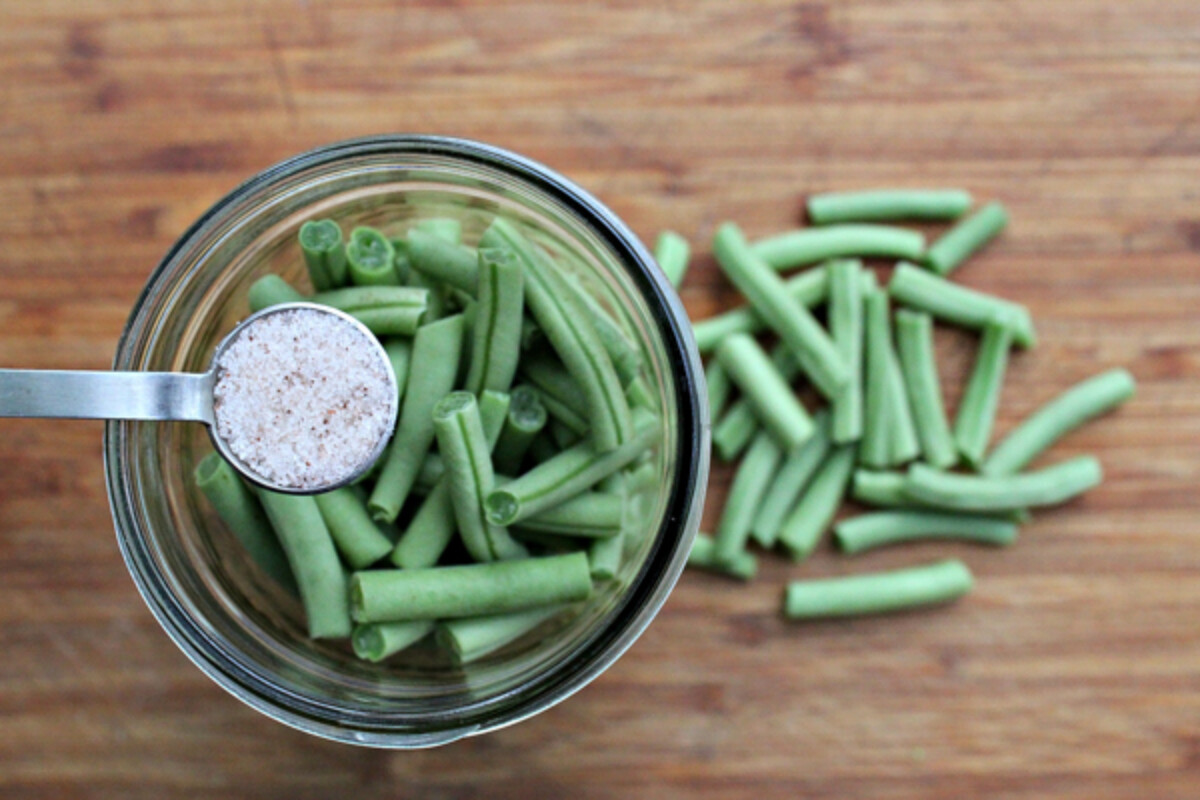
Wash them, remove the tips, and cut them into bite-sized pieces. Or, if you’d like to keep your beans long in the jars, measure the depth of the jars, leaving 1-inch headspace from the top rim. Cut them to that length, and then pack them vertically into the jars.
Pack the raw green beans into jars, leaving at least 1 inch of headspace.
There’s no need to pre-cook the beans, as they’ll be more than cooked in the pressure canner. Skip sterilizing the jars too. Jar sterilization isn’t required for pressure canning, just wash them to make sure they’re clean, and you’re ready to go.
Can you can green beans without salt?
Add in 1/2 tsp sea salt for pint jars, or 1 tsp for quarts. Feel free to use less, but I wouldn’t recommend using less than half that amount. While salt is not necessary for preservation, it is necessary for flavor, and without the salt, they taste like almost nothing.
Salt also helps improve the texture of vegetables during canning, and without salt they’ll tend to fall apart more in the jars.
Canning Green Beans
Once your green beans are cleaned, trimmed, and packed into jars, it’s time to start canning.
Start by preparing your pressure canner for raw pack. Refer to your owner’s manual.
For most models, that means adding 2-3 inches of water boiling water to the bottom of your pressure canner. Add the bottom trivet and heat the canner until the water is hot, but not yet simmering (around 140 F for raw pack).
Bring a separate kettle of water to a boil on the stove. This is the water you’ll use to pack the green beans.
Cover the beans with boiling water, leaving 1 inch of headspace.
Put on lids and rings, tightening the rings to finger tight. Be sure to use new canning lids each time, but canning rings can be reused. Since new canning lids are needed each time you can, we buy ours by the case and save a lot of money each year. They don’t go bad, so it makes sense to plan ahead.
Place your jars in the canner, and make sure to use a dividing rack if you’re canner is a double-decker model like the high capacity 30 quart and 41.5 quart models.
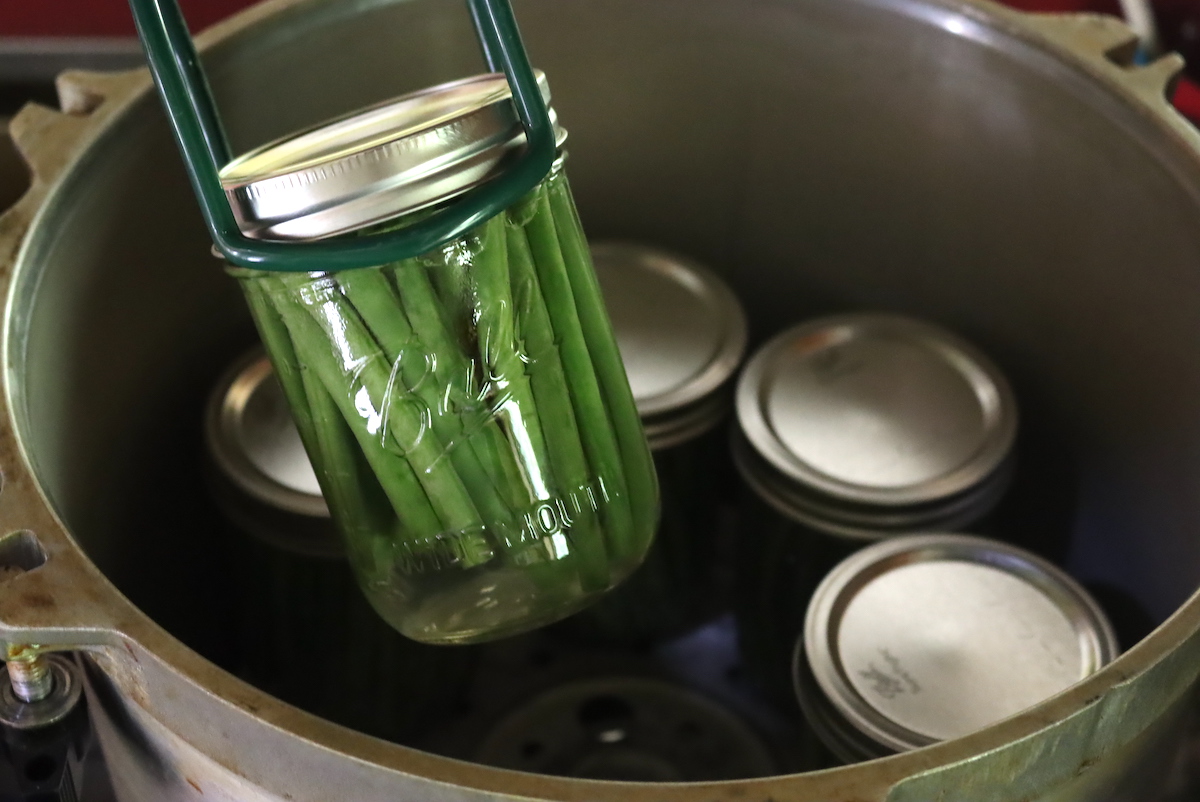
Seal the canner by tightening down the nuts, and allow the canner to steam off for 10 minutes. This is an important step, and it ensures that the canner is completely full of steam before the weighted valve is added.
Add the pressure weight to the canner, and process at 10 pounds pressure (adjusting for altitude) for 20 minutes for pints and 25 minutes for quarts. Allow the pressure canner to cool and come back to zero pounds of pressure before removing the weight and allowing the last nub of pressure to escape. Loosen the nuts and open the top of the canner, and take out your freshly canned goods. Allow a few hours for the jars to cool, and make sure they’ve all popped and are sealed.
Remove the bands for storage once the jars are cool. Leaving the bands on can cause them to rust shut, which will leave you frustrated and hungry for food that you cant open. The jars are vacuum sealed, so the bands aren’t necessary at this point to hold the lids in place.

Altitude Adjustments for Canning Green Beans
No matter the altitude, green beans are always processed for 20 minutes for pints and 25 minutes for quarts, but you will need to adjust the canning pressure.
When pressure canning, the total time doesn’t change with altitude, but the pressure does. At higher altitudes, the food must be processed at higher pressures.
The altitude adjustments for canning green beans are as follows:
For dial gauge pressure canners:
- 0 to 2,000 feet in elevation – 11 lbs pressure
- 2,001 to 4,000 feet in elevation – 12 lbs pressure
- 4,001 to 6,000 feet in elevation – 13 lbs pressure
- 6,001 to 8,000 feet in elevation – 14 lbs pressure
For weighted gauge pressure canners:
- 0 to 1,000 feet in elevation – 10 lbs pressure
- Above 1,000 feet – 15 lbs pressure
Using Home-Canned Green Beans
Home-canned green beans can be used in all the same way’s you’d use regular green beans, either fresh from the garden or in cans from the store.
Heat and serve, or incorporate them into soups and casseroles.
Canning Green Beans
Equipment
- Pressure Canner
Ingredients
- 9 lbs. Green Beans
- 8 1/2 tsp. Salt, or 1/2 tsp per pint (optional, see note)
- Water
Instructions
- Prepare your pressure canner for raw pack by adding 2-3 inches of water to the bottom and heating it until it's warm, but not yet simmering (about 140 degrees F). At the bottom trivet. (Consult the manual for your particular brand of canner, as setup can vary between models.)
- Prepare canning jars, lids, and rings.
- Bring a kettle of water to a hard boil on the stove. This will be the canning liquid for your beans. Generally, you need about 1 to 1 1/2 cups per pint jar, so estimate about 12 cups water (or 3 quarts) for 9 pint canner batch.
- While everything is heating, prepare the green beans. First, wash them and then trim the ends, and cut off any bruised, damaged or spoiled spots. They can be left whole if they'll fit into the jars, but in most cases, they'll need to be trimmed to size (or trimmed into 1-2 inch pieces).
- Pack the green beans raw into jars, leaving 1'' headspace.
- Pour the boiling water over the top of the green beans in the jars, maintaining 1'' headspace. Debubble jars, and re-check headspace.
- Apply canning lids and rings, and seal to finger tight.
- Load the jars into the preheated canner.
- Place the lid on your pressure canner and close the bolts, but do not add the canning weight (yet).
- Turn the heat up to high and allow the canner to vent steam for 10 minutes before fully sealing the canner and bringing it up to pressure. See notes for correct pressures for your altitude.
- Process jars at pressure for 20 minutes for pints, and 25 minutes for quarts.
- When the canning time is complete, allow the canner to cool completely to room temperature. (Do not attempt to speed up the cooling process.)
- Once completely cool, remove the jars to a towel on the counter.
- Check seals, and store any unsealed jars in the refrigerator for immediate use. Properly pressure-canned and sealed jars of green beans will maintain peak quality on the pantry shelf for 12-18 months, and be safe to eat for much longer, provided they're still sealed. Refrigerate after opening.
Notes
Yield
This recipe is set up for a 9-pint canner batch, but you can adjust it to whatever size canner you have. I run a 30-quart all-American, which can hold up to 19 pints. For larger batches, just plan on about 1 pound of beans (unprepared, as purchased or harvested) per pint, or 2 pounds per quart. Be sure to adjust salt accordingly as well. That's easy enough to do, as everything is packed into jars before you start canning.Salt
The added salt is optional, and not required for preservation or safe canning. However, it does improve the flavor and texture of canned green beans. I do recommend adding some salt, even if you choose to reduce the amount as a personal preference. Generally, I recommend about 1/2 teaspoon salt per pint jar, and 1 full teaspoon per quart.Altitude Adjustments for Canning Green Beans
No matter the altitude, green beans are always processed for 20 minutes for pints and 25 minutes for quarts, but you will need to adjust the canning pressure. When pressure canning, the total time doesn't change with altitude, but the pressure does. At higher altitudes, the food must be processed at higher pressures. The altitude adjustments for canning green beans are as follows:For dial gauge pressure canners:
- 0 to 2,000 feet in elevation – 11 lbs pressure
- 2,001 to 4,000 feet in elevation – 12 lbs pressure
- 4,001 to 6,000 feet in elevation – 13 lbs pressure
- 6,001 to 8,000 feet in elevation – 14 lbs pressure
For weighted gauge pressure canners:
- 0 to 1,000 feet in elevation – 10 lbs pressure
- Above 1,000 feet – 15 lbs pressure
Nutrition
Nutrition information is automatically calculated, so should only be used as an approximation.
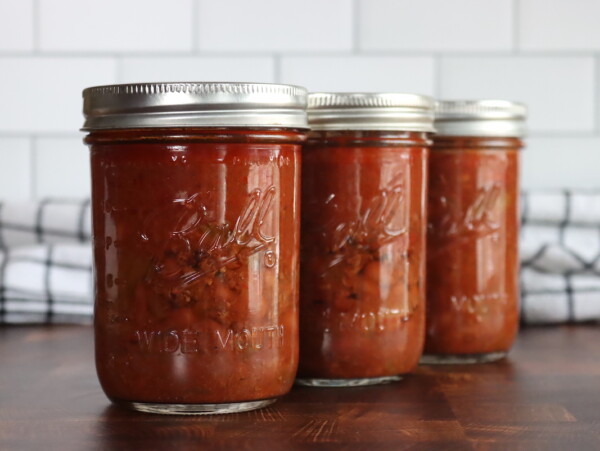
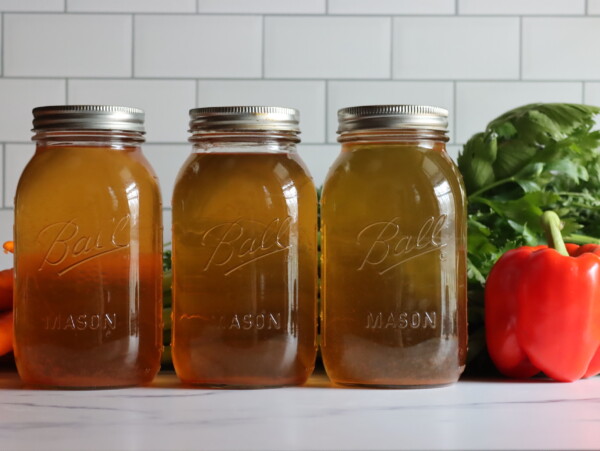
Pressure Canning Recipes
Fill your pressure canner again with these simple pressure canning recipes:
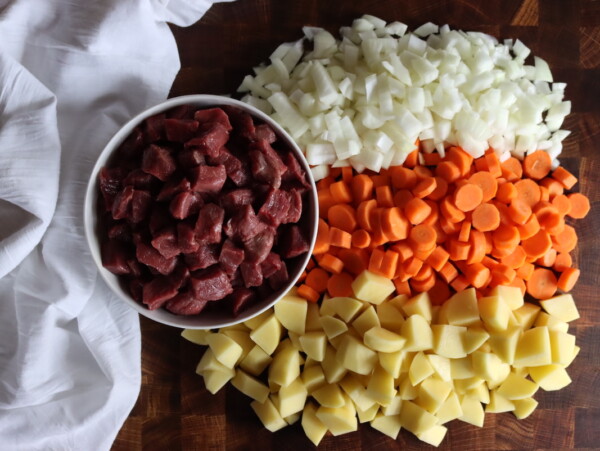
Summer Canning Recipes
Putting up more than green beans this season? I have literally hundreds of canning recipes posted, but here are a few to get you started:


One of the most efficient ways to preserve green beans! We don’t have a lot of freezer space living off grid, and I’m so happy that I’m able to pressure can green beans for my pantry instead.
Ashley, my mom always canned green beans, water bath of course back in those days and we’d just boil them good before eating. I did six quarts the other day, cold pack, pressure canned, followed the instructions in the Ball book to the T … I have an electric pressure canner. Twenty-five minutes to process, five minutes to stand, take them out. followed the rules perfectly. Thought I should try a jar tonight for dinner before doing the next batch.
They are Mush.
Horrible.
Any ideas? I have so many out there and almost no room in the freezer. Sure hope you can help! Thank you, Tarre
What pressure did you can them at?
Hello! I raw packed my green beans and cooked them according to recipe…. It seems as though I lost a lot of liquid in a few of the jars. Is this normal? Are they still okay to eat?
It sounds like you experienced some siphoning. They’re totally safe to eat as long as they were processed correctly and you didn’t lose more than half of the liquid.
Around the bottom 1/4 of my jar there is a white ring. I think it might be from the salt but want to know if they will be safe to eat. Plus can I mix green and yellow beans together?
Is the ring on the outside or the inside of the jar? It’s hard to know what it is without actually seeing it. As long as you followed safe canning procedures then it should be fine.
Hi, we do water bath canning for tomatoes and pickles, but usually freeze beans, etc. because we don’t have a pressure canner. I am concerned about a power outage so am considering getting the canner you recommend. Do you know of any canning recipe where I can use my previously frozen green beans, so I can convert them to canned.
Green beans typically are not canned after they have been frozen as it affects the texture.
Really enjoyed reading this Article on canning
Thank you!
Never mind i reread it and saw the confusion and now see that 19 1-quart jars is the max for the 41.5 quart.
According to the website linked on your page giving information between the 41 1/2 quart and 30 quart pressure cooker they both seem to be able to process 14 1-quart jars. Am I reading that info correctly ?
I don’t have a pressure canner so I’m trying the water bath way. Is it possible with green beans?
Nope. Not safely I’m sorry to say.
Are the newer versions of the Instant Pot acceptable for canning green beans?
To the best of my knowledge, there are no instant pot versions that are approved for canning. Their settings don’t maintain a consistent pressure, at least not consistent enough for canning.
its been maybe 30 years since I’ve done any canning. when we first moved to the country we went all in, then life happens etc etc. Times have changed in the last couple month. Luckily my husband retired recently and started gardening again. A very large garden with the tractor. I dug out my large, trusty, double canner. thank you for such clear instructions and explanations as to how and why canning is done the way it is. awesome refresher course! All the best to you and your family!
I’m confused with this following sentence in your instructions on how to can green beans:
“”Seal the canner by tightening down the nuts, and allow the canner to steam off for 10 minutes. This is an important step, because it ensures that the canner is completely full of steam before the weighted valve is added.”
How would the canner stay full of steam if I am to “steam off” for ten minutes? Can you clarify, please?
So that’s a normal part of pressure canning, and it’s not just for this recipe. It ensures that the chamber is completely full of steam, as the temp inside sometimes drops when you add the jars. Mine actually usually takes several minutes to start releasing steam after I close it.
The manufacturer of the All American Canner (with a weighted gauge) suggests letting steam escape the valve for 10 minutes before adding the weight and allowing it to come up to pressure. Not doing this step risks uneven heating in the chamber. I’ve never forgotten to do this, so I’ve never actually experienced the consequences…but from what I’ve read it can cause jars to either explode in the canner or fail to seal, depending on how the uneven heating goes in there.
Check your pressure canner manual, and follow the instructions it provides as you may have a different model, but I believe this is standard on all models.
You mentioned that you order bulk canning lids – I’ve had marvellous success with the ones from Dutchman’s Store in Iowa (info@dutchmansstore.com). They sell the lids in long sleeves, packed in lots of 345 regular mouth or 288 wide mouth for around $50/lot. If you e-mail or call them (319-397-2322), they’ll ship them through the regular mail within a few days of ordering.
i have a pressure cooker canned and have canned carrots. We did not like them. They were way too soft. How can I avoid this. I would like to can but if carrots were too soft can’t imagine bean would be like.
The texture of the finished carrots really depends on the type of carrot. The short season, fine-grained sweet summer carrots (usually ready in 60-70 days) don’t hold up well to cooking and are worse for canning. You really want a hearty storage carrot for this, which is a bit coarser in texture and maintains good texture when canned.
As to green beans, they do get soft, not unlike grocery store canned green beans.
How many green beans do you get into a quart jar, I have read a few places that people fill the jar with approximately 2 pounds of green beans, but I can only get about 1 pound into the jar. Am I doing something wrong?
You know, I’ll have to measure next time. I don’t think you’re doing anything wrong, I’ve often found that the extension guides on how much produce goes into a jar are a bit off.
When I first took the beans/jars out of the pressure cooker the beans had risen to the top and there is about an inch of water at the bottom of the jar. Also there were a lot of bubbles. I did slide the tool around prior to sealing to get the air out. What’s up?
With raw pack, the green beans do float to the top of the jar, that’s totally normal. They still have a small amount of air in their tissues after cooking so they float. If you don’t want them to float, they have to be hot packed. Hot pack is trickier to pack the jars, and involves extra cooking for the beans which they don’t really need.
can you add garlic to them?
Whole garlic cloves aren’t approved for canning (other than as pickled garlic). In theory, if you were going to can garlic, I’d guess processing times would be similar to those for onions, which is 40 minutes. That’s much longer than these green beans can handle in a pressure canner.
The short answer, nope.
I refuse to add any salt although the jars do get a slice of home grown onion on the top. I might lightly salt when heating them up to eat.
That’s always an option, it’s all personal preference. The salt is not required for preservation, so either way is totally fine.