Affiliate disclosure: This post may contain affiliate links. Please see our Privacy Policy.
Canning pineapple is one of the easiest water bath canning projects—and once you taste home-canned pineapple, you’ll never go back to the store-bought stuff. Pineapple is naturally high in sugar and acid, which makes it ideal for safe home canning without added preservatives.
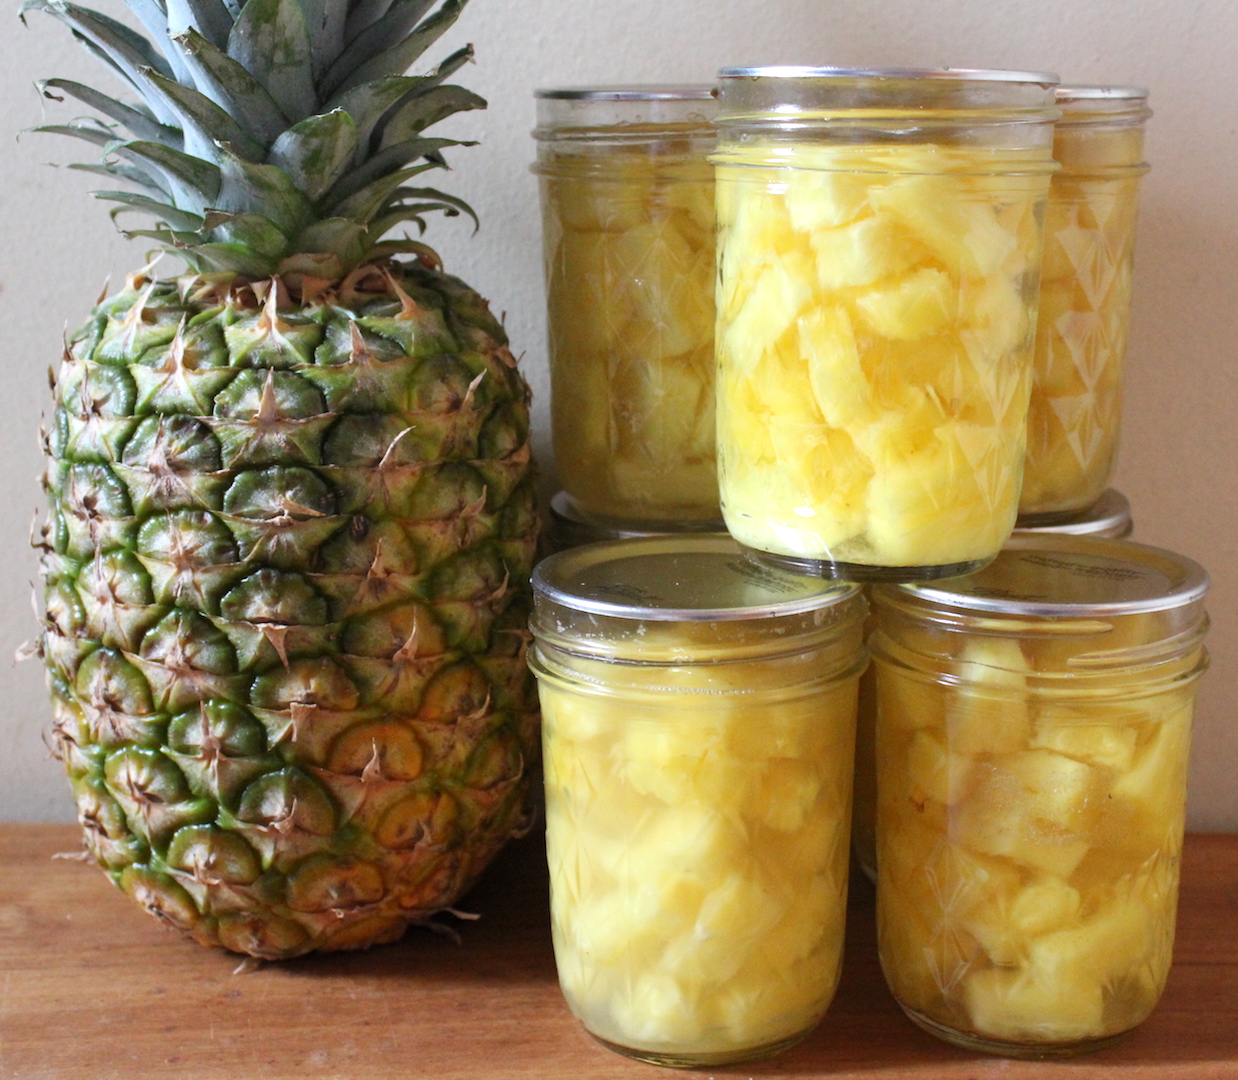
You might be wondering why you’d can pineapple in the first place. Most of us aren’t growing it in the backyard, and it’s easy to buy year-round. But there’s one word that makes it worth the effort: taste. Home-canned pineapple is juicy, flavorful, and never watery or metallic like the canned versions from the store.
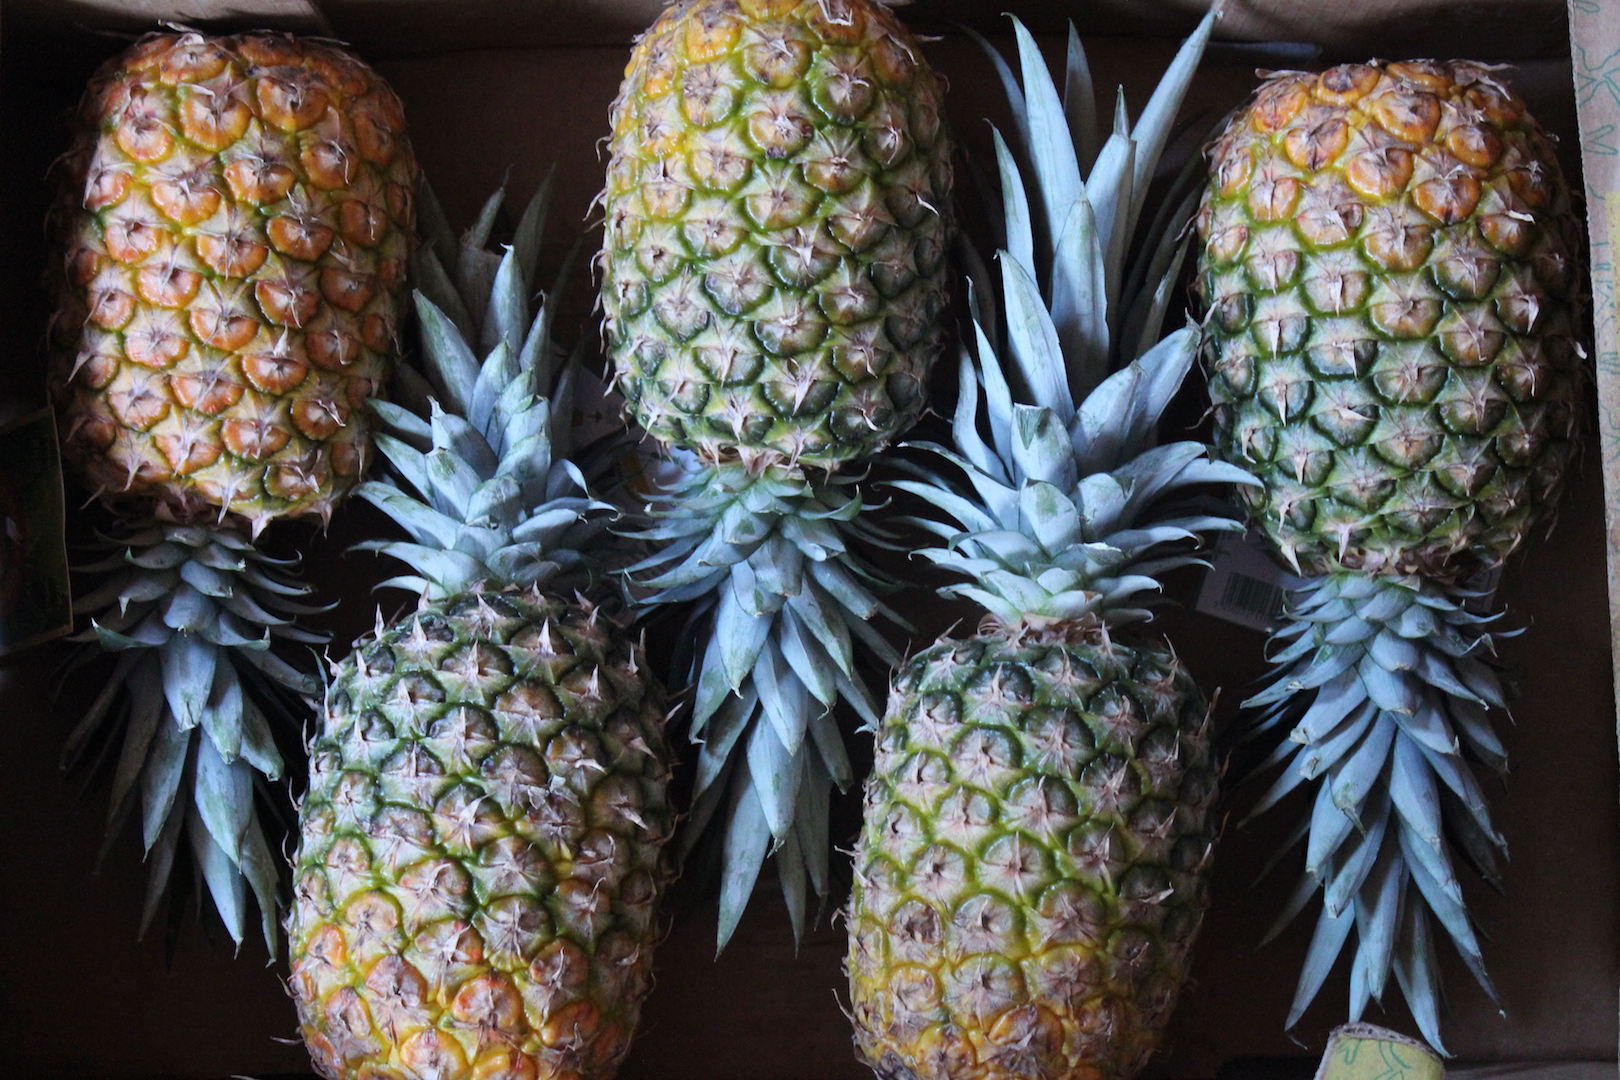
Beyond the incredible taste, canning pineapple is a great way to stock your pantry with peak-season fruit at a bargain price. In midwinter, pineapples are often dirt cheap—even here in Vermont, they can drop from $5 each to $1.50 or less in January. That’s the perfect time to buy a case and preserve them for the months ahead.
How to Prepare Pineapple for Canning
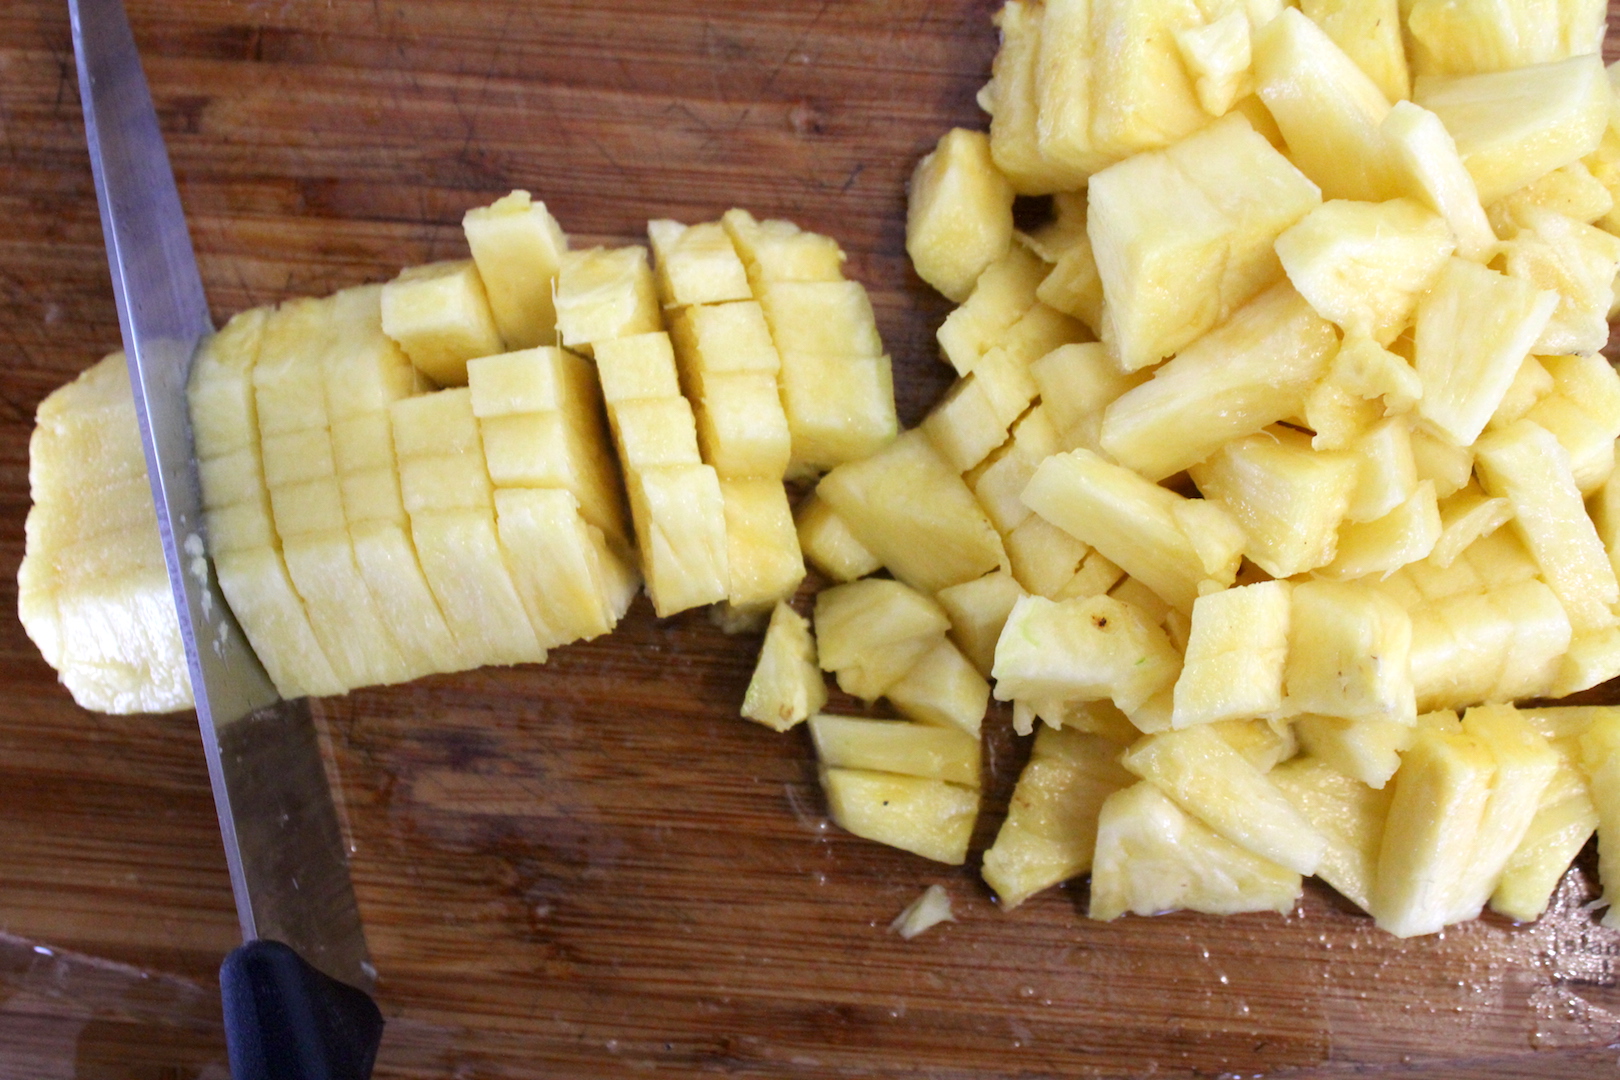
Start by cutting off the top and bottom of the pineapple. Slice vertically down the sides to remove the peel and eyes. Save those peels!
You can use them to make homemade tepache or pineapple scrap vinegar—perfect zero-waste projects for winter.
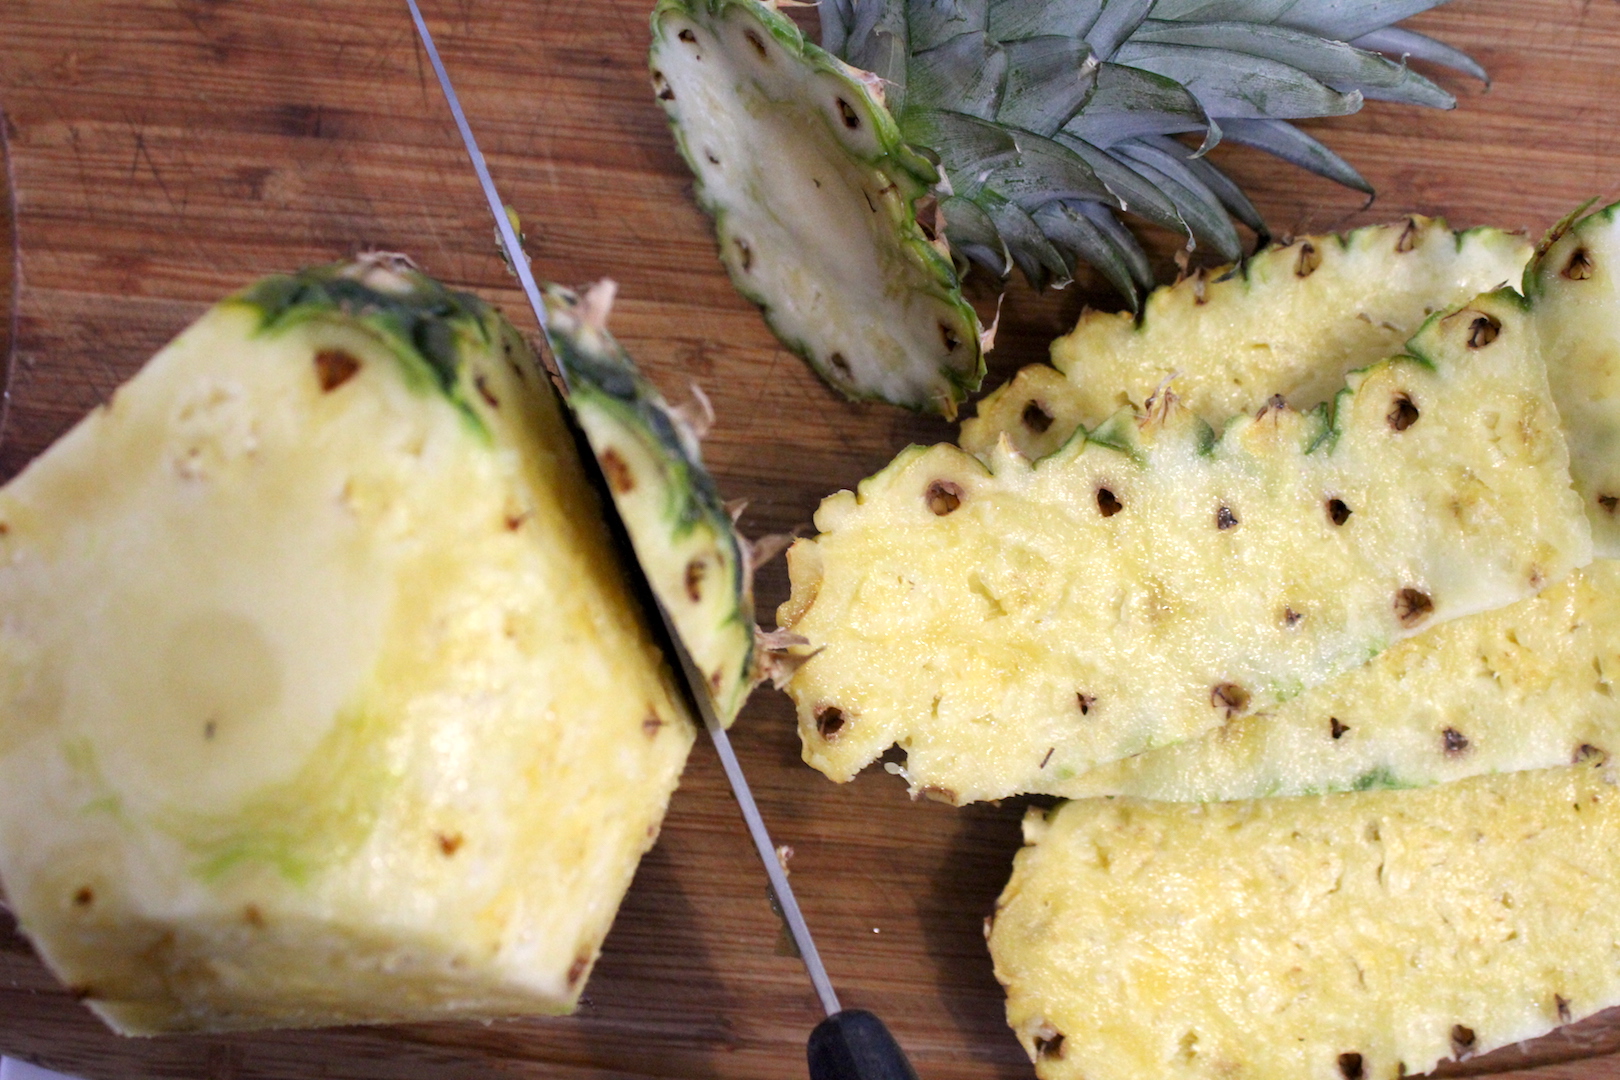
Next, cut out the tough core from the center of each slice.
Don’t toss it—you’ll use the cores to make pineapple juice for canning liquid.
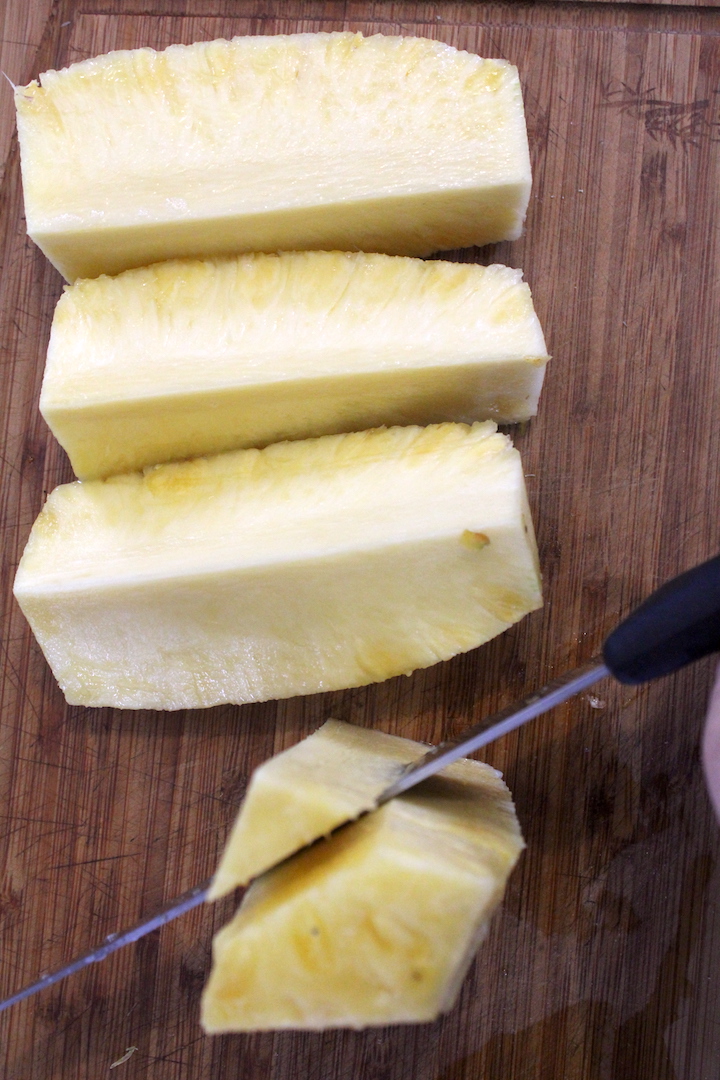
Chop the peeled pineapple into chunks, tidbits, or crushed pieces depending on how you plan to use it.
I prefer small chunks—they’re the right size for pizza, stir-fry, or baking.
Hot Pack vs. Raw Pack Pineapple
Pineapple can be hot packed or raw packed into jars:
- Raw Pack: Fill jars with fresh pineapple chunks and top with boiling water, juice, or syrup. It’s fast and easy, but the fruit may discolor over time due to trapped air.
- Hot Pack: Simmer pineapple in the canning liquid for 10 minutes before packing. This drives off excess air and helps preserve flavor and color for long-term storage.
According to the University of Alaska Cooperative Extension, hot packing is recommended for pineapple. It yields better color and shelf life, especially if you’re planning to store the jars more than a few months.
That said, I’ve had good luck with raw packing too, and though I’ve made it both ways, you really can’t tell the difference.
Choosing a Canning Liquid
You have several options when choosing a liquid to can pineapple:
- Water – Works, but can leach flavor from the fruit.
- Juice – Pineapple juice, apple juice, or white grape juice all work well.
- Light Syrup – If you want a sweeter result, you can use extra-light, light, or medium syrup.
Personally, I prefer to avoid syrup since pineapple is already so sweet. Canning in juice gives the best balance of flavor and simplicity.
Making Pineapple Juice from Scraps
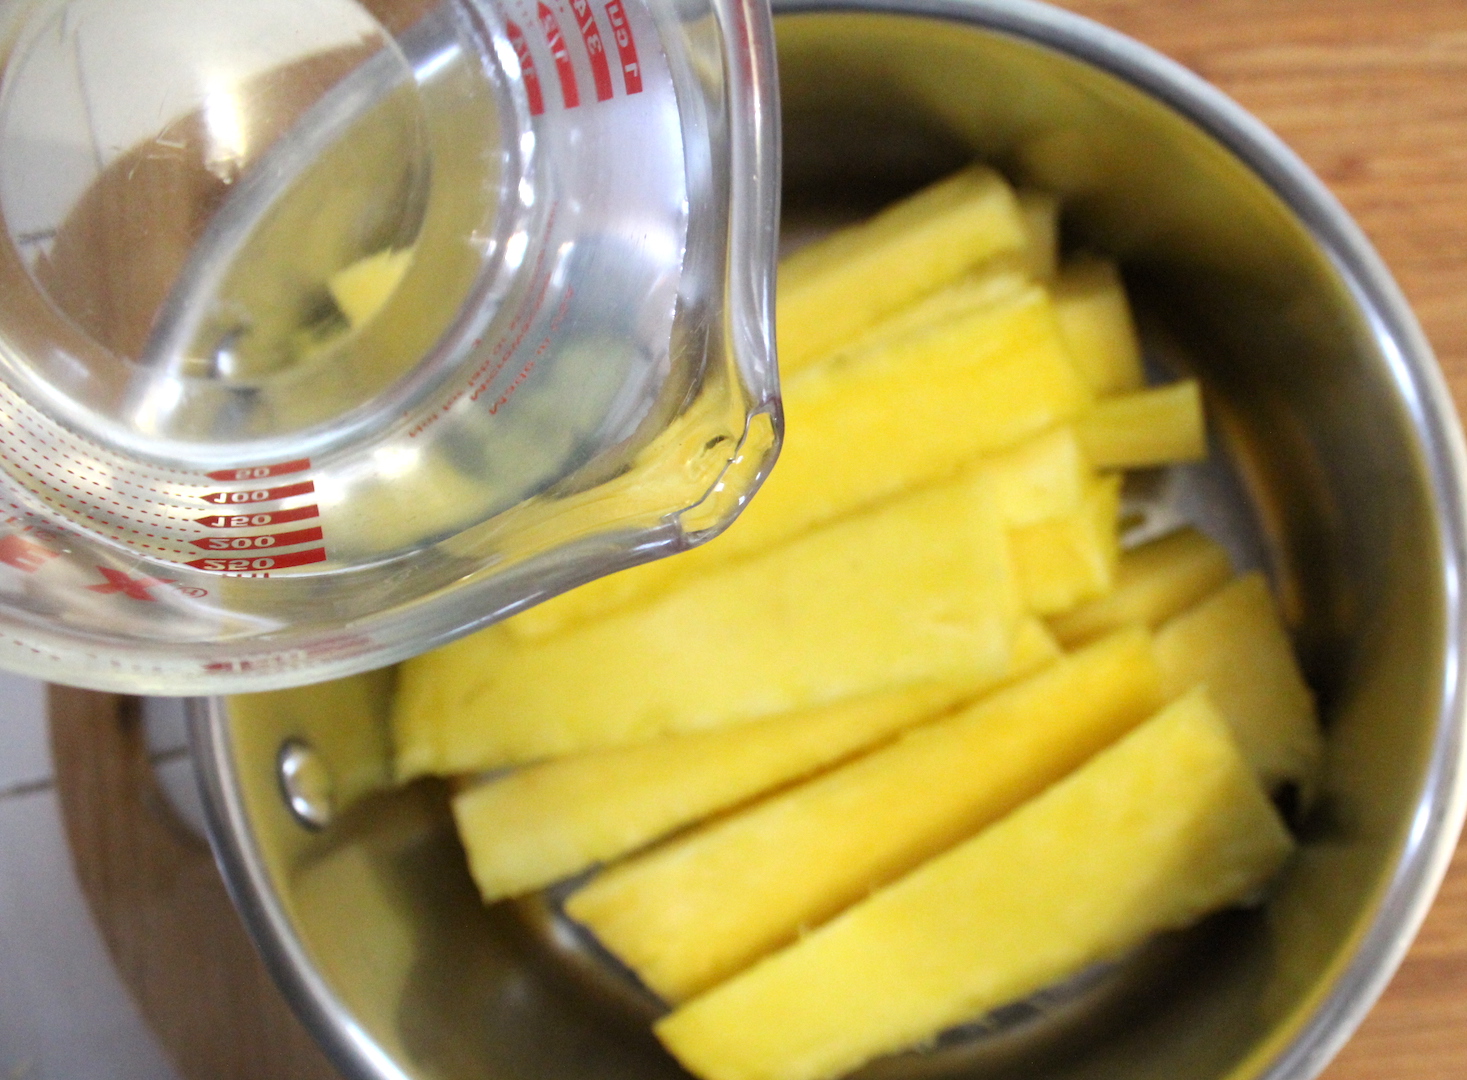
To save money, use the reserved cores to make your own pineapple juice. Just simmer chopped cores in water for 10–15 minutes, then strain. One pineapple core yields enough liquid for about 4 pint jars. On average, you’ll need about 2 to 2½ cups of hot canning liquid per whole pineapple.
How to Can Pineapple
Start by preparing your pineapple. Slice off the top and bottom, then stand it upright and cut vertically down the sides to remove the peel and eyes. Cut out the tough core from each section and set those aside—they’re full of flavor and can be simmered to make pineapple juice for your canning liquid.
Chop the remaining pineapple flesh into your desired size: large chunks, small tidbits, or finely crushed pieces. Keep in mind how you plan to use it—larger pieces are great for snacking or stir-fries, while smaller chunks or crushed pineapple work well in baking and sauces.
Next, prepare your canning liquid. You can use water, juice, or a light syrup, but for the best flavor, I recommend pineapple juice made from the cores. Simply chop the cores and simmer them in water for 10 to 15 minutes. Strain the liquid and keep it hot until you’re ready to can. Plan for about 2 to 2½ cups of liquid per whole pineapple, and always prepare extra to avoid running out mid-batch.
Decide whether you’re doing a hot pack or raw pack.
For a hot pack, combine the chopped pineapple and canning liquid in a stockpot and simmer for 10 minutes. Then pack the hot fruit into warm jars, leaving ½ inch of headspace, and ladle the hot liquid over the top to cover.
For a raw pack, fill hot jars with raw pineapple pieces and top with boiling liquid—again leaving ½ inch of headspace. Raw packing is faster, but hot packing results in better color and shelf life, especially for long-term storage.
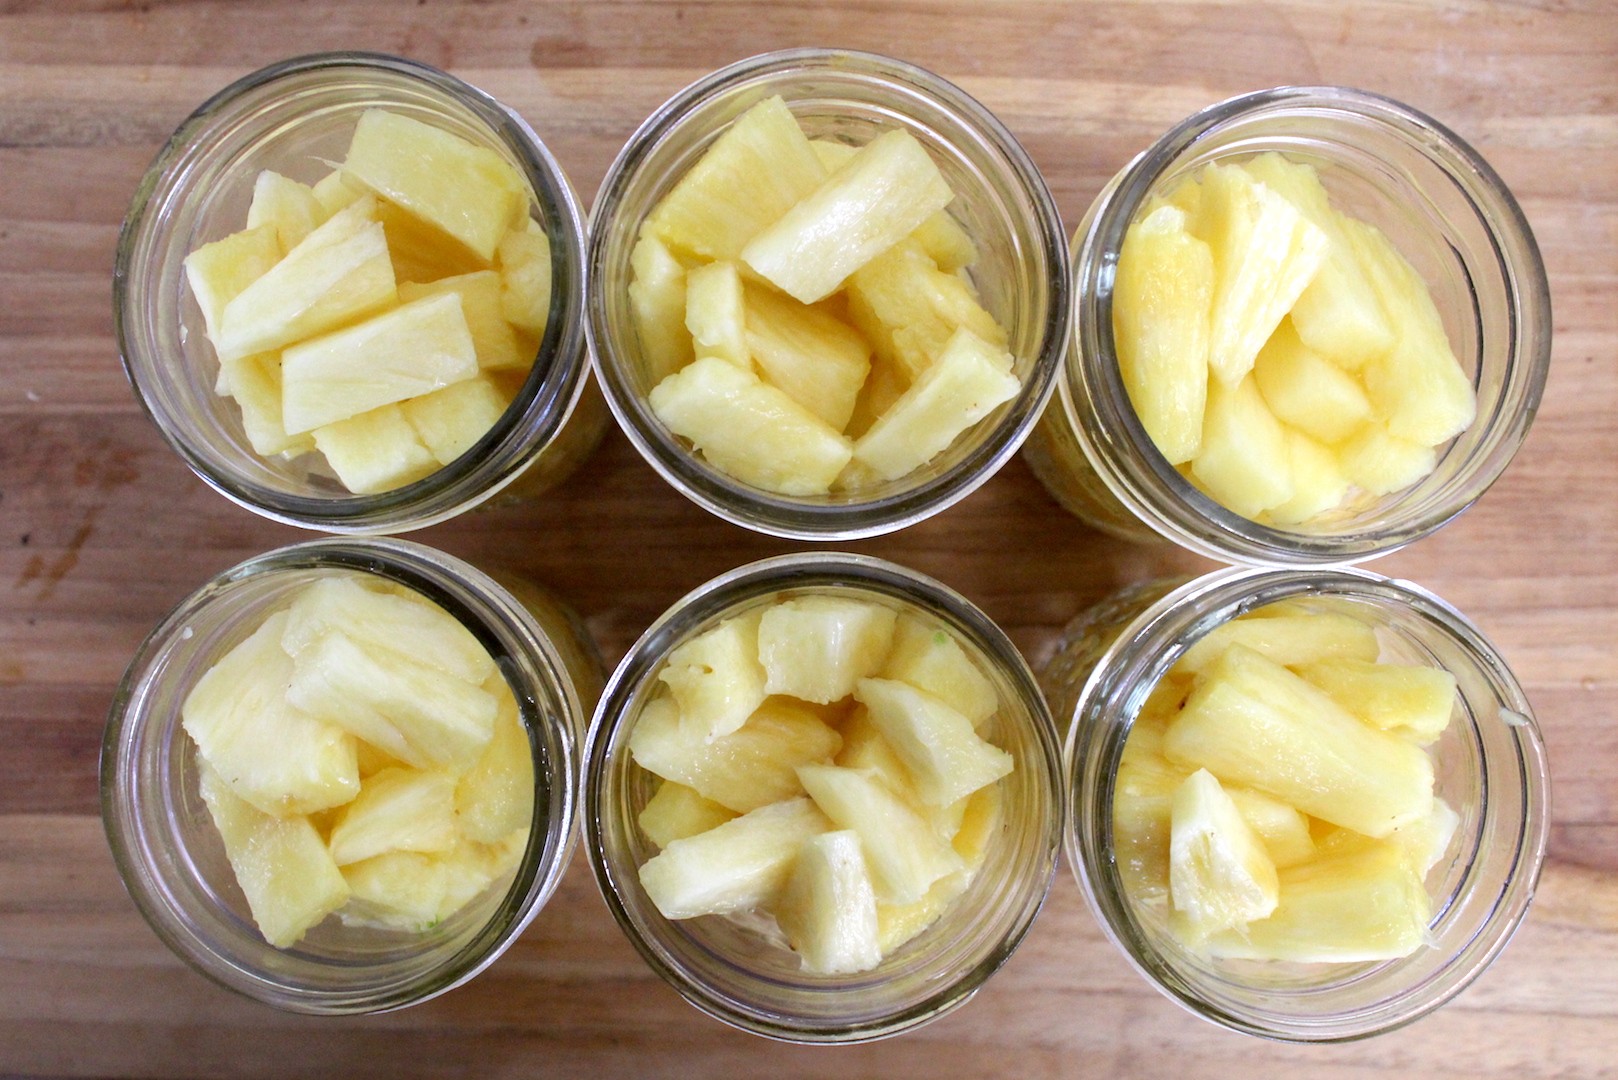
Remove any trapped air bubbles, adjust the headspace if needed, and wipe the jar rims clean. Apply lids and rings until fingertip-tight. Process the jars in a boiling water bath canner—15 minutes for pints and half-pints, or 20 minutes for quarts. Be sure to adjust processing time for altitude. Once the time is up, turn off the heat and let the jars rest in the canner for 5 minutes before removing them to cool.
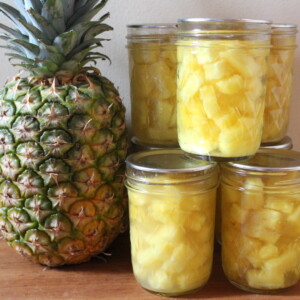
Let the jars cool undisturbed for 12 to 24 hours. Check seals, remove rings, and store your canned pineapple in a cool, dark place. Properly sealed jars will keep for at least 12 to 18 months, and often much longer.
Altitude Adjustments
Increase processing time based on your elevation:
- 1,001–3,000 ft: 20 minutes for pints and 25 minutes for quarts
- 3,001–6,000 ft: 20 minutes for pints and 30 minutes for quarts
- 6,001–8,000 ft: 25 minutes for pints and 35 minutes for quarts
Canning Pineapple
Equipment
Ingredients
- Whole Pineapples, Each pineapple yields about 2-3 pints
- Water, Juice or Syrup (roughly 2 to 2.5 cups per pineapple)
Instructions
- Prepare a boiling water bath canner, jars, lids, and rings. Keep jars warm until ready to fill.
- Peel and core the pineapples, reserving the cores. Chop fruit into desired size. To make canning liquid, simmer the cores in water for 10–15 minutes, then strain.
- Hot Pack: Simmer pineapple chunks in canning liquid for 10 minutes, then pack into hot jars and cover with the hot liquid, leaving ½ inch headspace.
- Raw Pack: Pack raw pineapple into hot jars, then pour boiling water or juice over top, leaving ½ inch headspace.
- Remove air bubbles, adjust headspace, and wipe jar rims. Apply lids and rings until fingertip-tight.
- Process half-pints and pints for 15 minutes or quarts for 20 minutes in a boiling water bath canner. Adjust for altitude (see below).
- When time is up, turn off the heat and let jars rest in the canner for 5 minutes. Remove jars and cool undisturbed for 12–24 hours. Check seals, label, and store in a cool, dark place.
Notes
Altitude Adjustments
Increase processing time based on your elevation:- Under 1,000 feet in elevation: 15 minutes for pints and 20 minutes for quarts
- 1,001–3,000 ft: 20 minutes for pints and 25 minutes for quarts
- 3,001–6,000 ft: 20 minutes for pints and 30 minutes for quarts
- 6,001–8,000 ft: 25 minutes for pints and 35 minutes for quarts
Nutrition
Nutrition information is automatically calculated, so should only be used as an approximation.
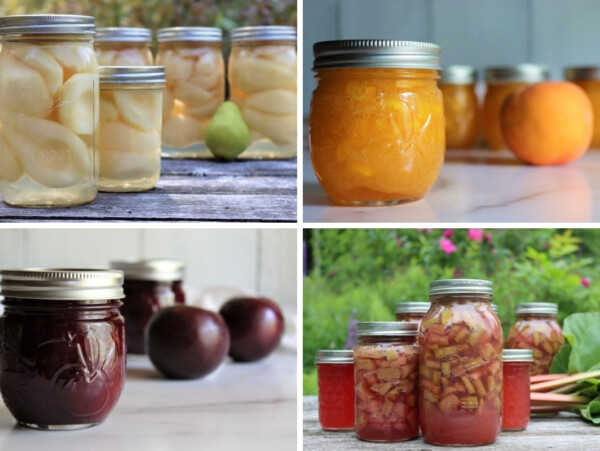
More Fruit Canning Recipes
Looking for more canning recipes? Here are a few more fruits to can at home:


Great Info!
Have you ever canned Pineapple in metal cans? And if so, do you have a step by step instructions on that?
I don’t have the setup or equipment for working with metal cans, so sorry to say I can’t really advise you here.
Was so easy to make! Thank you for sharing this lovely recipe.
So glad you liked it!