
Affiliate disclosure: This post may contain affiliate links. Please see our Privacy Policy.
Tepache turns a pile of pineapple peels into a fizzy, lightly fermented drink in about three days. It’s sweet, tangy, faintly spiced, and it costs almost nothing because the main ingredient is the part you were going to throw away.
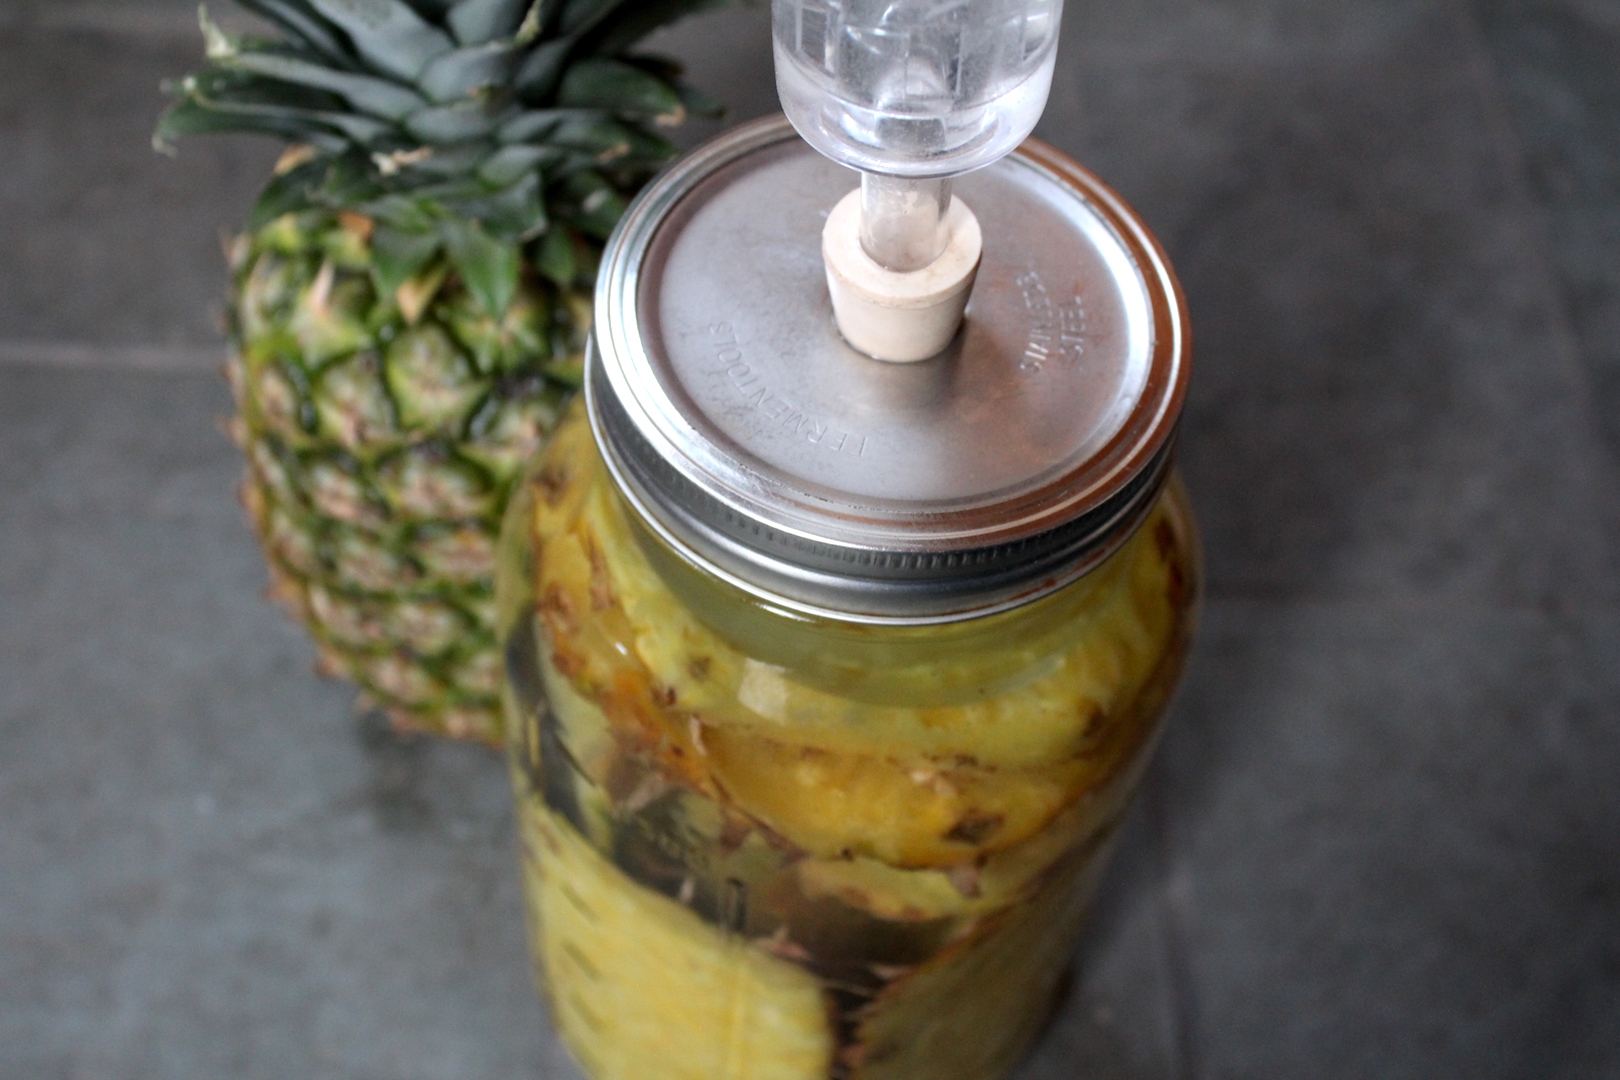
Table of Contents
- Notes from my Kitchen
- What is Tepache?
- Ingredients for Tepache
- Equipment for Tepache
- How to Make Tepache
- White Film on Top: Mold or Kahm Yeast?
- Bottle the Second Ferment Safely
- Is Tepache Alcoholic?
- Storage and Shelf Life
- Recipe Tips & Variations
- Ways to Serve Tepache
- Tepache FAQs
- Ways to Preserve Pineapple
- Tepache Recipe (Fermented Pineapple Drink)
- More Fermentation Projects
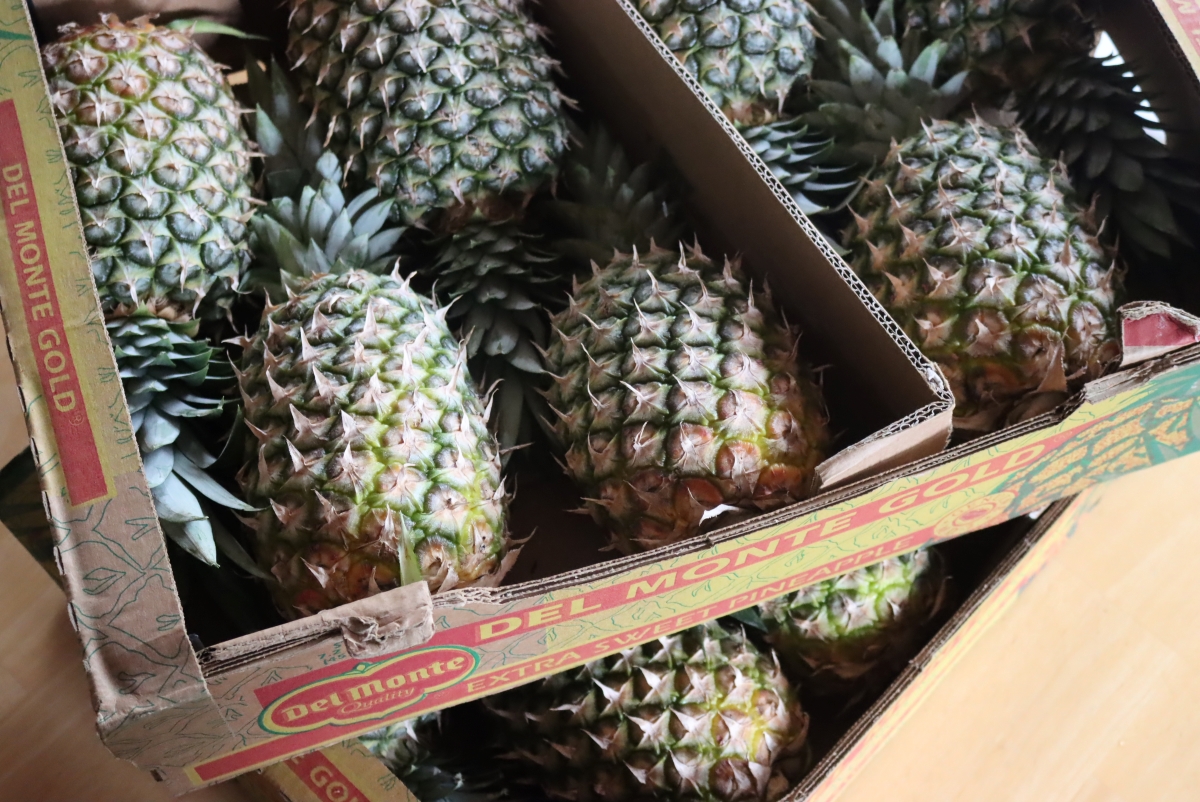
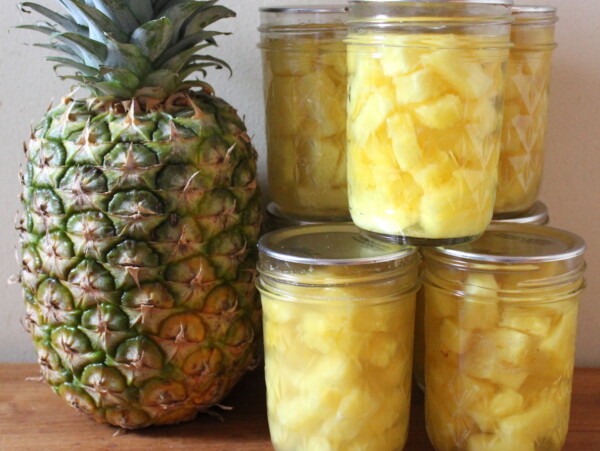
In the depths of a Vermont winter, I know I should be eating storage crops and whatever I put up in the fall, but I still can’t resist pineapple. Every January they go on sale for about a dollar each around here, and my kitchen turns into a production line for canning pineapple, pineapple jam, and a few gallons of pineapple wine.
By the time the jars are cooling and the wine is bubbling, I’m left with a mountain of peels and cores that feels far too good to compost. The worms will get their turn eventually, but there’s real flavor left in those scraps, and tepache is how you get at it.
I first came across the recipe in the All New Ball Book of Canning and Preserving, which is full of preservation ideas you won’t find in the older canning books. This one caught my eye immediately because it takes something headed for the compost bucket and turns it into a drink my kids ask for by name.
Notes from my Kitchen

The January pineapple haul has turned into a proper tradition around here. It started as a practical thing, since a dollar a pineapple is hard to argue with when the garden is under three feet of snow, but somewhere along the way it became the thing that breaks up the long stretch between the holidays and sugaring season. The whole house smells tropical for a week, and everybody’s mood improves.
Tepache was an afterthought the first year, something I threw together because I felt guilty about the scrap pile. Now it’s the part I look forward to. It ferments fast enough that you get a payoff in three days instead of the months a wine takes, which makes it the project I hand to anyone who says fermentation seems complicated.
What is Tepache?
Tepache de piña is a traditional Mexican fermented drink made by steeping pineapple peels in sugar water, usually with cinnamon and cloves. It goes back to pre-colonial Mesoamerica, and the name comes from the Nahuatl word for a drink made from corn, though the pineapple version is what’s survived and spread. In Mexico, it’s still sold cold from street carts by the cup.
As for what tepache tastes like, think of it as somewhere between pineapple juice and a dry cider. It’s sweet up front, tart on the finish, gently fizzy, and the spices give it a warm backbone that keeps it from tasting like soda. Because the ferment only runs two or three days, it never goes sour and vinegary the way a long ferment would.
It’s also about as forgiving as fermentation gets. There’s no starter culture to keep alive, no equipment beyond a jar, and the whole thing is done before you’ve had time to worry about it. If you’ve been meaning to try lacto-fermentation and haven’t gotten around to it, this is a gentler starting point than sauerkraut or lacto-fermented pickles, both of which ask for a few weeks before you find out how you did.
Ingredients for Tepache
Four ingredients, two of which are optional. The pineapple does the heavy lifting.
- Pineapple peels and cores: The peels carry the wild yeast that drives the whole ferment, so wash the fruit well but don’t scrub it sterile. Organic is worth seeking out here, since you’re steeping the outside of the fruit rather than eating the inside. Cores are optional and mostly add body, so skip them if you’d rather save them for something else.
- Piloncillo (or brown sugar): Traditional tepache uses piloncillo, an unrefined cane sugar sold in hard cones, which gives the finished drink its dark color and molasses depth. Brown sugar is the closest easy substitute. I’ve made it with plain raw cane sugar and it comes out bright and fruity but noticeably thinner in flavor.
- Water (filtered or dechlorinated): Chlorine works against the wild yeast you’re trying to encourage. If your tap water smells of it, let it sit out overnight or run it through a filter.
- Cinnamon stick and whole cloves (optional): Warm spices are traditional and they do a lot of work for how little you use. Start with one cinnamon stick and two cloves, since cloves get assertive quickly.
The sugar isn’t just for sweetness. It’s the food supply for the wild yeast, and cutting it back significantly will stall the ferment rather than just making a lighter drink. Most of it gets eaten during fermentation anyway, so the finished tepache is far less sweet than the ratio suggests.
I was so excited to find this recipe for my pineapple peeling. I had the silicone mason jar lids so it was easy! It was delicious!! I then put more sugar and water trying the same peelings for a second time. It was delicious! So I am trying it for the third time.
Equipment for Tepache
Nothing here is specialized, but two pieces matter more than you’d expect.
- A half gallon wide mouth mason jar for the first ferment. A quart jar works if you halve the recipe.
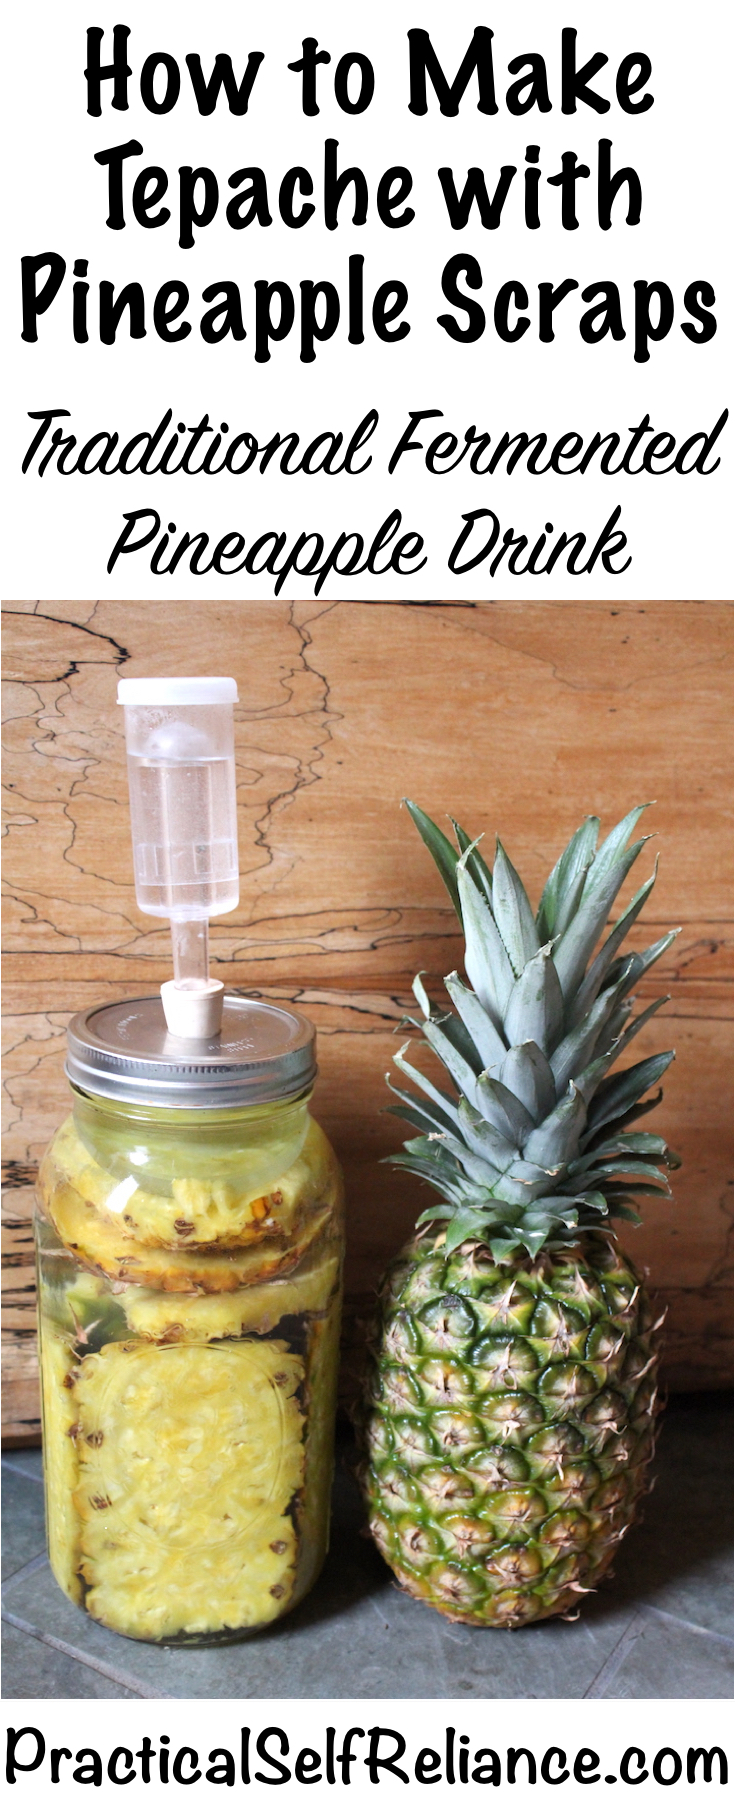
- A silicone fermentation lid or a mason jar airlock. These let carbon dioxide escape while keeping mold spores, dust, and fruit flies out. The same lids carry over to every other jar ferment, including fermented hot sauce, so they earn their shelf space.
- A fine mesh strainer or a square of cheesecloth for straining out the peels.
- Flip-top bottles for the second ferment. This is the piece people improvise on and shouldn’t. See the bottling note below.
How to Make Tepache
The process runs in two stages. First, an open ferment in a jar where the wild yeast get going and eat through the sugar, then a short sealed ferment in bottles that traps the carbon dioxide and makes it fizzy.
Prepping the Pineapple
Wash the pineapple thoroughly under running water and scrub the outside with a vegetable brush. The skin travels a long way and gets handled a lot, and you’re about to soak it in sugar water for three days, so this step earns its keep.
Cut off the top and bottom, stand the fruit up, and slice down the sides to take off the peel in strips. Quarter what’s left and cut out the fibrous core. The fruit itself goes to dehydrating, canning, or straight into the kids, and only the scraps go into the tepache.
If you’re peeling one pineapple at a time rather than doing a bulk day, freeze the scraps in a bag until you have enough for a full jar. Freezing doesn’t hurt the ferment.
The First Ferment
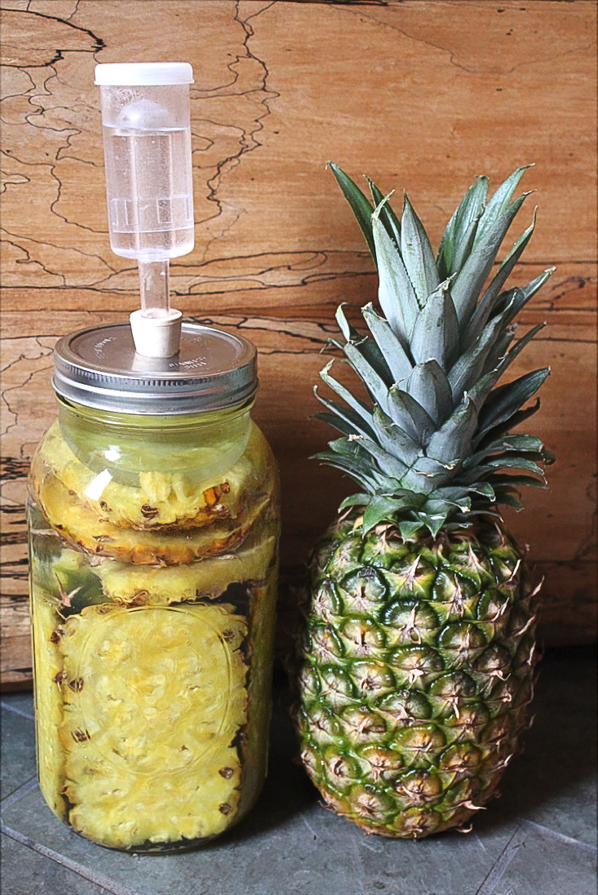
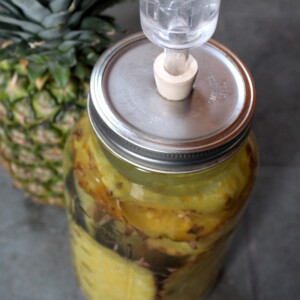
Pack the peels and cores into your jar and tuck in the cinnamon stick and cloves. Dissolve the sugar in warm water, not hot, since water above about 110°F will kill the wild yeast you’re depending on. Pour it over the scraps and leave at least an inch of headspace.
Fit the fermentation lid and set the jar somewhere at room temperature out of direct sun. Within 24 hours you should see bubbles rising and a layer of foam building at the top. Start tasting after the first day. Somewhere between 24 and 72 hours it’ll hit the balance of sweet and tart you want, and warmer kitchens get there faster.
White Film on Top: Mold or Kahm Yeast?
A white layer on the surface is the thing readers write to me about most, and it isn’t always a problem.
- Kahm yeast is flat and filmy. It looks like a thin white skin or a scattering of pale patches sitting on the liquid. It’s harmless, common in open ferments, and you can skim it off and carry on.
- Mold is fuzzy and three-dimensional. It has visible texture and usually shows blue, green, black, or gray. Mold means the batch goes down the drain.
- Both are easier to avoid than to diagnose. Keep the scraps below the liquid and use a fermentation lid rather than an open pitcher. If pieces keep floating, a small glass weight solves it.
Straining and the Second Ferment
When it tastes right, strain the liquid through a fine mesh strainer or cheesecloth and discard the spent peels to the compost pile. What you have now is drinkable, just flat.
To carbonate it, pour the strained tepache into flip-top bottles and leave them at room temperature for 12 to 48 hours. The yeast keep working on the remaining sugar and the carbon dioxide has nowhere to go, so it dissolves into the liquid. Once it’s fizzy, move the bottles to the refrigerator to slow everything down.
Bottle the Second Ferment Safely
A sealed second ferment builds real pressure, and this is the one step in the recipe where the container matters for your safety rather than just your results.
- Use bottles rated for pressure. Flip-top bottles, swing tops, or heavy glass bottles saved from store bought kombucha are all built for it.
- Mason jars are not pressure rated. A standard canning jar with a sealed two piece lid can build enough pressure during a warm second ferment to fail, and glass fails badly. If a mason jar is all you have, loosen the ring and burp it once or twice a day.
- Leave headspace and watch the clock. An inch or two of air at the top and a hard stop at 48 hours keeps things reasonable. Warm kitchens carbonate much faster than cool ones.
- Refrigerate as soon as it’s fizzy. Cold stalls the yeast and stops pressure from climbing further. Open chilled bottles slowly and over the sink.
Is Tepache Alcoholic?
Slightly, yes. Fermentation converts sugar into carbon dioxide and alcohol, so any wild ferment produces some. With a short two to three day ferment, tepache generally lands under 1 percent alcohol by volume, roughly on par with kombucha and well below beer. Most people drink it as a soft drink and treat it accordingly.
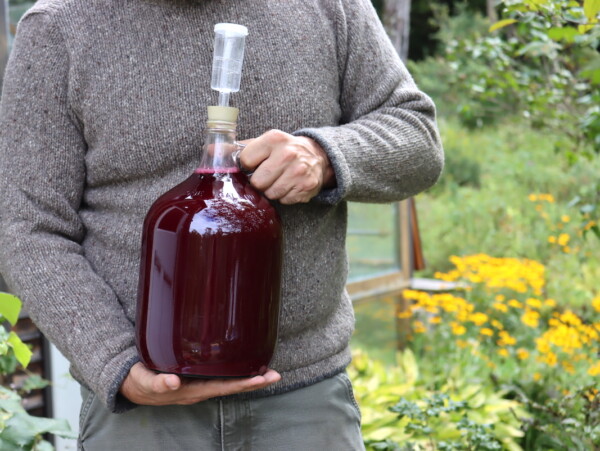
How far it goes depends on you. Longer ferments push the alcohol higher and the sweetness lower, and some traditional recipes add a bottle of beer near the end specifically to raise the alcohol content. If you want something genuinely alcoholic, you’re better off making pineapple wine, where you can control the process properly with measured yeast and an airlock.
If you’re serving it to children, to anyone pregnant, or to anyone avoiding alcohol, keep the ferment short and be upfront that it isn’t zero.
Storage and Shelf Life
Tepache lives in the refrigerator. Cold doesn’t stop fermentation, it just slows it down, so a bottle will keep drifting drier and slightly more alcoholic over time. Two weeks is the window where it tastes the way you intended, though sealed bottles keep considerably longer than that and readers have reported unopened bottles holding up for months.
Once a bottle is opened, treat it like any other fresh drink and finish it within a few days. This isn’t a shelf-stable product, and there’s no canning process that would make it one, since heat would kill the live cultures and drive off the carbonation that’s the whole point.
Recipe Tips & Variations
- Run the peels a second time. Add fresh sugar water to the same scraps for another batch. Readers have gotten three rounds out of one pineapple, though each one comes out lighter than the last.
- Freeze scraps as you go. Peels keep for months in the freezer, so you can build up a jar’s worth without a bulk pineapple day.
- No added yeast needed. This is a wild ferment powered by what’s already on the fruit. You can pitch a wine yeast for more predictable results, but it isn’t necessary and it costs you some of the character.
- Play with the spices. Star anise, allspice, fresh ginger, and a strip of orange peel all work. Chile and tepache is a common pairing in Mexico if you want some heat.
- Watch the room temperature. A warm kitchen can finish the first ferment in 24 hours while a cold one takes four days. Taste rather than counting days.
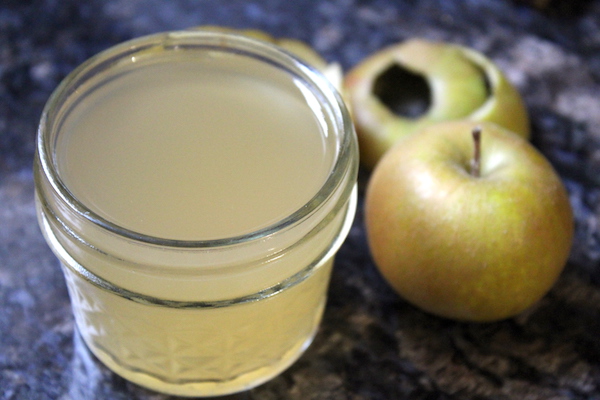
- Try it with other fruit. Apple peels ferment the same way, and if you let that one keep going past the fizzy stage it turns into apple scrap vinegar. The same trick works with pear, peach, and grape scraps for fruit vinegar.
Ways to Serve Tepache
Cold and over ice is how it’s meant to be drunk, and on a hot afternoon that’s hard to improve on. Cut it with sparkling water if your batch came out strong, or with a squeeze of lime if it came out sweet. It also makes a good mixer, and it does something interesting with tequila, mezcal, or a light rum.
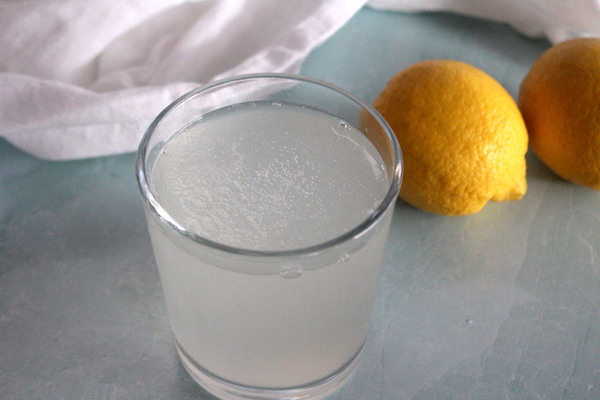
If you like having a live drink in the fridge, tepache pairs well with the other quick ferments. Water kefir gives you a soda you can keep going indefinitely once you have the grains, fermented lemonade is about as fast as this one, and kvass is the savory end of the same idea. Honey fermented ginger is worth having around too, and a spoonful of it stirred into a glass of tepache is very good.
Tepache FAQs
Slightly. Fermentation always produces some alcohol, but with a short two to three day ferment tepache generally comes in under 1 percent alcohol by volume, similar to kombucha and well below beer. Longer fermentation raises it, and some traditional recipes add beer near the end specifically to increase the alcohol content. Keep the ferment short if you are serving it to children or to anyone avoiding alcohol.
Plan on 24 to 72 hours for the first ferment, then another 12 to 48 hours in sealed bottles to build carbonation. Room temperature makes a big difference, and a warm kitchen can finish the first stage in a single day while a cold one takes four. Taste it daily starting after the first 24 hours and move on when the balance of sweet and tart suits you.
Yes. Add fresh sugar water to the same scraps and run it again, which works because there is still fruit sugar and yeast left in the peels. Readers have reported getting three usable batches from one pineapple. Each round comes out lighter in color and flavor than the one before, so expect the third to be fairly mild.
A flat white film on the surface is usually kahm yeast, which is harmless and can be skimmed off. Fuzzy growth with visible texture in blue, green, black, or gray is mold, and that batch should be discarded. Trust your nose as well: finished tepache smells sweet, tangy, and yeasty, and anything genuinely spoiled will smell wrong in a way that is hard to miss.
Tepache is a live fermented drink, so it contains the wild yeast and bacteria that developed during fermentation, much like kombucha or water kefir. It also still contains some sugar, since not all of it gets converted during a short ferment. It is a reasonable swap for soda rather than a health supplement, and it has not been studied the way some other fermented foods have.
Ways to Preserve Pineapple
If you tried this Tepache recipe, or any other recipe on Practical Self Reliance, leave a ⭐ star rating and let me know what you think in the 📝 comments below!
And make sure you stay in touch with me by following on social media!
Tepache Recipe (Fermented Pineapple Drink)
Equipment
- Half Gallon Mason Jar
Ingredients
- 1 to 1 1/4 cups piloncillo, or brown sugar, raw cane sugar also works
- Peels and cores from 1 to 2 pineapples, washed and scrubbed thoroughly
- 6 cups warm water, filtered or dechlorinated, under 110F
- 1 cinnamon stick, optional
- 2 whole cloves, optional
Instructions
- Prep the pineapple. Scrub the outside of the pineapple under running water with a vegetable brush. Cut off the top and bottom, stand the fruit up, and slice down the sides to remove the peel in strips. Quarter the fruit and cut out the fibrous core. Set the fruit aside for eating or preserving, since tepache uses only the scraps.
- Pack the jar. Place the pineapple peels and cores into a clean wide mouth half gallon mason jar. Add the cinnamon stick and cloves if you are using them.
- Add sugar and water. Dissolve the sugar in warm water, not hot, since water above about 110F will kill the wild yeast. Pour it over the pineapple scraps, leaving at least 1 inch of headspace.
- First ferment. Attach a fermentation lid or airlock and let the jar sit at room temperature for 24 to 72 hours. Bubbles and a layer of foam should appear within the first day. Start tasting after 24 hours and move on when the balance of sweet and tart suits you. Warm kitchens finish much faster than cool ones.
- Strain. Remove the lid and strain the liquid through a fine mesh strainer or cheesecloth. Discard the spent peels or reserve them for a second batch.
- Second ferment. Pour the strained tepache into flip-top or swing-top bottles rated to hold pressure, leaving 1 to 2 inches of headspace. Let them sit at room temperature for 12 to 48 hours to build carbonation. Do not use a sealed mason jar for this step. If a mason jar is your only option, leave the ring loose and burp it once or twice a day.
- Store and serve. Once the tepache is lightly fizzy, move the bottles to the refrigerator. Open chilled bottles slowly and over the sink. Serve cold over ice.
Notes
Nutrition
Nutrition information is automatically calculated, so should only be used as an approximation.
More Fermentation Projects
Find the perfect recipe
Searching for something else? Enter keywords to find the perfect recipe!











Such a great quick and easy beginner fermentation project!
Coming back to look up the recipe to make this again. Just wanted to say we had some of our first batch (we did a big canning session) for about a year in the fridge, no problem at all. Still tastes delicious. It really didn’t get that much more fermented, the fridge really slowed it down even more than expected. I think as long as you put it in the fridge and don’t open it after the final ferment, you don’t need to worry about bacteria growth if you started with sterile jars. Of course once you open it to have some, you’ll be risking introduction of bacteria, so we always drink it up within a few days.
Thanks for sharing.
Can you freeze the pineapple skins and make at a later date? Do you need the Core? My pup loves the cores….
You can skip the core if you like, and yes, you can freeze them for later.
Can you talk about how to properly wash the pineapple since it traveled a long way with exposed skin. Can you also talk about proper cleaning and sanitizing of kitchen tools and countertops. Please include bread boards, pots and pans and dish towels and sponges. Thank you.
This post was intended to be a quick tutorial about making Tepache. This information is certainly important but that is more information than we are able to include in a simple blog post.
Dear administrator…I am duly chastised. It won’t happen again.
Do you have to add the full cup of sugar are there any substitutes for sugar that would work in this recipe?
No, the yeast feed on the sugar so when you drink it, there is little sugar left. The longer you ferment, the lower the end sugar content, if any. I let mine go at least 3 days and it is quite tart.
Have you tried keeping it longer than 2 weeks? Is there a way to bottle it for shelf stable longer term storage? It sounds awsome & i can’t wait to make some. And if it is a max 2 week shelf life then twist my arm guess I’m throwing a party lol.
I bottle my Tepache for a second ferment and then store the bottles in the refrigerator. I first make a batch of tepache with pineapple skins, brown sugar, spices, and water. After it starts to foam up (for me about 48 hours), I let it ferment for 24 more hours. Then I filter and transfer it into swing top or store-bought kombucha bottles that can handle the pressure. I let the bottles sit at room temperature for another 2 days and then refrigerate. I start drinking them very cold the next day, and they are tart and slightly sweet with some nice fizz. I think these bottles will last in the refrigerator for several weeks or more, but they slowly continue to ferment, and the taste will change.
A pharmacist friend told me that potent pesticides are used on pineapples. I stopped making something similar due to this info. How do you wash the pineapples? Do you worry about pesticides?
For my own use, I’ve stopped making this with anything other than organic pineapples. But that said, unless you’re on an all organic diet the companies packaging prepared foods are making pesticide-laden food every day. A can of tomatoes from conventionally sprayed crops or even just applesauce. Those are some of the heaviest sprayed fruits you can buy, and they’re eaten all the time. I’d worry much more about that then a very occasionally made drink from pineapple peels once or twice a year.
AG. When my husband and I use store bought produce we wash the it with a mixture of benanite clay and water.
Can you substitute the beer for white wine?
Yes, of course. This would be delicious in white wine.
Prosecco!
I used a plastic pitcher for about 5 days now it has few white patches on top,
I’m scared to use it
Looks like you got mold contamination. In most cases, it’s still fine, just scoop the mold off the top, but obviously, you have to use your best judgment because you’re the one that’s drinking it (and I’m not a doctor or a microbiologist…). If you’re using an open fermenter like a pitcher, fill a Ziploc bag with water and place that on the top. That’ll hold everything under the waterline and help prevent surface mold.
The “white patch” may no be mold at all but a certain kind of yeast bloom. If that, completely benign. Just “spoon it away”.
Maybe I missed it but I don’t think you said what type of yeast you use? The only reason I ask is because there are so many different types out there
This recipe is a wild ferment with no added yeast. You’re relying on natural yeast present on the fruit, and it worked wonderfully for me. If you’d prefer, feel free to add a wine yeast.
I just bottled my first batch, have you ever made a second batch with the same pineapple?
Awesome! No, I’ve never used the same pineapple twice. I would think that most the sugars and flavor would be in the first batch. I do use the vegetables and bones twice when I’m making bone broth, and the second batch is always tasty too. So maybe there’s enough pineapple flavor left, give it a try! I’d love to hear your results.
I was so excited to find this recipe for my pineapple peeling. I had the silicone mason jar lids so it was easy! It was delicious!! I then put more sugar and water trying the same peel Ings for a second time. It was delicious! So I am trying it for the third time
Wonderful, so glad you enjoyed it!
I have read you can use it THREE times! There are different things to do in each stage..