Affiliate disclosure: This post may contain affiliate links. Please see our Privacy Policy.
Canning pumpkin safely can be tricky, and there’s only one safe pressure canner recipe for canning pumpkin currently approved by the National Center for Food Preservation. Don’t worry, I’ll walk you through it step by step.
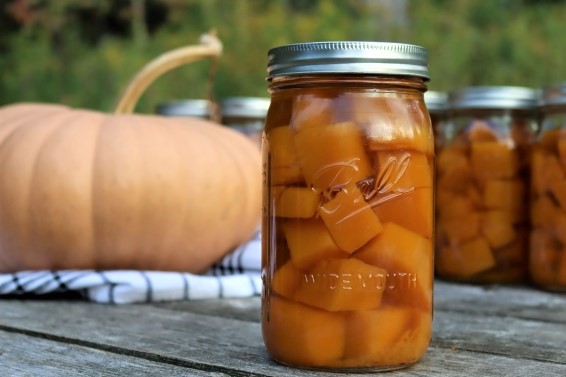
Pressure canning can be intimidating, especially for beginners.
My first pressure canning experience was watching my aunt pressure can pumpkin. She found an old recipe for pressure canning pumpkin puree, which is no longer considered safe because puree is too thick for even heating.
She only had a tiny presto pressure canner, and at the end of the process, we only had two jars. It hardly seemed worth it then, but it opened my eyes to the wonderful world of pressure canning. (And showed me that it’s not nearly as scary as it seems, once you actually do it!)
A decade and a half later, I find myself living with solar power, and freezer space is at a premium. If something can go into a jar rather than the freezer, I whip out the pressure canner and get to work.
Though nobody got sick from those cans of pumpkin puree, that was a matter of luck. These days, I can pumpkin in cubes in using proven safe methods because there’s no reason to play Russian roulette with botulism.
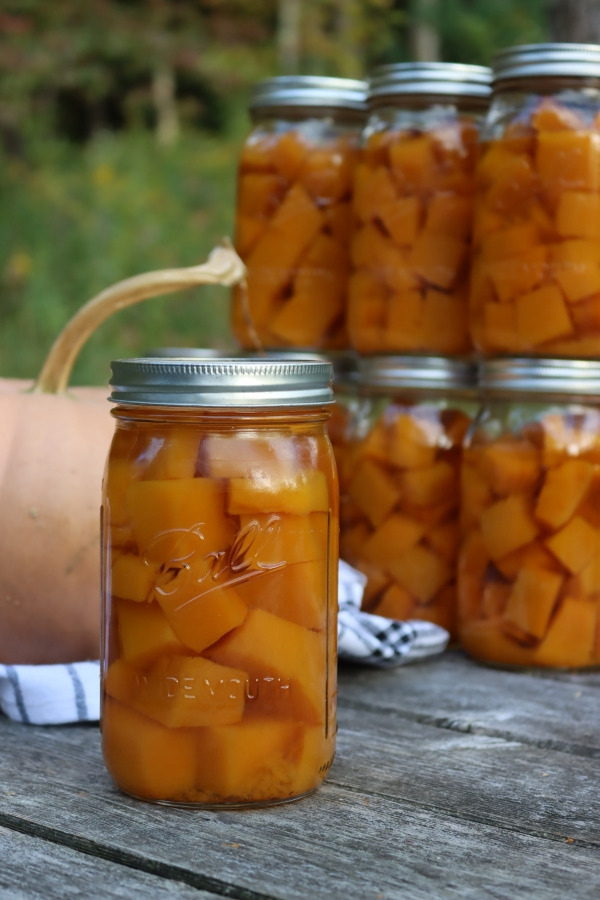
Pressure Canning Pumpkin (vs. Water Bath)
So let’s start with the basics. Pumpkin is a low acid food, which means that it can only be canned in a pressure canner.
Water bath canners, which are approved for high acid fruits, pickles, and jams, only heat up to the boiling point of water (212 at sea level). That’s perfectly fine for some foods, which are acidic enough to prevent spoilage bacteria (below a pH of 4.6).
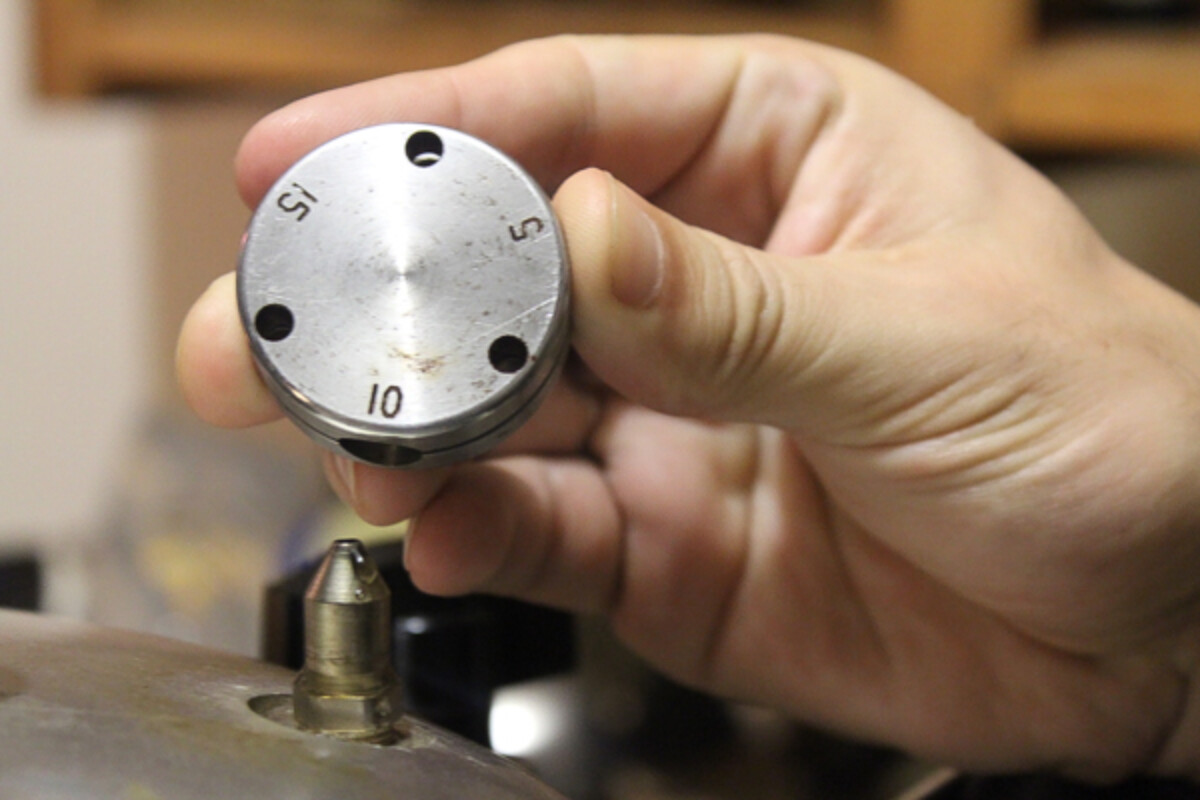
Pressure canners, on the other hand, can achieve much higher temperatures (240 degrees at 10 pounds pressure) and effectively pasteurize low acid foods including meat, beans, corn, and winter squash such as pumpkin.
Long ago, before pressure canning became available, people did water bath can pumpkin, but that method just isn’t safe. Water bath canning temperatures don’t kill botulism spores. The resulting food is then boiled hard for at least 10 minutes after it comes out of the jar to (hopefully) denature the botulism toxin.
Not something to be taken lightly. Do not, under any circumstances, attempt to water bath can low acid foods like pumpkin.
Canning Pumpkin Puree vs. Pumpkin Cubes
Now you know that pumpkin must be pressure canned…but there’s another problem. You cannot can pumpkin puree, it must be canned as cubes instead.
Pumpkin puree is really thick, and it just doesn’t heat evenly. Every type of pumpkin is a bit different, and different viscosity will affect how the squash heats.
Commercially canned pumpkin is made from a consistent variety, and it’s a very consistent thickness before it goes into the can. They’ve tested it and determined precisely how hot and long they have to can it for safety. It’s also in a tin can, so they can flash cool it right after, preserving the quality of the pumpkin puree.
(Glass canning jars would explode treated that way.)
When home processing, pumpkin must be canned as cubes, end of story.
While this may seem disappointing, it actually allows for much more flexibility. You don’t have to make pumpkin pie or pumpkin bread…
With cubes, you can try your hand at Thai pumpkin curry, or one of my favorites, Kaddo (Afgan pumpkin with yogurt and tomato sauce). Both are really unbelievably good, and you’ll be glad you had cubes instead of puree.
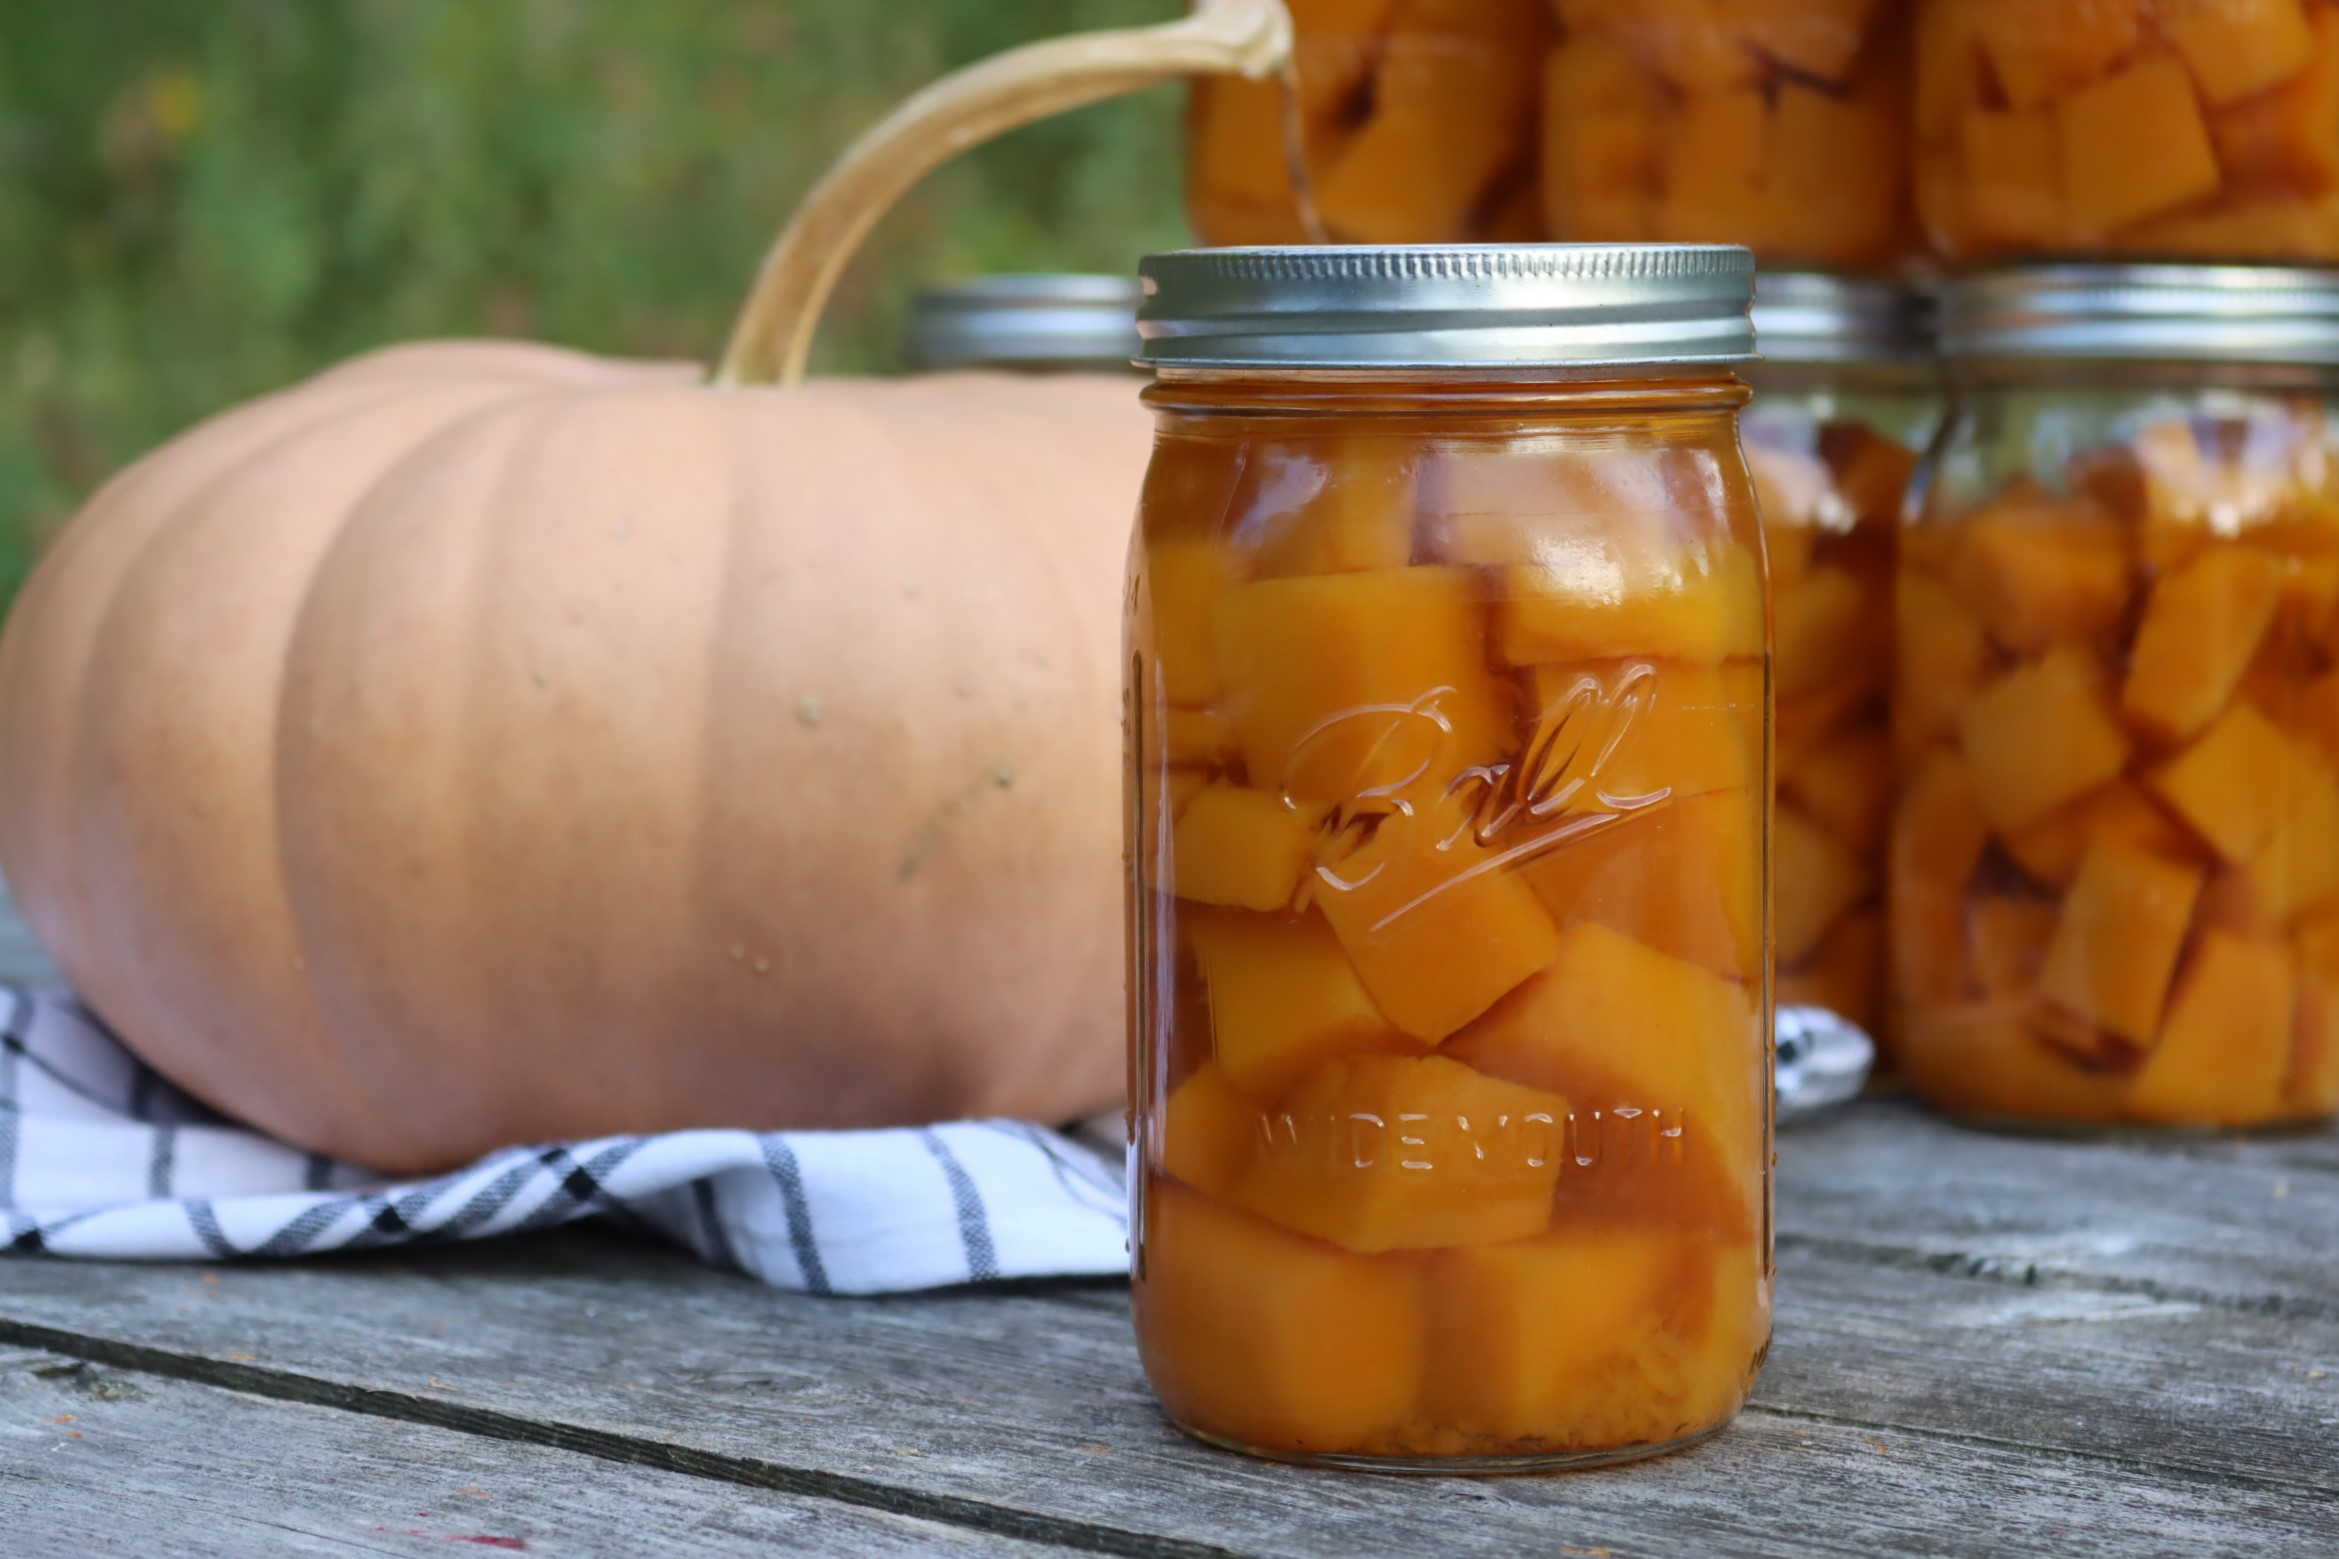
Best Varieties of Pumpkin for Canning
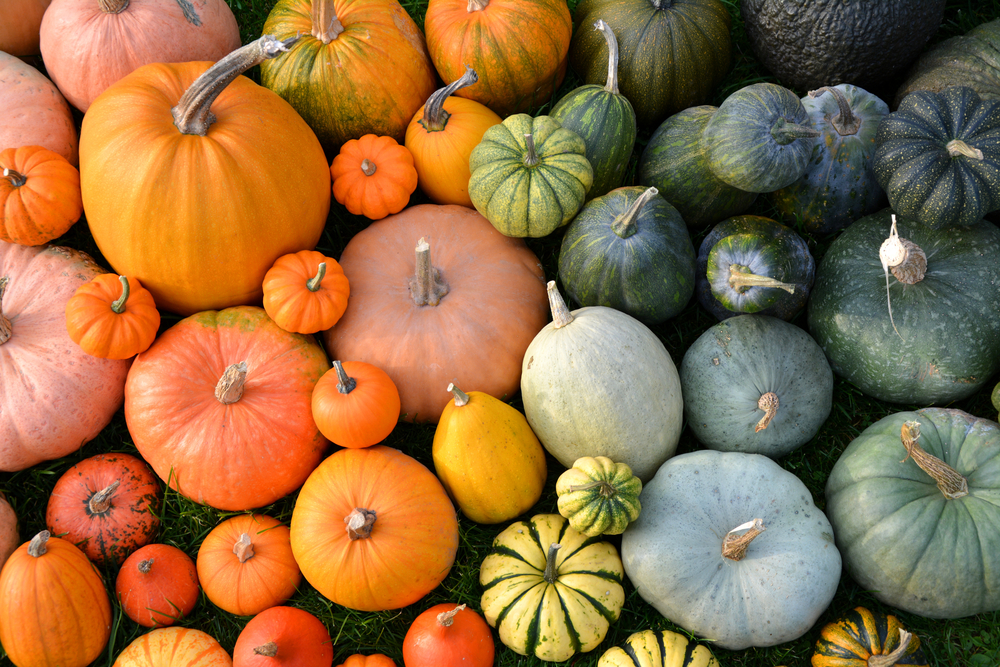
The best varieties of pumpkin for canning are those that taste fabulous and have a firm, non-stringy texture.
It should be a variety that can hold up to canning without falling apart so that it stays as cubes in the jar. That’s true of most pumpkin varieties, but since there are literally hundreds (if not thousands) or types of winter squash, it’s hard to know for sure if you’re using an obscure or heirloom variety.
Pie pumpkin varieties are perfect and tend to have just the right consistency. My personal favorite is New England Cheese, which makes the best tasting pumpkin in my opinion.
Other types of winter squash, such as blue Hubbard and butternut, can also be canned using the same directions as these instructions for canning pumpkin.
The only exception is spaghetti squash, which falls apart during cooking and cannot be effectively canned as cubes.
(Summer squash varieties, like pattypan and zucchini, cannot be pressure canned. Be sure you have a winter squash variety.)
How Much Pumpkin fits in a Canning Jar?
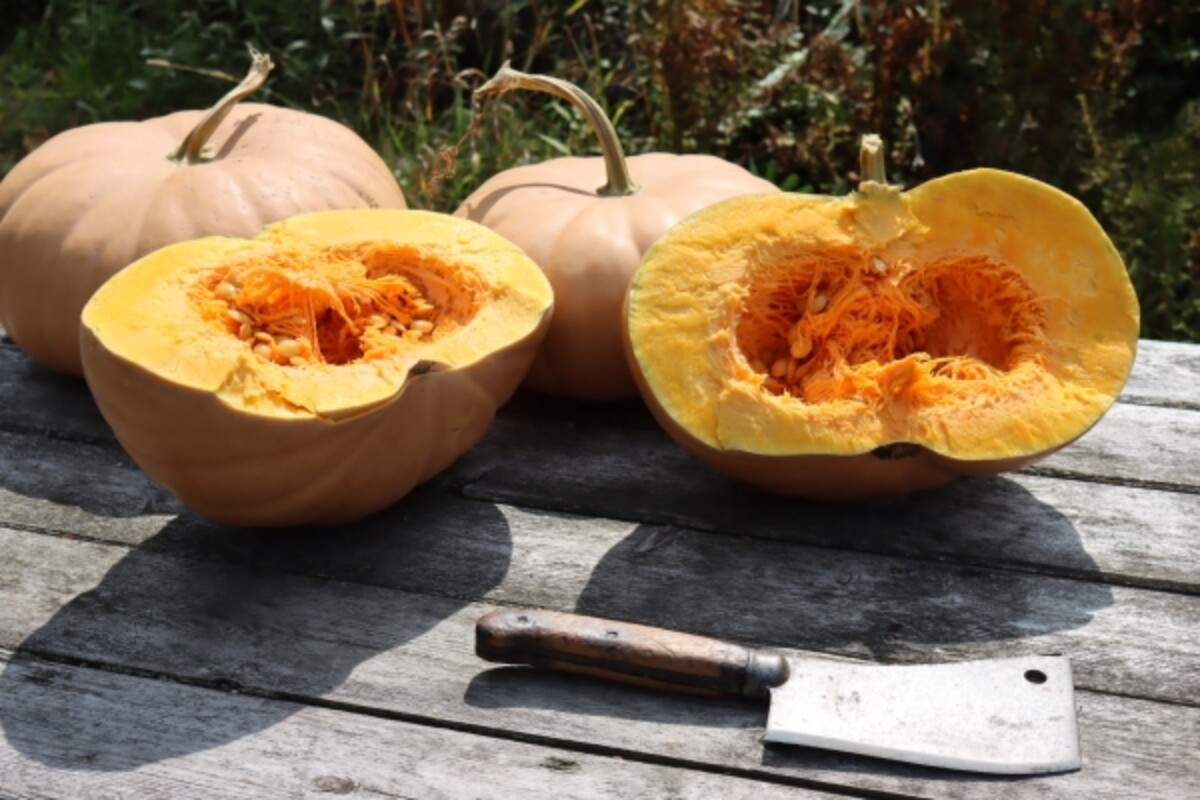
So yields are a bit tricky, especially since every pumpkin or winter squash variety has a different proportion of meat to seeds/rind. The variety I love, New England Cheese, is a pretty meaty pumpkin with thick walls and a relatively small seed cavity.
I used 20 pounds of whole squash (10-12 pounds prepared pumpkin cubes) for a 7 one-quart canner batch. That’s roughly 2 3/4 to 3 pounds whole pumpkin (or 1 1/2 pounds cubes) per quart jar.
The national center for food preservation estimates 16 pounds of pumpkin is needed to fill 7 one-quart jars, but they don’t specify if it’s whole pumpkin or already cubed.
I’d suggest weighing the whole pumpkins, and assume you need somewhere between 16 and 20 pounds per 7-quart canner batch (or roughly 2 1/4 to 3 pounds per quart jar).
Preparing Pumpkin for Canning
While actually canning pumpkin is pretty straightforward, getting intact cubes of pumpkin flesh to fill the jars is the tricky part. How does one peel a raw pumpkin?
When I’m making pumpkin puree for the freezer, I just chop the squash in half and roast them that way. The flesh is easy enough to scoop out once it’s soft, and I don’t have to worry about peeling a raw pumpkin.
It’s actually not too bad if you chop the pumpkin before you try peeling.
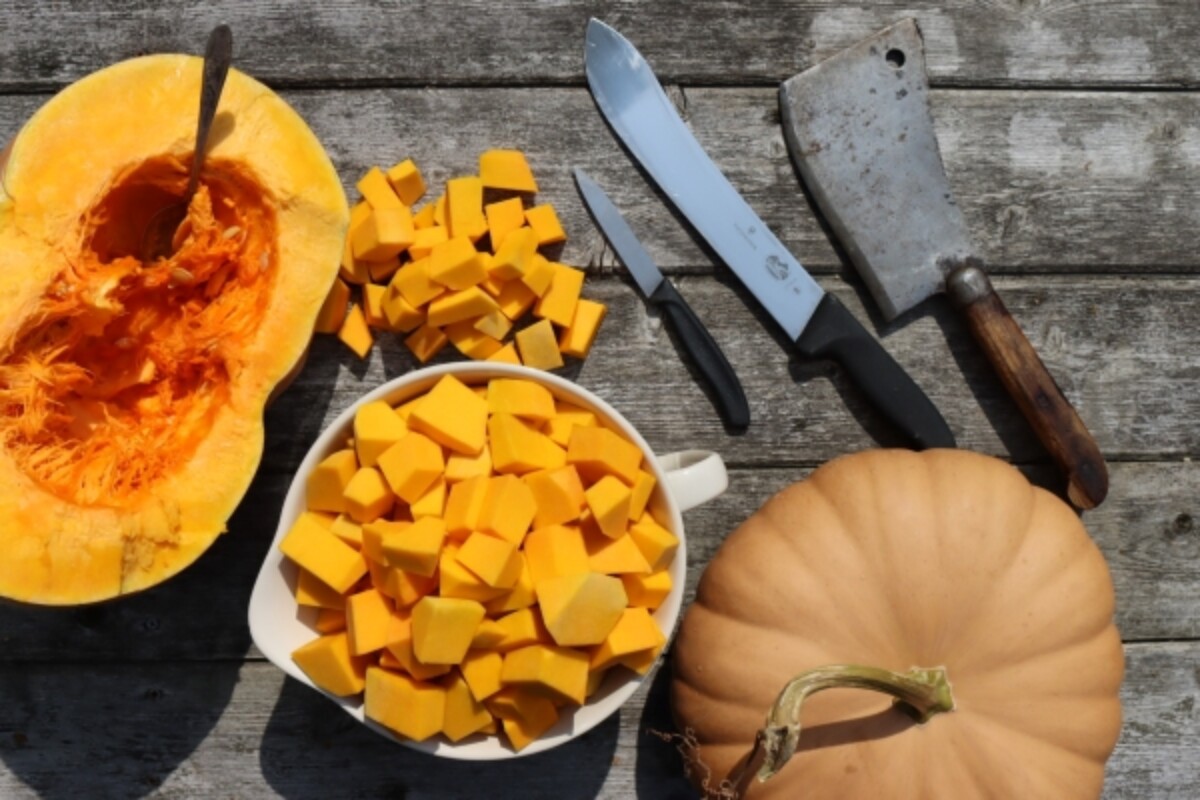
The first step is hacking the pumpkin in half with a large cleaver. Scoop out the seeds and stringy insides, leaving just pumpkin flesh and peel.
Take the resulting pumpkin halves, and cut them into 1-inch strips. A big chefs knife would work for this, but I actually have a really nice 10-inch curved butcher knife that I use when butchering whole hogs. It’s perfect for the task and cuts through a pumpkin half like butter.
Once the pumpkin is in one-inch strips, you can run a filet knife along the curve to peel it. Or, the easier way, just chop it up and peel the individual cubes with a paring knife.
I found that was the easiest way, and a small sharp paring knife makes quick work of 1-inch patches of pumpkin peel.
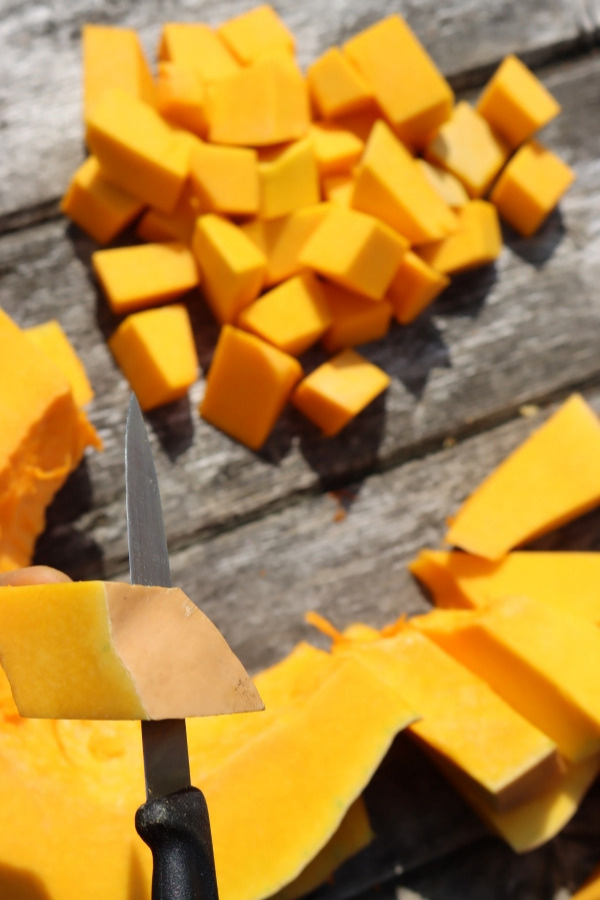
In the end, you should have a big bowl of 1-inch cubes of raw pumpkin flesh, without peel, strings, or seeds.
As mentioned previously, you’ll need about 1 1/2 pounds of prepared pumpkin cubes for each quart jar (or roughly 3/4 pound per pint jar).
How to Can Pumpkin in a Pressure Canner
Chopping the pumpkin is the time-intensive part, but once you have the peeled pumpkin cubes the whole pumpkin canning process goes smoothly. The pumpkin must be packed hot in water, so you’ll need to blanch it in boiling water for 2 minutes before loading it into the jars.
Prepare a pressure canner according to the manufacturer’s instructions. This will vary slightly by model, but for my 30-Quart All American Canner, that means adding 3 inches of water to the bottom and inserting the bottom trivet. I then bring it to a simmer while I prepare the pumpkin.
(My particular model is actually a double-decker model, so I can process 14 quarts at a time in 2 layers within the canner. At this point, also prepare jars and lids.)
On another burner, bring a large stockpot of water to a boil. Once boiling hard, add the pumpkin and cook 2 minutes until heated through. Be careful not to cook too long, they need to be hot but not falling apart.
Use a slotted spoon to scoop the hot pumpkin cubes into the prepared canning jars, leaving 1-inch headspace. Ladle the hot boiling water over the top, remove air bubbles and adjust the headspace to maintain 1-inch above the liquid fill line.
Seal the jars with 2 part canning lids and load them into the pressure canner.
Once your jars are filled, cap up the pressure canner and tighten the lid…but don’t put on the canning weight quite yet.
Turn up the heat to high and allow the steam to vent for a full 10 minutes before adding the canning weight. This ensures that the chamber is completely full of steam before the jars are processed, which allows for even heating of all the jars in the canner.
Bring the canner up to pressure and process the jars at pressure for 55 minutes for pints and 90 minutes for quarts.
The pressure used depends on altitude. At sea level, it’s 10 pounds pressure, but that increases at higher altitudes. See the table below for altitude adjustments:
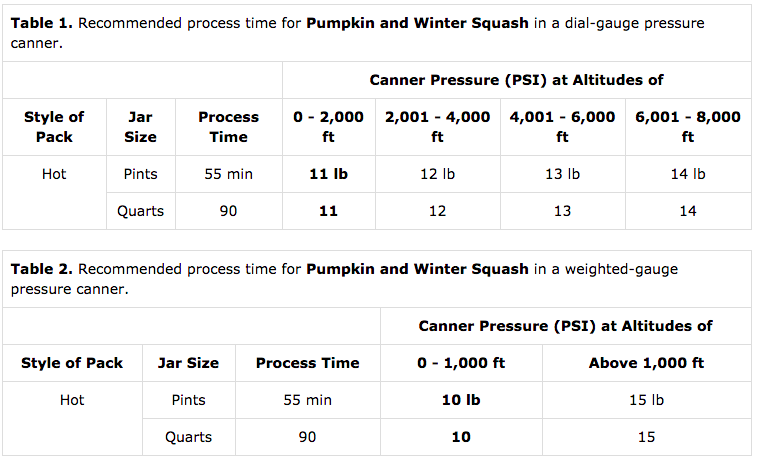
Important note: If pumpkin is processed at too high a pressure, it’ll brown as the sugars carmelize. The same thing happens when pressure canning corn. For pumpkin, it actually tastes pretty good carmelized, depending on your preferences. For corn though, it basically ruins the batch.
If you see brown spots on your home-canned pumpkin, that’s why.
Canning Pumpkin
Ingredients
- Pumpkin
- Water
Instructions
- Prepare whole pumpkins for canning. Slice in half, remove seeds and strings. Slice halves into 1-inch strips, then chop into 1-inch cubes. Use a paring knife to slice the peel off each cube (or peel the 1inch slices before chopping into cubes).
- Prepare a pressure canner and canning jars.
- Bring water to a boil in a large stockpot.
- Add the pumpkin to the boiling water and cook 2 minutes, until heated through. (Be careful not to overcook so the pumpkin chunks don't fall apart.)
- Use a slotted spoon to scoop the pumpkin chunks into prepared jars, and top with the hot blanching water, leaving 1-inch headspace.
- Debubble jars, adjust headspace, and seal with 2 part canning lids.
- Load the jars into a pressure canner and seal the lid, but don't put on the canning weight yet.
- Turn the heat up to high and allow the canner to vent steam for 10 minutes before adding the canning weight.
- Bring the canner up to 10 pounds pressure (if at sea level, see notes for altitude adjustements).
- Once at pressure, process pint jars for 55 minutes and quart jars for 90 minutes.
- Turn off the heat and allow the canner to cool completely before opening.
- Once completely cool, remove the jars and check seals. Store any unsealed jars in the refrigerator for immediate use.
- Properly canned and sealed jars should maintain quality on the pantry shelf for 12-18 months. See notes for approximate yields and altitude adjustments.
Notes
Fall Canning Recipes
Canning more than pumpkin this autumn? I have literally hundreds of canning recipes, including these tasty fall seasonal preserves:
Pressure Canning Recipes
Want to keep that pressure canner rocking?
- Canning Beets
- Canning Potatoes
- Canning Carrots
- Canning Turkey
- Canning Green Beans
- Canning Bone Broth


I’m curious. How do I figure out how long to process pumpkin in 1 1/2 pint jars?
I would just go with the quart processing time.
I learned then a puree just doesn’t work well when one out of three lids unsealed and the jars went bad. I found out that I would have had to process for a lot longer, so I just cubed them next time. I’m not 100 percent sold on USDA standards because so many safety authorities have different recommended practices, but they seem to have something on this one.
I have a good 15-20 Conncticut Field pumpkins, which I was told are good canning pumpkins. Any thoughts, have you ever canned this type of pumpkin? My daughter is super excited, loves to bake anything pumpkin.
I have not personally used this particular variety but I do know that it’s often used for baking so it should be fine.
As the processing time is 90 minutes for a quart is it allowed, to use chicken broth instead of water?
Thank you.
The processing time for broth in quarts is 25 minutes so yes, you could process the pumpkin with chicken broth instead of water.
Ok, so let me start by saying I am new to canning but I think I canned the wrong type of pumpkin. I purchased “carving” pumpkins not knowing that “pie” pumpkins are preferred for recipes. I will say I’m in Florida and have never seen a pie pumpkin available in the grocery store. Having said that, I pressure canned the pumpkin in quart jars and mine looks exactly like the pictures posted on this site. That makes me happy, however, I opened a jar in order to taste test how it turned out. Watery is a word I would use to describe the taste. Is this normal? Is this going to ruin every recipe I attempt to make using all of this canned pumpkin? Just how much sugar and spice will I need to make this edible? HELP! 😀
I would say that is very normal for those types of pumpkins. They definitely aren’t bred for their flavor. I have never personally used a carving pumpkin for pie before but I have heard other people do it. You have gone through the work to can it, you might as well give it a try.
Hi, where do you get New England Cheese seeds?
Annie’s Heirloom Seeds, Baker Creek Heirloom Seed, Fedco Seeds, Fruition Seeds, High Mowing Organic Seeds, Seed Savers Exchange, Seeds of Change, Sow True Seed, Sustainable Seed Co., and West Coast Seeds are some of our favorite seed companies. You should be able to find those at several of these seed companies.
Pumpkins and tomatoes have around the same PH in acidity. To make pumpkins safer to can follow the same for tomatoes by adding 2 tablespoons of bottled lemon juice per quart of pumpkin then pressure
This is the only tested method for canning pumpkin, so it’s the method that we recommend. Also, I would think that adding lemon juice to pumpkin would affect the flavor.
Tomatoes are water bath canned with lemon juice. BUT if you add anything to the tomatoes, such as herbs or onions or garlic, THEN you have to pressure can them. Pumpkin has to be pressure canned because it is a low pH food. No lemon is needed.
The part that everyone leaves out is how to prep the jars. My understanding is that for hot packed jars you need to clean the jars and then heat them. I can place the pressure canner on the stove and a pot for the pumpkin cubes but there isn’t any more room. How does one have hot jars to place the hot pumpkin and hot water in? I have looked for ideas on line. I don’t have a dish washer and I don’t want to use dry heat in the oven. My pressure canner says to add 3 quarts of water so that isn’t enought to cover jars to heat them and I understand uneven heating can crack the jars. I thought maybe I could place clean jars in a water bath canner and heat to around 200 degrees F and remove it from the stove and hope it doesn’t cool below 180 while I get the rest ready. Any knowledge or tips you have on this would be very helpful.
If you heat it and then add a lid to the pot, it should stay hot enough.
Is it OK if some of the liquid came out of the jars? The quarts are sealed but the liquid is lower than the pumpkin chunks and it was full to begin with minus the 1″ headroom. I have several quarts that it happened to. I used a good pressure canner.
It sounds like you have experienced some siphoning. This often happens with extreme temperature changes. It is often suggested that you leave the jars in the canner until they are completely cool to avoid this.
will this work in a pressure cooker instant pot?
It is not recommended to pressure can in an Instapot. This is something that hasn’t yet been tested for safety.
I LOVE your posts, Ashley! I have been gardening and canning for decades, but you are my go-to whenever I need updating or want to try something new. Thank you for following/sharing your heart for all things homestead—you are a gem!!
Wonderful! So glad to have you along =)
Great post! Have you used your canned cubed pumpkin for pies or bread? Once you drain the jar and puree the pumpkin, how does the texture compare to either freshly prepared or store-canned pumpkin for making pies and bread? How much puree do you get from each quart of cubes?
Yup, you’ve got it right. Just drain the cubes and then puree. The finished texture will depend to some extent on your choice of squash or the type of pumpkin. Mine pureed quickly into just the right consistency for pumpkin pie. The yield will depend on how well you’re able to pack the jar, the size of the cubes, etc…but my yield was about half the volume of the jar. For example, a quart jar made about 2 cups of finished puree, or roughly 1 pumpkin pie’s worth.
Thank you! Very helpful!
Thank you so much for your posts! We’re planning our big move off the grid in 5.5 years (when kids get through school). My mom was a “career woman” in the 60’s, 70’s, and 80’s, so we had a lot of TV dinners and didn’t learn anything about baking, cooking, canning. What’s ironic is that her mom was “Pennsylvania Dutch” (which, as you know, describes a bunch of different sub cultures). Her roots in PA went back to 1730, before we were even a country. My grandmother knew so much, but none of that knowledge was passed down. Just a few ancient cookie cutters. So, thanks for filling in the gaps!
You’re welcome! Good luck with your off-grid home and recapturing your lost knowledge!
These are great posts. Especially if your goal is self-reliance.
Thanks!
Is butter cub squash a good on to can? Can you add the salt to jars?
I believe that butter cube squash is considered a summer squash so I would not recommend canning it but it can be pickled and canned.
Butter CUP squash is a winter squash. I have not canned it but I just made it into pumpkin muffins and pie! It’s looks and tastes just like pumpkin! I like the large amount of squash “flesh” contained in each one. 😁