
Affiliate disclosure: This post may contain affiliate links. Please see our Privacy Policy.
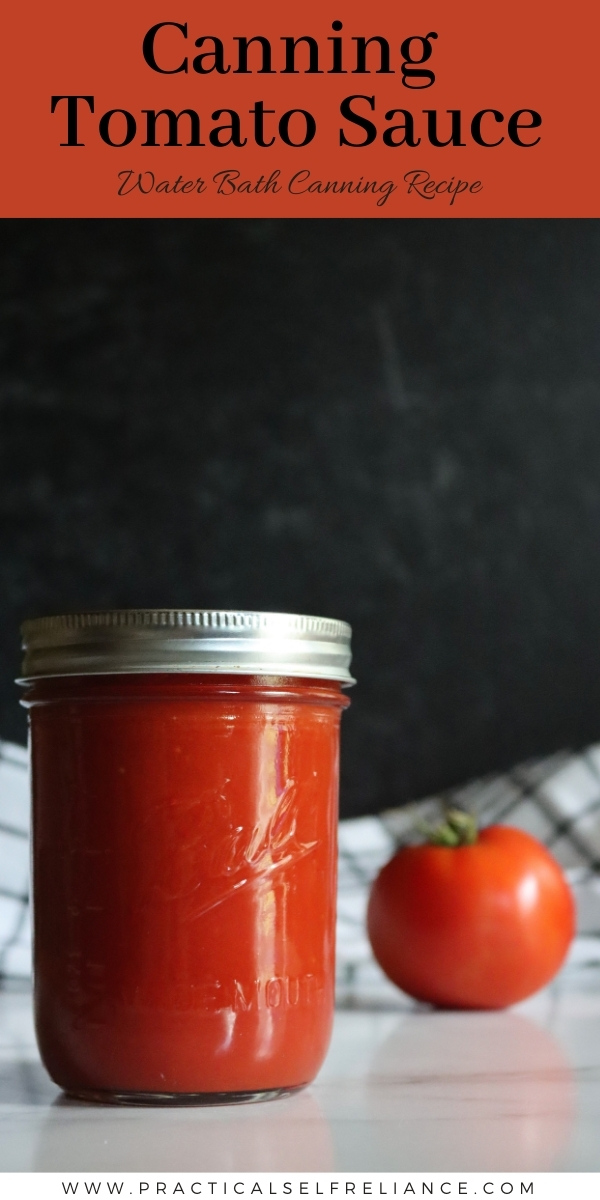
Canning tomato sauce is one of the easiest tomato canning recipes imaginable. Peels and seeds are easily removed with a sieve (rather than by hand), and it’s a simple water bath canning recipe. Choose unseasoned or seasoned tomato sauce (or both), it’s the same process either way.

Table of Contents
- How to Make Tomato Sauce
- Adding Acidity to Tomato Sauce for Canning
- Canning Tomato Sauce
- Altitude Adjustments for Water Bath Canning
- Altitude Adjustments for Dial Gauge Pressure Canners
- Altitude Adjustments for Weighted Gauge Pressure Canners
- Seasoned Tomato Sauce
- Tomato Canning Recipes
- Canning Tomato Sauce Recipe
- Summer Canning Recipes
Canning tomatoes is one of the most convenient ways to preserve them for year round use. The problem is, most tomato canning recipes take a lot of hands on prep time to peel and seed the tomatoes.
When I’m pressed for time, especially when I’m pulling in buckets of tomatoes a day from our home garden, I’ll make a quick tomato sauce instead.
With tomato sauce, I’m able to use a food strainer to quickly separate the peels and seeds, while creating a smooth tomato sauce at the same time.
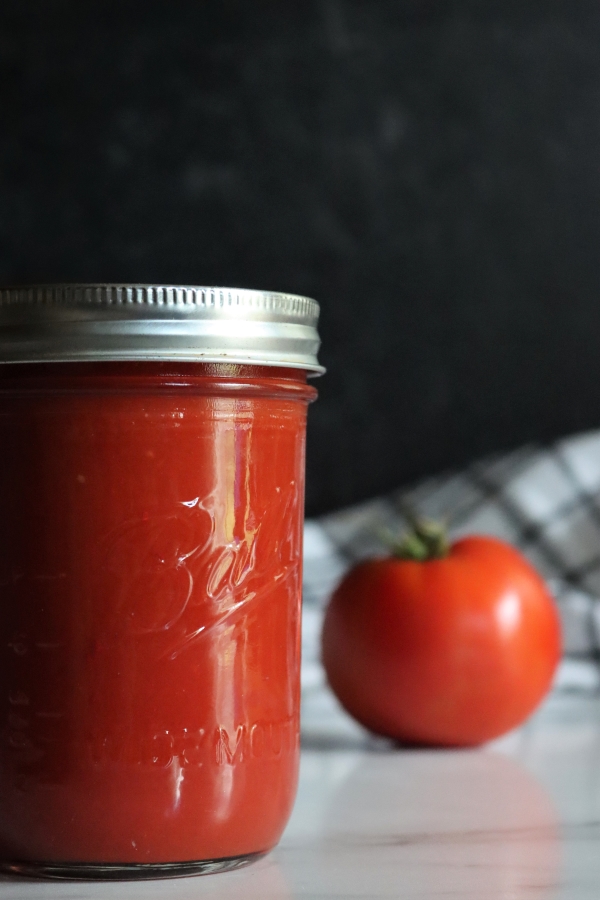
How to Make Tomato Sauce
The first thing you’ll need to decide is whether you want to make a thin sauce or a thick sauce. This comes down to personal preference, the only caveat being that a thicker sauce calls for more tomatoes than a thin sauce. If the sauce is too thin, you can always thicken the finished, preserved tomato sauce by reducing it in a saucepan before serving.
For a thin sauce, you’ll need about 35 pounds of tomatoes per canner load of 7 quarts, or 21 pounds of tomatoes per canner load of 9 pints.
For a thick sauce, you’ll need about 46 pounds of tomatoes per canner load of 7 quarts, or 28 pounds of tomatoes per canner load of 9 pints.
To prep the tomatoes, wash them and remove the stems as well as any bruised or discolored parts. If you don’t have a food strainer or food mill, you are going to need to peel and seed the tomatoes. It’s time consuming, and I’d highly recommend investing in a food mill of some sort (recommendations below).
If using a food mill, don’t worry about peeling or seeding the tomatoes — they’ll be removed for you after the first round of cooking.
Preventing Tomato Sauce Separation
When you’re making and canning tomato sauce from scratch, the juice from the tomatoes will separate unless care is taken to prevent this from happening. Tomatoes are naturally high in pectin, a type of starch that upholds the cellular structure of certain types of fruit. When tomatoes are cut or crushed a cell-wall-destroying enzyme is released, which causes the juice to separate.
Slowly add the rest of the tomatoes, cutting and quartering as you work. Mash the fresh tomatoes into the boiling tomato mixture, making sure the crushed tomatoes are vigorously boiling throughout the process. Once all the tomato quarters have been added to the saucepan and crushed, let them to simmer for 5 minutes.
If you aren’t phased by the tomato juices separating, you can add all the quartered tomatoes to a large saucepan at once over high heat. Crush the tomatoes, bring to a boil, and simmer for 5 minutes.
This quick cooking sets their juice and breaks down the tomatoes so that you can separate a smooth sauce using either a food mill, food strainer or chinoise sieve.
Straining Tomato Sauce
There are a few options for quickly straining tomato sauce. This not only removes the peels and seeds, but also ensures a smooth tomato sauce without chunks or stringiness.
When I’m making a big batch and actually canning tomato sauce in bulk, I’ll use my kitchenaid food strainer attachment. The partially cooked tomatoes are loaded into the top, and then the attachment separates them. The peels and seeds are booted out the front of the strainer, and a smooth sauce falls below.
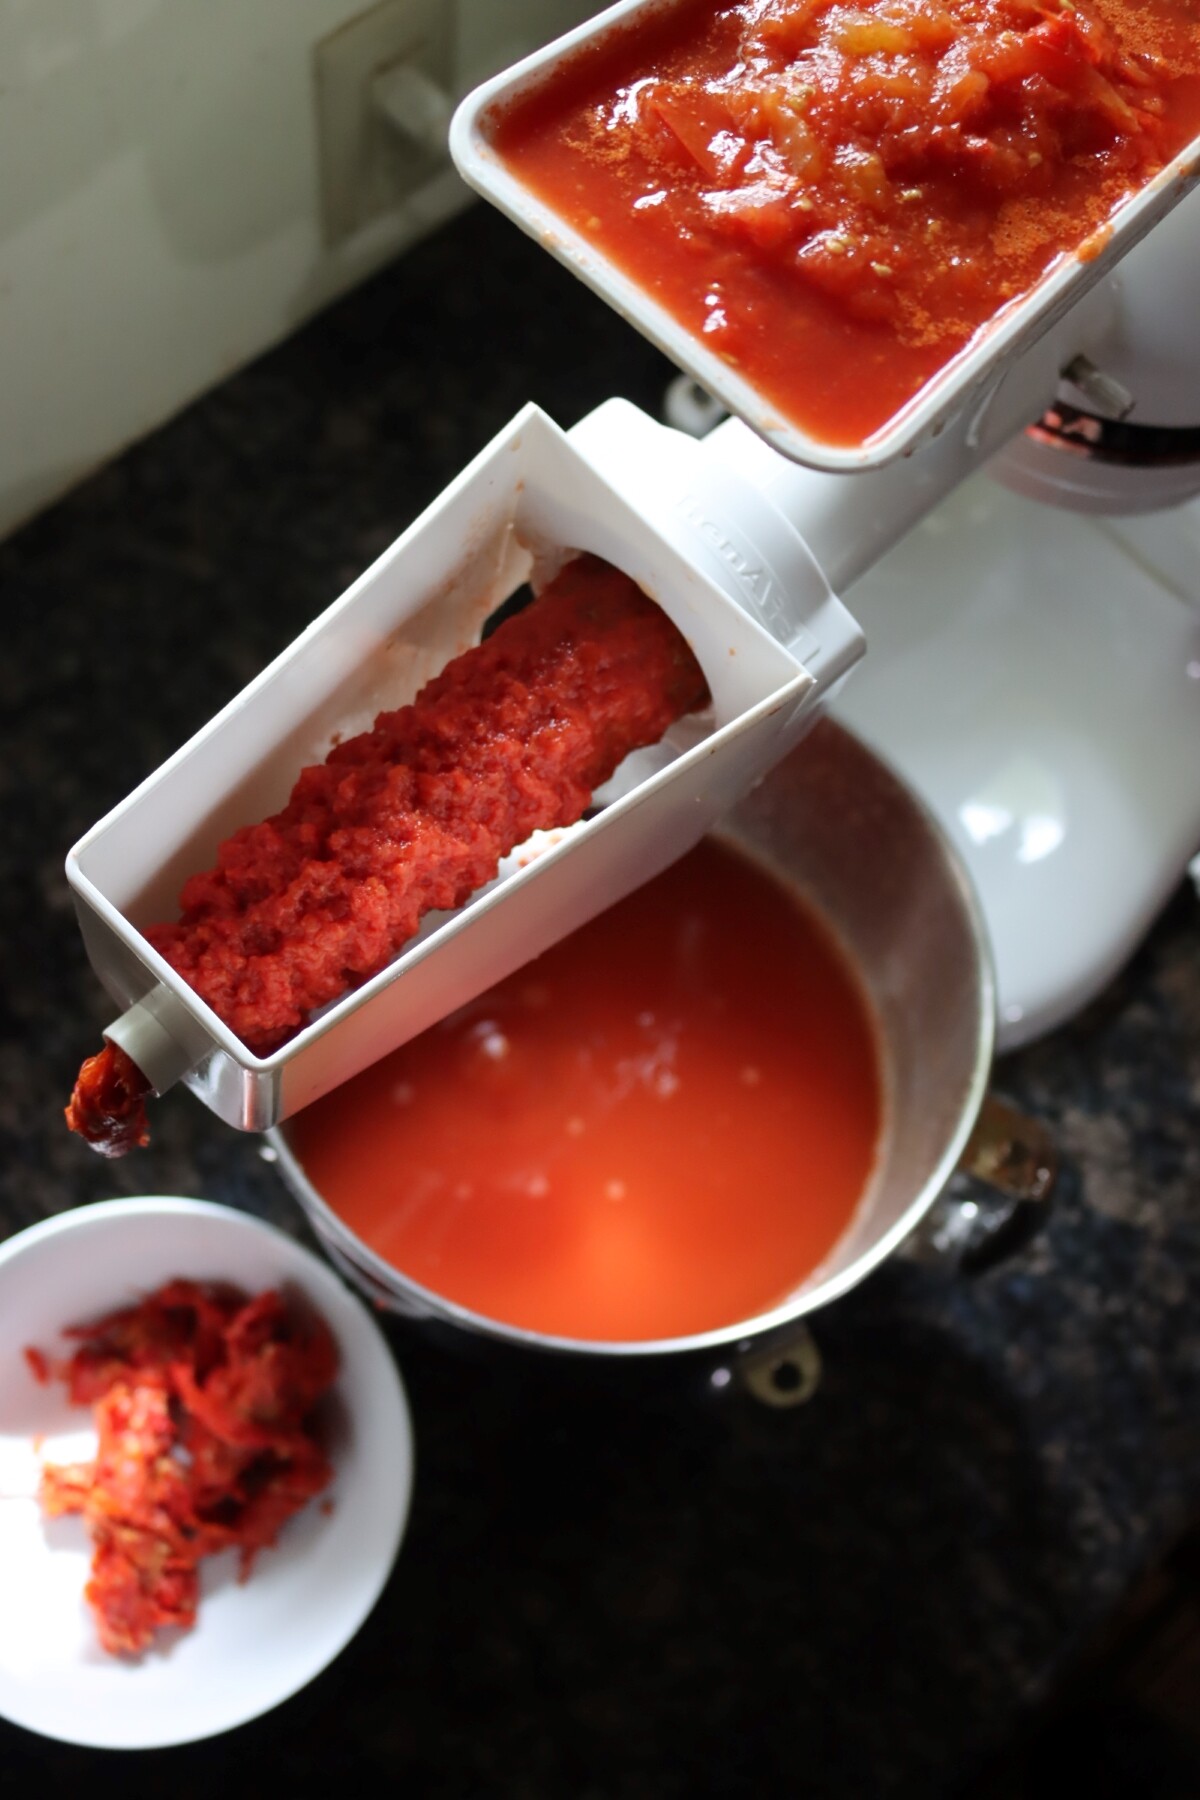
This attachment is really handy, and I also use it to make applesauce without peeling or seeding the apples.
If you don’t have a kitchenaid, there’s also a hand crank version of the same food strainer, and it’s just as efficient. It’s honestly a bit easier to clean, so that’d be my preference if I didn’t have a kitchenaid always available on my counter.
For small batches of quick sauce, if I’m only canning up a jar or two, or just simply making fresh sauce for dinner, I’ll put the tomatoes in my chinois sieve. It quickly works through small batches, and is much easier to clean than either of the other options. It’s a little slow for large batches, and requires a good bit of elbow grease, so I’ll only use it if I’m just working with a few pounds of tomatoes.
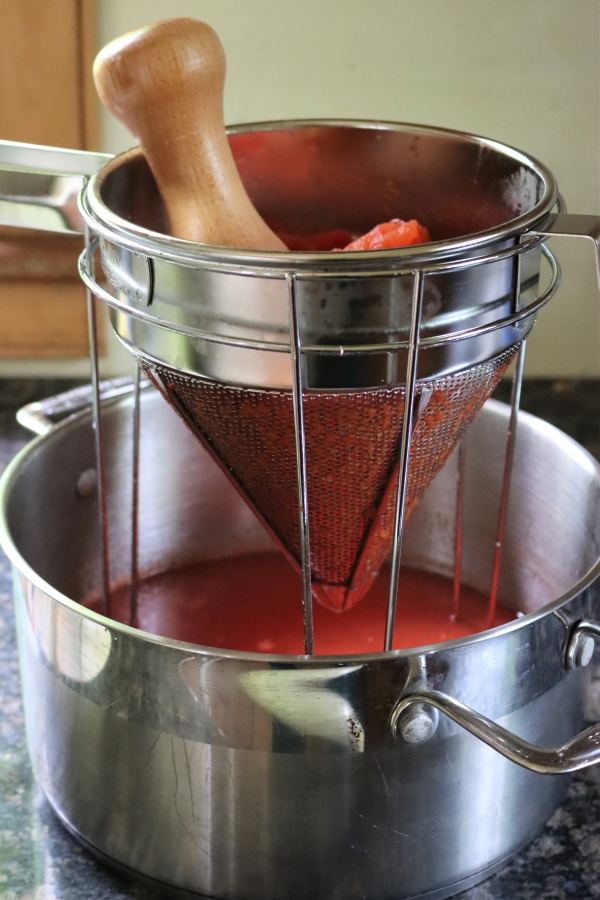
Transfer the strained tomato pulp and juice to a large-diameter saucepan, heating the sauce to a fairly vigorous simmer so it can begin to reduce.
For a thin sauce, simmer the sauce until it’s been reduced by about one-third.
For a thicker sauce, it should reduce by about one-half.
Remove the saucepan from the heat once the desired consistency has been reached. Before you go ahead and ladle the hot sauce into the jars, you’ll need to add either citric acid or lemon juice directly to each jar (explained below). If you want to add salt it can be added to the jar at this point, too.
Adding Acidity to Tomato Sauce for Canning
It’s a common misconception that tomatoes are highly acidic, when in reality (depending on the variety) tomatoes are right on the borderline for safe home canning. For this reason, any sort of canned tomato or tomato product actually requires acidification to ensure safe acidity levels and to prevent the growth of toxic bacteria such as botulism.
This hasn’t always been the case with tomatoes, which were once quite a bit more acidic compared to the tomatoes enjoy today. Over the last 50 years or so, tomatoes have been bred to taste sweeter and less acidic. Unless you’re actually testing the pH, you can never be sure if your homegrown tomatoes are sufficiently acidic for canning, so you should always acidify just to be sure.
You can use either citric acid or lemon juice for acidification, both work equally as well. Citric acid is generally preferred because it’s tasteless, but lemon juice lends a small amount of citrus-y brightness to the finished sauce. Use bottled lemon juice only, because it has a standard level of acidity.
Always add the citric acid or lemon juice to the jars first (unless you’re making tomato paste), this way you won’t forget to add it and the acid will be evenly distributed to each jar.
For quarts, add either 2 tablespoons of lemon juice or 1/2 teaspoon of citric acid.
For pints, add 1 tablespoon of lemon juice or 1/4 teaspoon citric acid.
Canning Tomato Sauce
Prepare the jars for canning by adding lemon juice or citric acid to the jars. For quart-sized jars, add either 2 tablespoons of lemon juice or 1/2 teaspoon of citric acid. If you’re making tomato sauce in pints, add 1 tablespoon of lemon juice or 1/4 teaspoon citric acid.
Salt is optional, but if desired, add 1 teaspoon of salt to quart jars or 1/2 teaspoon of salt to pint jars.
Ladle hot unseasoned tomato sauce into the prepared jars, leaving 1/4-inch headspace. Place the lids on the jars and screw on the rings until fingertip tight (which means to screw them on firmly, but not too tight). The rings are only temporary and will be removed after processing, they’re used to keep the lid sealed in place as the sauce is being processed.
Water Bath Canning Tomato Sauce
Processing times for unseasoned tomato sauce in a boiling water canner are as follows:
For pints, the processing time is 35 minutes at an altitude of 0-1,000 feet, 40 minutes at an altitude of 1,001-3,000 feet, 45 minutes at 3,001-6,000 feet, and 50 minutes at altitudes over 6,000 feet.
For quarts, the processing time is 40 minutes at an altitude of 0-1,000 feet, 45 minutes at an altitude of 1,001-3,000 feet, 50 minutes at 3,001-6,000 feet, and 55 minutes at altitudes over 6,000 feet.
The same times are summarized in the chart below:
Altitude Adjustments for Water Bath Canning
For water bath canning, the time goes up at higher elevations:
- 0 to 1,000 feet: Pints 35 minutes, quarts 40 minutes
- 1,001 to 3,000 feet: Pints 40 minutes, quarts 45 minutes
- 3,001 to 6,000 feet: Pints 45 minutes, quarts 50 minutes
- Above 6,000 feet: Pints 50 minutes, quarts 55 minutes
Pressure Canning Tomato Sauce
Plain tomato sauce can also be processed in a pressure canner, but be aware that it will still require added acidity. The pressure canning times presented here have only been tested with added lemon juice or citric acid, and they’re not sufficient for canning tomato sauce unless it’s acidified.
Processing times for unseasoned tomato sauce in a dial-gauge pressure canner are as follows:
Pints and quarts take the same time, and you can choose either option. Process for 20 minutes at 6 PSI at an altitude of 0 to 2,000 feet, 7 PSI at 2,001 to 4,000 feet, 8 PSI at 4,001 to 6,000 feet, and 9 PSI at 6,001 to 8,000 feet.
Or process for 15 minutes at 11 PSI at 0 to 2,000 feet, 12 PSI at 2,001 to 4,000 feet, 13 PSI at 4,001 to 6,000 feet, and 14 PSI at 6,001 to 8,000 feet.
Altitude Adjustments for Dial Gauge Pressure Canners
With pressure canning, pints and quarts take the same time. In a dial gauge pressure canner, process for 20 minutes at:
- 0 to 2,000 feet: 6 lbs pressure
- 2,001 to 4,000 feet: 7 lbs pressure
- 4,001 to 6,000 feet: 8 lbs pressure
- 6,001 to 8,000 feet: 9 lbs pressure
Or process for 15 minutes at:
- 0 to 2,000 feet: 11 lbs pressure
- 2,001 to 4,000 feet: 12 lbs pressure
- 4,001 to 6,000 feet: 13 lbs pressure
- 6,001 to 8,000 feet: 14 lbs pressure
Processing times for unseasoned tomato sauce in a weighted-gauge pressure canner are as follows:
Pints and quarts take the same time here too. Process for 20 minutes at 5 PSI at 0 to 1,000 feet, or 10 PSI above 1,000 feet. Or process for 15 minutes at 10 PSI at 0 to 1,000 feet, or 15 PSI above 1,000 feet.
At 1,000 feet or lower, you can also process for 10 minutes at 15 PSI. That shorter time isn’t recommended above 1,000 feet.
Altitude Adjustments for Weighted Gauge Pressure Canners
In a weighted gauge pressure canner, pints and quarts take the same time. Use one of these:
- 20 minutes: 5 lbs pressure at 0 to 1,000 feet, 10 lbs above 1,000 feet
- 15 minutes: 10 lbs pressure at 0 to 1,000 feet, 15 lbs above 1,000 feet
- 10 minutes: 15 lbs pressure at 0 to 1,000 feet (not recommended above 1,000 feet)
Check the seal on each jar carefully, there should be no flex movement when the seals are pressed. Remove the rings carefully, again checking to make sure the seal is intact for each jar. If any of the seals didn’t take, store the jar of sauce in the fridge and use it over the next couple of days.
Label each jar of sauce with its contents and the date it was preserved. Home canned tomato sauce will last about 18 months sealed in the pantry, but should be refrigerated once opened.
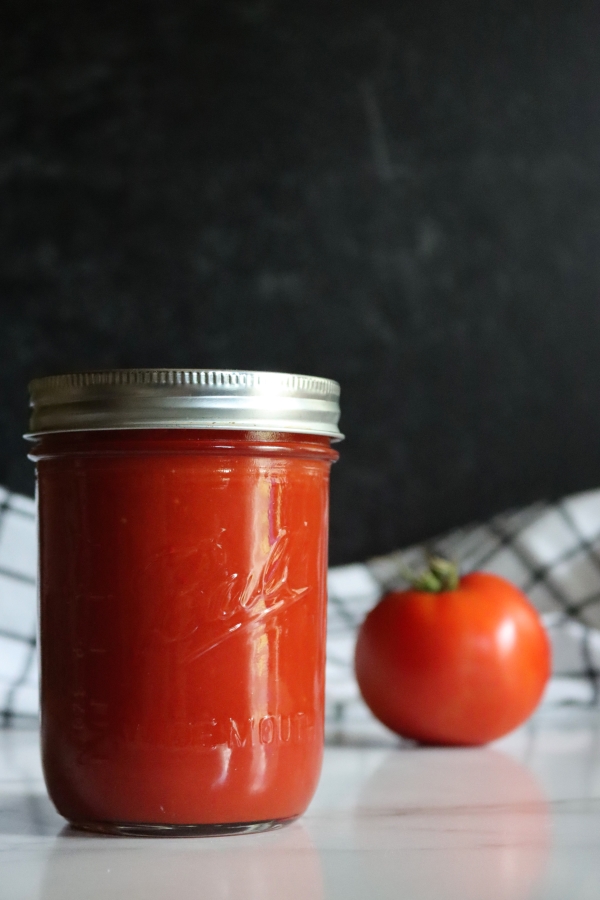
Seasoned Tomato Sauce
You may have noticed that, with the exception of some optional salt, the instructions I’ve given above are for an unseasoned tomato sauce. While it’s reasonably safe to add dried herbs in moderate quantities (the key word being “dried”), once onions are added to the sauce the canning time will need to be increased.
Unless specifically tested for a recipe, fresh herbs aren’t suitable for canning tomato sauce because they contain water, which, even in small amounts, could potentially change the pH balance of the preserve by diluting the acidity of the sauce.
If you want to add vegetables of any sort to the sauce you’ll need to use a pressure canner, and use different canning instructions. Green peppers, mushrooms, and other low-acid ingredients require exposure to hotter-than-boiling temperatures for a sustained period of time before they become safe to eat.
While I always recommend following a tested recipe when it comes to canning, there is a little bit of wiggle room when it comes to swapping out dried herbs and spices. For example, adding ground cumin to a Mexican-inspired sauce instead of dried basil shouldn’t give you any problems. Basically, it all comes down to what you’re comfortable with in terms of health and safety around homemade preserves.
The following tomato seasoning blends come from various canning books and may be added without impacting canning safety. Note that no vegetables are added, only dried herbs. Each recipe makes enough for 4 pints or two quarts.
Italian tomato sauce seasoning blend:
- 2 Tbsp. dried oregano
- 2 Tbsp. dried basil
- 1 Tbsp. garlic powder
- 2 tsp. dried thyme
- 2 tsp. dried crushed red pepper
Combine ingredients in a small bowl.
Smoky Mexican tomato sauce seasoning blend:
- 2 tsp. cumin seeds
- 2 tsp. coriander seeds
- 4 tsp. ground chipotle powder
- 4 tsp. chili powder
- 2 tsp. dried oregano
- 2 tsp. garlic powder
Toast the cumin and coriander seeds in a nonstick skillet over medium-low heat, stirring often until fragrant. Remove the toasted seeds from the skillet and let them cool. Process the cooled, toasted seeds in a spice grinder, blender, or with a mortar and pestle. Transfer the ground spices to a small bowl and mix with the rest of the seasonings to combine.
Creole tomato sauce seasoning blend:
- 1 Tbsp. sweet paprika
- 1 Tbsp. hot paprika
- 1 Tbsp. ground red pepper
- 1 Tbsp. dried oregano
- 2 tsp. garlic powder
- 2 tsp. onion powder
- 2 tsp. ground black pepper
- 2 tsp. dried thyme
- 1 tsp. celery seed
- 1 tsp. ground white pepper
Combine ingredients in a small bowl.
Tomato Paste v. Tomato Sauce
Making tomato paste is a natural extension of the tomato sauce-making process. Prep the tomatoes using the same “heat and crush” method as explained above.
This time, instead of pressing the tomatoes after 5 minutes of cooking, gently simmer the crushed tomatoes for 1 hour — stirring fairly frequently to prevent burning — or until the sauce is reduced by half. When the crushed tomatoes have cooked down enough, press the mixture through a sieve or with a food mill.
Return the strained sauce to the stockpot and stir in 1 teaspoon of citric acid, stirring to make sure the powder is completely incorporated. Unlike tomato juice and sauce, tomato paste is quite thick, which is why the citric acid should be stirred in rather than added directly to the jar. For extra flavor, you can also add 2 bay leaves and 1 whole clove of garlic but you’ll need to remove these before canning the tomato paste.
Continue to cook the tomato paste for another 2 1/2 hours, stirring more frequently as the tomatoes break down and thicken. The paste is finished and ready to be canned when it rounds up on a spoon.
For specific instructions, I’d suggest reading this tutorial on canning tomato paste. Be aware that the canning instructions are slightly different when working with tomato paste, as it’s a thicker product.
Tomato Canning Recipes
Need a few more tomato canning recipes?
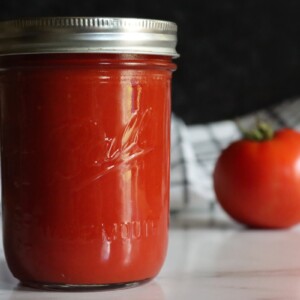
Canning Tomato Sauce
Equipment
- Canning Jars, Lids, and Rings
Ingredients
- 21 to 28 lbs whole tomatoes, see notes
- 9 Tbsp bottled lemon juice, 1 Tbsp per pint, or use 1/4 tsp per pint citric acid
- 4 1/2 tsp salt, optional, 1/2 tsp per pint
Instructions
- Wash the tomatoes, remove the stems, and trim away any bruised or discolored parts.
- Working quickly with about 1 pound at a time, quarter the tomatoes and put them in a large saucepan.
- Bring them to a boil over high heat, crushing them with a potato masher or large spoon as they heat.
- Keep adding the quartered tomatoes a pound at a time, mashing them and keeping the pot boiling, until they’re all in.
- Simmer for 5 minutes.
- Run the hot tomatoes through a food mill or sieve to remove the skins and seeds.
- Return the puree to the saucepan and simmer it down. Reduce it by about a third for thin sauce, or by half for thick sauce.
- Add the bottled lemon juice or citric acid to each hot pint jar, using the per-pint amount in the ingredient list.
- Add salt to each jar too, if you like.
- Ladle the hot sauce into the jars, leaving 1/4 inch headspace. Remove air bubbles, wipe the rims, and apply the lids and bands fingertip tight.
- To water bath can, process pints for 35 minutes, adjusting for altitude (see notes). Turn off the heat, take off the canner lid, and let the jars rest 5 minutes before lifting them out.
- To pressure can instead, process pints for 15 minutes at 11 lbs in a dial gauge canner or 10 lbs in a weighted gauge canner, adjusting for altitude (see notes for the 20 and 10 minute options). Turn off the heat and let the canner return to zero pressure on its own. Wait 5 minutes, take off the lid, and leave the jars in the canner 10 minutes before lifting them out.
- Cool the jars undisturbed, not touching, for 12 to 24 hours.
- Remove the bands and check the seals. Refrigerate any jar that didn’t seal.
- Label the jars and store them in a cool, dark place. Use them within 18 months for the best quality.
Notes
- 0 to 1,000 feet: 35 minutes for pints, 40 for quarts
- 1,001 to 3,000 feet: 40 minutes for pints, 45 for quarts
- 3,001 to 6,000 feet: 45 minutes for pints, 50 for quarts
- Above 6,000 feet: 50 minutes for pints, 55 for quarts
- 20 minutes: 6 lbs at 0 to 2,000 feet, 7 lbs at 2,001 to 4,000 feet, 8 lbs at 4,001 to 6,000 feet, 9 lbs at 6,001 to 8,000 feet
- 15 minutes: 11 lbs at 0 to 2,000 feet, 12 lbs at 2,001 to 4,000 feet, 13 lbs at 4,001 to 6,000 feet, 14 lbs at 6,001 to 8,000 feet
- 20 minutes: 5 lbs at 0 to 1,000 feet, 10 lbs above 1,000 feet
- 15 minutes: 10 lbs at 0 to 1,000 feet, 15 lbs above 1,000 feet
- 10 minutes: 15 lbs at 0 to 1,000 feet only
Nutrition
Nutrition information is automatically calculated, so should only be used as an approximation.
Summer Canning Recipes
Canning more than just tomatoes this summer? No worries, I have over a hundred canning recipes to share with you…











Last year, I added the lemon juice to my canned crushed tomatoes and my Ball canning flats rusted on the inside and my recipes were all over acidic. I’m not doing that this year.
Why would you need to add more accidity if you pressure can?
Can you explain the reasoning?
It is just an extra precaution that is taken to ensure that botulism spores are unable to germinate.
What would the lemon juice amount and canning time be for water bathing half pints?
You would need half the amount of lemon juice that is recommended for pints and process them the same amount of time as the pints.
I think you have your times reversed for pressure canning pints and quarts. You have 20 minutes for pints and 15 minutes for quarts. Shouldn’t it be the other way around? pints 15 and quarts 20?
The Quarts are processed for a shorter period of time but at a higher PSI.
Why would you process the pints at a lower pressure to begin with?
Smaller jars often require less pressure and/or time to properly process to ensure food safety.
why add citric acid to tomatoes when pressure canning when we don’t have to add it to other vegetables when pressure canning?
The processing times given were developed and tested using acidified tomatoes so those same procedures have to be followed whether you are using the water bath or pressure canning method.
My homemade tomato sauce is made with store canned paste and seasoned with all dried spices but with the exception of iodized salt. Can I process it in my canner safely by changing iodized salt to canning salt? What would be the measurements in order to do so?
I’m sorry but we don’t have a recipe for canning tomato sauce that is made with store-bought tomato paste.
Do you need to sterlize the jars pre pressure canning?
As long as the jars are processed for at least 10 minutes, there is no need to sterilize the jars before filling.
If my sauce turns out too runny AFTER I got water bath, can I open jars re-boil down and re-process?
Yes, you can.
When do you add the spices if you are making seasoned sauce?
I usually can mine plain and then season it when I am preparing my meal. If you wish to season it before canning you can add the seasoning in while the sauce is simmering to thicken.
might just be easier to wait and boil down the sauce after you open to use it.. you can usually tell if your sauce is too thing even before putting in jar to can though
Have you ever roasted your tomatoes prior to crushing them? I started doing this and it intensifies the flavor so much. The sauce is thicker without a whole lot of simmering. That being said though, if you are preserving a lot of tomatoes, it will take longer for your prep time.
Yes, roasting the tomatoes can definitely improve the flavor, but like you said can be time-consuming if you’re doing a lot.